
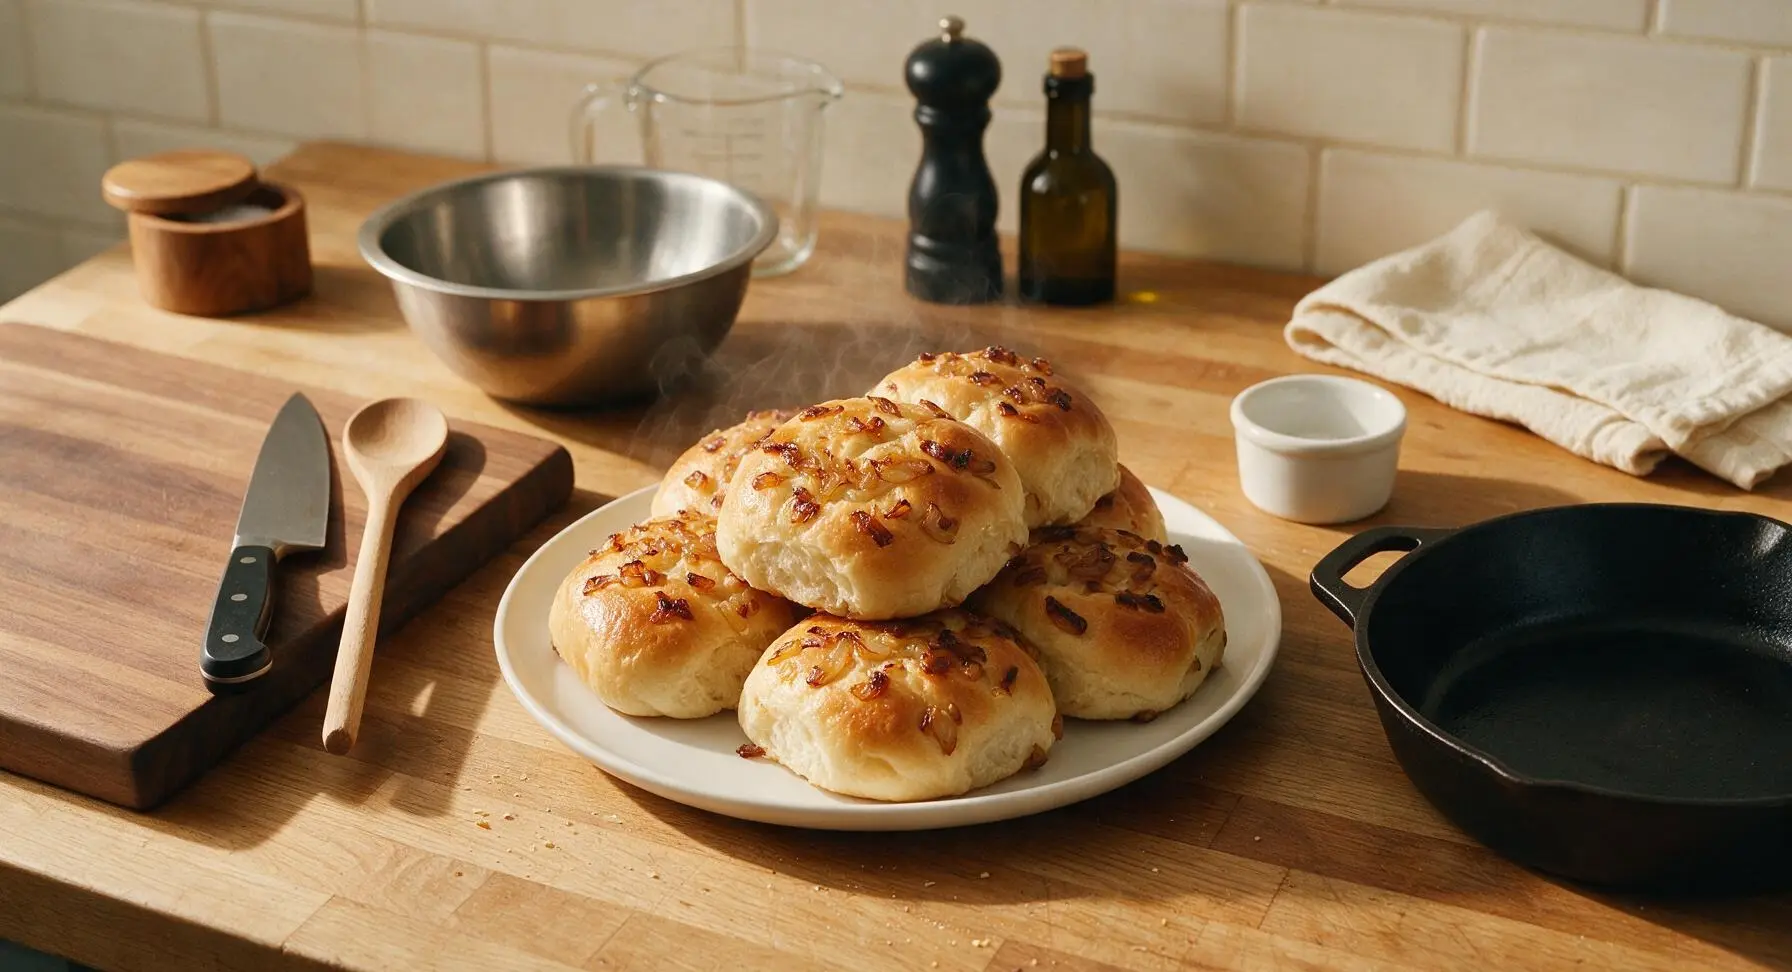
Onion Rolls

title 1
Onion Rolls
⏱️ cook time 20 minutes
🍽️ servings 12
⚡ Difficulty medium

intro

Soft, pillowy golden rolls studded with sweet caramelized onions, perfect for sandwich fillings, soup dippers, or enjoying warm with a slather of salted butter.

Ingredients
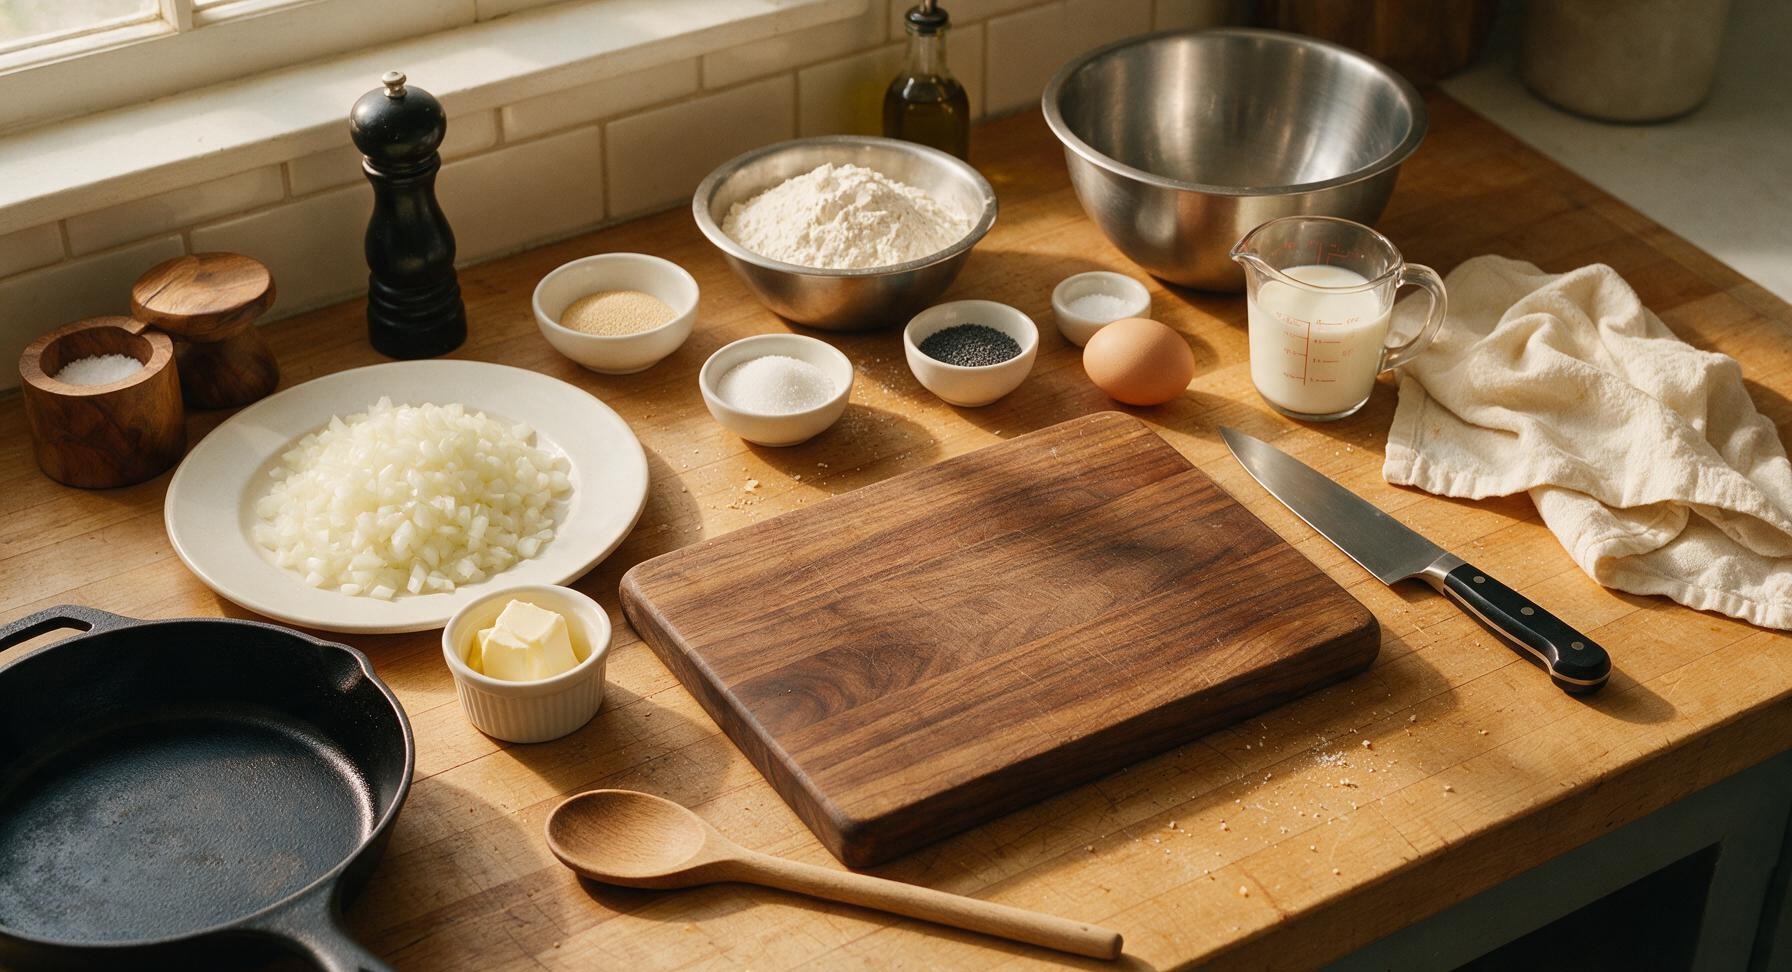
Yellow onions 2 medium (300g total, finely diced)
Unsalted butter 4 tbsp (56g, divided)
Active dry yeast 2 1/4 tsp (7g, 1 standard packet)
Whole milk 1 cup (240ml, warmed to 105°F/40°C)
Granulated sugar 1 tbsp (12g)
All-purpose flour 3 1/2 cups (420g, spooned and leveled)
Kosher salt 1 1/2 tsp
Large egg 1 (50g, room temperature)
Poppy seeds 1 tsp (for topping)

Steps

1

Caramelize Diced Onions

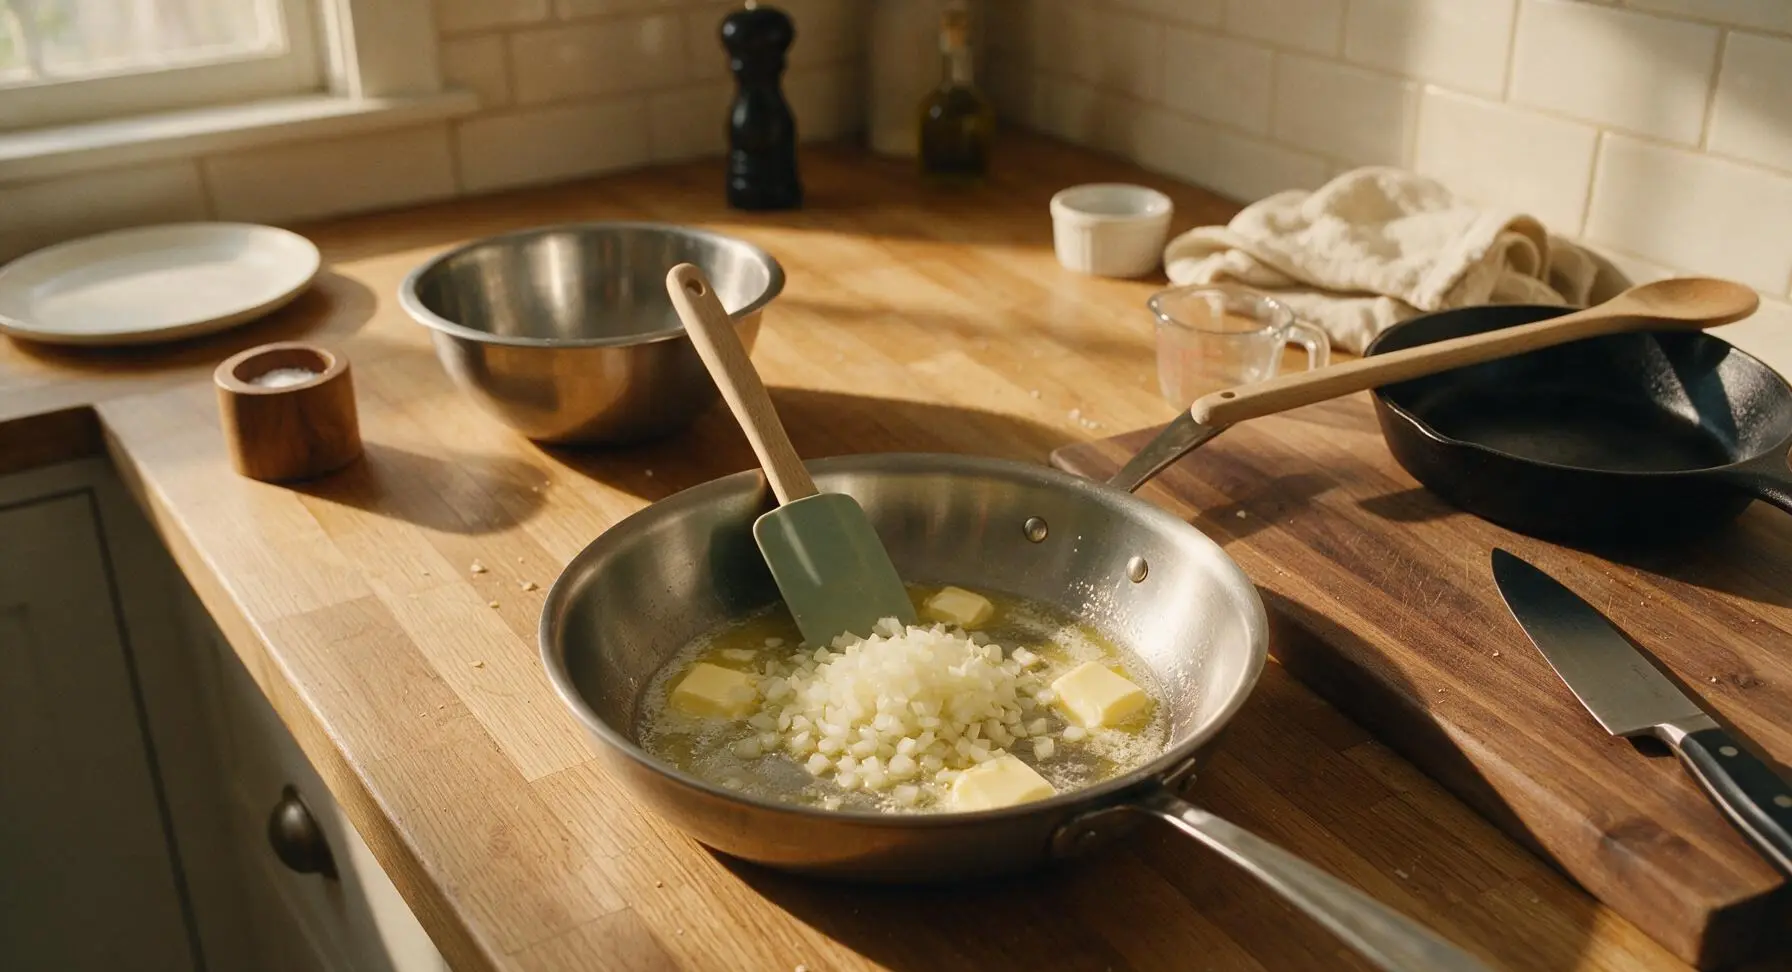
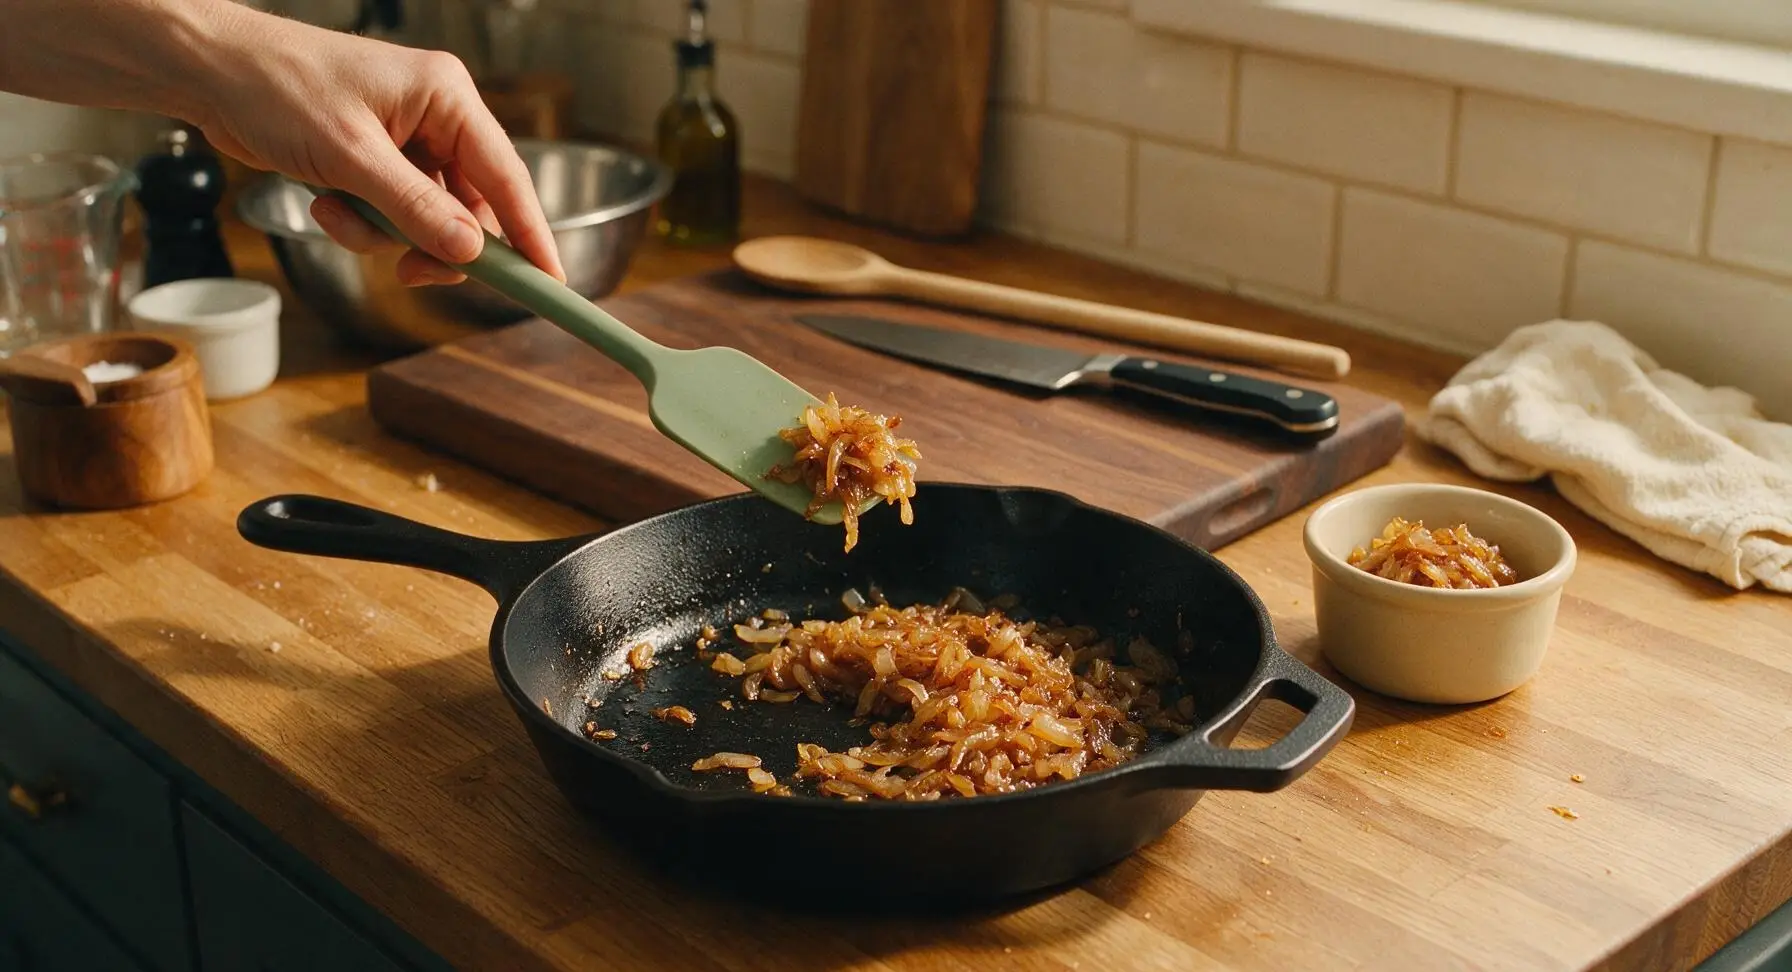
Melt 2 tablespoons of unsalted butter in the 24cm stainless steel skillet over medium-low heat. Add the finely diced yellow onions, stir to coat in butter, and cook for 12-15 minutes, stirring occasionally with the sage green silicone spatula, until onions are deep golden, soft, and sweet-smelling, with no crisp raw edges left. Transfer half the caramelized onions to the small cream ramekin to cool for topping, and leave the remaining half in the skillet to cool slightly for mixing into the dough.
Step 1
step1:Caramelize Diced Onions
Step 1
step1:Caramelize Diced Onions
2

Activate the Yeast

Pour the warmed whole milk (105°F, warm to the touch but not hot enough to burn wrist skin) into the 250ml clear glass measuring cup. Stir in the granulated sugar until dissolved, then sprinkle the active dry yeast over the surface. Let rest for 5-7 minutes, until the mixture is foamy and bubbly across the top, forming a 1/4cm thick froth – this confirms the yeast is active and ready to use.
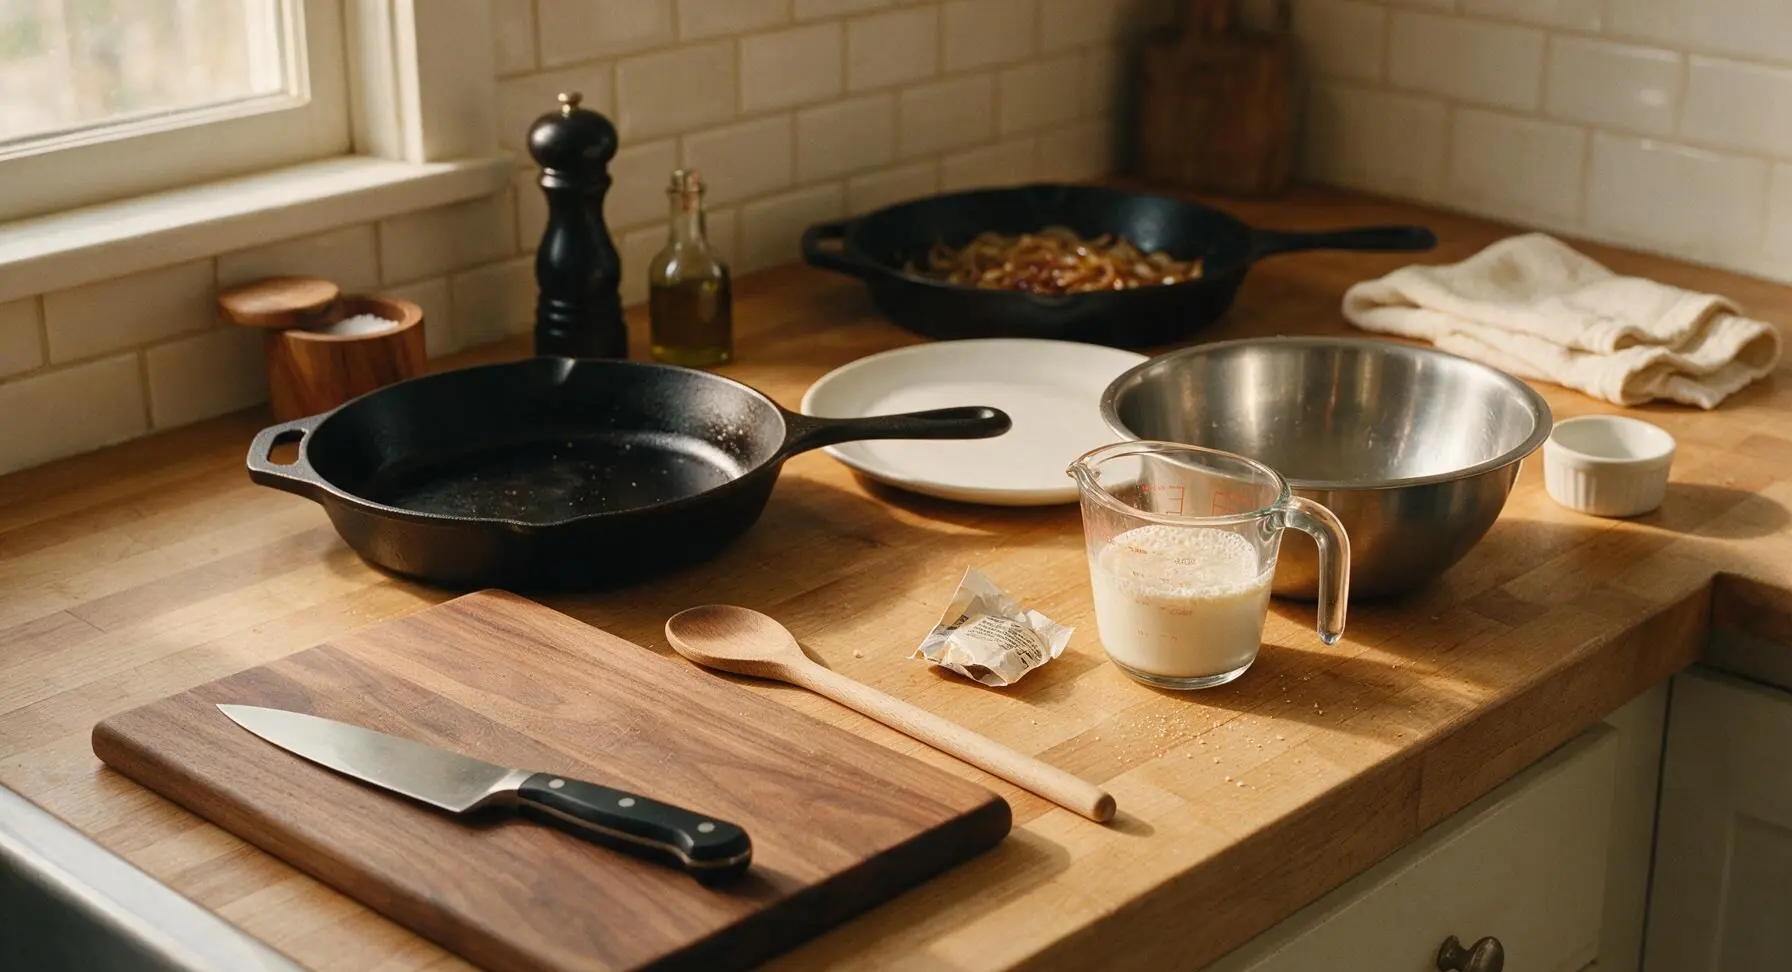
Step 2
step2:Activate the Yeast
3

Mix Dough Base

Place 3 cups of the all-purpose flour and kosher salt into the large stainless steel mixing bowl, whisking lightly with the dough whisk to combine. Add the foamy yeast mixture, room temperature egg, and 1 tablespoon of melted cooled butter, stirring with the dough whisk until a shaggy, sticky mass forms. Fold in the reserved half portion of cooled caramelized onions, mixing until evenly distributed throughout the shaggy dough.
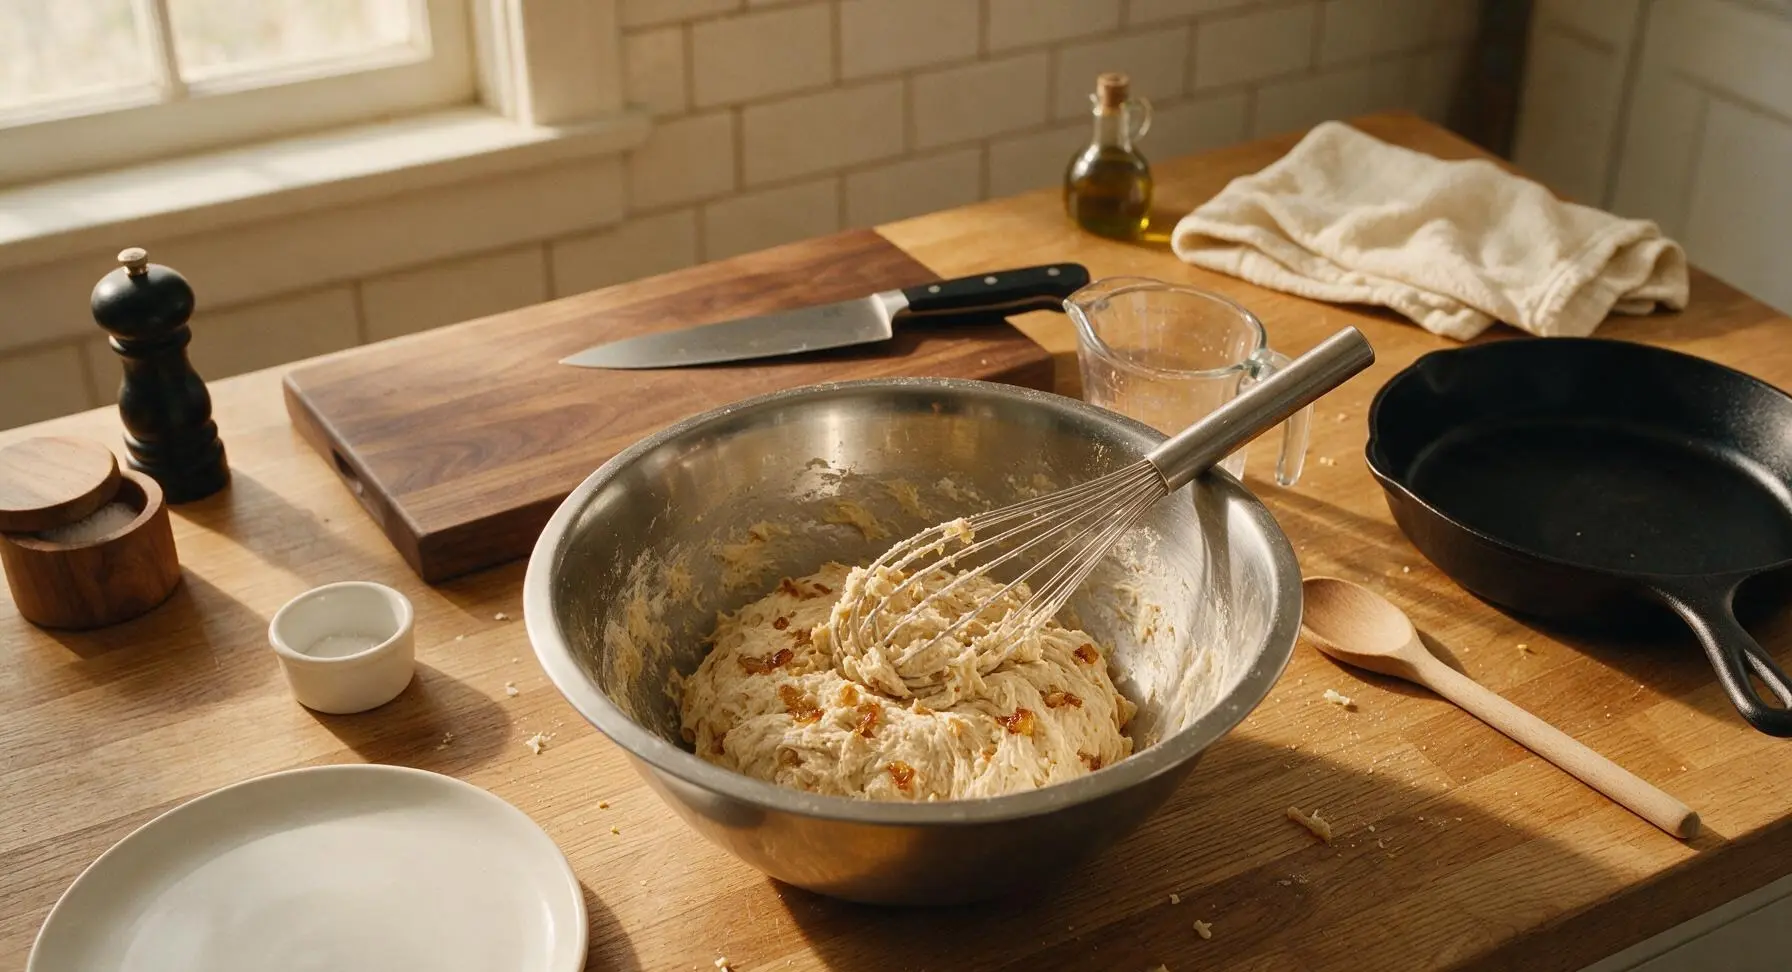
Step 3
step3:Mix Dough Base
4

Knead and Rise Dough

Turn the shaggy dough out onto the lightly floured surface of the walnut cutting board, using the remaining 1/2 cup of flour to dust the board and your hands as needed. Knead for 8-10 minutes, folding the dough over itself and pushing forward with the heels of your hands, until the dough is smooth, elastic, and springs back slowly when poked with a finger. Form the dough into a tight ball, place it back into the lightly greased mixing bowl, cover with the cream linen tea towel, and let rise in a warm spot for 1 hour, until doubled in size.
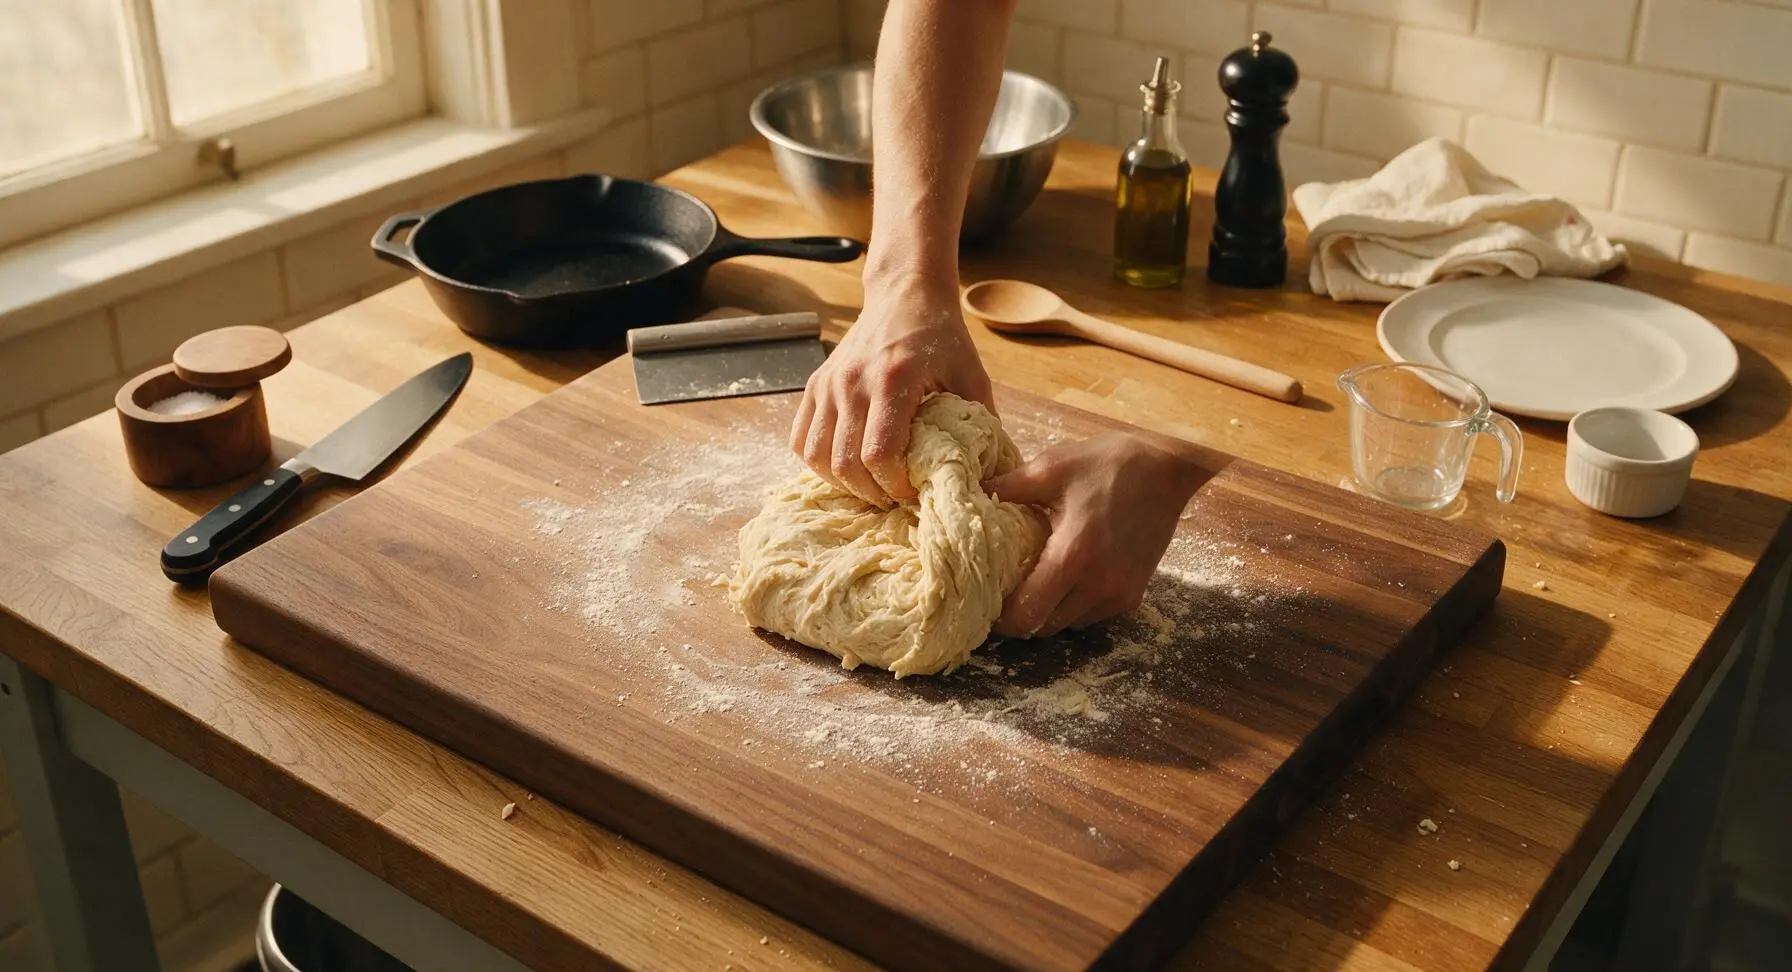
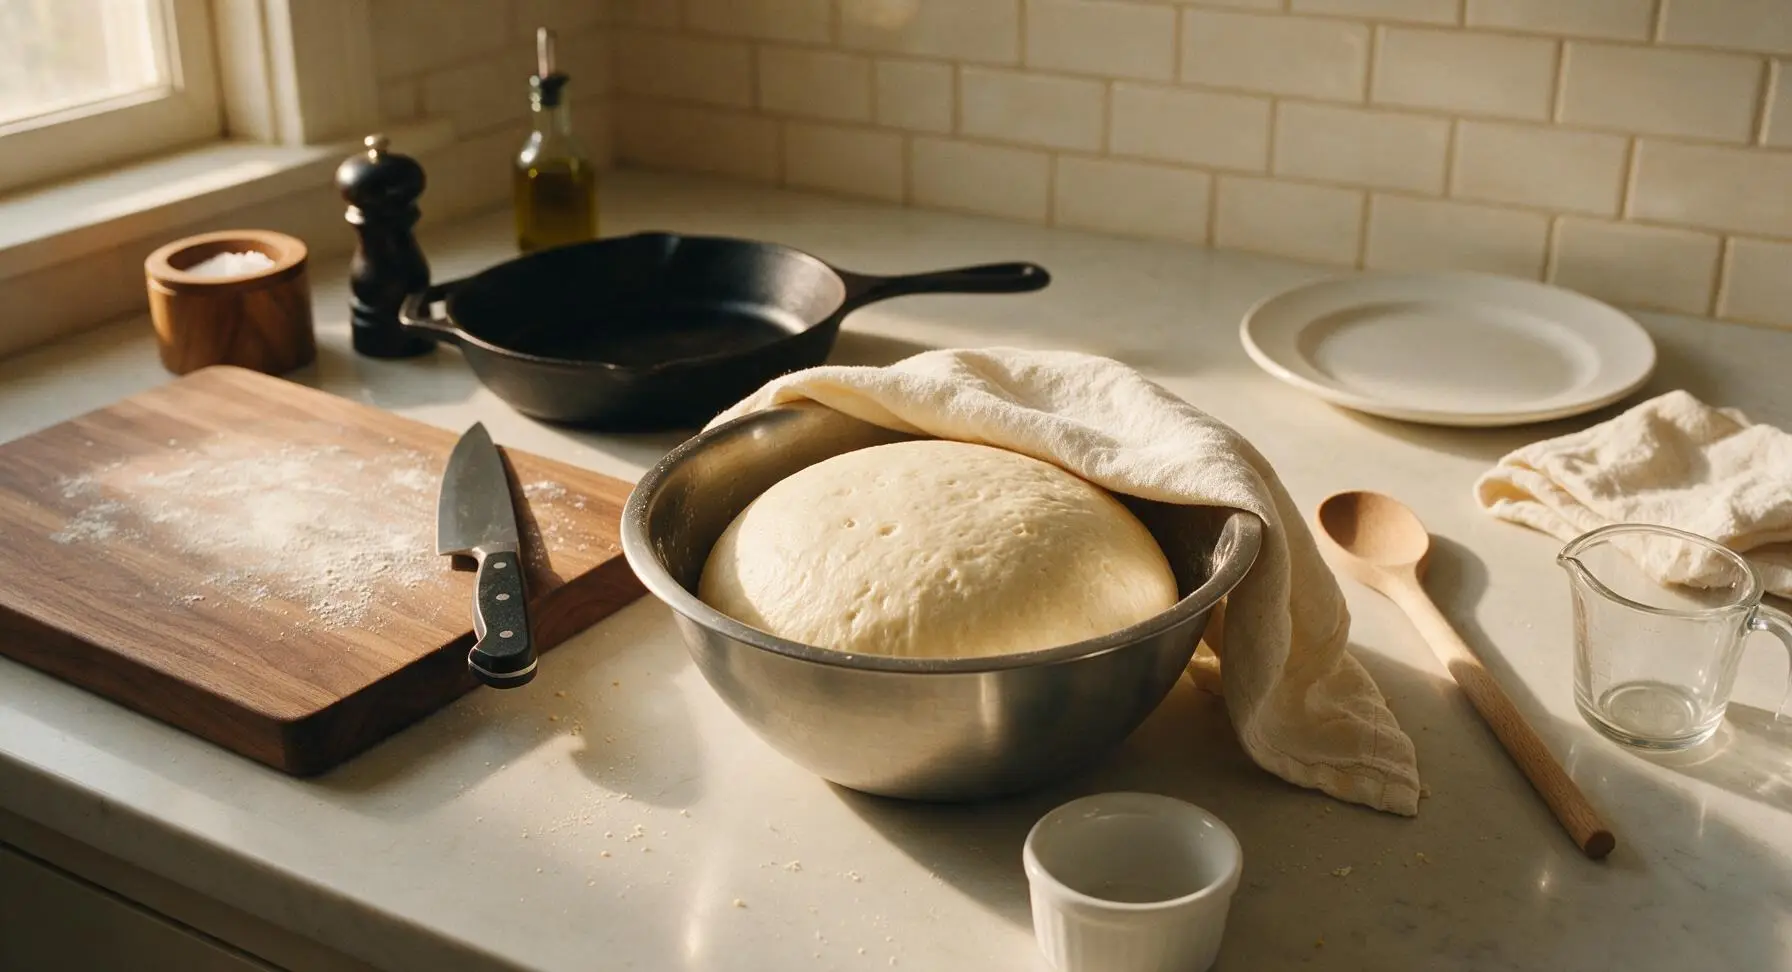
Step 4
step4:Knead and Rise Dough
Step 4
step4:Knead and Rise Dough
5

Shape Individual Rolls

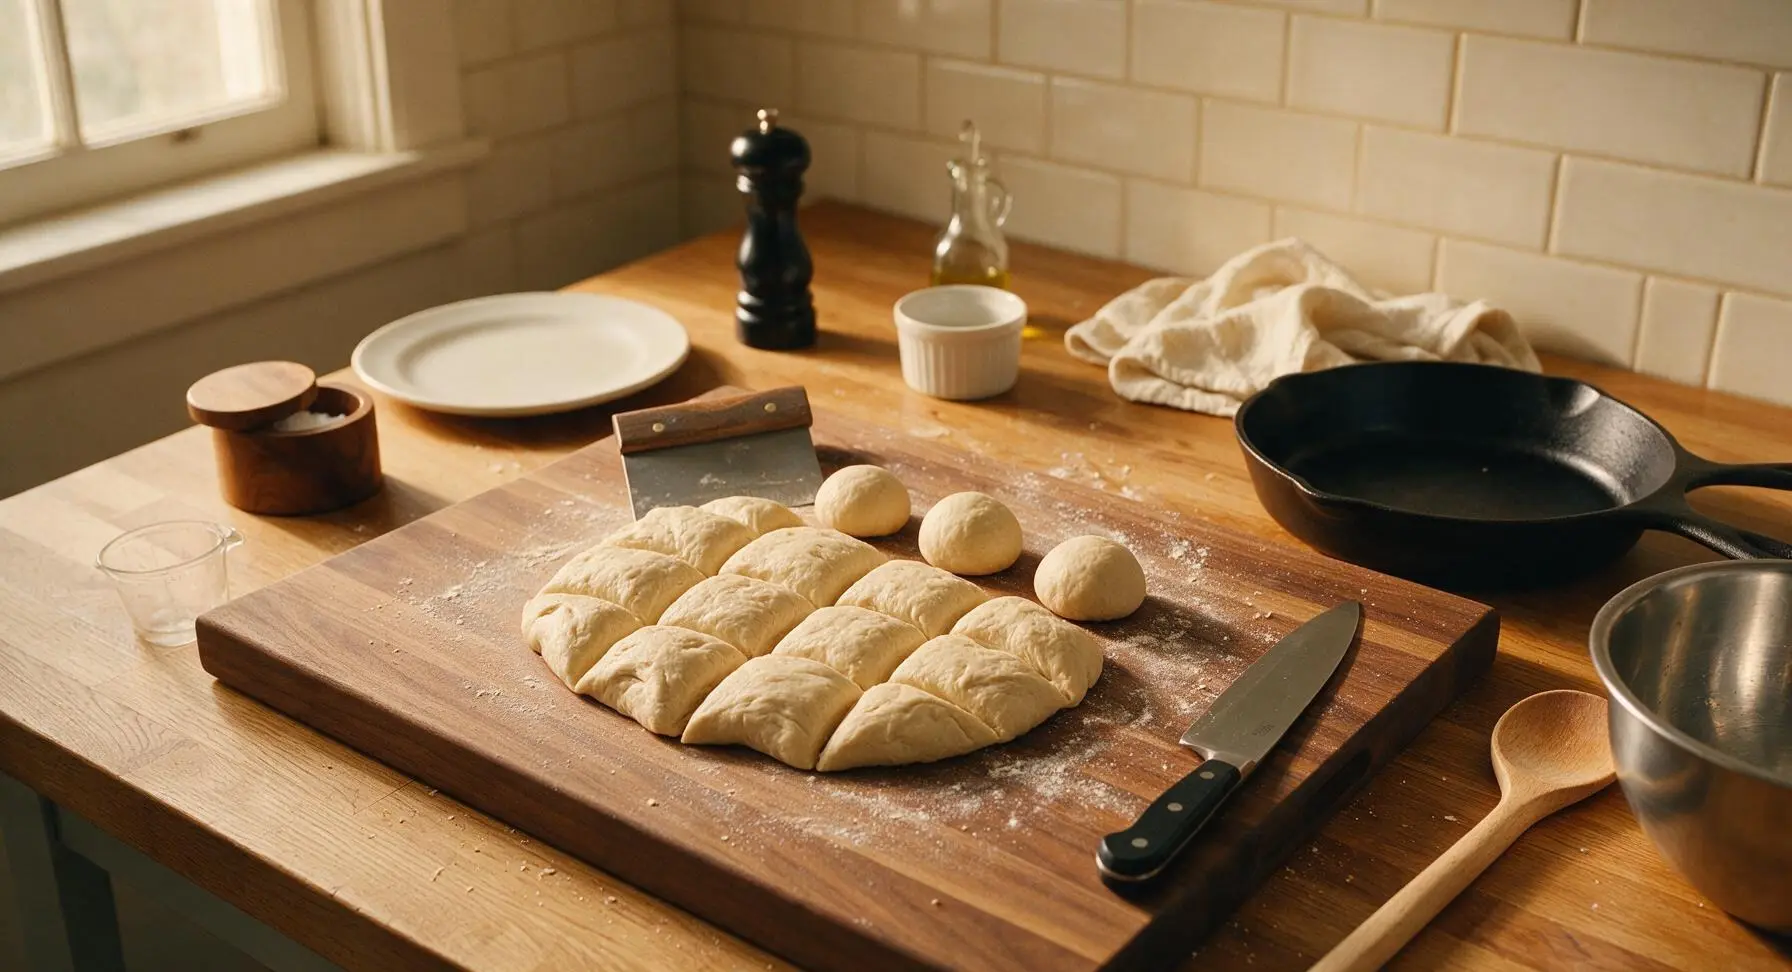
Once doubled, punch the risen dough down firmly to release trapped air, then turn it out onto the walnut cutting board. Use the bench scraper to divide the dough evenly into 12 equal portions (each about 60g). Roll each portion into a tight, smooth ball by cupping your hand over the dough and moving it in small circular motions across the board, pinching the seams closed at the bottom of each roll.
Step 5
step5:Shape Individual Rolls
6

Top and Proof Rolls

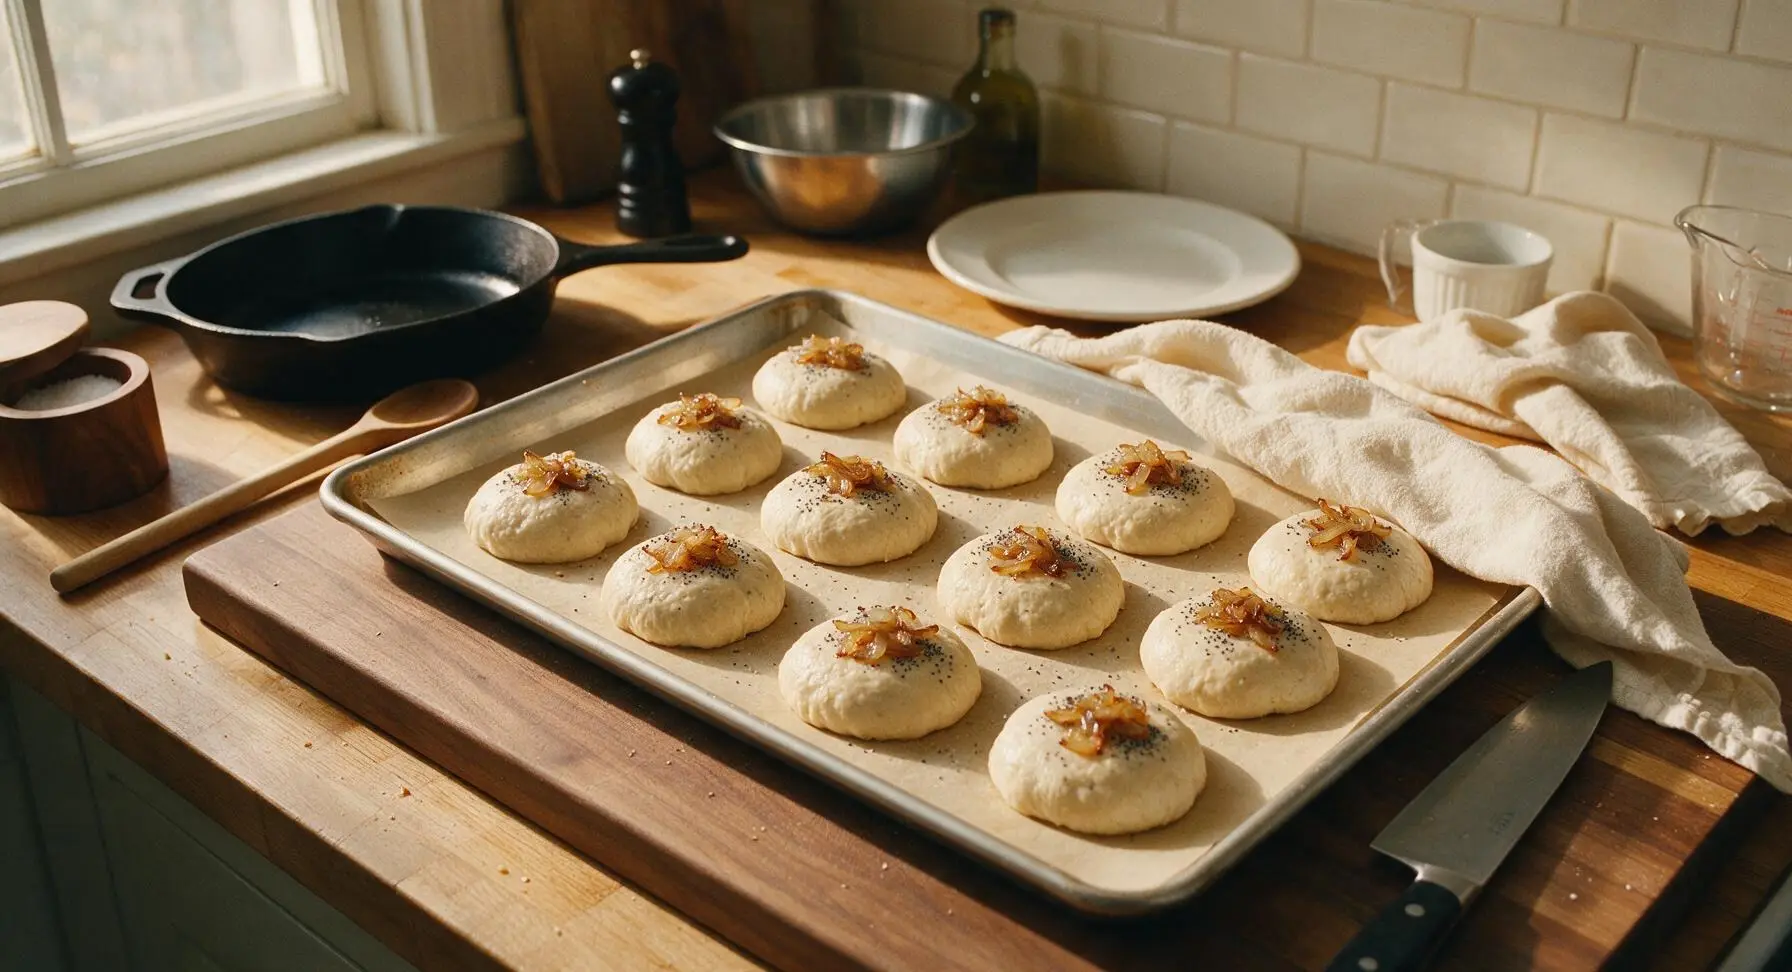
Line the heavy gauge aluminized steel baking sheet with the cut sheet of unbleached parchment paper. Arrange the shaped dough balls on the sheet 5cm apart to allow room for rising. Top each roll with a small pinch of the reserved caramelized onions and a light sprinkle of poppy seeds. Cover loosely with the linen tea towel and let proof for 30 minutes, until the rolls are puffy and press back slowly when gently poked with a finger.
Step 6
step6:Top and Proof Rolls
7

Bake Until Golden

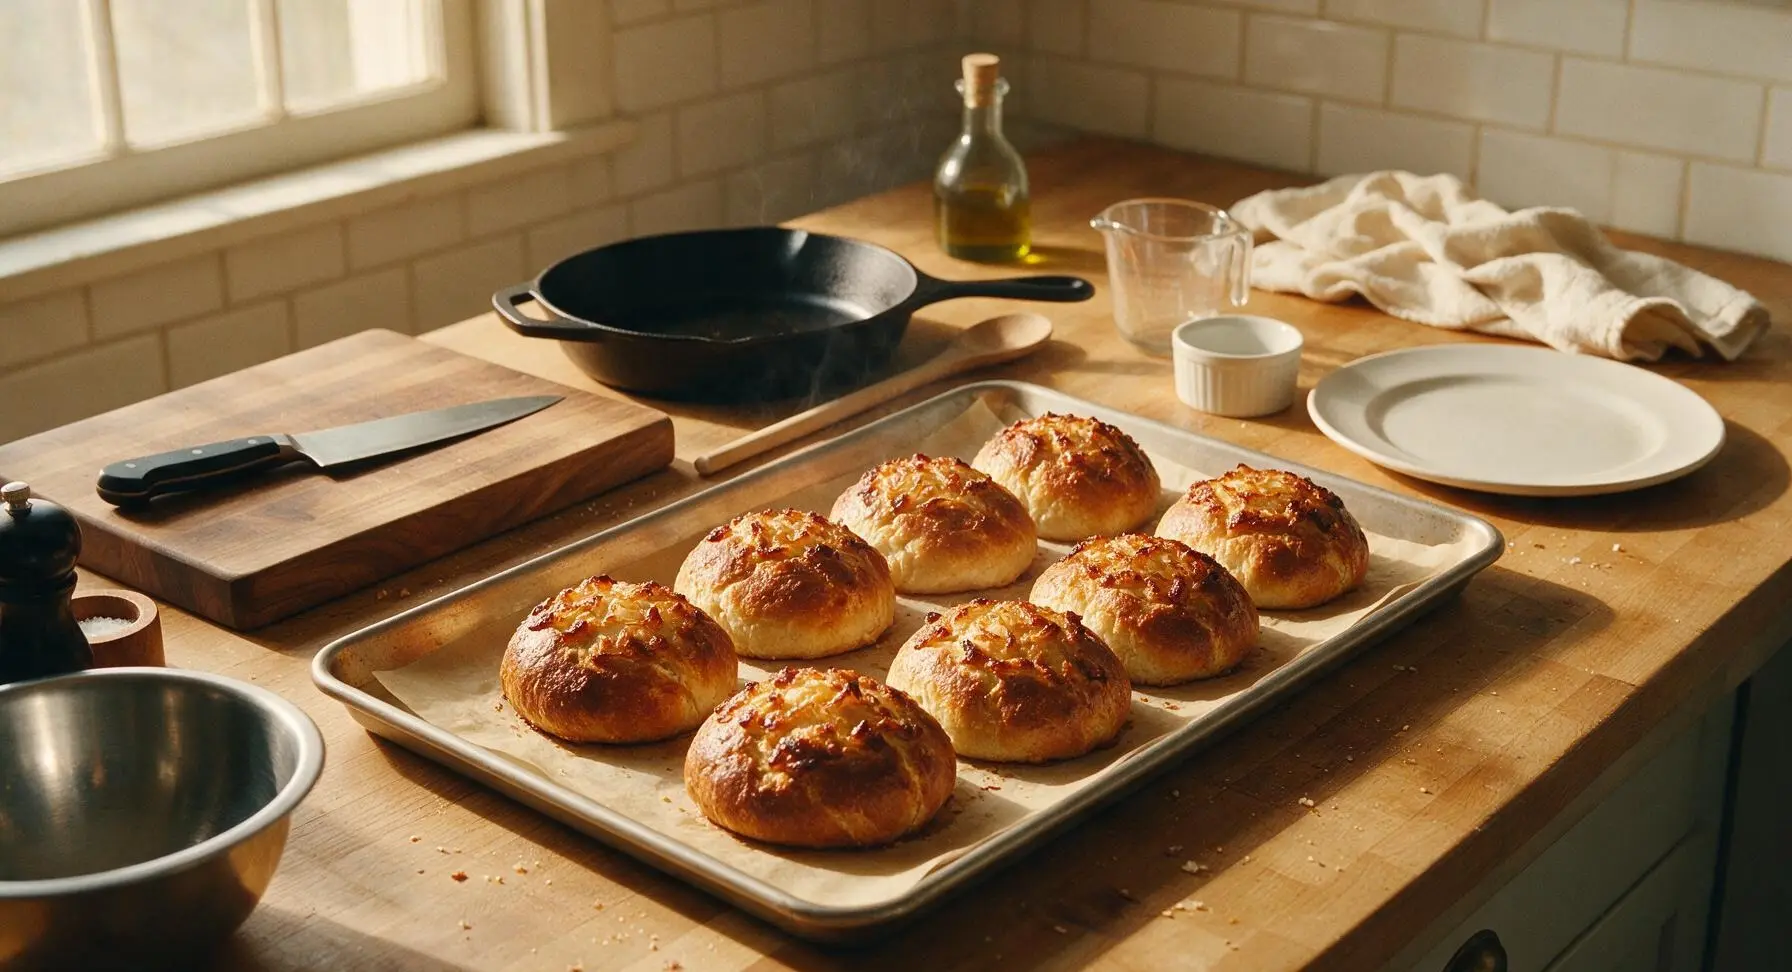
Preheat oven to 375°F (190°C) while the rolls finish proofing. Remove the linen towel, then place the baking sheet on the middle rack of the oven. Bake for 18-20 minutes, until the rolls are deep golden brown across the tops, with an internal temperature of 190°F (88°C) measured at the center of a middle roll, and the onion toppings are slightly crisped at the edges.
Step 7
step7:Bake Until Golden
8

Butter and Serve Warm

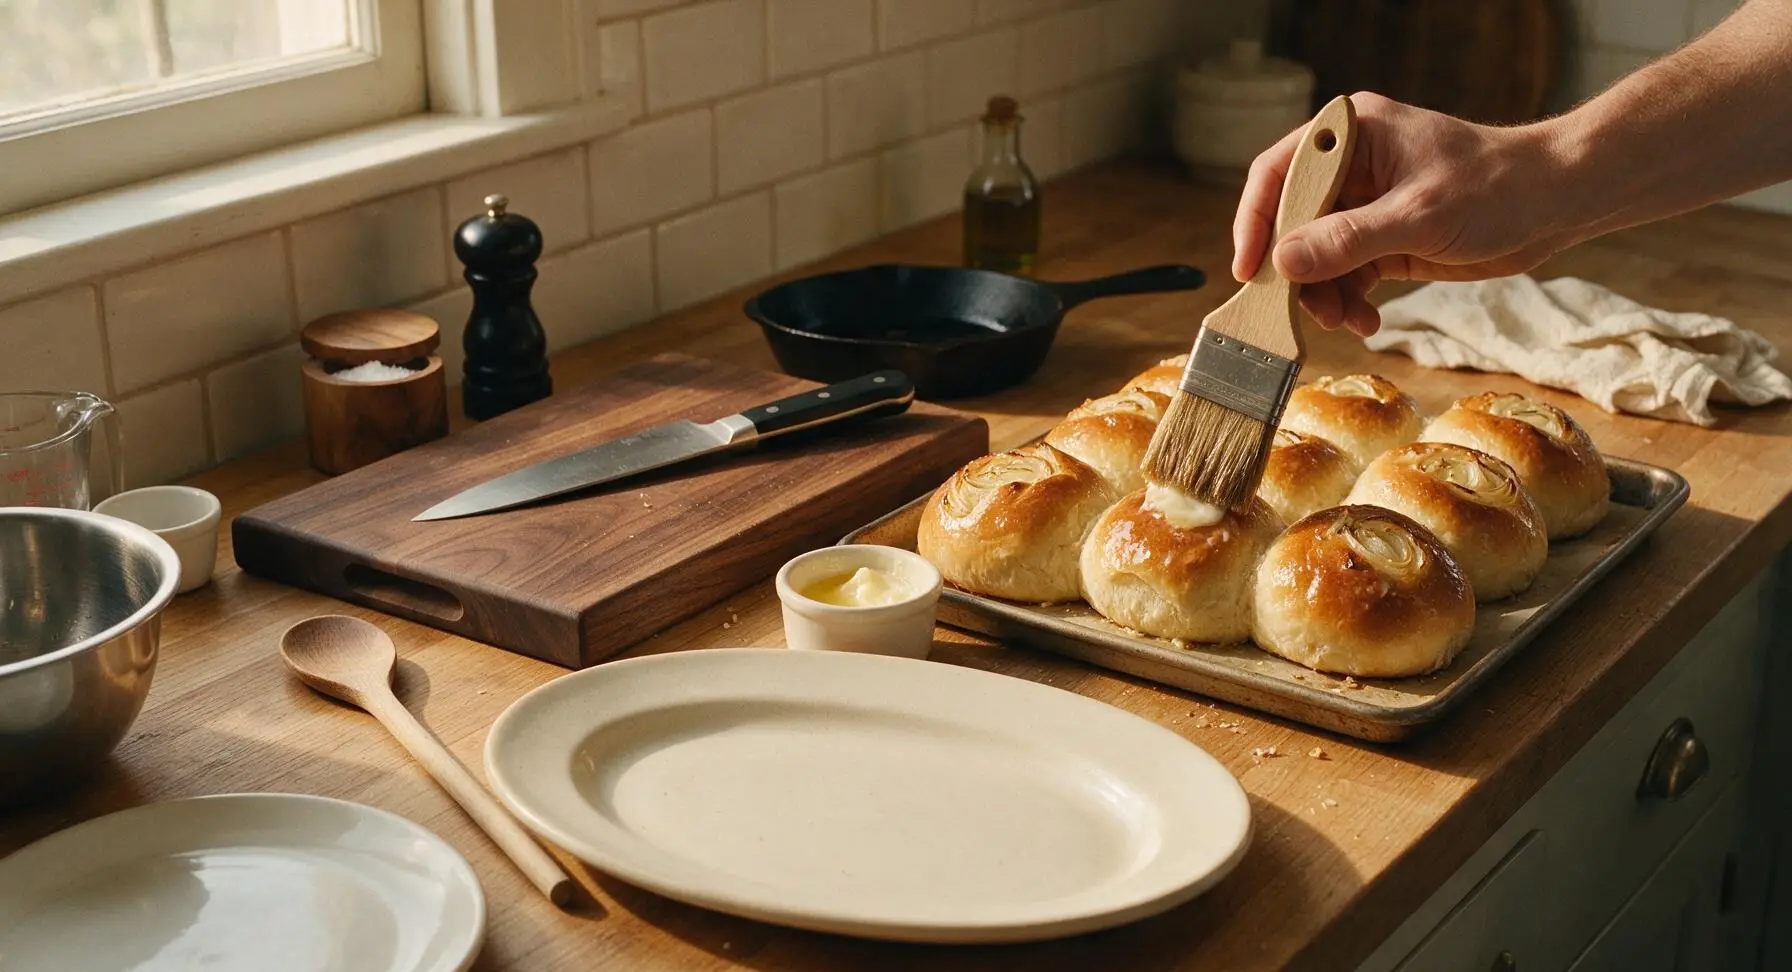
Melt the remaining 1 tablespoon of unsalted butter in the small cream ramekin. Use the boar bristle pastry brush to brush the tops of the hot rolls immediately after removing them from the oven, coating the crust lightly with melted butter for a soft, glossy finish. Transfer the rolls to the cream ceramic serving platter, and serve warm.
Step 8
step8:Butter and Serve Warm

Tips

1.Always confirm yeast activity before mixing dough: If the warm milk, sugar, and yeast mixture does not form a thick, bubbly froth after 7 minutes, your yeast is inactive (likely expired or killed by too-hot milk) and will not produce light, risen rolls – replace it with a fresh packet to avoid wasted ingredients.
2.Avoid adding excess flour during kneading: The dough will feel slightly sticky when first turned out of the bowl, but over-flouring will result in tough, dense rolls instead of the soft, pillowy crumb that defines classic deli onion rolls; use only a light dusting on your hands and board as needed.
3.Let baked rolls rest for 5 minutes after brushing with butter before serving: The interior crumb continues to set during this short rest, so biting into a roll immediately out of the oven will cause the soft inside to compress and turn dense, rather than pulling apart in light, fluffy layers.


✨ You May Also Like

Desserts & Baking
🍜 Italy

Creamy, coffee-kissed classic Northern Italian no-bake dessert, with layers of rum-spiked mascarpone cream, soft ladyfingers, and a rich cocoa dusting.

⏱️ 4 hours 3Desserts & Baking ★ 4.7
Desserts & Baking
🍜 France

Flaky, shatteringly crisp, buttery French croissants with golden exteriors and soft, airy layered interiors, perfect for pairing with coffee for a special morning treat.

⏱️ 12 hours Desserts & Baking ★ 4.5
Desserts & Baking
🍜 United States

Warm, spiced baked apples topped with a fluffy golden biscuit crust, this cozy dessert pairs perfectly with vanilla ice cream for cool-weather comfort.

⏱️ 55 minuteDesserts & Baking ★ 4.6
Desserts & Baking
🍜 United States

A star-spangled classic American blueberry pie with buttery flaky crust and bright sweet-tart filling, perfect for summer patriotic gatherings.

⏱️ 1 hour 25Desserts & Baking ★ 4.7
Desserts & Baking
🍜 United States

A beloved no-bake regional Maine candy with a chewy coconut-potato center coated in rich dark chocolate, a New England holiday staple since the 1870s.

⏱️ 2 hours 3Desserts & Baking ★ 4.8
Desserts & Baking
🍜 France

Luxuriously creamy, floral frozen custard made with aromatic Tahitian vanilla beans, boasting a smooth, rich texture that melts slowly on the tongue.

⏱️ 3 hours 3Desserts & Baking ★ 4.5

Onion Rolls:Frequently Asked Questions

1.Can I use a different type of onion instead of yellow onions for these rolls? ▾
Yellow onions are ideal here because their natural sugar content caramelizes to that perfect sweet, savory depth classic deli rolls are known for. You can swap in sweet Vidalia onions for an even milder, sweeter bite, but avoid red or white onions—red adds a sharp, bitter note when cooked low and slow, and white onions lack that rich caramelized depth.
2.How do I keep my caramelized onions from turning out burnt or mushy for the rolls? ▾
Cook thinly sliced yellow onions low and slow over medium-low heat with a pat of unsalted butter, stirring every 3-4 minutes for 20-25 minutes, until deep golden and jammy, not crispy or charred. Resist cranking the heat to speed this up—high heat burns onion sugars before they develop rich flavor, leaving bitter bits in your finished rolls.
3.My active dry yeast didn’t foam when I proofed it—can I still use it for these rolls? ▾
If your active dry yeast doesn’t get foamy and bubbly after 5-10 minutes in warm (105-110°F) whole milk with a pinch of granulated sugar, it’s dead, and you shouldn’t use it. Dead yeast won’t make your rolls rise, leaving dense, heavy buns instead of that soft, pillowy deli texture. Toss it, grab a fresh packet, and re-proof to avoid wasted ingredients.
4.Can I use low-fat or skim milk instead of whole milk for this recipe? ▾
Whole milk gives these rolls their signature tender, rich crumb and soft golden crust, so it’s the best pick. If you only have 2% milk, use it but add 1 tablespoon of melted unsalted butter per cup of milk to make up for missing fat. Skim milk produces drier, less flavorful rolls that don’t stay soft long after baking, so I don’t recommend it.
5.Do I have to add the granulated sugar, or can I leave it out for less sweet rolls? ▾
Don’t skip the granulated sugar entirely! It serves two key purposes: it feeds the active dry yeast to help your rolls rise properly, and it balances the savoriness of caramelized onions and butter. The small amount called for won’t make rolls taste sweet—it just amplifies classic deli roll flavor and helps the crust develop that perfect light golden bake.
6.How do I get that super soft, pillowy crumb classic deli onion rolls are known for? ▾
First, don’t overwork your dough—knead it just until smooth and elastic, about 8 minutes by hand or 5 minutes in a stand mixer. Second, let dough rise in a warm, draft-free spot until it doubles fully, no rushing that step. Finally, brush baked rolls with melted unsalted butter right out of the oven, and cover with a clean towel as they cool to lock in moisture.
7.Can I make these onion rolls ahead of time for a party or weekly meal prep? ▾
Absolutely! Once baked and fully cooled, store rolls in an airtight container at room temperature for up to 3 days, or freeze them wrapped tightly in plastic wrap and foil for up to 3 months. To refresh, thaw frozen rolls at room temp, then warm in a 350°F oven for 5 minutes, and brush with a tiny bit of melted butter to bring back fresh-baked softness.
8.Why did my rolls turn out dense instead of light and fluffy when I tested the recipe? ▾
Dense rolls almost always trace back to one of three common missteps: dead yeast that didn’t leaven the dough, insufficient rise time where the dough didn’t double before shaping or baking, or too much extra flour dusted in during kneading that weighed the dough down. Stick to measured flour amounts, confirm yeast is active, and give dough plenty of rise time for light, airy results.
9.Should I mix caramelized onions into the dough or sprinkle them on top of the rolls? ▾
For authentic deli-style rolls, mix ¾ of your cooled caramelized onions gently into the dough during the final minute of kneading, so they’re evenly distributed throughout the crumb. Sprinkle the remaining ¼ of onions on top right before baking, pressing lightly so they stick—this gives you onion flavor in every bite, plus toasty, sweet onion bits on the crust.
10.Can I use instant yeast instead of active dry yeast for this recipe? ▾
Yes, you can swap instant yeast for active dry yeast with a simple adjustment. Use 25% less instant yeast than the called-for amount of active dry yeast, and you don’t need to proof it in warm milk and sugar first—mix it directly in with dry ingredients. Your rise times may be 10-15 minutes shorter, so keep an eye on dough to make sure it doubles as expected.
11.What temperature should my whole milk be to properly proof active dry yeast? ▾
Heat your whole milk to between 105°F and 110°F for proofing active dry yeast—this is the sweet spot where yeast activates without getting killed. If milk is colder than 100°F, yeast won’t wake up, and if it’s hotter than 115°F, it will kill the yeast, leaving dough that never rises. Use a quick-read thermometer to take the guesswork out if you have one.
12.Can I use salted butter instead of unsalted butter in these rolls? ▾
You can use salted butter if that’s what you have on hand, just cut any added salt in the recipe by ¼ teaspoon per stick of salted butter you use. Unsalted butter lets you control the exact salt level to balance sweet caramelized onions and yeast dough, so it’s my preferred pick, but the swap works seamlessly as long as you adjust salt to avoid overly salty rolls.
13.How long do I need to let the dough rise for the best possible texture? ▾
Plan for two rises for that perfect deli texture: first, let mixed, kneaded dough rise in a warm, draft-free spot for 1 to 1.5 hours, until it doubles in size and springs back slowly when poked with a finger. After shaping individual rolls, let them rise a second time for 30 to 45 minutes, until puffy and touching on the baking sheet before baking.
14.Are these rolls sturdy enough to use for hearty deli sandwiches, like pastrami or turkey? ▾
That’s exactly what they’re designed for! These rolls have a soft but sturdy crumb that holds up to hearty fillings like sliced pastrami, roast turkey, melted cheese, and condiments without getting soggy or falling apart. They’re also perfect for dipping into soup, or enjoyed warm with a slather of salted butter for a simple, satisfying snack.
15.Why do I need to let caramelized onions cool before adding them to the dough? ▾
Always let your caramelized onions cool to room temperature before mixing them into dough, for two key reasons. First, hot onions can kill the active dry yeast in your dough, which will stop rolls from rising properly. Second, hot onions will melt dough butter too early, leading to a greasy, uneven crumb instead of that soft, evenly textured roll we want.
16.Can I make these rolls in a bread machine instead of mixing and kneading by hand? ▾
Absolutely! Add your wet ingredients (warm milk, melted butter, proofed yeast, sugar) first to the bread machine pan, then top with dry ingredients, and run the standard dough cycle. Add cooled caramelized onions during the last 5 minutes of the knead cycle so they distribute evenly, then shape rolls, do the second rise, and bake as directed.
17.How do I keep the onion rolls soft for days after baking? ▾
As soon as you pull baked rolls out of the oven, brush tops with melted unsalted butter, then cover the pan with a clean kitchen towel while they cool to trap steam and keep the crust soft. Once fully cool, store them in a sealed airtight container at room temperature, never in the fridge—cold fridge air dries out bread fast, leading to stale rolls quicker.

Comments (20)

2 days ago

OMG these taste exactly like the onion rolls from my favorite Jewish deli back in Brooklyn! I was so worried they’d be too much work for a weeknight, but the 20 minute cook time is no joke. I brought a batch to my office potluck yesterday and people were begging for the recipe. Total game changer.

1 day ago

Wait did you use regular yellow onions or the sweet Vidalia ones the recipe mentions? I’m making these this weekend for my family’s cookout and don’t wanna mess it up!

20 hours ago

So glad these brought back good deli memories for you! For anyone wondering, sweet Vidalia onions work best for that classic mild, caramelized onion flavor, but yellow onions work great too if that’s what you have on hand.

3 days ago

Tried these last night for burger night and WOW. The onion flavor is so perfectly balanced, not overpowering at all. My 7 and 9 year old ate two each and asked if we can have them every week. Only note is I added a little extra flaky salt on top before baking, no regrets.

2 days ago

Love the flaky salt addition! That’s such a great trick to add a little extra crunch and savoriness, we might have to add that tip to the recipe notes. So happy your kids enjoyed them!

1 week ago

I’ve been trying to nail deli-style onion rolls for YEARS and this is the first recipe that got the texture exactly right. Soft and fluffy inside, slightly chewy crust, just the right amount of onion. I did let the dough rise a little longer than the recipe said because my kitchen is cold this time of year, and that worked perfectly.

5 days ago

Thanks for the tip about the extra rise time! My apartment is always freezing in the winter so I would’ve totally pulled them out too early otherwise.

5 days ago

Solid recipe, but I will say it’s a little more hands-on than I expected for a medium difficulty rating. Don’t get me wrong, the end result is delicious, but set aside extra time if you’re a new bread baker like me. I burned the first batch because I got distracted helping my kid with homework, oops. Second batch came out perfect though!

1 week ago

Made these for meal prep this week to use for breakfast sandwiches and they are SO good. I split them, toasted them, added egg, cheese, and a little sausage, and it’s better than any fast food breakfast sandwich I’ve ever had. Will be making these on repeat for sure.

6 days ago

Oh my gosh breakfast sandwiches with these sound insane! Do they hold up well in the fridge for a few days or do you freeze them?

5 days ago

What a fantastic meal prep idea! These rolls stay fresh in an airtight container in the fridge for up to 4 days, or you can freeze them for up to 3 months. Just thaw and toast for best results.

2 weeks ago

These were a hit at my neighborhood block party! I made a double batch and they were gone in 15 minutes flat. People kept asking if I bought them from the local deli down the street, I felt so proud. 10/10, will make again.

2 weeks ago

That’s the highest compliment there is! Nothing beats hearing that people thought your homemade rolls were from a professional deli. So glad they were a hit at the block party.

3 days ago

Pretty good! I think I skimped a little on the onion topping because I was worried it would be too strong, and they were a little bland for my taste. Next time I’ll load up the topping like the recipe says. The texture was spot on though, super fluffy.

2 days ago

I made the same mistake my first time! Pile those onions on, they cook down so much in the oven they don’t taste overpowering at all, I promise.

yesterday

I’ve made a lot of bread recipes from this site and this one is top tier. The cook time is exactly 20 minutes like it says, no guesswork. I paired them with some homemade pastrami for a DIY deli night with my buddies and we all ate way too many. Worth every calorie.

1 week ago

I’ve been making onion rolls for over 40 years and I have to say, this recipe is better than mine! The trick with the poppy seeds in the onion topping? *Chef’s kiss.* I made these for Sunday dinner with my grandkids and even my pickiest eater asked for seconds.

5 days ago

Wait I almost skipped the poppy seeds! I’m so glad you mentioned that, I would’ve missed the best part. Gonna add them in right now before I pop my tray in the oven.

4 days ago

Grandma Ellie, that is the highest praise we could possibly ask for! The poppy seeds add such a nice little nutty crunch and depth of flavor, we’re so glad you loved that touch. Hope those grandkids keep asking for seconds!

2 days ago

Meh. These were fine, but I was expecting something a little more flavorful. I followed the recipe exactly, but they just tasted like plain dinner rolls with a tiny bit of onion on top. Maybe I’ll add some onion powder to the dough next time to amp up the flavor.

1 day ago

We’re sorry these didn’t hit the flavor mark for you! Adding a teaspoon of onion powder to the dough is a great hack for extra onion flavor, and you can also toss the onions in a little garlic powder before adding them to the top for an extra kick. Hope that helps for next time!

2 weeks ago

Game. Changer. I used to buy those sad frozen onion rolls from the grocery store for my sandwich shop meal prep, but never again. These are fresher, tastier, and way cheaper to make at home. The medium difficulty rating is fair, you do have to pay attention while you’re making the dough, but it’s totally doable even if you don’t bake a ton.

1 week ago

How do these hold up if you make them ahead for sandwiches? Do they get soggy if you fill them the night before?

1 week ago

I let them cool completely before storing, and they hold up great! I wait to fill them until the morning I’m taking them for lunch, and they’re perfect, no sogginess at all.

2 hours ago

Just pulled these out of the oven and my whole house smells like a deli! I’m making them to go with my mom’s famous potato soup for dinner tonight, and I already know it’s gonna be the perfect comfort food meal. Can’t wait to dig in.

5 days ago

I made these gluten free by swapping in my favorite 1:1 GF flour blend and they came out INCREDIBLE. I was so worried the texture would be off, but they were just as soft and fluffy as the regular version. My roommate who eats gluten ate three and didn’t even notice they were GF. Win!

3 days ago

OH thank you for posting this! I’m gluten intolerant and have been craving onion rolls so bad, I was worried I wouldn’t be able to make this recipe work. What flour blend did you use?

2 days ago

We love seeing these gluten free swaps! Thanks so much for sharing what worked for you, it’s so helpful for other folks with dietary restrictions who want to give these rolls a try.

3 days ago

Solid recipe, super straightforward. I messed up the first rise because my yeast was expired (rookie move, I know) but once I grabbed fresh yeast, the dough puffed up perfectly. The 20 minute cook time was dead on, no burnt bottoms, no raw centers. Great recipe.

2 days ago

We’ve all been there with expired yeast, no shame! So glad you grabbed a fresh batch and gave it another shot, happy they turned out for you.

5 days ago

My wife has been begging me to make homemade onion rolls ever since we had them on our trip to NYC last summer, and these absolutely delivered. She said they’re better than the ones we had at the deli we went to in Manhattan. I’m officially the favorite husband this week, thanks for the recipe!

5 days ago

Aww that’s so sweet! My partner is from Queens and is super picky about his onion rolls, I’m gonna have to make these for him to earn some major points too.

30 minutes ago

These are good, but definitely medium difficulty, don’t go into this thinking it’s a quick no-fuss recipe if you’re new to working with yeast. I had to watch a quick video on how to knead dough properly because I kept overworking it, but once I got the hang of it, the end result was delicious. Just give yourself grace if you’re a beginner!

yesterday

I brought these to my book club potluck last night and everyone went crazy for them! I served them with a little whipped cream cheese on the side for dipping and it was chef’s kiss. The only change I made was adding a little dried minced onion to the dough itself for extra onion punch, and that worked so well.

10 hours ago

Whipped cream cheese dip? Why have I never thought of that? That sounds like the perfect appetizer, I’m stealing that for my game night this weekend.

5 hours ago

The whipped cream cheese serving idea is genius! We love that you added extra minced onion to the dough too, that’s such an easy way to amp up that classic onion flavor. So glad your book club loved them!

2 hours ago

I’m not gonna lie, I was intimidated by the medium difficulty rating, but these were way easier to make than I thought! The instructions are super clear and step by step, so I never felt lost. My rolls came out golden brown and perfect on the first try, even though I’m a total bread baking newbie. So proud of myself!

30 minutes ago

That makes us so happy to hear! We work hard to make our instructions as clear and easy to follow as possible, even for folks who are brand new to baking bread. Congrats on nailing the first batch!

5 minutes ago

Made these for my dad’s birthday dinner because he loves deli food, and he said they’re better than the ones his mom used to make. That’s the highest review I could ever get. The recipe is easy to follow, the cook time is accurate, and the flavor is out of this world. 10/10, no notes.

just now

I made these to go with my homemade brisket for Sunday dinner and they were the perfect side. The slight sweetness of the roll paired so well with the smoky brisket, I can’t wait to make them again for our next family dinner. My only tip is to make a double batch, because they disappear fast.



