1.Why does this recipe call for Dutch-processed cocoa powder instead of natural cocoa?
▾
Great question! Dutch-processed cocoa is alkalized to cut the sharp, tangy notes of natural cocoa, delivering that deep, smooth, mildly bitter chocolate flavor and dark, uniform color that matches classic Oreo wafers. If you only have natural cocoa, add 1/8 tsp baking soda per 1/4 cup cocoa to balance acidity, though the flavor will be slightly brighter.
2.Do I really need to use room temperature butter for both the dough and the filling?
▾
Absolutely! Cold butter won’t cream evenly with granulated sugar for the wafer dough, leading to dense, tough cookies instead of crisp, snappy ones. For the vanilla creme filling, room temperature butter mixes smoothly with powdered sugar without lumps, creating that silky, spreadable texture that doesn’t squish out when you bite into the cookie.
3.Why is granulated sugar used for the wafers but powdered sugar for the creme filling?
▾
Great catch! Granulated sugar creates the right crisp, snappy structure in the baked chocolate wafers as it melts and sets during baking and cooling. Powdered sugar has a tiny amount of cornstarch and ultra-fine texture, which makes the creme filling smooth, not grainy, and helps it hold its shape between wafers without oozing.
4.How thin should I roll the chocolate wafer dough to get that classic Oreo crispness?
▾
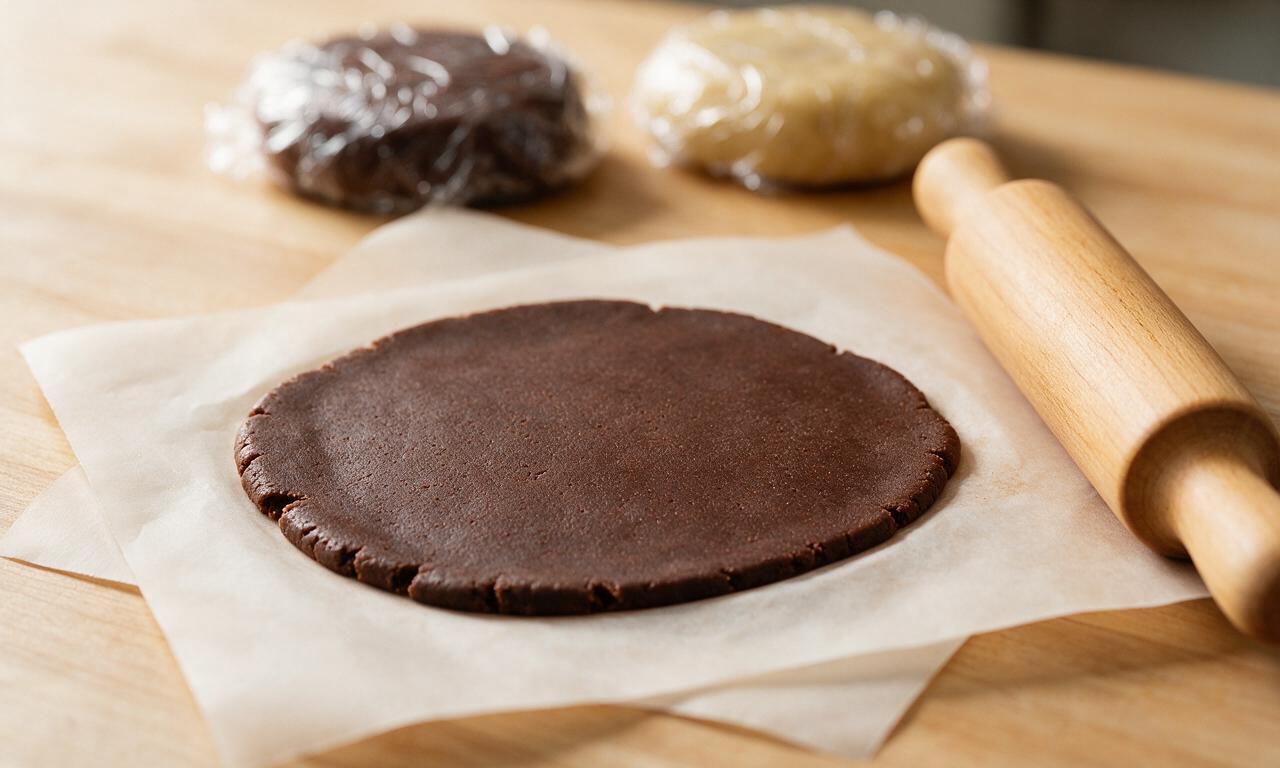
Aim for a uniform 1/8-inch thickness when rolling the chilled dough. Any thicker, and your wafers will be soft and cakey instead of snappy; any thinner, and they’ll burn easily around the edges before the center sets. I recommend rolling between two sheets of parchment paper to prevent sticking and keep thickness even across every cutout.
5.Do I need to chill the wafer dough before baking, and if so, for how long?
▾
Yes, don’t skip this step! Chill the rolled, cut wafer dough for at least 30 minutes (or up to 3 days, tightly wrapped) before baking. Chilling solidifies the butter in the dough, so the wafers hold their sharp round shape instead of spreading flat in the oven, and it helps deepen the rich cocoa flavor as the ingredients rest.
6.My chocolate wafers came out soft instead of crisp—what did I do wrong?
▾
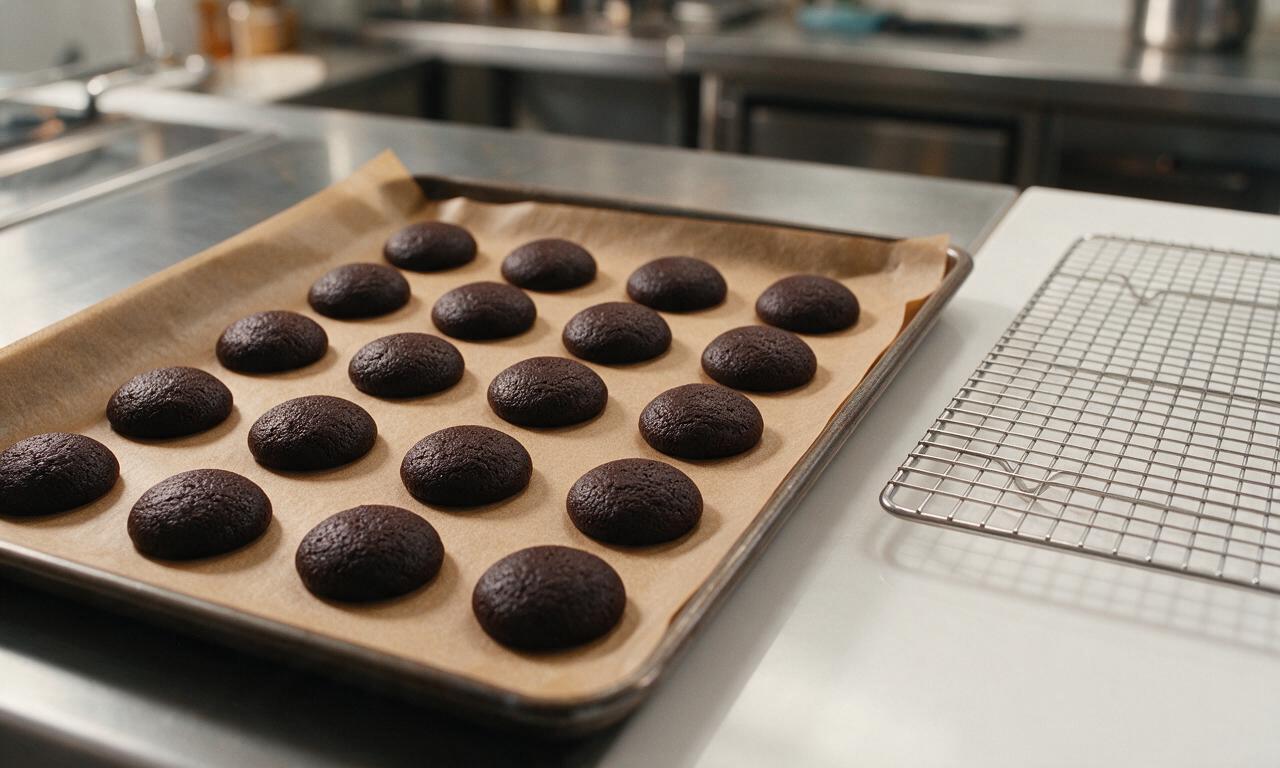
Most likely, you either rolled the dough too thick, underbaked the wafers, or didn’t let them cool fully. Wafers will feel slightly soft right out of the oven, but they crisp up as they cool on the pan for 5 minutes before moving to a rack. If they’re still soft after cooling, pop them back in a 300°F oven for 3-4 minutes to dry out.
7.Can I use all-purpose flour for this recipe, or do I need cake flour for tender wafers?
▾
All-purpose flour is exactly what this recipe is designed for, no specialty flour required! Its moderate protein content creates wafers that are crisp and snappy without being tough or crumbly. Cake flour would make wafers too tender and delicate to hold up to the thick creme filling, so stick with standard AP flour for the most authentic texture.
8.How do I get my creme filling perfectly smooth with no lumps?
▾
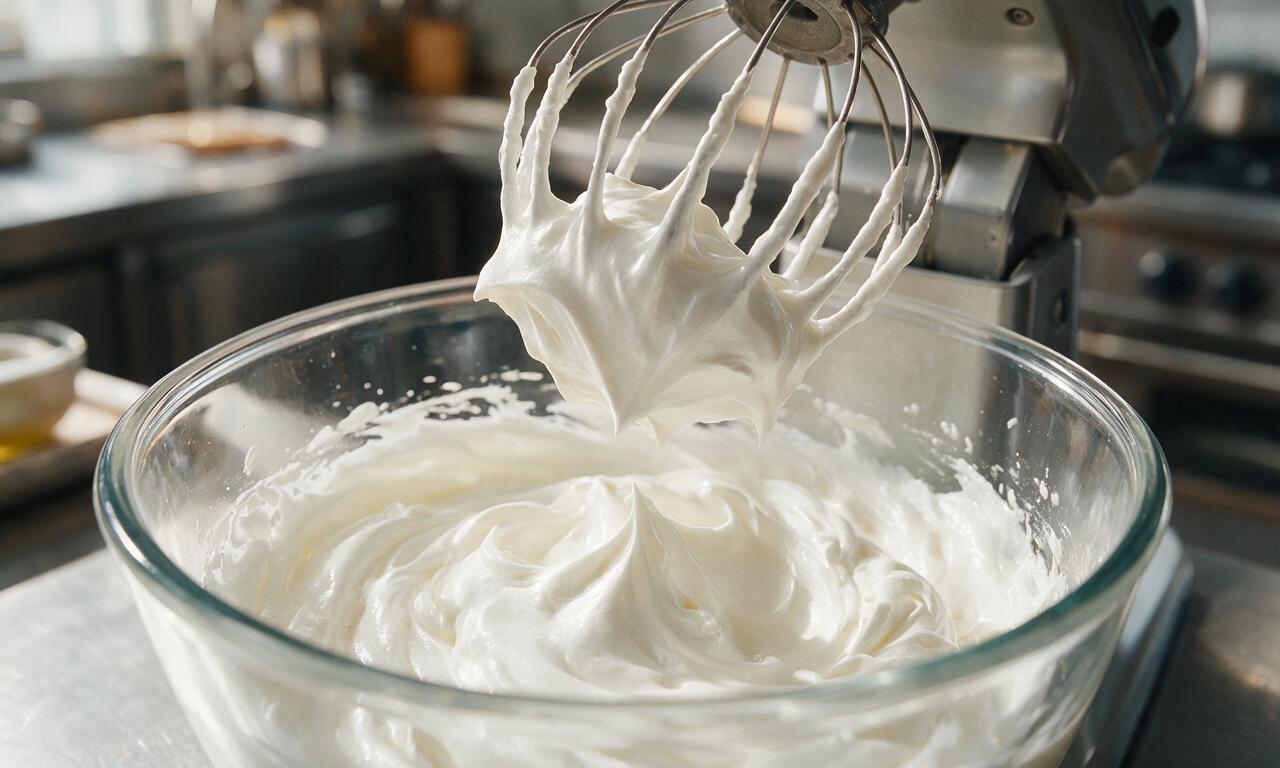
Start with truly room temperature unsalted butter—if it’s even slightly cold, it will leave tiny butter lumps no matter how long you mix. Beat the butter on its own for 2 full minutes until it’s pale and fluffy before sifting in powdered sugar gradually, mixing on low first then medium to beat out any remaining lumps for that iconic silky creme.
9.How much filling should I add between two wafers to get the classic Oreo ratio?
▾
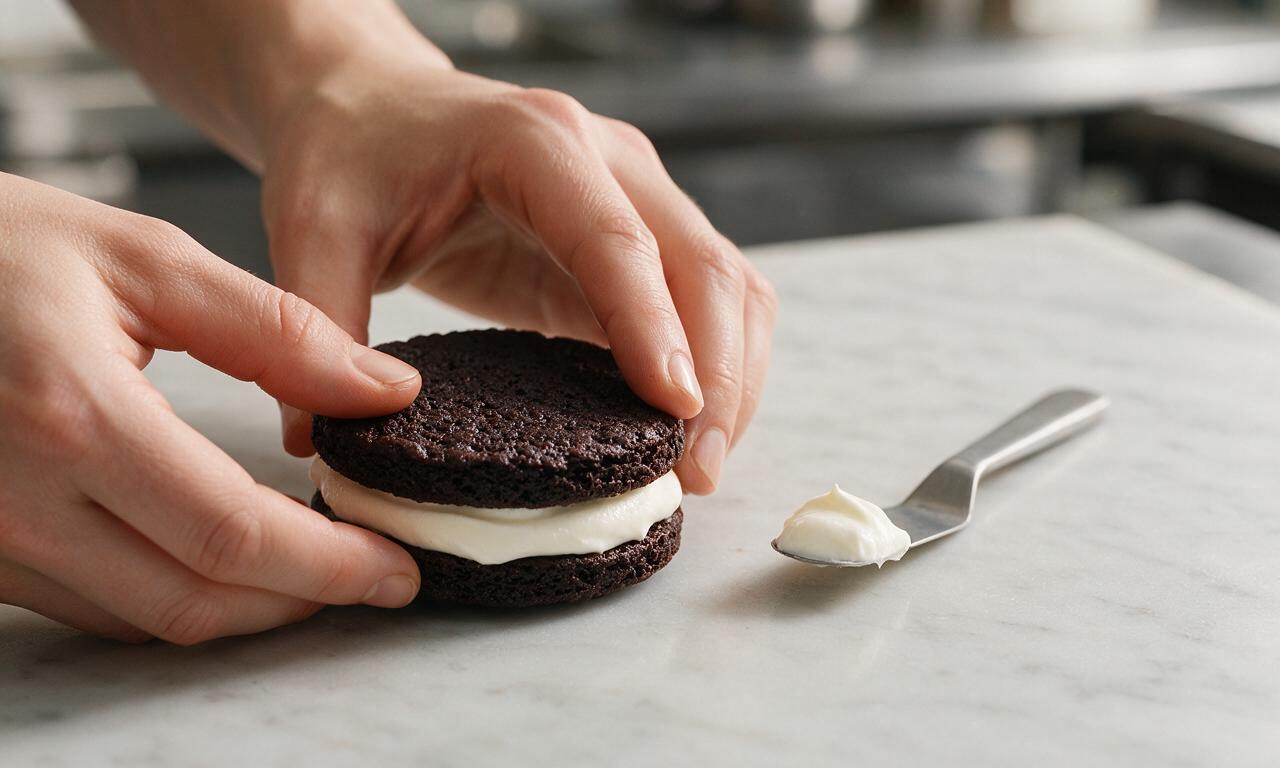
For that perfect cookie-to-creme balance that matches the original, use about 1 tablespoon of creme per sandwich. Scoop the creme into the center of one flat wafer, then press a second wafer down evenly until the creme spreads to just 1/8 inch from the edge. Don’t overfill, or creme will squish out the sides when you take a bite.
10.Can I make these cookies nut-free for school lunches?
▾
Absolutely! This base recipe has no inherent nut ingredients, as long as you use standard, cross-contamination-free all-purpose flour, cocoa, butter, and sugars. Double-check labels on your cocoa and powdered sugar to confirm they’re not processed on shared equipment with tree nuts or peanuts if baking for someone with a severe nut allergy.
11.How long do these homemade Oreos stay fresh, and how should I store them?
▾
Stored in an airtight container at room temperature, away from direct heat or sunlight, these cookies will stay crisp and delicious for up to 1 week. Don’t refrigerate them, as condensation from the fridge will make the chocolate wafers go soft. Stack them between small parchment squares to prevent sticking if your filling is extra soft.
12.Why did my wafer dough crack when I tried to roll it out?
▾
That usually happens if the dough is too cold, or if you didn’t mix it long enough to come together into a uniform ball. If it’s cracking from being chilled, let it sit at room temperature for 5-10 minutes to soften slightly before rolling. If it’s crumbly right after mixing, knead it gently for 30 seconds to work the butter in until it holds together.
13.Can I add mix-ins to the creme filling, like mint extract or peanut butter?
▾
Of course! The classic vanilla creme is a perfect blank canvas. For mint Oreos, add 1/4 tsp peppermint extract (and a drop of green food coloring, if you want) when mixing the filling. For peanut butter creme, swap 2 tbsp of the butter for creamy no-stir peanut butter to keep the filling firm enough to hold its shape between wafers.
14.Do I need a special cookie cutter to make the iconic round Oreo shape?
▾
Not at all! A standard 2-inch round cookie cutter works perfectly to match the size of original Oreos. If you don’t have a cookie cutter, use the clean rim of a small drinking glass dipped in cocoa powder to prevent sticking as you cut out wafers. You can even use fluted cutters for a fun, homemade twist if you don’t mind straying from the classic shape.
15.Why do my wafers have uneven, splotchy color after baking?
▾
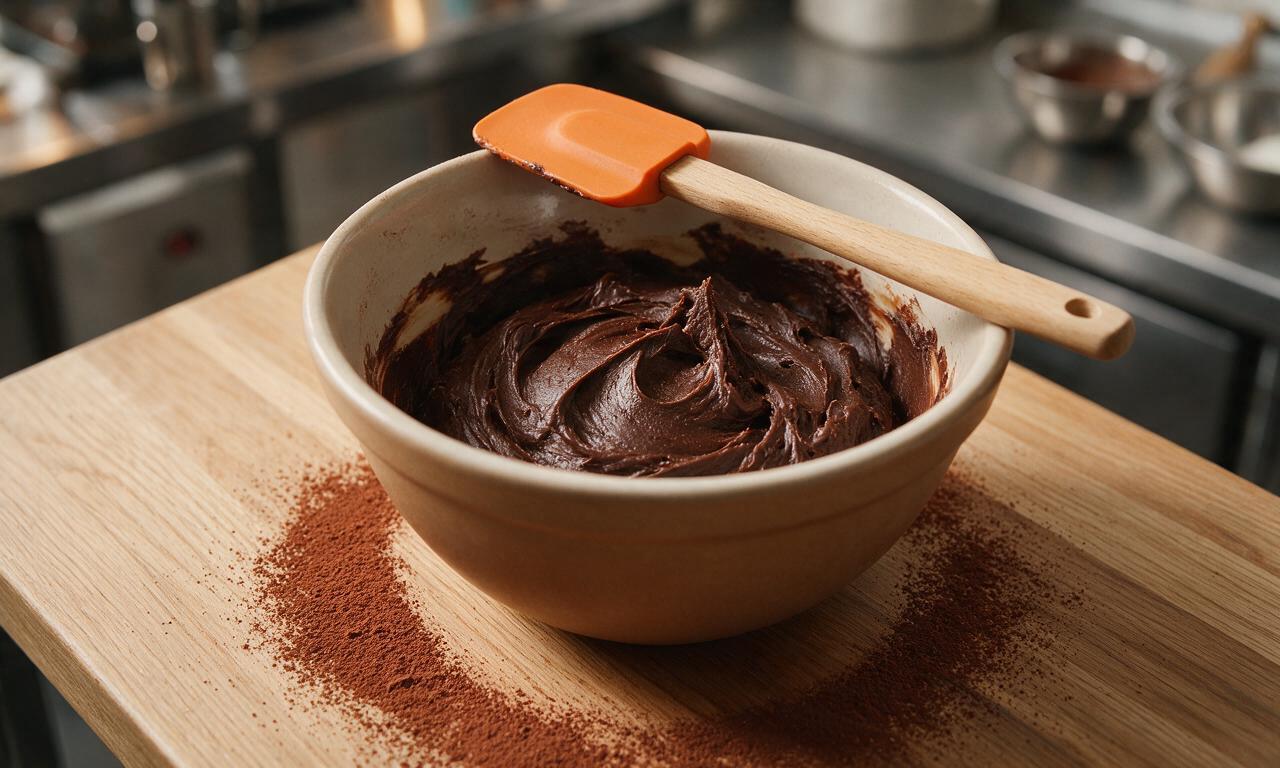
Splotchy color almost always comes from not mixing the Dutch-processed cocoa into the flour fully, or from unevenly sized butter pieces in the dough. To fix this, whisk your cocoa and all-purpose flour together for 30 seconds before adding to the butter-sugar mixture, and cream butter and sugar until fully uniform before adding dry ingredients.
16.Can I make these cookies gluten-free for a friend with celiac disease?
▾
Yes, you can easily swap the all-purpose flour for a 1:1 gluten-free all-purpose baking blend that contains xanthan gum. Make sure your Dutch-processed cocoa and powdered sugar are certified gluten-free to avoid cross-contamination. The texture will be nearly identical to original wafers, as the rich chocolate flavor masks subtle differences from gluten-free blends.
17.Should I use salted or unsalted butter for this recipe?
▾
Stick with unsalted butter for both the dough and filling, as the recipe specifies. Unsalted butter lets you control the exact amount of salt in the cookies—you’ll add a small pinch to both the wafer dough and filling to balance bitter cocoa and sweet sugar, without the variable salt content that comes with different brands of salted butter.
18.My creme filling is too runny to hold its shape—how do I fix it?
▾
Runny filling usually happens if your butter was too warm, or if you added too much vanilla extract to the mix. Pop the filling in the fridge for 10-15 minutes to firm up the butter, then beat in an extra 2-3 tbsp of sifted powdered sugar until it’s thick, spreadable, and holds a soft peak without dripping off a mixing spoon.

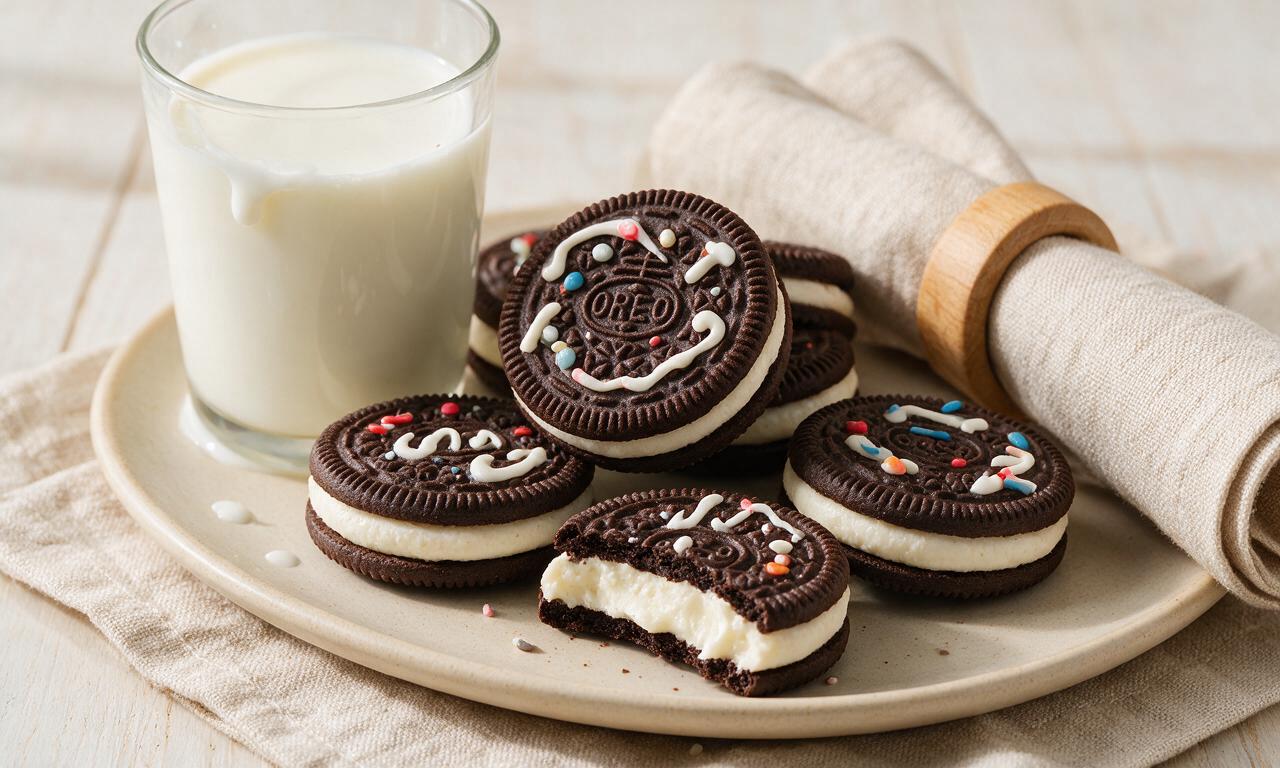
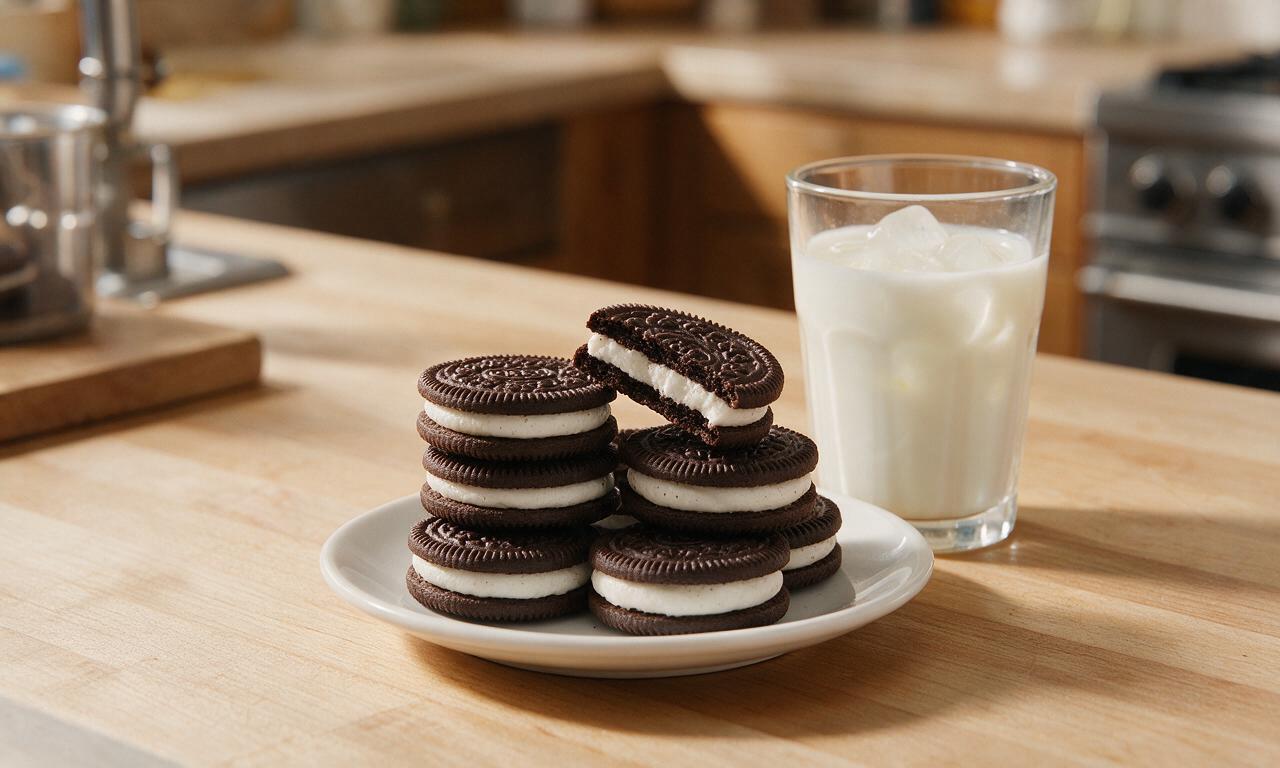






OMG these taste EXACTLY like the store-bought Oreos I grew up eating but even fresher! My kids devoured half the batch before I even finished filling the last dozen. Took these to our neighborhood potluck last weekend and everyone was begging for the recipe. Total game changer for our after-school snack rotation!
These came out SO good, but I will say the difficulty is a little higher than medium for total newbies like me! I rolled my dough a little too thick on the first batch so the cookies were more cakey than crisp, but once I got the hang of rolling them super thin they were perfect. The creme filling is dead on, no notes there.
Made these with vegan butter and dairy free cream for the filling last night and they turned out incredible! Even my non-vegan roommates said they were better than regular Oreos. 10/10 will be making these again for our next movie night.
I was skeptical homemade Oreos could live up to the hype but WOW. The dark cocoa cookie has that perfect slight bitter edge that balances the super sweet creme so well. I brought these to a work potluck and not a single cookie was left—my coworker even offered to pay me to make him a batch for his birthday!
Taste is great but I had such a hard time with the filling! It kept oozing out the sides when I pressed the cookies together, and it was way softer than the Oreo filling I remember. Did I do something wrong?
Made these with my 8 year old daughter for her school bake sale and we sold out in 20 minutes! We added a few extra sprinkles to the edge of the creme for fun and the kids went crazy for them. Such a fun weekend activity, 10/10 recipe.
I’ve tried three different homemade Oreo recipes before this one (most of them gluten free flops!) and this is by far the closest to the real thing, even when I swap in my go-to 1:1 GF flour! My only note is that the cook time listed felt a little long for my oven—my cookies were perfectly crisp at 11 minutes instead of 14, so definitely keep an eye on them the first time you make them.