
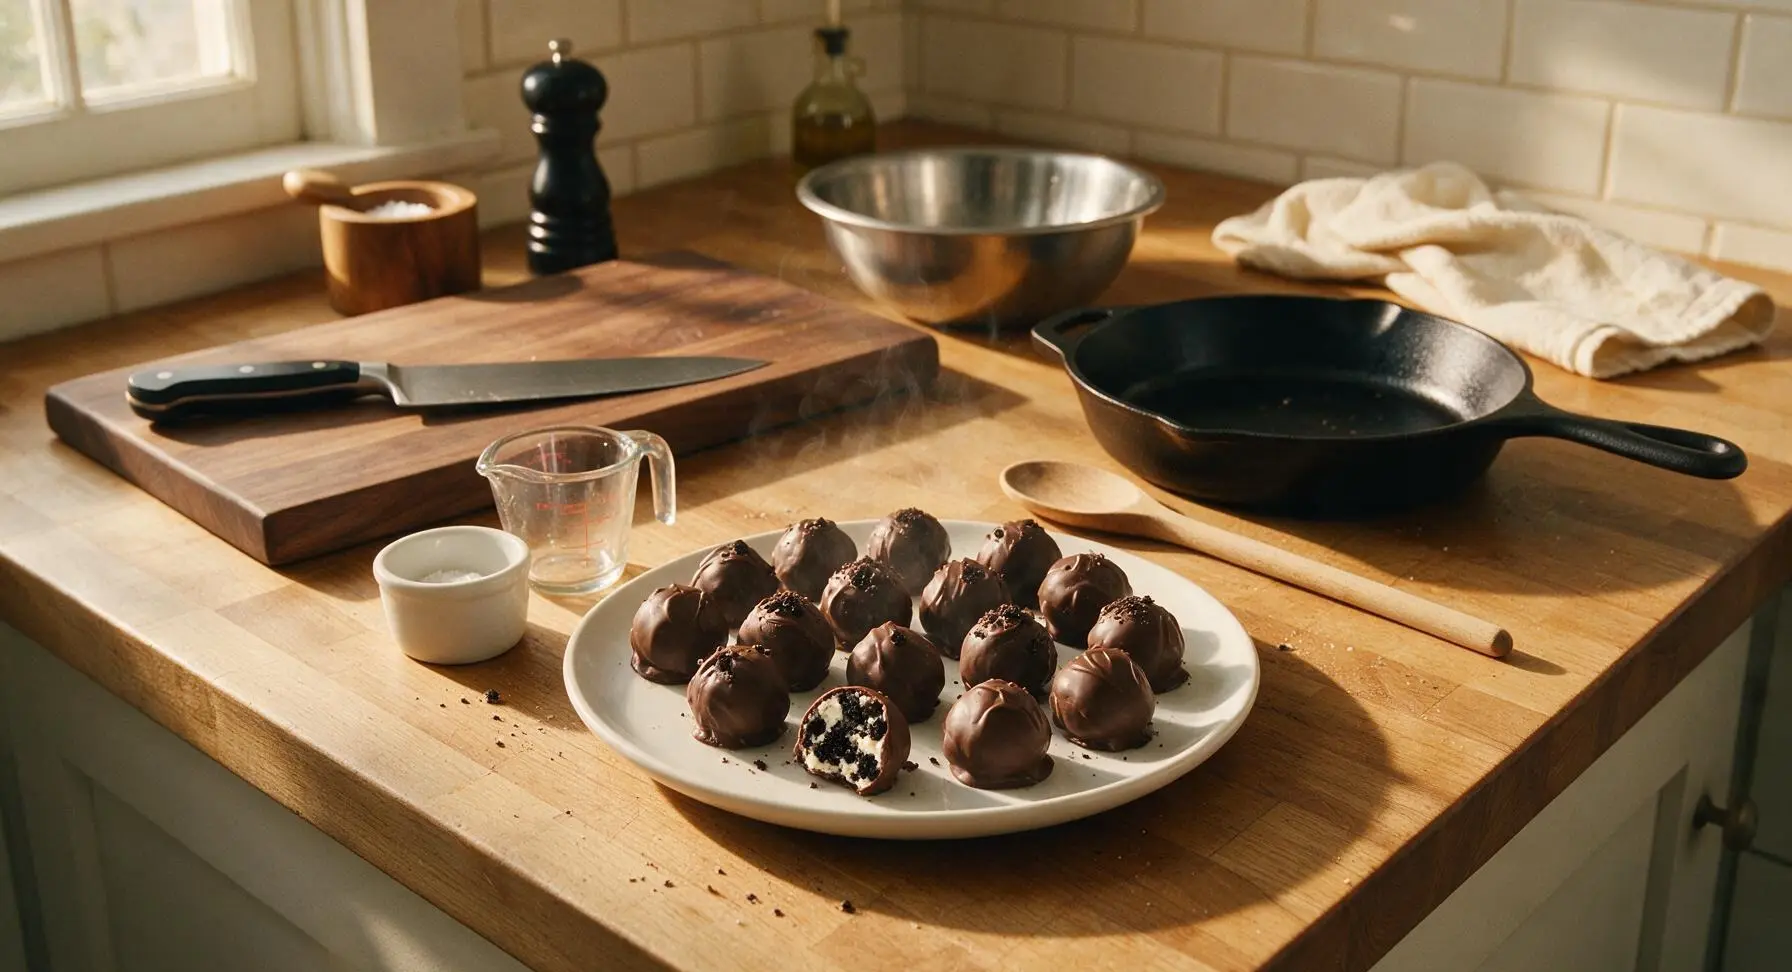
Oreo Cookie Balls

title 1
Oreo Cookie Balls
⏱️ cook time 0 minutes (1 hour total chilling time required)
🍽️ servings 24
⚡ Difficulty easy

intro

Rich, fudgy no-bake truffles made from crushed Oreos and cream cheese, enrobed in smooth semi-sweet chocolate, with a perfectly creamy, crumbly center.

Ingredients
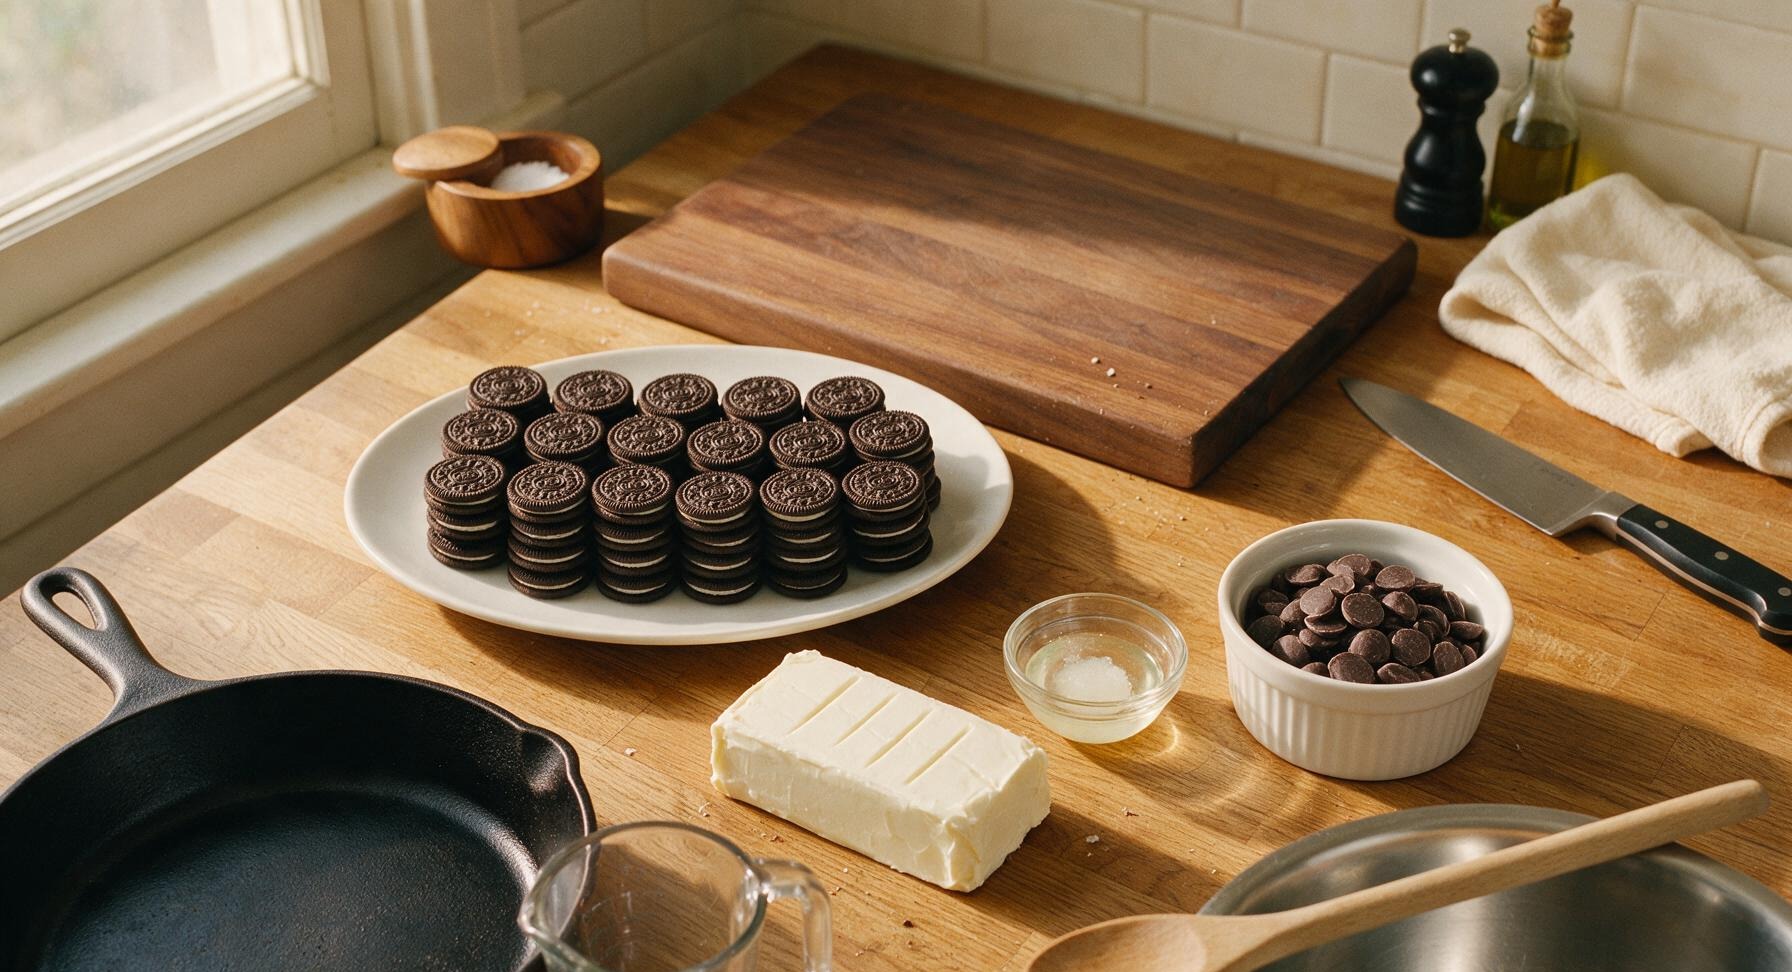
Original Oreo chocolate sandwich cookies 14.3 oz (36 cookies, 1 standard package)
Full-fat block cream cheese 8 oz (226g), softened to room temperature
Semi-sweet chocolate melting wafers 16 oz (454g)
Refined coconut oil (optional, for smoother coating) 1 tablespoon

Steps

1

Crush Oreo Cookies

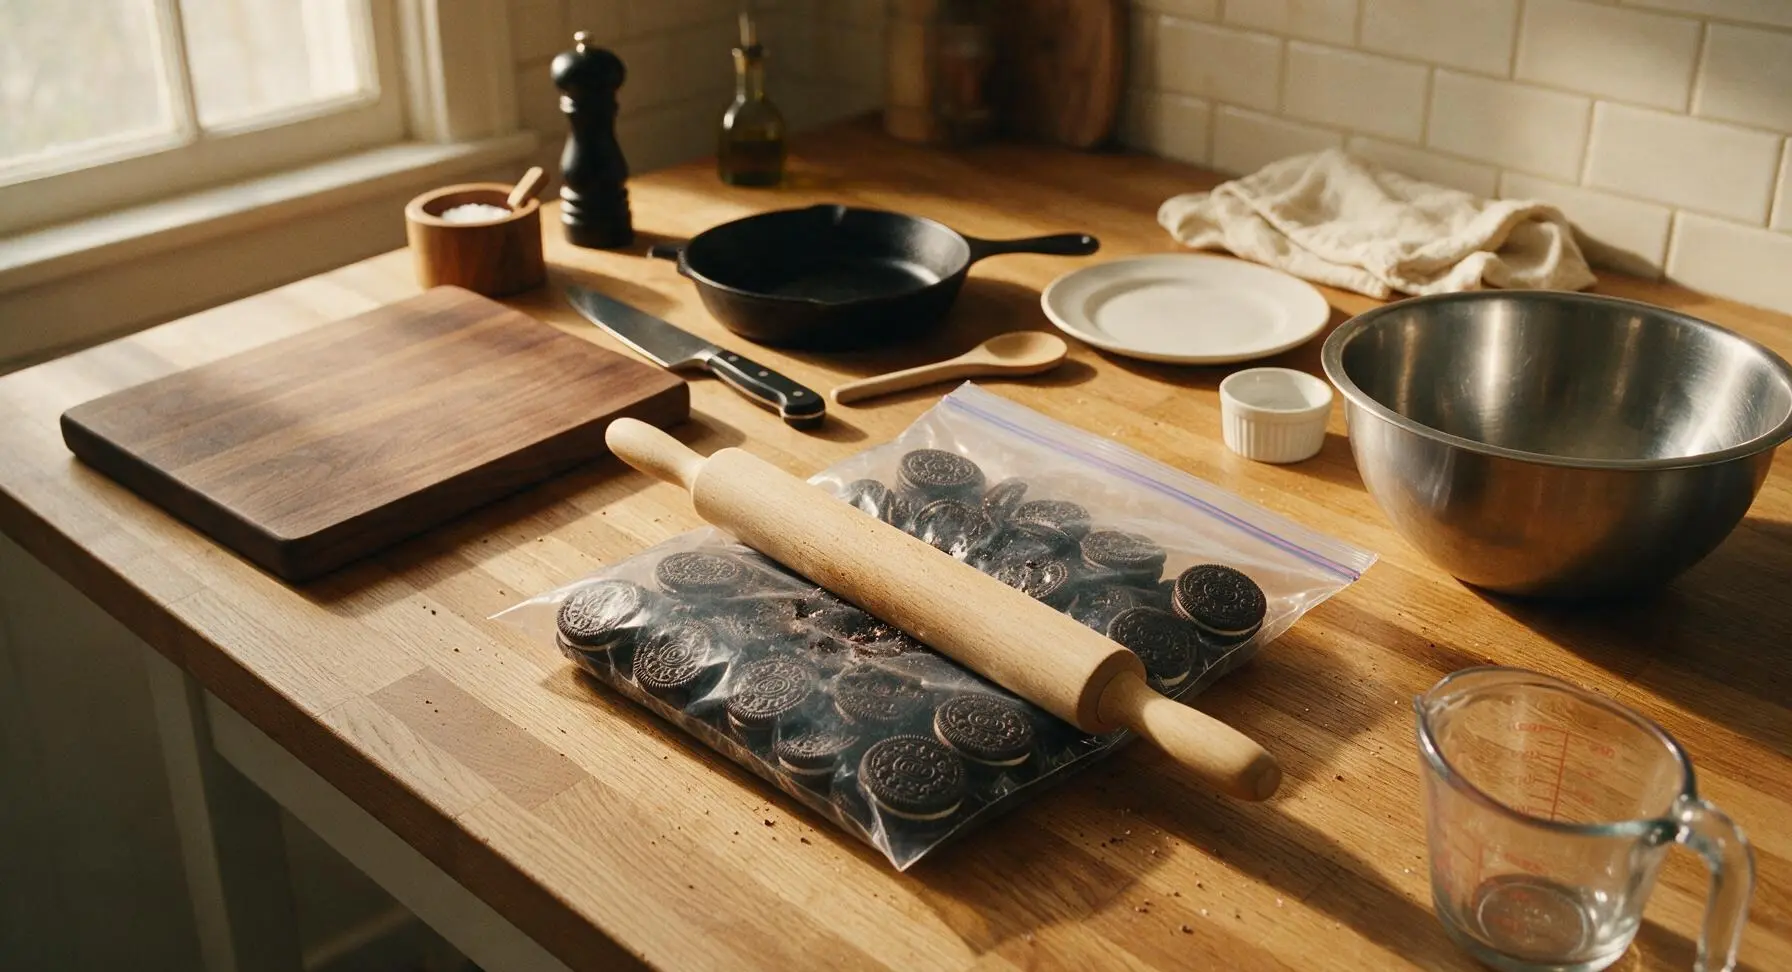
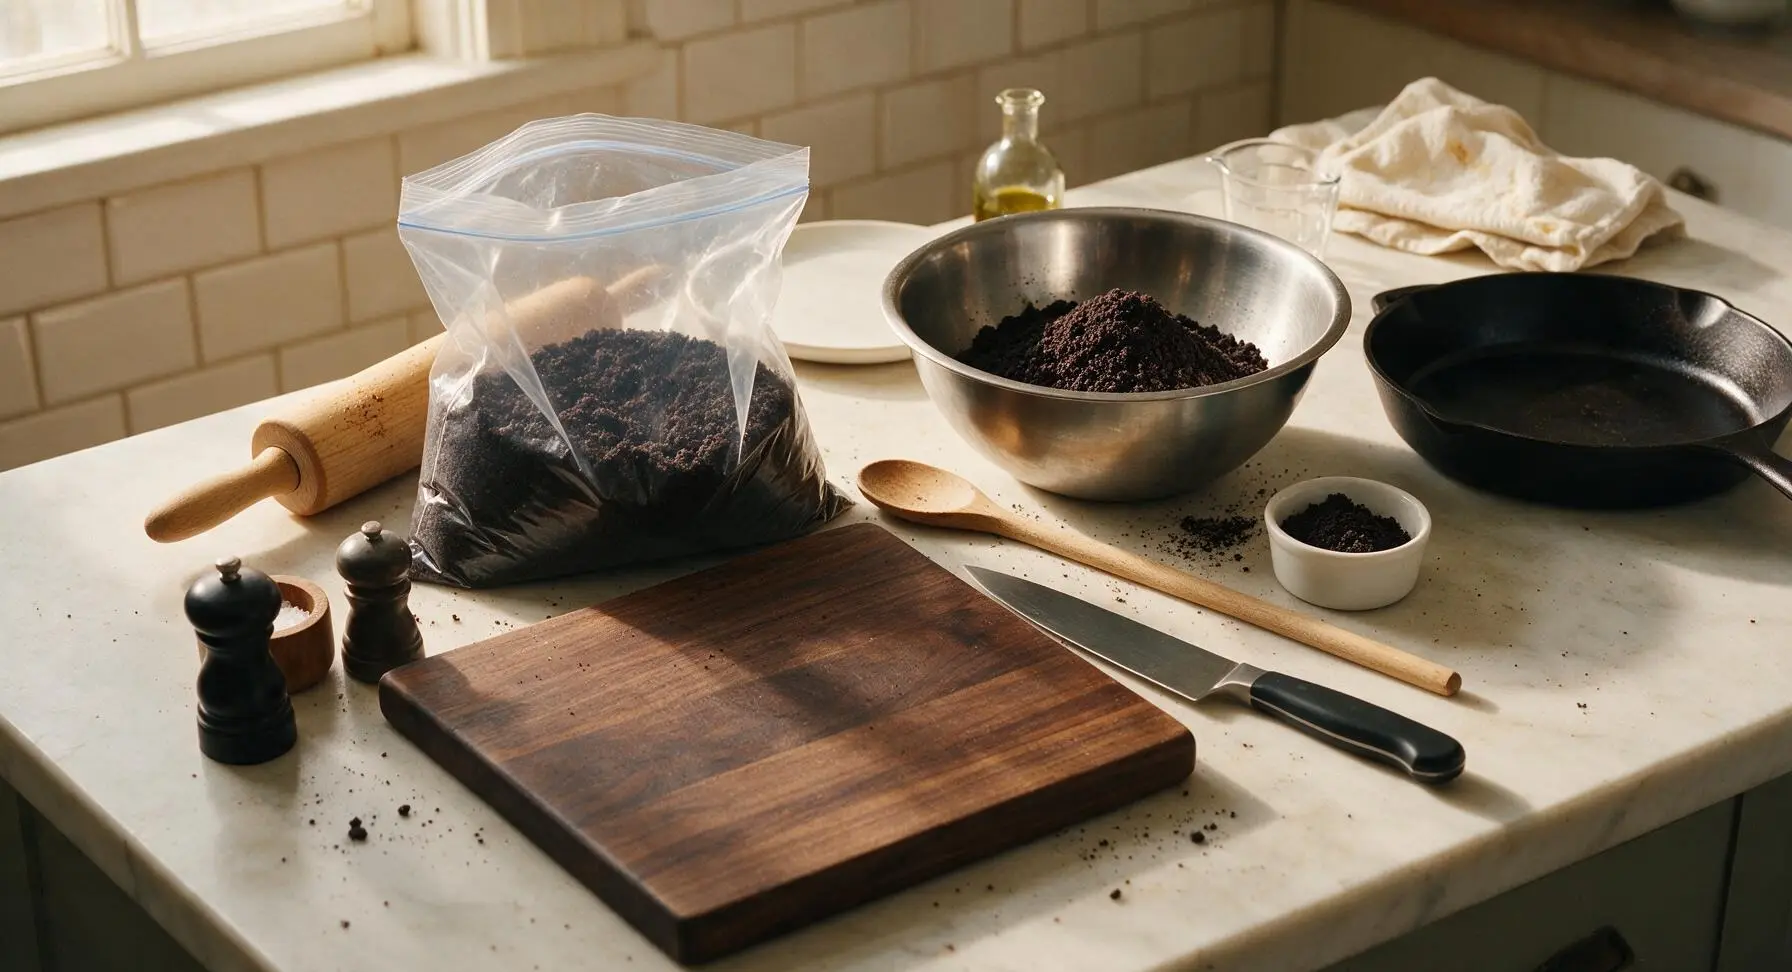
Place all 36 original Oreo cookies (do not scrape out the cream filling) into the 1-gallon clear zip-top bag, press out all excess air, and seal tightly. Use the beech wood rolling pin to firmly roll back and forth over the bag, crushing the cookies into fine, even crumbs with no chunks larger than a pea. Measure out 2 tablespoons of crumbs into the small glass ramekin to reserve for garnish, then pour the remaining crumbs into the large stainless steel mixing bowl.
Step 1
step1:Crush Oreo Cookies
Step 1
step1:Crush Oreo Cookies
2

Mix in Cream Cheese

Add the fully softened block of cream cheese to the stainless steel mixing bowl with the Oreo crumbs. Use the red-handled silicone spatula to fold, press, and stir the mixture for 2 to 3 minutes, until no white streaks of cream cheese remain. The finished mixture will be a uniform dark, fudgy texture that holds together firmly when squeezed between your fingers, similar to dense wet sand, with no dry crumb pockets.
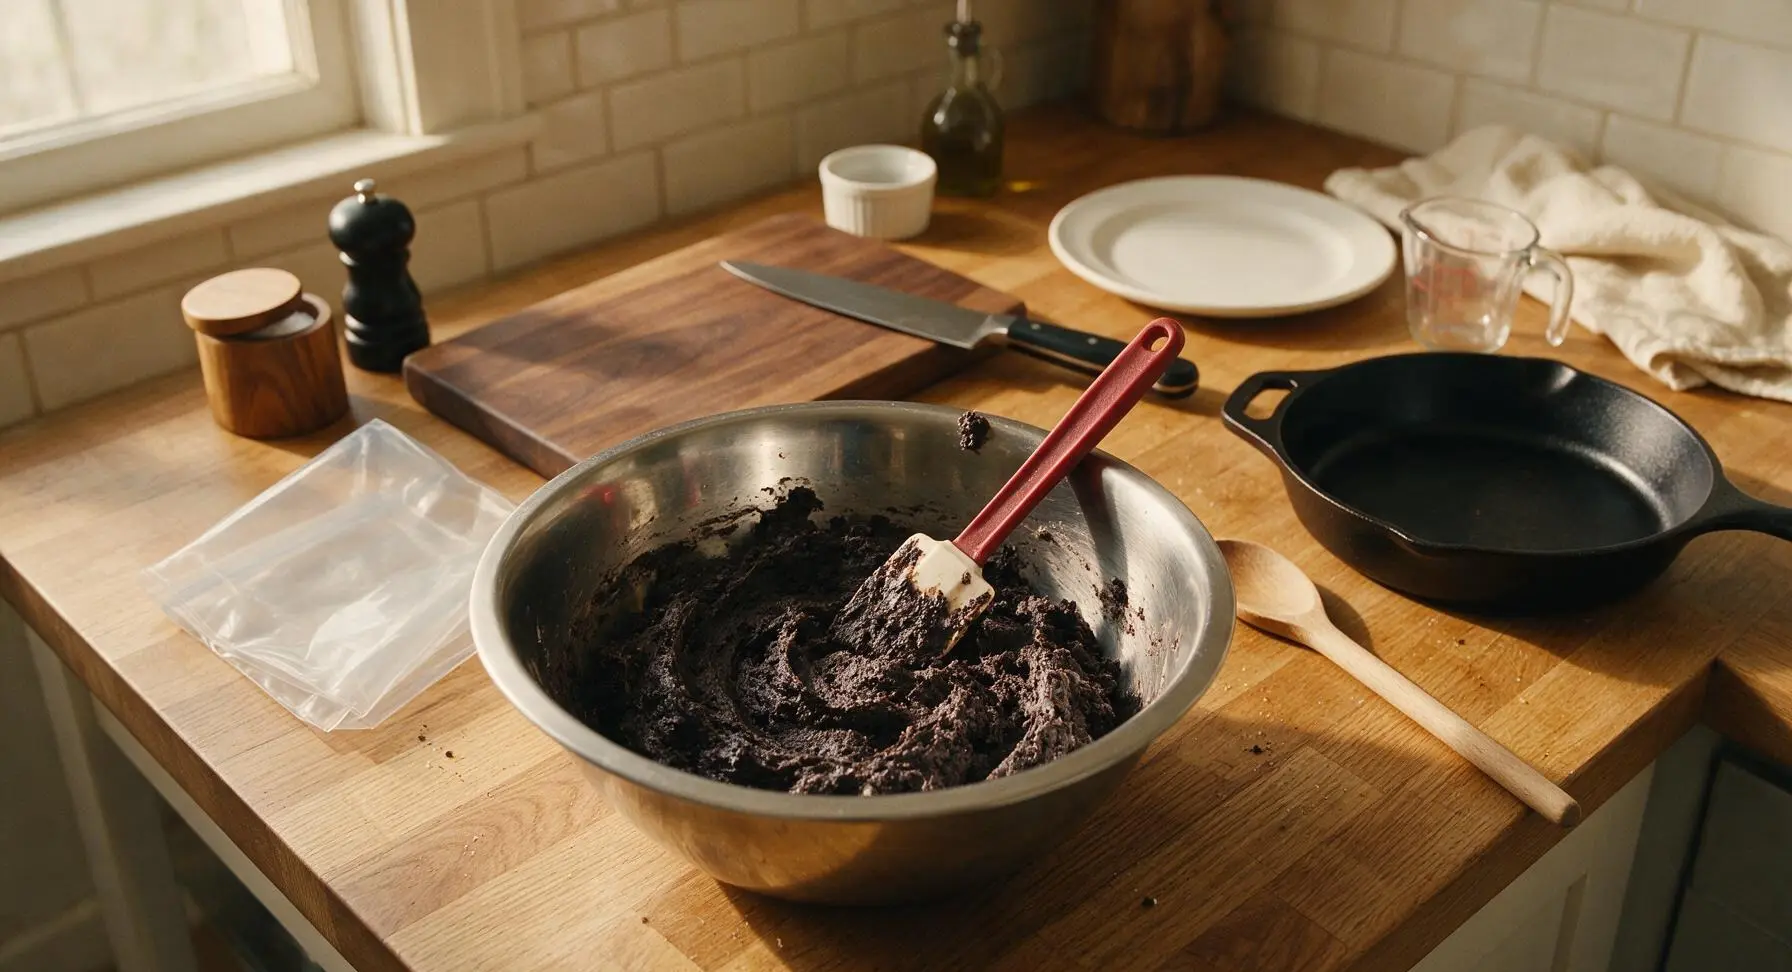
Step 2
step2:Mix in Cream Cheese
3

Portion Dough Balls

Use the 3cm spring-loaded stainless steel cookie scoop to portion level scoops of the Oreo mixture, rolling each scoop between clean, dry palms to form a smooth, tight 1-inch ball with no surface cracks. Set each rolled ball 1 inch apart on the parchment-lined aluminum baking sheet. You will yield 24 equal-sized balls total, which should hold their shape without slumping when set on the parchment.
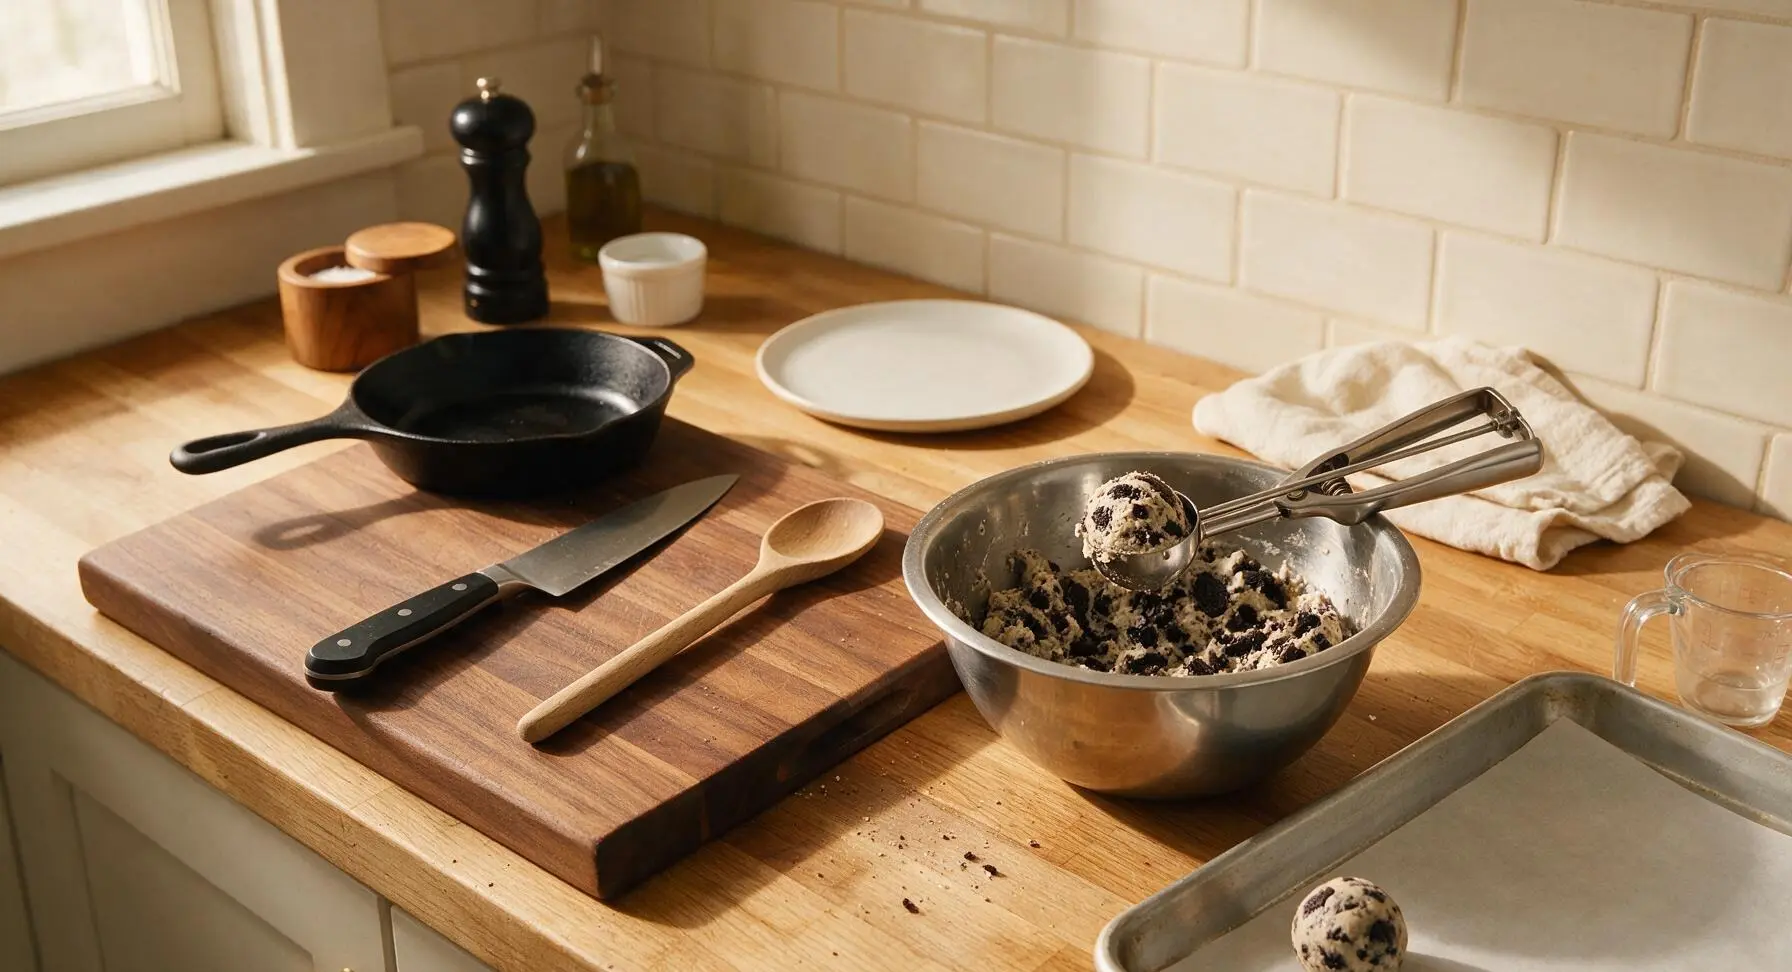
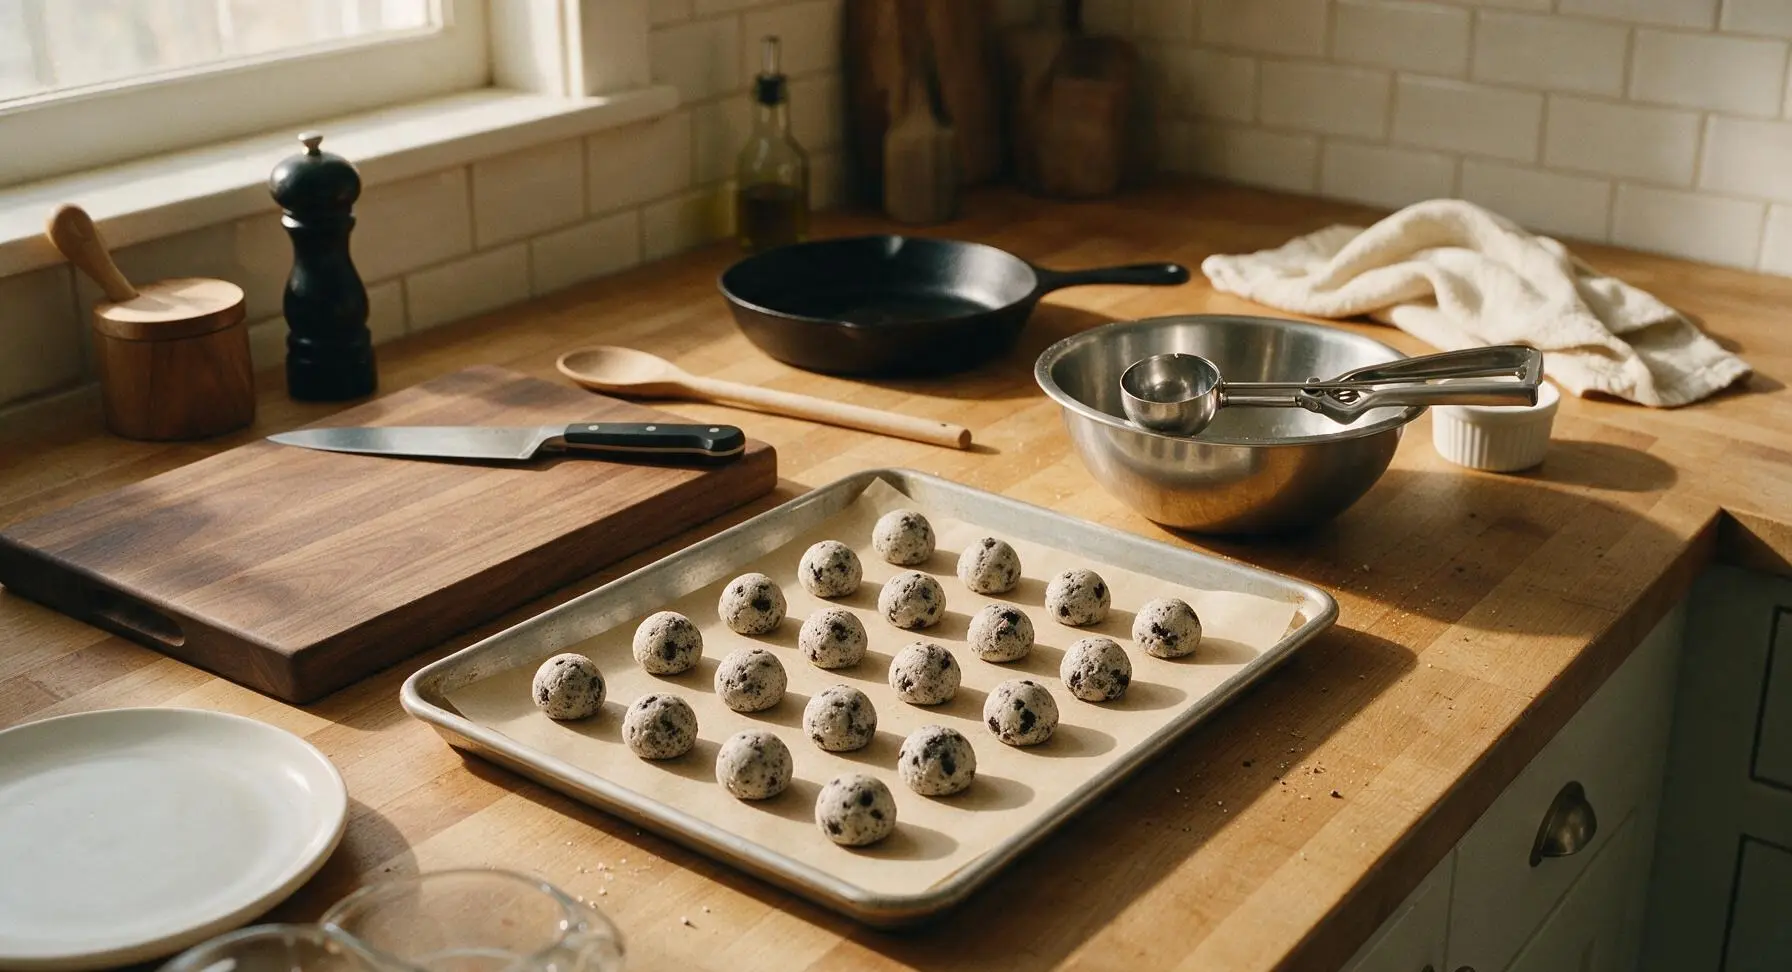
Step 3
step3:Portion Dough Balls
Step 3
step3:Portion Dough Balls
4

Chill Until Firm

Transfer the baking sheet of rolled Oreo balls to the refrigerator to chill for 30 minutes, until the balls are firm to the touch and do not indent when pressed lightly with a finger. Skipping this chill step will cause soft balls to fall apart or slide when dipped in warm chocolate.
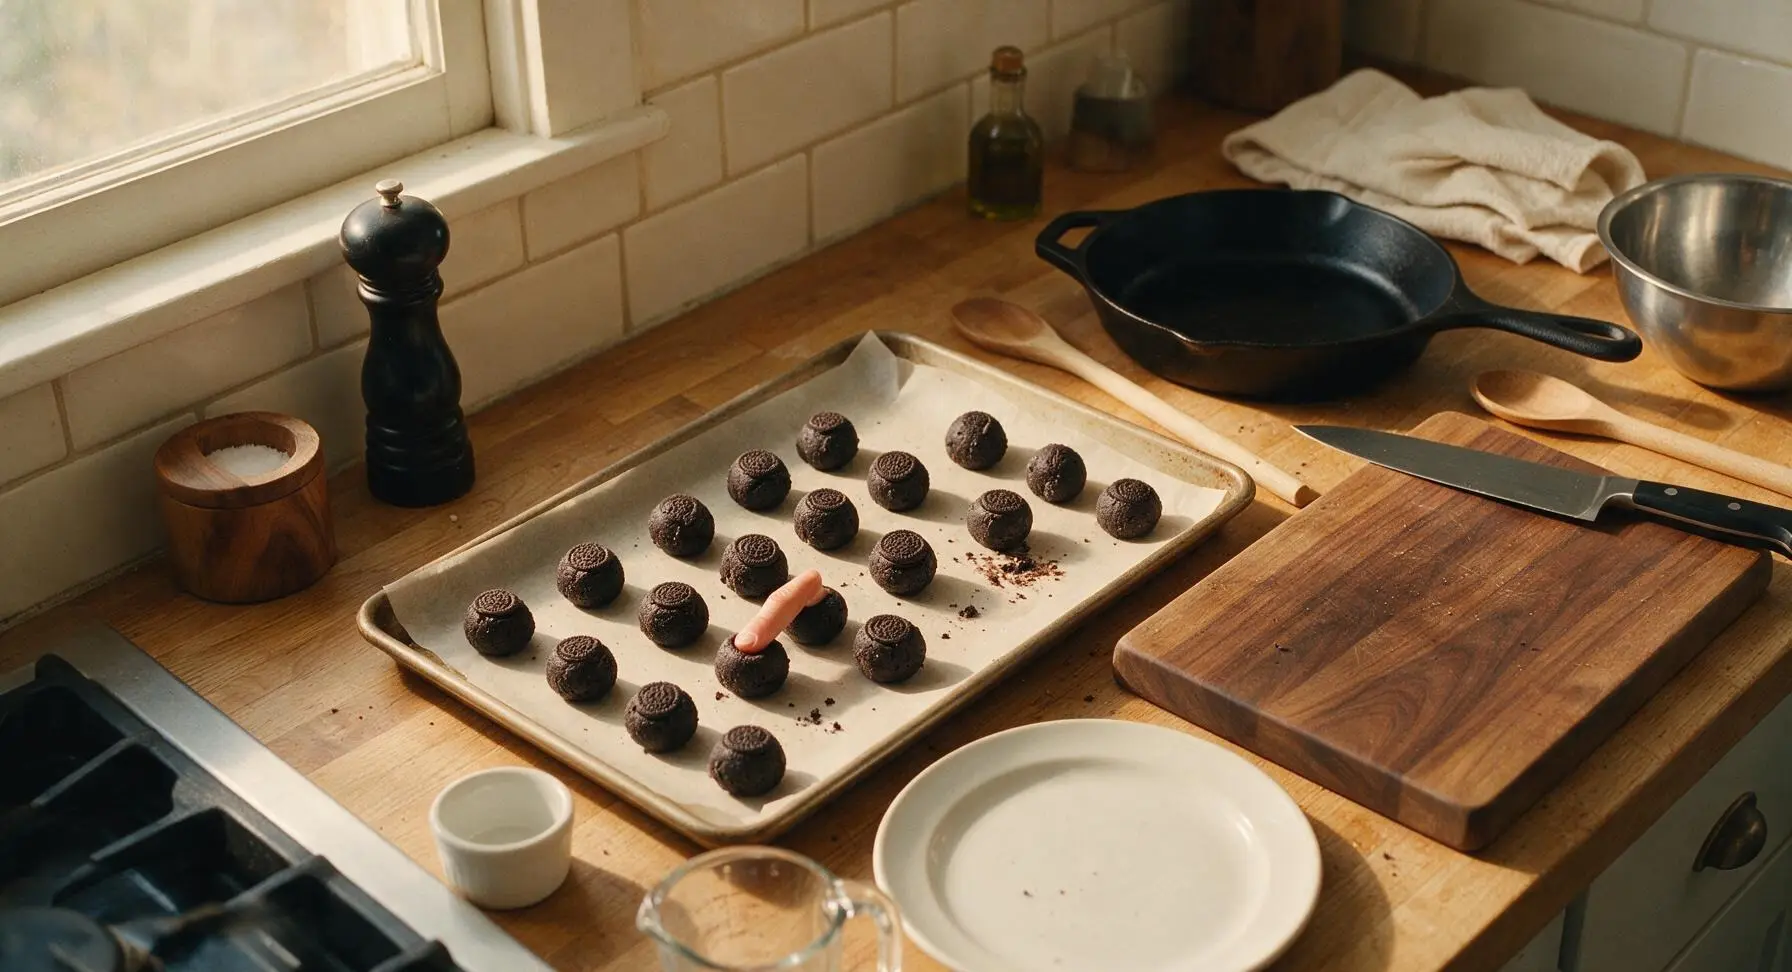
Step 4
step4:Chill Until Firm
5

Melt Chocolate Coating

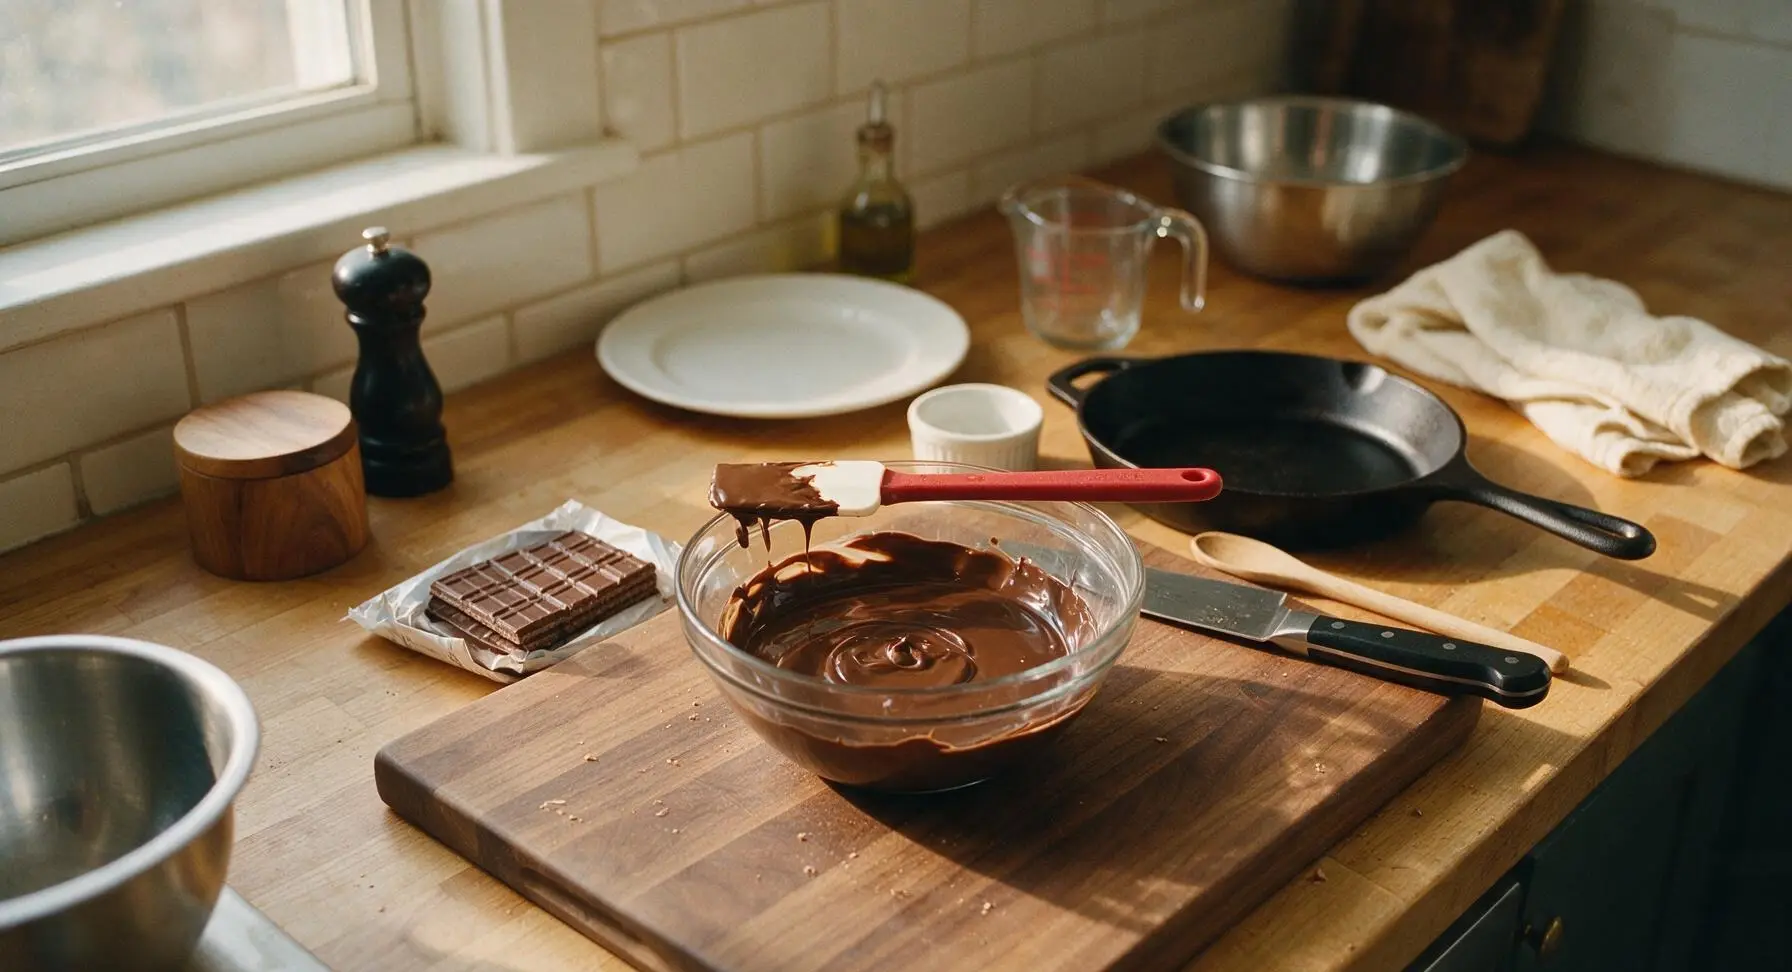
While the balls chill, place the semi-sweet chocolate melting wafers and optional coconut oil into the medium clear glass microwave-safe bowl. Microwave in 30-second bursts, stirring thoroughly with the silicone spatula between each burst, until the chocolate is completely smooth and fluid, with no remaining lumps. Total melting time is typically 1.5 to 2 minutes; do not overheat, as overheated chocolate will seize into a grainy, unusable paste. Finished melted chocolate will flow in a thin, smooth ribbon when lifted with the spatula.
Step 5
step5:Melt Chocolate Coating
6

Coat Balls in Chocolate

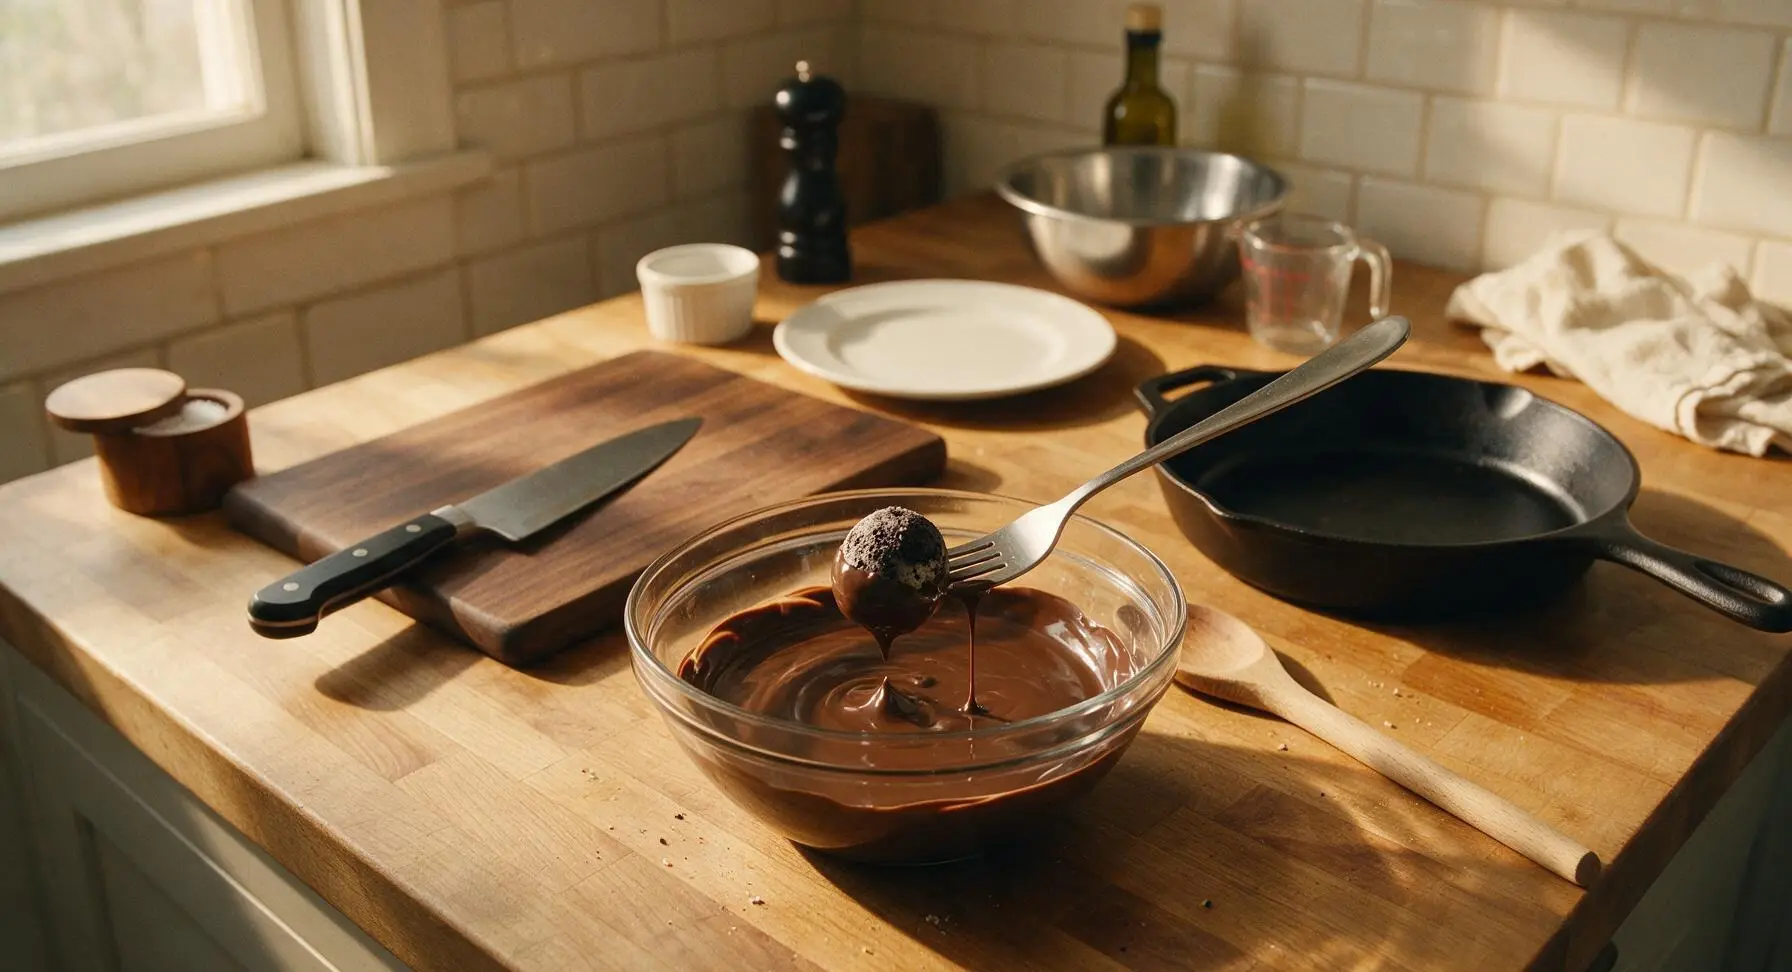
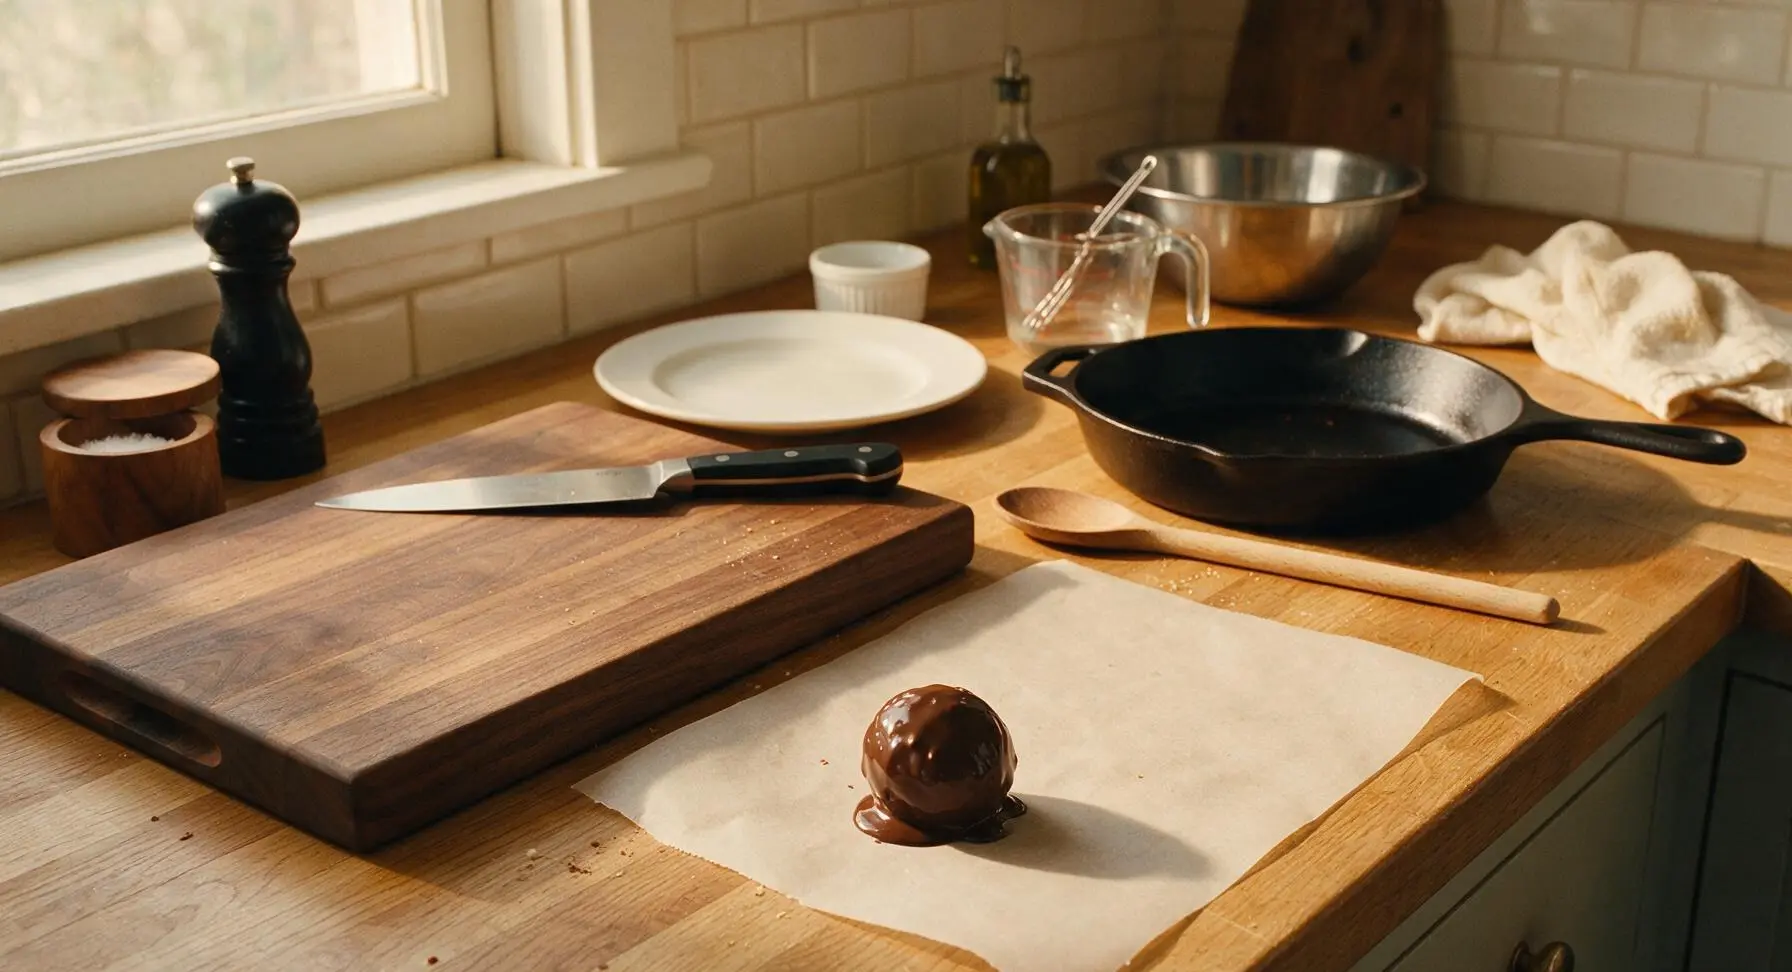
Remove the firm, chilled Oreo balls from the refrigerator. Use the stainless steel dipping forks to lower one ball at a time fully into the melted chocolate, rolling gently to coat every surface completely. Lift the coated ball out of the chocolate, tapping the fork gently against the bowl edge to drip off excess chocolate, then return the ball to the parchment-lined baking sheet. Aim for a thin, even coating, with no thick pools of chocolate gathering at the base of each ball.
Step 6
step6:Coat Balls in Chocolate
Step 6
step6:Coat Balls in Chocolate
7

Garnish and Set

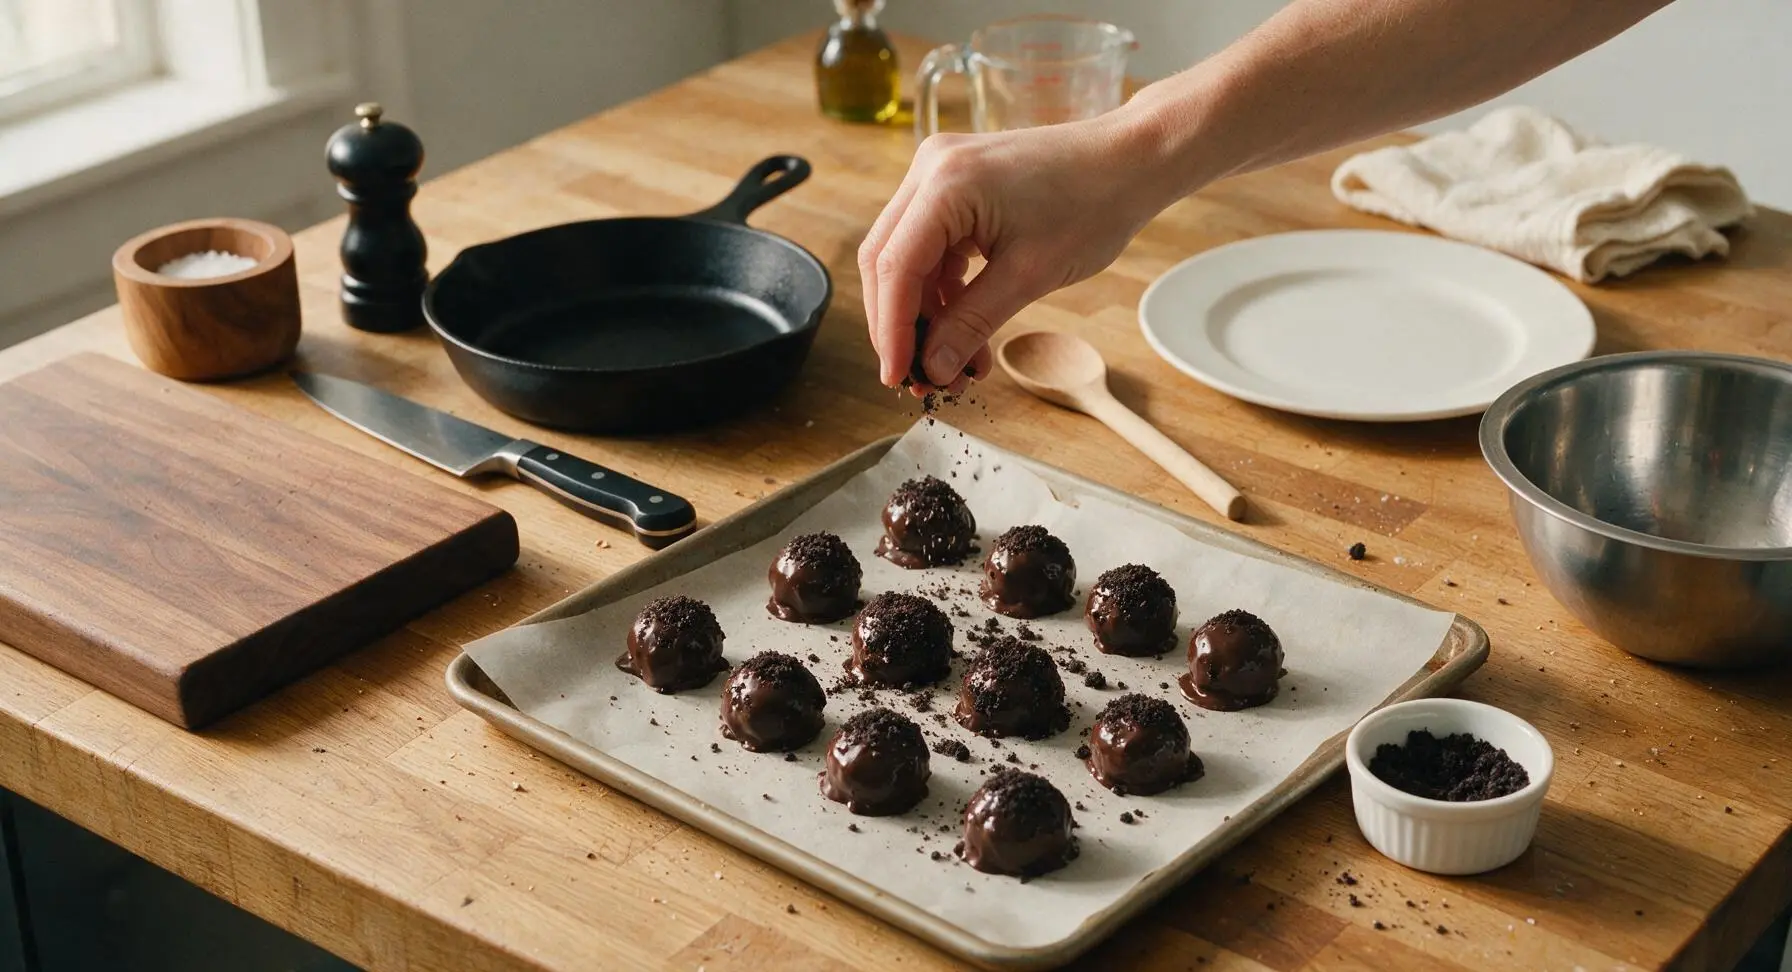
Immediately after dipping each ball (before the chocolate begins to set), sprinkle a pinch of the reserved Oreo crumbs over the top of the wet chocolate. Once all balls are coated and garnished, return the baking sheet to the refrigerator for 30 minutes to allow the chocolate shell to fully harden. The chocolate is fully set when it is matte and firm to the touch, with no sticky or glossy patches.
Step 7
step7:Garnish and Set

Tips

1.Use full-fat block-style cream cheese, not whipped or low-fat spreadable cream cheese: whipped and low-fat versions have added moisture and air that will make the cookie centers soft, sticky, and prone to leaking through the chocolate coating as it sets.
2.Melt your chocolate in short 30-second microwave bursts, stirring between each: overheated chocolate will seize into a grainy, clumpy paste that cannot be used for dipping, and will leave a dull, uneven coating on the finished balls.
3.Always chill the uncoated dough balls until fully firm before dipping: soft, warm dough will melt the chocolate on contact, cause the coating to slide off, and leave loose crumbs in your melted chocolate that create a lumpy, textured finish.


✨ You May Also Like

Desserts & Baking
🍜 Italy

Creamy, coffee-kissed classic Northern Italian no-bake dessert, with layers of rum-spiked mascarpone cream, soft ladyfingers, and a rich cocoa dusting.

⏱️ 4 hours 3Desserts & Baking ★ 4.7
Desserts & Baking
🍜 France

Flaky, shatteringly crisp, buttery French croissants with golden exteriors and soft, airy layered interiors, perfect for pairing with coffee for a special morning treat.

⏱️ 12 hours Desserts & Baking ★ 4.5
Desserts & Baking
🍜 United States

Warm, spiced baked apples topped with a fluffy golden biscuit crust, this cozy dessert pairs perfectly with vanilla ice cream for cool-weather comfort.

⏱️ 55 minuteDesserts & Baking ★ 4.6
Desserts & Baking
🍜 United States

A star-spangled classic American blueberry pie with buttery flaky crust and bright sweet-tart filling, perfect for summer patriotic gatherings.

⏱️ 1 hour 25Desserts & Baking ★ 4.7
Desserts & Baking
🍜 United States

A beloved no-bake regional Maine candy with a chewy coconut-potato center coated in rich dark chocolate, a New England holiday staple since the 1870s.

⏱️ 2 hours 3Desserts & Baking ★ 4.8
Desserts & Baking
🍜 France

Luxuriously creamy, floral frozen custard made with aromatic Tahitian vanilla beans, boasting a smooth, rich texture that melts slowly on the tongue.

⏱️ 3 hours 3Desserts & Baking ★ 4.5

Oreo Cookie Balls:Frequently Asked Questions

1.Can I use low-fat or whipped cream cheese instead of full-fat block cream cheese for this recipe? ▾
Stick with full-fat block cream cheese for the best, most consistent texture. Low-fat cream cheese has extra added moisture that will make your cookie balls soft, mushy, and prone to sliding out of their chocolate coating, while whipped cream cheese has incorporated air that creates a crumbly, less fudgy center. If you only have low-fat on hand, press it between paper towels first to soak up excess water before mixing.
2.Do I need to scrape the white creme filling out of the Oreos before crushing them? ▾
Don’t remove the white Oreo creme filling! That sweet, creamy filling is critical for binding crushed cookie crumbs to the cream cheese to create that signature fudgy, truffle-like center. Removing it will leave your mixture dry, crumbly, and unable to hold its shape when rolled, even if you add extra cream cheese to compensate for the missing binder.
3.Why is my chocolate coating thick and clumpy instead of smooth when I melt it? ▾
Thick, clumpy coating usually comes from seized chocolate, caused by even a tiny drop of water getting into your melting wafers, or overheating them too quickly. Melt chocolate in 30-second bursts in the microwave, stirring fully between each, and make sure all your bowls and utensils are completely dry. Stir in ¼ teaspoon of refined coconut oil at a time to thin it to a smooth, dippable consistency.
4.Can I make these Oreo cookie balls ahead of time for a party or event? ▾
Absolutely—these are an ideal make-ahead party treat! Once coated and fully set, store the cookie balls in an airtight container in the refrigerator for up to 2 weeks, or in the freezer for up to 3 months. Let them sit at room temperature for 10 minutes before serving to let the creamy center soften to that perfect fudgy texture.
5.How fine do I need to crush the Oreos for the truffle center mixture? ▾
Aim for fine, even crumbs with no large, dime-sized cookie chunks left for the smoothest, most consistent truffle texture. You can get this by pulsing whole Oreos (filling included!) in a food processor for 30 to 45 seconds, or sealing them in a zip-top bag and crushing thoroughly with a rolling pin if you don’t own a food processor.
6.My cookie balls keep falling off the fork when I dip them in chocolate—what am I doing wrong? ▾
This almost always happens if your rolled cookie balls are too soft when you go to dip them. After rolling your centers into 1-inch balls, pop them in the freezer for 15 to 20 minutes until they’re firm to the touch before dipping. If your chocolate is too thick, thin it with a tiny bit of refined coconut oil so it coats easily without dragging the ball off your fork.
7.Can I use regular semi-sweet chocolate bars instead of melting wafers for the coating? ▾
You can use chopped semi-sweet chocolate bars, but melting wafers are formulated to set firm, shiny, and streak-free without tempering, which makes them far more beginner-friendly. If you use bar chocolate, add 1 teaspoon of refined coconut oil per 6 ounces of chocolate to help it set smoothly, and avoid overheating to prevent dull, streaky blooms on the finished coating.
8.Do I have to store finished Oreo cookie balls in the refrigerator? ▾
Yes, you should store finished Oreo cookie balls in the refrigerator, since they contain cream cheese. They’ll hold their shape best at cool temps, and the cold keeps the chocolate coating snappy and the center rich and creamy. You can leave them out at room temperature for up to 2 hours for serving, but don’t leave them out longer to avoid spoilage or melted coating.
9.Can I add extra mix-ins to the Oreo center for more flavor? ▾
Absolutely, these truffles are super customizable! Stir in ¼ cup of add-ins after mixing your Oreo crumbs and cream cheese—great options include crushed peppermint candies, mini chocolate chips, chopped toasted nuts, a teaspoon of vanilla extract, or a pinch of flaky sea salt. Just avoid very wet mix-ins that will make the center too soft to roll.
10.What’s the purpose of adding refined coconut oil to the chocolate coating? ▾
Refined coconut oil thins melted chocolate to create a smooth, even coating that sets with a crisp, snappy texture instead of a thick, chewy shell. It also helps reduce the chance of chocolate seizing as you melt it, and cuts down on unsightly white streaks (called chocolate bloom) as the coating sets. Use unrefined coconut oil only if you want a subtle coconut flavor.
11.My finished cookie balls have white streaks on the chocolate coating—what caused that? ▾
Those white streaks are chocolate bloom, which is totally harmless but can look unappealing. It happens either from overheating the chocolate when melting, or from sudden temperature changes, like moving cold truffles straight from the freezer to a warm counter. To avoid it, melt chocolate gently, and let dipped truffles set in the fridge gradually instead of shocking them in the freezer right after coating.
12.What size should I roll the Oreo cookie ball centers for the best results? ▾
Aim for 1-inch diameter balls, roughly the size of a whole shelled walnut, for the perfect bite-sized treat. This size is easy to dip without falling apart, gives you the ideal ratio of fudgy center to crisp chocolate coating, and yields 35 to 40 truffles per standard batch made with one 14.3-ounce package of Oreos and one 8-ounce block of cream cheese.
13.Can I use flavored Oreo varieties instead of the original chocolate sandwich cookies? ▾
You absolutely can swap original Oreos for your favorite flavored variety to mix things up! Golden Oreos, mint Oreos, peanut butter Oreos, or birthday cake Oreos all work beautifully with no recipe adjustments needed. Just stick to regular filled Oreos, not thin-style, which have less creme and may result in a drier center that doesn’t hold its shape as well.
14.How do I get a smooth, even chocolate coating without messy drips or lumpy bases? ▾
For a clean, professional-looking coating, dip each firm, chilled ball fully in melted chocolate, then lift it out with a fork and tap the fork gently on the edge of the bowl to let excess chocolate drip off. Scrape the bottom of the fork against the bowl rim before setting the ball on a parchment-lined baking sheet to avoid thick, lumpy chocolate "feet" at the base.

Comments (17)

3 days ago

Made these for our neighborhood block party and they were a massive hit! I can’t believe how easy they are—zero actual cooking, just crush, mix, roll, chill, dip? Perfect for someone like me who burns even boxed brownies half the time. My 7 year old helped roll the balls and had a total blast.

2 days ago

So glad you and your kiddo had fun making them! Getting little ones involved with the rolling step is such a great hack to keep them entertained while you prep the chocolate coating :)

1 week ago

These taste amazing but quick heads up—if you don’t crush the Oreos fine enough you get weird crumbly chunks that make the balls fall apart when you dip them. I used a food processor the second batch and they came out perfect. Also, pro tip: freeze them for 10 mins before dipping so the chocolate sets faster.

5 days ago

Total agree about the fine crumb! I made the mistake of using a rolling pin in a ziploc first and had so many lumps, food processor is 100% the move.

3 days ago

Great tips, Jake! We always recommend pulsing Oreos in a food processor until you don’t see any big white creme chunks left for the smoothest texture, and the quick pre-dip freeze is such a smart hack to prevent sliding chocolate.

2 hours ago

No cook, minimal ingredients, literally impossible to mess up? These are my new go-to dorm snack. I keep a batch in my mini fridge and my roommate keeps stealing them lmao. 10/10, no notes.

2 weeks ago

I make a version of these every holiday but I always forget how quick they come together! I rolled half in crushed peppermint for Christmas and half in sprinkles for my niece’s birthday party, and everyone thought I bought them from a fancy bakery. Don’t tell anyone they took me 20 mins of actual work.

1 week ago

Wait the peppermint addition sounds insane! I’m making these for my office holiday party next week, definitely stealing that idea.

5 days ago

These were super tasty but I wish the recipe noted that you need to use gluten free Oreos if you have a dietary restriction! I used regular ones first before I realized my cousin with celiac was coming to dinner, had to run to the store last minute for a second batch. Flavor was 10/10 though, even the GF version!

3 days ago

Oh I feel that! I always keep a pack of GF Oreos in my pantry specifically for this recipe because my son has a wheat allergy, you literally can’t tell the difference.

2 days ago

Thanks so much for the feedback, Gigi! We’ve added a note to the recipe about easy gluten-free swaps using GF Oreos to help folks plan ahead for dietary needs. So glad both batches turned out tasty for you!

30 minutes ago

Wait, is it really 0 cook time? I was nervous I’d have to bake something and mess it up but these came together so easy! I just popped them in the fridge to chill now, can’t wait to dip them in chocolate later. They already taste SO good when I licked the spoon lol.

5 minutes ago

No baking required at all, promise! Just make sure they chill for the full hour so they’re firm enough to dip without falling apart, and you’re golden. Hope you love the finished product!

yesterday

Brought these to the Browns watch party last Sunday and they got demolished faster than the wings. Next time I’m making a double batch because half the guys asked for seconds before the first quarter even ended. Easy to eat standing up, no messy plates needed, perfect tailgate food.

1 week ago

Game changer! I used dark chocolate instead of milk chocolate for the coating because that’s what I had in the pantry, and it cut the sweetness perfectly. I also added a tiny pinch of flaky sea salt on top and I swear it made them taste like a $5 truffle from the candy shop.

5 days ago

The sea salt idea is genius! I always find regular Oreo balls a little too sweet for me, that salty bite would balance it out so well.

3 days ago

Dark chocolate coating is my go-to too! People always say they prefer it when I bring the dark chocolate version to potlucks over the milk chocolate ones.

2 weeks ago

These hold up so well in the fridge for a whole week! I made a batch on Sunday for quick little sweet treats after dinner all week long, and they didn’t get soggy or weird at all. Only complaint is I wish they were a little less calorie dense because I can’t stop eating them lmao.

1 week ago

Same! I calculated the calories once and had to force myself to only make half batches now because I’d eat 3 a day if I let myself. Worth it though, no regrets.

1 week ago

I made these for my kid’s Halloween class party! I added little candy eye sprinkles on top to make them look like spooky little monsters, and the kids went absolutely wild for them. Even the teachers asked for the recipe! So easy to customize for any holiday.

5 days ago

The candy eye idea is so cute! We love seeing all the fun customizations people come up with for different holidays—those spooky monster balls sound like the perfect class party treat.

3 days ago

Doing this for our trunk or treat next year! I was struggling to come up with a no-mess treat to hand out, this is perfect.

just now

Just finished my first batch and wow, why did I wait so long to make these? I used golden Oreos instead of regular because that’s what I had, and they taste like those fancy cheesecake truffles you get at the mall. 10/10 will be making these every other week for the foreseeable future.

5 minutes ago

Okay so these taste incredible but I made the mistake of not letting my chocolate cool just a little before dipping, and half my cookie balls melted into the chocolate oops. Still edible, just not as pretty as the pictures. Any tips for next time?

just now

Oh no, sorry to hear that happened! Let your melted chocolate sit for 3-5 minutes after microwaving so it’s warm but not piping hot, and make sure your chilled cookie balls are nice and firm straight from the fridge, and you’ll have perfectly coated balls every time. Glad they still tasted good even if they weren’t pretty!

3 days ago

I was able to veganize these super easy with dairy free cream cheese and vegan Oreos (yes, regular Oreos are accidentally vegan but I used the GF ones too for my roommate) and dairy free chocolate chips! They turned out so good, even my non-vegan friends said they couldn’t tell the difference. Only note is that vegan cream cheese is a little softer, so I chilled them an extra 20 minutes before dipping.

2 days ago

Thank you for posting this! I’ve been looking for a vegan version of these to bring to my friend’s potluck, this is exactly what I needed. The extra chill tip is so helpful too.

yesterday

Love this vegan swap, Vee! We’re going to add this as a suggested variation in the recipe notes for folks looking for dairy-free options. Thanks for sharing the extra chill tip too, that’s a great call for softer cream cheese substitutes.

yesterday

My boss asked me to bring a treat for our team meeting and I panicked because I can’t cook to save my life. These took me 25 minutes of active time, everyone in the office thought I spent hours making them. Got a shoutout in the team Slack channel lmao, 10/10 career hack.

2 days ago

Pro tip if you’re lazy like me: you don’t even have to use a bowl to mix the crushed Oreos and cream cheese! I just dumped both in a big gallon ziploc bag, squeezed it all together until it was mixed, then cut the corner to squeeze out little portions to roll. Less dishes = win in my book.

yesterday

OH MY GOODNESS that ziploc trick is life changing. I hate doing dishes so much, I’m doing this next time for sure. No more sticky cream cheese all over my mixing bowl!

2 weeks ago

My granddaughter taught me how to make these last weekend when she was visiting. I was worried they’d be too complicated for an old lady like me, but they were so simple! We made a batch to take to my bridge club and all the ladies asked for the recipe. I’m going to make them with red and pink sprinkles for our Valentine’s Day get together next month.

2 hours ago

Wait a second, I’ve been making these wrong for years! I always added a whole block of cream cheese instead of 8 oz? No wonder mine were always super soft and hard to dip. Tried this recipe with the correct amount last night and they turned out perfectly, exactly like the ones I get at the holiday bake sale every year.

30 minutes ago

So glad the measurements worked out for you! The 8 oz cream cheese to full pack of Oreos ratio is key to getting that firm, truffle-like texture that holds up when dipping. Happy baking!



