
oreo ice cream sandwiches
intro
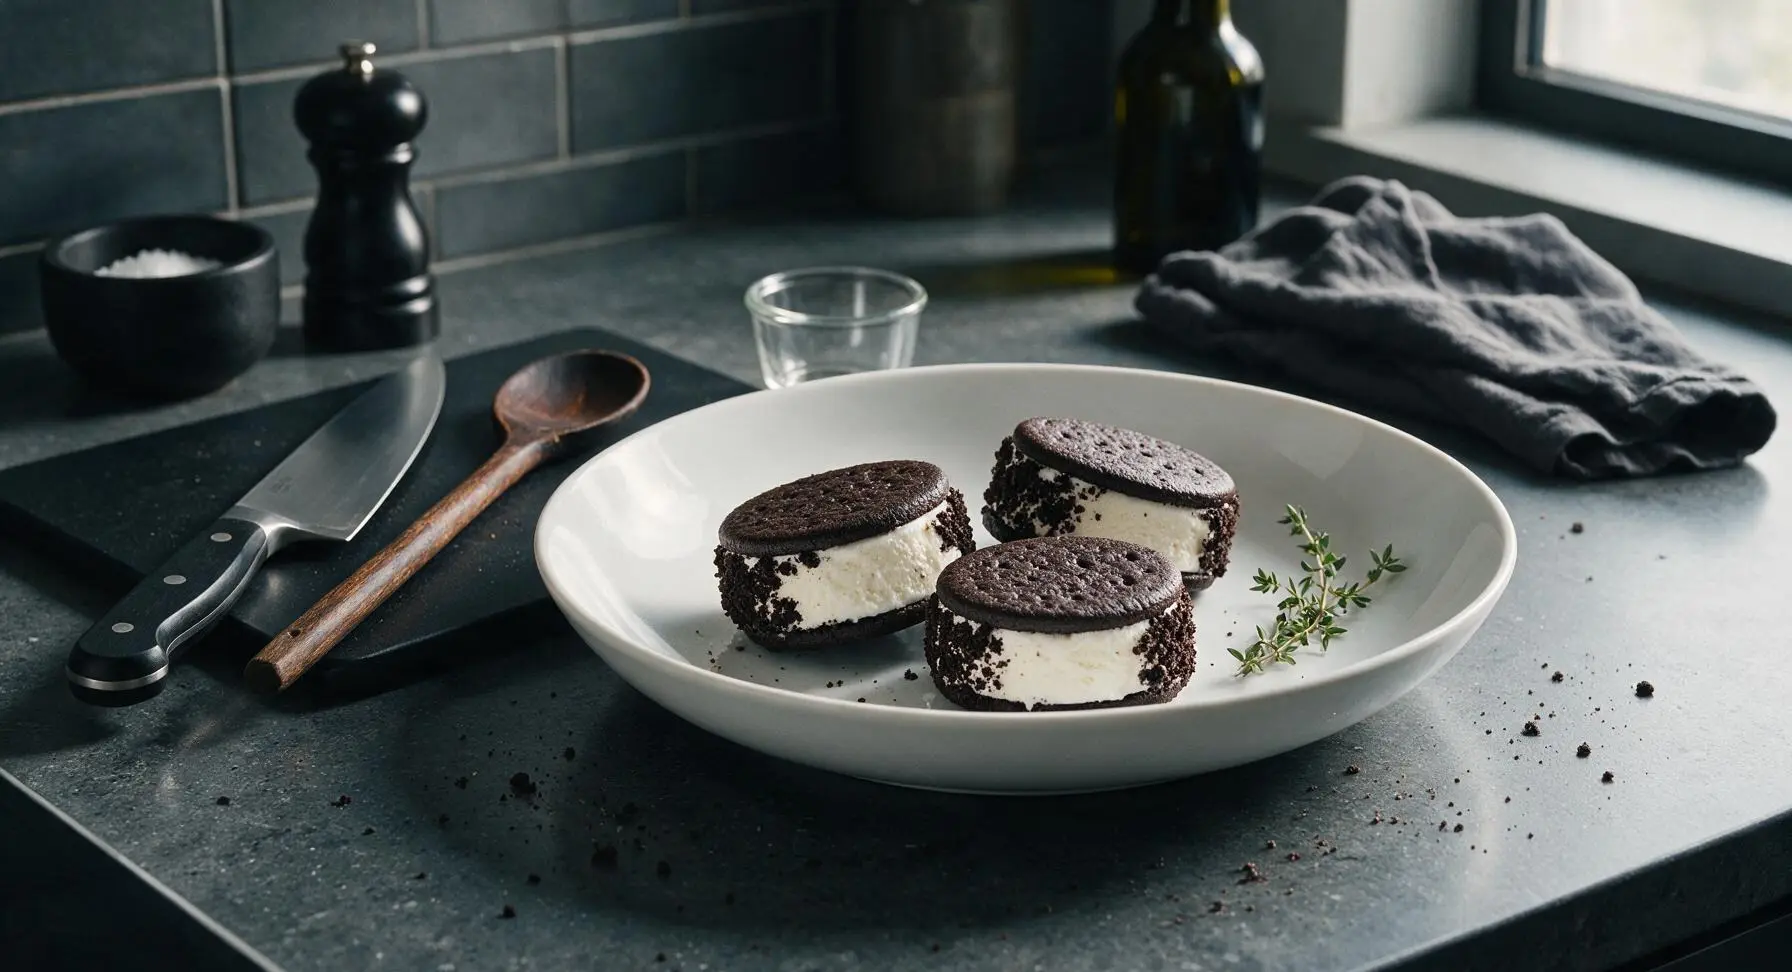
Crisp chocolate Oreo wafers sandwiching thick, creamy vanilla ice cream, rolled in crunchy cookie crumbs: an easy, nostalgic no-bake frozen treat that delights all ages.
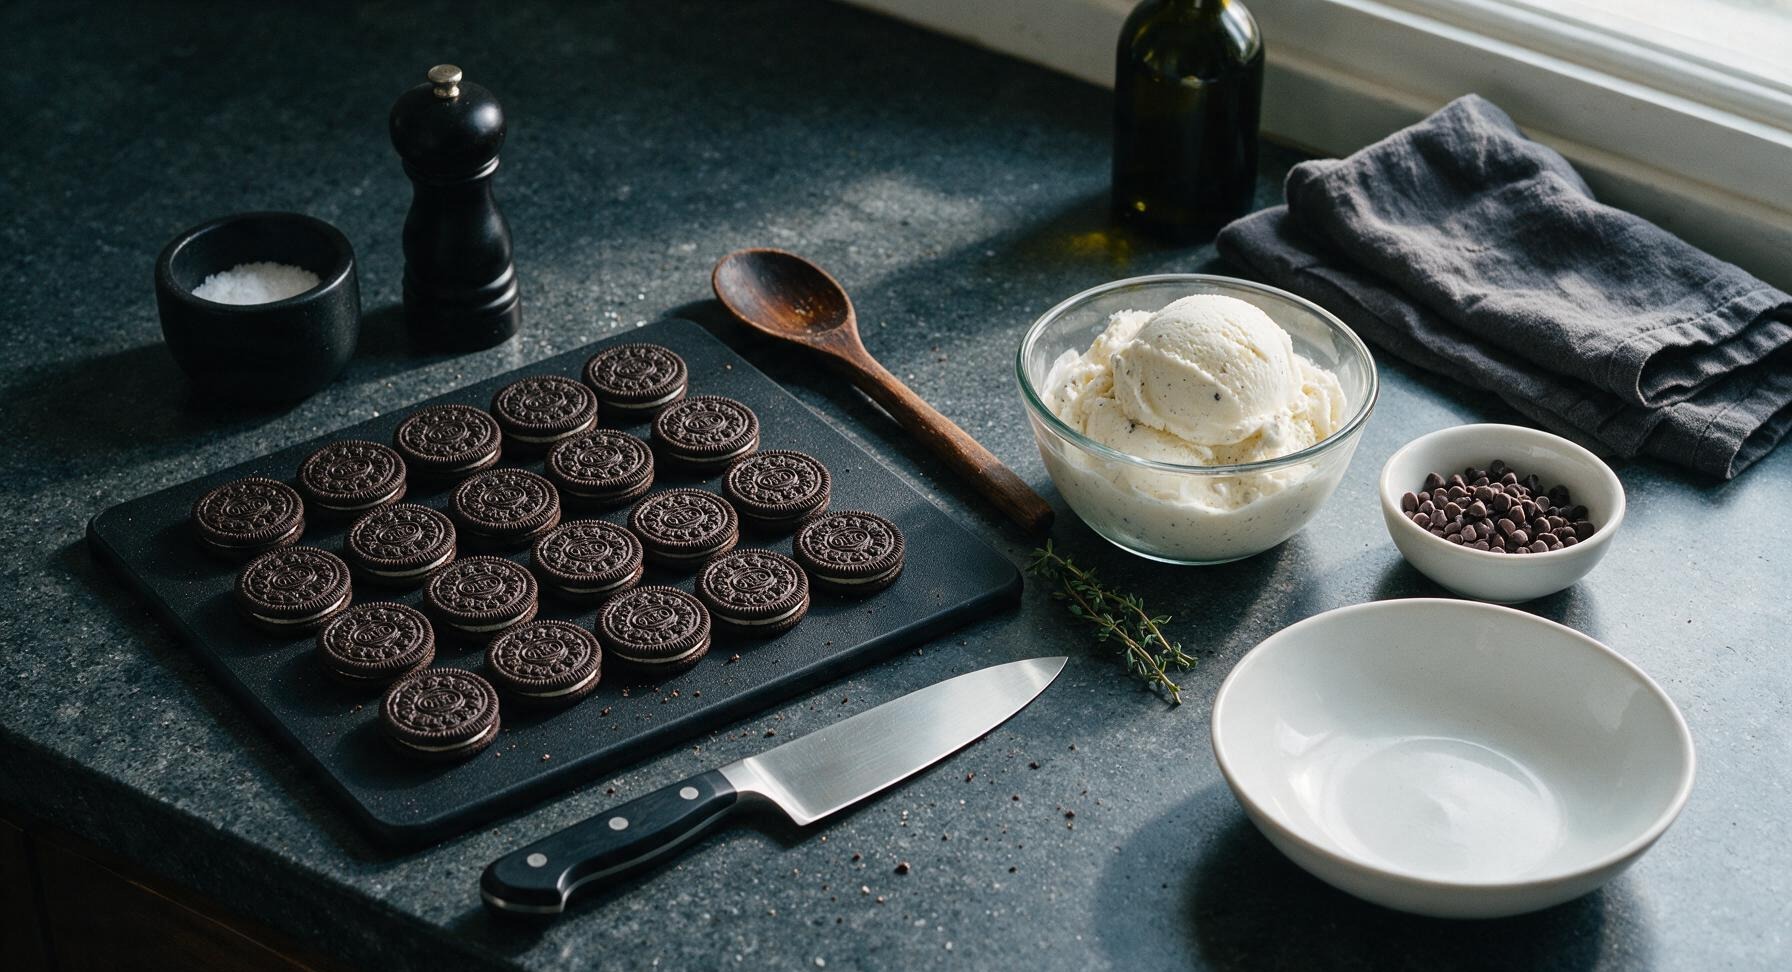
Ingredients
Steps
Prep Freezer Station
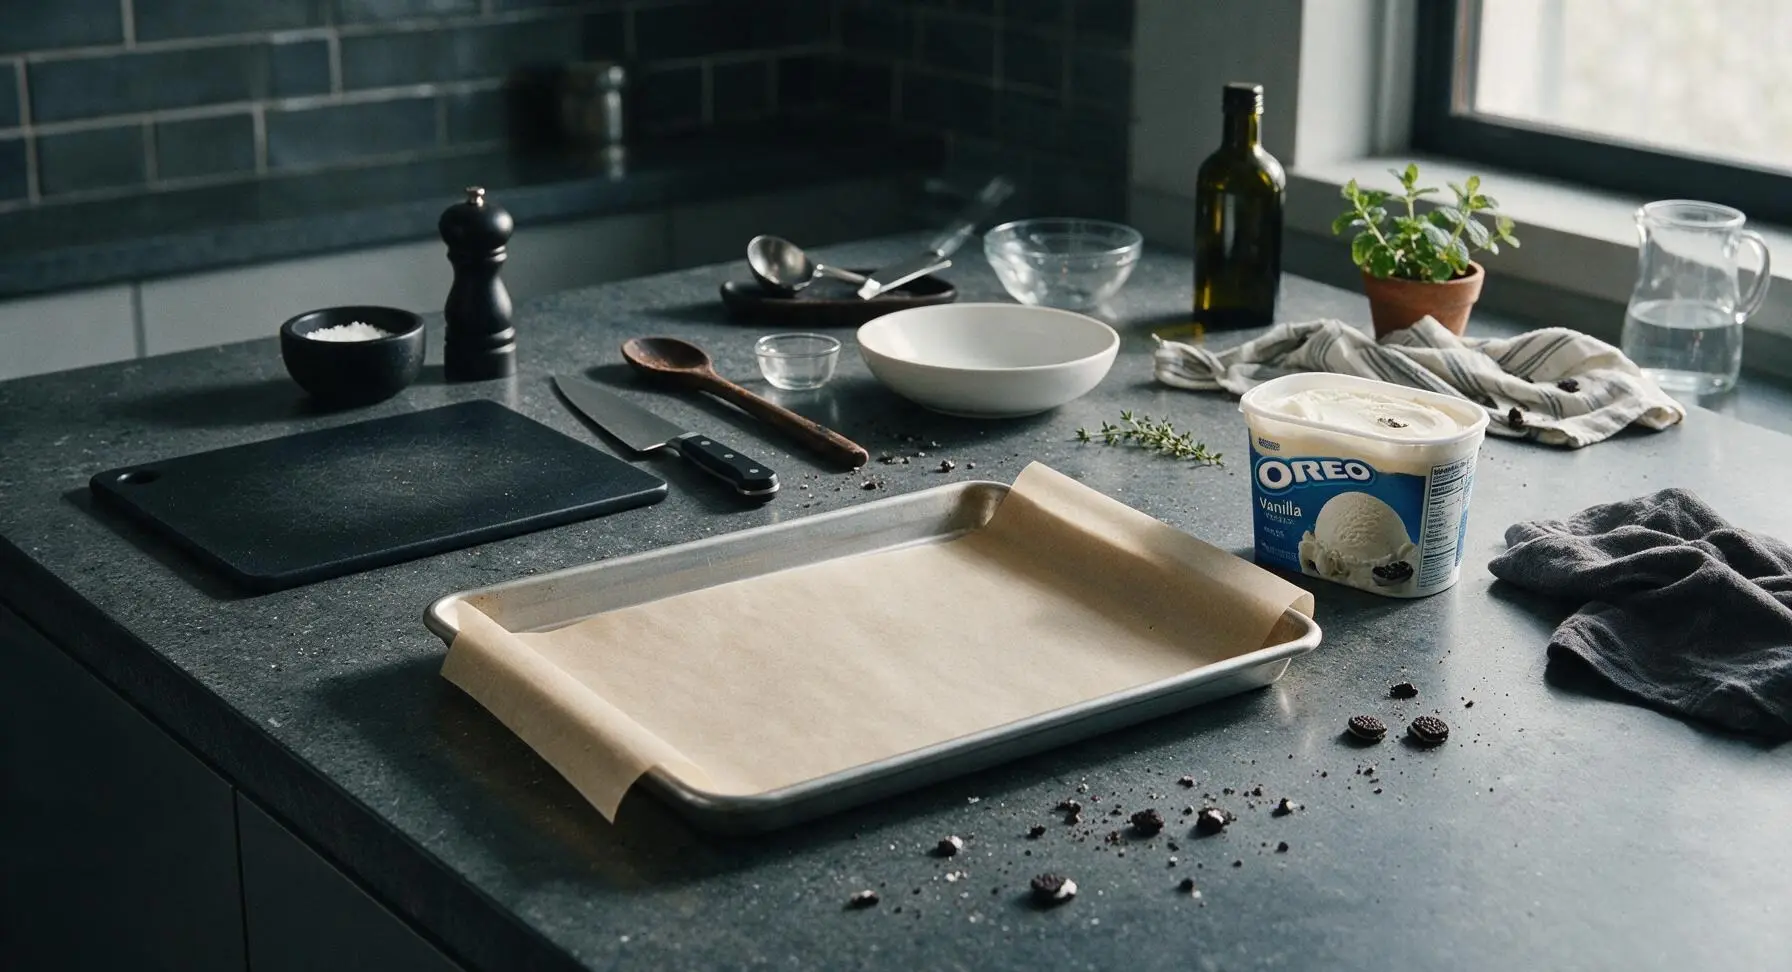
Line the 9x13 inch matte aluminized steel baking sheet with unbleached parchment paper, leaving a 2-inch overhang on the long sides for easy lifting. Place the lined sheet in the freezer to chill for 10 minutes. Remove the vanilla bean ice cream from the freezer and let it soften in the refrigerator for 10 minutes— it should scoop easily without being runny or melted (ideal temperature is 20°F / -7°C, soft enough to spread but not liquid, with no soupy drips when scooped).
Split Oreo Wafers
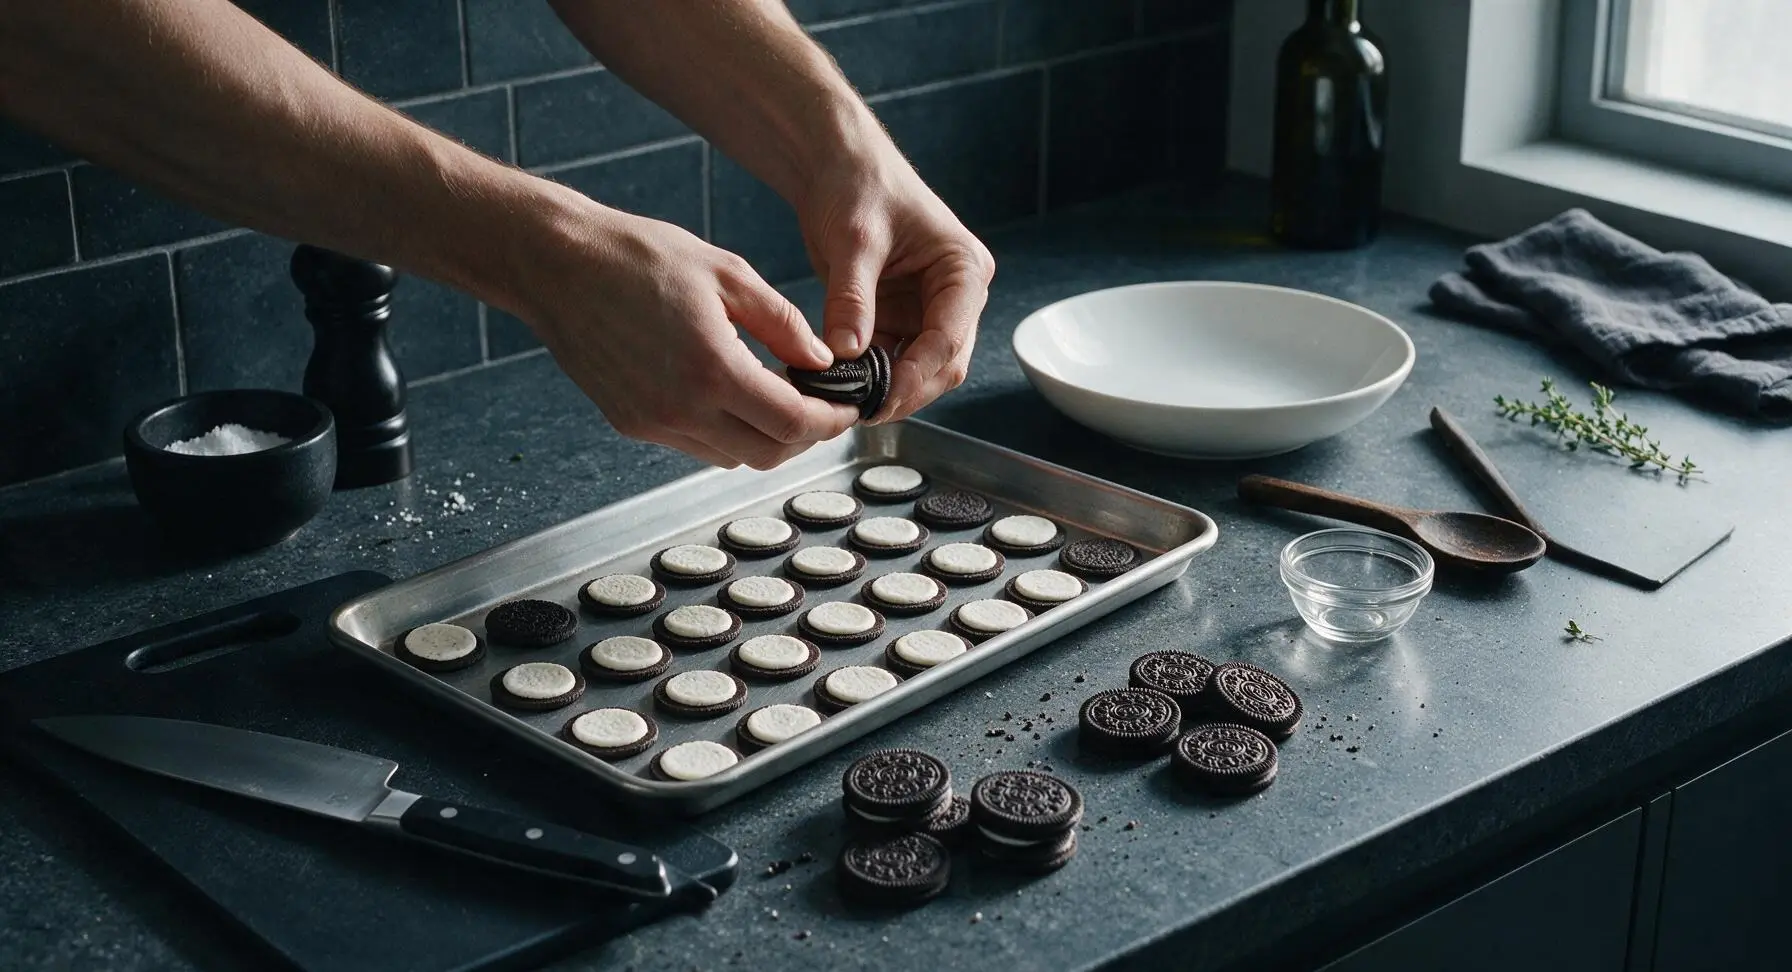
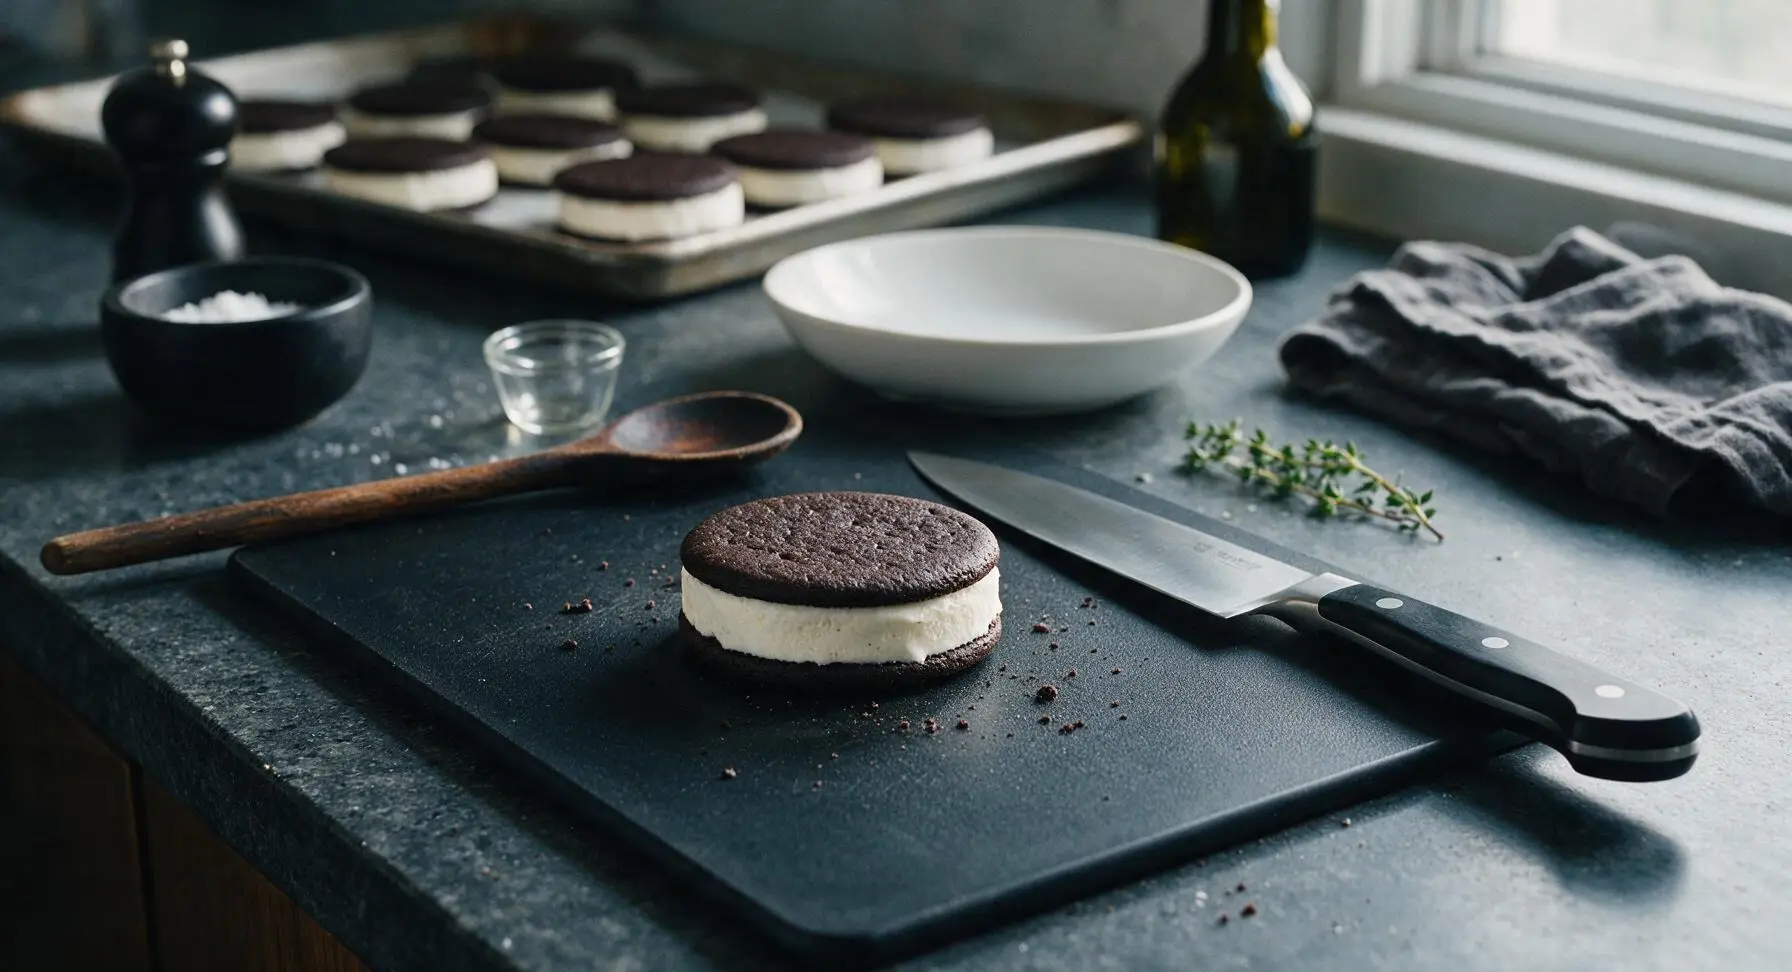
Take 16 of the Oreo cookies, and gently twist each one to separate the two chocolate wafers, trying to keep as much of the white creme filling attached to one wafer as possible, for a total of 32 wafers. Arrange 16 of the wafers creme-side up in even rows on the chilled baking sheet to form the bottom of each sandwich, and set the remaining 16 wafers (creme-side up) in a small pile at the edge of the sheet for the top layers. Set the last 4 whole Oreos aside for crushing.
Crush Oreo Crumbs
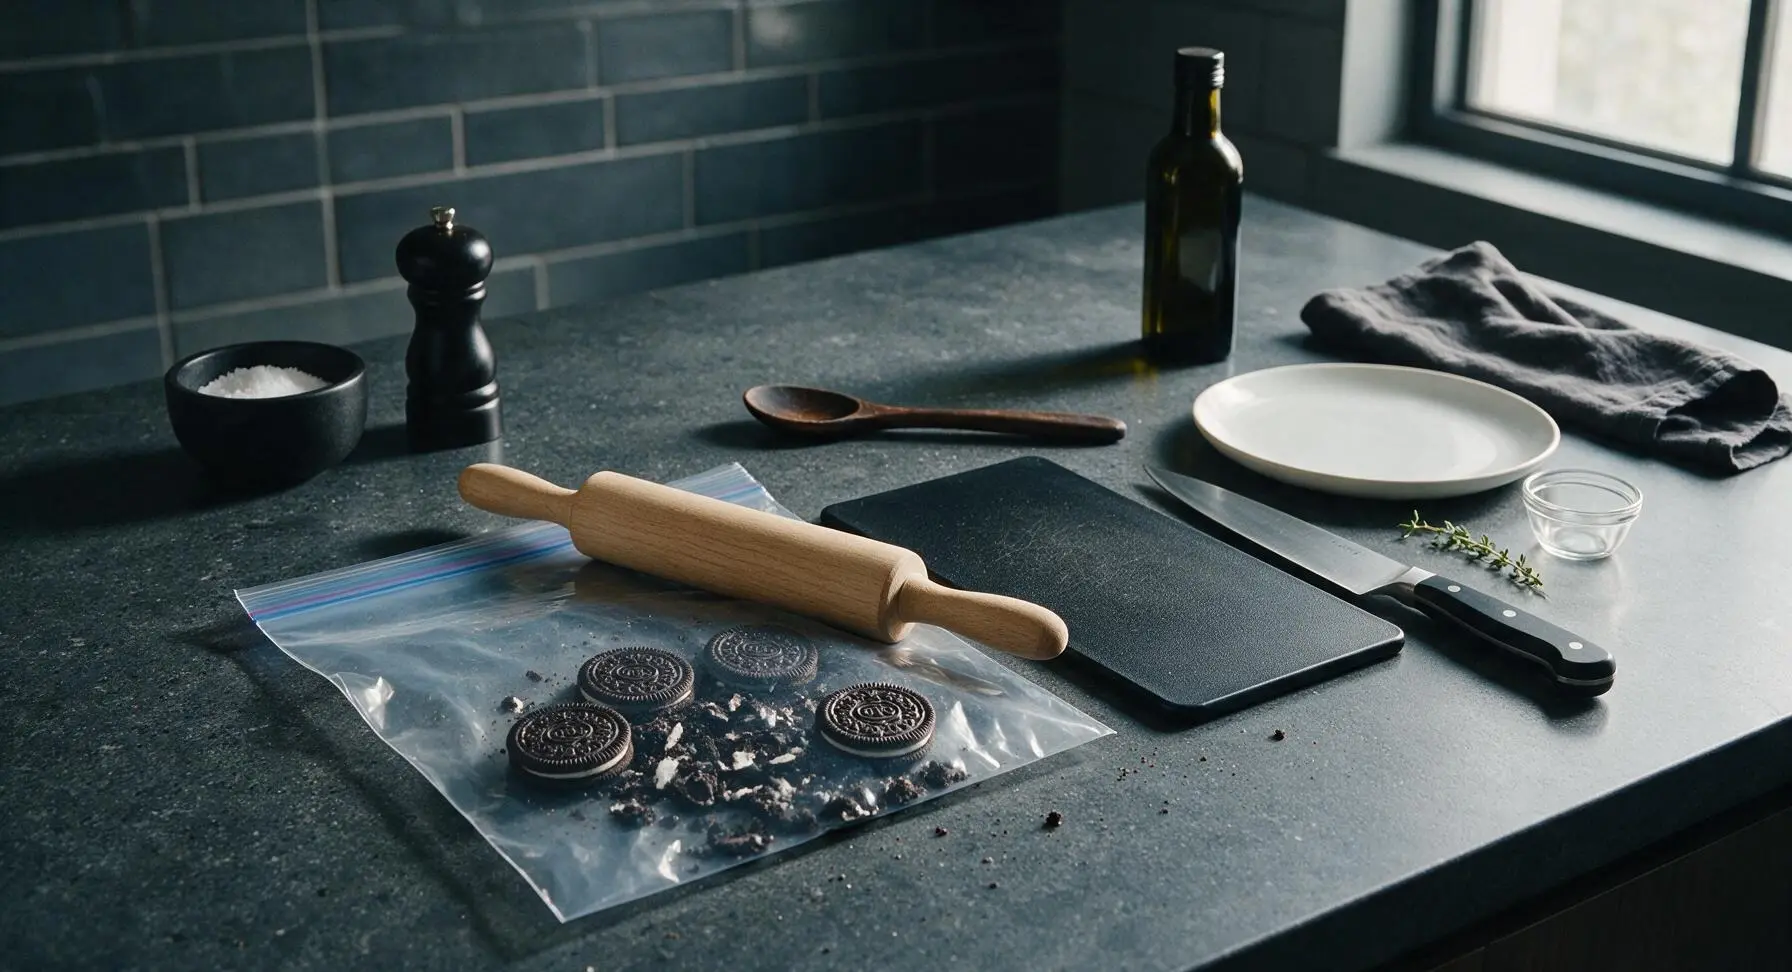
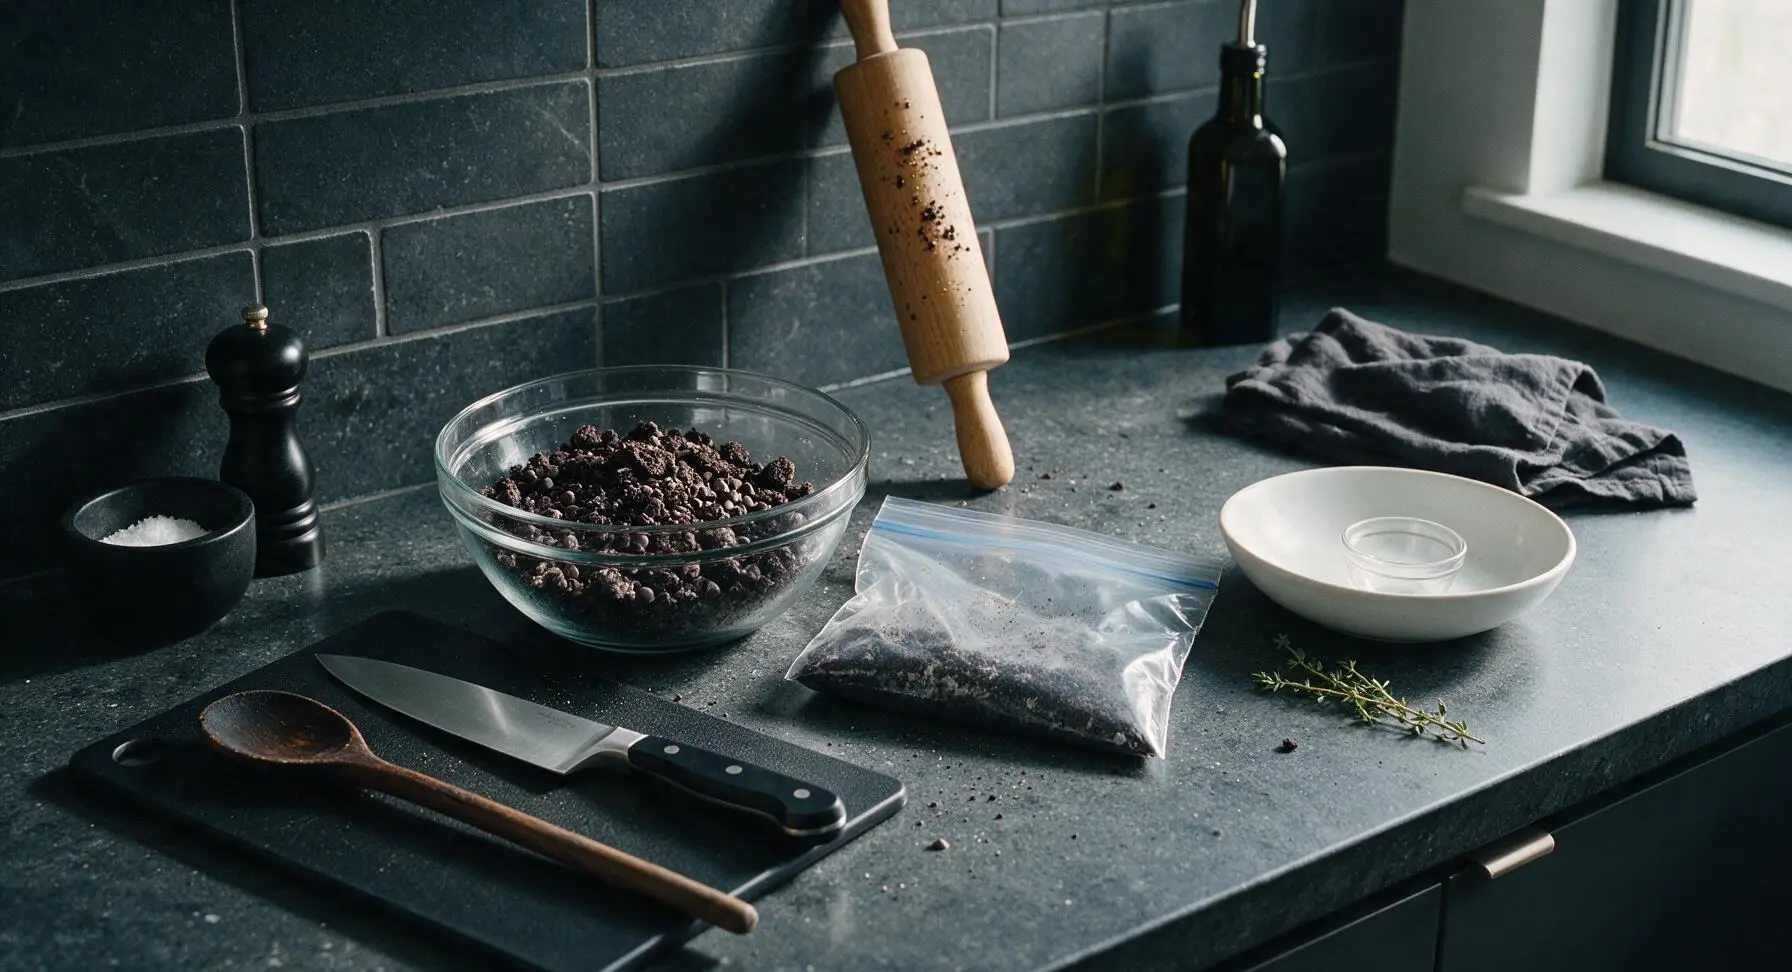
Place the 4 reserved whole Oreos into the heavy-duty 1-gallon zip-top freezer bag, press out excess air, and seal tightly. Use the beechwood rolling pin to gently crush the cookies into coarse, uneven crumbs (about 1/4 inch pieces, not fine powdery dust). Pour the crushed crumbs into the fixed clear glass prep bowl, add the mini semi-sweet chocolate chips, and stir briefly to combine.
Scoop Ice Cream Filling
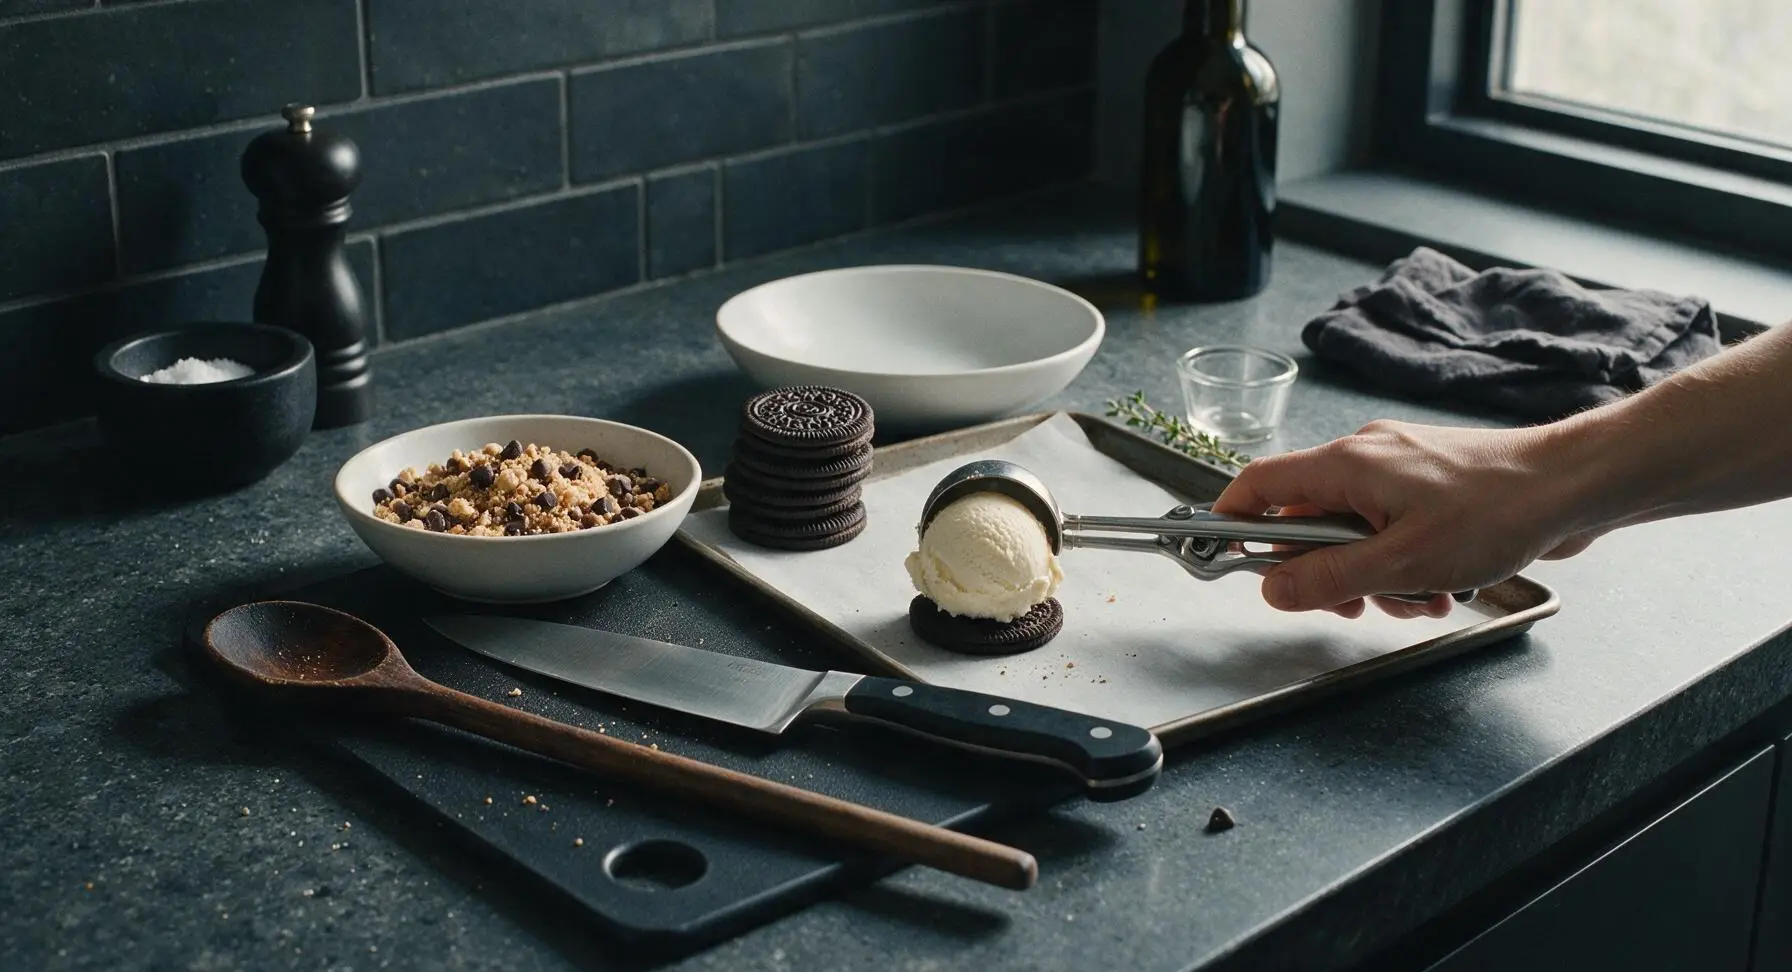
Remove the chilled baking sheet with bottom Oreo wafers from the freezer. Use the stainless steel ice cream scoop to place one 2-tablespoon scoop of softened vanilla ice cream directly onto the creme-covered center of each bottom wafer (one per sandwich, 16 total scoops). Work quickly to avoid melting, returning the sheet to the freezer for 2 minutes if the ice cream starts to drip or turn soupy.
Press Sandwich Layers
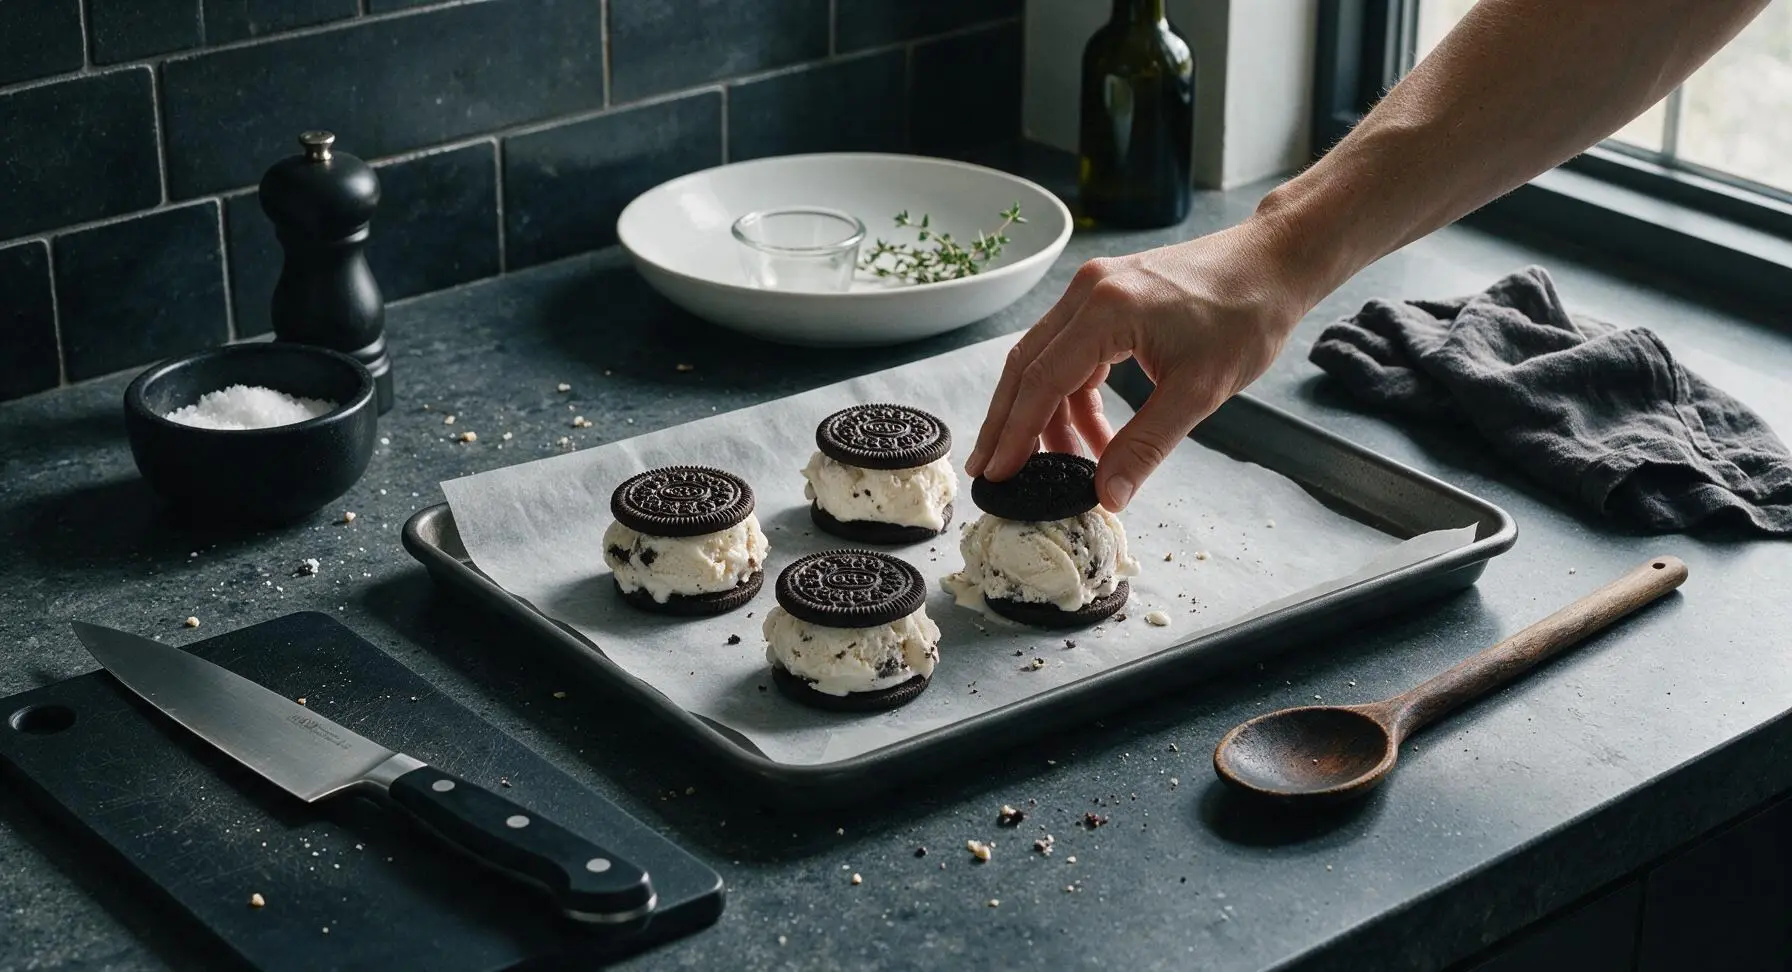
Take the reserved 16 top Oreo wafers and place one on top of each ice cream scoop, creme-side facing down toward the ice cream. Use the palm of your hand to press gently on the top wafer until the ice cream spreads evenly to the edges of the cookies, applying even pressure to avoid cracking the chocolate wafers. The ice cream should form a uniform 3/8-inch thick layer between the two wafers.
Coat Edges in Crumbs
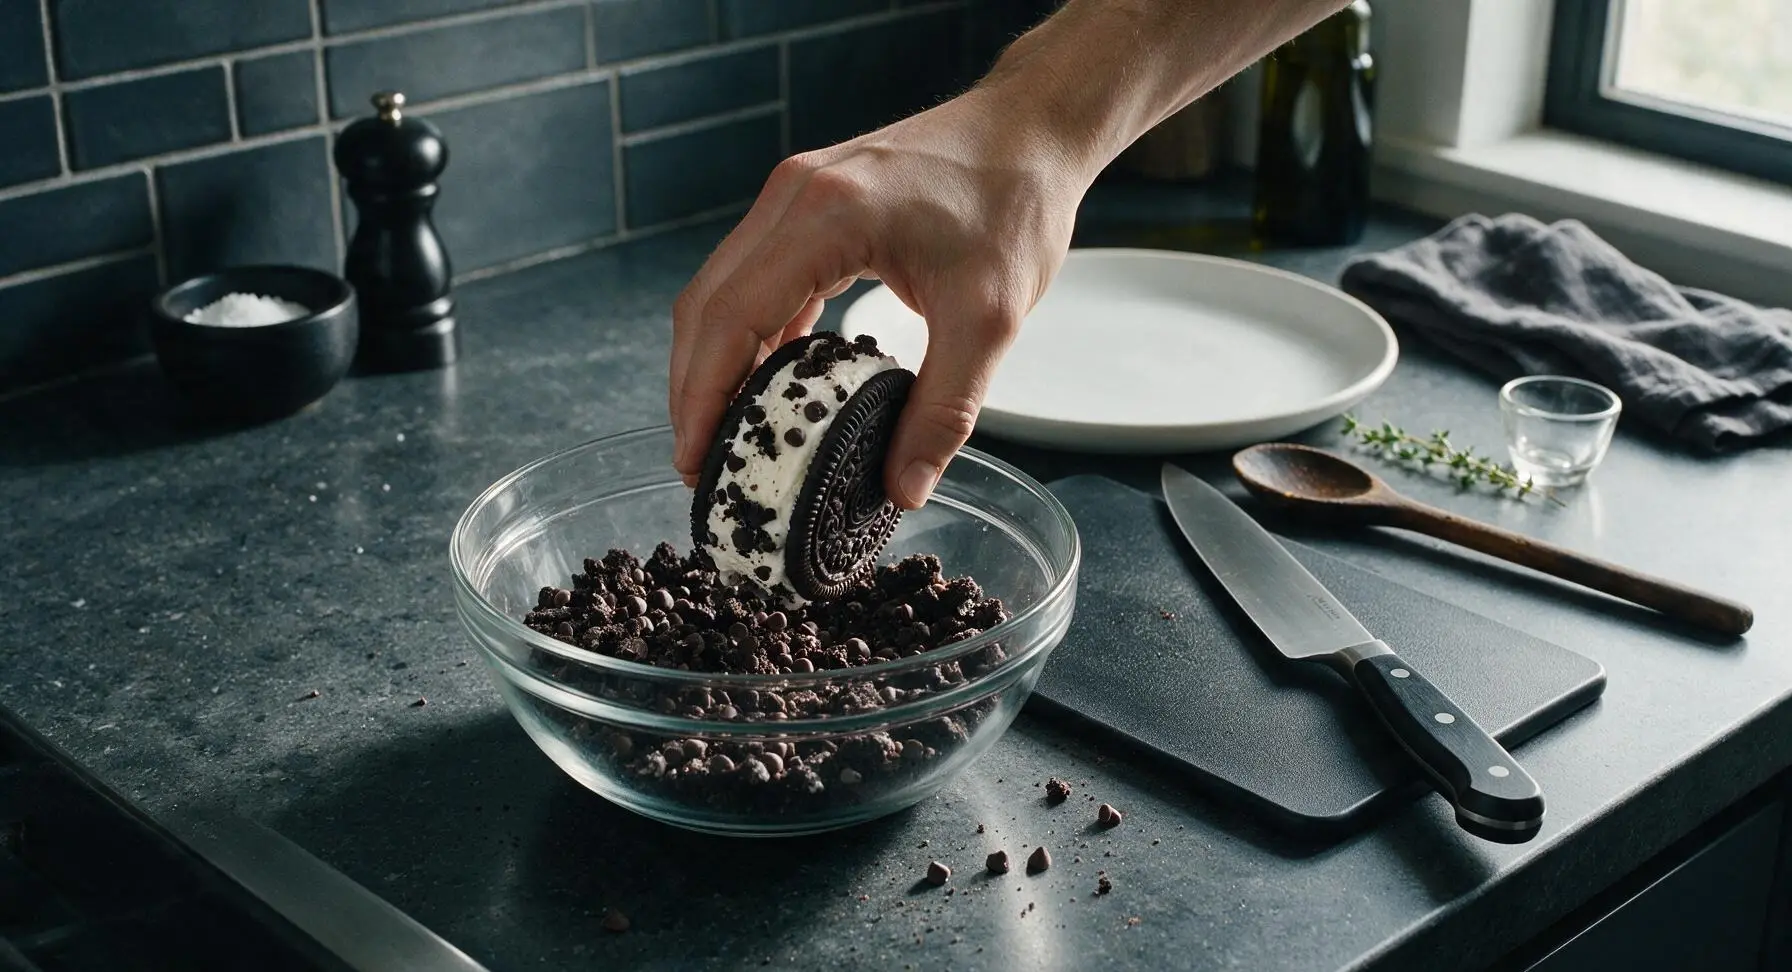
Hold each assembled sandwich gently between your thumb and forefinger, and roll the exposed ice cream edge in the bowl of crushed Oreo and mini chocolate chip mixture, pressing lightly so the crumbs and chips stick evenly to the ice cream all the way around. Return each coated sandwich to the parchment-lined baking sheet as you finish.
Freeze Until Firm
Once all 16 sandwiches are assembled and coated, place the baking sheet back in the freezer, uncovered, for 4 hours (or up to 2 weeks, wrapped tightly in plastic wrap) until the ice cream is completely firm, with no soft give when you press the top wafer lightly.
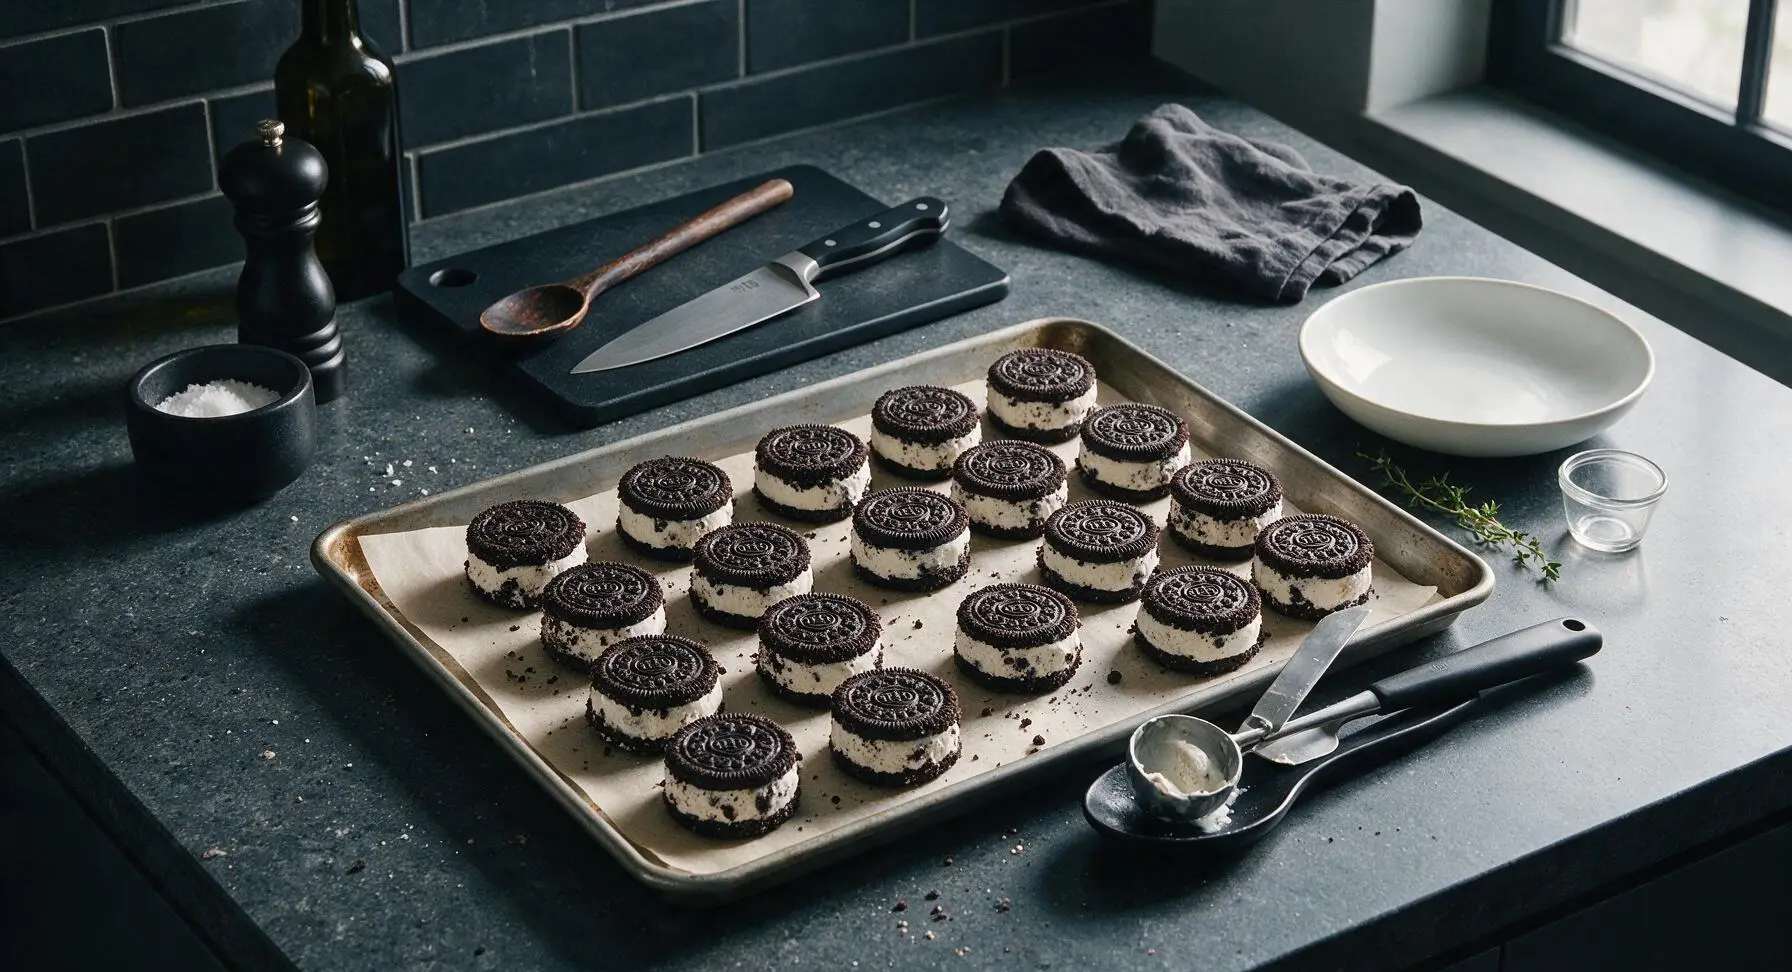
Plate and Serve
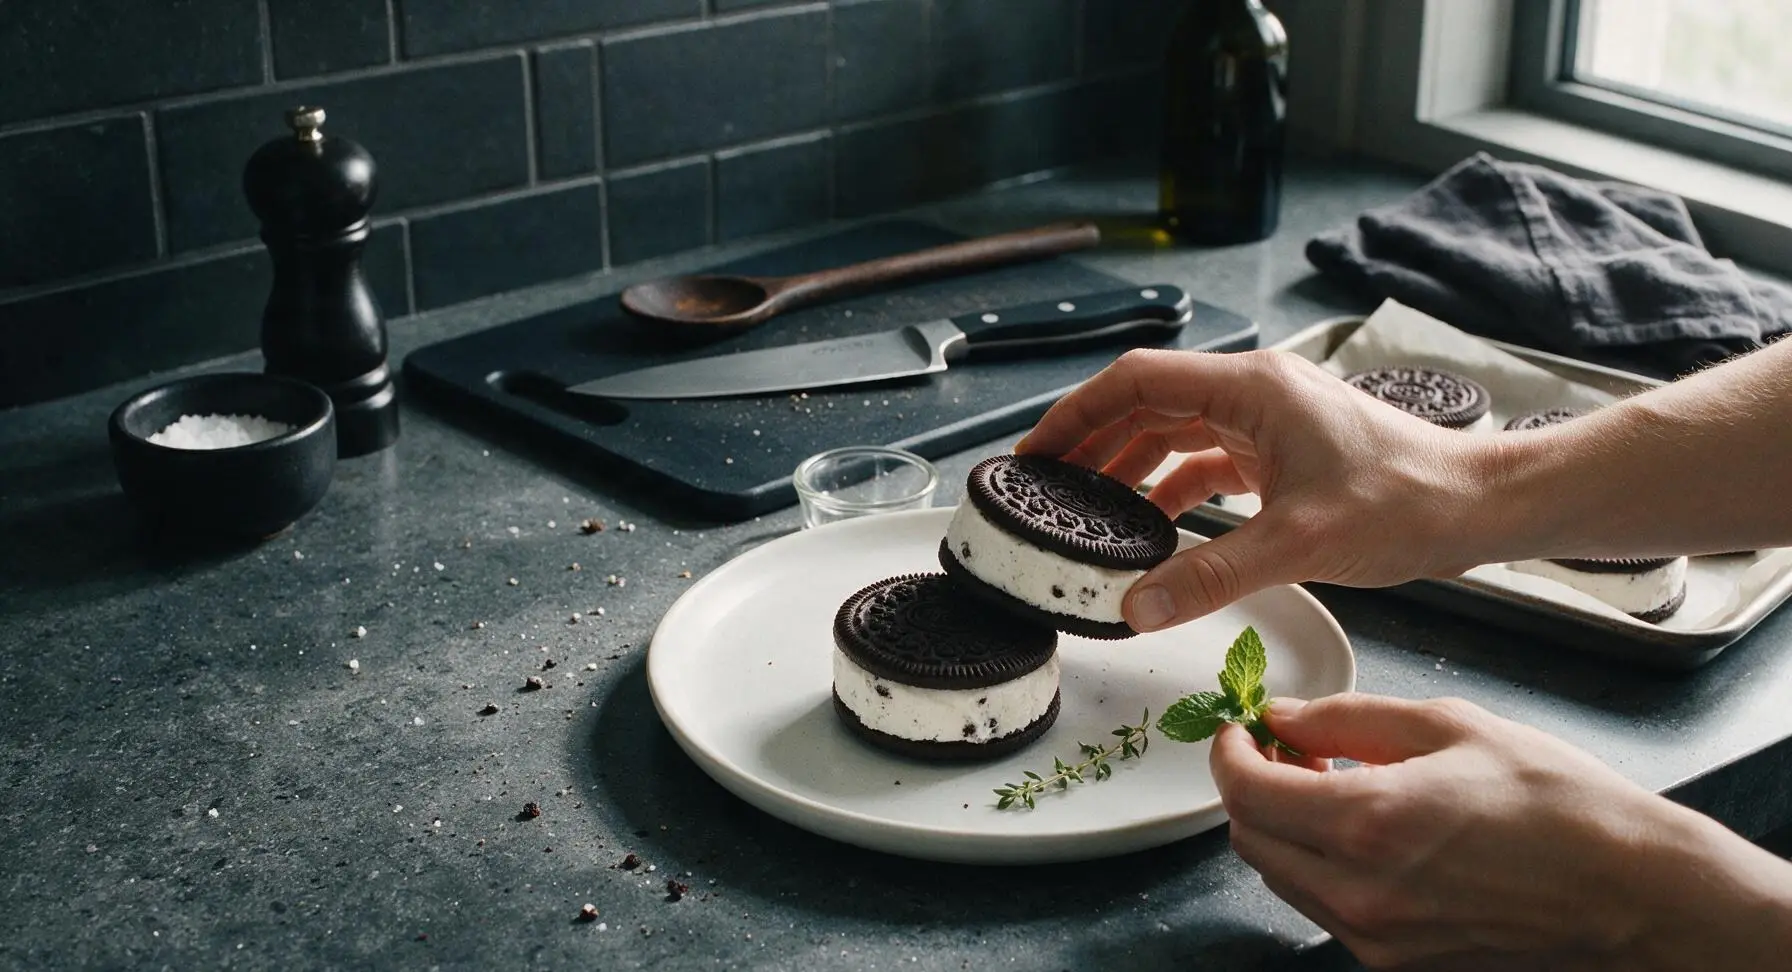
Remove the baking sheet from the freezer, lift the sandwiches off the parchment using the paper overhang. Stack two slightly offset on the fixed matte white ceramic dessert plate for serving, garnished with a tiny sprig of fresh mint plucked from the terracotta pot. Serve immediately, as the ice cream will begin to soften after 5 minutes at room temperature.
Tips
2.Chill the baking sheet for 10 minutes before adding cookies and ice cream: the cold surface prevents ice cream from melting on contact, which keeps the Oreo wafers crisp instead of turning soft and mushy.
3.Avoid crushing Oreos into fine powder for the edge coating: coarse, uneven 1/4-inch crumbs add better crunchy texture and visual appeal, and stick to the soft ice cream more securely than powdery fine crumbs.






Bro these are SO good. I made them for my roommate’s birthday hangout and everyone was raiding the freezer at 2am. Only note: I used mint Oreos instead of original and it slapped. No fancy skills needed, perfect for lazy weekends.
My kids begged for ice cream sandwiches all week so I tried this recipe last night. Game. Changer. No weird store-bought additives, I let them pick their own Oreo flavors (one kid did golden, one did regular, one did double stuf) and they thought I was the coolest mom ever. Perfect easy treat for summer break!
Took these to a work potluck last week and people were asking me for the recipe before I even finished my first sandwich. I added a tiny sprinkle of flaky sea salt on the ice cream before freezing and wow, that sweet-salty kick is unmatched. Easy to prep ahead too, which is perfect for my busy schedule.
Obsessed. I don’t even have a real kitchen, just a mini fridge with a tiny freezer compartment, and these still turned out perfect. Way cheaper than buying the fancy pre-made ones from the campus convenience store too. 10/10 would make again for late night study sessions.
Made these with my daughter over the weekend and we had a blast! Only hiccup: I let the ice cream soften a little too much on the counter first so it oozed out the sides a bit when we sandwiched them, but honestly? Still tasted amazing, the mess was half the fun.
Perfect easy dessert for those hot Chicago summer days when you don’t want to turn the oven on. I used cookies and cream ice cream between the Oreos for extra Oreo flavor, and my partner said it’s the best treat I’ve made all year. SO good.
Wait, why did I never think to make these myself before? I’ve been paying $5 a pop for the fancy artisanal ice cream sandwiches at the local food truck and these taste literally identical for a fraction of the cost. I made a big batch and stuck them in the freezer for quick after-work snacks all week.
Made these for my beach day with friends last weekend and they were the perfect portable treat. I wrapped each one in parchment paper so no one got sticky sandy fingers, and everyone kept saying I should sell them. So easy, zero stress, total crowd pleaser.
Okay full transparency: I burned the last three baked desserts I tried to make, so I was nervous these wouldn’t turn out. But y’all? NO BAKING REQUIRED. Even I couldn’t mess these up. I added a drizzle of hot fudge in the middle before freezing and it was chef’s kiss.
These are a meal prep game changer for summer! I make a batch on Sunday, wrap them individually, and grab one on my way out the door to work when it’s 90 degrees out. Way better than stopping for fast food ice cream on my commute. I used peach ice cream for a little local flair and it’s *chef’s kiss*.
Brought these to our family 4th of July cookout and three of my cousins asked for the recipe before the fireworks even started. I rolled the edges in red, white, and blue sprinkles to make them festive and they looked so cute on the dessert table. Zero complaints from anyone, even my super picky great aunt!
Just made these with gluten free Oreos and vanilla bean ice cream for my son’s birthday party and they were a hit! All the kids (even the ones without gluten sensitivities) were going back for seconds. So easy to adapt for dietary needs, I can’t recommend this enough.
Wait, I have a tip for anyone making these! If you don’t want to wait for hours for them to freeze solid, stick them in the freezer for 1 hour first, then wrap them individually and put them back for another 3 hours. They set way more evenly that way, no icy weird texture. Made them for my book club and everyone raved.
Volunteered to bring snacks for my daughter’s U10 soccer game and these were a home run. Way less messy than popsicles, didn’t melt into a goopy mess in the 85 degree heat for a good 20 minutes while the kids ate them after the game. All the other parents were asking where I bought them, they couldn’t believe I made them at home!
I’m not gonna lie, I ate half the batch by myself over the weekend. These are so dangerously easy to make, I have to force myself not to make them every single night. I rolled the edges in crushed mini M&Ms and it was such a fun extra crunch. 10/10, will be making these for every movie night from now on.
Perfect recipe for anyone on a tight grocery budget! I already had Oreos in my pantry and grabbed a cheap tub of vanilla ice cream on sale, total cost for the whole batch was like $4. Way better than spending $10 on a box of pre-made ice cream sandwiches from the frozen aisle. Will absolutely be making these on repeat.
We brought these on our weekend camping trip and they were the perfect end to a long day of hiking. I stored them in the bottom of our cooler buried under ice and they stayed perfectly frozen for two whole days. No cooking, no cleanup, just delicious cold treats after being out in the sun. Can’t recommend enough for outdoor trips!