
oreo pudding cake
intro
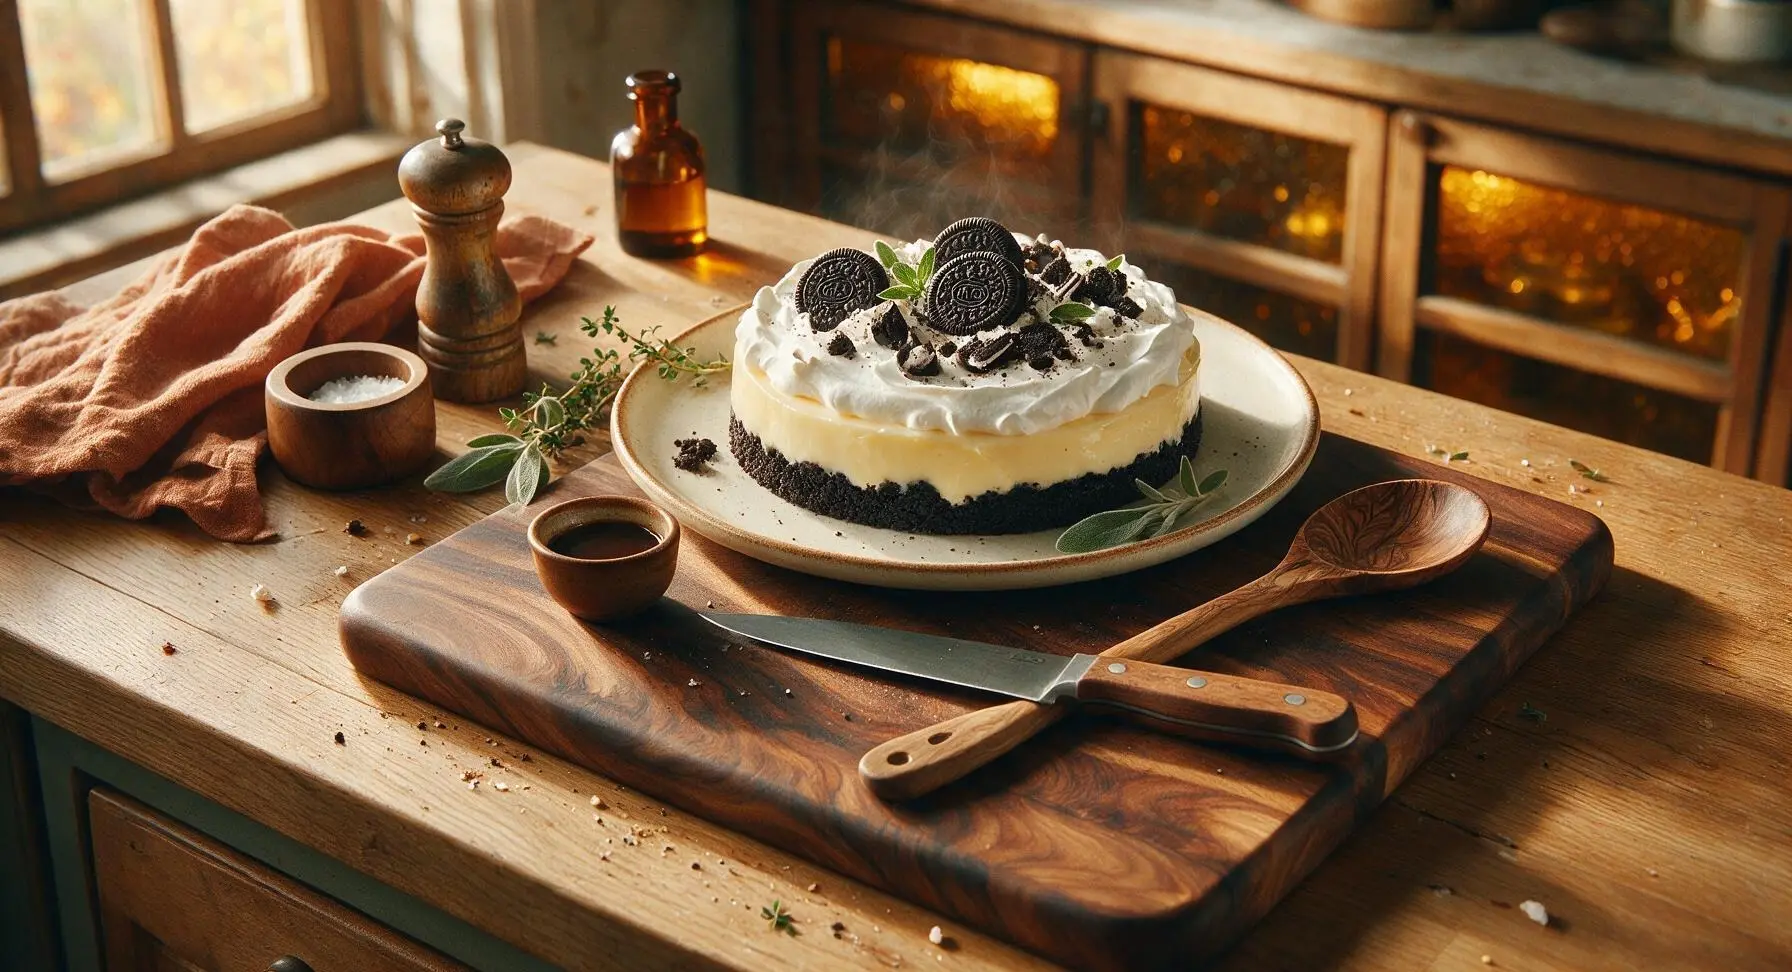
Creamy, layered no-bake Oreo pudding cake with crunchy cookie crust, smooth vanilla filling, and fluffy whipped topping—an easy, crowd-pleasing summer treat.
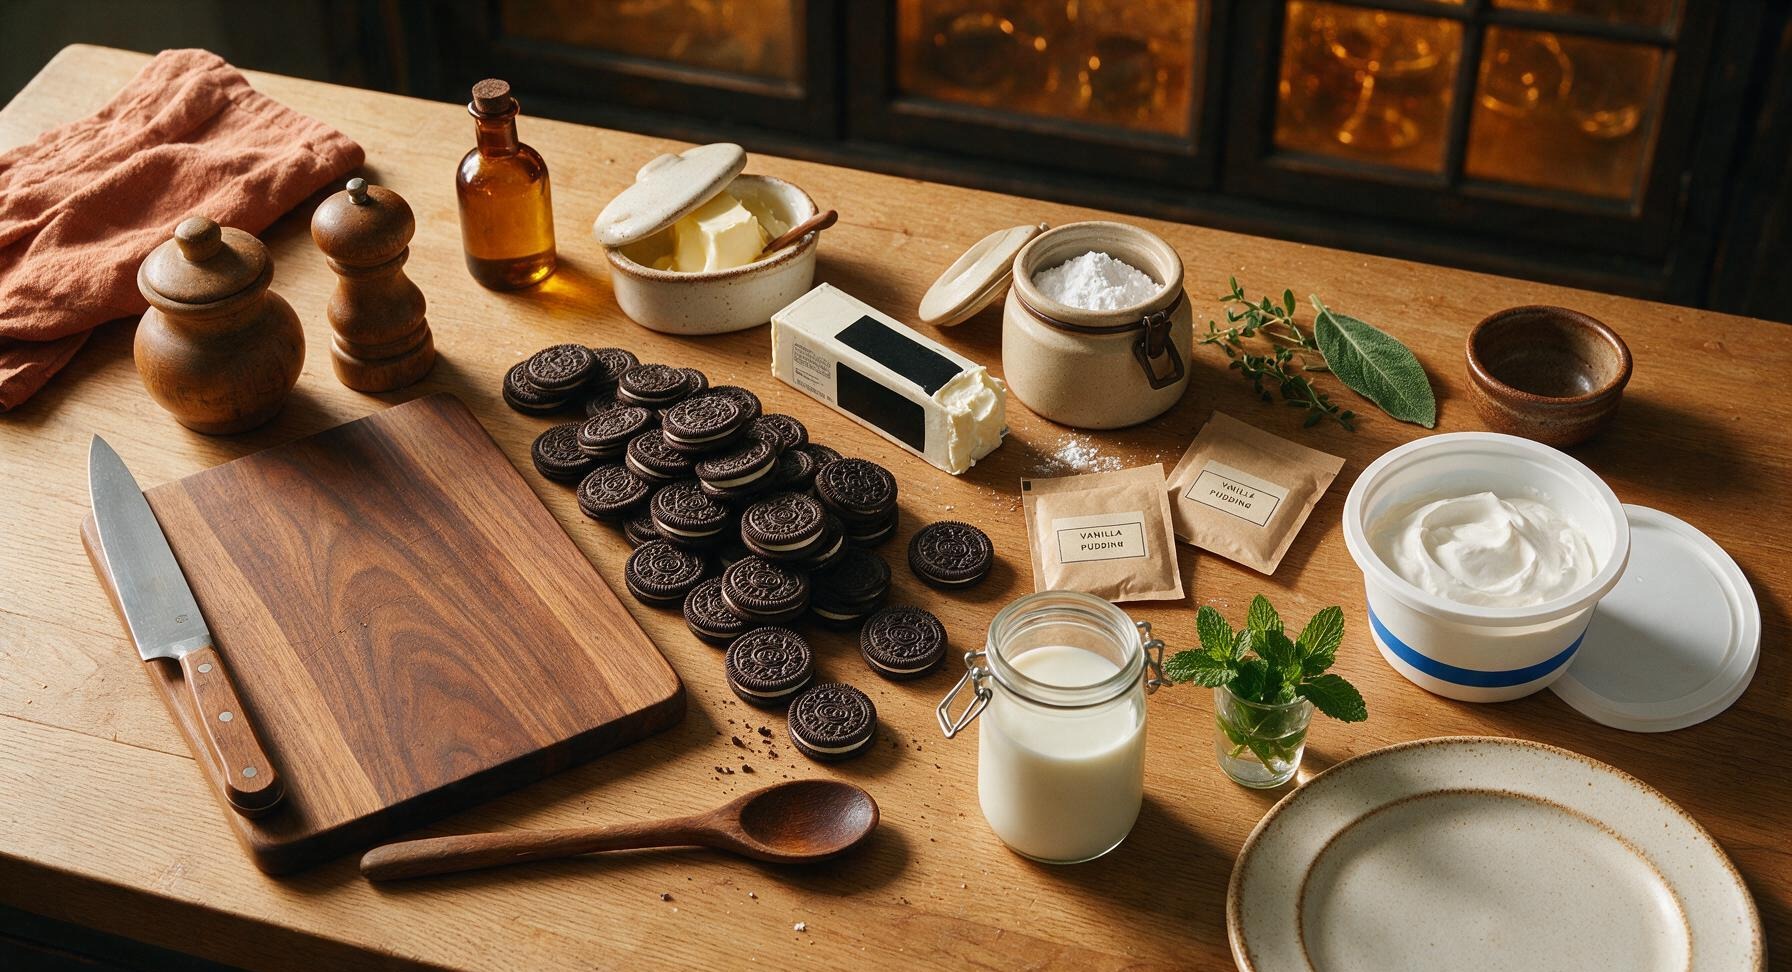
Ingredients
Steps
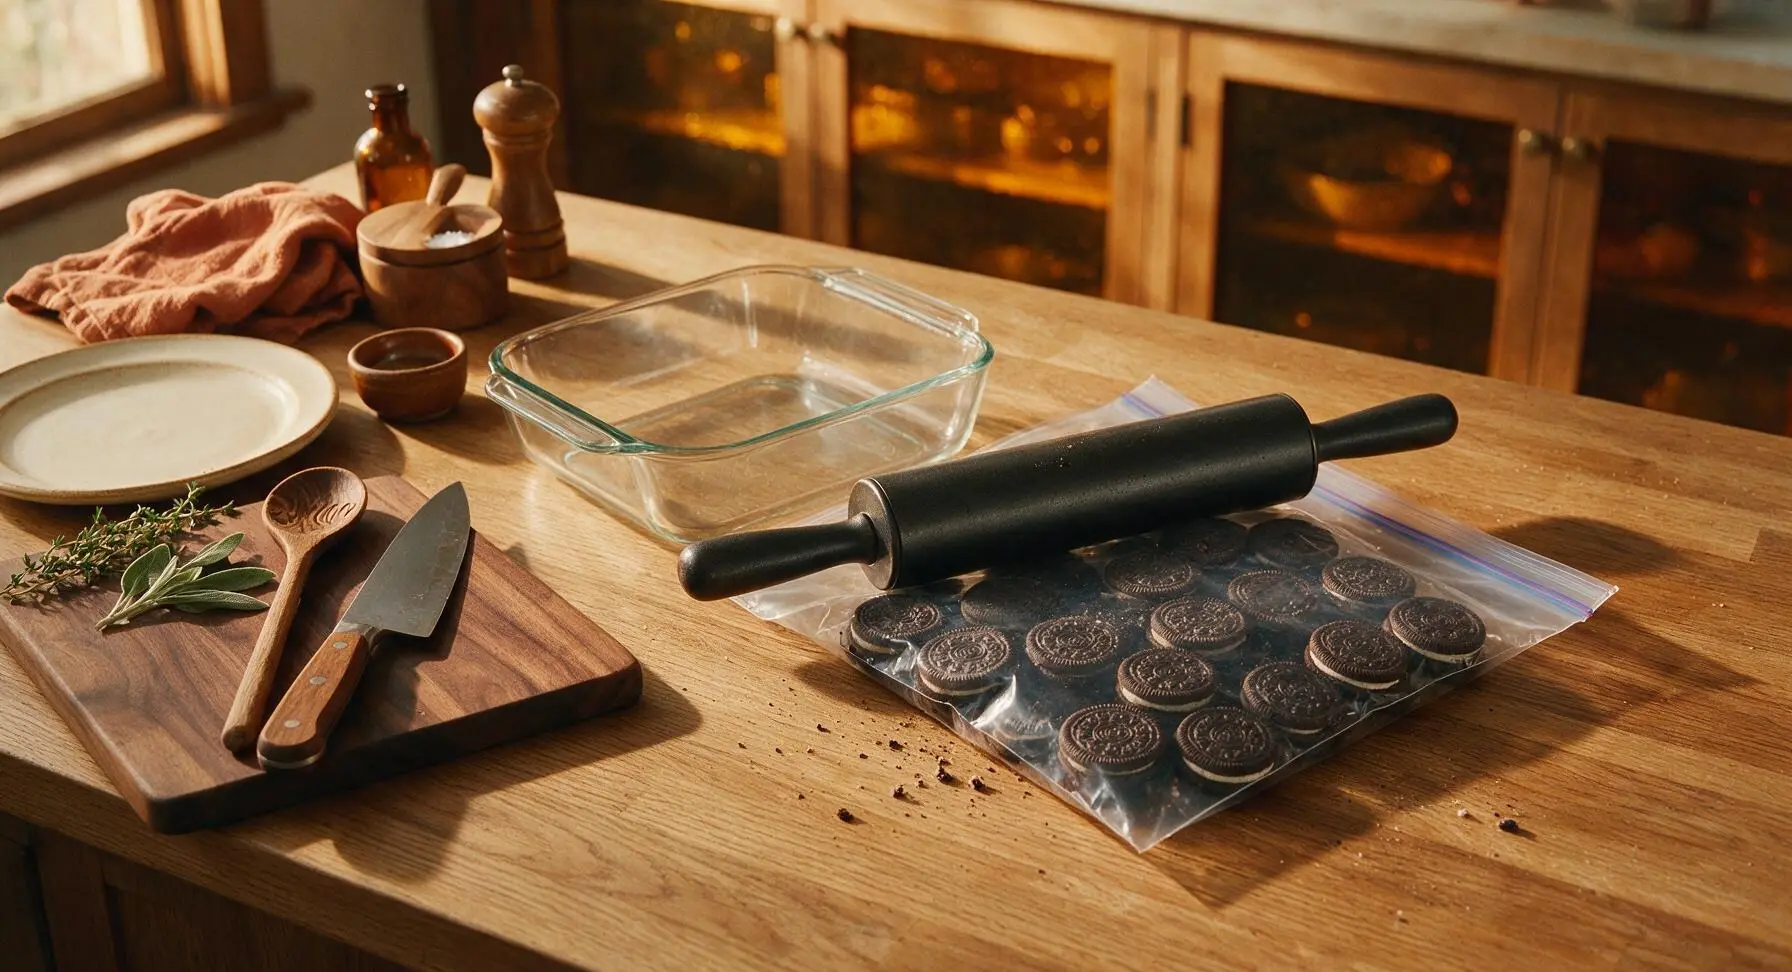
Crush Oreo Cookies
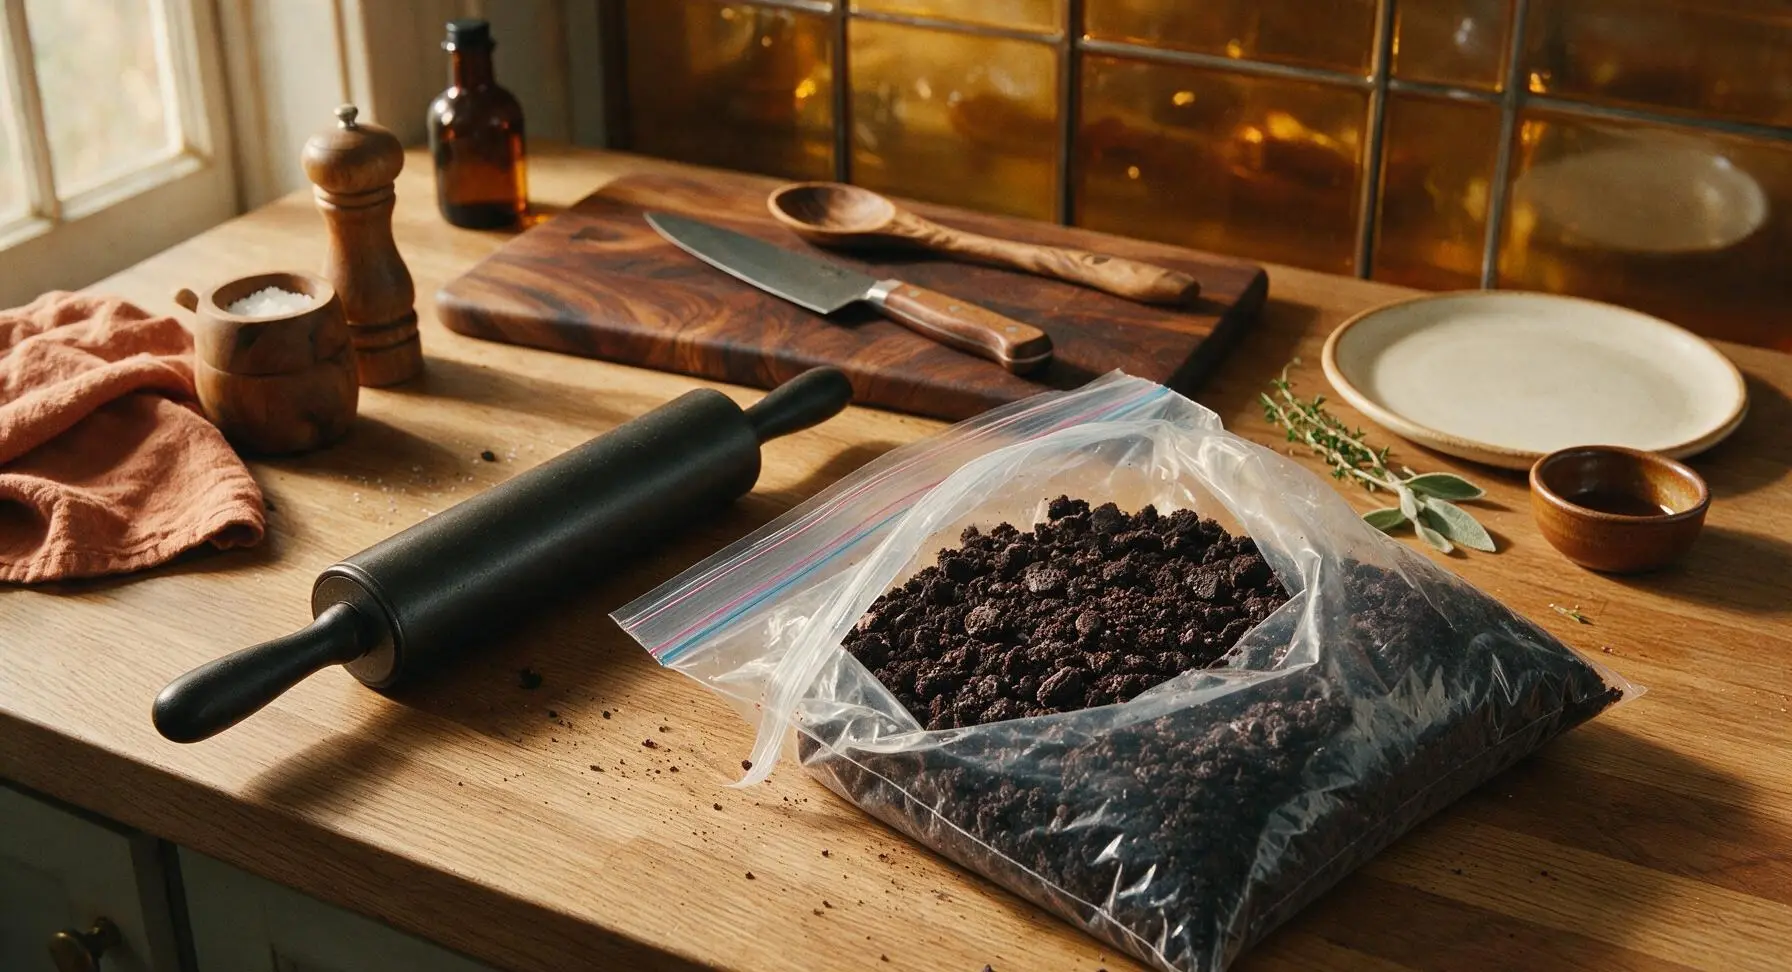
Place 24 of the Oreo cookies into the 1-gallon clear zip-top bag, press out excess air, and seal tightly. Use the matte black metal rolling pin to crush the cookies into coarse, uneven crumbs (retain some pea-sized cookie pieces for texture, do not crush into fine dust). Set the remaining 12 Oreos aside in a small pile for the top garnish.
Press Oreo Crust
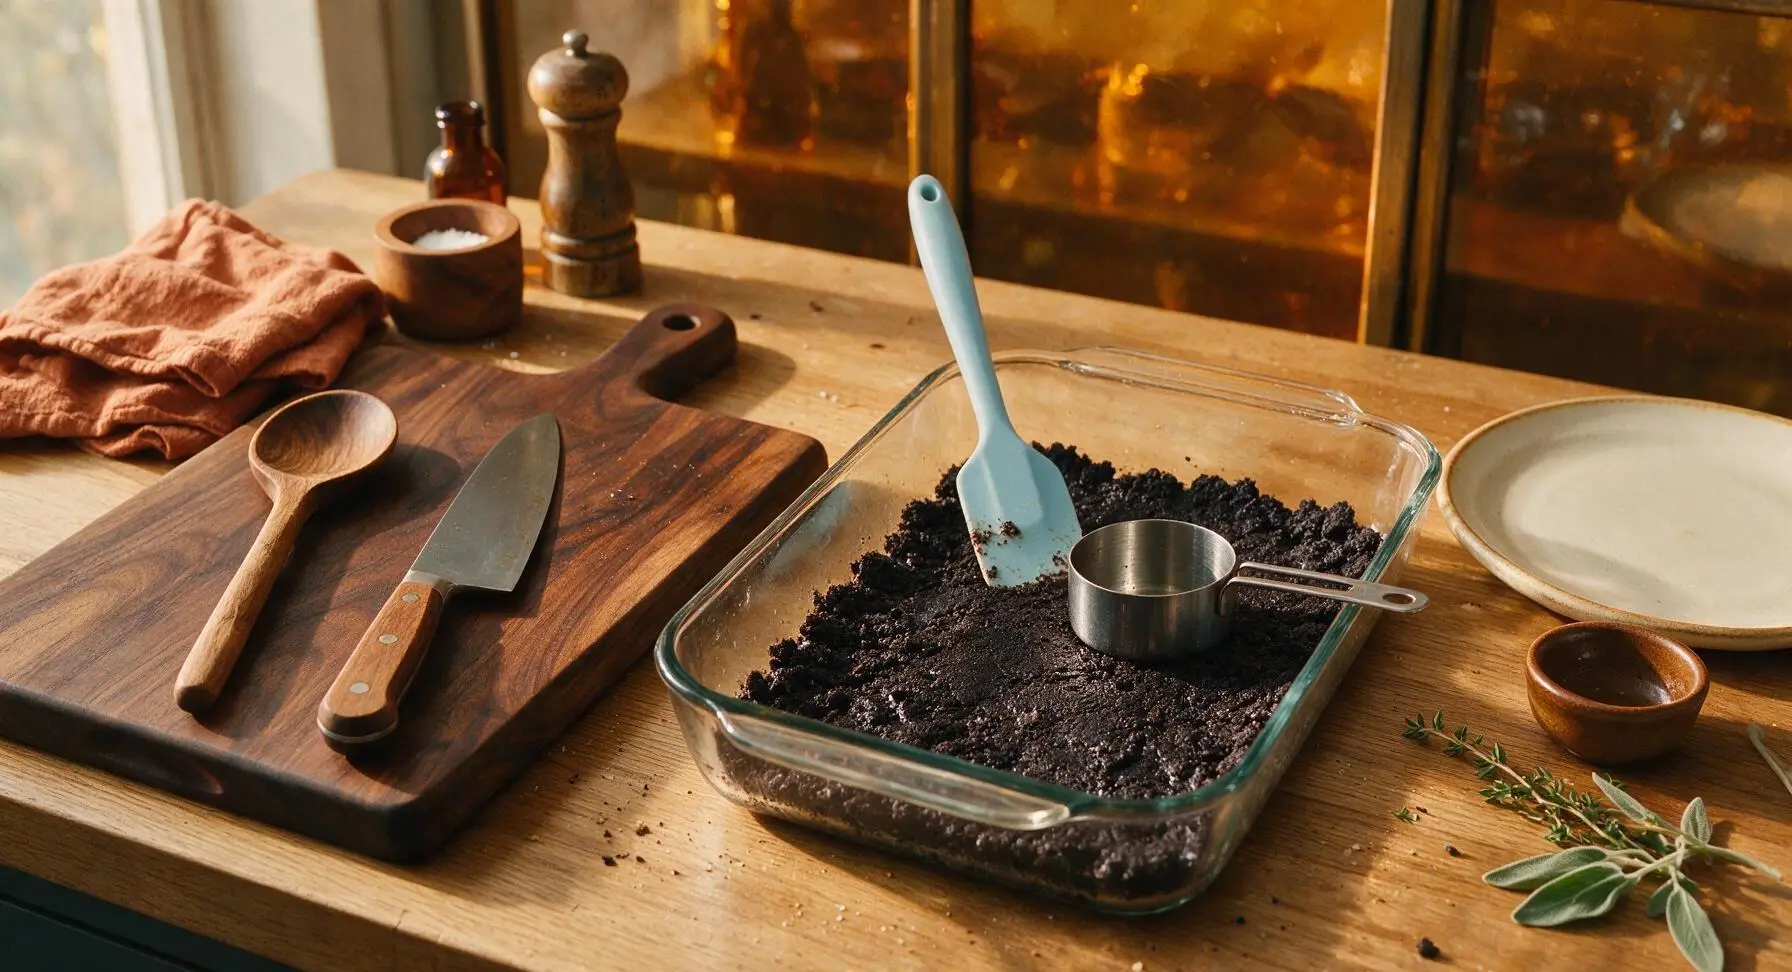
Pour the crushed Oreo crumbs into the center of the 9x13in clear glass baking dish. Drizzle the melted unsalted butter over the crumbs, stir with the pale sky blue silicone spatula until all crumbs are evenly moistened (crumbs will clump together firmly when squeezed in your palm). Press the crumb mixture firmly and evenly across the bottom of the dish to form a tight, compact crust, using the flat bottom of the 1-cup stainless steel measuring cup to smooth the surface into an even layer.
Mix Cream Cheese Filling
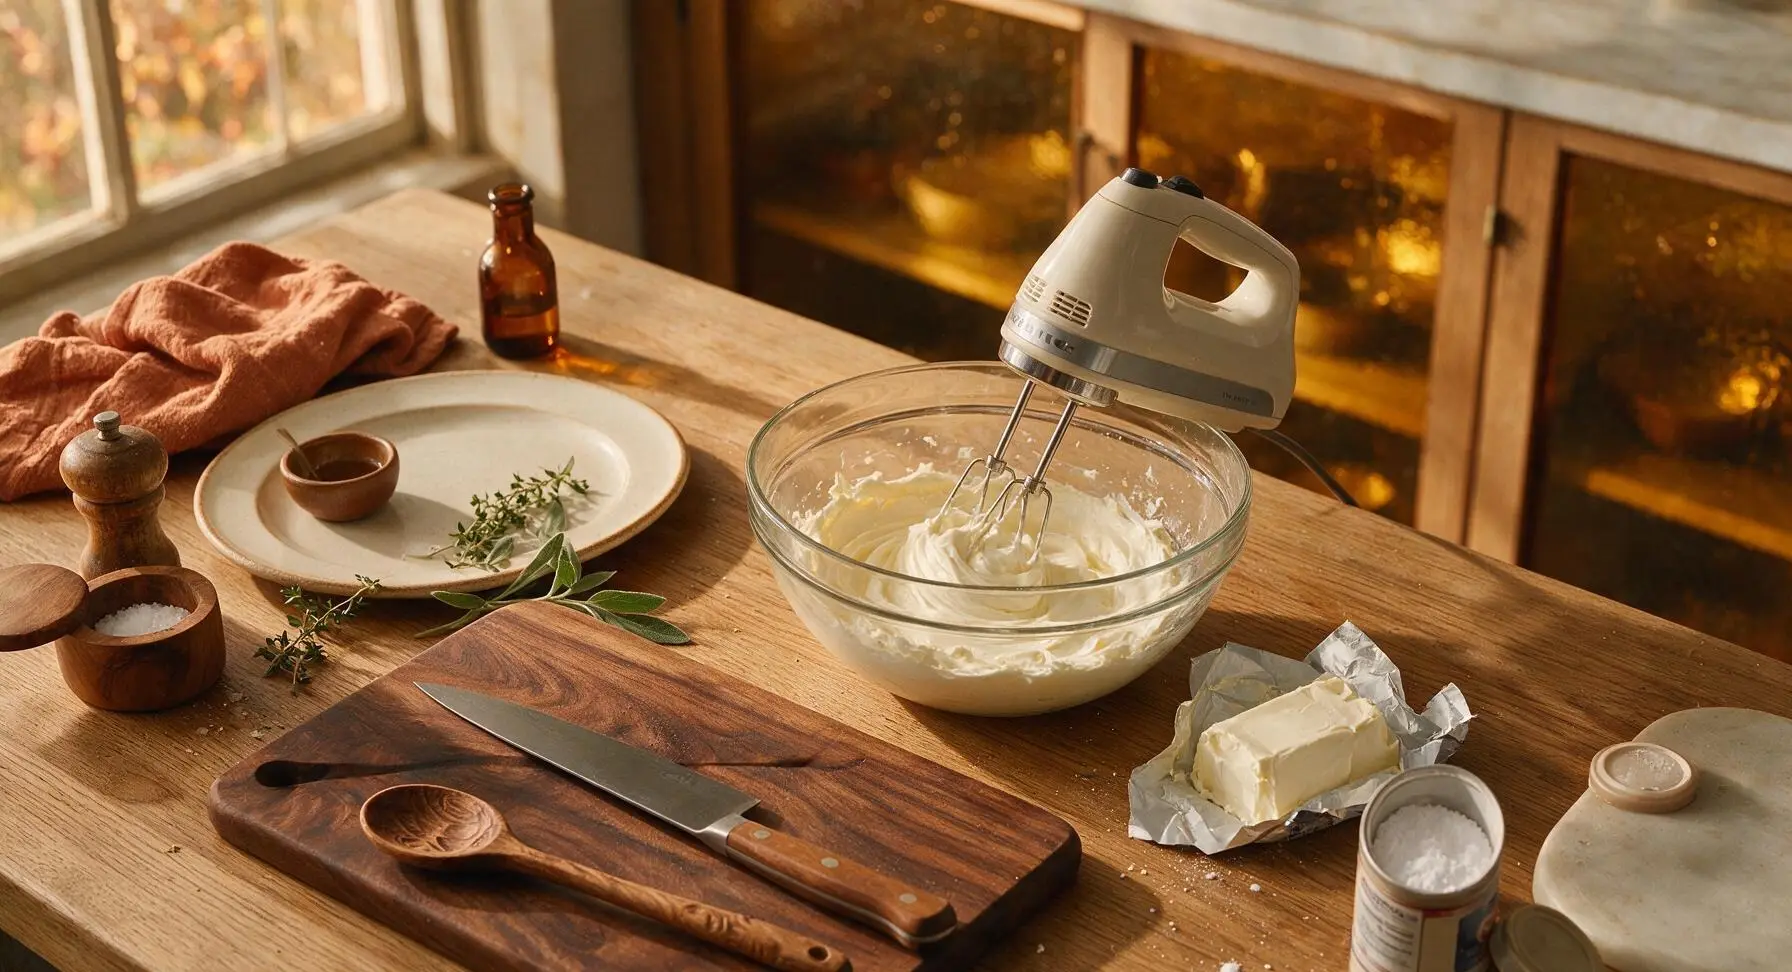
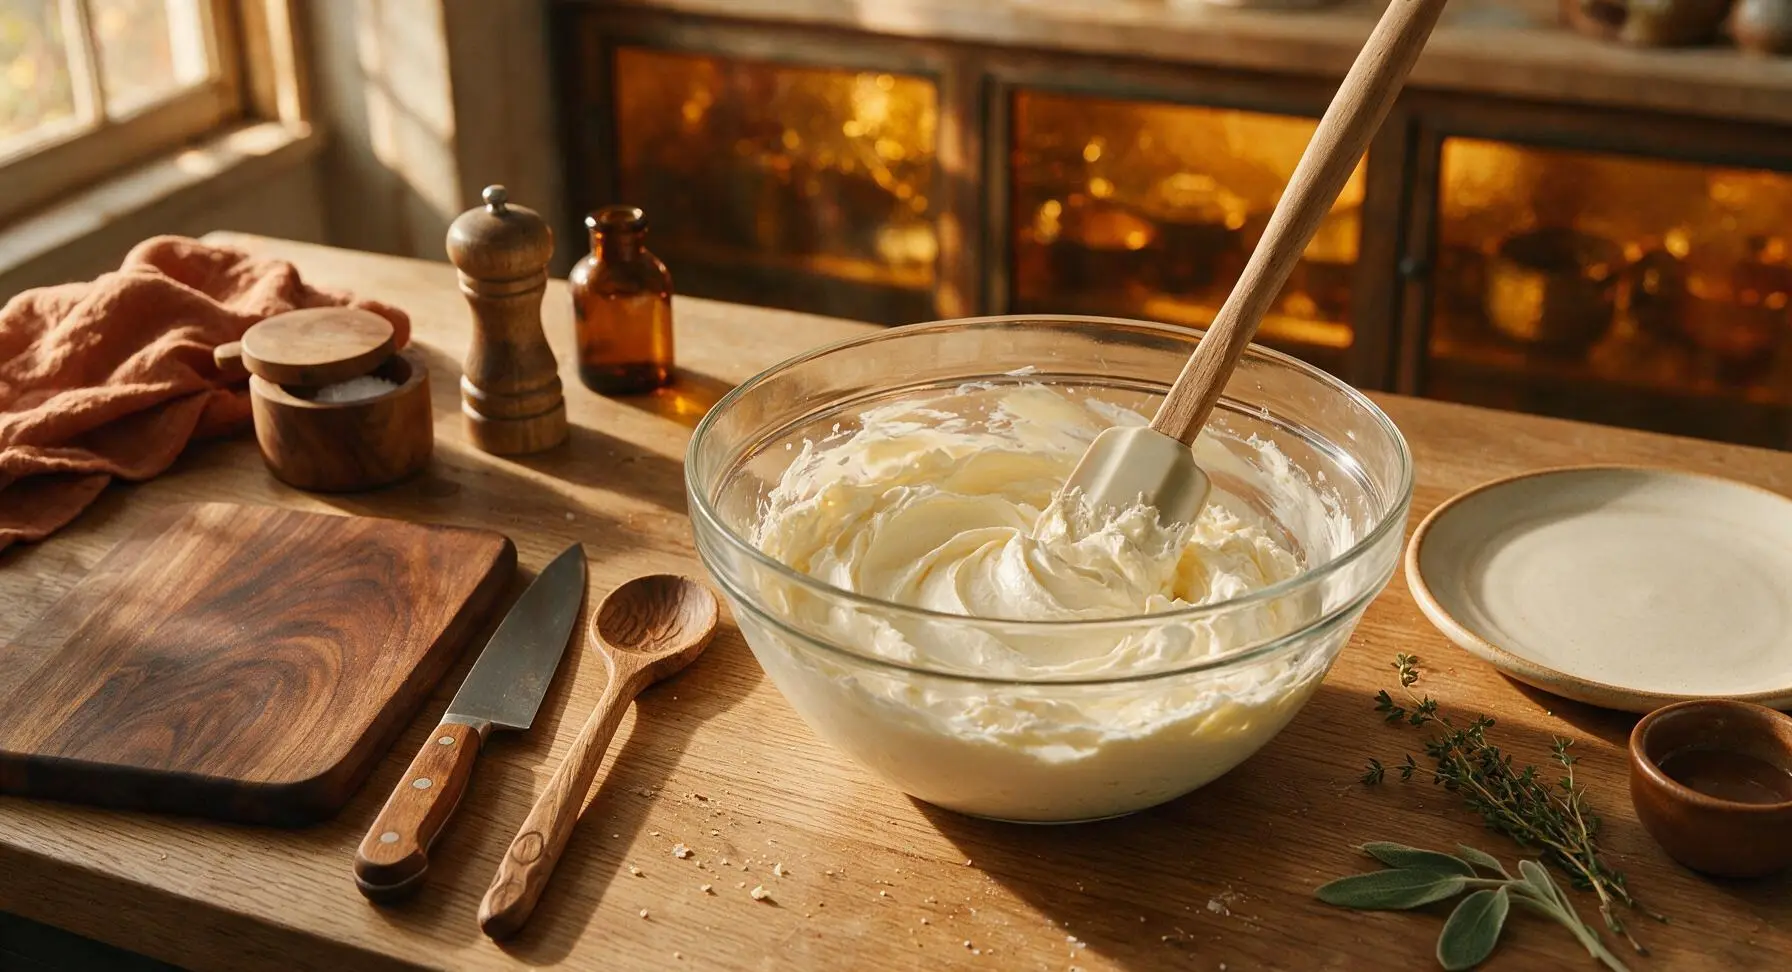
Place the softened room-temperature cream cheese into the 1.5qt medium clear glass mixing bowl. Beat with the handheld electric mixer on medium speed for 2 minutes until completely smooth, with no lumps remaining. Add the powdered sugar, beat on low speed for 30 seconds to combine, then fold in 1 cup of the thawed whipped topping with the silicone spatula until evenly mixed, light and fluffy.
Spread Cream Cheese Layer
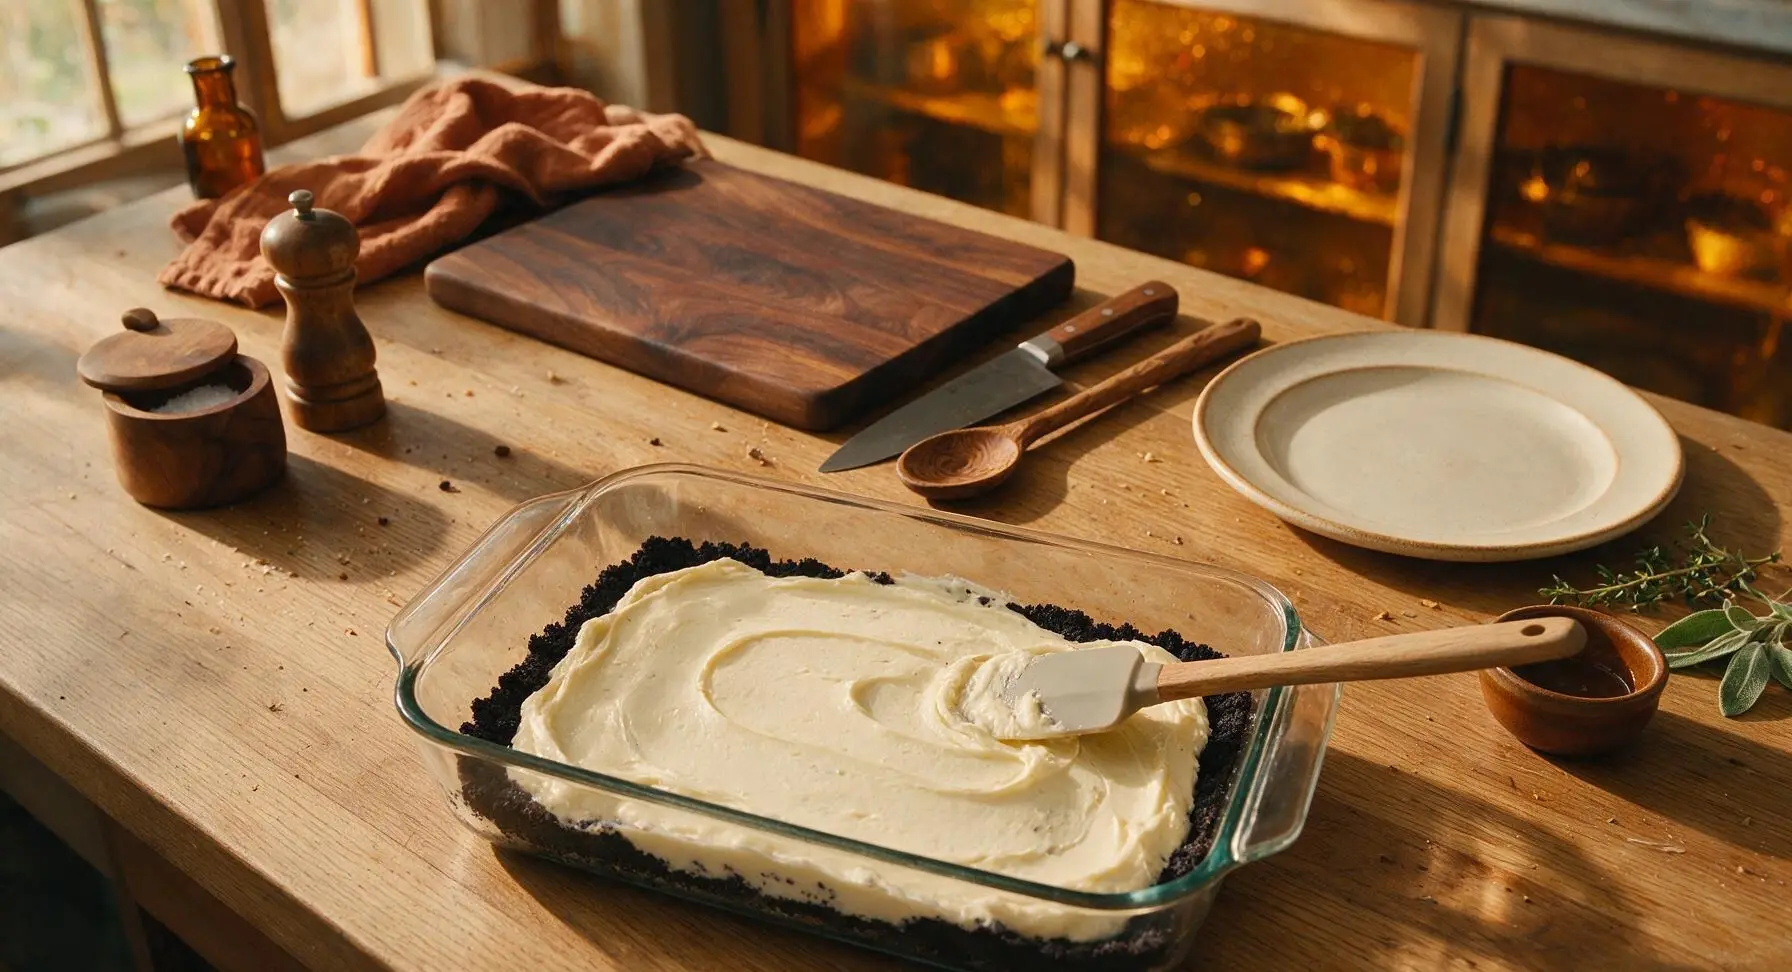
Scoop all of the cream cheese mixture onto the center of the pressed Oreo crust in the baking dish. Use the silicone spatula to spread it gently into an even, smooth layer across the entire crust, taking care not to lift dark crumbs up into the light filling. The finished layer should be approximately 1/2 inch thick across the whole pan.
Whisk Vanilla Pudding
Pour the cold whole milk into the 2.5qt large clear glass mixing bowl. Add both packets of instant vanilla pudding mix, whisk vigorously with the stainless steel balloon whisk for 2 minutes, until the pudding is thick and smooth, with no dry powder lumps. Let the pudding rest for 5 minutes to set slightly—it should hold a soft peak when the whisk is lifted from the bowl.
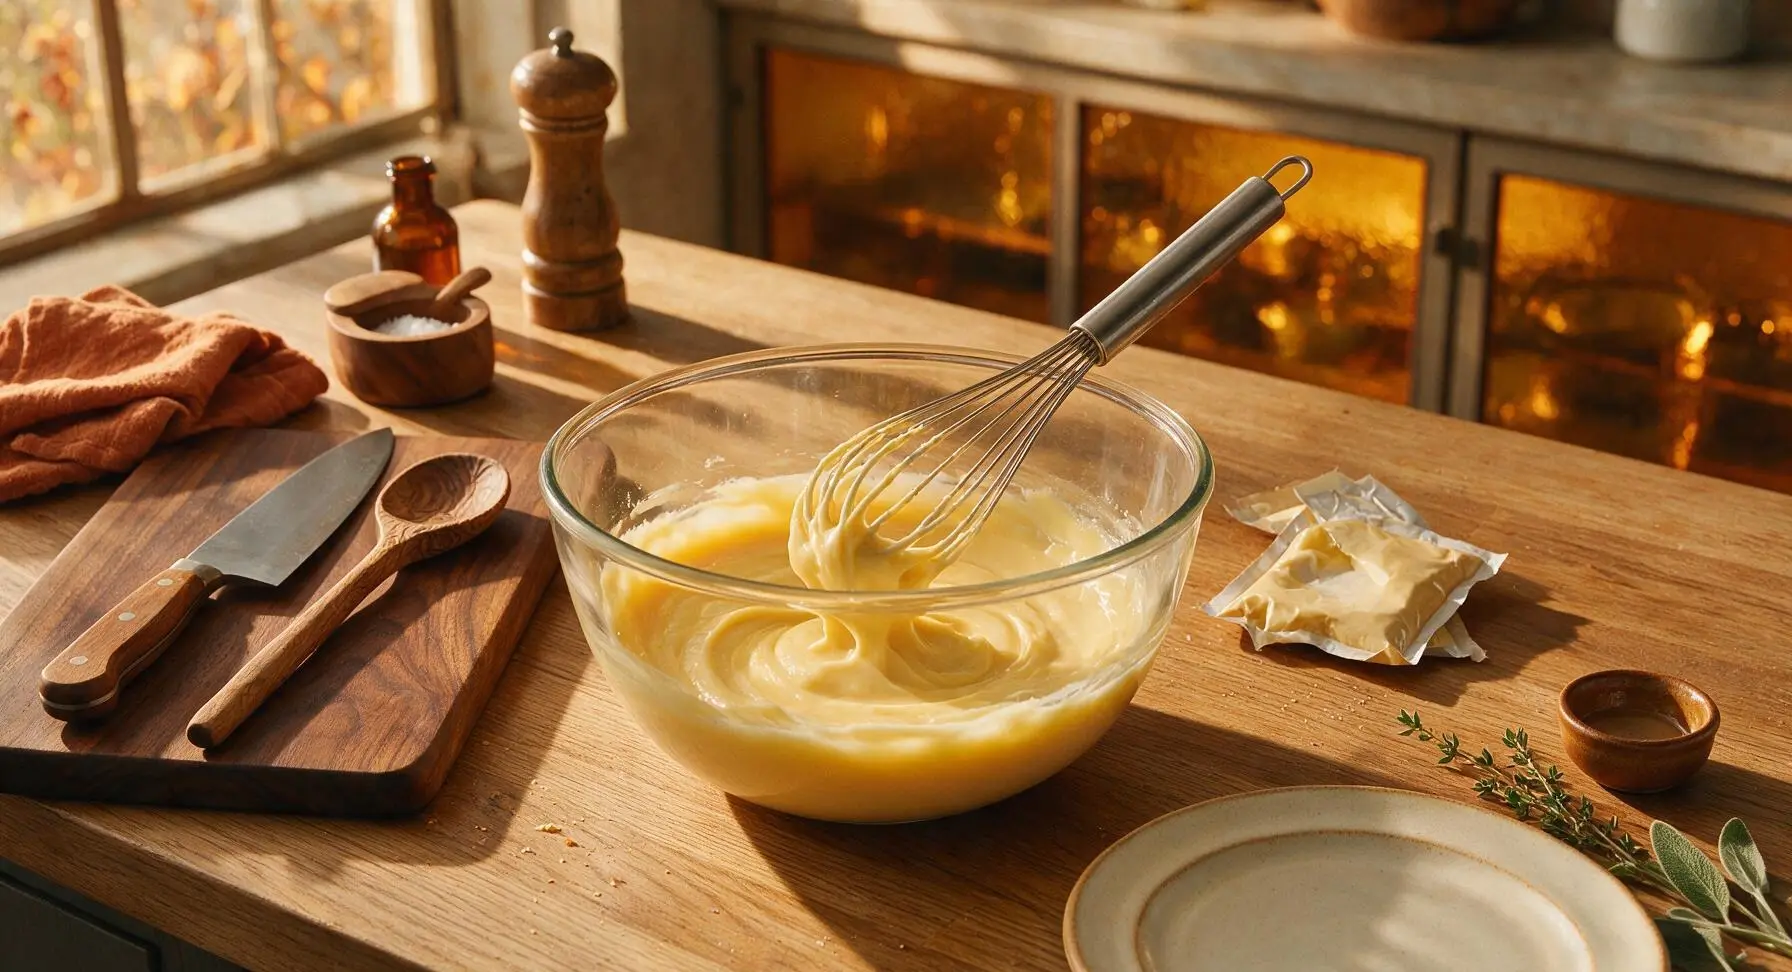
Layer Pudding Filling
Scoop all of the slightly set vanilla pudding on top of the cream cheese layer in the baking dish. Use the silicone spatula to spread it gently into a smooth, even layer, taking care not to mix it with the cream cheese layer below. Once spread, place the dish in the refrigerator to chill for 10 minutes to let the pudding firm up before adding the final topping.
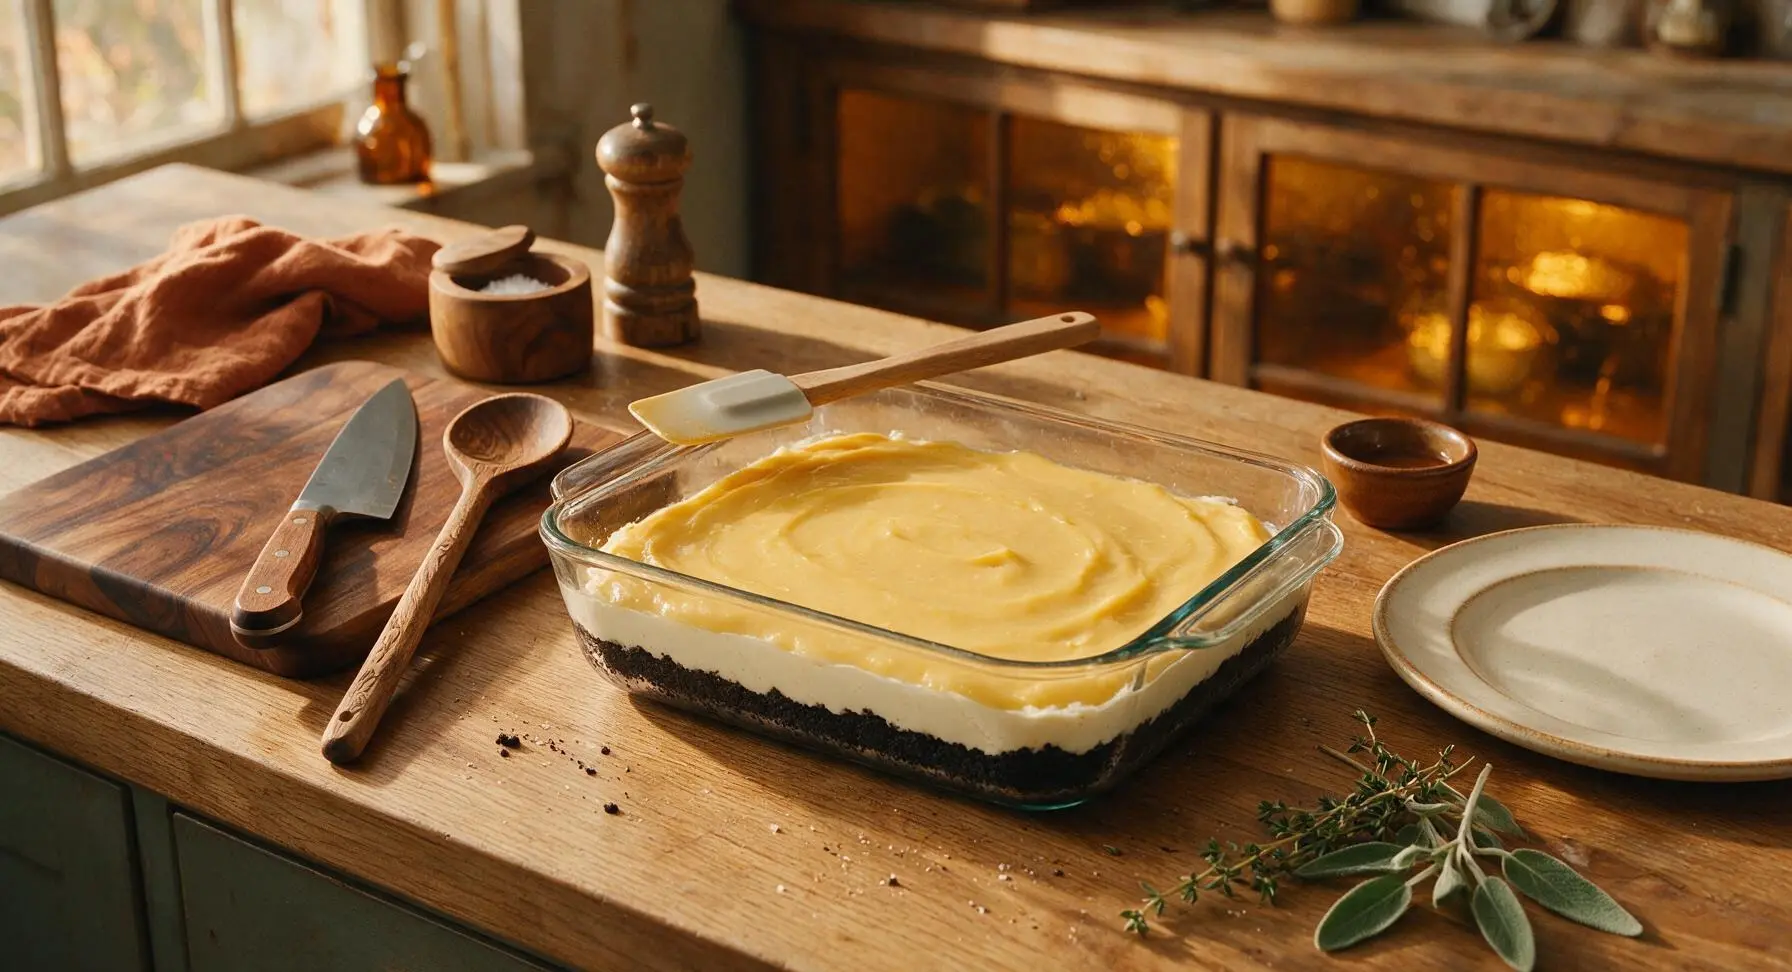
Top and Chill Cake
Remove the dish from the refrigerator after 10 minutes. Spread the remaining thawed whipped topping evenly over the set pudding layer, creating soft, gentle peaks across the surface for texture. Crush the reserved 12 Oreos into coarse crumbs, then sprinkle them evenly over the top of the whipped topping. Return the dish to the refrigerator to chill for a full 2 hours, until all layers are completely set and firm to the touch.
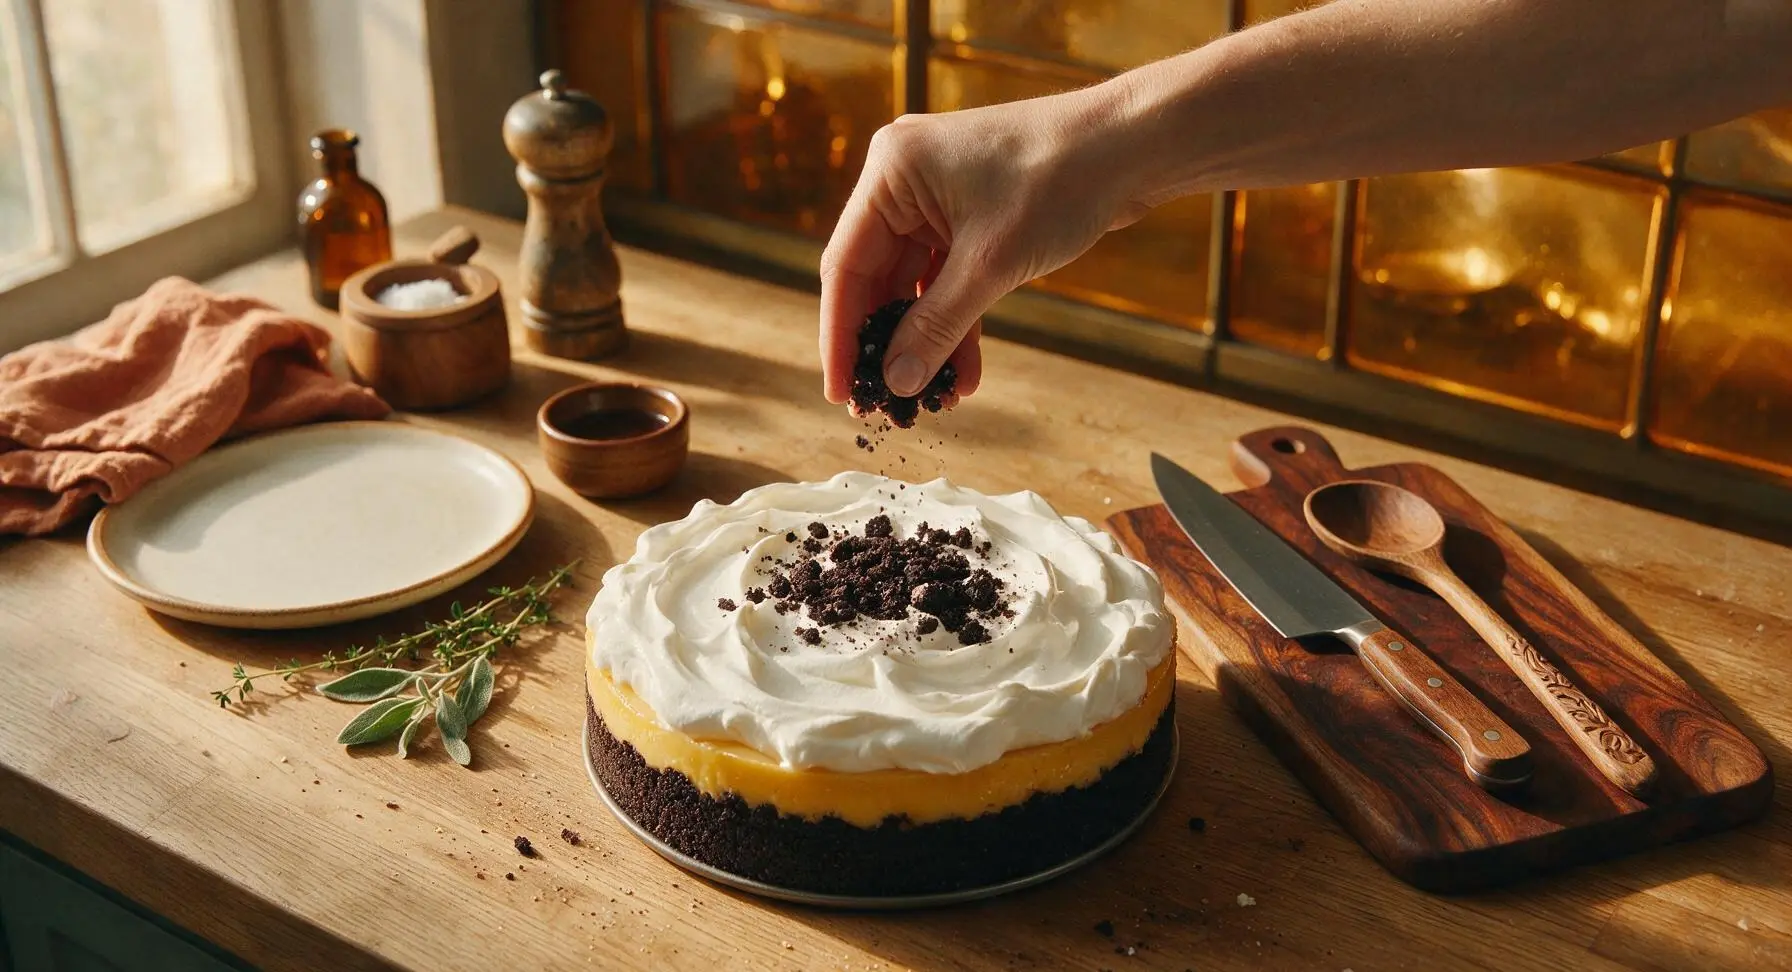
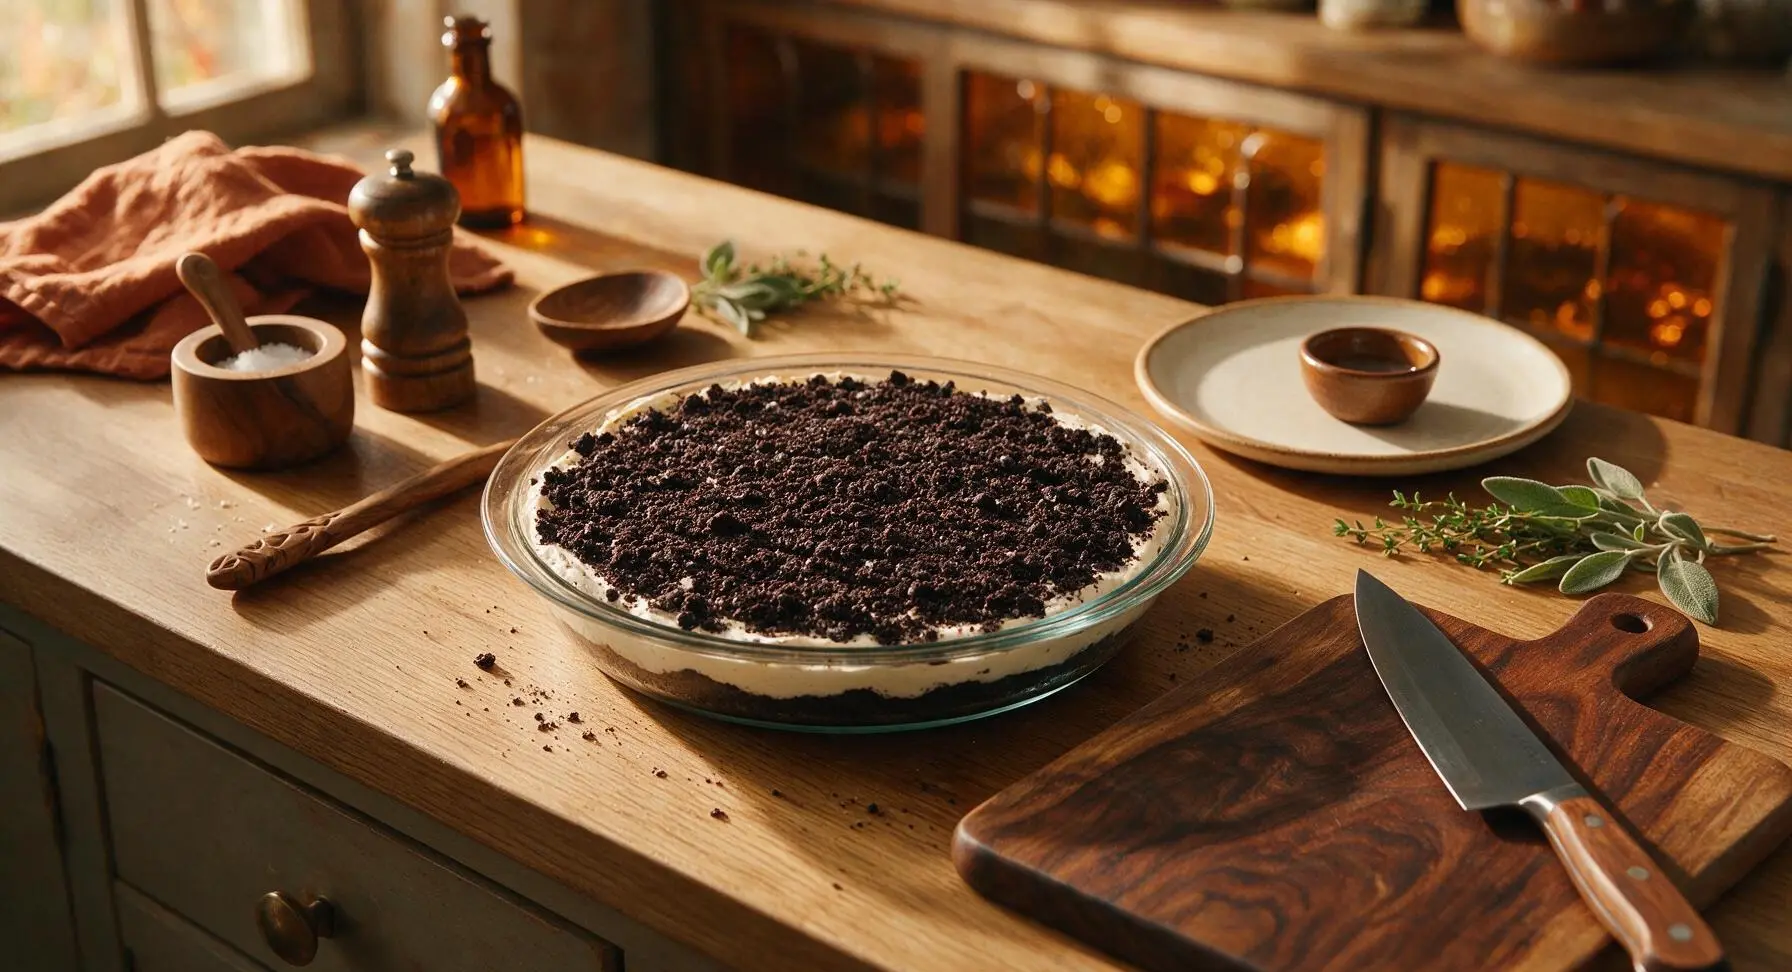
Slice and Garnish
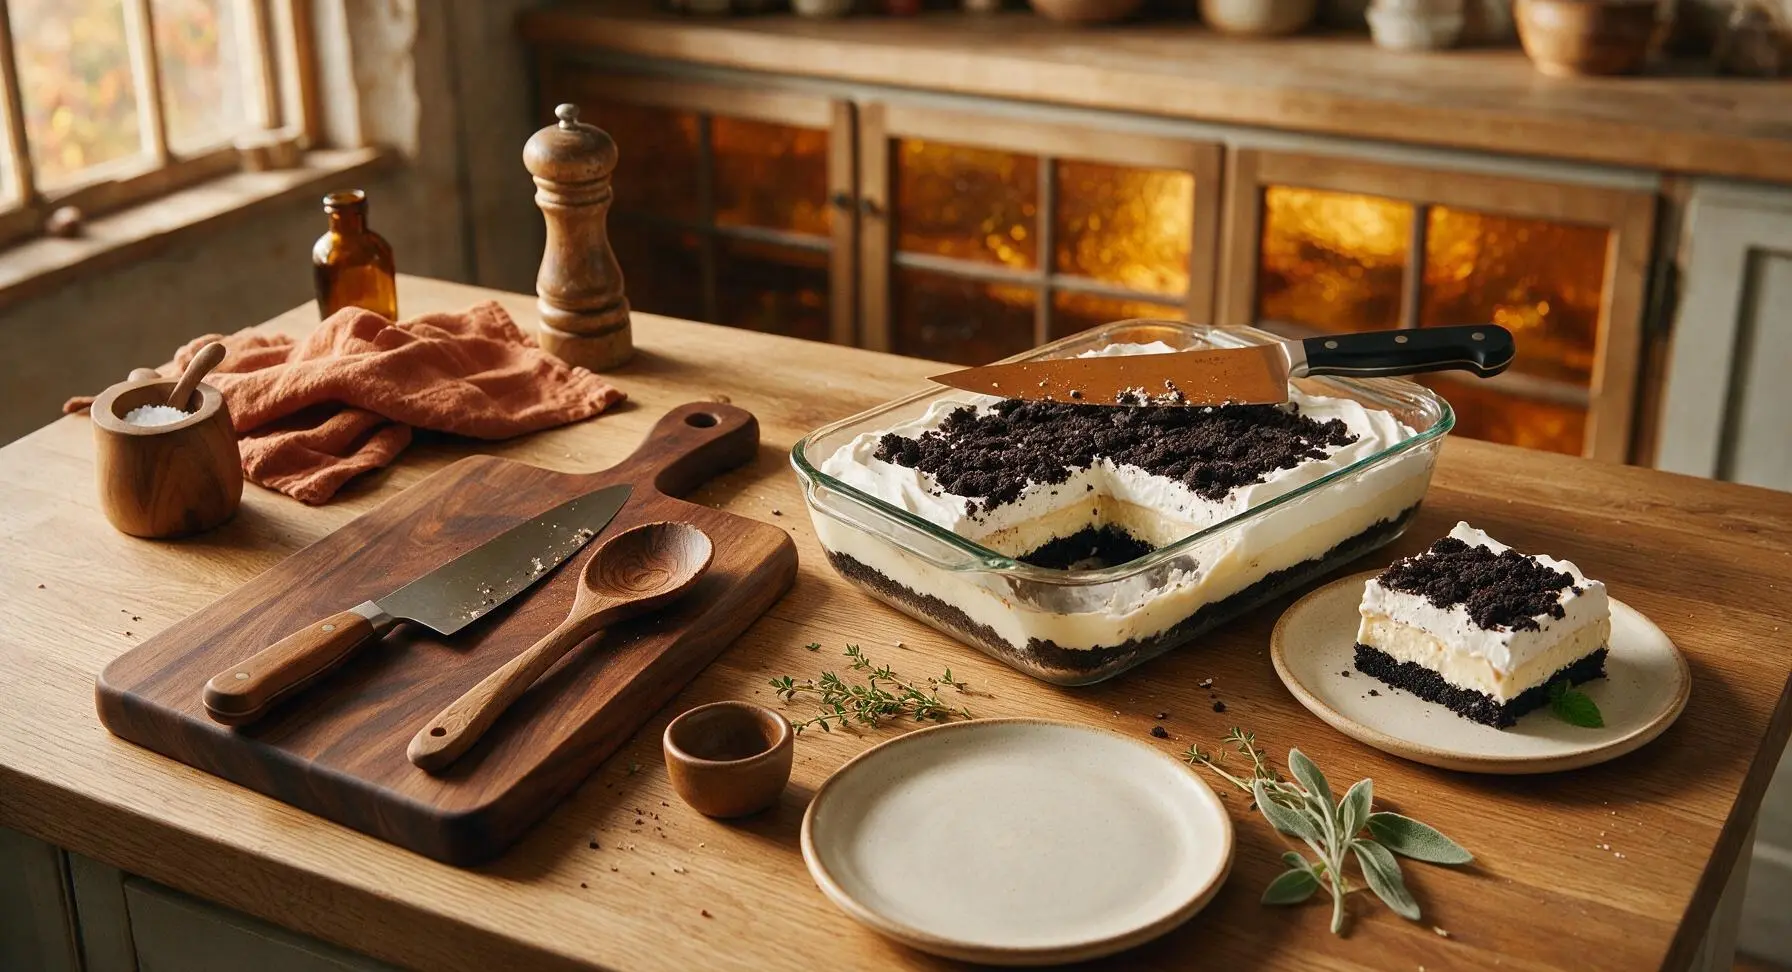
After the 2 hour chill time, remove the dish from the refrigerator. Retrieve the chef knife from the oak knife block, dip the blade in hot water, and wipe dry. Run the warm knife around the edge of the dish to release the sides, then cut the cake into 8 equal 3x4 inch squares, wiping the knife clean between cuts for neat edges. Transfer one square to the top matte white dessert plate, and tuck a single fresh mint leaf next to the crumb topping for garnish.
Tips
2.Use ice-cold whole milk when mixing instant pudding: warm or low-fat milk prevents the pudding from setting firmly, leading to runny, sliding layers that will not hold a clean edge when sliced.
3.Wipe your knife blade clean with a warm, damp cloth between every slice: this prevents smearing filling and crumbs across cut edges, keeping layers crisp and defined for a polished, professional presentation.






OMG this no-bake Oreo pudding cake was a total game changer for my kid’s soccer team potluck last weekend! I threw the whole thing together in like 12 minutes after work on Friday, stuck it in the fridge to chill overnight, and it was perfect. All the kids went back for seconds, and three other moms begged me for the recipe link. It’s SO creamy, the Oreo layers soften up just right but still have that little crunch, and it’s not cloyingly sweet at all. Absolute new go-to for summer when I don’t want to turn the oven on!
I was skeptical at first because no-bake desserts can be hit or miss for me, but this? *Chef’s kiss* I added a little extra whipped cream on top with some mini Oreos for garnish when I served it at our family dinner last night, and even my super picky 7 year old ate two slices. The 2 hour chill time is so doable even on busy school nights, no complicated steps or fancy equipment needed. Total weeknight win.
Made this for my teen’s late night study session with their friends, and the whole pan was gone in 20 minutes. Zero leftovers, no complaints, and I didn’t even have to turn the oven on which is perfect because it’s been 90 degrees out here in Colorado all week. Next time I’m making a double batch for sure.
Y’all, I brought this to our office potluck today and people were literally scraping the edges of the pan to get the last bits. I followed the recipe exactly except I used golden Oreos for the top layer for a little color contrast, and it looked so fancy people thought I bought it from a local bakery. Cannot believe how easy this is for how impressive it tastes. 10/10, no notes.
Super easy, super tasty, but heads up for anyone making this — make sure you give it the full 2 hours to chill! I got impatient and pulled it out after an hour and the layers were a little runny. Popped it back in for another hour and it was perfect, though. Definitely worth the wait, tastes just like the Oreo dirt cake my grandma used to make but way creamier.
Made this for my husband’s birthday since he’s obsessed with all things Oreo, and he said it’s the best dessert I’ve ever made. We even had a slice for breakfast the next day, no shame. It’s so simple I don’t even have to write the recipe down, I already have it memorized. Will be making this for every holiday gathering from now on.
I don’t cook or bake at all, like I burn toast regularly, and I pulled this off with zero issues. My whole family was shocked when I brought it to our Sunday cookout, they thought I ordered it from a fancy dessert shop. This recipe is totally foolproof, even for kitchen disasters like me. 5 stars all the way.
Wait why didn’t I think of adding this to my weekly meal prep rotation? I made it on Sunday, cut it into individual slices, and kept them in the fridge for after-dinner treats all week. It held up perfectly for 5 days, no sogginess, no weird texture changes. Total game changer for when I need a little sweet treat after work without putting in effort every night.
Just pulled this out of my dorm mini fridge after the full 2 hour chill and it slapped so hard. No oven needed, just a mixing bowl, a pan, and ingredients I grabbed from the campus grocery store. My roommates and I already ate half the pan while we’re pulling an all-nighter for midterms. 10/10, perfect for broke college students who don’t have access to a full kitchen.
This was so good, but I will say if you love extra chocolate, throw in a thin layer of chocolate fudge sauce between the Oreos and pudding. I did that and it tasted like a fancy restaurant dessert. My husband said it’s better than the Oreo cake we got at our wedding. Will absolutely be making this again, probably as early as next week.
Made this to go with our brisket and coleslaw for our Fourth of July cookout, and everyone said the Oreo cake was the star of the show. Who knew a no-bake dessert could outshine smoked brisket? Super easy, minimal cleanup, zero oven time in 100 degree Texas heat? I’ll be making this every summer from now on.