
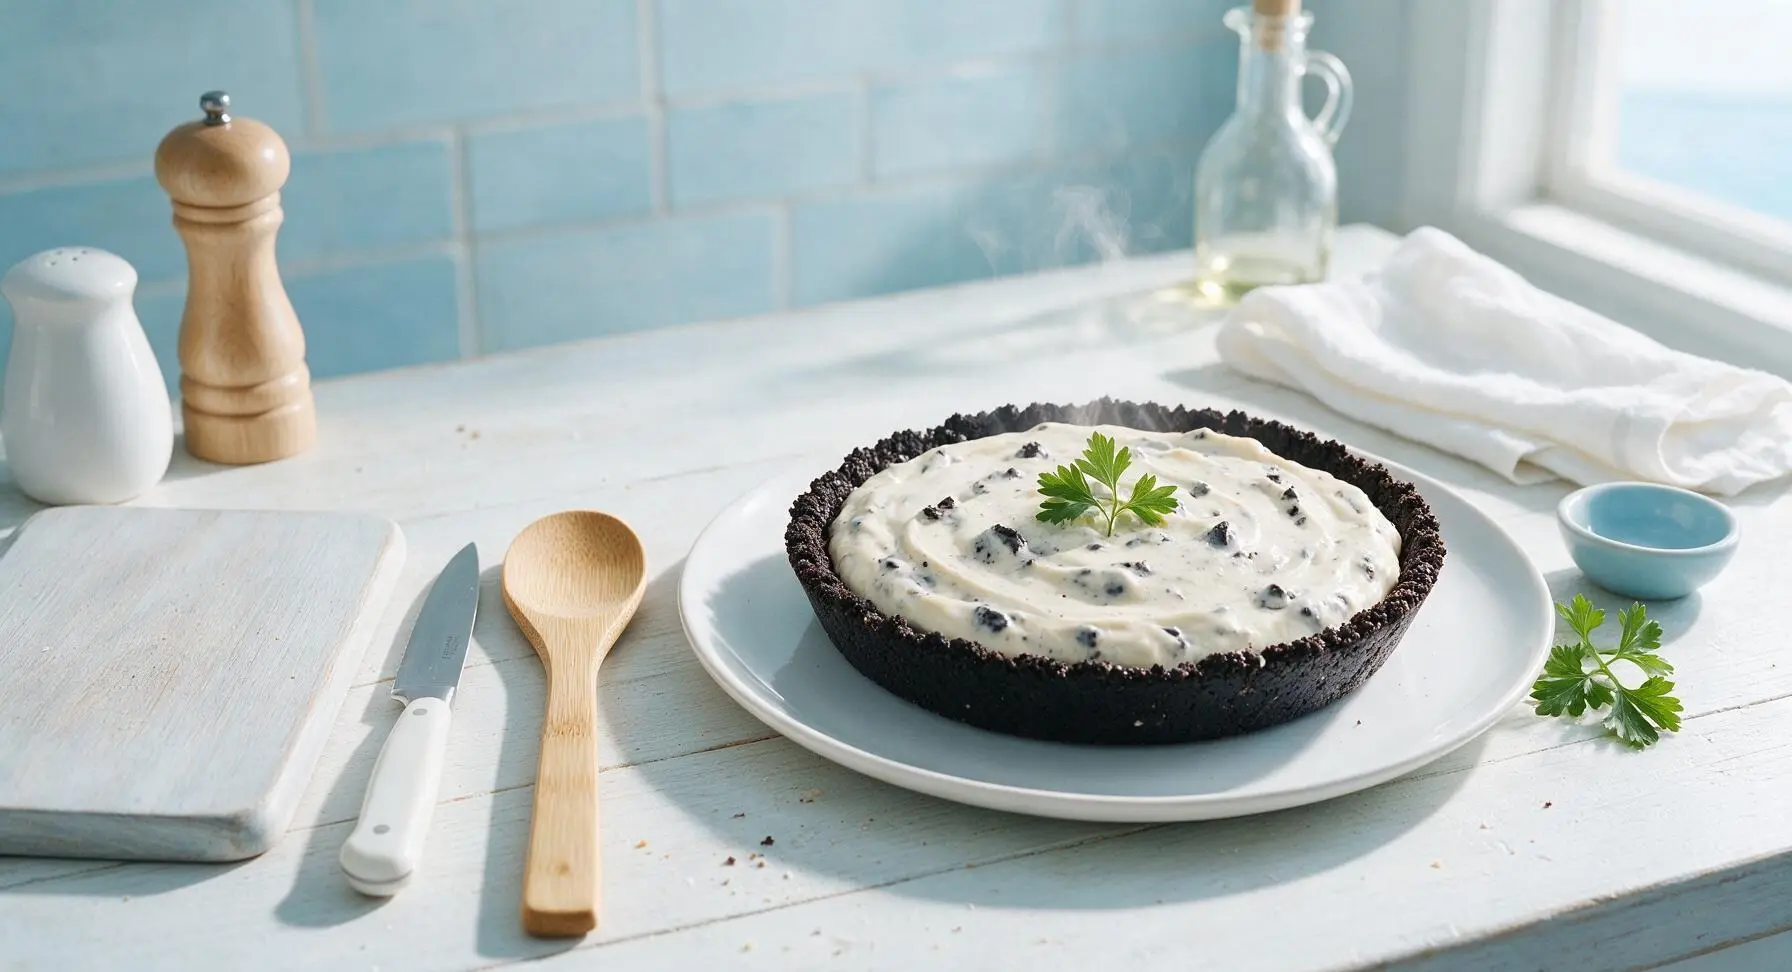
oreo pudding pie

title 1
oreo pudding pie
⏱️ cook time 4 hours chilling time (no active cooking)
🍽️ servings 8
⚡ Difficulty easy

intro

Cool, creamy, and loaded with crunchy Oreo bits, this no-bake pudding pie is an easy, crowd-pleasing summer treat that requires zero oven time.

Ingredients
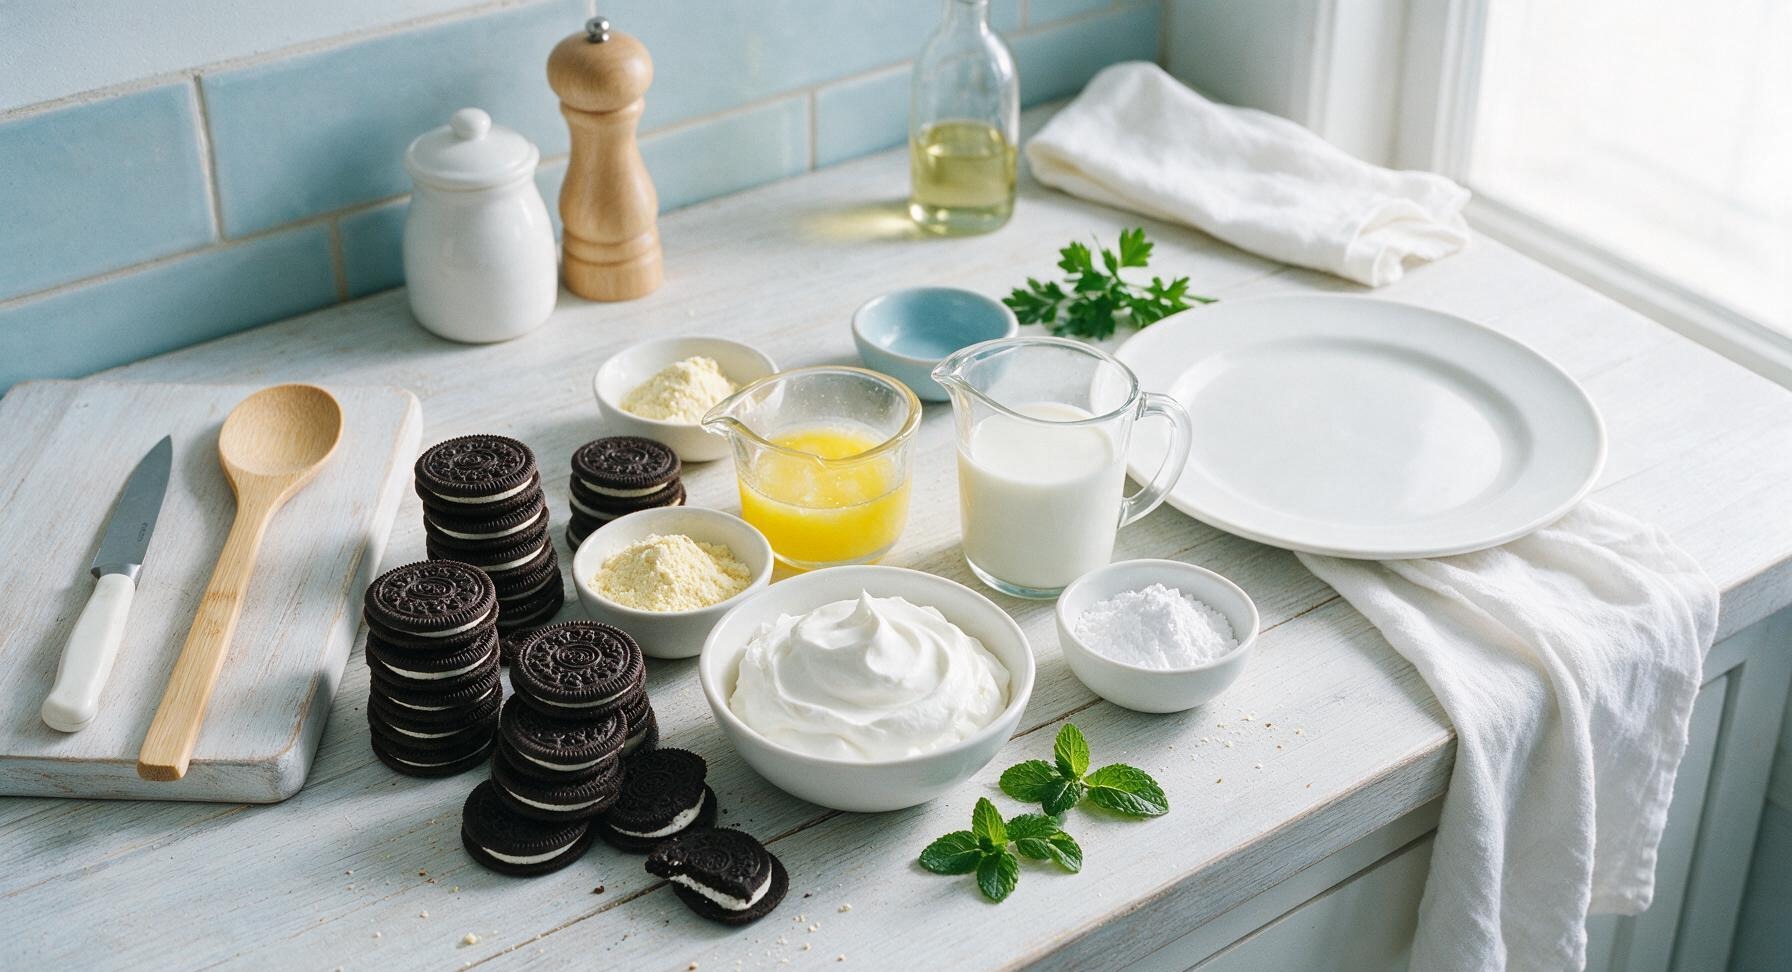
Oreo chocolate sandwich cookies 36 count (14.3oz/405g package), divided
Unsalted butter 6 tbsp (85g), melted
Instant vanilla pudding mix two 3.4oz (96g) boxes
Cold whole milk 2 cups (480ml)
Frozen whipped topping (e.g. Cool Whip) 8oz (227g), thawed, divided
Powdered sugar 2 tbsp (15g)
Fresh mint sprigs 4 small sprigs, for garnish

Steps

1

Crush Oreos for Crust

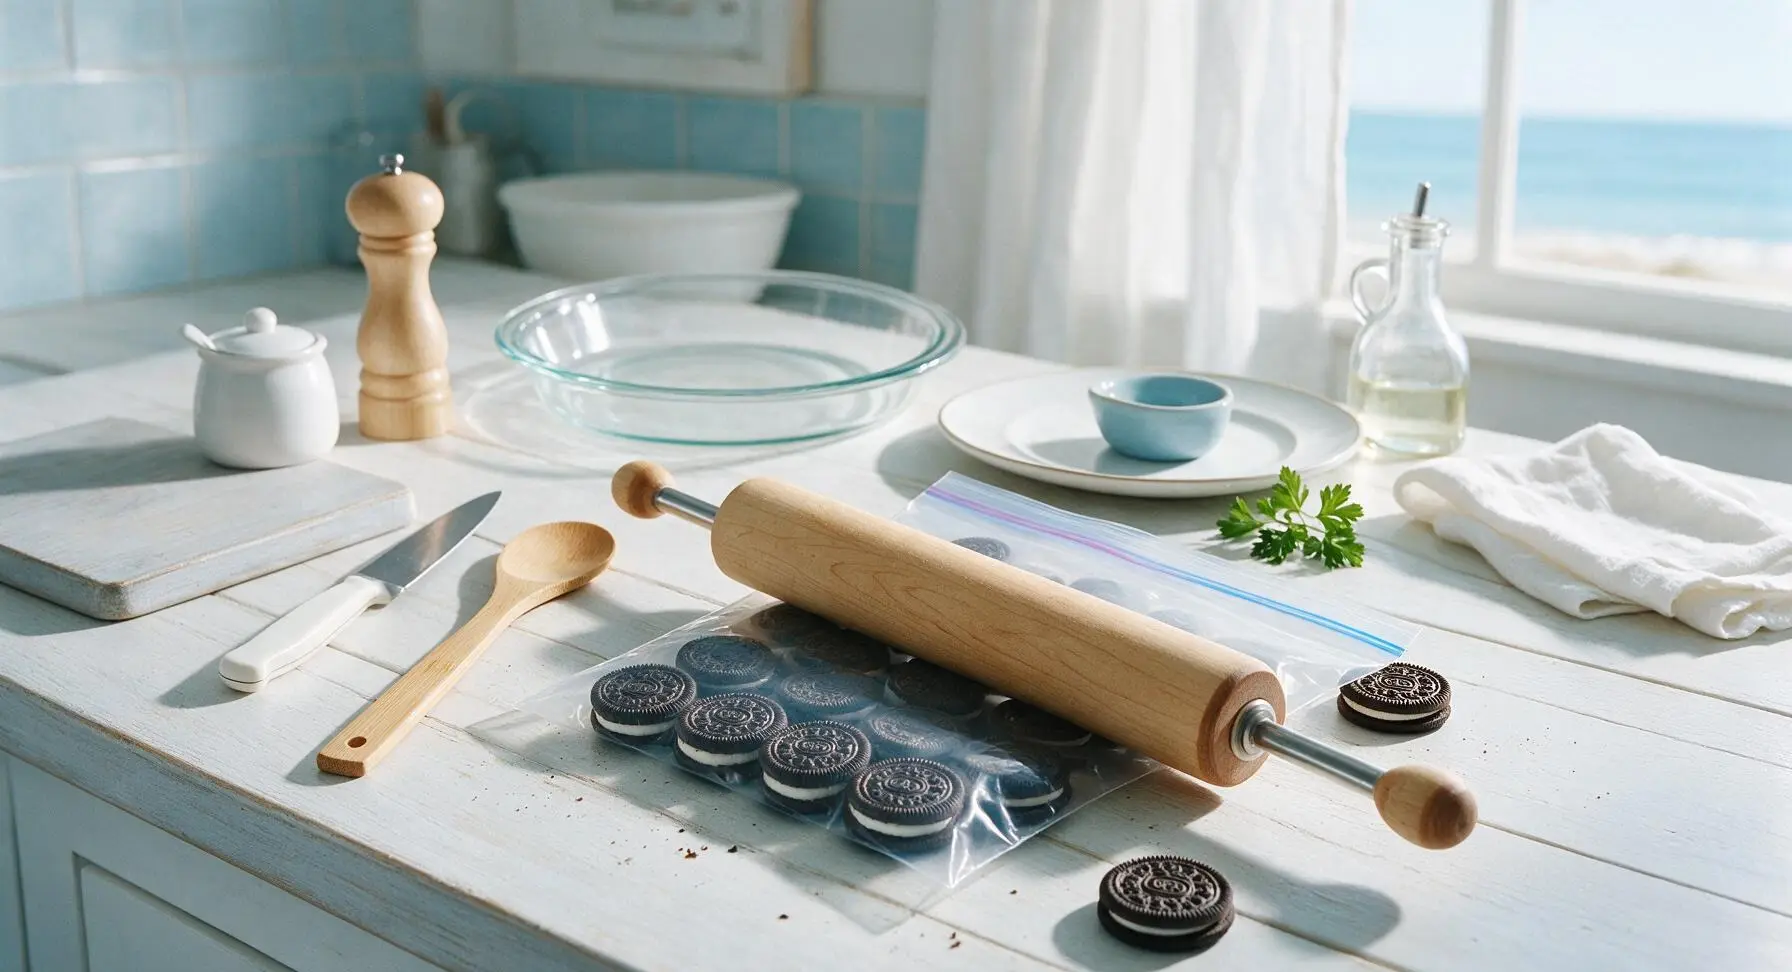
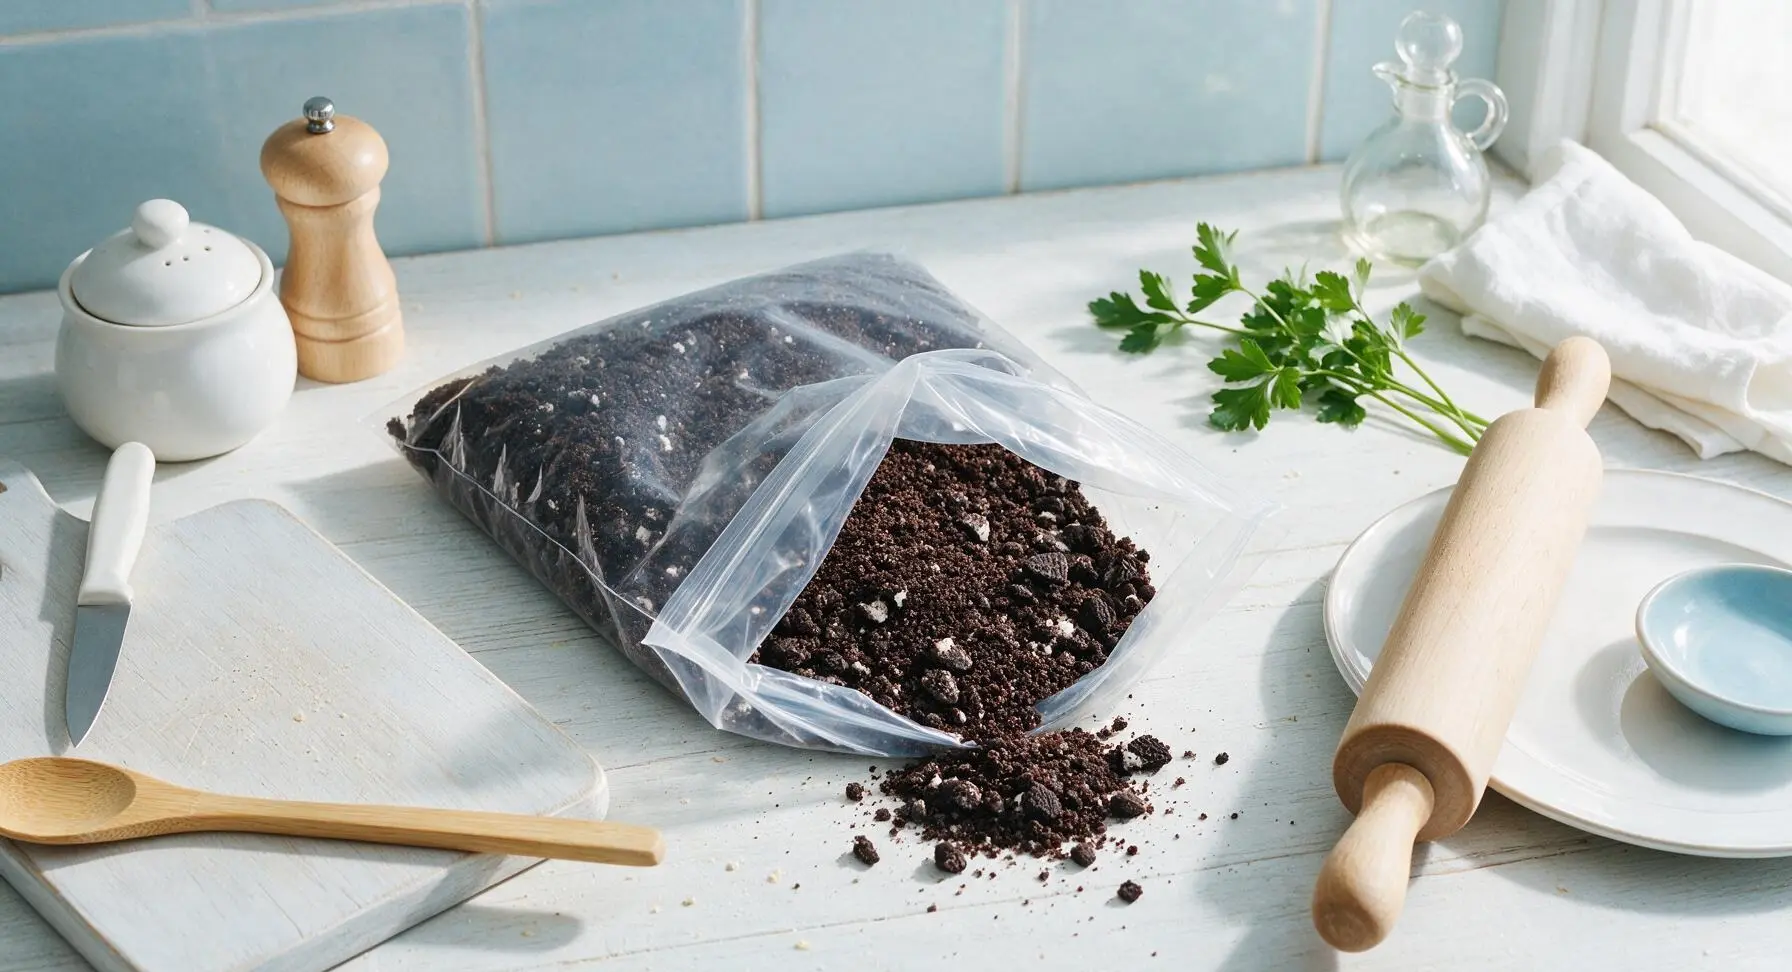
Place 24 whole Oreo cookies (retaining their white cream filling) into the 1-gallon resealable zip-top bag, press out excess air, and seal tightly. Set the bag on the counter next to the maple rolling pin, and roll firmly back and forth to crush cookies into uneven crumbs: most should be fine sand-like texture, with 10% small pea-sized chunks for crunch. This takes roughly 2 minutes of steady rolling; avoid over-crushing to a powder, which creates a tough crust.
Step 1
step1:Crush Oreos for Crust
Step 1
step1:Crush Oreos for Crust
2

Press Crust Into Dish

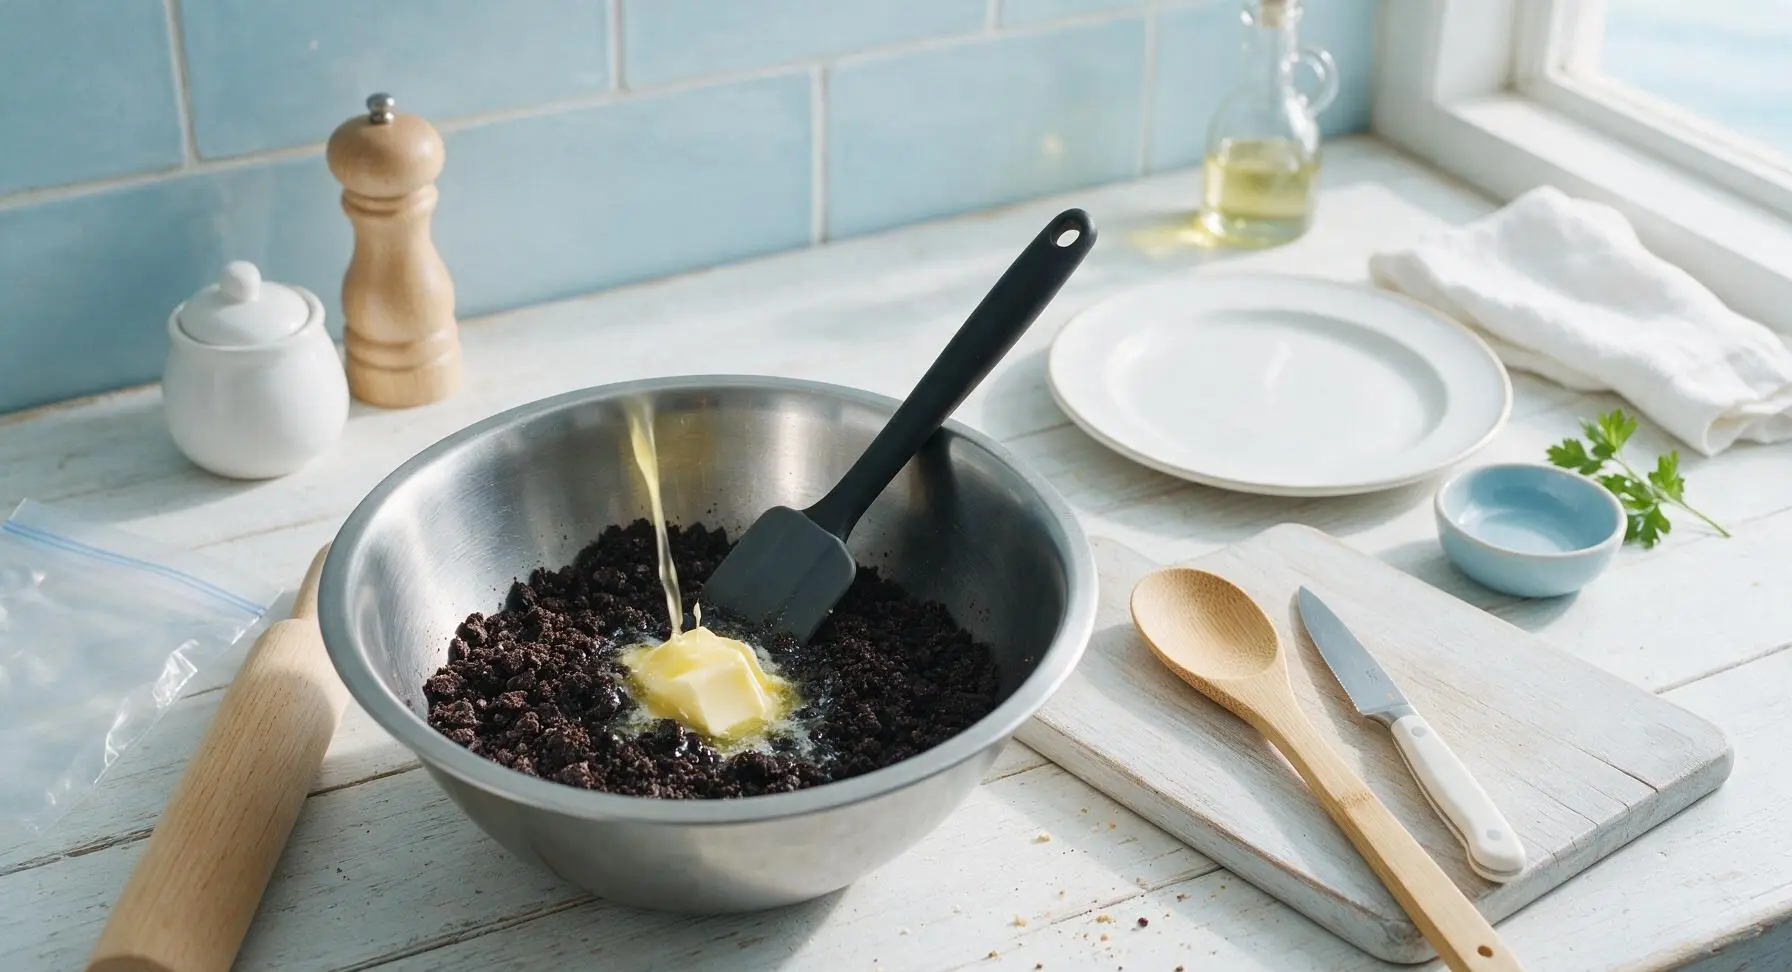
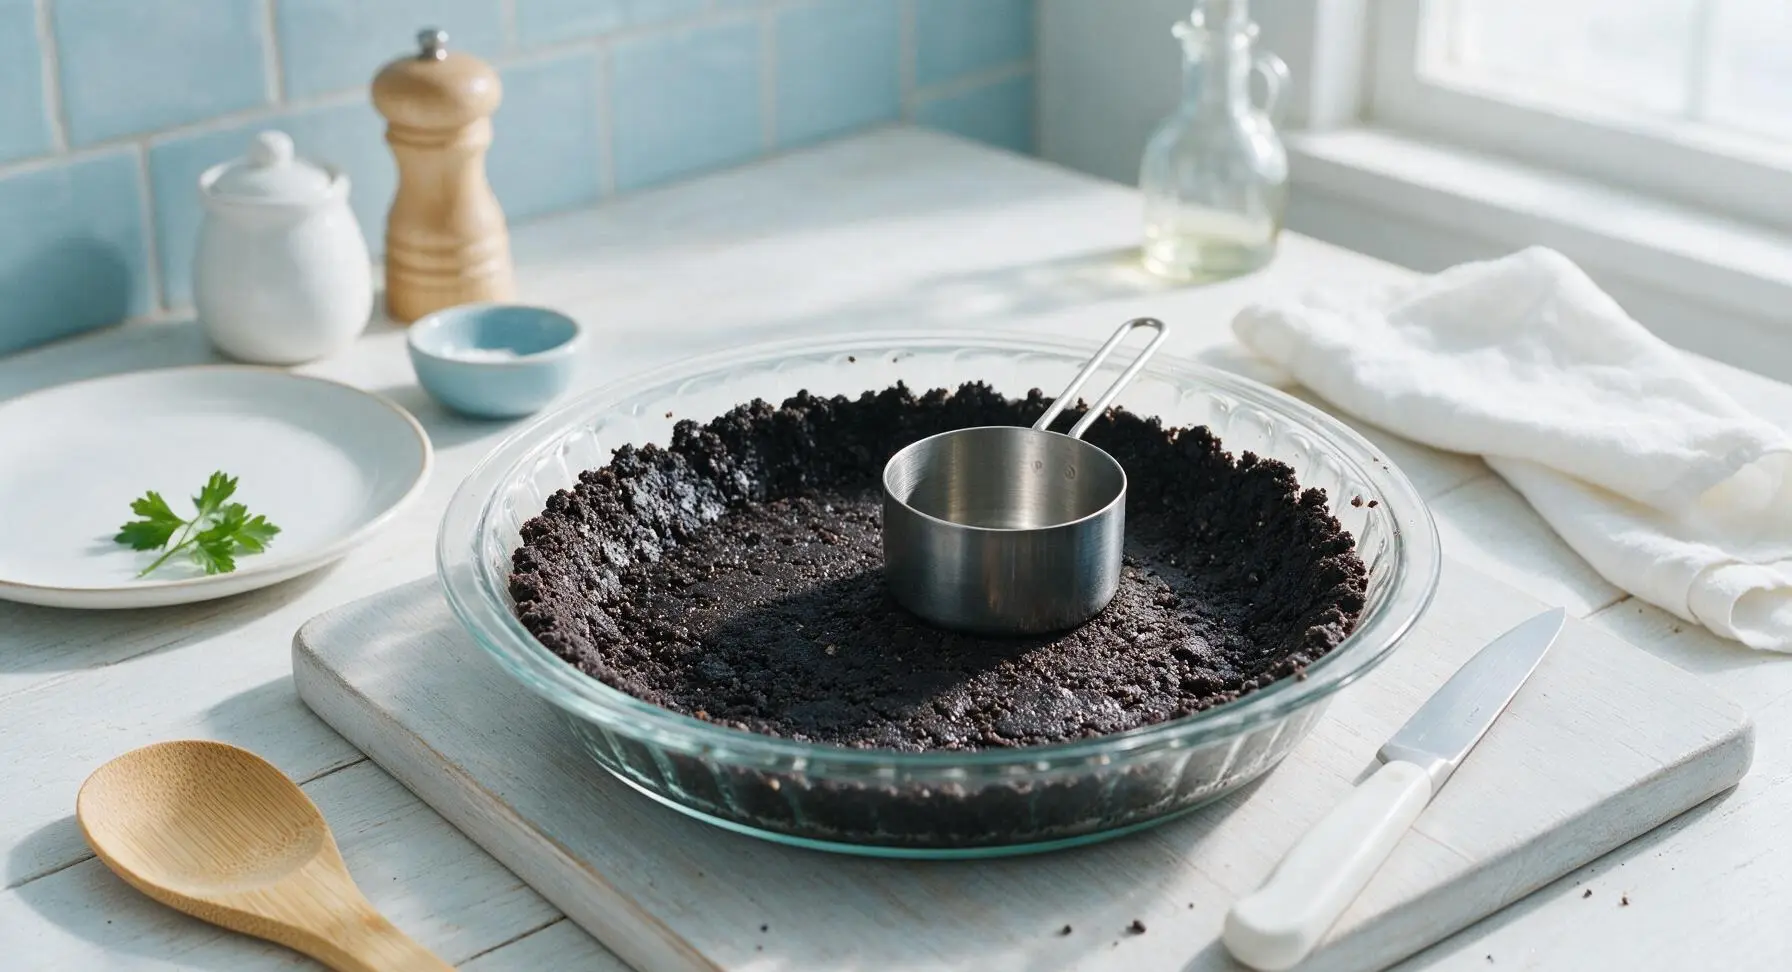
Pour the crushed Oreo crumbs into the medium brushed stainless steel mixing bowl. Add 6 tablespoons (85g) of melted unsalted butter, and stir with the matte black-handled silicone spatula until all crumbs are evenly coated and clump together like damp sand. Pour the buttered crumb mixture into the center of the 9-inch clear glass pie dish. Use the flat bottom of the 1-cup stainless steel measuring cup to press crumbs firmly into a uniform, compact layer across the dish bottom and 1 inch up the fluted sides, taking care to fill any thin spots. Set the crust aside at room temperature while preparing the filling.
Step 2
step2:Press Crust Into Dish
Step 2
step2:Press Crust Into Dish
3

Whisk Pudding Filling

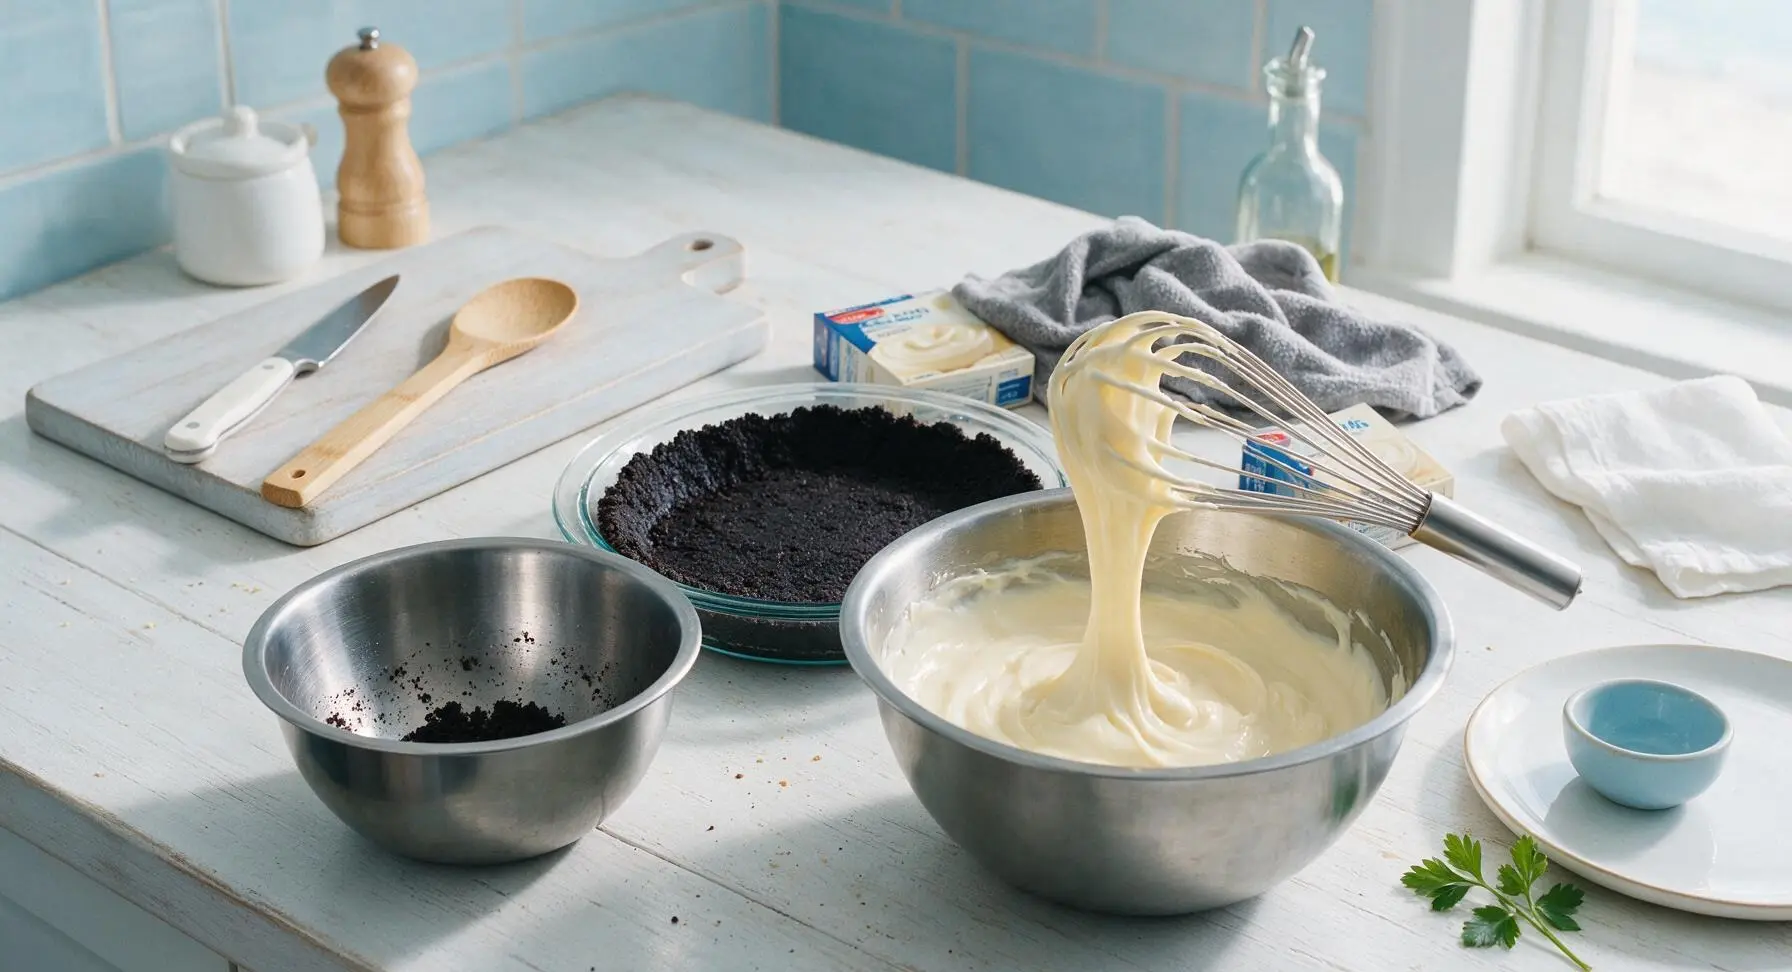
Pour both 3.4oz (96g) boxes of instant vanilla pudding mix into the large brushed stainless steel mixing bowl. Add 2 cups (480ml) of cold whole milk, and whisk vigorously with the polished stainless steel wire whisk for 2 full minutes, scraping the bowl sides and bottom regularly to eliminate dry lumps. Let the pudding rest 5 minutes at room temperature to thicken to a spreadable consistency, where it leaves a slow-dripping trail when the whisk is lifted.
Step 3
step3:Whisk Pudding Filling
4

Fold Whipped Topping In

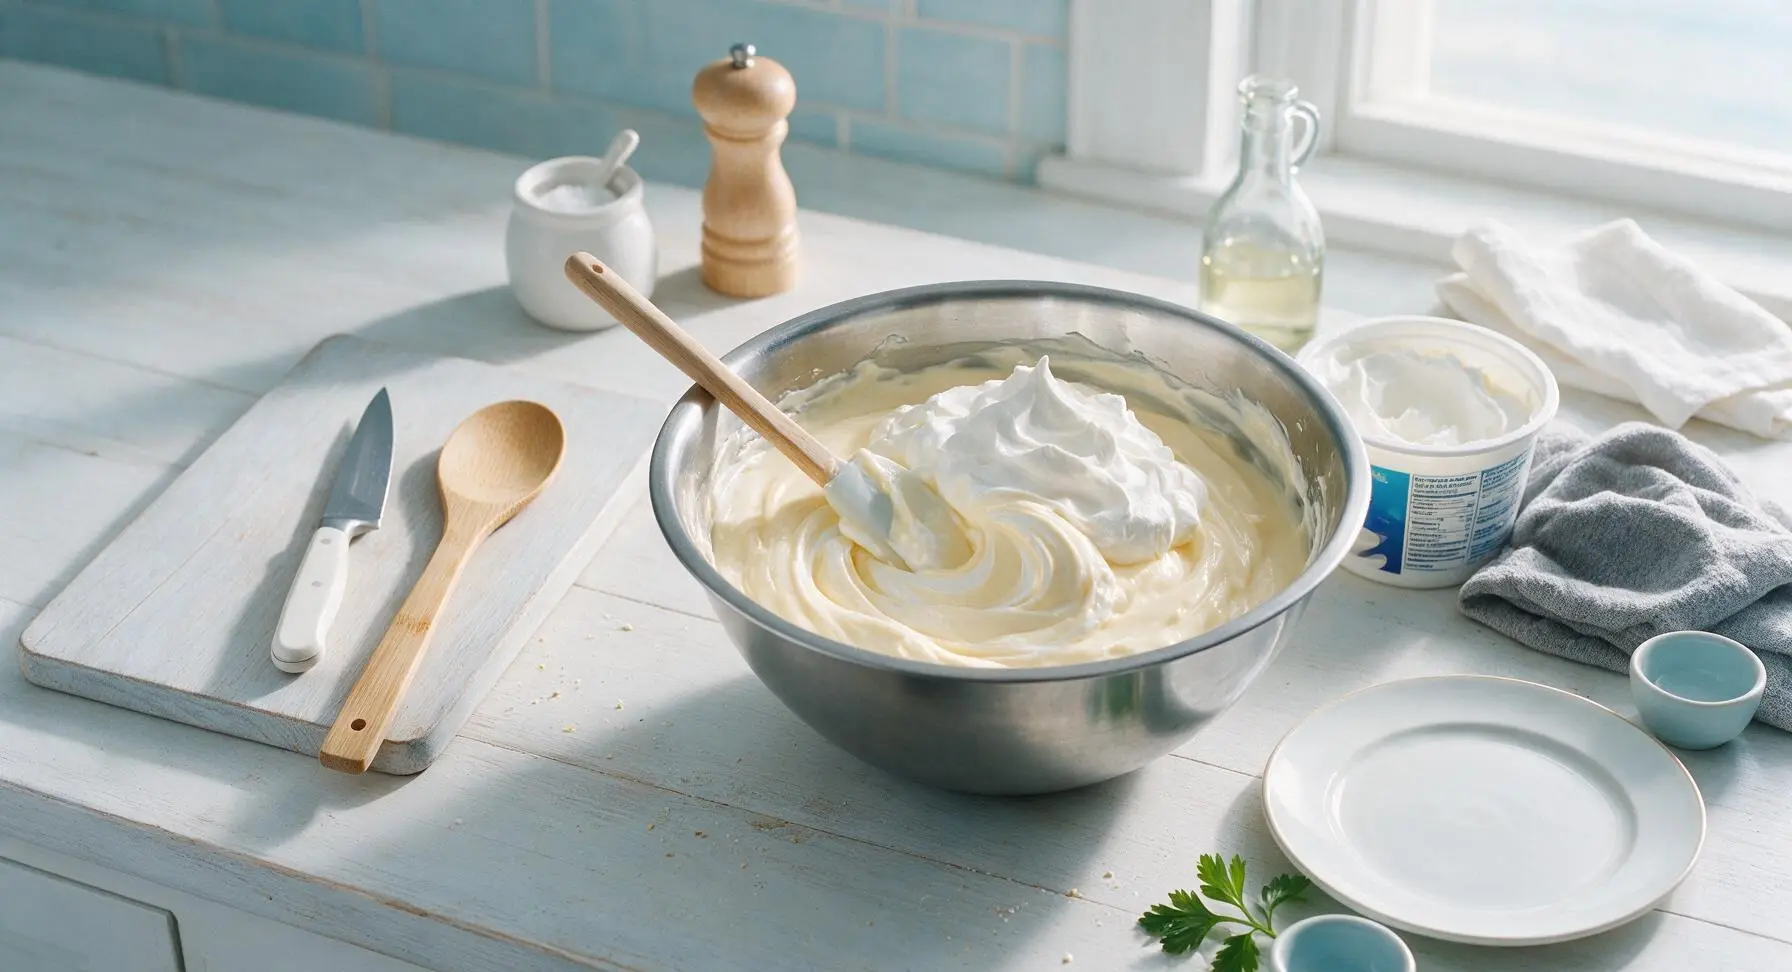
Scoop 4oz (half the tub) of thawed frozen whipped topping into the thickened pudding. Use the silicone spatula to gently fold the topping into the pudding, cutting through the center and scraping the bowl bottom, until the mixture is a uniform pale cream with no white streaks. Avoid vigorous stirring, which deflates the topping and creates a runny filling. Fold in ½ cup of roughly crushed reserved Oreo chunks for added crunch, if desired.
Step 4
step4:Fold Whipped Topping In
5

Layer Filling Into Crust

Pour the entire pudding and whipped topping mixture directly onto the center of the Oreo crust in the glass pie dish. Use the silicone spatula to spread the filling into an even, smooth layer all the way to the dish edges, taking care not to dislodge the crumb sides. Tap the dish gently on the counter 2-3 times to pop trapped air bubbles, creating a flat, level filling surface.
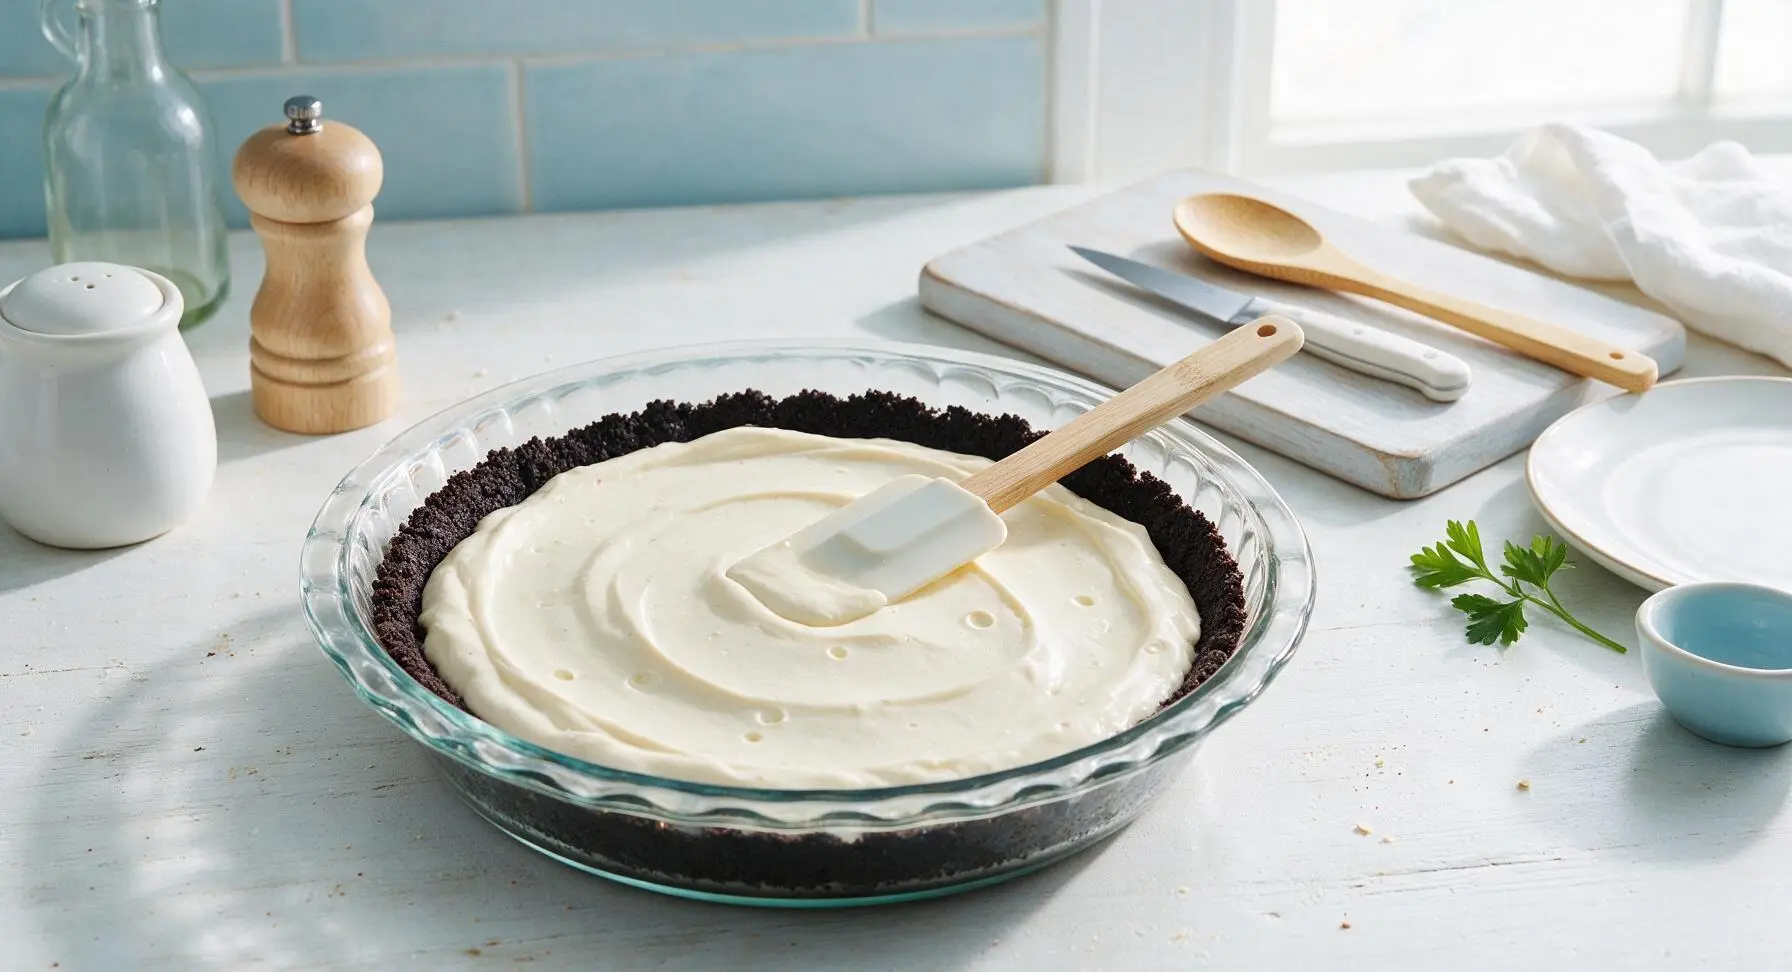
Step 5
step5:Layer Filling Into Crust
6

Top With Whipped Cream

Stir 2 tablespoons (15g) of powdered sugar into the remaining 4oz of thawed whipped topping, mixing gently to combine. Dollop the sweetened whipped topping over the set pudding filling, spreading it into a soft, fluffy layer with the back of the spatula. Leave soft, billowy peaks rather than smoothing the surface perfectly for a homemade, inviting look.
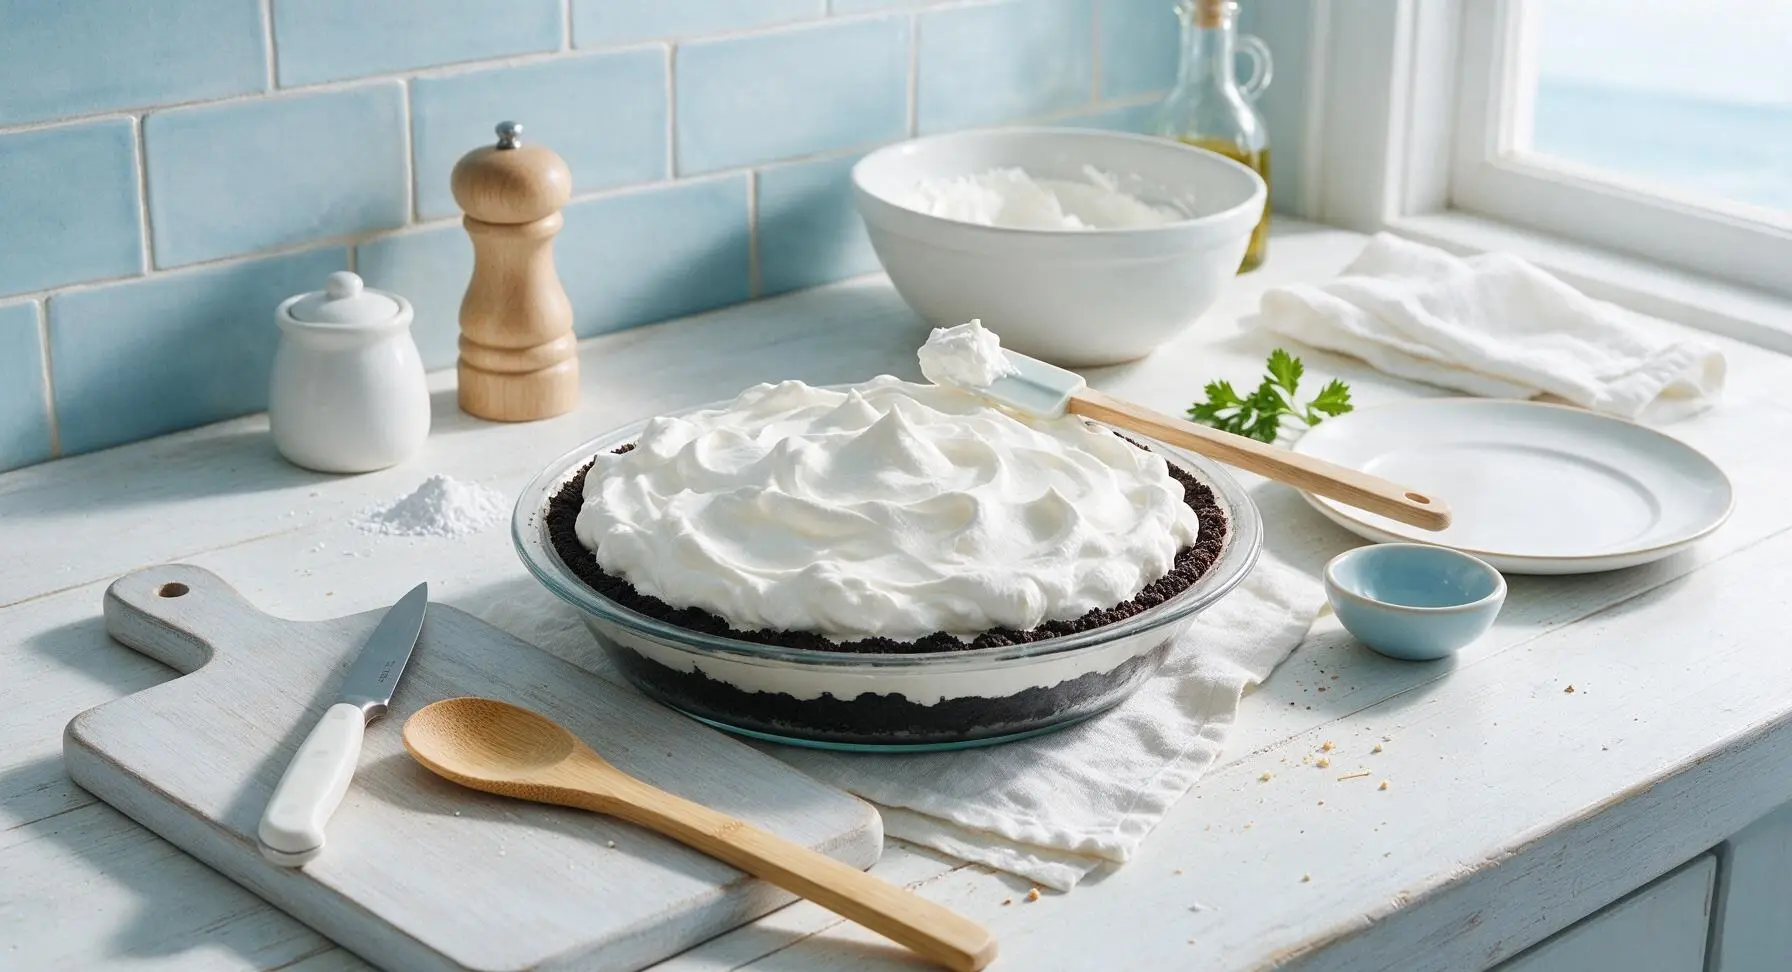
Step 6
step6:Top With Whipped Cream
7

Garnish and Chill Pie

Crush 4 reserved Oreo cookies into coarse chunks, and scatter them evenly over the whipped topping. Place 6 halved Oreo cookies decoratively around the pie edge, and tuck small fresh mint sprigs from the ceramic crock between the Oreo pieces for a pop of bright green. Loosely cover the pie with plastic wrap, and refrigerate for a minimum of 4 hours (up to 24 hours) until the filling is completely firm to the touch. Do not freeze, as this causes the crust to turn soggy when thawed.
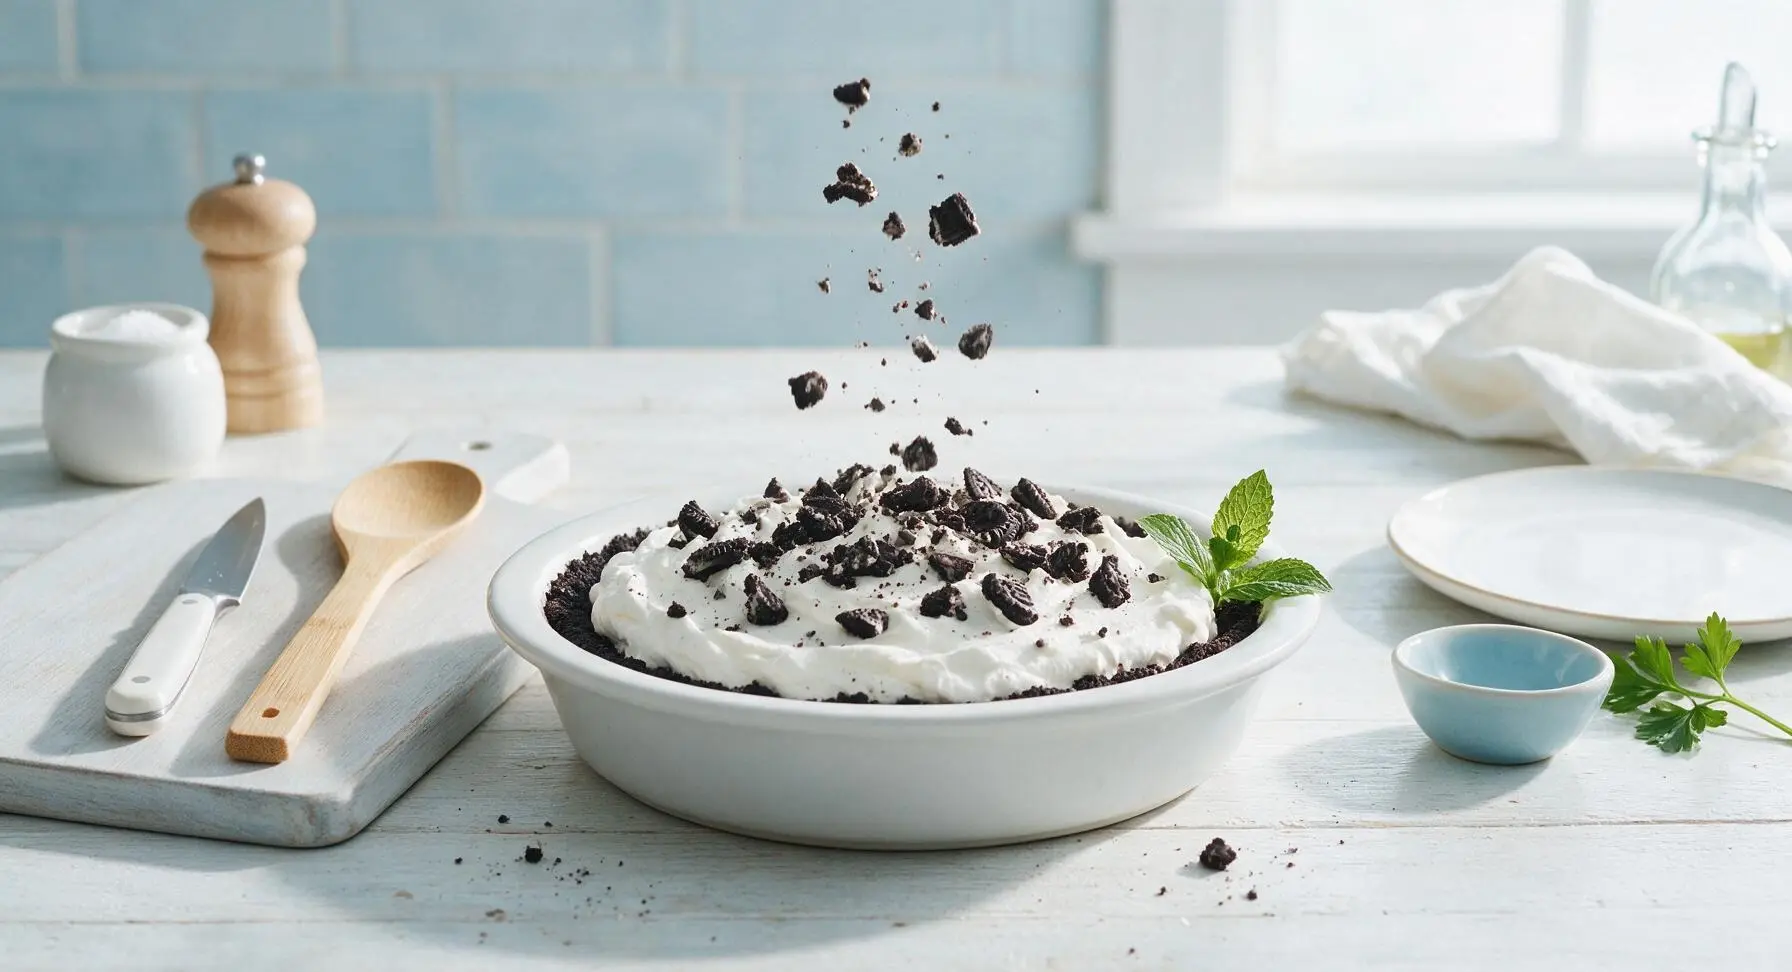
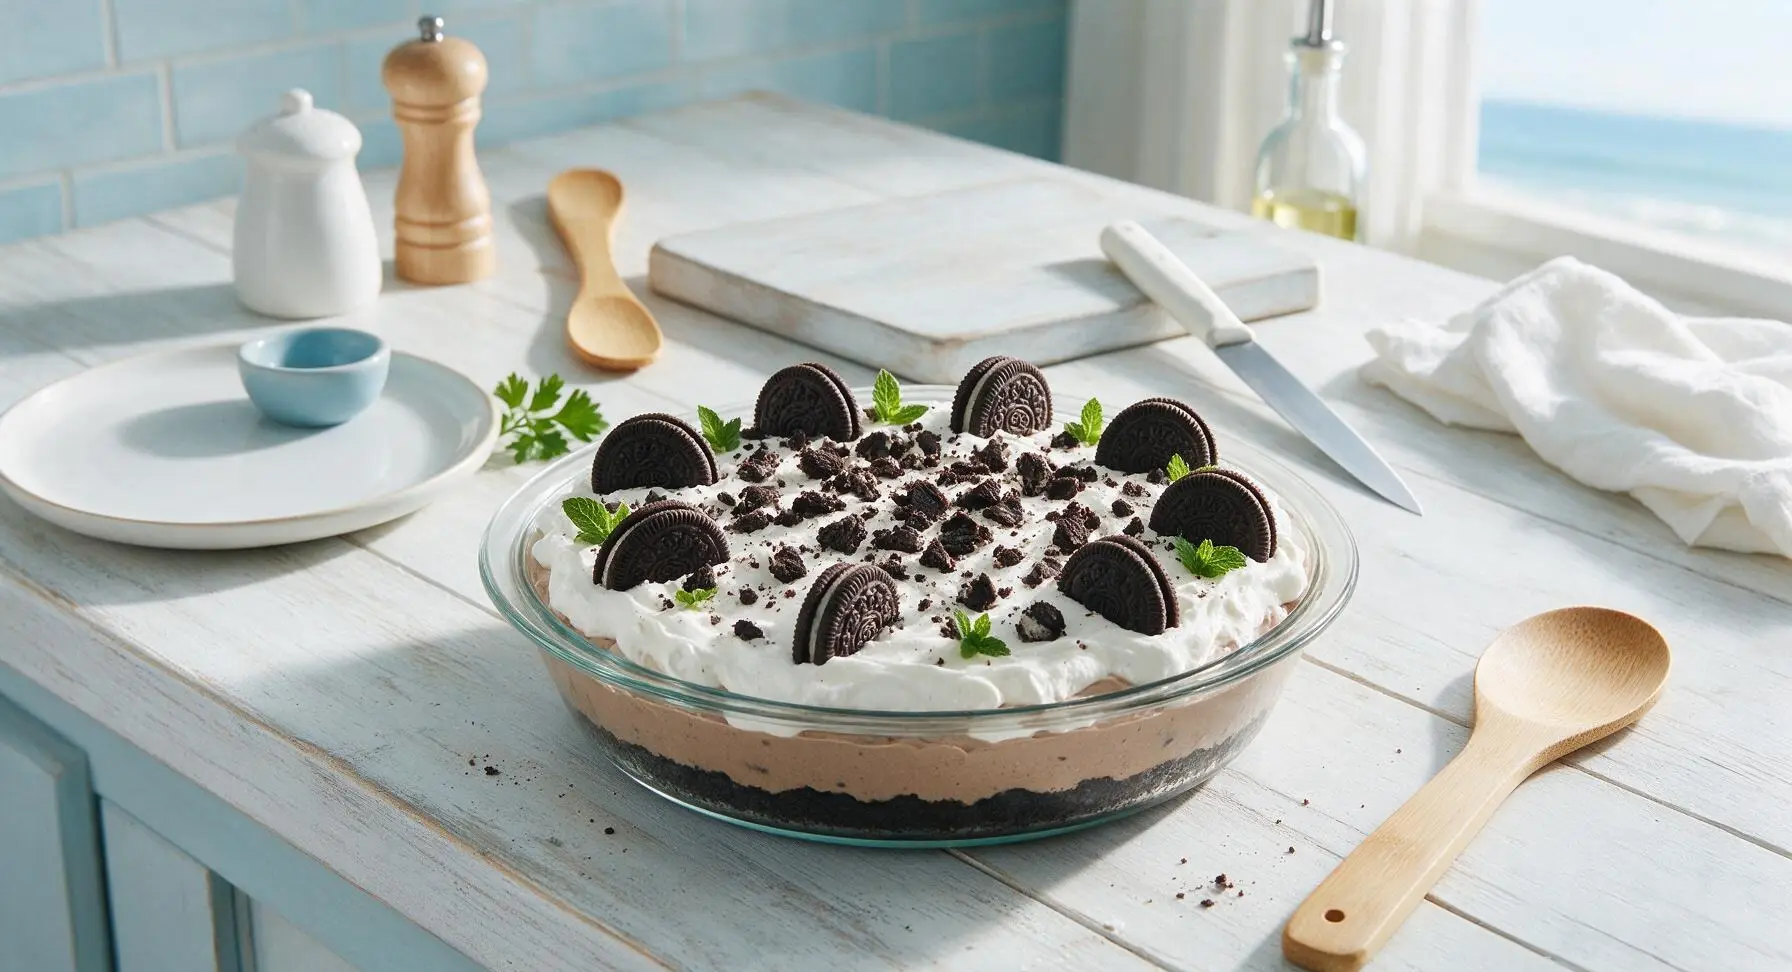
Step 7
step7:Garnish and Chill Pie
Step 7
step7:Garnish and Chill Pie
8

Slice and Serve Chilled

Remove the fully chilled pie from the refrigerator and discard the plastic wrap. Run a thin knife tip around the crust edge to loosen it from the dish, then use the polished stainless steel pie server to cut a clean 1.5-inch wide slice, lifting carefully to keep layers intact. Set the slice on the waiting matte white ceramic dessert plate to serve.
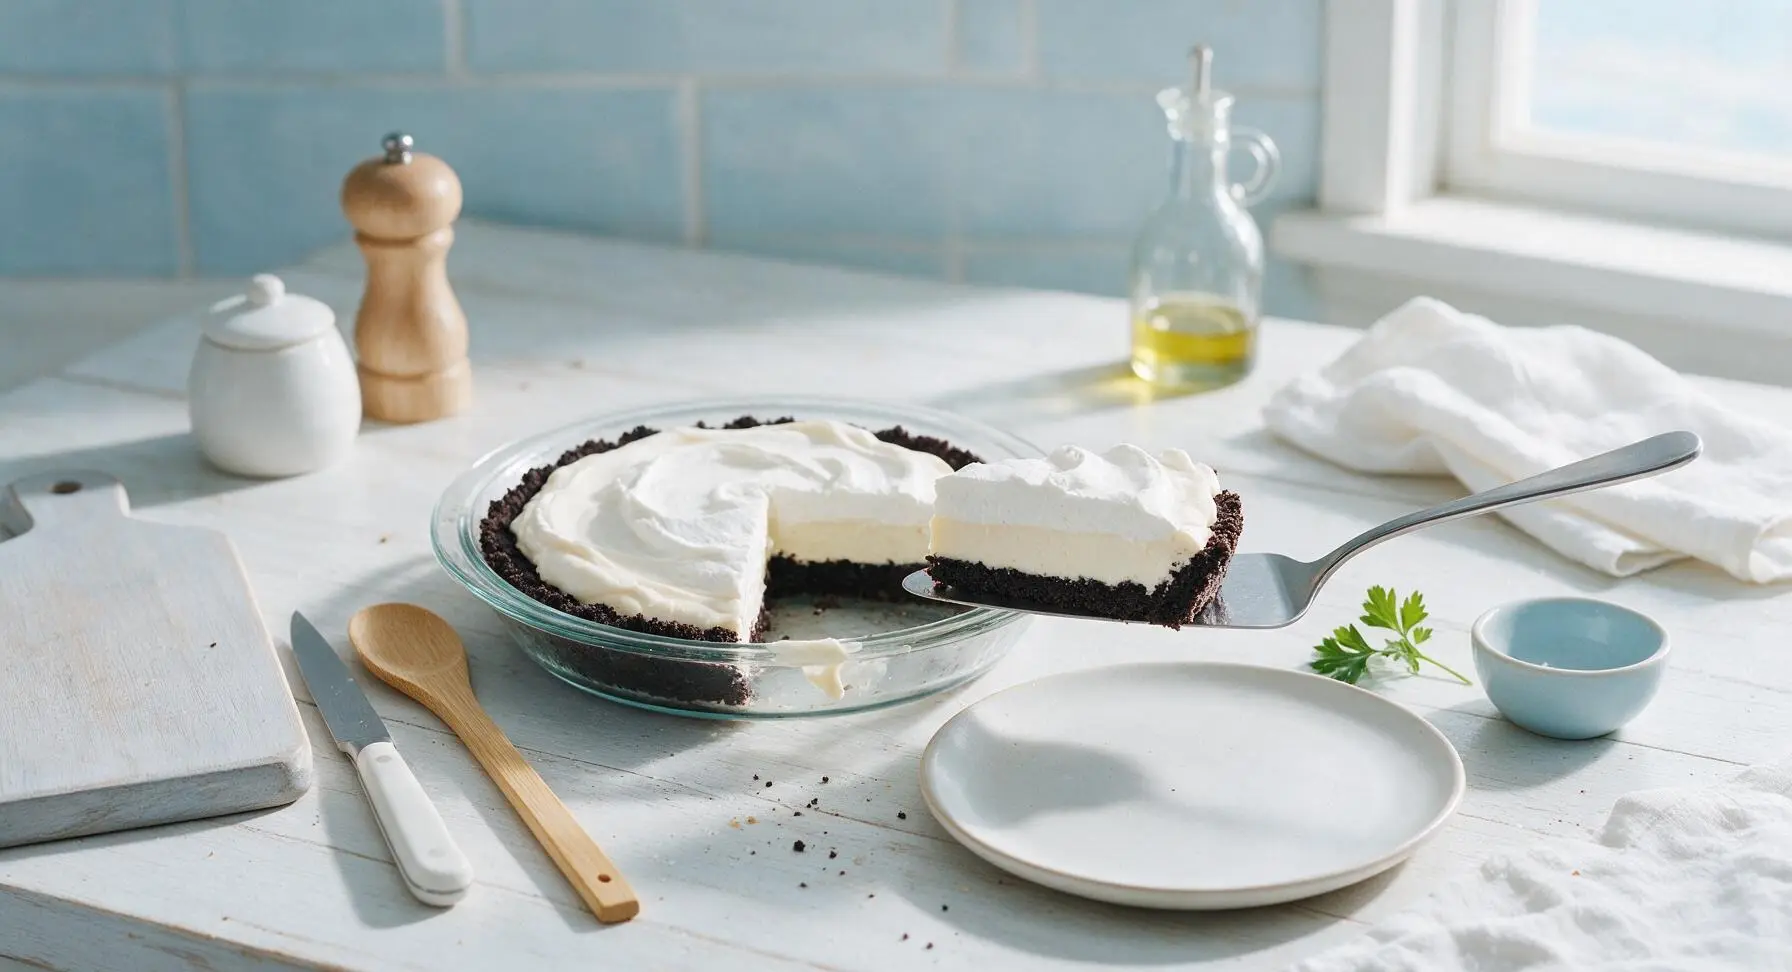
Step 8
step8:Slice and Serve Chilled

Tips

1.Use ice-cold whole milk when mixing instant pudding: cold milk helps the pudding set faster and creates a firmer, creamier filling that holds clean slices, rather than the runny, soft texture that results from using room temperature milk.
2.Avoid over-crushing Oreos for the crust: leaving 10% of the crumbs as pea-sized chunks creates a crunchier, sturdier crust that holds together when sliced, while finely powdered crumbs create a dense, tough crust that crumbles easily.
3.Chill the pie for the full 4 hours before slicing: cutting into it early leads to runny, oozing filling that slides off the crust. For easiest prep, assemble the pie the night before and chill overnight for perfectly clean, sharp slices.


✨ You May Also Like

Desserts & Baking
🍜 Italy

Creamy, coffee-kissed classic Northern Italian no-bake dessert, with layers of rum-spiked mascarpone cream, soft ladyfingers, and a rich cocoa dusting.

⏱️ 4 hours 3Desserts & Baking ★ 4.7
Desserts & Baking
🍜 France

Flaky, shatteringly crisp, buttery French croissants with golden exteriors and soft, airy layered interiors, perfect for pairing with coffee for a special morning treat.

⏱️ 12 hours Desserts & Baking ★ 4.5
Desserts & Baking
🍜 United States

Warm, spiced baked apples topped with a fluffy golden biscuit crust, this cozy dessert pairs perfectly with vanilla ice cream for cool-weather comfort.

⏱️ 55 minuteDesserts & Baking ★ 4.6
Desserts & Baking
🍜 United States

A star-spangled classic American blueberry pie with buttery flaky crust and bright sweet-tart filling, perfect for summer patriotic gatherings.

⏱️ 1 hour 25Desserts & Baking ★ 4.7
Desserts & Baking
🍜 United States

A beloved no-bake regional Maine candy with a chewy coconut-potato center coated in rich dark chocolate, a New England holiday staple since the 1870s.

⏱️ 2 hours 3Desserts & Baking ★ 4.8
Desserts & Baking
🍜 France

Luxuriously creamy, floral frozen custard made with aromatic Tahitian vanilla beans, boasting a smooth, rich texture that melts slowly on the tongue.

⏱️ 3 hours 3Desserts & Baking ★ 4.5

oreo pudding pie:Frequently Asked Questions

1.Do I really need to use whole milk for the pudding layer? ▾
Whole milk gives the richest, creamiest set that won’t turn runny when you slice the pie. If you use skim or 2% milk, the pudding will be thinner and less stable, since lower-fat milks lack the body to set firmly with instant pudding mix. Always use cold milk, too—it helps the pudding firm up fast without extra chill time.
2.Can I make this pie ahead of time for a summer cookout or party? ▾
Absolutely! This pie is ideal for prep-ahead gatherings. Assemble it fully (hold off on adding extra Oreo garnish until serving if you want maximum crunch), cover tightly with plastic wrap, and store it in the fridge for up to 3 days. It stays creamy and holds its shape well, so you won’t be stuck doing last-minute dessert prep before guests arrive.
3.How do I keep the Oreo crust from getting soggy? ▾
A soggy crust is easy to avoid with one quick trick: after pressing your crushed Oreo and melted unsalted butter crust into the pie dish, pop it in the fridge for 15 minutes to firm up before adding the pudding filling. That sets the butter to create a barrier between the moist filling and cookie crumbs, keeping the crust crisp for days.
4.Can I use a different flavor of instant pudding instead of vanilla? ▾
Definitely! Vanilla is a classic, neutral pick that lets Oreo’s chocolate flavor shine, but you can swap it for instant chocolate, cookies and cream, or even cheesecake-flavored pudding mix if you want. Just use the same standard 3.4 oz box size, and follow the same mixing instructions with cold whole milk for a reliable, firm set.
5.Do I have to scrape the white creme filling out of the Oreos for the crust? ▾
Nope, no need to waste time scraping out Oreo creme! The creme mixes with melted unsalted butter to help the crust hold together better, and adds extra rich, sweet flavor that pairs perfectly with the pudding. Toss whole Oreos (creme and all) in a food processor to crush, or bash them in a sealed zip-top bag with a rolling pin.
6.Can I use homemade whipped cream instead of frozen whipped topping like Cool Whip? ▾
You can, but there’s a small catch. Homemade whipped cream can deflate and get watery after a day or two in the fridge, so it works beautifully if you plan to serve the pie the same day you make it. For longer storage or a more stable, sliceable filling, stick with thawed frozen whipped topping, which holds its texture far better without weeping.
7.How long does this pie need to chill before it’s ready to serve? ▾
After you assemble all the layers, let the pie chill for at least 4 hours in the fridge, though chilling it overnight is even better. That gives the instant pudding time to fully set, the crust time to firm up, and all the flavors to meld together. Resist slicing early—under-chilled pie will be runny and won’t hold clean, neat slices.
8.Can I freeze this Oreo pudding pie for longer storage? ▾
Yes, this pie freezes really well! Wrap it tightly in a double layer of plastic wrap and a layer of aluminum foil, and it will keep for up to 2 months in the freezer. When you’re ready to serve, let it thaw in the fridge for 1 to 2 hours before slicing—you can even eat it slightly frozen for a fun, ice cream-like summer treat.
9.What size pie dish works best for this recipe? ▾
A standard 9-inch pie dish, whether made of glass, ceramic, or disposable aluminum, works perfectly for this recipe. If you use a deep-dish pie dish, you’ll have extra room for more Oreo mix-ins or a thicker layer of whipped topping, but a standard 9-inch size gives evenly thick layers that slice cleanly every single time.
10.My instant pudding gets lumpy when I mix it—how do I fix that? ▾
Lumpy pudding usually happens if you add milk too fast, or don’t whisk continuously as you combine the mix with cold whole milk. To avoid lumps, add milk a splash at a time at first, whisking vigorously between additions to build a smooth base before adding the rest. If lumps remain, pour the pudding through a fine mesh sieve before folding in whipped topping.
11.Can I add extra mix-ins to the filling for more texture? ▾
Absolutely! This recipe is super customizable. Try folding extra crushed Oreos, mini chocolate chips, a swirl of fudge sauce, or chopped peanut butter cups into the pudding filling before spreading it into the crust. Just skip adding too many wet mix-ins, like syrupy fruit, because they can make the filling runny and prevent it from setting properly.
12.Why is my pie filling runny even after chilling for hours? ▾
Runny filling usually comes down to one of three common issues: you used warm milk instead of cold, you used too much milk for the amount of instant pudding mix, or you folded in whipped topping before the pudding had a chance to thicken first. To fix it, stir in half a box of dry pudding mix, then chill for 2 more hours to firm up.
13.Do I need to bake the Oreo crust at all before adding filling? ▾
Nope—that’s the best part of this no-bake recipe, which requires zero oven time! The combination of crushed Oreos and melted unsalted butter firms up perfectly in the fridge as it chills, creating a sturdy, crumbly crust with the same great texture as a baked cookie crust, no oven required (a huge win on sweltering summer days).
14.What’s the best way to get clean, neat slices when serving? ▾
For perfect, photo-worthy slices, dip a sharp knife in hot water, wipe it dry with a paper towel, then make one smooth cut through the pie. Wipe the knife clean and re-dip it in hot water between every slice. This keeps the creamy filling from sticking to the knife and dragging through the crust, so you get sharp, clean edges on every piece.

Comments (7)

3 days ago

OMG this no-bake Oreo pudding pie was an absolute game changer for my last minute potluck! I forgot I signed up to bring a dessert until an hour before I had to leave, threw this together in 15 minutes, popped it in the fridge while I got ready, and every single person asked me for the recipe. My kids are already begging me to make it again for our Friday family movie night. SO good, I can’t believe how easy it is!

2 days ago

Wait did you use regular Oreos or the double stuff? I’m making this for my office potluck next week and don’t want to mess it up!

1 day ago

Great question! Regular Oreos work perfectly for the crust and mix-ins, but double stuff is also delicious if you want an extra creamy, extra Oreo-forward bite — just make sure to crush them a little finer for the crust so it holds together!

5 days ago

As someone who burns literally everything that goes in the oven, this recipe was made for me lmao. No active cook time? 4 hours chill time while I cram for my midterms? Sign me up. It came out so rich and creamy, my roommates ate half the pie before I even got a second slice. 10/10 will be making this every other week for the rest of the semester.

2 days ago

So happy this worked out for your busy class schedule! Pro tip if you want to make it last longer: stash individual slices in covered containers in the fridge so your roommates can’t sneak extra 😉

1 week ago

I made this for my grandkids’ visit last weekend and they went crazy for it! I added a little extra whipped cream on top like I do with all my pudding pies, and it turned out lovely. Only reason I’m not giving 5 stars is I wish the crust was a little firmer — next time I’ll mix in a tiny bit more melted butter to hold the Oreo crumbs better. Still a huge hit though!

2 days ago

Game. Changer. I’ve been looking for easy make-ahead desserts for our weekly Sunday family dinners, and this checks every box. I made it Saturday night, let it chill overnight, and it was perfectly set by Sunday lunch. I even tried a little variation with mint Oreos last night and it was chef’s kiss. Does anyone know if this freezes well? I want to stock a couple for busy weeks.

1 day ago

I froze a leftover slice last month wrapped tight in plastic wrap and it was still amazing after 2 weeks! Just let it thaw in the fridge for an hour before eating, tastes exactly the same as fresh.

2 hours ago

So glad you love the recipe! It does freeze beautifully for up to 3 months — just make sure it’s tightly wrapped to avoid freezer burn, and thaw in the fridge as mentioned above. The mint Oreo variation sounds incredible, we’ll have to try that!

30 minutes ago

Just pulled this out of the fridge to serve for my roommate’s birthday and it looks insane. I topped it with extra crushed Oreos and a drizzle of hot fudge like the recipe note suggested, and I already know it’s gonna be a hit. Will update once everyone tries it but right now it’s a 10/10 for how easy it was to throw together.

5 minutes ago

Can confirm this was the best birthday dessert I’ve ever had. I ate two slices and would’ve gone for a third if I didn’t feel so full lmao

2 weeks ago

Brought this to my neighborhood block party and it was the first dessert gone! People were hovering over the table waiting for me to set it down. I love that it doesn’t require heating up the kitchen in this summer heat — 90 degree days and no oven needed? That’s my kind of recipe. Already shared the link to three of my neighbors who asked for the recipe.

yesterday

This was super easy to make, but my pudding didn’t set quite as firm as I expected even after 4 hours in the fridge. I think I used the instant pudding wrong? Wait no, I followed the directions exactly, maybe my fridge is a little warmer than it should be? The flavor was incredible though, everyone loved the taste, just a little runnier than I thought it would be.

2 hours ago

Oh no, sorry to hear the texture was a little off! A quick tip: make sure you’re using instant pudding mix (not cook-and-serve) and that you’re mixing it with cold milk before folding in the whipped topping, that helps it set up extra firm. If your fridge runs warm, you can pop it in the freezer for the first 30 minutes of chill time to help it set faster before moving it to the fridge!



