
Oreo Truffles
intro
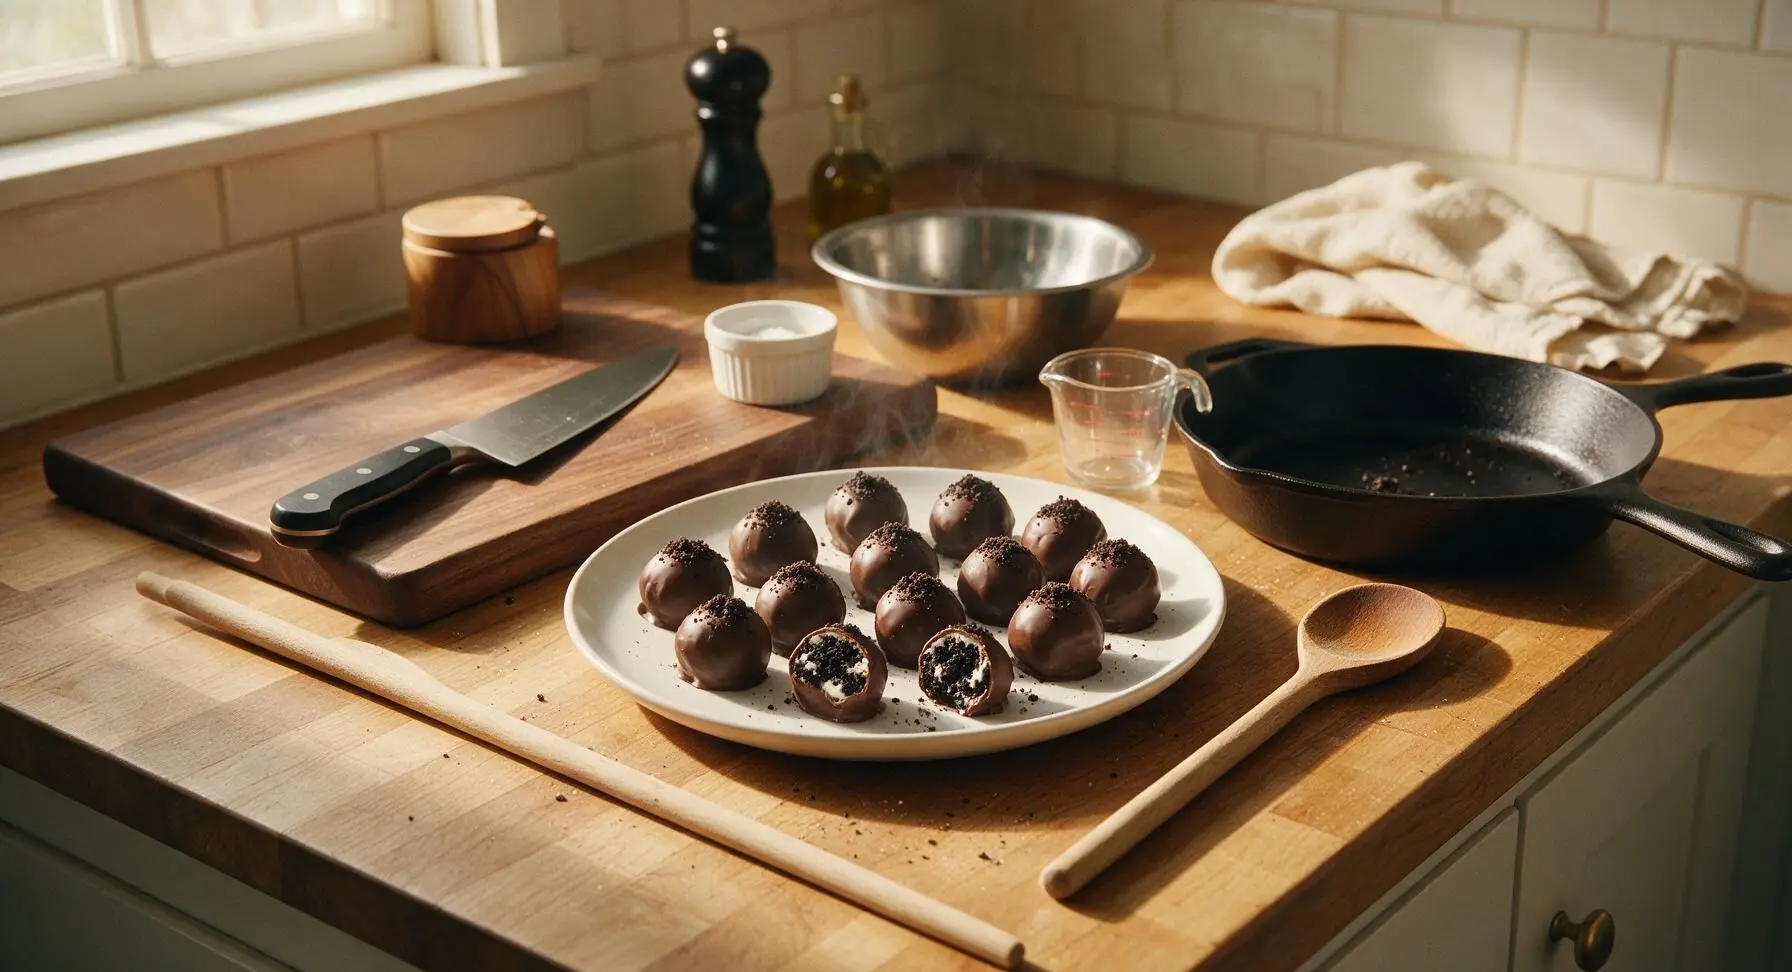
Rich, fudgy no-bake truffles with a crushed Oreo and cream cheese center, coated in smooth semi-sweet chocolate, finished with a light crumb garnish. Perfect for gifting and sharing.
Ingredients
Steps
Crush Oreo Cookies
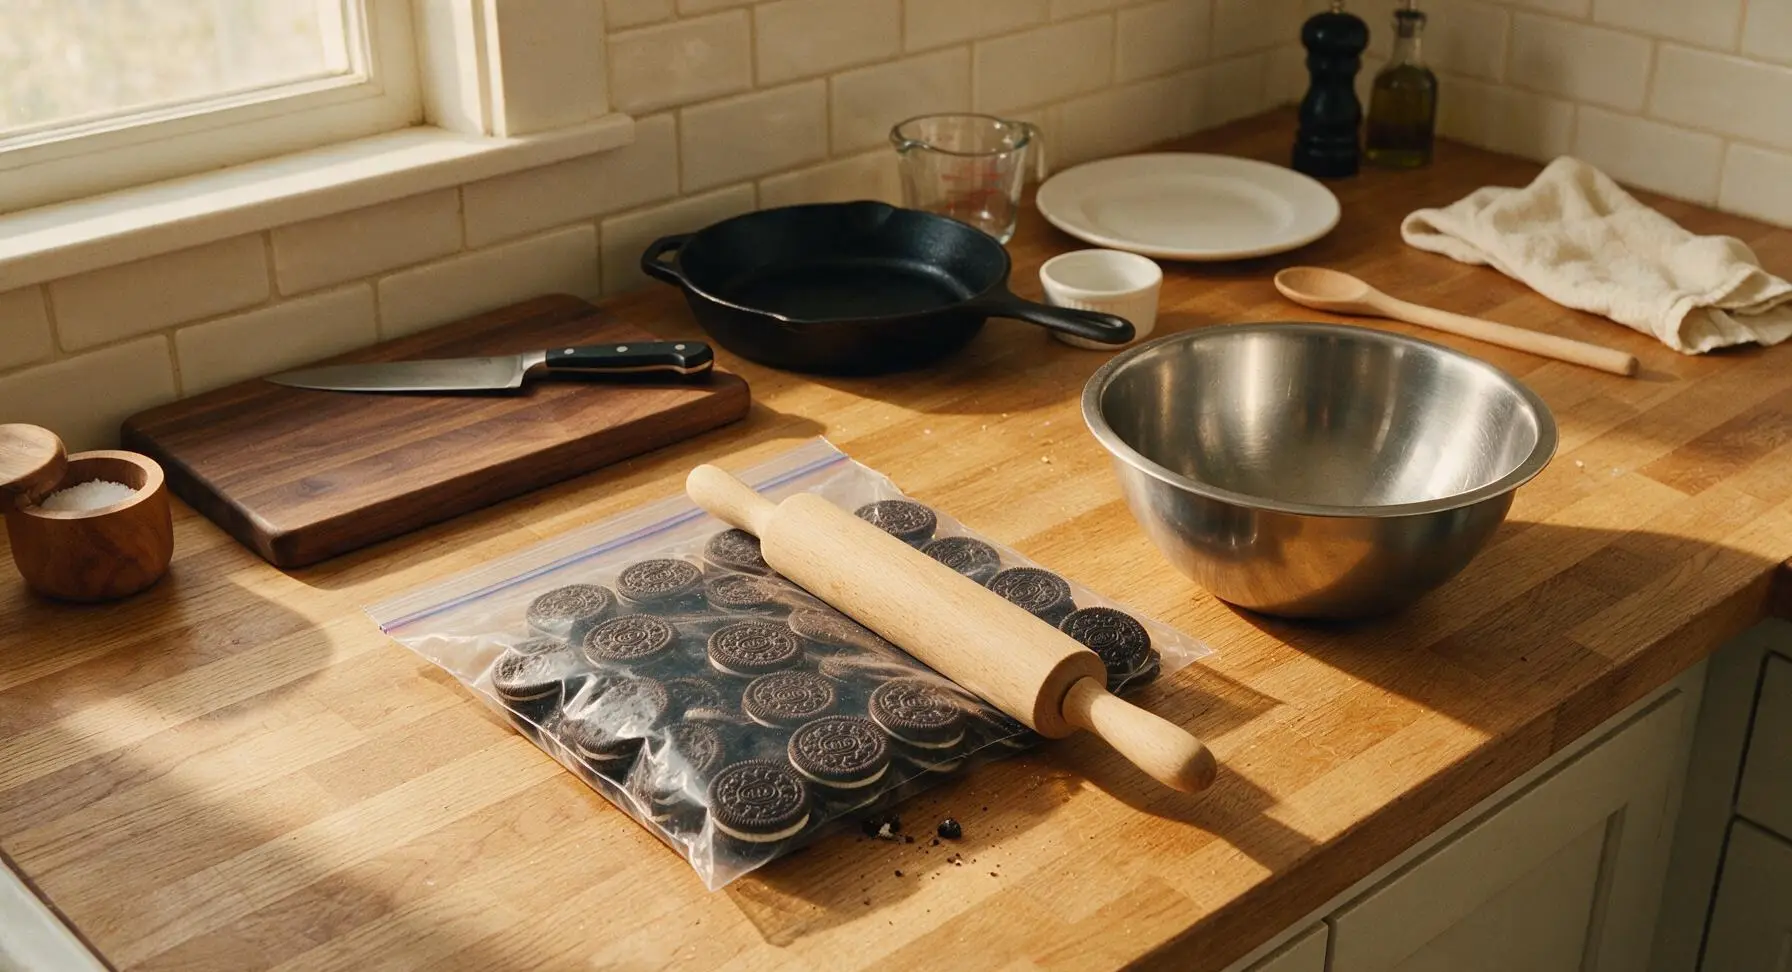
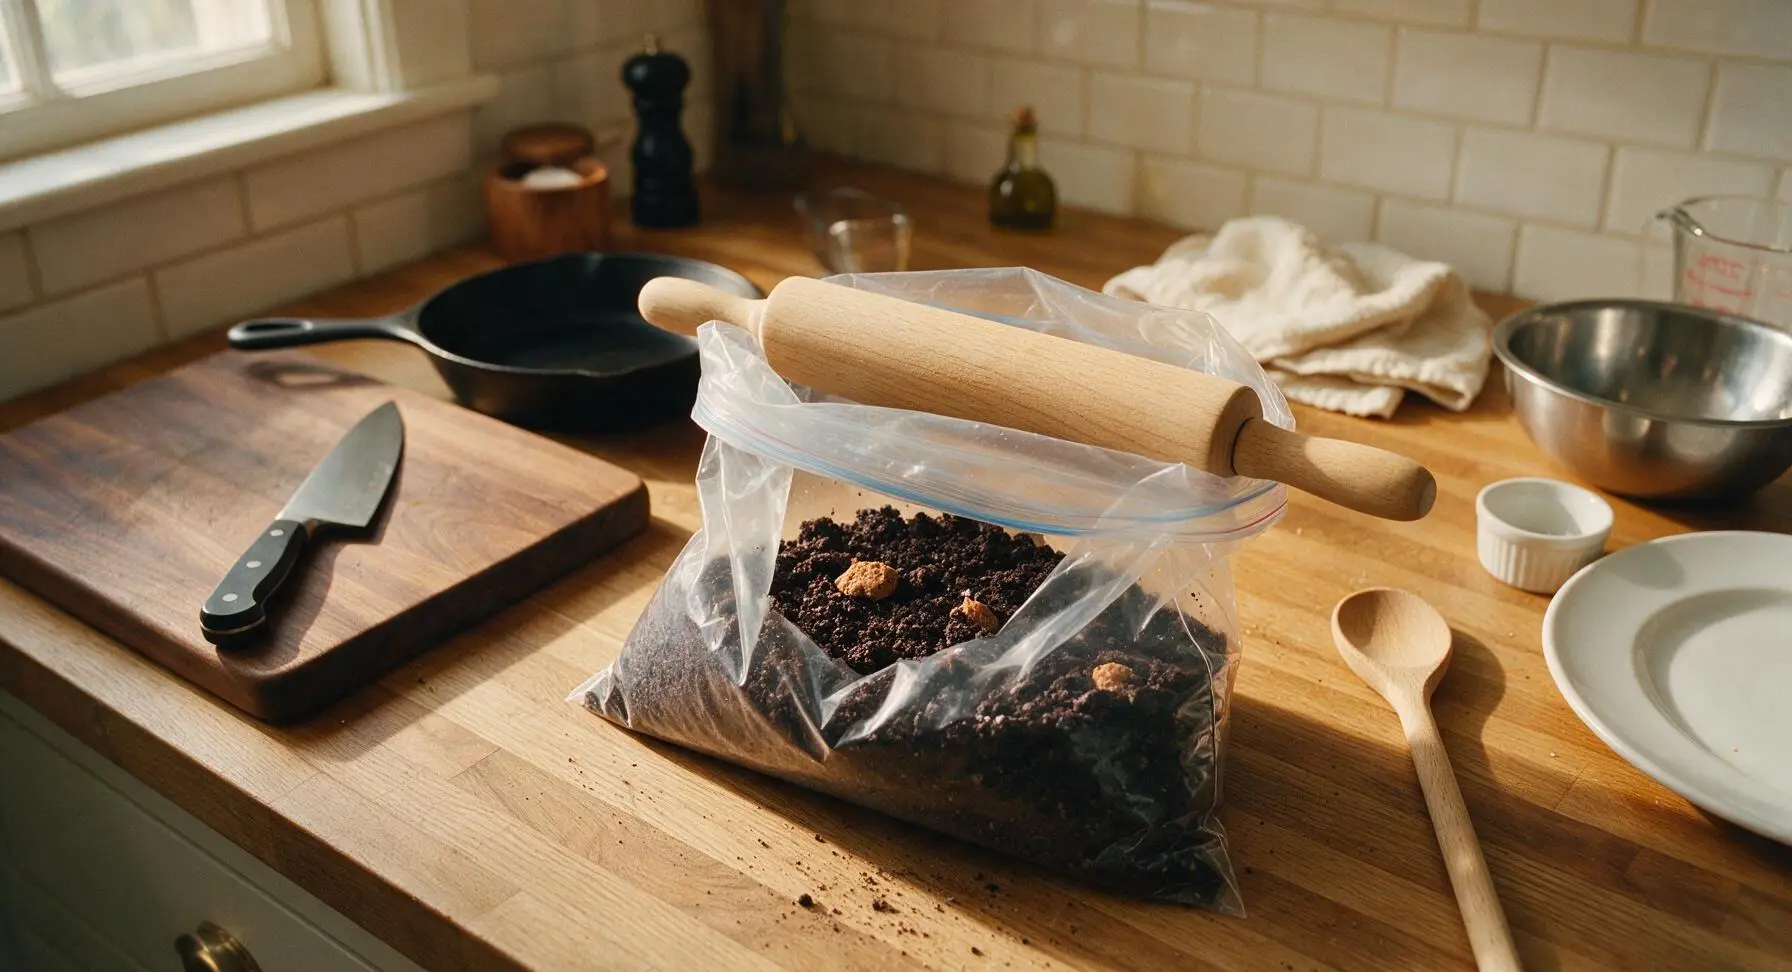
Set aside 4 whole Oreo cookies (roughly 3 tablespoons of crumbs when crushed) for garnish, then place the remaining 32 cookies into the 1-gallon clear zip-top bag. Press out all excess air, seal the bag tightly, and use the beech wood rolling pin to apply firm, even pressure across the bag, crushing the cookies for 2 minutes until they form fine, uniform crumbs with no chunks larger than a pea remaining. Larger chunks will create a lumpy truffle texture.
Mix Truffle Base
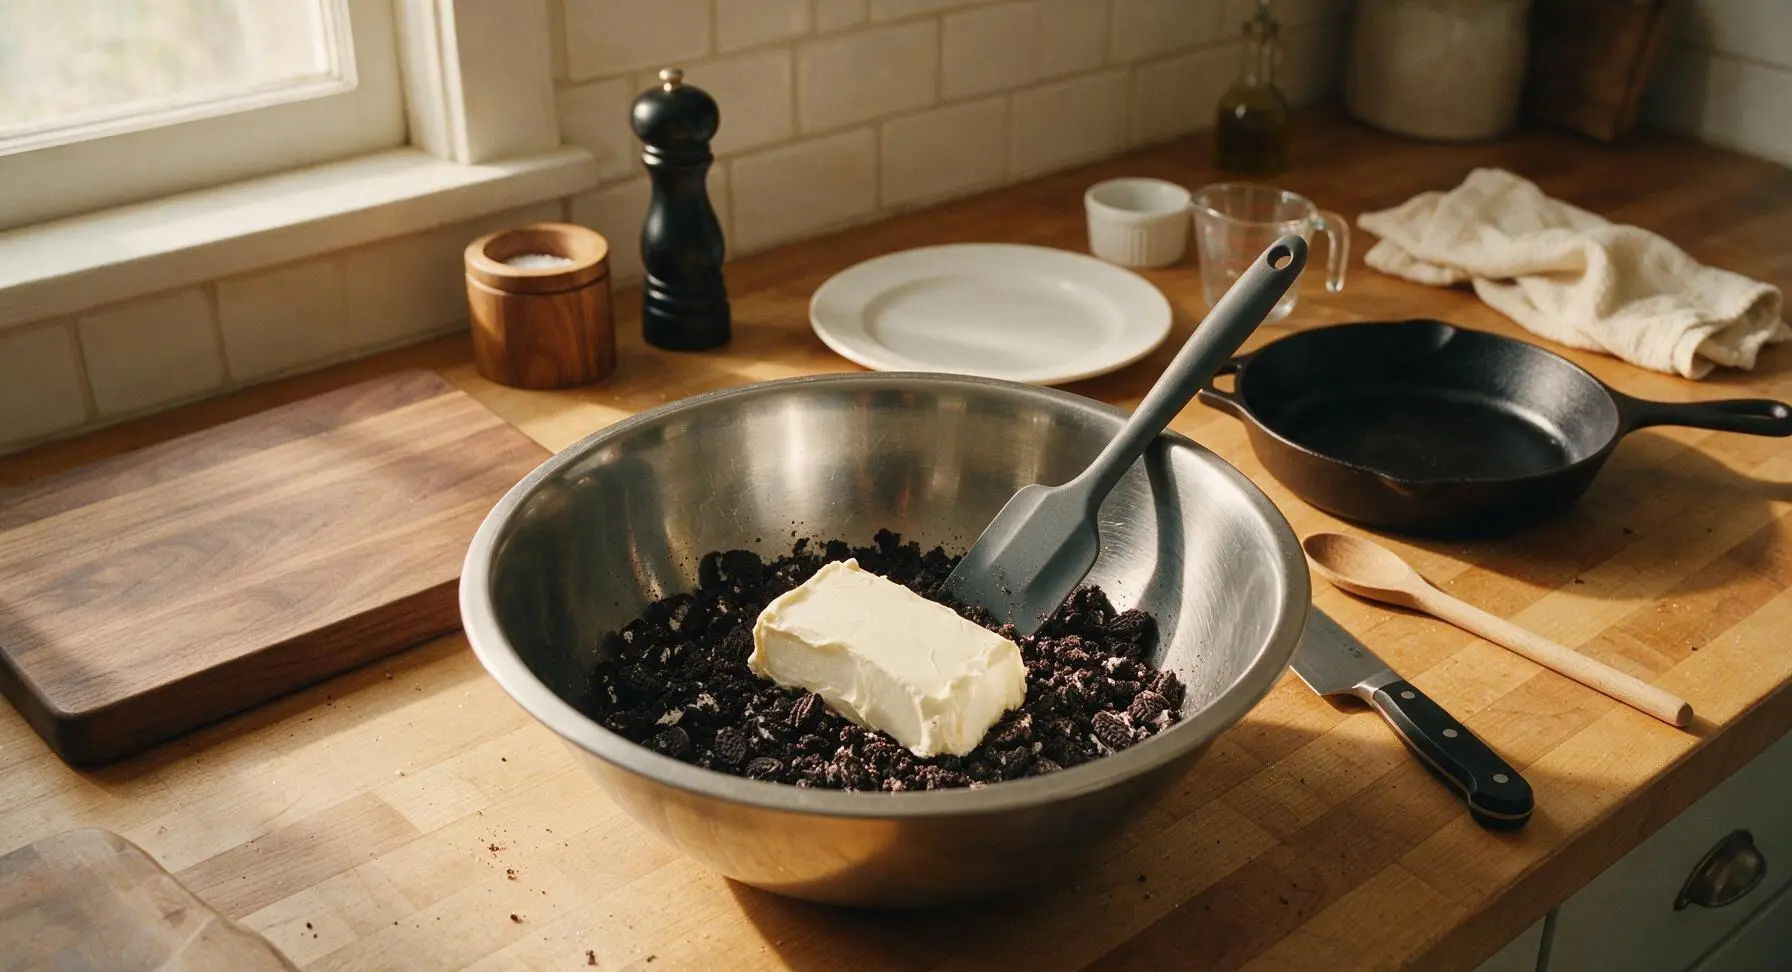
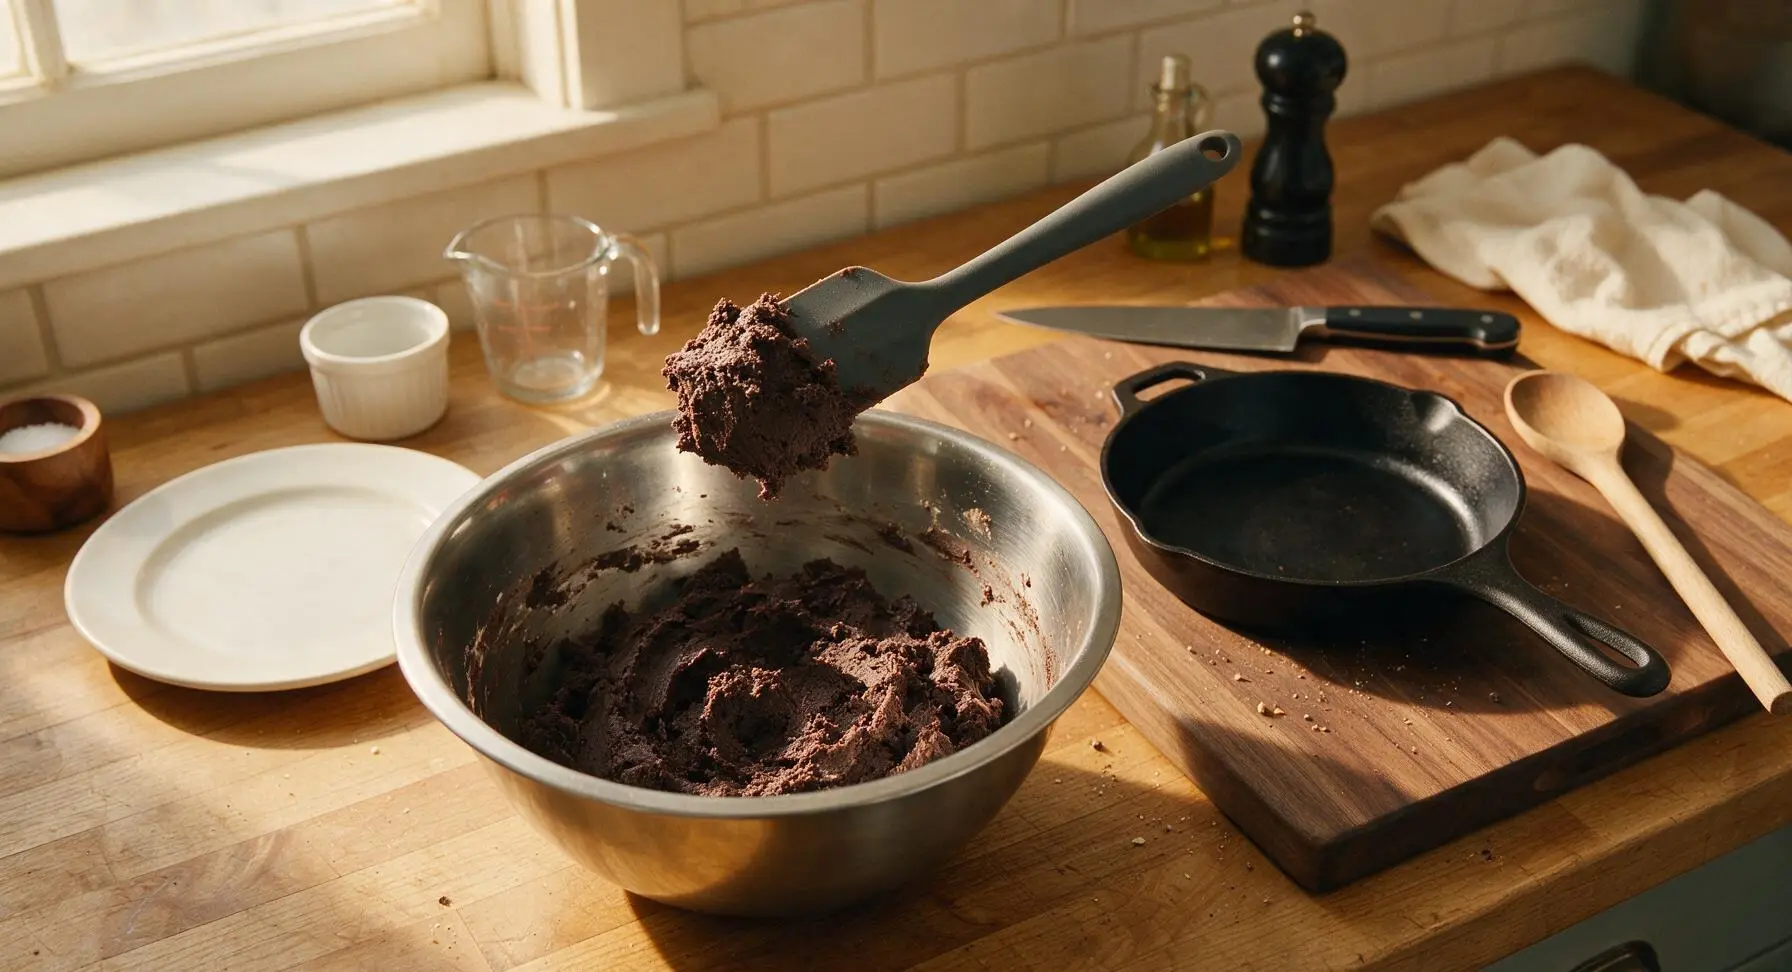
Pour all but 1 tablespoon of the crushed Oreo crumbs into the large stainless steel mixing bowl. Add the fully softened room-temperature cream cheese (it should dent easily when pressed with a finger, no cold lumps remaining), and use the charcoal gray silicone spatula to fold and stir the mixture for 2-3 minutes, until no streaks of white cream cheese are visible. The finished base should hold together firmly when squeezed between your fingers, with a texture similar to damp, moldable sand, not sticky or dry and crumbly.
Portion Truffle Balls
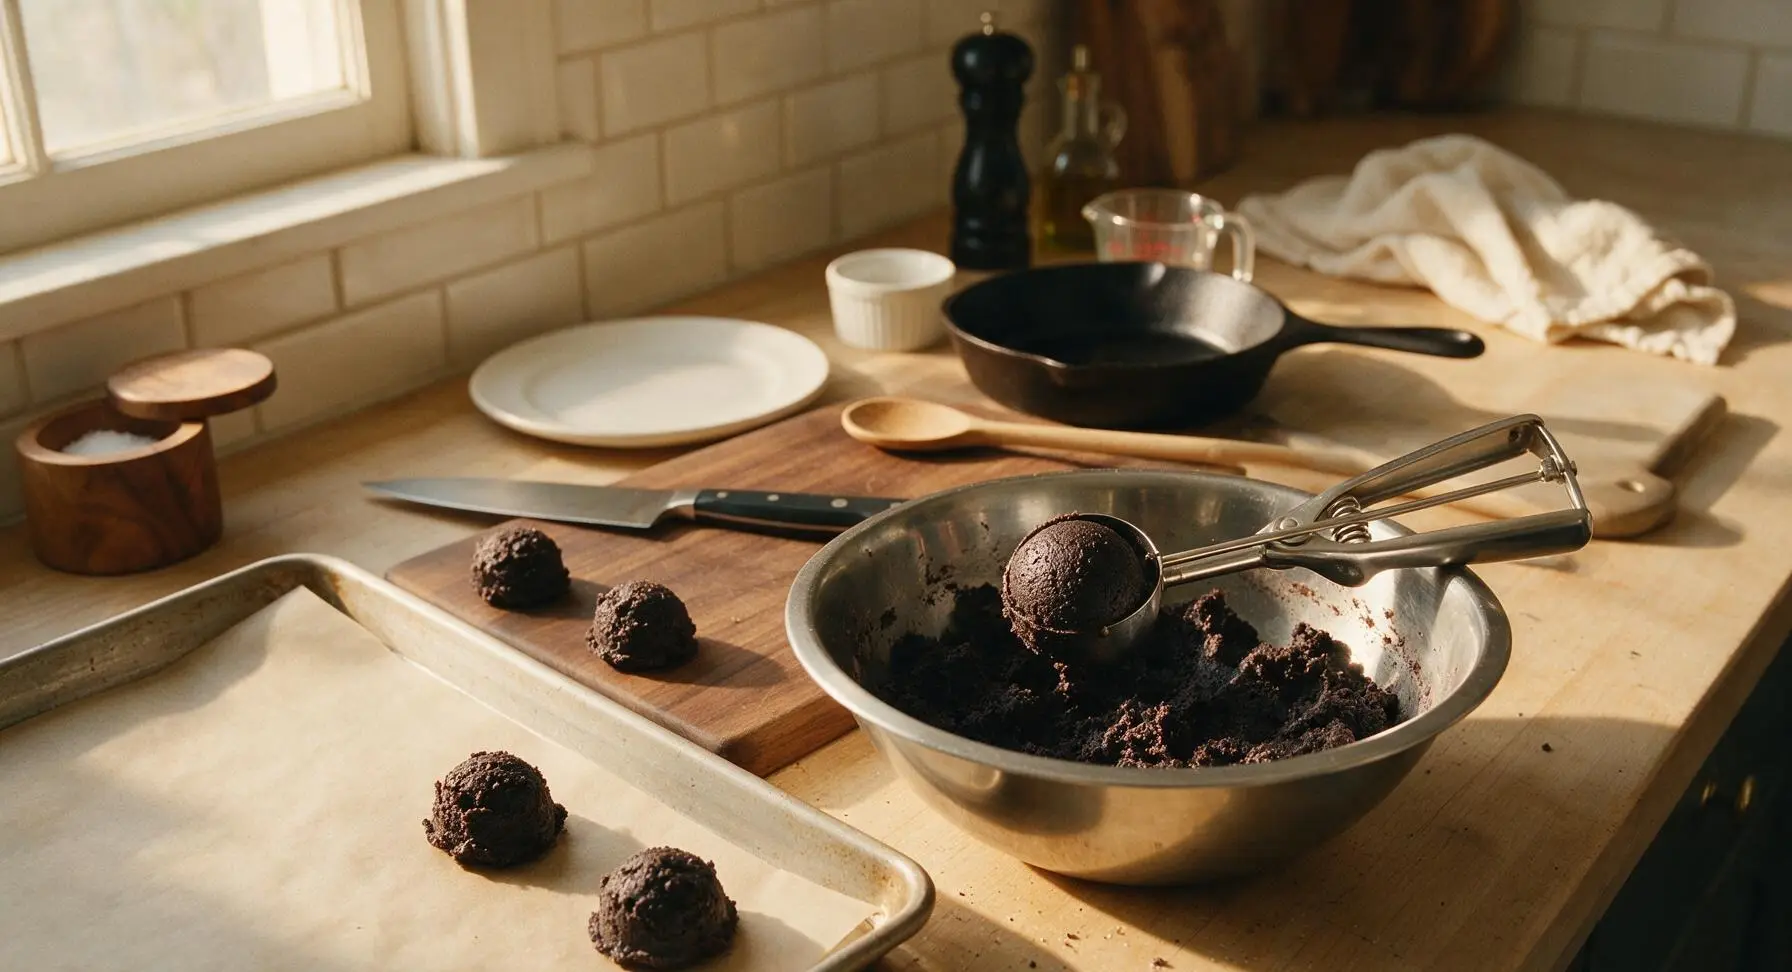
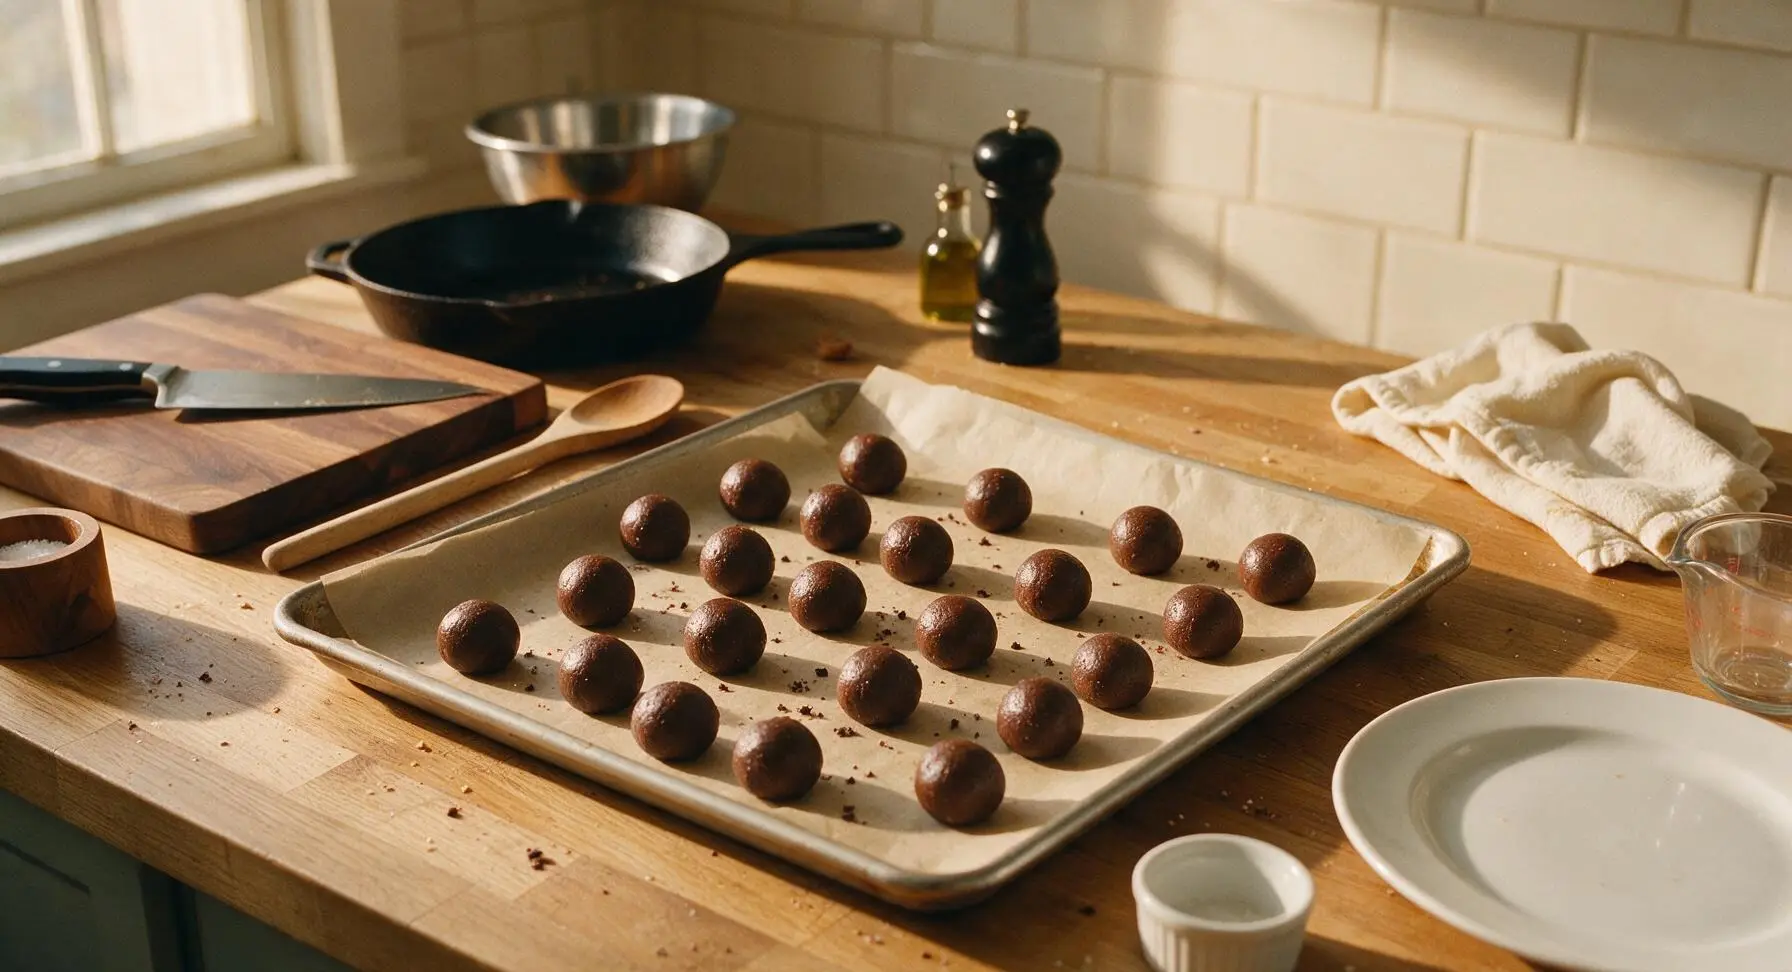
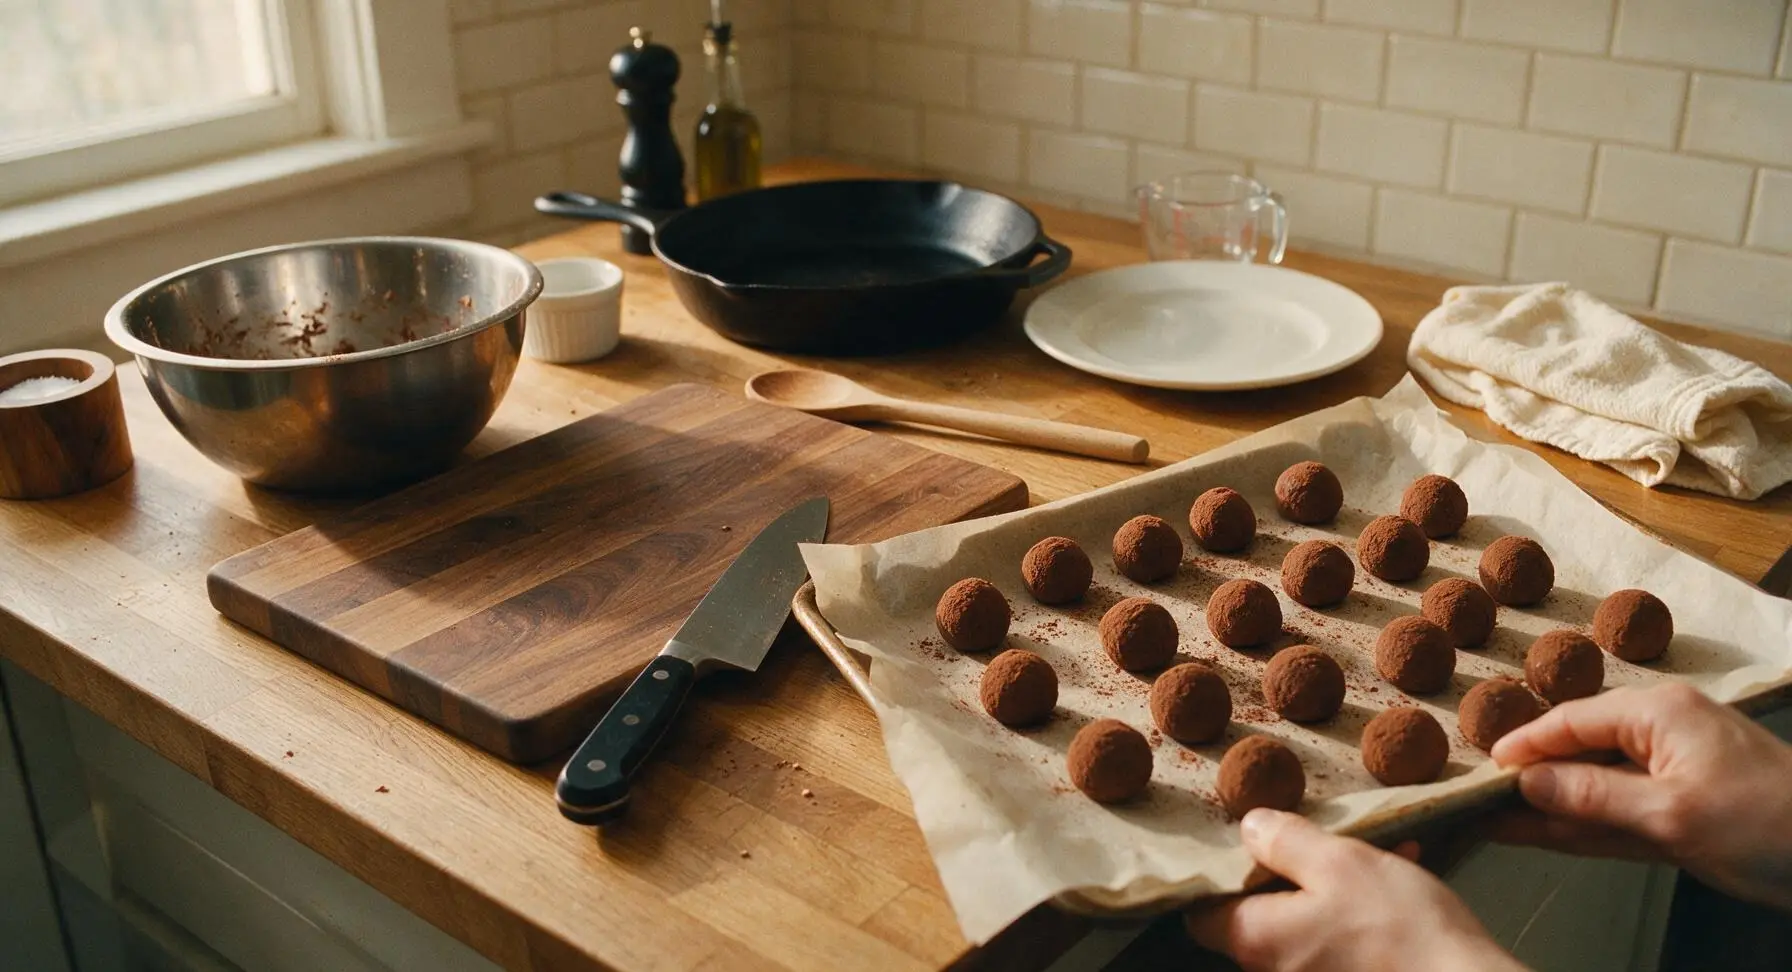
Use the 3cm spring-loaded stainless steel cookie scoop to portion even 1-tablespoon mounds of the truffle base, placing each mound 2cm apart on the parchment-lined aluminum baking sheet. Once all base is scooped (yielding 24 even mounds), roll each mound between clean, dry palms to form a smooth, tight round ball with no cracks or seams. Return all rolled balls to the baking sheet in neat rows.
Chill Truffle Centers
Slide the baking sheet with rolled truffle centers into the refrigerator to chill for 30 minutes, until the balls are firm to the touch and do not squish when pressed lightly with a fingertip. Chilling prevents the soft centers from melting and sliding off the dipping fork when coated in warm chocolate.
Melt Chocolate Coating
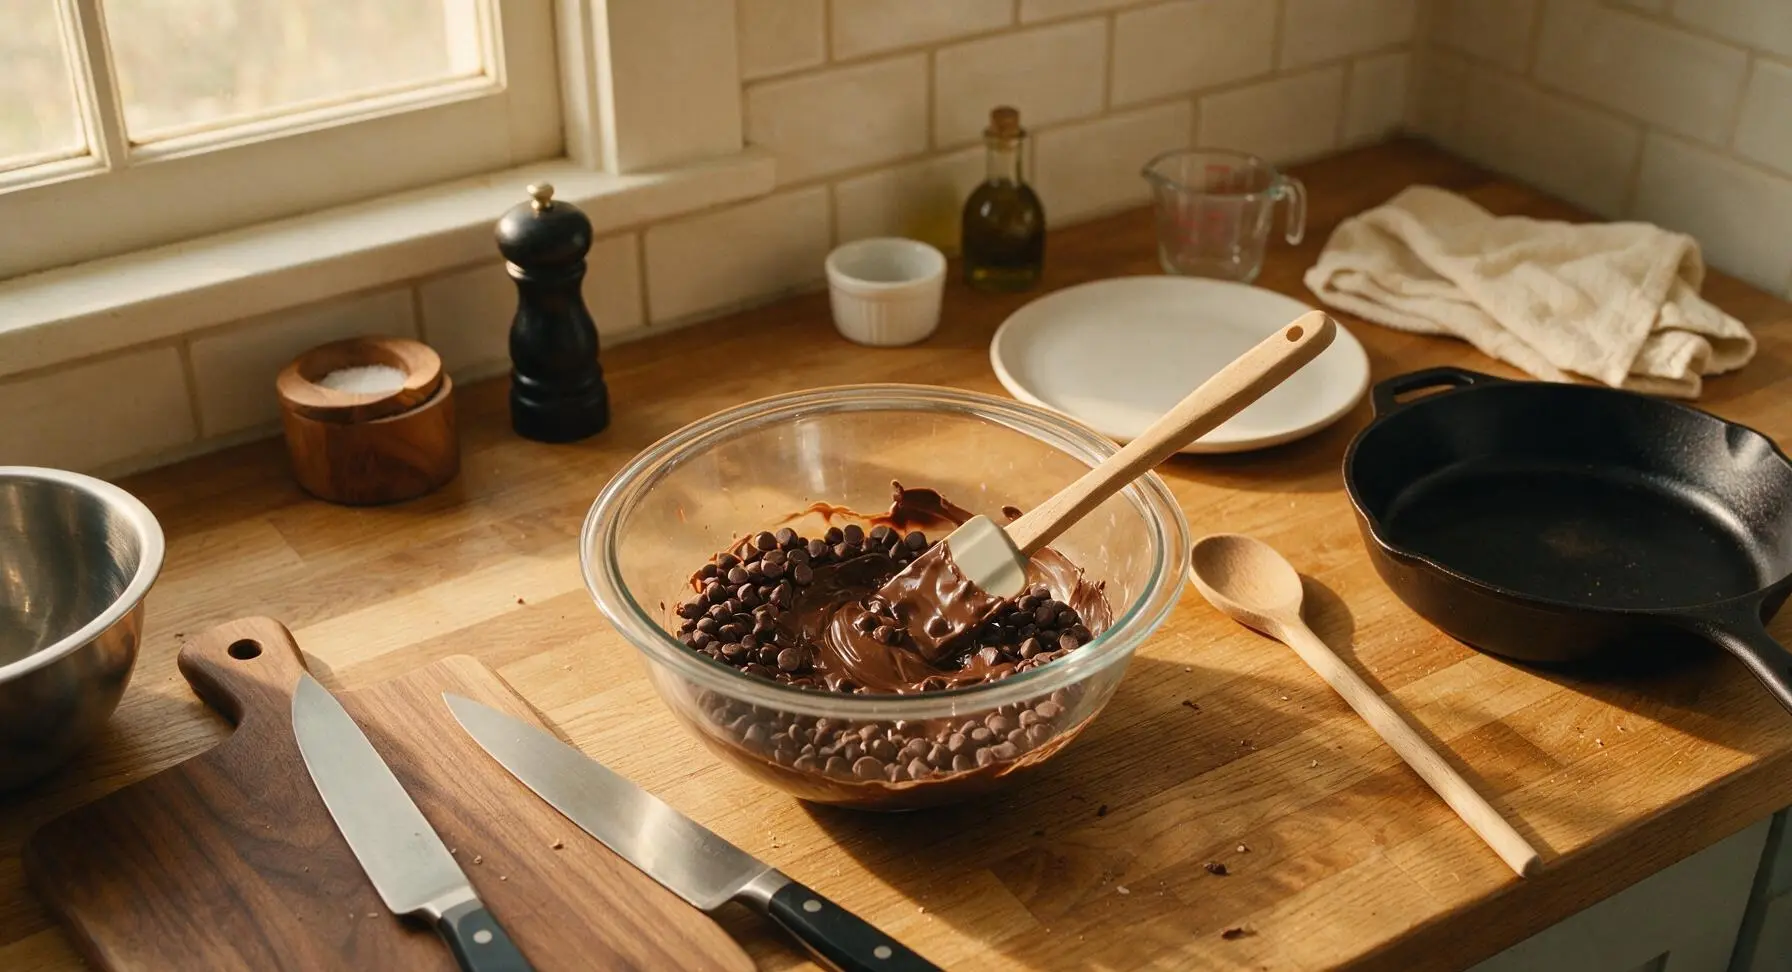
While the truffle centers chill, place the 12oz of semi-sweet chocolate chips into the medium clear glass microwave-safe bowl. Microwave in 30-second bursts at 50% power, stirring thoroughly with the silicone spatula between each burst, for a total of 90 seconds to 2 minutes, until the chocolate is completely smooth and pourable, with no unmelted lumps remaining. Do not overheat the chocolate, as temperatures above 90°F will cause it to seize into a grainy, unworkable mass.
Coat Truffles in Chocolate
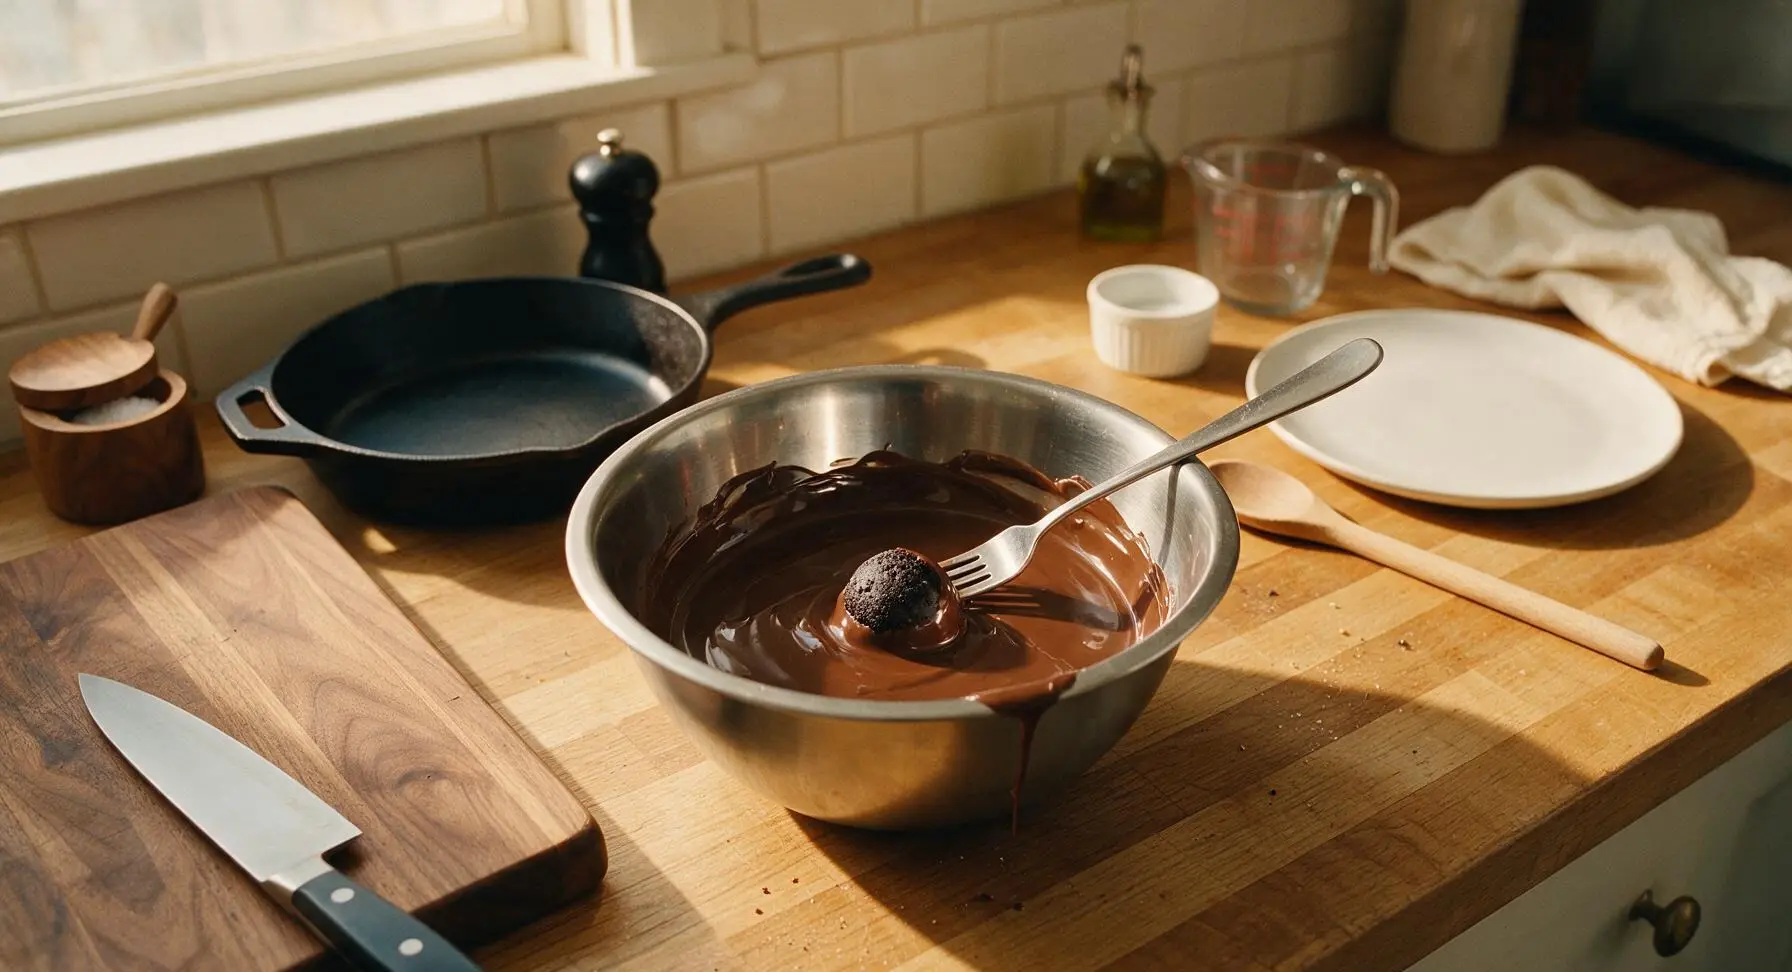
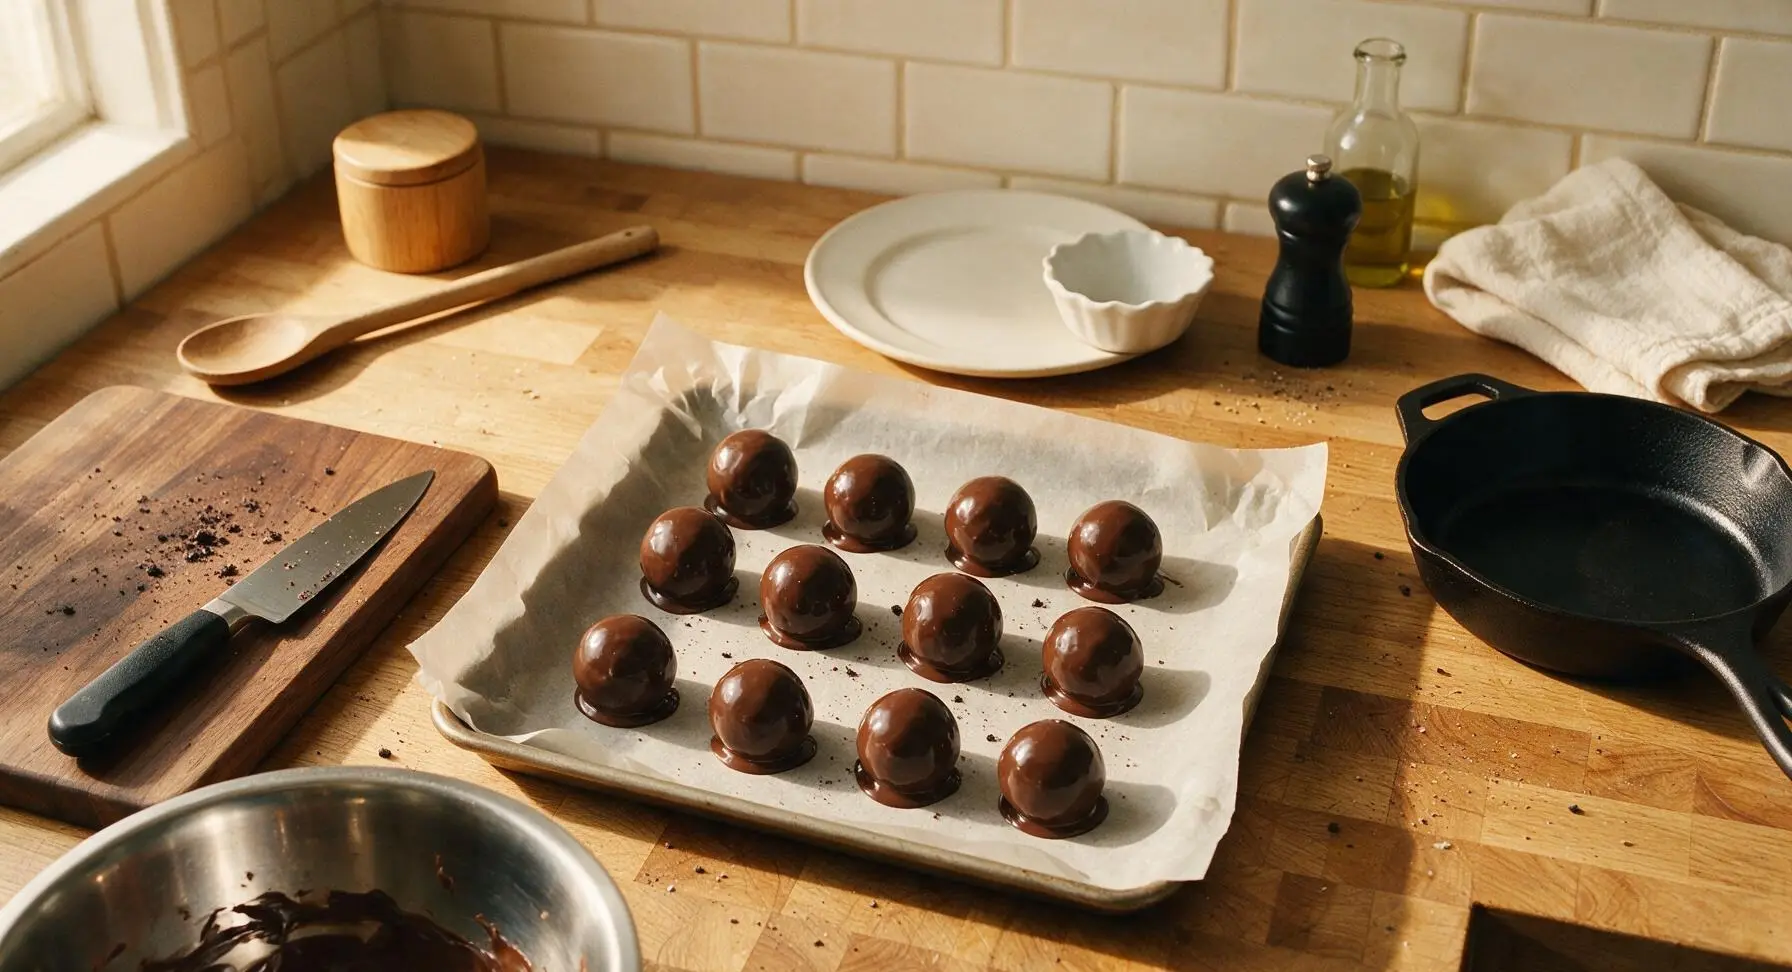
Remove the chilled truffle centers from the refrigerator. Working one truffle at a time, drop a center into the bowl of melted chocolate, use the stainless steel dipping forks to roll it until fully coated on all sides, then lift the truffle out, tapping the fork gently on the bowl edge 3-4 times to let excess chocolate drip back into the bowl. Place the coated truffle back onto the parchment-lined baking sheet, leaving 2cm between truffles to prevent sticking. Repeat with all remaining truffles.
Add Garnish Drizzle
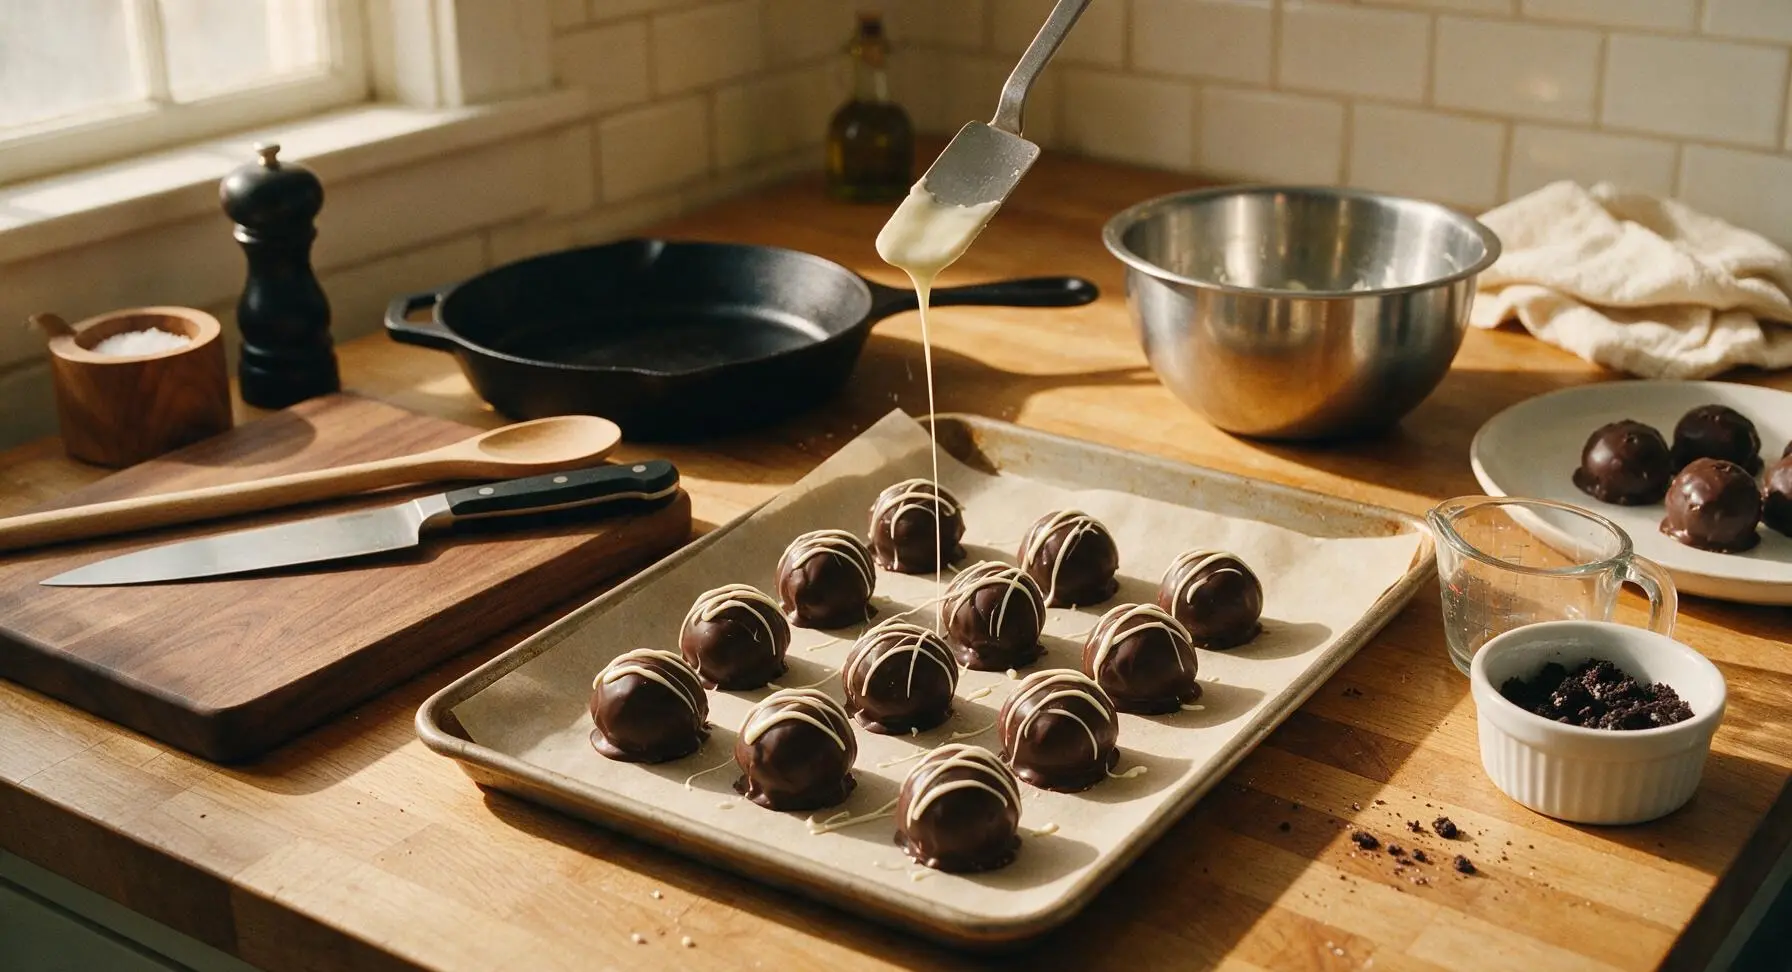
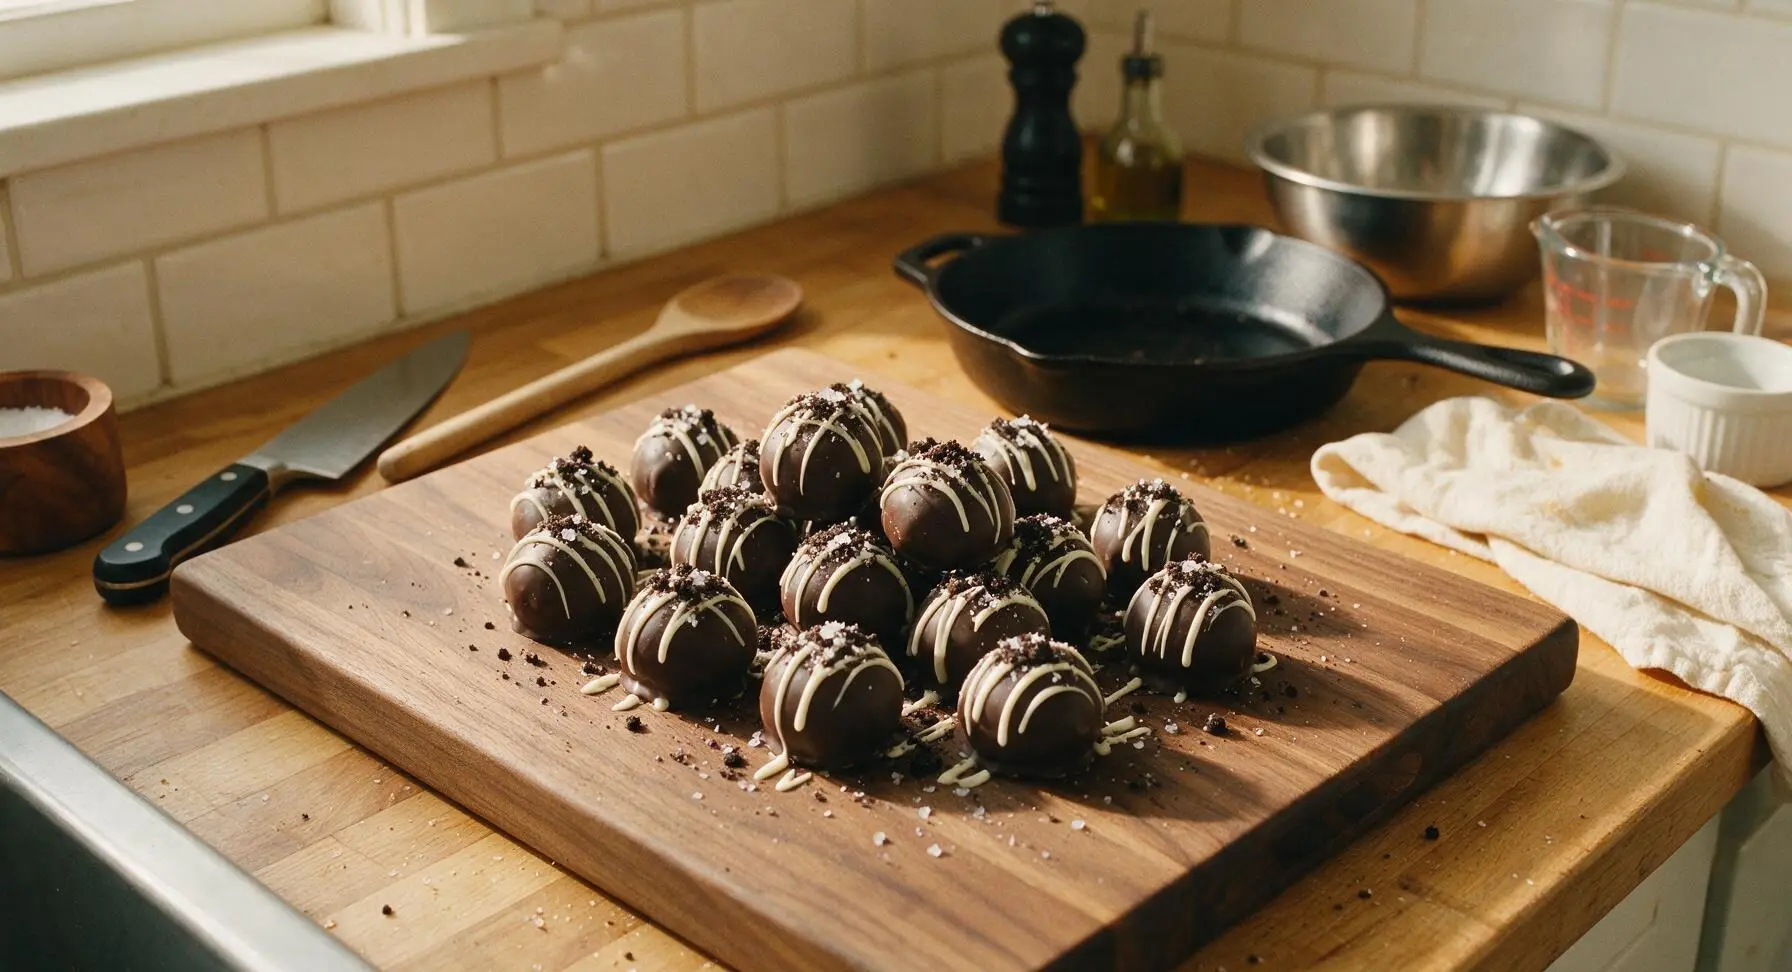
Melt the 2oz of optional white chocolate in a small heatproof dish using the same 30-second burst, 50% power method used for the semi-sweet chocolate. Use the tip of the small offset metal spatula to drizzle thin, zig-zag lines of white chocolate across the top of the wet coated truffles. Immediately sprinkle the reserved 1 tablespoon of crushed Oreo crumbs and tiny pinch of flaky sea salt over the truffles, before the chocolate sets so the garnish adheres.
Let Truffles Set
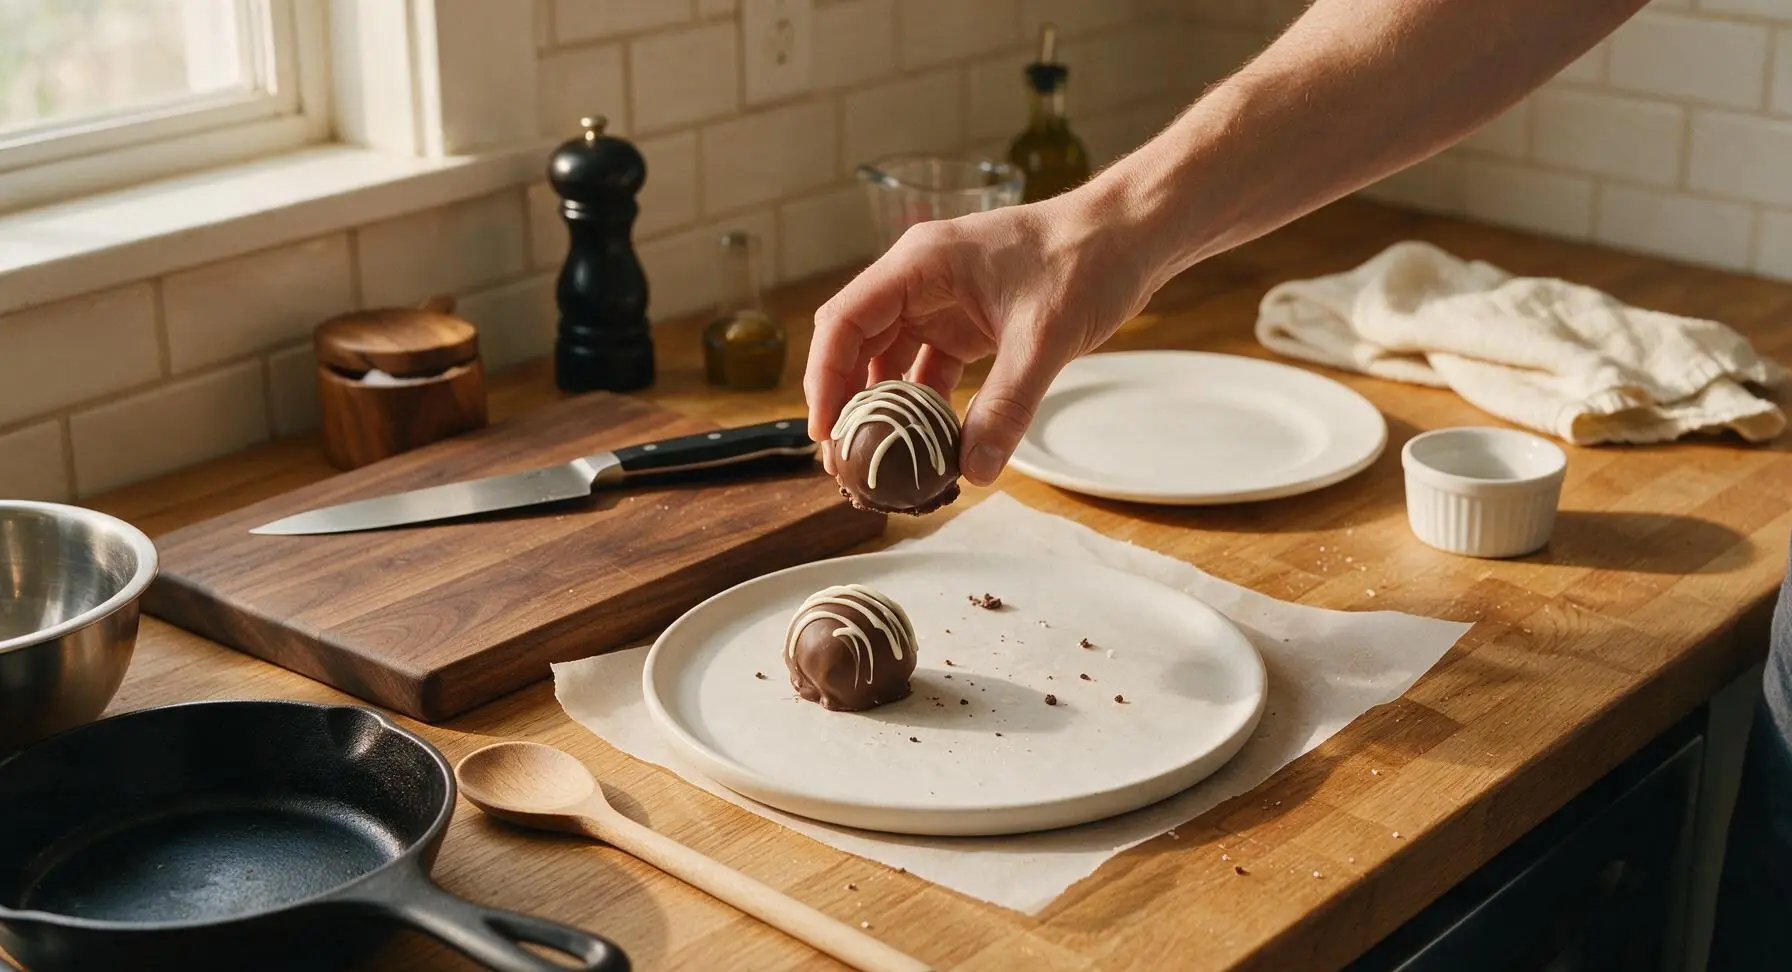
Return the baking sheet of coated, garnished truffles to the refrigerator for 30 minutes, until the chocolate coating is completely firm and set to the touch (no fingerprint remains when pressed lightly). Once set, transfer the truffles to the round matte white ceramic serving platter to serve. Leftover truffles can be stored in an airtight container in the refrigerator for up to 1 week.
Tips
2.Chill truffle centers fully before dipping: Warm, soft centers will melt the warm chocolate coating from the inside, cause cracks in the set chocolate, and often slide off the dipping fork into the melted chocolate bowl.
3.Keep all tools completely dry when melting chocolate: Even a single drop of water will cause melted chocolate to seize into a thick, grainy, unworkable mass that cannot be used for smooth coating.






Wait, I’ve messed up Oreo truffles so many times before because I used too much cream cheese? This ratio was PERFECT. They set firm in the fridge without being goopy, and my whole extended family went crazy for them at our Sunday dinner. I rolled half in crushed peppermint for a little holiday twist, SO good, chef’s kiss.
Super easy even for a guy who burns toast half the time! I made these for my office holiday party and they were gone in 10 minutes flat. Only note: make sure you give yourself enough chill time before dipping, I rushed my first batch and they fell apart in the melted chocolate lmao.
Perfect for dorm room snack prep! I stashed a batch in my mini fridge for late night study sessions and they lasted a whole week! Way cheaper than buying fancy truffles from the campus bakery, and my roommates keep asking when I’m making more. OMG they’re so rich and chocolatey, 10/10, zero fancy equipment needed.
My kids loved these! I let them help crush the Oreos in a ziplock bag with a rolling pin and they thought that was the best part. We dipped half in milk chocolate and half in dark chocolate so everyone had their favorite. Will absolutely be adding these to our regular rotation for birthday parties.
Wait a second — has anyone tried making these with gluten free Oreos? I have a celiac teen who’s been begging for Oreo truffles but I don’t want to make a batch that turns out weird for his birthday. These look so good I’m dying to try!
Just popped my first batch in the fridge to chill! The mixture tasted insane when I was rolling the balls, I almost ate half of it before dipping. Fingers crossed they turn out, I’m bringing them to my neighbor’s cookout tomorrow.
Swapped the cream cheese for dairy free cream cheese and used vegan white chocolate for the coating, and these were unreal! Even my non-vegan friends were shocked when I told them they were fully plant based. Total game changer for vegan potluck season.
Made these for my book club meeting last night and everyone was raving! I added a little flaky sea salt on top of the chocolate coating right after dipping and it cut the sweetness perfectly. So easy even with my crazy work schedule, total win.
Made these as a last minute treat for my kids’ class Valentine’s party and they were a total hit! I used pink candy melts for half the batch and added little heart sprinkles, they looked so fancy no one believed they took less than an hour of actual work to make. Will be making these for every class party from now on.
Wait quick question — can I freeze these truffles after I make them? I whipped up a test batch last night to try, and they were absolutely insane, but I’m prepping for a big family reunion next weekend and want to get as much done ahead of time as possible so I’m not running around the kitchen last minute.