
oven baked chicken breast

title 1
oven baked chicken breast
⏱️ cook time 22 minutes
🍽️ servings 4
⚡ Difficulty easy

intro

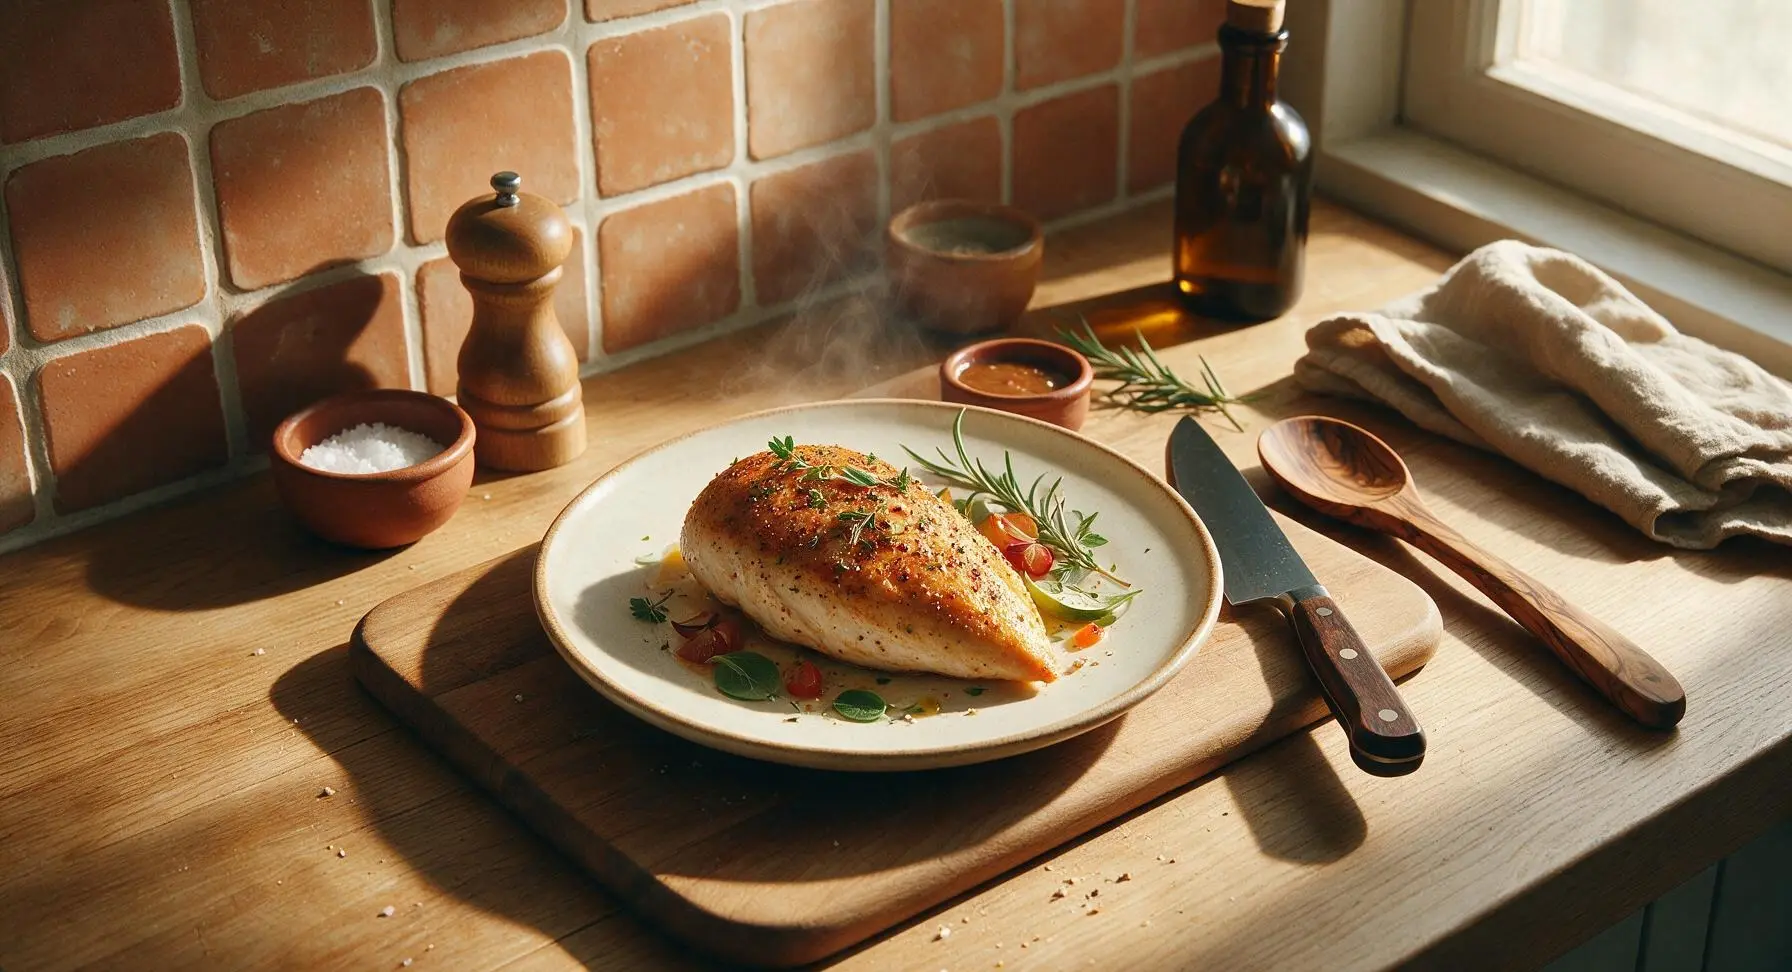
Juicy, evenly seasoned oven-baked chicken breast with a crisp golden exterior—no dry, rubbery results, perfect for fast, satisfying weeknight dinners.

Ingredients
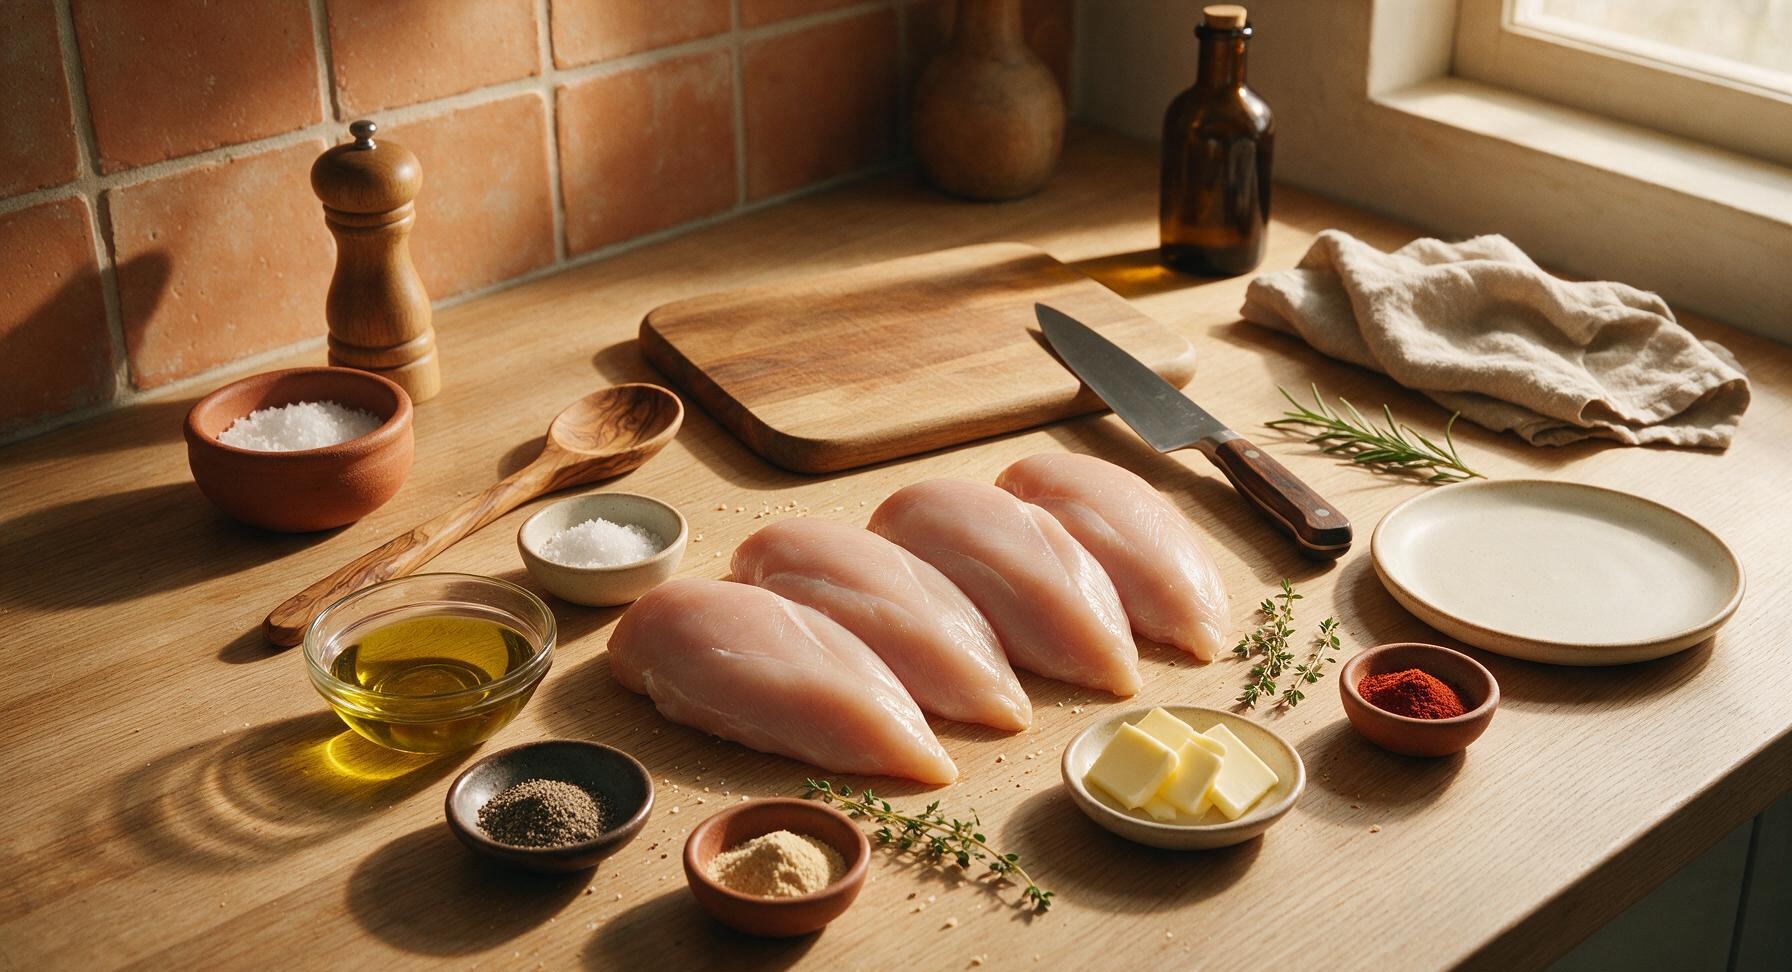
Boneless, skinless chicken breasts 4 pieces (≈170g each, 680g total)
Extra-virgin olive oil 2 tablespoons
Kosher salt 1.5 teaspoons
Freshly ground black pepper 1 teaspoon
Garlic powder 1 teaspoon
Smoked paprika ½ teaspoon
Unsalted butter 2 tablespoons (cut into 4 thin pats)
Fresh thyme sprigs 4 sprigs, plus extra for garnish

Steps

1

Prep Oven and Chicken

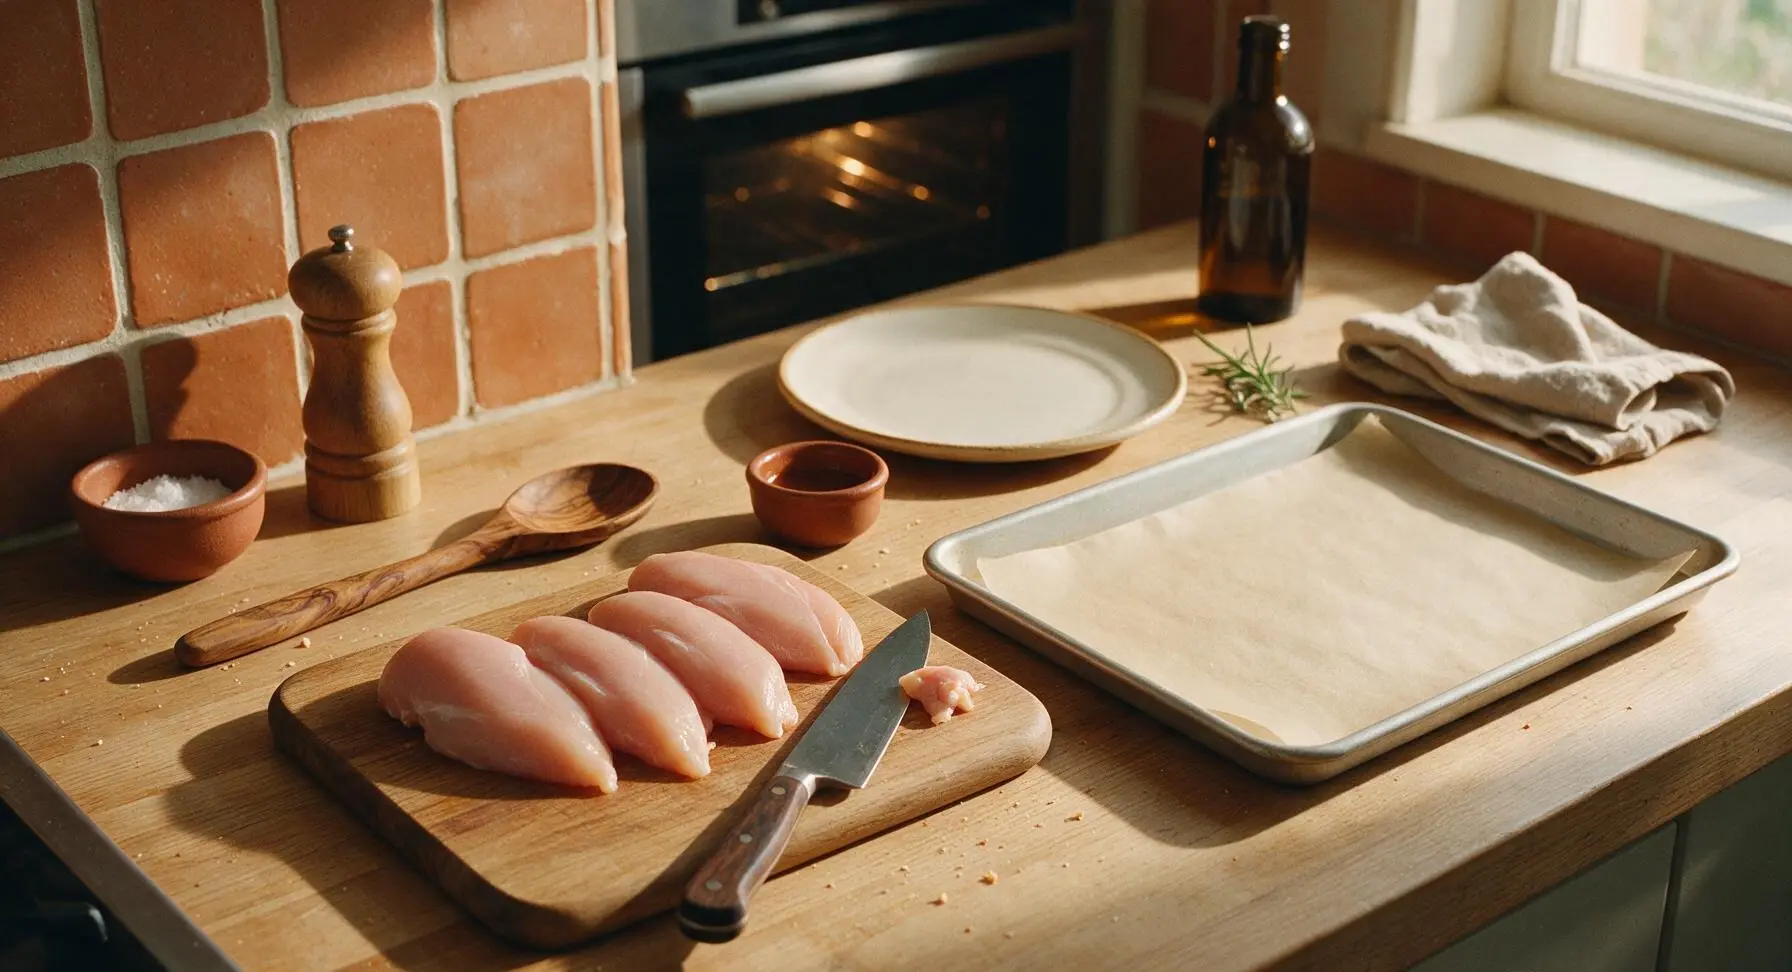
Adjust your oven rack to the middle position and preheat oven to 425°F (220°C). Line the rimmed light aluminum baking sheet with unbleached parchment paper and set it near the prep area. Place the four raw chicken breasts on the light maple cutting board, and pat every surface completely dry with paper towels—this dry surface is critical for a crisp, non-soggy exterior. Use the 8-inch chef’s knife to trim any excess loose fat or tough silver skin from the edges of the breasts.
Step 1
step1:Prep Oven and Chicken
2

Season Chicken Evenly

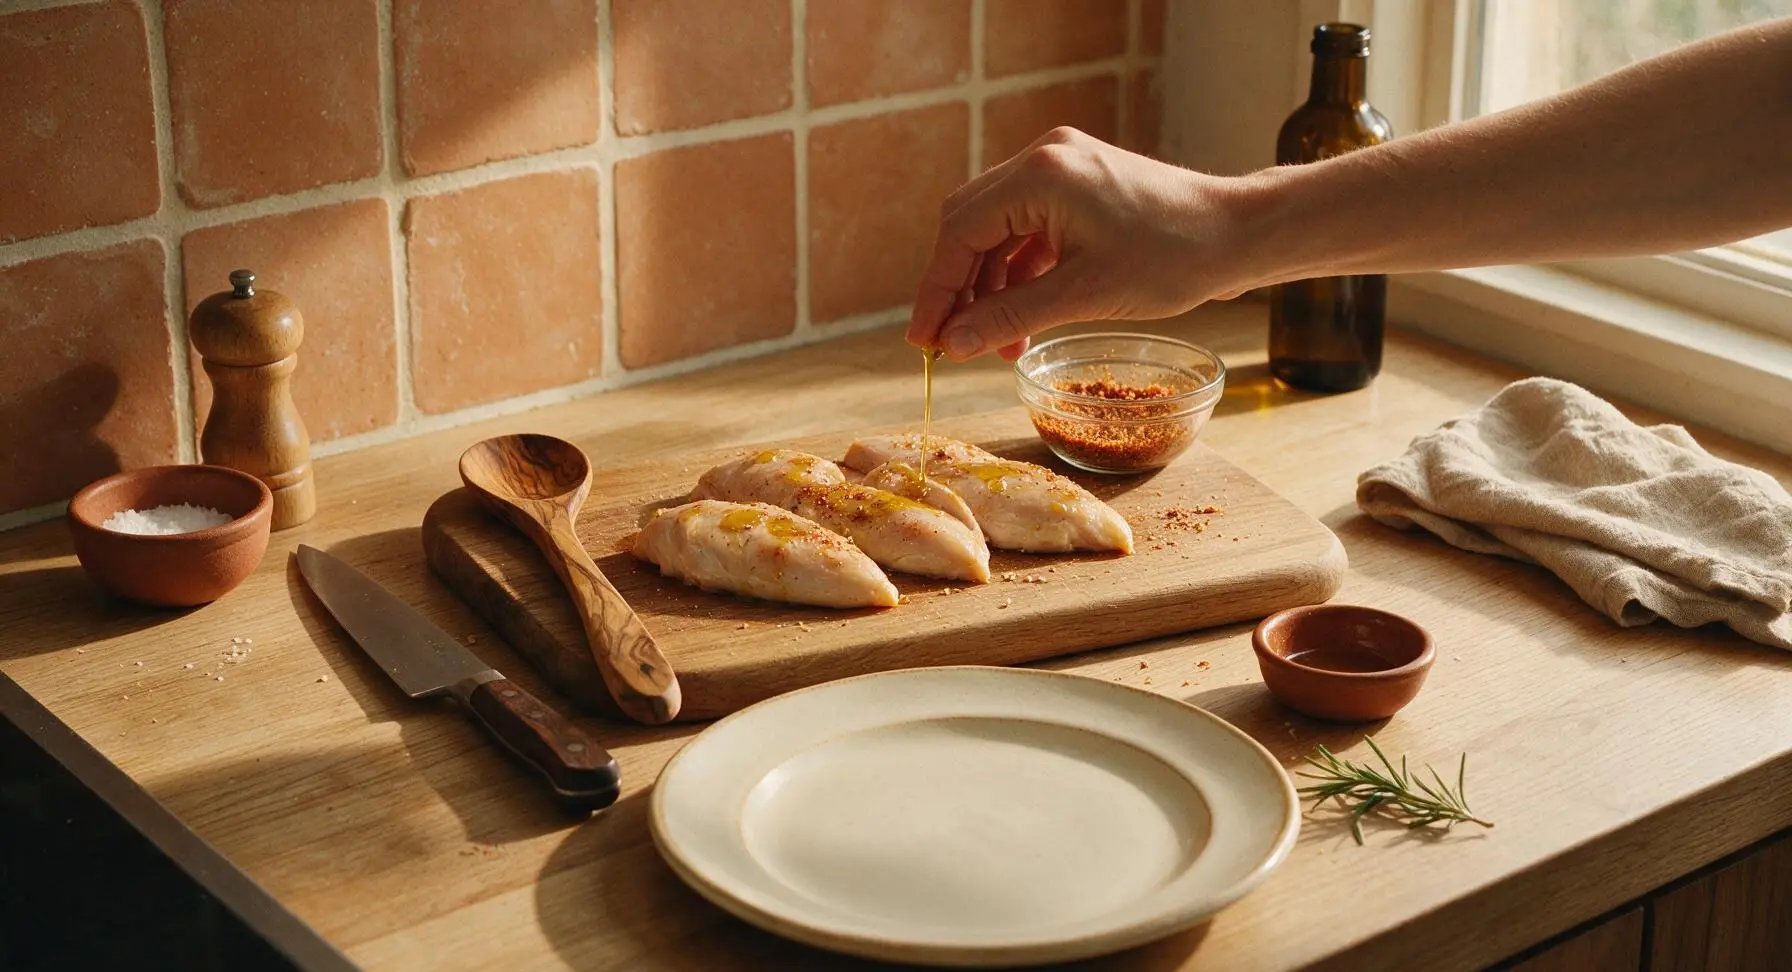
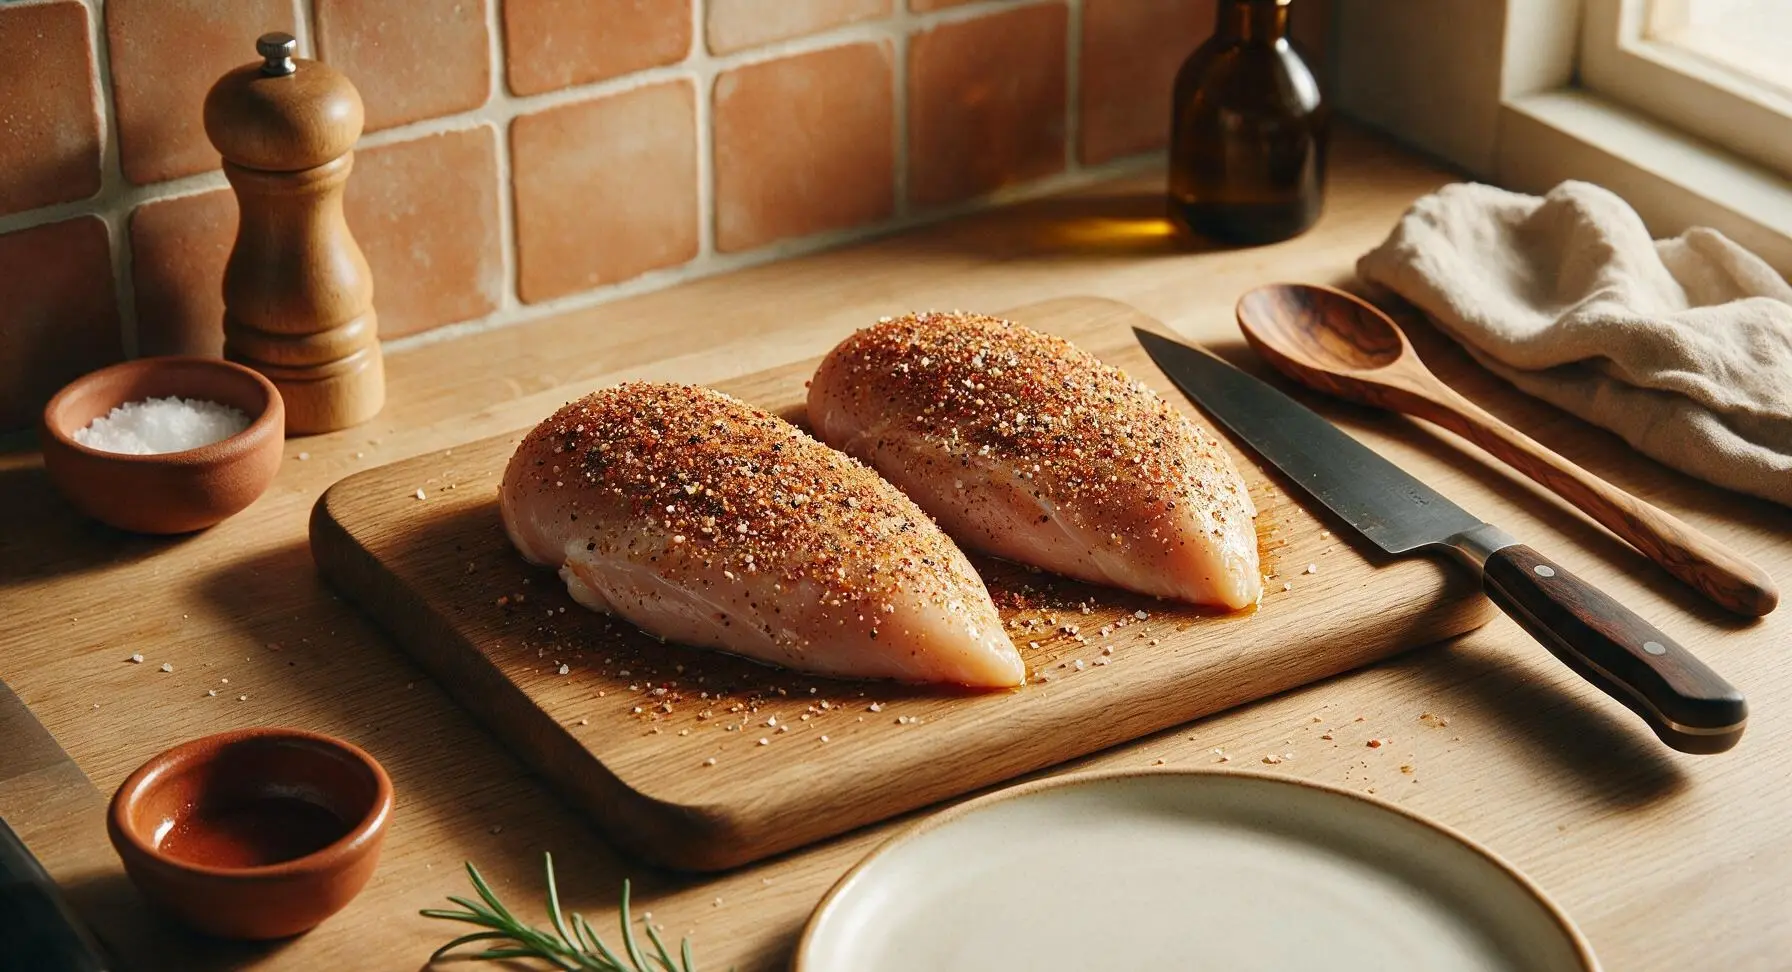
Drizzle 2 tablespoons of extra-virgin olive oil over the dried chicken breasts, rubbing with clean hands to coat every surface evenly. In the small clear glass mixing bowl, combine 1.5 teaspoons kosher salt, 1 teaspoon freshly ground black pepper, 1 teaspoon garlic powder, and ½ teaspoon smoked paprika, stirring to fully blend. Sprinkle the spice blend evenly over all sides of the chicken, pressing gently so the seasoning adheres to the oiled surface, leaving no bare spots.
Step 2
step2:Season Chicken Evenly
Step 2
step2:Season Chicken Evenly
3

Arrange on Baking Sheet

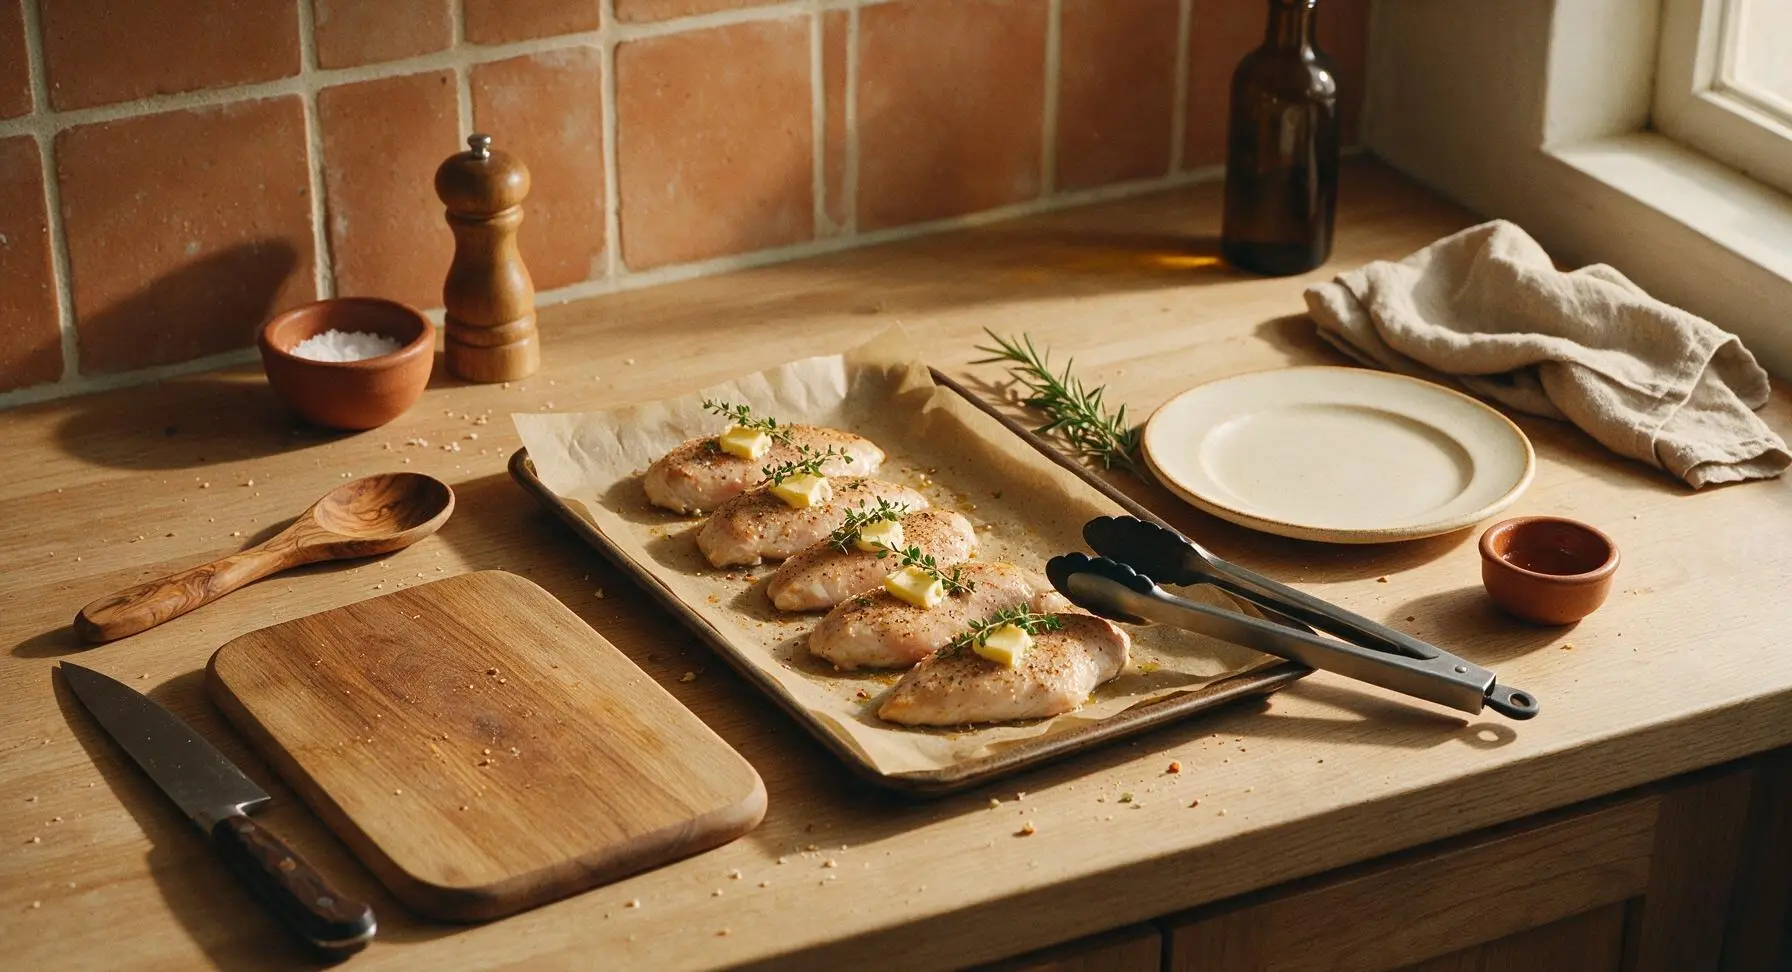
Use the silicone-tipped stainless steel tongs to transfer the seasoned chicken breasts to the parchment-lined baking sheet, spacing them at least 2 inches apart to allow hot oven air to circulate evenly around each piece. Place one thin pat of unsalted butter (½ tablespoon per breast) on top of each chicken breast, then lay one fresh thyme sprig across each butter pat.
Step 3
step3:Arrange on Baking Sheet
4

Bake to Safe Temp

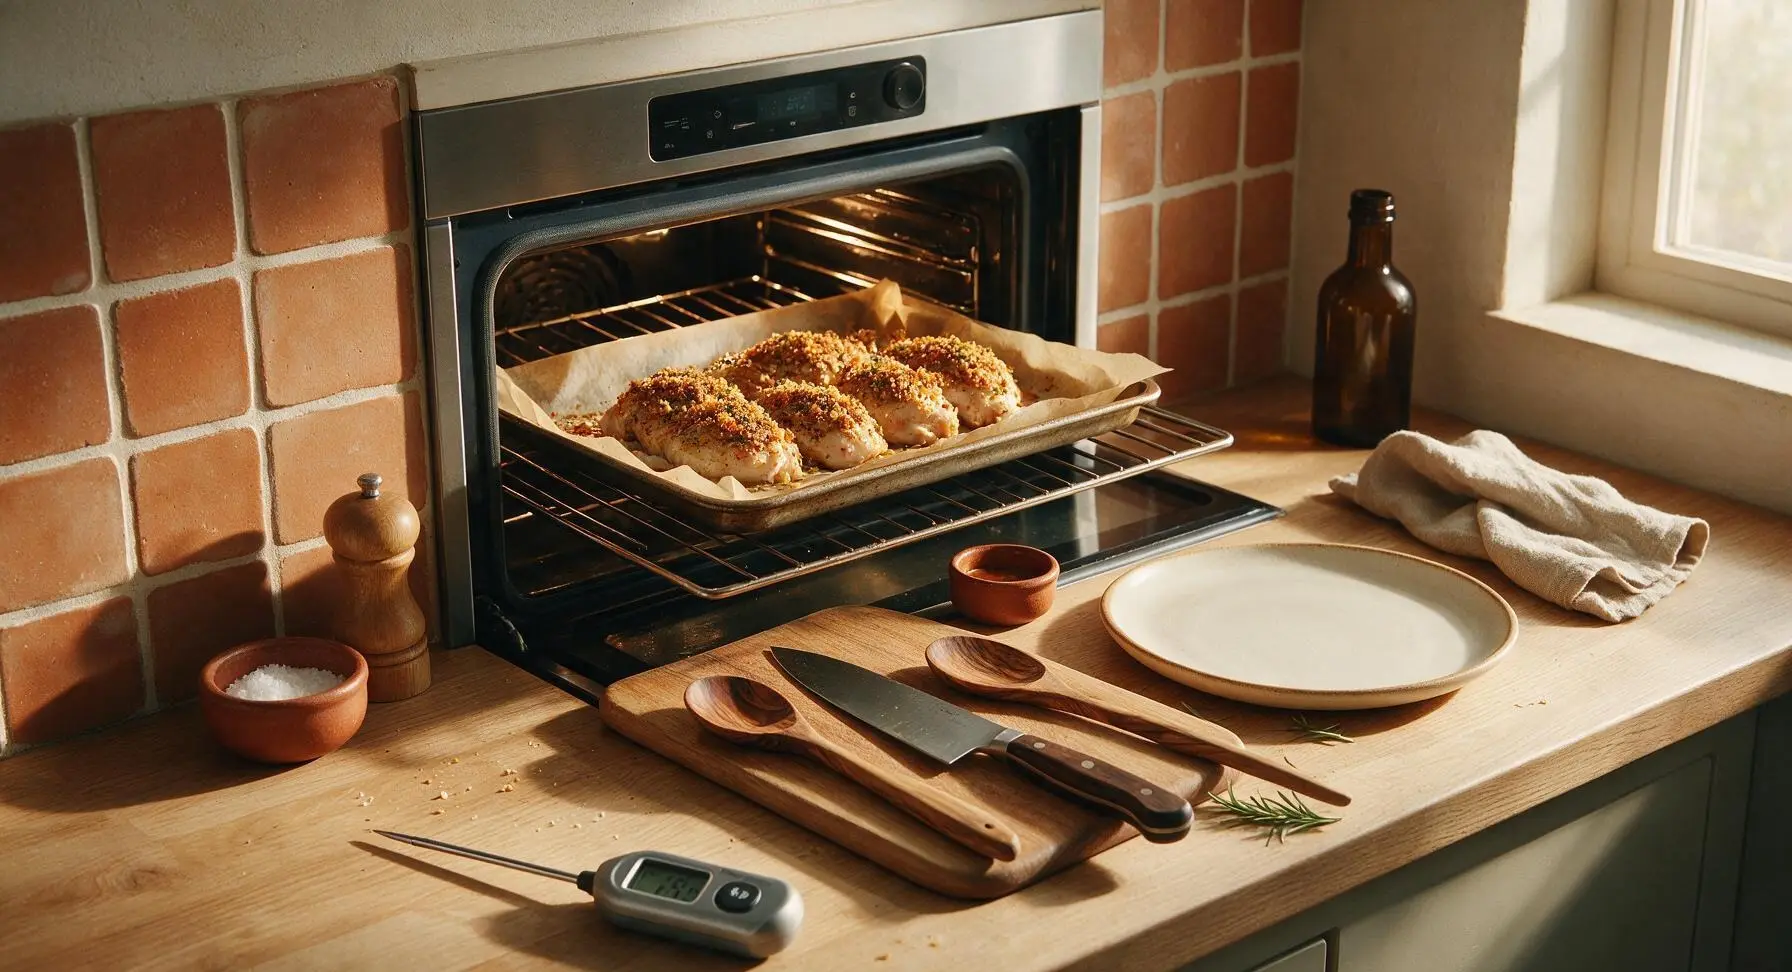
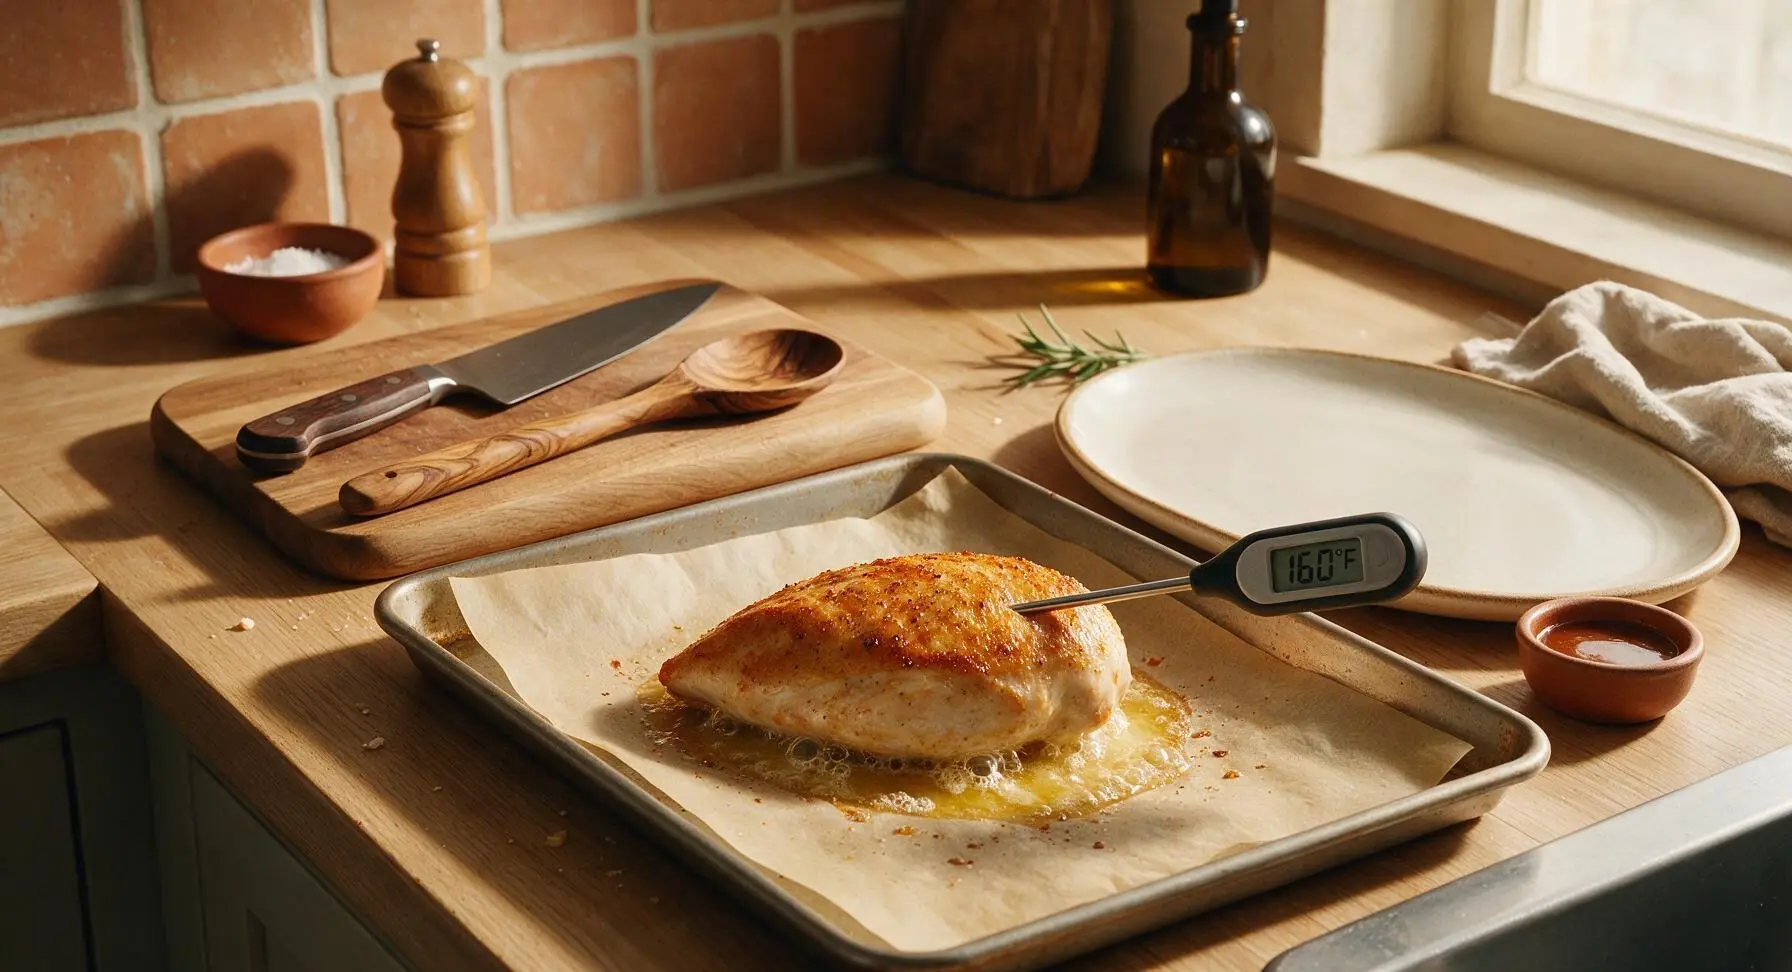
Carefully place the baking sheet on the middle oven rack, and bake for 20 to 22 minutes total. Do not flip the chicken during baking, as this will disrupt the crisp top layer. After 18 minutes of baking, begin checking internal temperature by inserting the digital instant-read meat thermometer into the thickest part of the largest breast: chicken is ready to remove when it reaches 160°F (71°C), as carryover cooking will raise the internal temperature to the food-safe 165°F (74°C) as it rests.
Step 4
step4:Bake to Safe Temp
Step 4
step4:Bake to Safe Temp
5

Rest Before Slicing

Once the chicken hits 160°F internal temp, use the tongs to pull the baking sheet out of the oven and set it back on the counter. Loosely tent a small sheet of aluminum foil over the chicken to hold in gentle heat, and let it rest for a full 5 minutes. This rest period allows the tight muscle fibers to relax and reabsorb hot juices, so no liquid pours out when you cut into the meat.
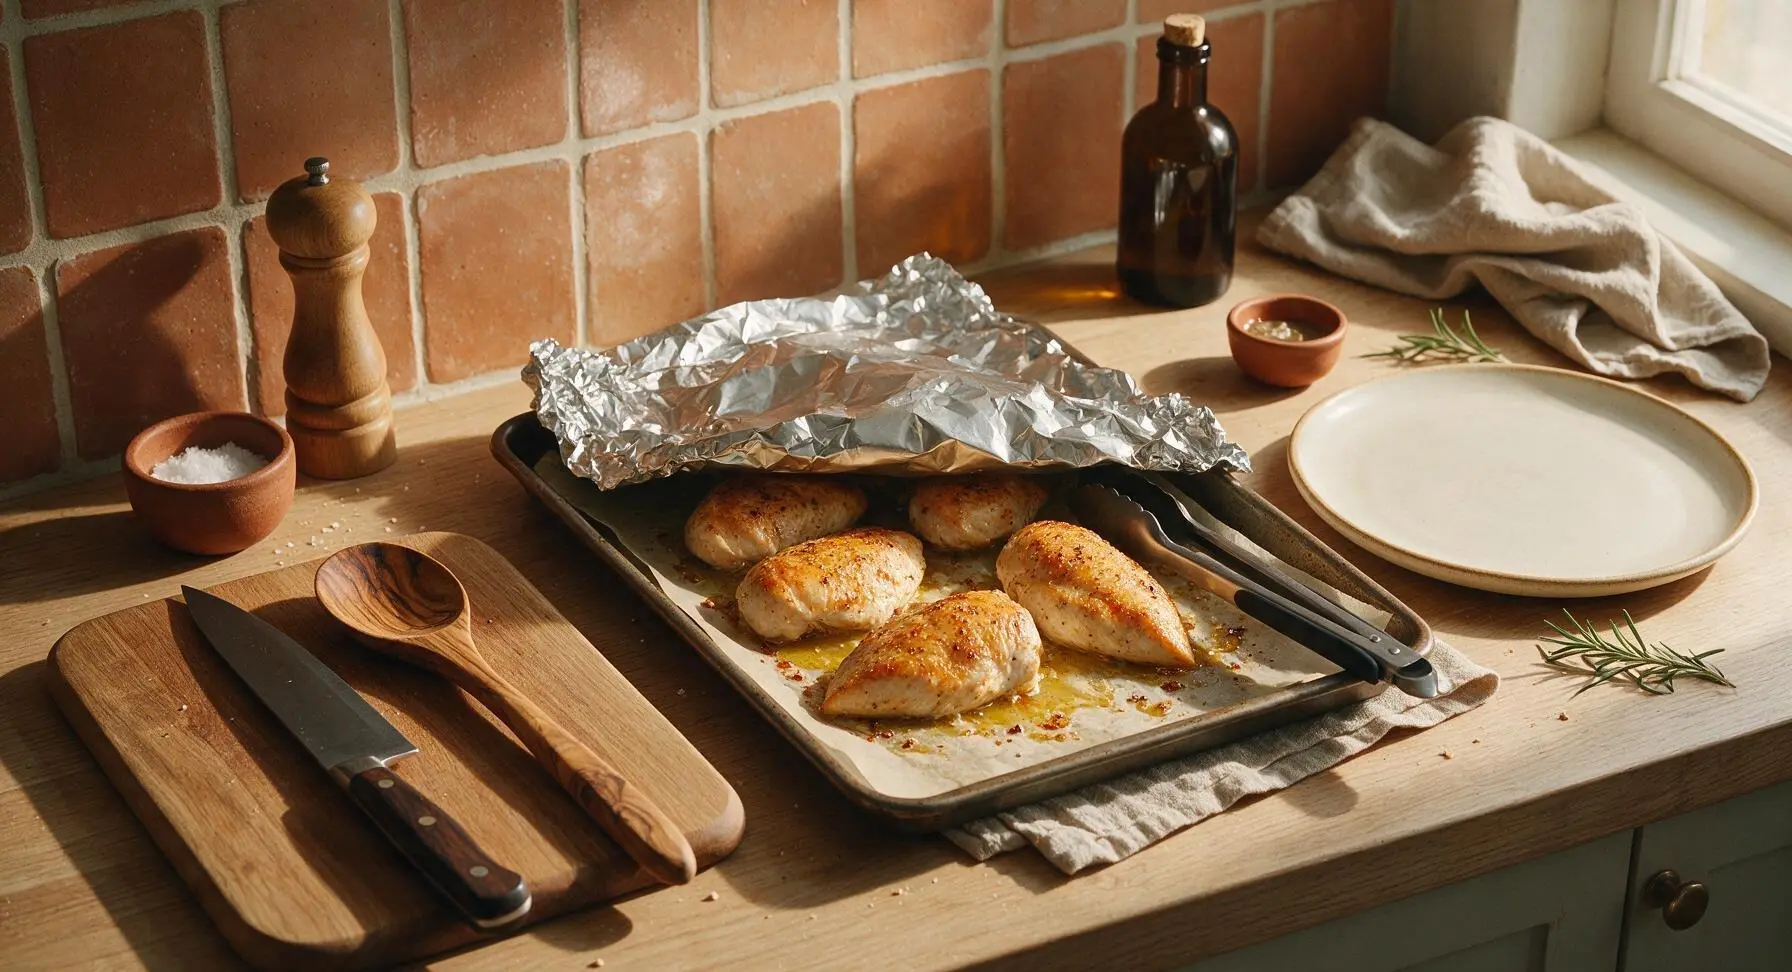
Step 5
step5:Rest Before Slicing
6

Slice and Plate

After the 5-minute rest, transfer the chicken breasts back to the maple cutting board. Use the chef’s knife to slice the chicken against the grain into ½-inch thick slices, then arrange the slices fanned out on the matte cream ceramic dinner plate. Drizzle any collected pan juices from the parchment paper over the top of the slices, and garnish with a few extra fresh thyme leaves. Serve immediately.
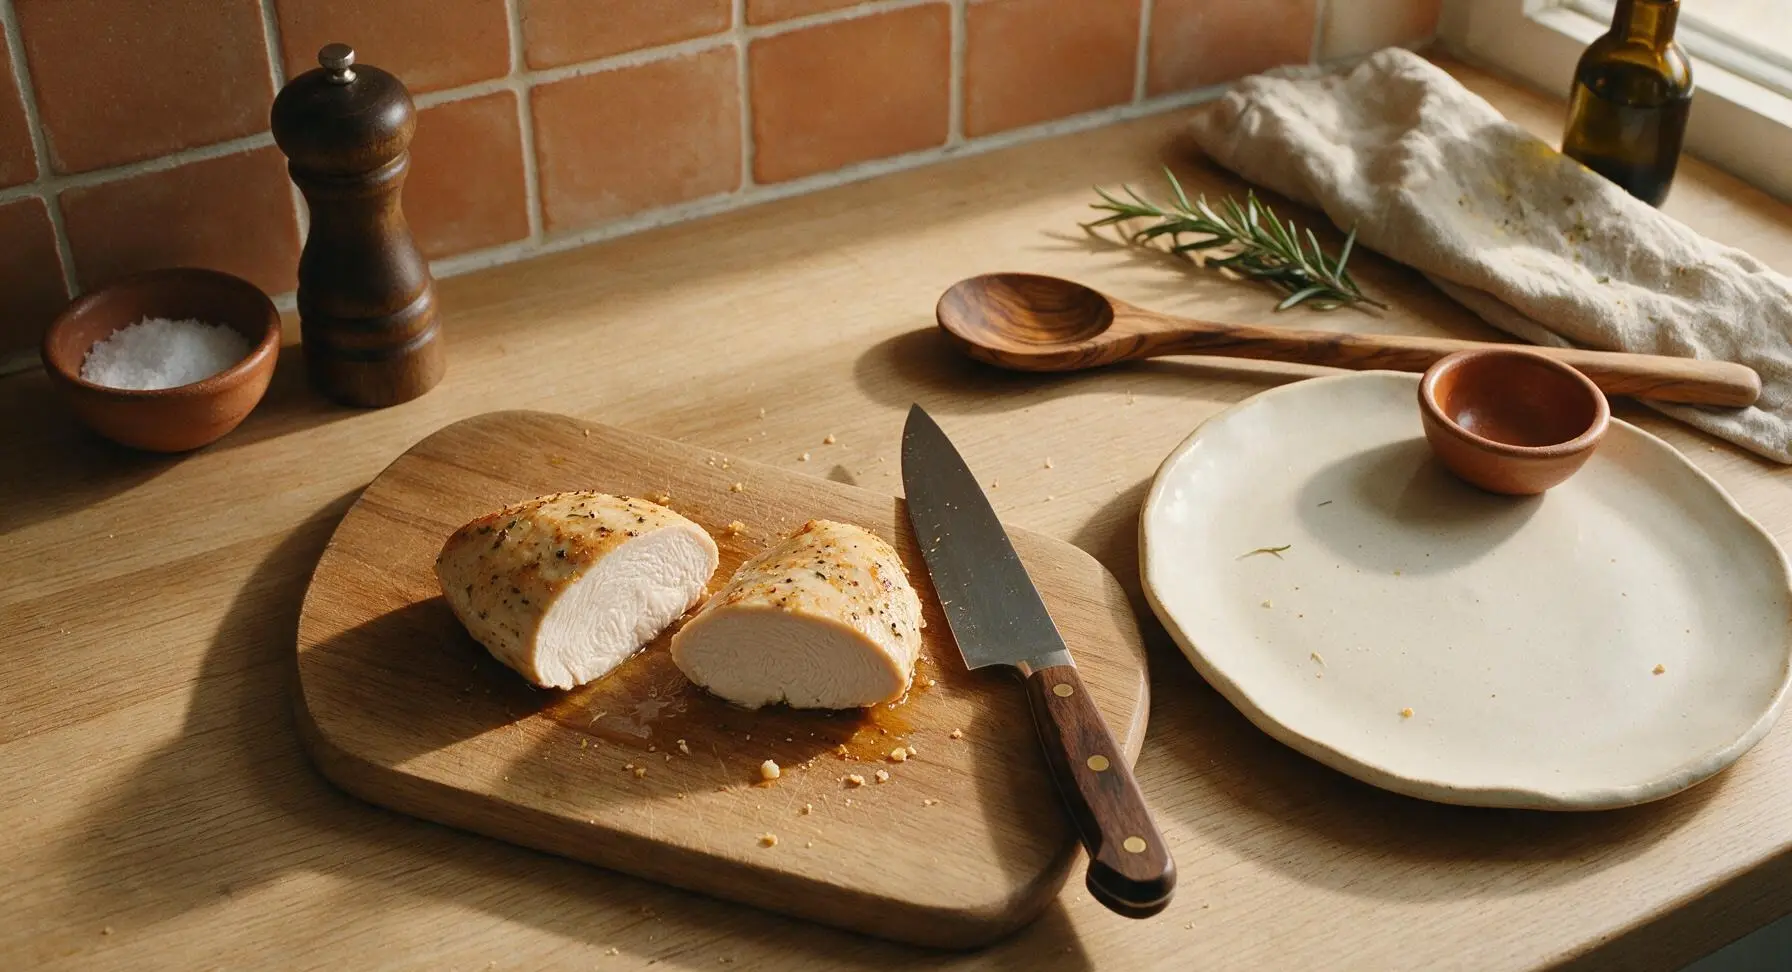
Step 6
step6:Slice and Plate

Tips

1.Pat chicken completely dry before adding oil and seasoning: excess surface moisture will create steam in the oven, leading to a pale, soggy exterior instead of a crisp, flavorful golden crust.
2.Do not overcook your chicken: carryover cooking will raise the internal temperature by 5°F after you remove it from the oven, so pulling it at 160°F instead of waiting for 165°F prevents dry, rubbery meat.
3.Always rest chicken for 5 minutes before slicing: cutting into hot chicken immediately causes all the reabsorbed juices to run out onto the plate, leaving the meat dry even if it was cooked perfectly.


✨ You May Also Like

Main Course
🍜 United Kingdom

A showstopping classic of tender seared beef, savory mushroom duxelles, and crisp prosciutto wrapped in flaky golden puff pastry, baked to juicy perfection.

⏱️ 2 hours 1Main Course ★ 4.7
Main Course
🍜 India

Tender charred marinated chicken simmered in a rich, spiced creamy tomato sauce, this iconic Anglo-Indian curry pairs perfectly with basmati rice or warm naan.

⏱️ 50 minuteMain Course ★ 4.6
Main Course
🍜 Thailand

Classic tangy, sweet, and savory Thai stir-fried rice noodles with shrimp, tofu, and crunchy garnishes, balancing all five core Thai flavor profiles.

⏱️ 30 minuteMain Course ★ 4.5
Main Course
🍜 United Kingdom

Crispy golden beer-battered cod and fluffy double-fried chips, served with tangy tartar sauce and malt vinegar: the timeless, beloved British pub comfort classic.

⏱️ 45 minuteMain Course ★ 4.7
Main Course
🍜 Mexico

Smoky, chile-marinated pork tacos with caramelized pineapple, fresh cilantro, and lime: a beloved classic Mexican street food perfect for casual summer gatherings.

⏱️ 1 hour 45Main Course ★ 4.8
Main Course
🍜 United States

Crunchy Fritos corn chips layered with savory beef chili and melted cheddar, topped with cool, zesty fixings for a beloved, cozy Tex-Mex comfort food.

⏱️ 35 minuteMain Course ★ 4.8

oven baked chicken breast:Frequently Asked Questions

1.Why does my oven-baked chicken breast always turn out dry and rubbery instead of juicy? ▾
That almost always stems from overcooking or using unevenly thick cuts. First, pound breasts to a uniform 1-inch thickness so they cook at the same rate, use an instant-read thermometer to pull them at 165°F internal, and let them rest 5 minutes so juices redistribute instead of running out when you slice.
2.What oven temperature works best to get a crisp golden exterior without drying out the chicken? ▾
I recommend 425°F for this recipe. That high, consistent heat sears the olive oil-coated exterior quickly to build that nice golden crisp, while cooking the interior fast enough that it doesn’t have time to dry out. Avoid lower temps that make chicken steam instead of crisp as it cooks.
3.Do I really need to pound my chicken breasts to an even thickness before baking? ▾
Absolutely, if you want consistent, juicy results. Raw chicken breasts are naturally thicker on one end and thinner on the other, which means the thin end will overcook and turn rubbery long before the thick end reaches a safe temp. Pounding to 1 inch takes 2 minutes and eliminates that issue entirely.
4.Can I use regular table salt instead of kosher salt for this recipe? ▾
You can, but you’ll need to adjust the amount! Kosher salt has larger, flakier grains so it tastes less salty by volume. If you swap for table salt, use half the amount called for to avoid over-salting, and season evenly across every surface of the chicken for balanced flavor.
5.How do I tell when the chicken is done without cutting into it and losing juices? ▾
Skip the cut test—it lets all those tasty, juicy contents run right out onto your cutting board. Grab an instant-read thermometer, stick it into the thickest part of the breast, and pull it as soon as it hits 165°F. It will keep cooking slightly as it rests, so there’s no need to leave it in the oven longer.
6.How long should I let baked chicken rest after taking it out of the oven, and why does that matter? ▾
Let it rest for 5 full minutes, tented loosely with foil, before slicing. When chicken cooks, all its juices get pulled toward the hot center; resting lets those juices redistribute evenly through the meat, so every bite is juicy instead of having all the liquid run out onto your plate the second you cut in.
7.Can I add other seasonings besides garlic powder, salt, and pepper to this base recipe? ▾
Of course! This simple seasoning blend of kosher salt, freshly ground black pepper, and garlic powder is a perfect blank canvas. Try adding smoked paprika, dried oregano, onion powder, a pinch of cayenne for gentle heat, or a light sprinkle of parmesan the last 2 minutes of baking. Just don’t overdo it—you want the chicken’s natural savoriness to shine through.
8.Can I use skin-on chicken breasts for this recipe if I want extra crisp? ▾
This recipe is written for boneless, skinless breasts, but you can absolutely use skin-on cuts if you prefer! Pat the skin completely dry before rubbing with oil and seasonings, and bake at the same 425°F temp; the skin will render and crisp up beautifully, adding an extra rich, crunchy layer to each serving.
9.Do I need to sear the chicken on the stovetop first to get a golden crust? ▾
No stovetop sear required here! When you coat the chicken evenly in extra-virgin olive oil and bake at 425°F on a preheated sheet pan, the high oven heat will create that perfect crisp, golden exterior all on its own, saving you an extra pan to wash on busy weeknights.
10.How long do leftover baked chicken breasts last in the fridge, and what’s the best way to reheat them? ▾
Leftovers will stay fresh stored in an airtight container in the fridge for up to 4 days. To reheat without drying them out, wrap slices in a damp paper towel and microwave in 30-second bursts until warmed through, or pop them in a 325°F oven for 10 minutes covered with foil.
11.Can I line my baking sheet with parchment paper or foil for easier cleanup? ▾
You can use either parchment or foil for quick post-dinner cleanup, but there’s a small catch: if you line the pan, preheat it along with the oven first. A cold lined pan will make the chicken stick and steam instead of crisping on the bottom. If you skip lining, give the bare pan a light extra brush of oil to prevent sticking.

Comments (11)

2 days ago

OMG this is my new go-to weeknight staple! I make a big batch every Sunday for meal prep and it stays juicy all week long, no sad dry chicken here. 22 minutes cook time is perfect for when I’m running between soccer practice and homework time with the kids. SO good.

1 week ago

Wait, I’ve always messed up baked chicken and it comes out like a rubber hockey puck every time. I followed this exactly and it was actually juicy? Total game changer. I even brought leftovers to my work potluck yesterday and three people asked for the recipe.

5 days ago

So stoked this worked for you, Jake! The key is not overcooking it past 165°F internal temp, which is why that 22 minute cook time at high heat works so well. Hope your coworkers love making it too!

yesterday

My kids loved it! I was worried the seasoning would be too bland but even my super picky 7 year old asked for seconds. Served it with roasted broccoli and mac and cheese for our family dinner last night, zero complaints from anyone.

2 hours ago

Wait what seasoning did you use? I’ve been trying to find something my picky 6 year old will actually eat without complaining about 'spices'

30 minutes ago

We used a simple mix of paprika, garlic powder, salt, pepper, and a tiny pinch of brown sugar for depth! It’s super mild but flavorful enough for adults too, perfect for picky eaters.

30 minutes ago

Super easy even for someone who burns toast 90% of the time! I don’t have a fancy meat thermometer and it still came out perfect after exactly 22 minutes. Will be making this at least once a week from now on, way cheaper than getting takeout.

3 days ago

This was great! I did add a little extra garlic powder because I’m obsessed with garlic, but the cook time was spot on. Perfect to pack for day hikes this weekend, high protein and doesn’t get soggy in a cooler.

2 days ago

Oh great call packing this for hikes! I usually bring sad protein bars, this is way better. Did you slice it up first before packing?

5 minutes ago

I made this last night and it was great, but I had one random thick piece that was a little underdone while the rest was perfect! Do I need to pound the chicken to an even thickness first?

just now

I always pound mine to about 1 inch thickness! Takes 2 minutes with a meat mallet (or even a heavy canned good if you don’t have one) and every piece cooks evenly after that.

just now

Great question! Pounding to an even 1-inch thickness definitely helps, especially if your chicken breasts are wildly different sizes. If you don’t want to pound them, just pull the thinner pieces out a couple minutes early and leave the thick ones in until they hit 165°F internal.

2 weeks ago

Made this for our neighborhood block party potluck last weekend and people were swarming the platter! I cut it up into slices and served it with a couple dipping sauces (honey mustard and buffalo) and it was gone in 10 minutes. So easy to make for a crowd, will absolutely be making this again for our next get together.

5 days ago

This fits perfectly into my low carb meal rotation! I skipped the tiny bit of brown sugar in the seasoning and it was still absolutely delicious, no bland diet food here. The juiciness is unreal, I thought baked chicken breast was always dry until I tried this recipe.

3 days ago

So glad it worked for your low carb lifestyle, Liz! You can totally swap the brown sugar for a pinch of smoked paprika if you want an extra savory kick without the sugar, it’s just as tasty.

2 hours ago

Love this recipe, I’ve made it three times already! Quick question: can I rub the seasoning on the chicken the night before and keep it in the fridge to cut down on prep time when I get home from work?

30 minutes ago

I do this every Sunday! I rub all the seasoning on, put the chicken in a sealed container, and it’s totally fine for 2-3 days in the fridge. The seasoning actually sinks in more and tastes better imo.

5 minutes ago

Absolutely! Prepping the seasoned chicken in the fridge overnight works great, just make sure to let it sit on the counter for 10 minutes before baking so it cooks more evenly. Happy cooking!

just now

Just made this for my roommate and I for dinner tonight and we both went back for seconds. I squeezed a little fresh lemon over top right when it came out of the oven and *chef’s kiss*, 10/10. Way better than the sad takeout chicken we usually order.

just now

Can confirm, this was insane. I was fully expecting dry boring chicken and I’m already asking them to make it again next week.

1 week ago

Ugh, I followed the directions but my chicken came out a little dry? I think my oven runs hot, I probably left it in a couple minutes too long. Any tips for adjusting for a wonky oven temp?

5 days ago

I have the same problem with my ancient apartment oven! I bought a $10 oven thermometer to hang on the rack and it changed everything, turns out my '425' is actually 475 most days.

3 days ago

Sorry to hear your chicken turned out dry, Nora! Oven temperature calibration is such a common culprit. If you know your oven runs hot, try turning the temp down by 25°F and check the internal temp a few minutes early to make sure you don’t overcook it. Give it another shot, it’ll be perfect next time!



