
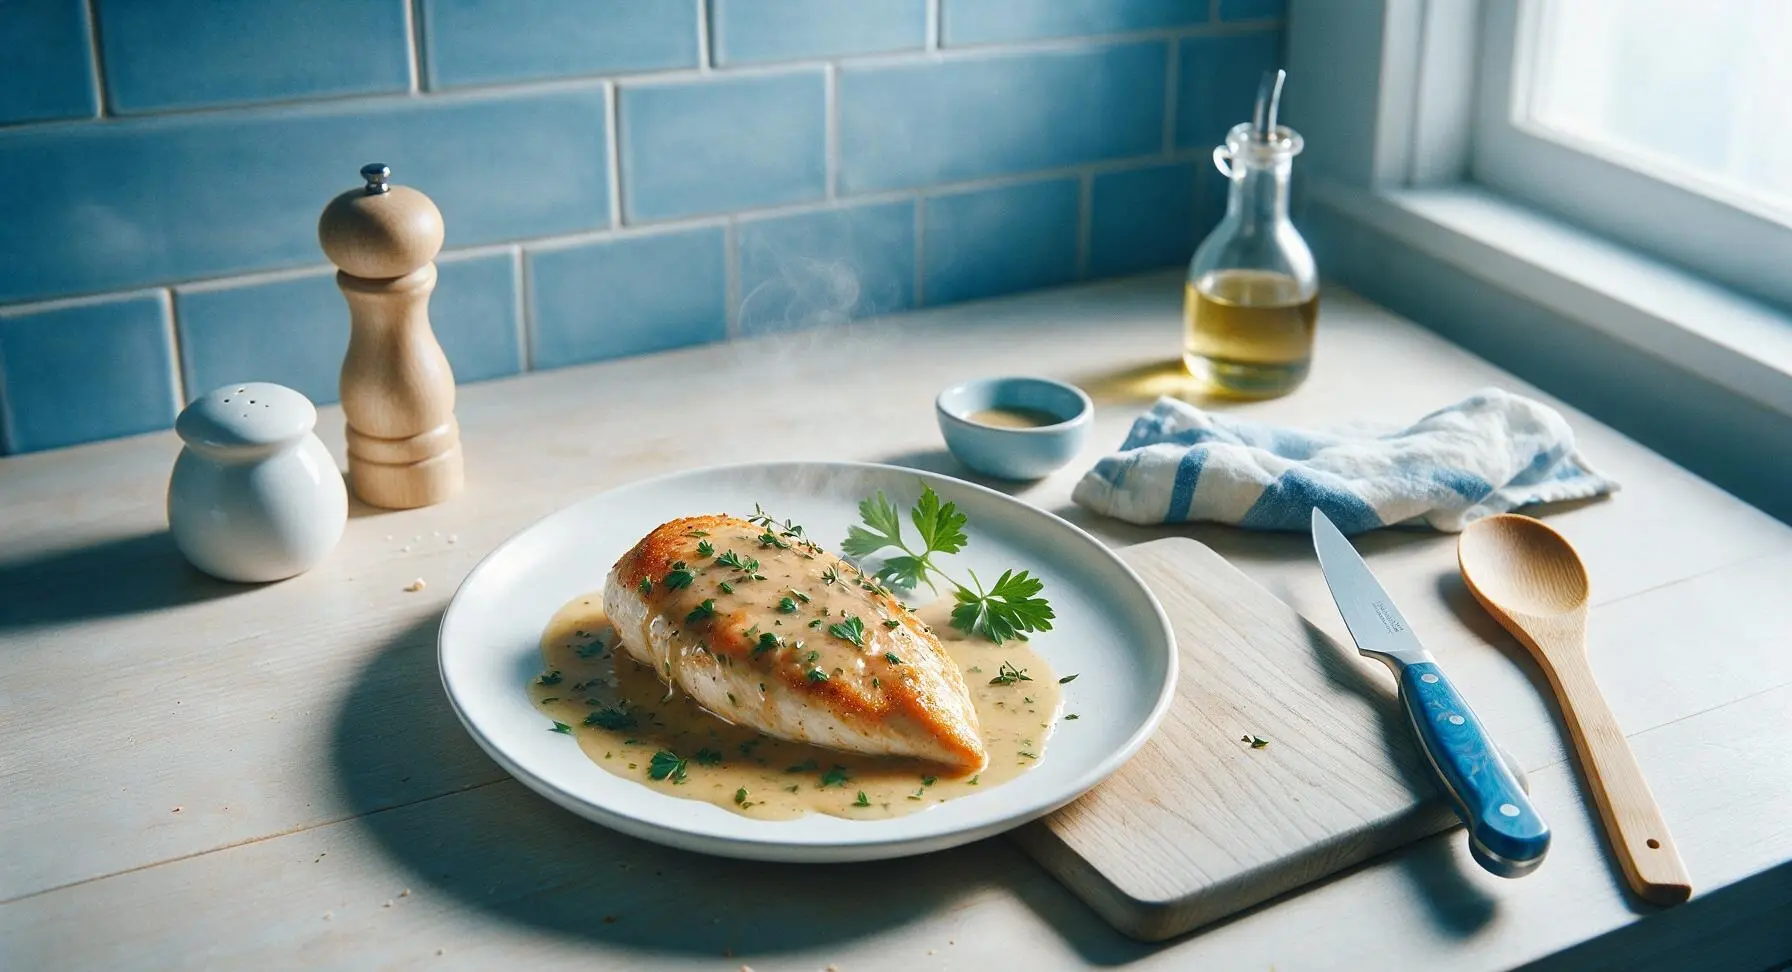
pan fried chicken breast with sauce

title 1
pan fried chicken breast with sauce
⏱️ cook time 18 minutes
🍽️ servings 4
⚡ Difficulty easy

intro

Juicy golden-crusted chicken breast draped in silky, savory pan sauce made from pan drippings, ready in under 30 minutes for a satisfying, no-fuss weeknight meal.

Ingredients
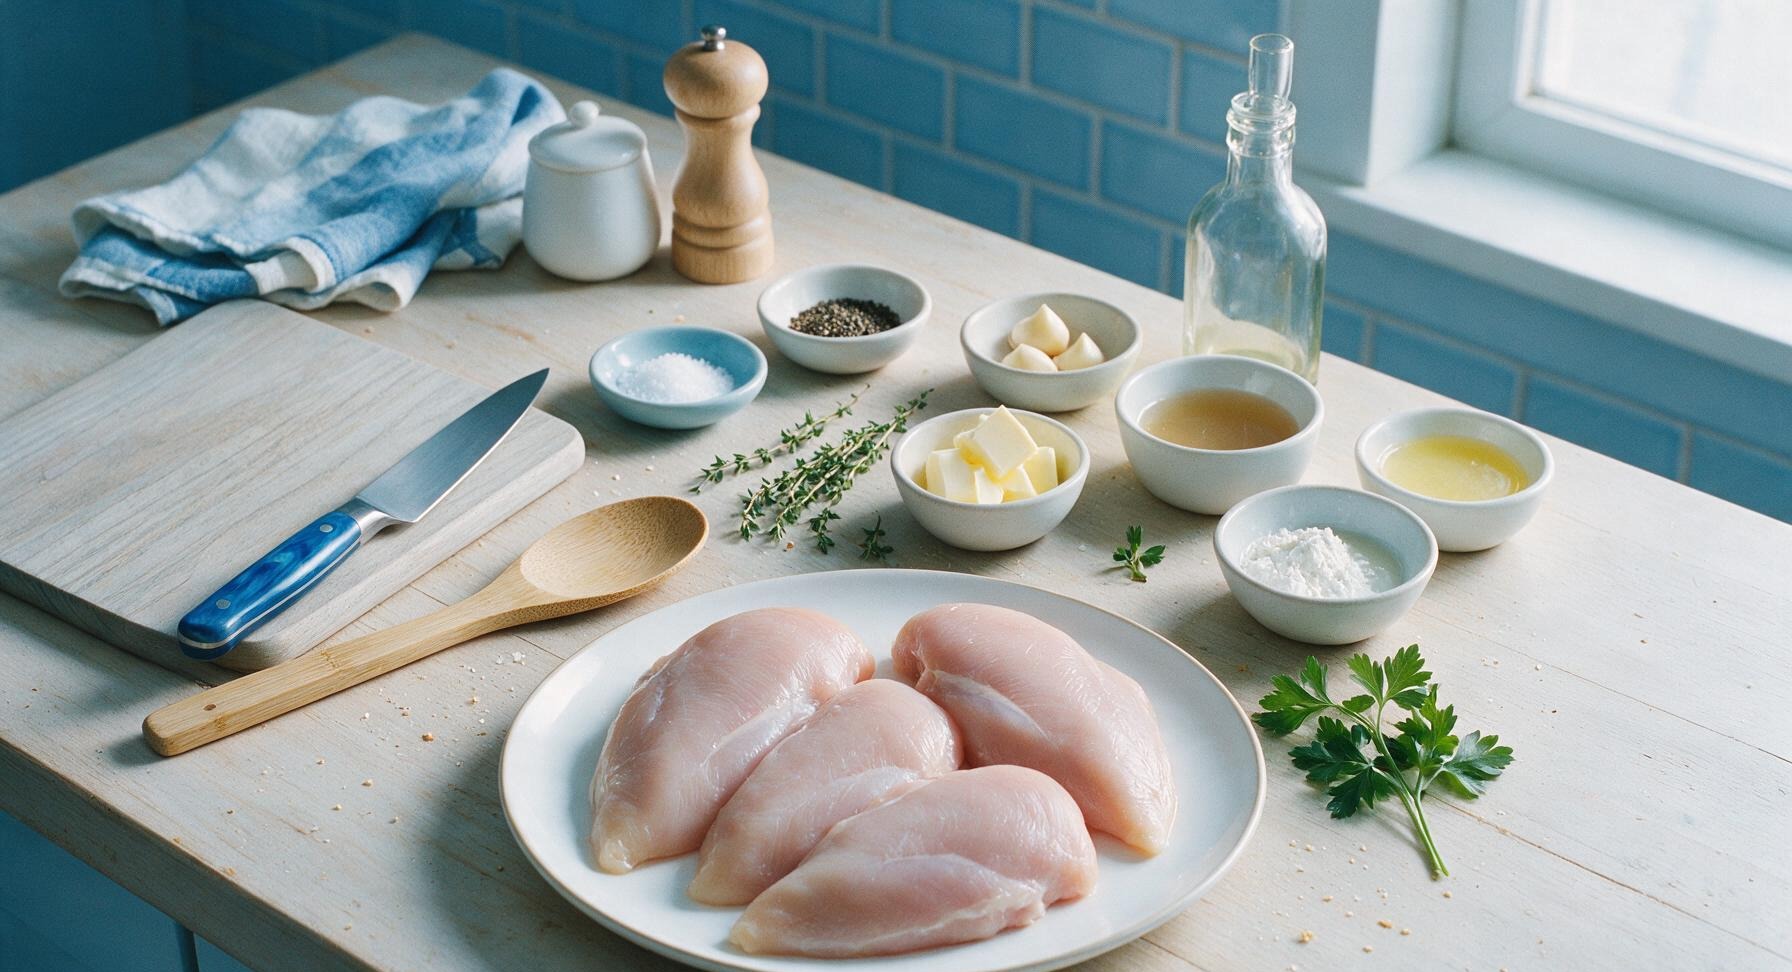
Boneless, skinless chicken breasts 600g (4 pieces, ~150g each)
Extra-virgin olive oil 2 tablespoons
Kosher salt 1 teaspoon
Freshly ground black pepper ½ teaspoon
Garlic cloves 3, crushed
Unsalted butter 2 tablespoons, divided
Fresh thyme 4 sprigs, plus extra for garnish
Low-sodium chicken broth ½ cup
Fresh lemon juice 1 tablespoon
Cornstarch 1 teaspoon, mixed with 1 tablespoon cold water

Steps

1

Prep and season chicken

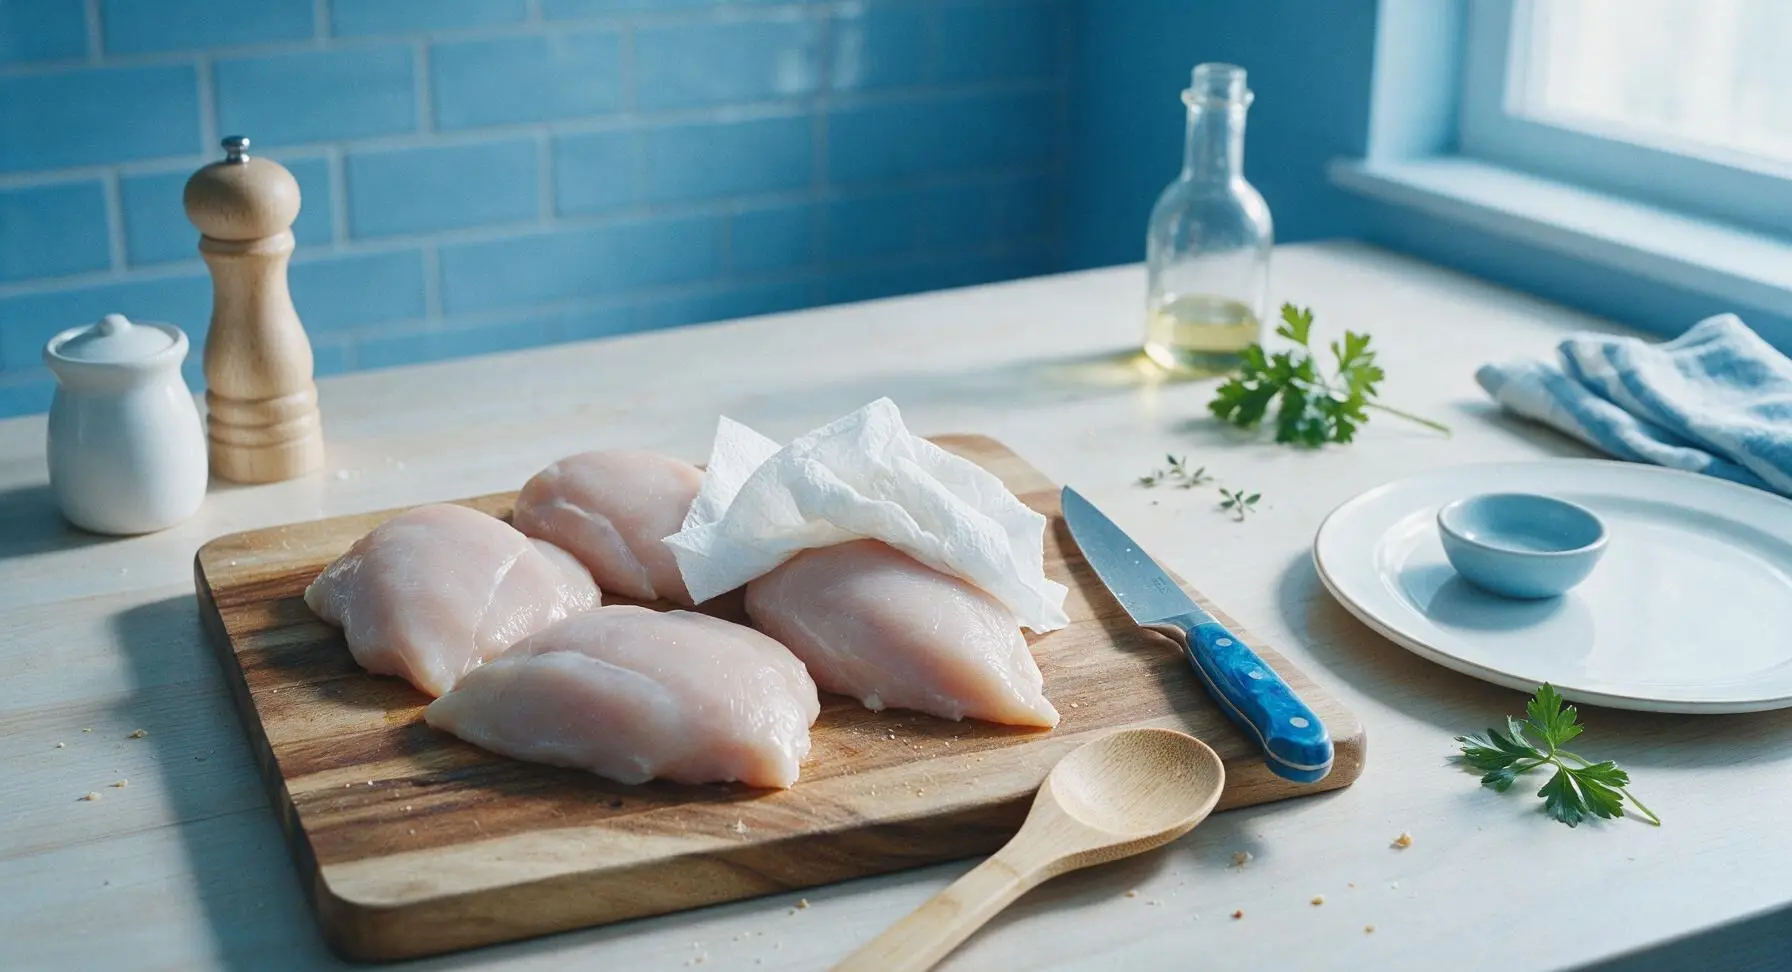
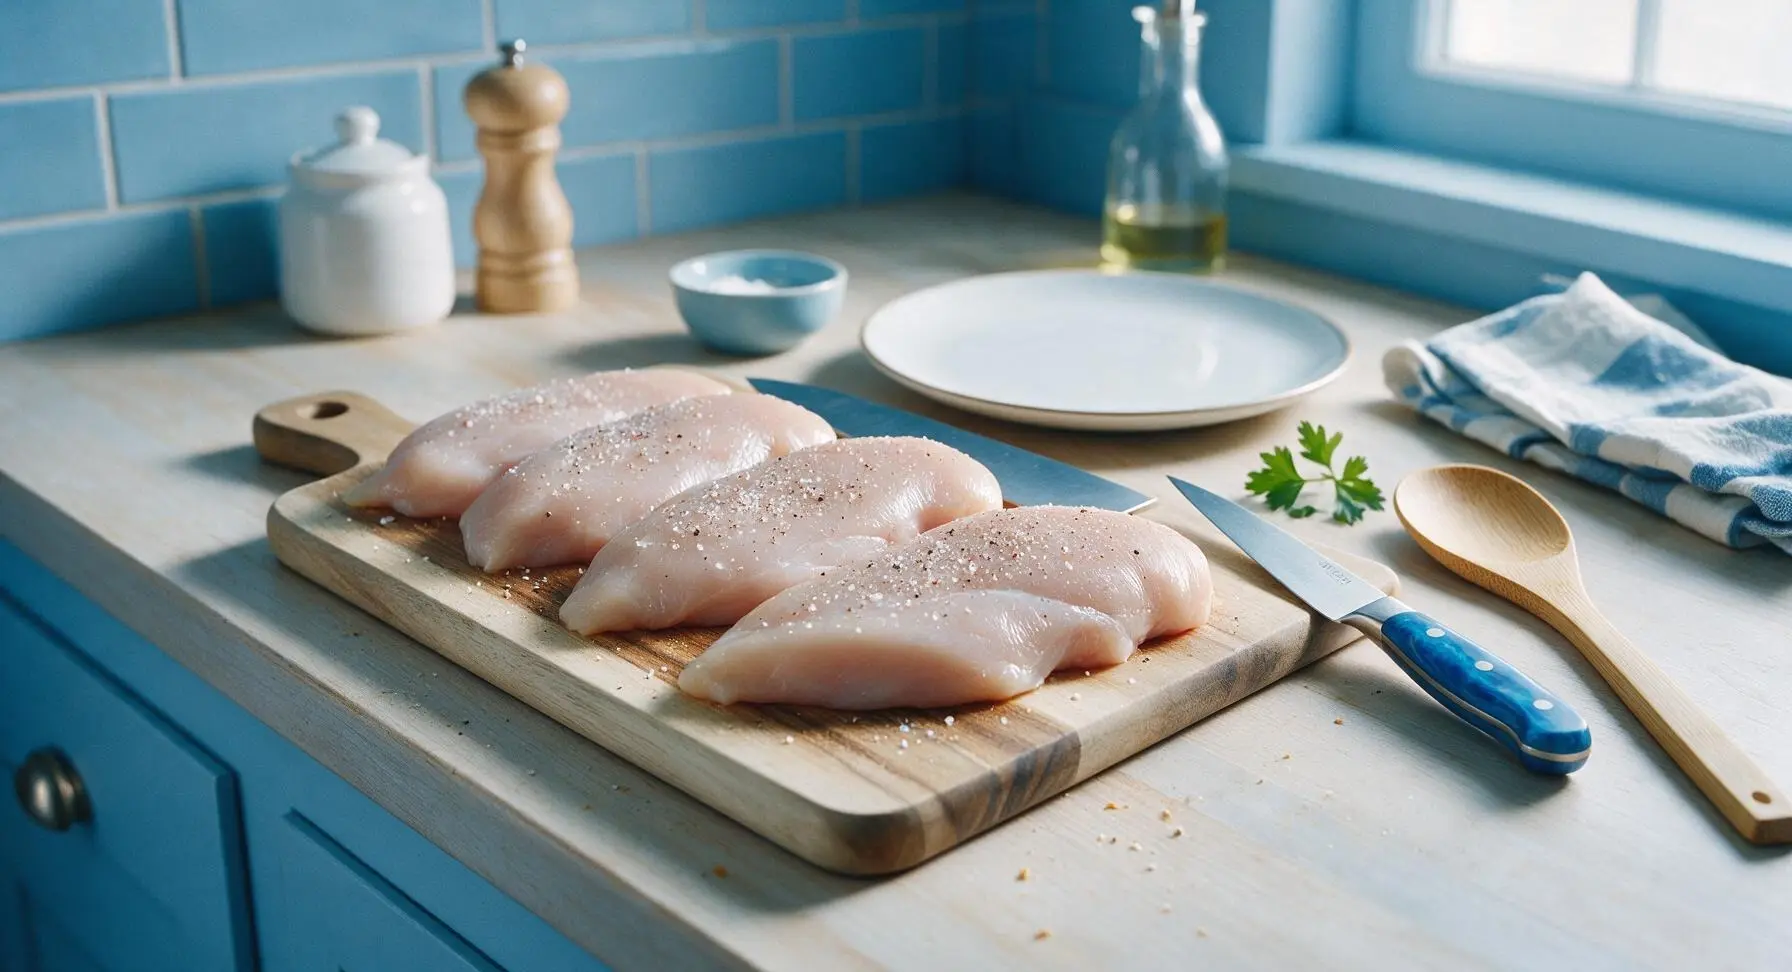
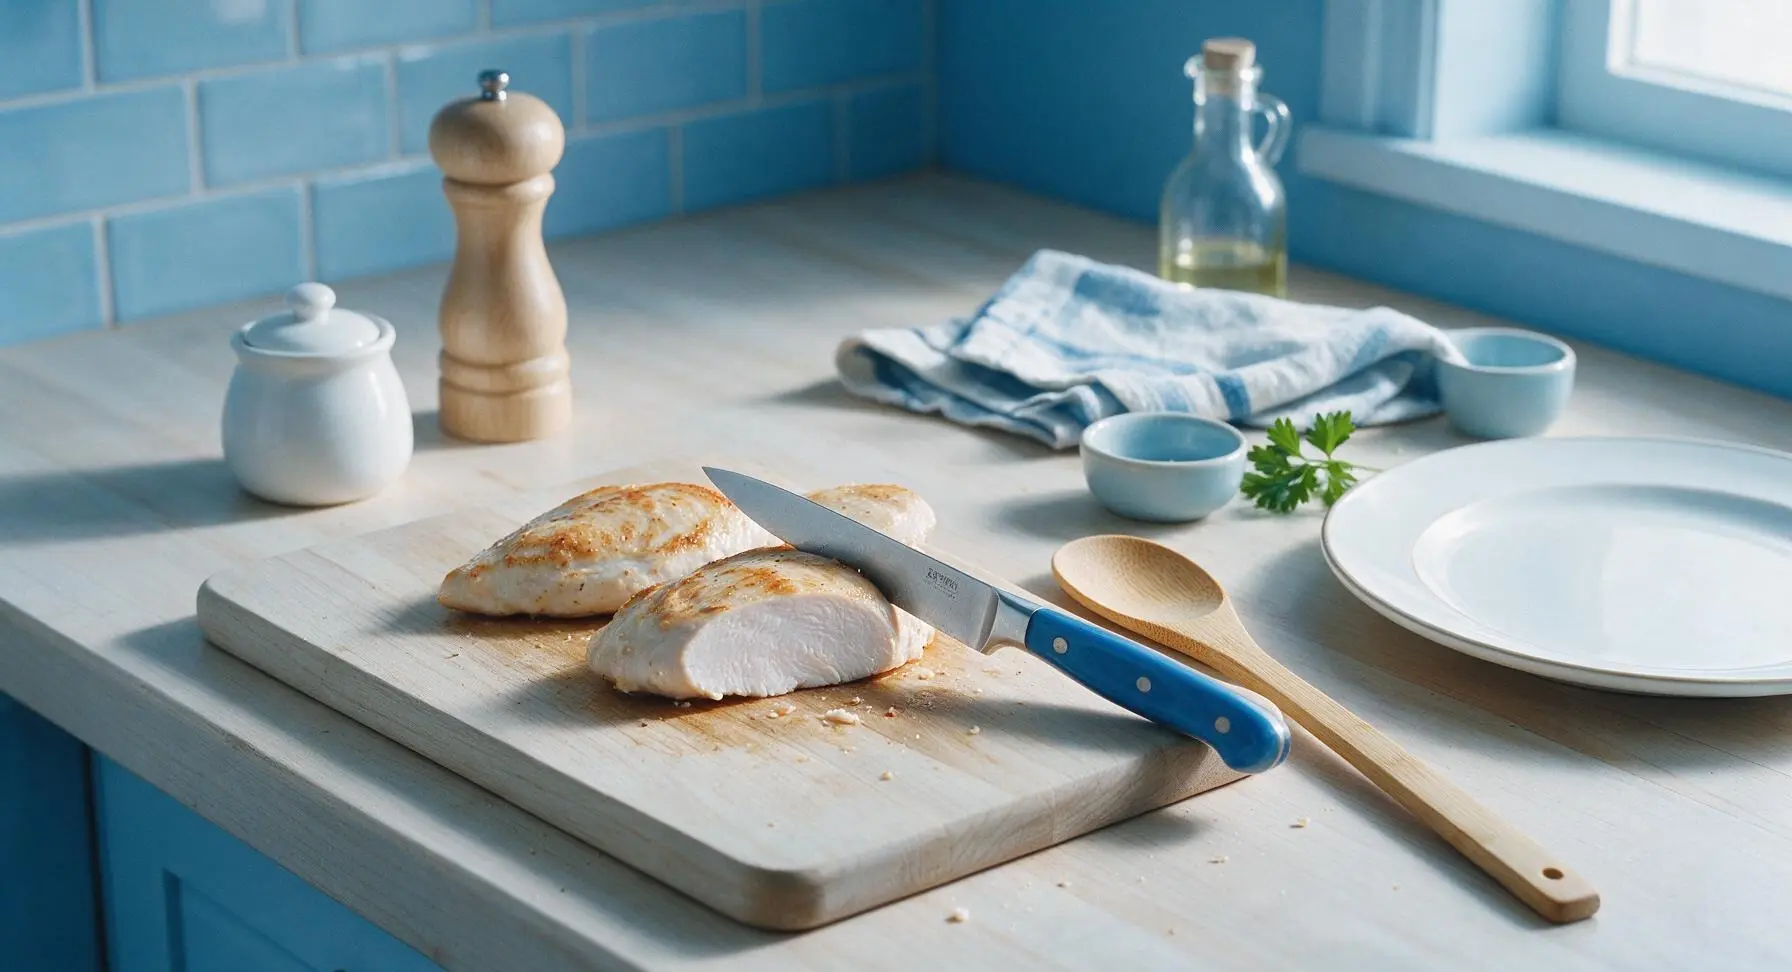
Place the 4 boneless, skinless chicken breasts on the acacia wood cutting board. Pat completely dry on all sides with paper towels, discarding used towels immediately. If any breast is thicker than 2.5cm at its widest point, cover with a small sheet of parchment paper and pound gently with the flat side of the chef’s knife to create a uniform 2.5cm thickness across all pieces, ensuring even cooking. Season both sides of every breast evenly with 1 teaspoon kosher salt and ½ teaspoon freshly ground black pepper, pressing the seasoning lightly into the meat surface so it adheres.
Step 1
step1:Prep and season chicken
Step 1
step1:Prep and season chicken
2

Preheat the skillet

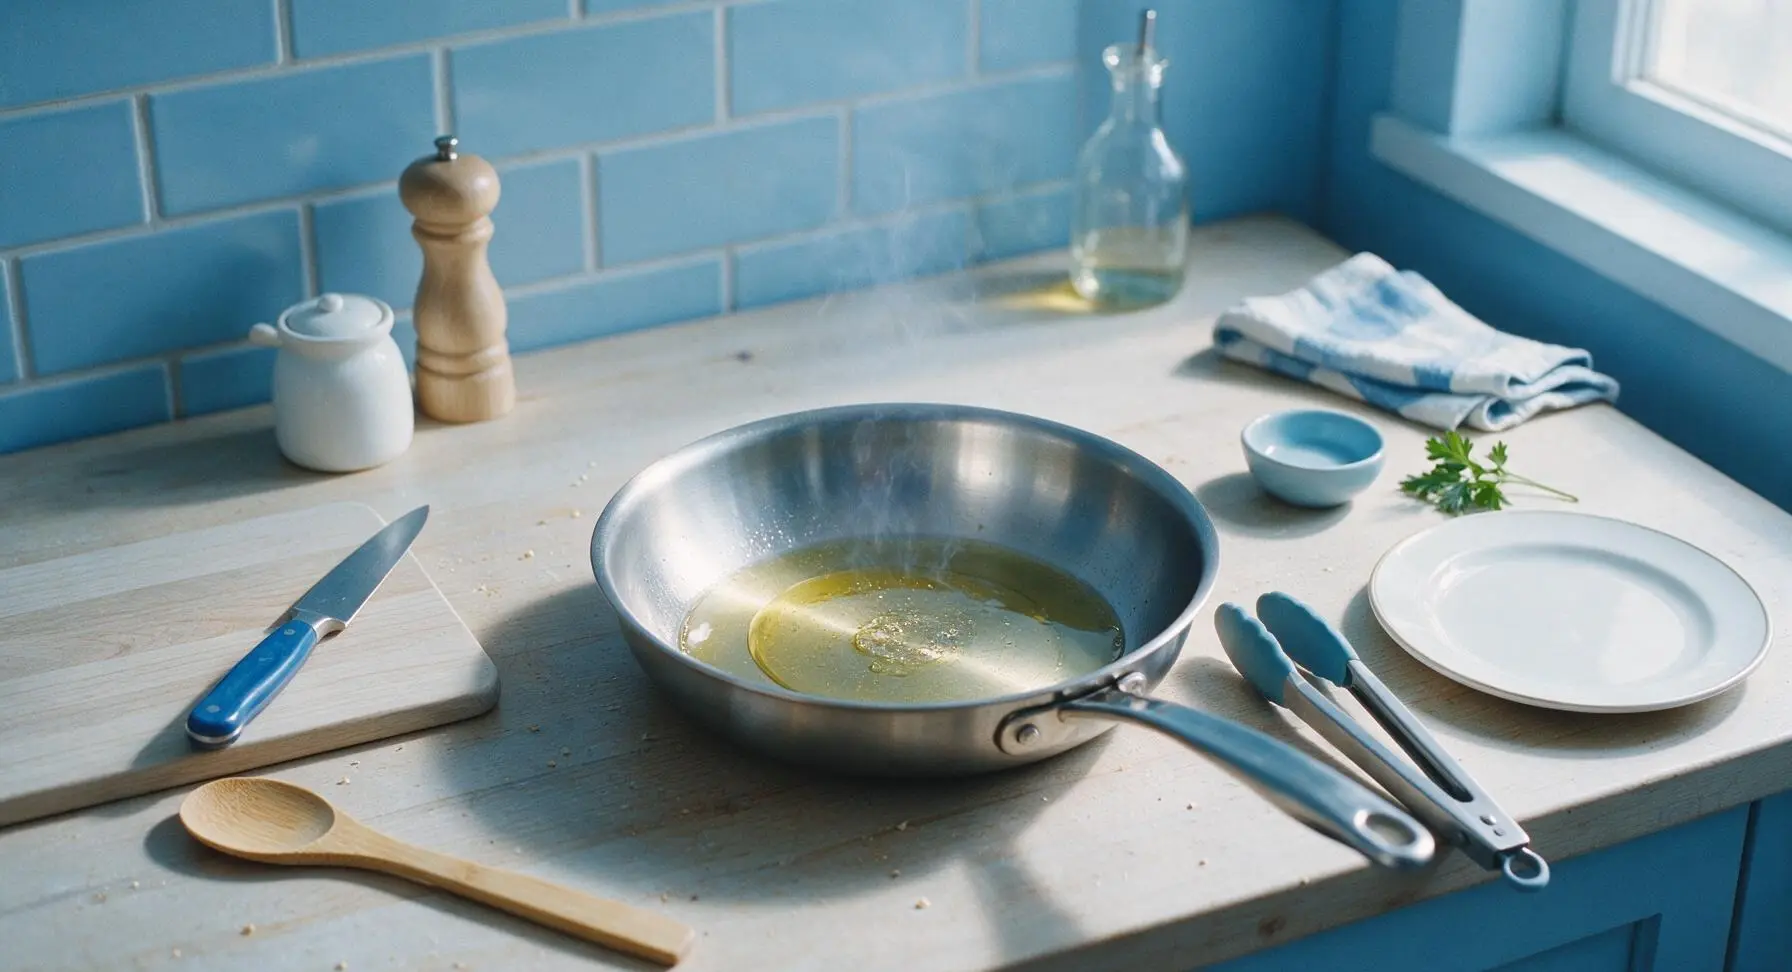
Retrieve the 24cm stainless steel skillet from under-counter storage and place it on the center of the counter cooking zone over medium-high heat. Add 2 tablespoons extra-virgin olive oil, and heat for 2 minutes until the oil shimmers across the pan surface and releases faint, wispy tendrils of warm scent. Do not let the oil darken or smoke heavily, as this will burn the seasoning on the chicken.
Step 2
step2:Preheat the skillet
3

Sear chicken until golden

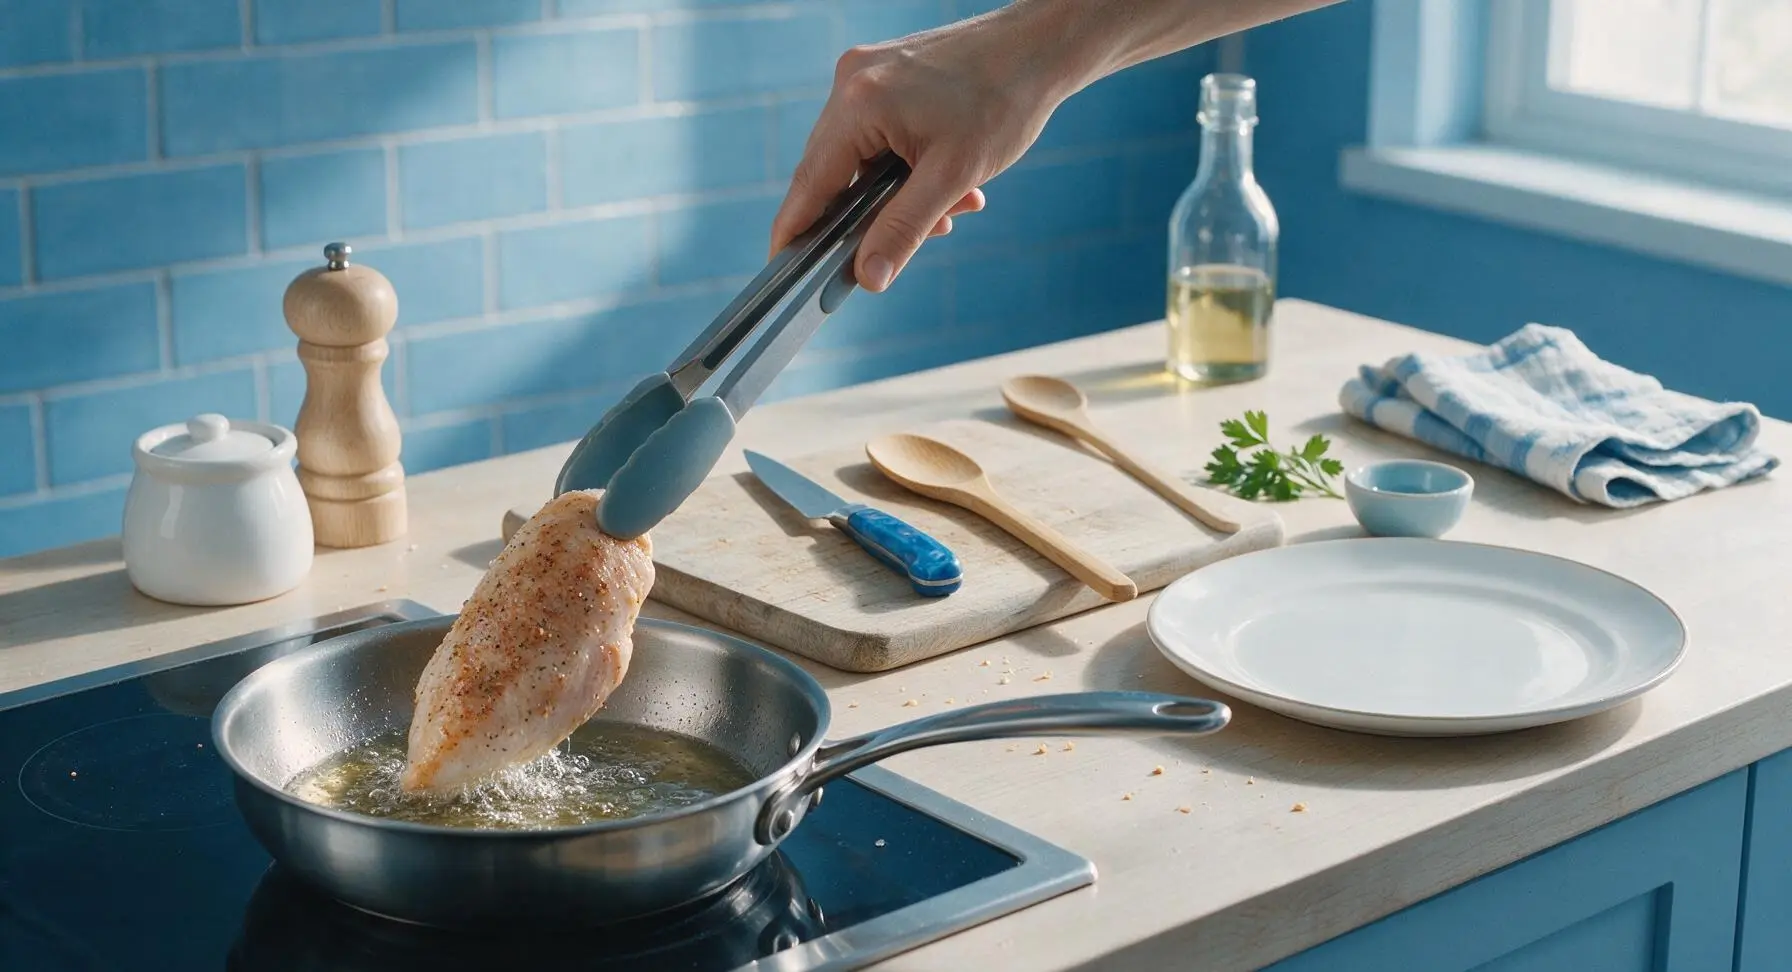
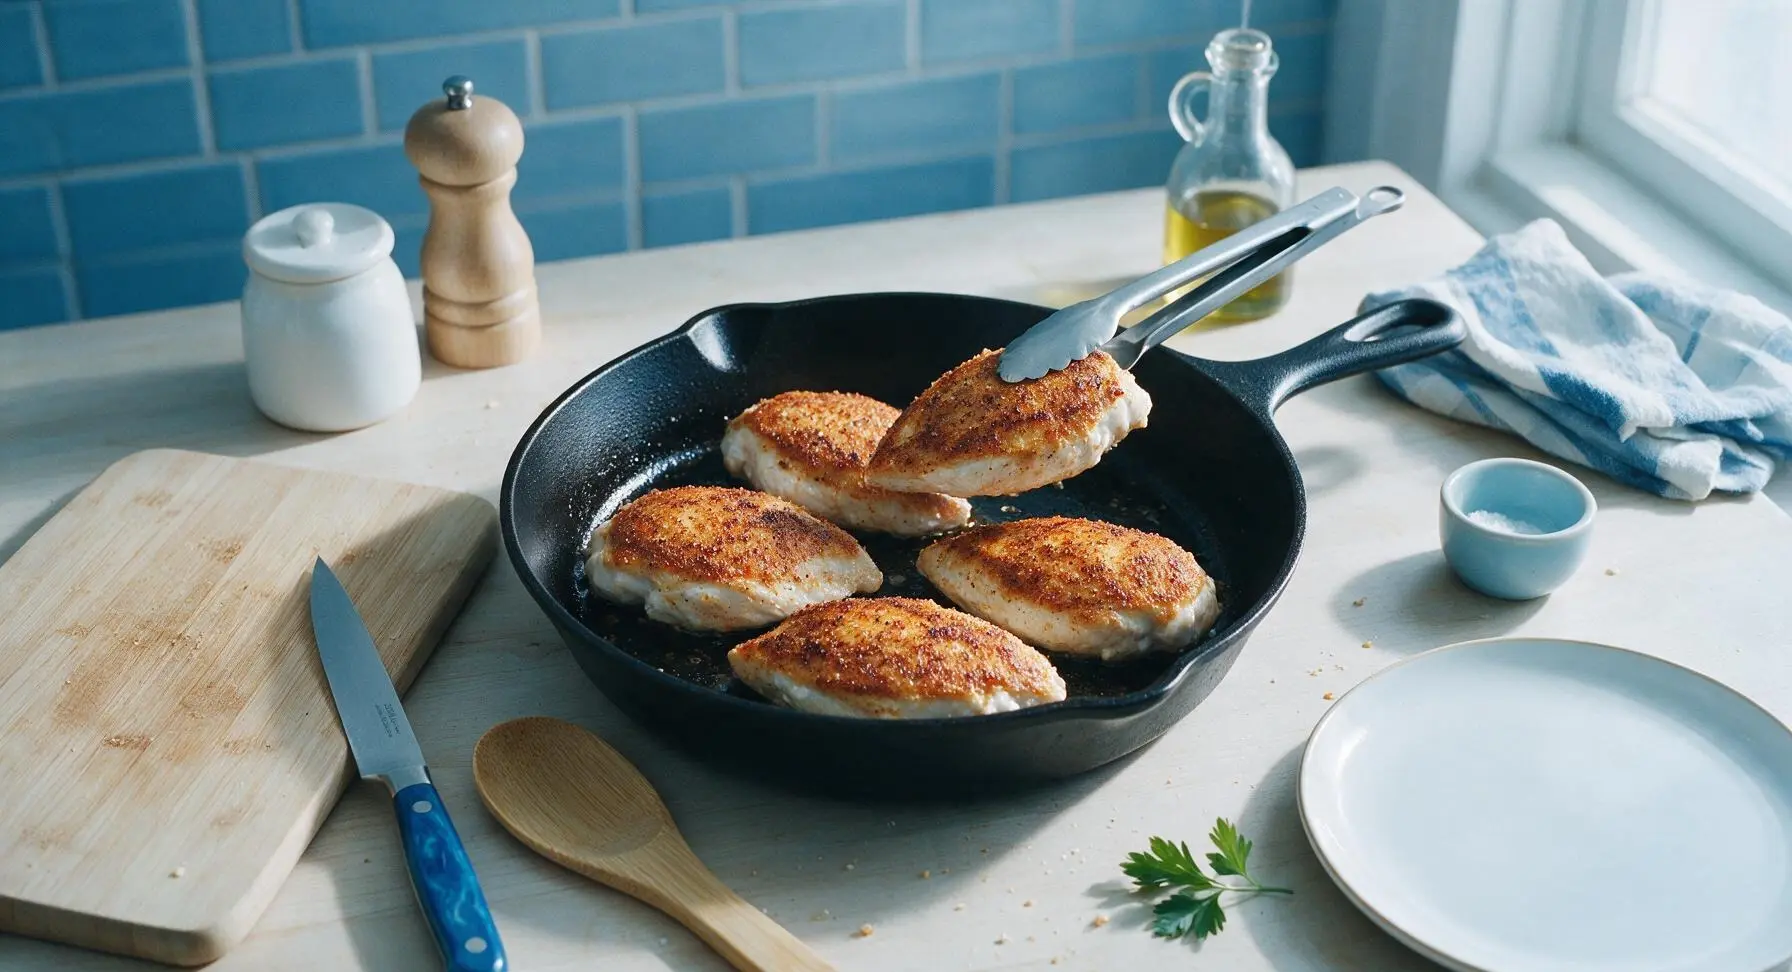
Carefully place the seasoned chicken breasts in the hot skillet in a single layer, leaving 2cm of space between each piece. If your skillet cannot fit all 4 breasts with space, cook in two batches to avoid steaming the meat instead of searing. Cook completely undisturbed for 6 minutes, resisting the urge to move, poke, or press the chicken, until the contact side develops a deep golden, crisp crust. Visual cue: the edges of the chicken will turn opaque white about 0.5cm up the side when the sear is complete.
Step 3
step3:Sear chicken until golden
Step 3
step3:Sear chicken until golden
4

Cook to safe temperature

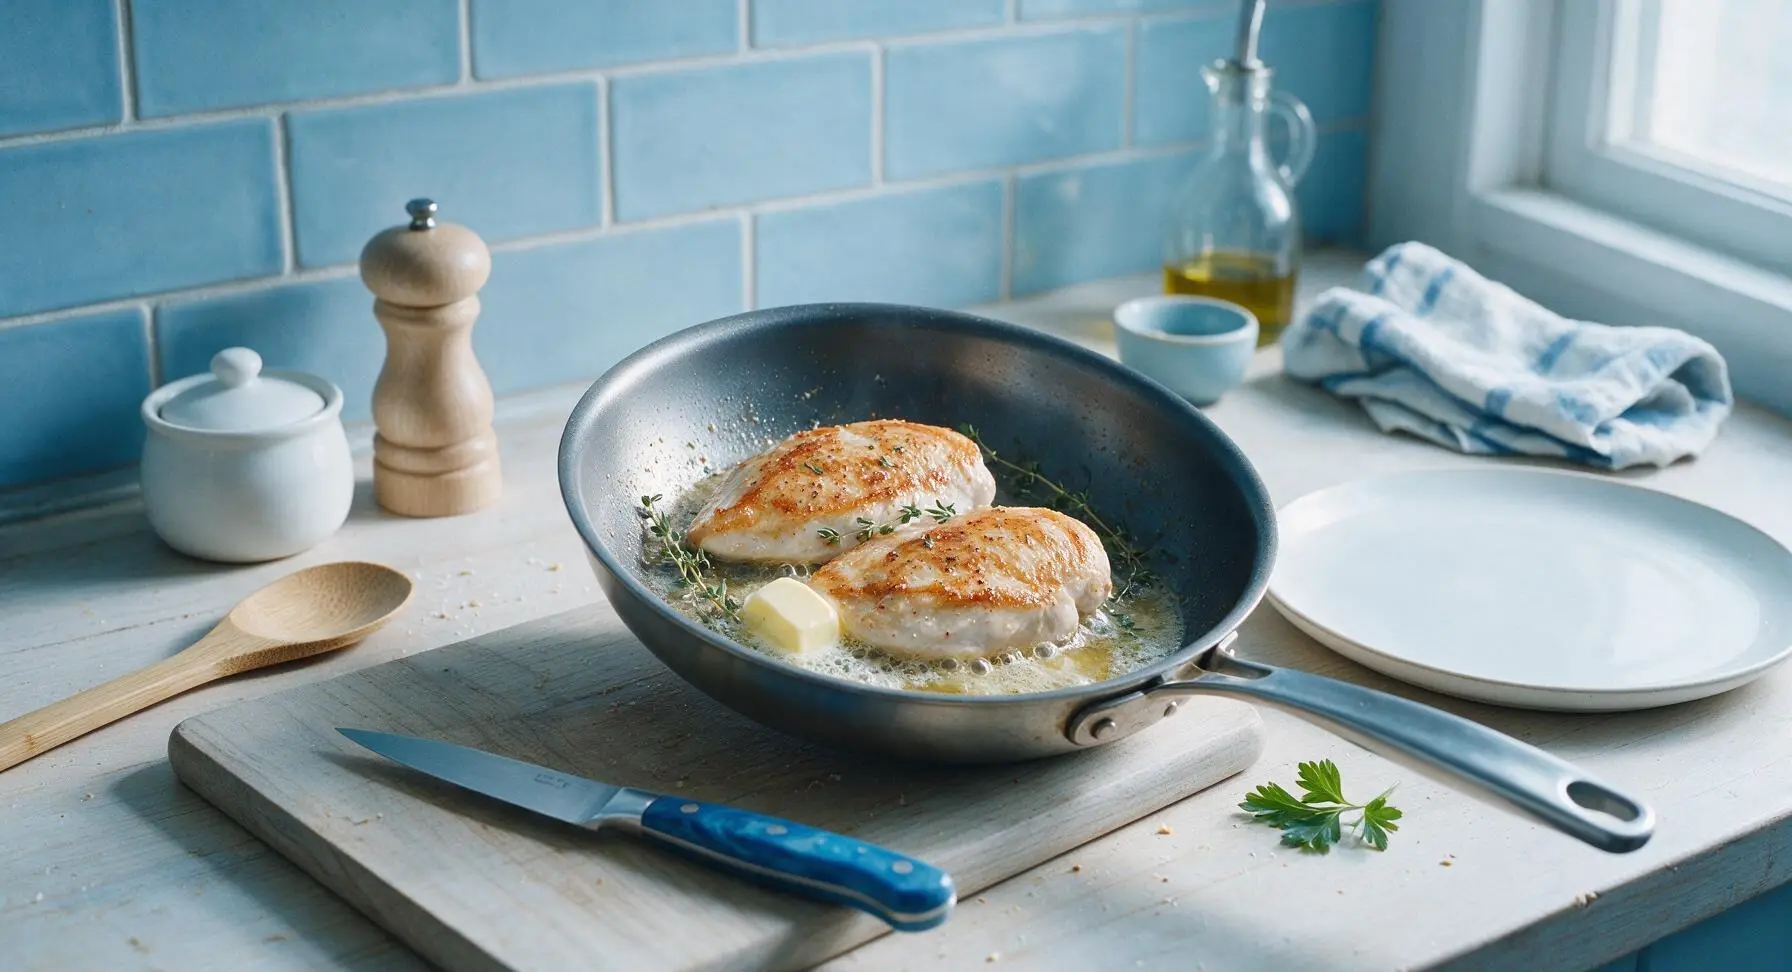
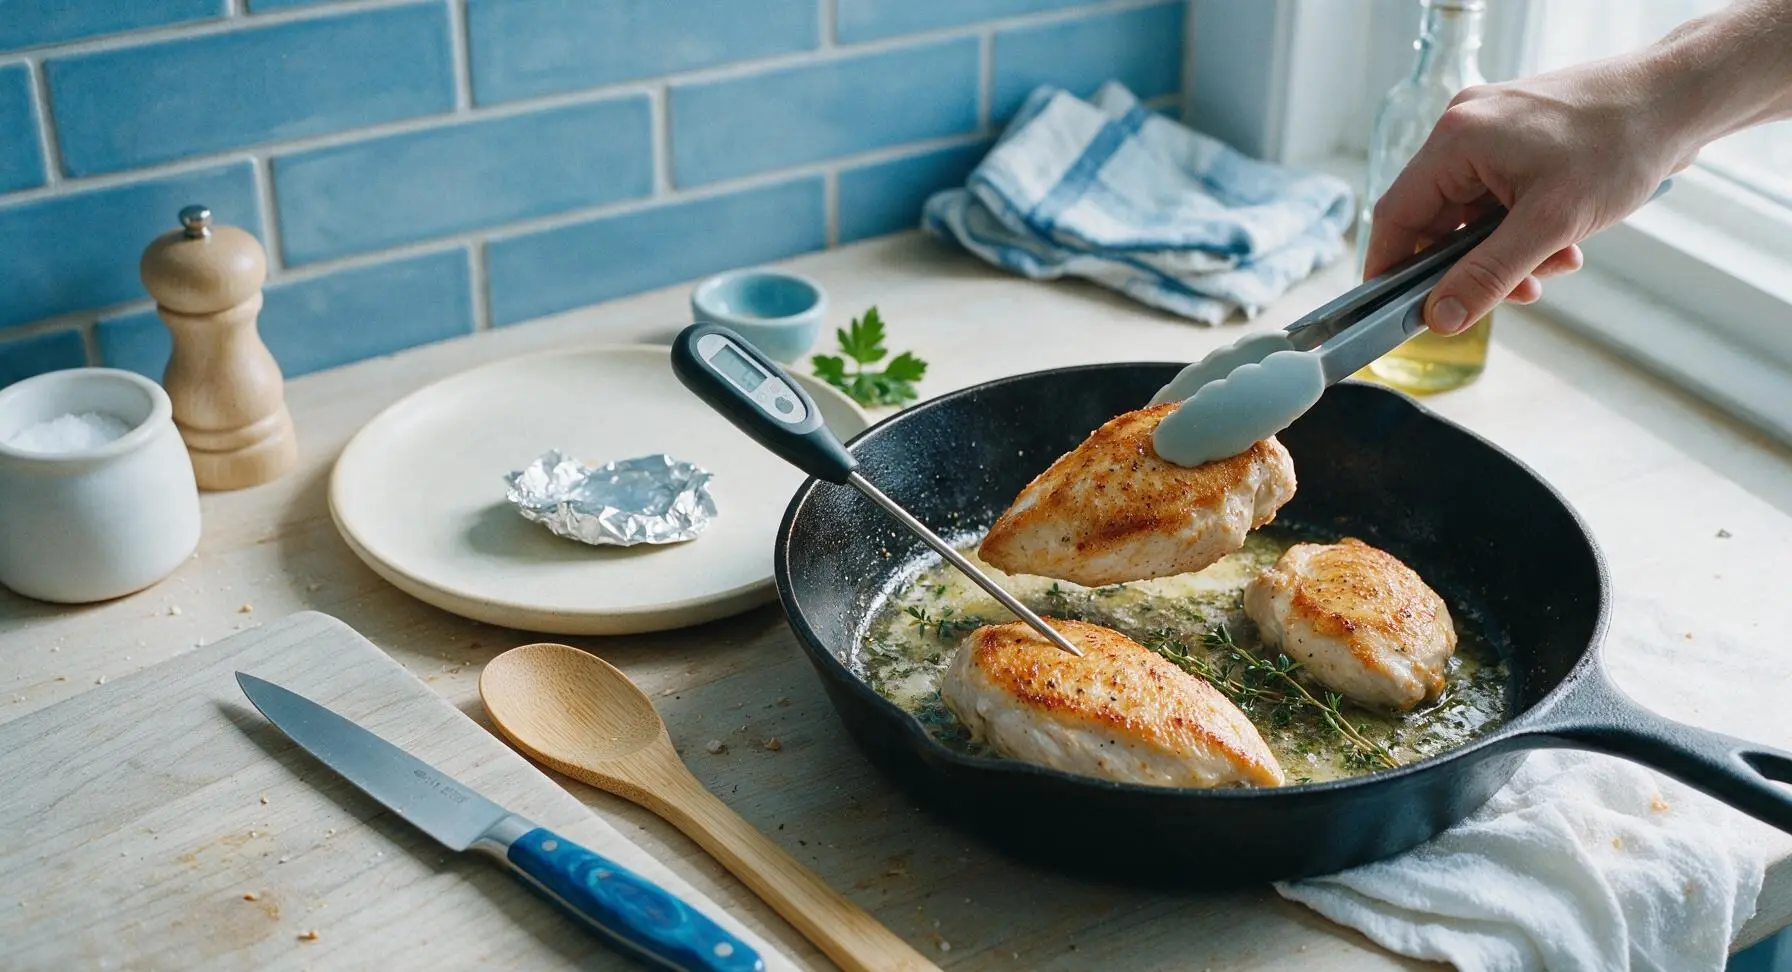
Use the silicone-tipped tongs to flip each chicken breast, then add 1 tablespoon of unsalted butter and 2 sprigs of fresh thyme to the skillet. Tilt the pan slightly to pool the melted butter, then spoon the hot, thyme-infused butter over the top of the chicken repeatedly as it cooks for 5-7 minutes. Insert the digital instant-read thermometer into the thickest part of the largest breast, avoiding contact with the pan; remove all chicken from the skillet when the internal temperature reads 74°C (165°F). Transfer chicken to the matte cream ceramic dinner plate, and tent loosely with a small piece of aluminum foil to rest for 5 minutes.
Step 4
step4:Cook to safe temperature
Step 4
step4:Cook to safe temperature
5

Saute garlic for sauce

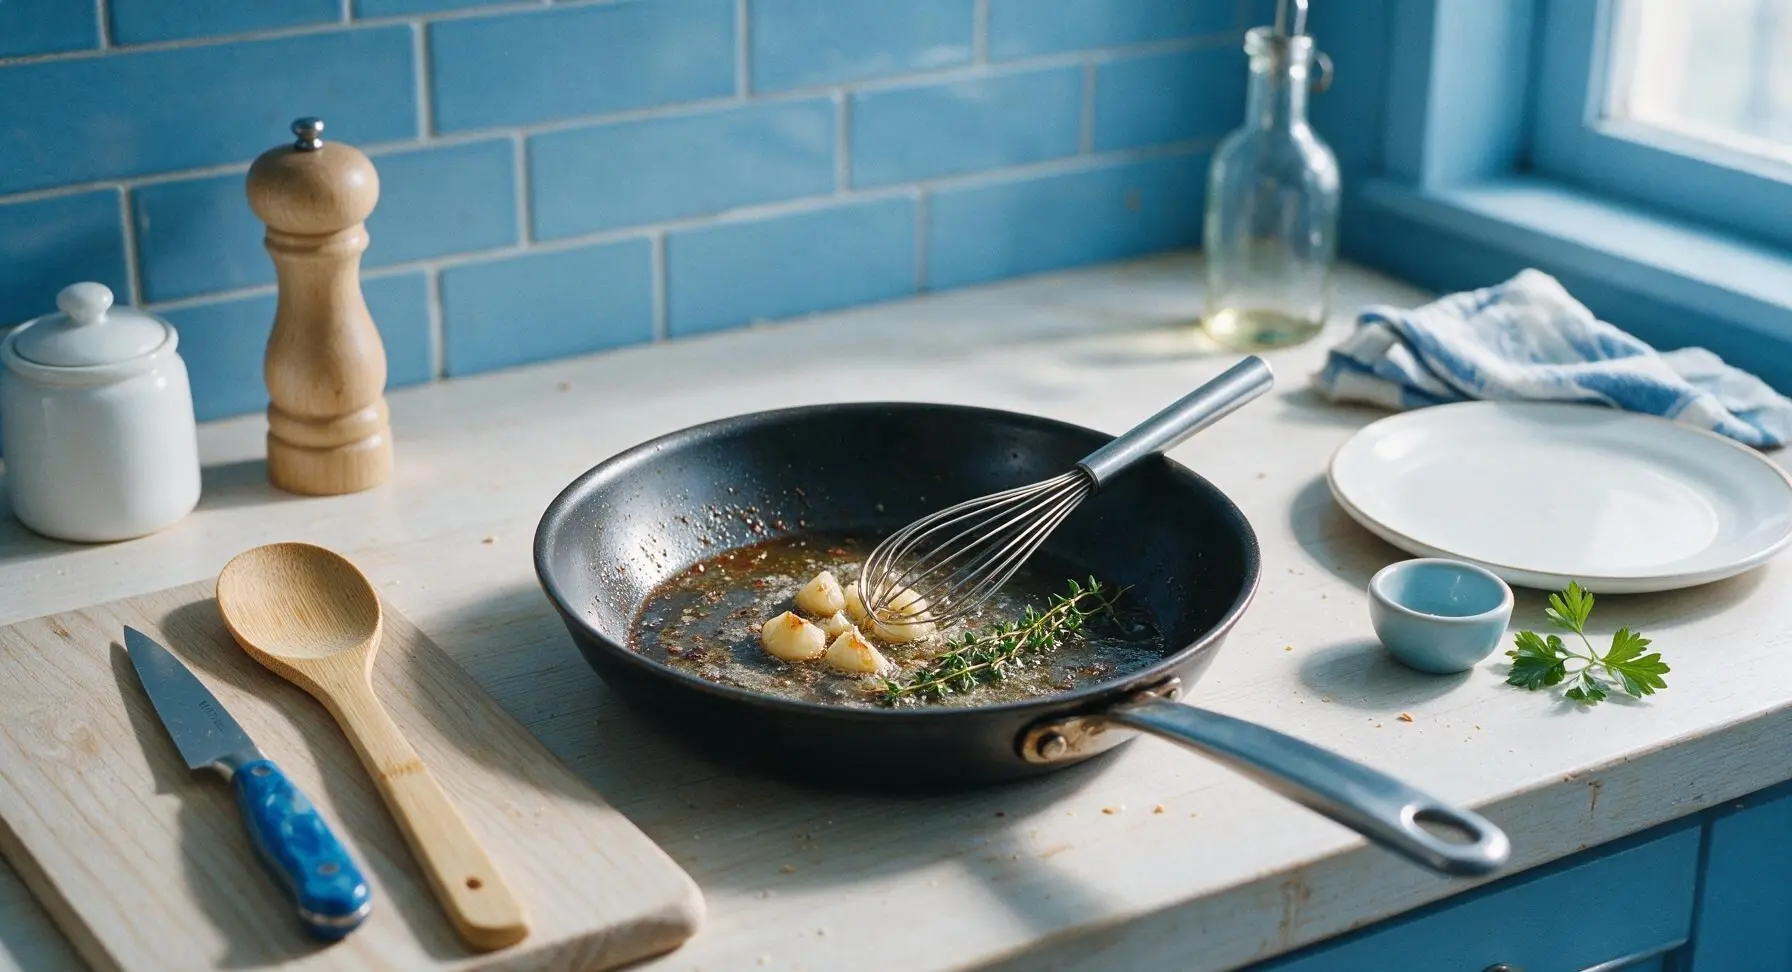
Reduce the stovetop heat under the skillet to medium, leaving all browned pan drippings, residual butter, and thyme in the pan. Add the 3 crushed garlic cloves and remaining 2 sprigs of fresh thyme, and saute for 30 seconds, stirring constantly with the small stainless steel whisk, until the garlic releases a warm, nutty aroma. Do not let the garlic turn dark brown, as this will create a bitter, unpleasant flavor in the finished sauce; remove the pan from heat temporarily if the garlic starts to color too quickly.
Step 5
step5:Saute garlic for sauce
6

Deglaze with broth

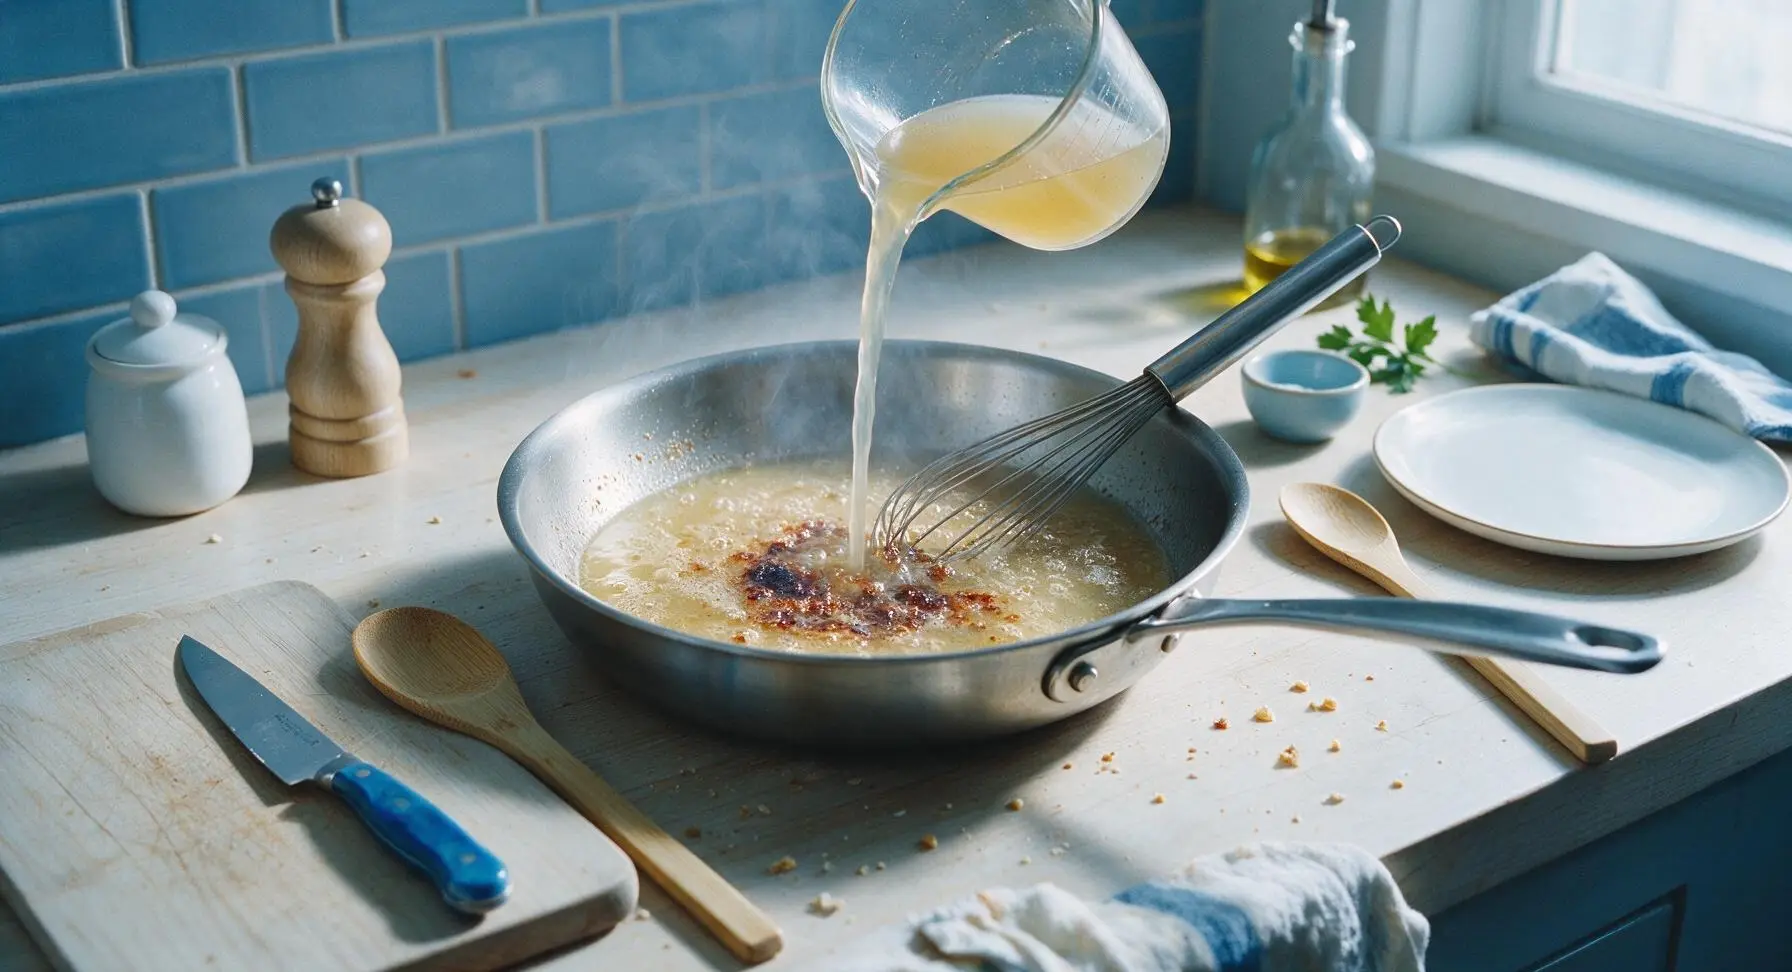
Slowly pour the ½ cup low-sodium chicken broth from the clear glass measuring cup into the warm skillet, using the stainless steel whisk to scrape firmly across the entire bottom of the pan to lift all browned, caramelized fond bits stuck to the surface. Bring the liquid to a gentle, rolling simmer, and cook for 3 minutes to reduce by approximately one third, until the liquid is fragrant and slightly concentrated.
Step 6
step6:Deglaze with broth
7

Finish the pan sauce

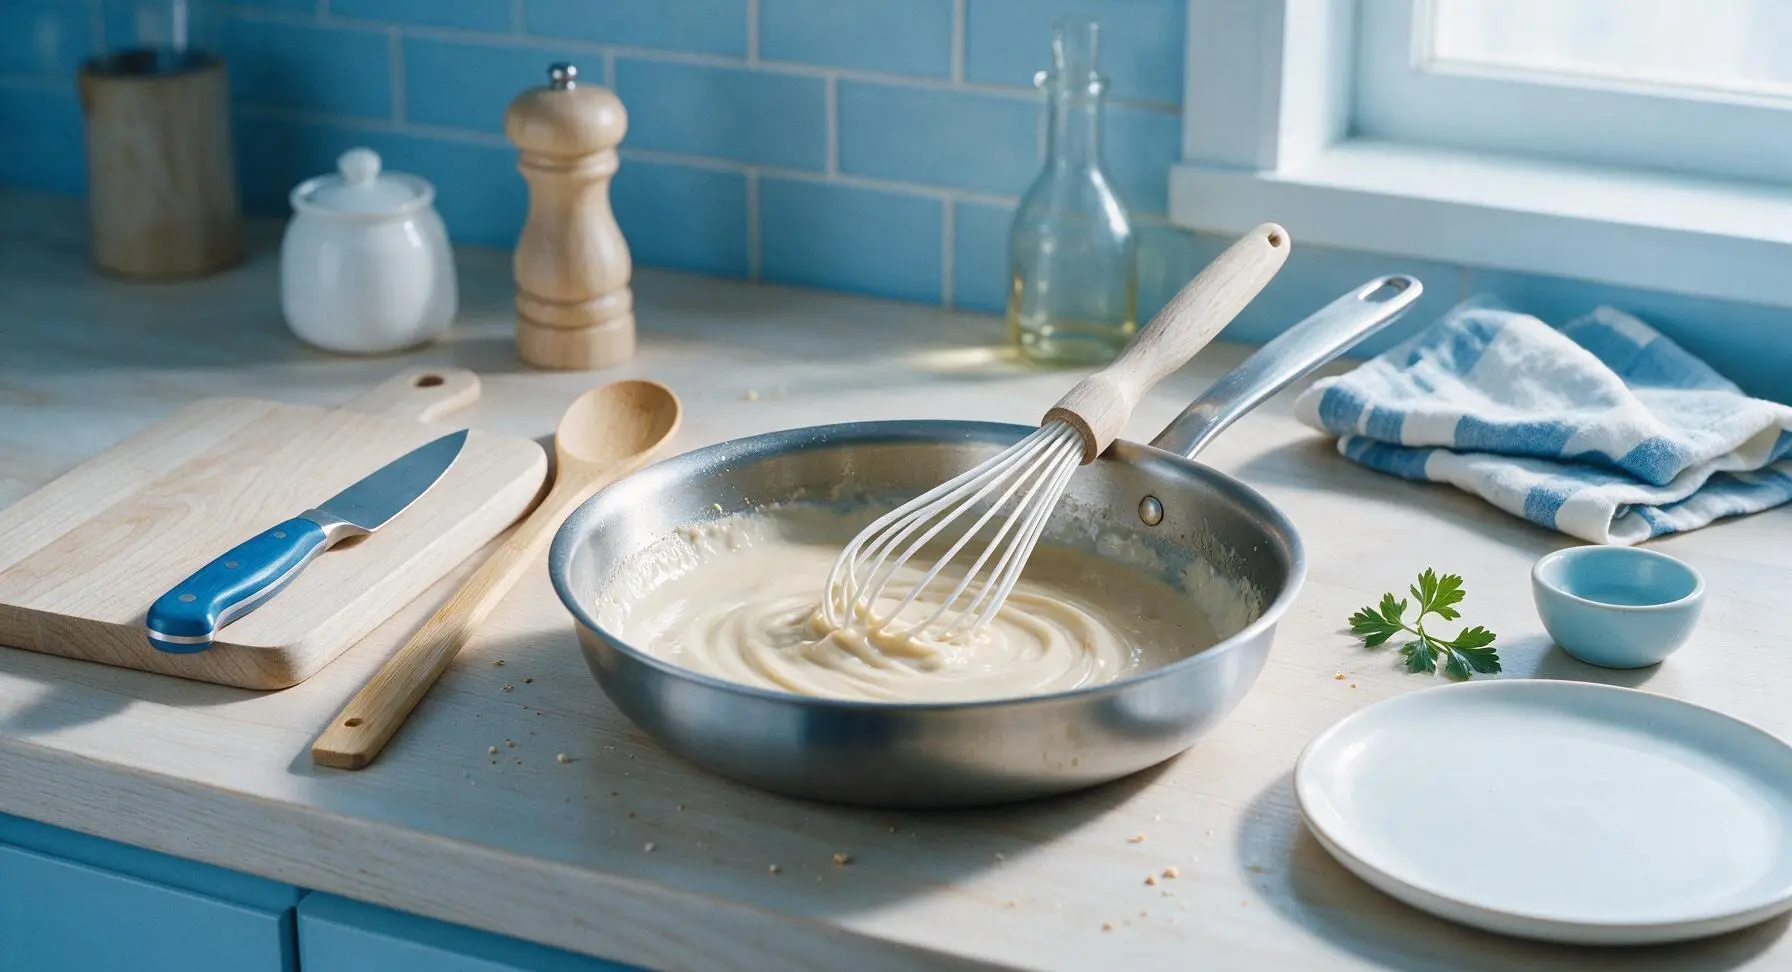
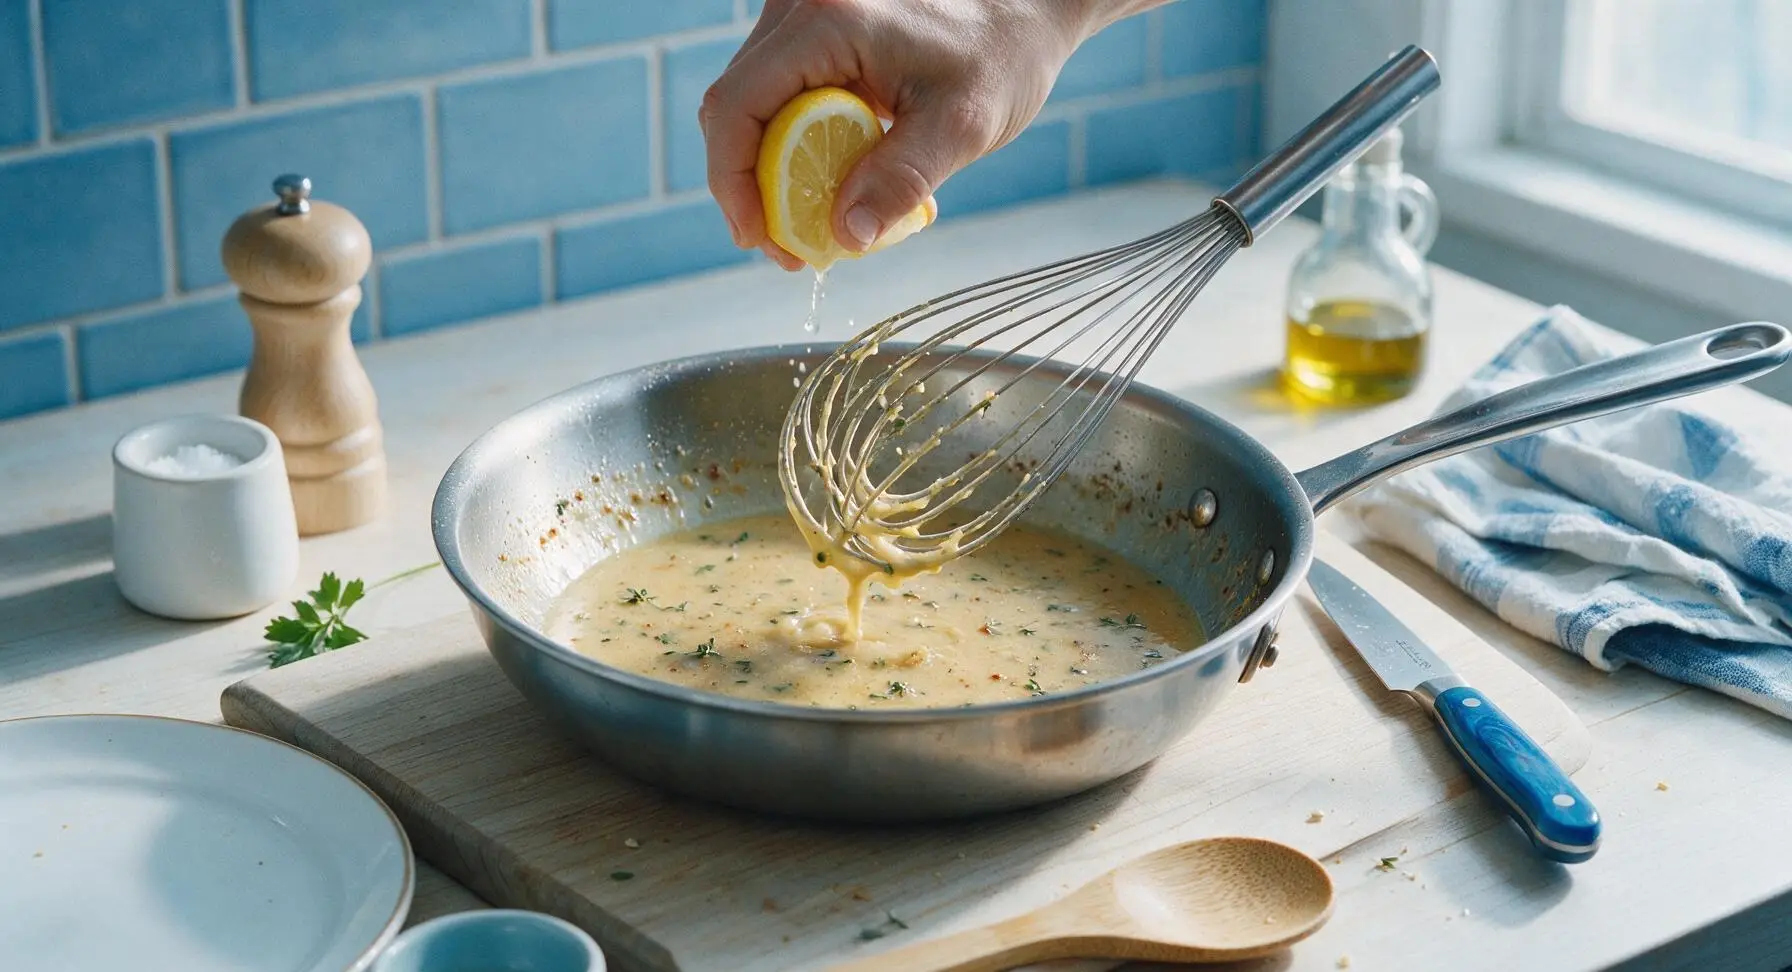
Stir the pre-mixed cornstarch and cold water slurry into the simmering broth, whisking constantly for 1 full minute to avoid lumps, until the sauce thickens to a light, silky consistency that coats the back of a spoon without running off immediately. Remove the skillet from heat, stir in the remaining 1 tablespoon of unsalted butter and 1 tablespoon fresh lemon juice until the butter melts fully into the sauce. Fish out and discard the spent thyme sprigs, then taste the sauce and add a tiny pinch of salt or pepper if needed.
Step 7
step7:Finish the pan sauce
Step 7
step7:Finish the pan sauce
8

Slice and serve

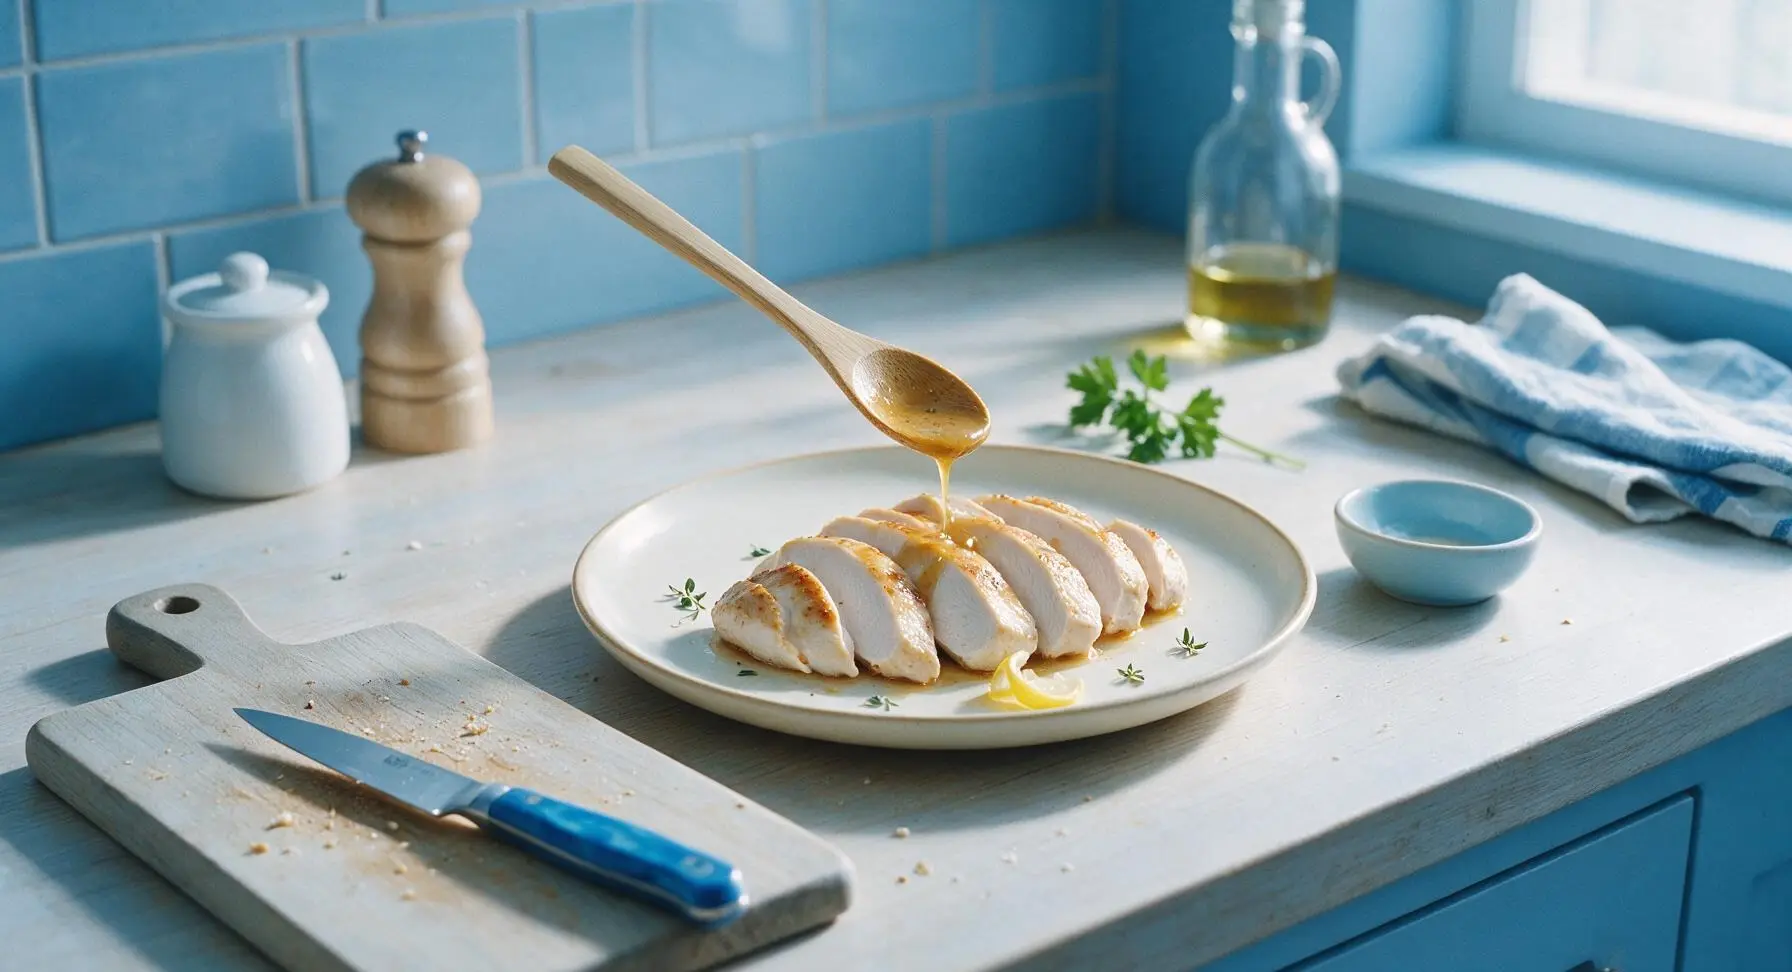
Transfer the rested chicken breasts from the cream ceramic plate back to the acacia wood cutting board. Use the chef’s knife to slice each breast against the grain into even 1.5cm thick slices, revealing the juicy, opaque white interior. Fan the slices across the center of the same matte cream ceramic dinner plate, spoon the warm pan sauce evenly over the top of the chicken, and garnish with a few picked fresh thyme leaves and a small twisted lemon wedge before serving immediately.
Step 8
step8:Slice and serve
Step 8
step8:Slice and serve

Tips

1.Pat chicken completely dry with paper towels before searing: excess surface moisture will cause the chicken to steam instead of forming a crisp, golden crust, and will make hot oil splatter dangerously when you add the meat to the pan.
2.Always let cooked chicken rest for 5 minutes tented with foil before slicing: this gives the hot muscle fibers time to relax and reabsorb their juices, so every bite stays moist instead of having all the flavorful juice run out onto the plate when cut.
3.Scrape every bit of browned fond from the skillet bottom when deglazing: these caramelized meat and seasoning bits are packed with deep, savory umami flavor that gives the pan sauce its rich, complex taste, rather than tasting like thin, plain broth.


✨ You May Also Like

Main Course
🍜 United Kingdom

A showstopping classic of tender seared beef, savory mushroom duxelles, and crisp prosciutto wrapped in flaky golden puff pastry, baked to juicy perfection.

⏱️ 2 hours 1Main Course ★ 4.7
Main Course
🍜 India

Tender charred marinated chicken simmered in a rich, spiced creamy tomato sauce, this iconic Anglo-Indian curry pairs perfectly with basmati rice or warm naan.

⏱️ 50 minuteMain Course ★ 4.6
Main Course
🍜 Thailand

Classic tangy, sweet, and savory Thai stir-fried rice noodles with shrimp, tofu, and crunchy garnishes, balancing all five core Thai flavor profiles.

⏱️ 30 minuteMain Course ★ 4.5
Main Course
🍜 United Kingdom

Crispy golden beer-battered cod and fluffy double-fried chips, served with tangy tartar sauce and malt vinegar: the timeless, beloved British pub comfort classic.

⏱️ 45 minuteMain Course ★ 4.7
Main Course
🍜 Mexico

Smoky, chile-marinated pork tacos with caramelized pineapple, fresh cilantro, and lime: a beloved classic Mexican street food perfect for casual summer gatherings.

⏱️ 1 hour 45Main Course ★ 4.8
Main Course
🍜 United States

Crunchy Fritos corn chips layered with savory beef chili and melted cheddar, topped with cool, zesty fixings for a beloved, cozy Tex-Mex comfort food.

⏱️ 35 minuteMain Course ★ 4.8

pan fried chicken breast with sauce:Frequently Asked Questions

1.How do I keep my pan-fried chicken breast from turning out dry? ▾
Start by pounding breasts to a uniform 1-inch thickness so they cook evenly, with no thin, overcooked edges. Don’t move the chicken for the first 4-5 minutes of searing to build a solid crust, pull it when it hits 160°F internal temperature, and let it rest 5 minutes—carryover cooking will bring it to a safe 165°F as juices redistribute.
2.Can I use dried thyme instead of fresh for the pan sauce? ▾
Absolutely, dried thyme works perfectly if you don’t have fresh on hand. Use 1/3 the amount of dried as you would fresh, since dried herbs have a more concentrated, potent flavor—so 1 teaspoon dried thyme for every 1 tablespoon fresh. Add it slightly earlier when building the sauce to let its flavor mellow and bloom properly.
3.Why does my chicken stick to the pan when I try to flip it? ▾
Chicken sticks when the pan isn’t hot enough, you don’t have a thin, even layer of extra-virgin olive oil, or you try to flip it too early. Let the oil shimmer before adding chicken, and don’t force the flip—if it releases easily with a gentle nudge of your spatula, it’s ready to turn. Forcing it early will tear that perfect golden crust.
4.Do I really need to use the pan drippings for the sauce? ▾
Those browned, stuck-on bits at the bottom of the pan (called fond) are the entire flavor base for the lemon-thyme sauce, so don’t wipe them out! They hold deep, savory, roasted chicken and garlic flavor that makes the sauce taste rich and complex, instead of thin and flat. You’ll deglaze with liquid to lift every last bit.
5.How thick should I pound my chicken breasts for even cooking? ▾
Aim for a consistent 1-inch thickness across the entire breast. Thicker spots will stay undercooked while thinner edges turn tough and dry if you skip this step. You don’t need to pound them paper-thin—just place them between two sheets of plastic wrap and tap gently with a meat mallet or heavy skillet to even out the tapered end.
6.What can I use to deglaze the pan if I don’t have white wine on hand? ▾
You can swap white wine for low-sodium chicken broth, a splash of dry vermouth, or even a mix of 1 tablespoon lemon juice and 3 tablespoons broth for a non-alcoholic version. Just avoid thick, sweet liquids like regular balsamic vinegar, as they will overpower the bright, herby lemon-thyme profile of the sauce.
7.How long should I let the chicken rest after cooking, and why does it matter? ▾
Let the cooked chicken rest on a clean plate for 5 full minutes before slicing or serving. When chicken cooks, its muscle fibers tighten and push juices toward the center; resting lets those fibers relax and reabsorb moisture, so every bite is juicy instead of having all the tasty juice run out onto your plate when you cut it.
8.Can I make this recipe with bone-in, skin-on chicken breasts instead? ▾
You absolutely can, just adjust your cook time slightly—bone-in, skin-on breasts will take 8-10 minutes per side instead of 4-6, since the bone slows heat transfer. Keep the skin side down for the first sear to render fat and get extra-crispy skin, and check for 160°F internal temp at the thickest part, away from the bone.
9.What’s the best way to get that perfectly golden, crispy crust on the chicken? ▾
Pat the chicken completely dry with paper towels right before seasoning and adding it to the hot pan—any surface moisture will steam the chicken instead of searing it. Season generously with kosher salt and freshly ground black pepper right before cooking, and don’t crowd the pan; cook in batches if needed to avoid steaming from excess moisture release.
10.How do I keep the pan sauce from getting greasy or lumpy? ▾
After searing the chicken, pour off all but about 1 tablespoon of excess fat from the pan before adding garlic and building your sauce. Whisk continuously as you add your deglazing liquid and a small pat of cold butter at the end (if you like) to create a silky, smooth emulsion, and don’t let the sauce hit a hard rolling boil, which can cause separation.
11.Can I prep the chicken ahead of time for faster weeknight cooking? ▾
Yes! You can pound the chicken to even thickness, season it lightly, and store it covered in the fridge for up to 24 hours before cooking. Pat the surface dry again right before searing, since the chicken will release a little moisture as it chills, to make sure you still get that crisp, golden crust you want.
12.What side dishes pair best with this lemon-thyme chicken? ▾
This bright, savory chicken pairs beautifully with quick-cooking sides like roasted broccoli, buttered egg noodles, fluffy white rice, roasted baby potatoes, or a simple arugula salad tossed with lemon vinaigrette. Since the whole meal comes together in under 30 minutes, pick sides that cook in the same window to keep dinner low-fuss.
13.My chicken is done on the outside but still raw in the middle—what did I do wrong? ▾
This almost always happens if your pan heat is too high, which burns the crust before the interior cooks through, or if your breasts are unevenly thick. Turn the heat down to medium after the initial sear, and if you notice uneven cooking, pop the pan in a 375°F oven for 3-5 minutes to finish the center without burning the crust.

Comments (6)

3 days ago

OMG this was such a win for family dinner last night! My kids loved it – even my super picky 6 year old who usually refuses anything with “green bits” (aka the thyme) ate two whole servings. It’s a total game changer for meal prep too! I made extra to pack for work lunches this week, and the chicken stayed perfectly juicy, no sad dry bites. The pan sauce is SO good, I even dipped my roasted broccoli in it. 10/10, adding to the weekly rotation!

1 week ago

Was skeptical that pan fried chicken breast could actually be juicy without a brine, but man this recipe delivered! Cook time was spot on 18 minutes like it said, no guessing when it was done. The only tweak I made was adding a tiny pinch of red pepper flakes to the sauce for a little kick, will definitely make this for our next neighborhood potluck.

5 days ago

So glad you loved it, Tyler! That red pepper flake tweak sounds delicious – a little heat pairs perfectly with the bright lemon and earthy thyme. Thanks for sharing your take!

2 days ago

Wait, quick question! I tried making this last night and the chicken was perfect, super tender – even my boyfriend who complains about “healthy food” said it tasted like something from a nice restaurant! The only issue is my lemon-thyme sauce got a little too thick, did I do something wrong? Just wanna nail it next time I make it!

yesterday

I had that happen my first time too! I just stirred in a tiny splash more chicken broth (like a tablespoon at a time) until it was the consistency I wanted, worked like a charm!

30 minutes ago

Great question! Mia, if your sauce thickens too much, just whisk in a little extra chicken broth or even a squeeze more lemon juice over low heat like Liz mentioned until it hits your perfect consistency. So glad the chicken turned out great for you two!

5 days ago

This is my new go-to quick weeknight protein! 18 minutes total cook time is insane, I can get this done while my roasted veggies are in the oven no problem. It’s light but super flavorful, no heavy breading or greasy coating, which fits perfectly with the meal plans I make for my training clients too. Already passed the link along to three of them this week!

2 days ago

Same here! I make this after evening trail runs when I don’t wanna spend an hour cooking – it’s fast, filling, and doesn’t leave me feeling sluggish. Great call sharing it with clients!

2 weeks ago

Made this for my book club potluck last week and people were practically licking their plates! I doubled the sauce because I knew everyone would want extra to drizzle over their rice, and that was 100% the right call. The lemon cuts through so nicely, and the thyme adds that cozy herby flavor that feels fancy even though the whole thing is so easy to throw together. Zero leftovers, which is always the sign of a winning recipe in my book.

yesterday

Bro I’m a broke college senior with basically zero cooking skills and I pulled this off first try??? I didn’t have fresh thyme so I used dried and it still slapped, served it with instant mashed potatoes and it felt like a real home cooked meal instead of the microwave ramen I usually survive on. 10/10, no notes.

2 hours ago

Dried thyme hack is so real! I did the same thing last week when I made this, no one could tell the difference. Pro tip: toss a little frozen broccoli in the pan while the chicken rests for an easy veggie side!

5 minutes ago

This is the best college budget meal for real! Chicken breasts are cheap when they’re on sale, lemons last forever in the fridge, and it doesn’t require any fancy equipment. I’ve made it four times this month already!



