
Panini

title 1
Panini
⏱️ cook time 15 minutes
🍽️ servings 4
⚡ Difficulty easy

intro

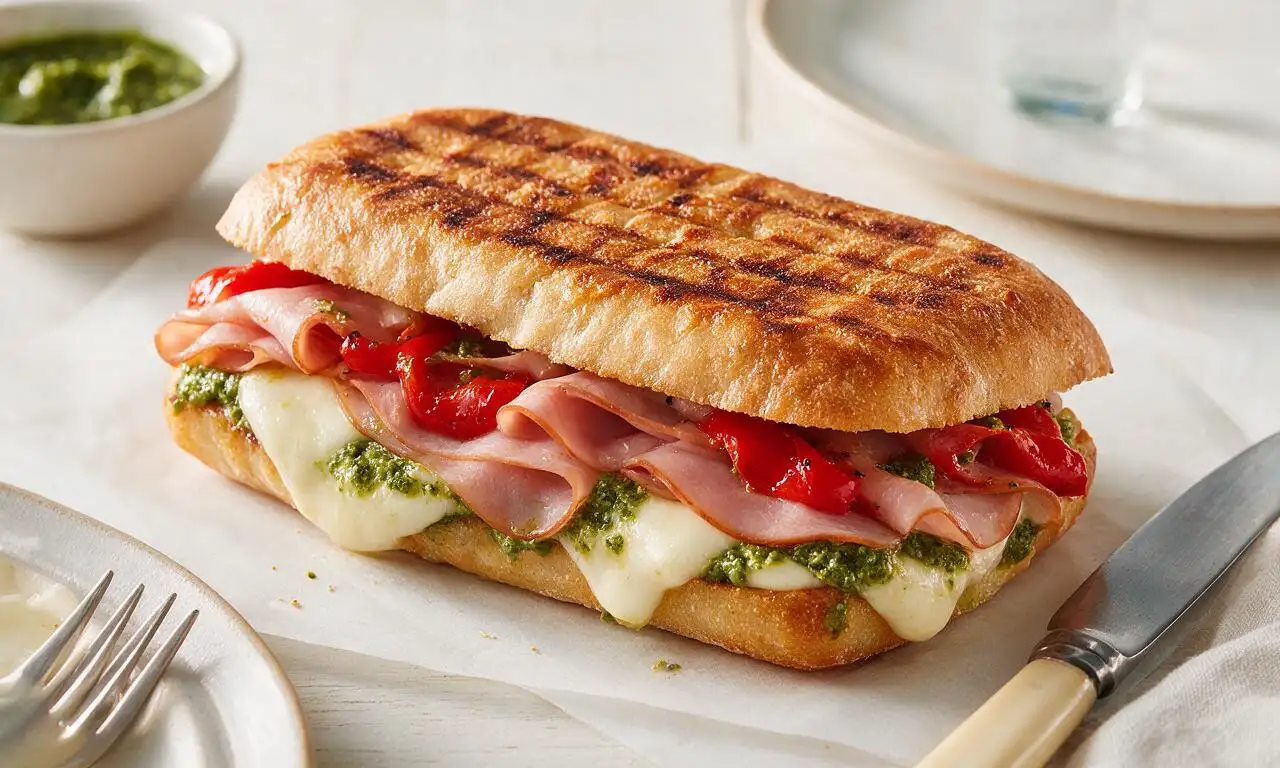
Crispy, pressed deli-style panini layered with melted mozzarella, savory prosciutto, zesty pesto, and roasted peppers, ready in 15 minutes for a fast, satisfying meal.

Ingredients

Ciabatta rolls 4 (480g total, split horizontally)
Low-moisture mozzarella cheese 220g, thinly sliced
Thinly sliced prosciutto 120g
Basil pesto 80ml (1/3 cup)
Jarred roasted red peppers 100g, patted dry, cut into 1cm strips
Fresh basil leaves 15g (1/2 cup packed)
Unsalted butter 30g (2 tbsp), melted
Flaky sea salt 1/4 tsp

Steps

1

Prep fillings and bread

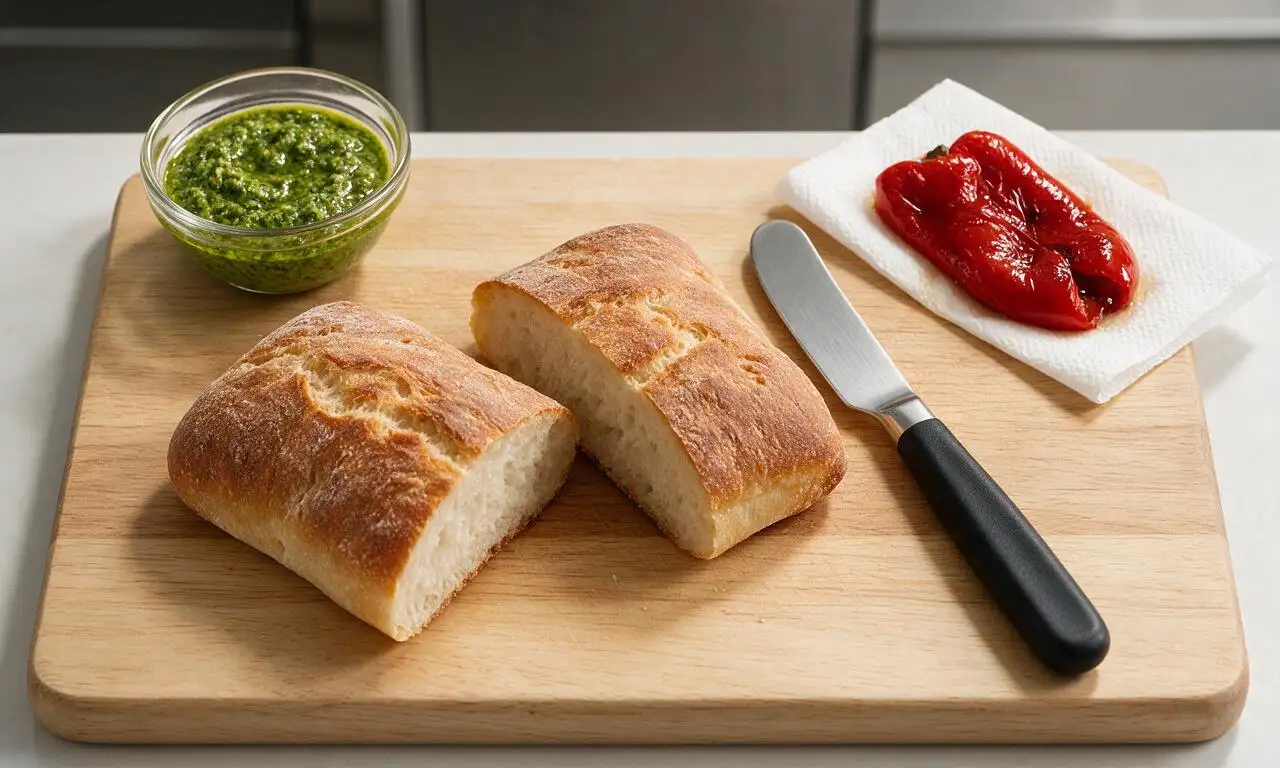
Lay split ciabatta rolls cut-side up on a clean work surface. Spread 10ml (2 tsp) of basil pesto evenly across the cut side of each top and bottom roll half, leaving a 5mm border to prevent oozing when pressed. Pat roasted red pepper strips completely dry with paper towels to avoid soggy bread.
Step 1
step1:Prep fillings and bread
2

Layer sandwich ingredients

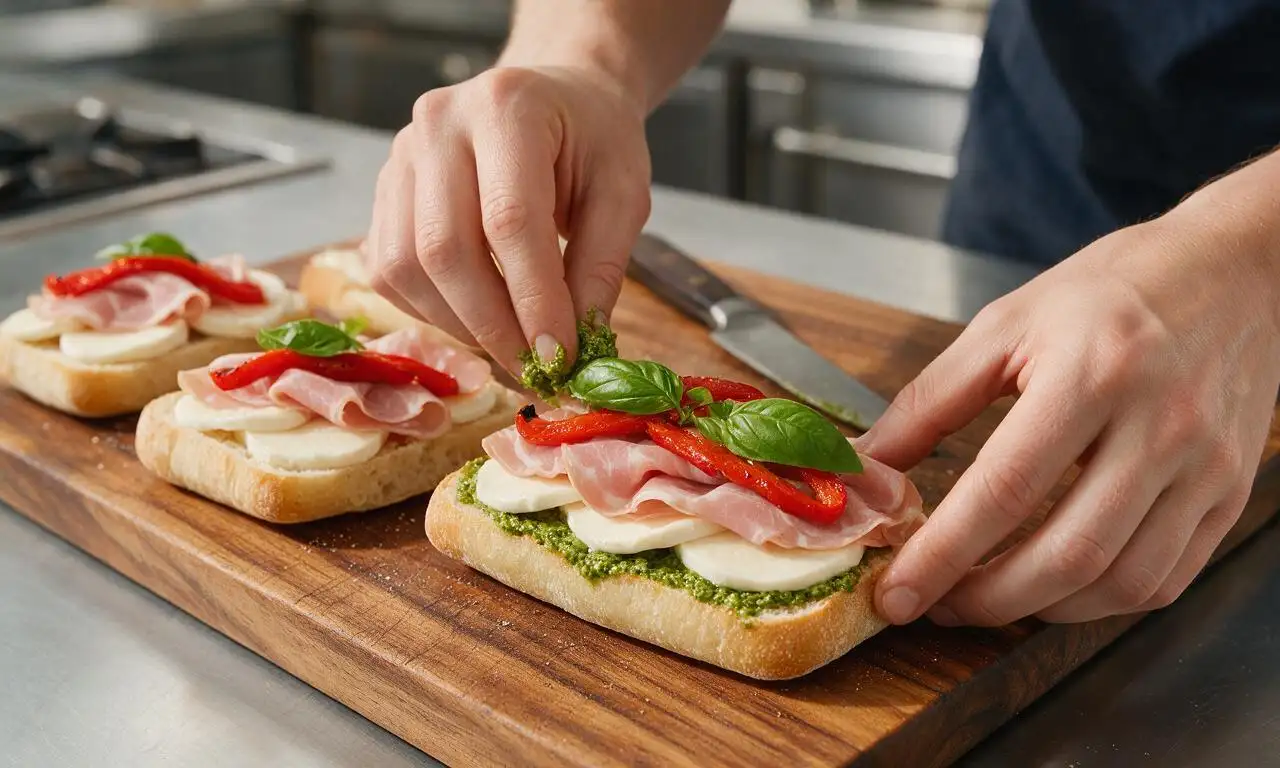
On the bottom half of each pesto-smeared ciabatta roll, layer 27.5g sliced mozzarella, 30g prosciutto, 25g roasted red pepper strips, and 3–4 fresh basil leaves, then top with a second 27.5g layer of mozzarella to seal fillings in place. Place the top ciabatta half on each sandwich, pressing down gently to compact layers slightly.
Step 2
step2:Layer sandwich ingredients
3

Preheat panini press

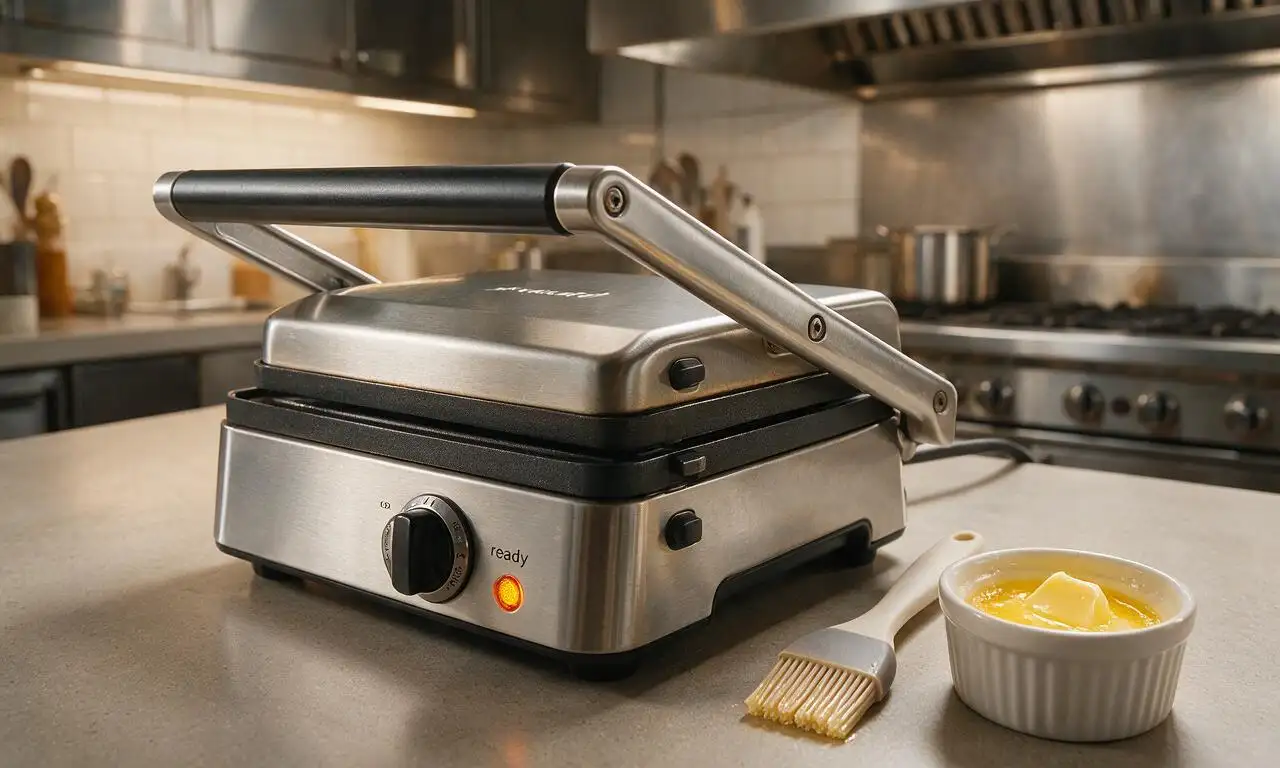
Preheat a panini press (or ridged cast-iron grill pan with a heavy second pan as a press) to medium-high heat (190°C / 375°F). Brush the top and bottom griddle surfaces lightly with 15g (1 tbsp) of the melted butter to prevent sticking and encourage a crisp, golden crust.
Step 3
step3:Preheat panini press
4

Press first panini batch

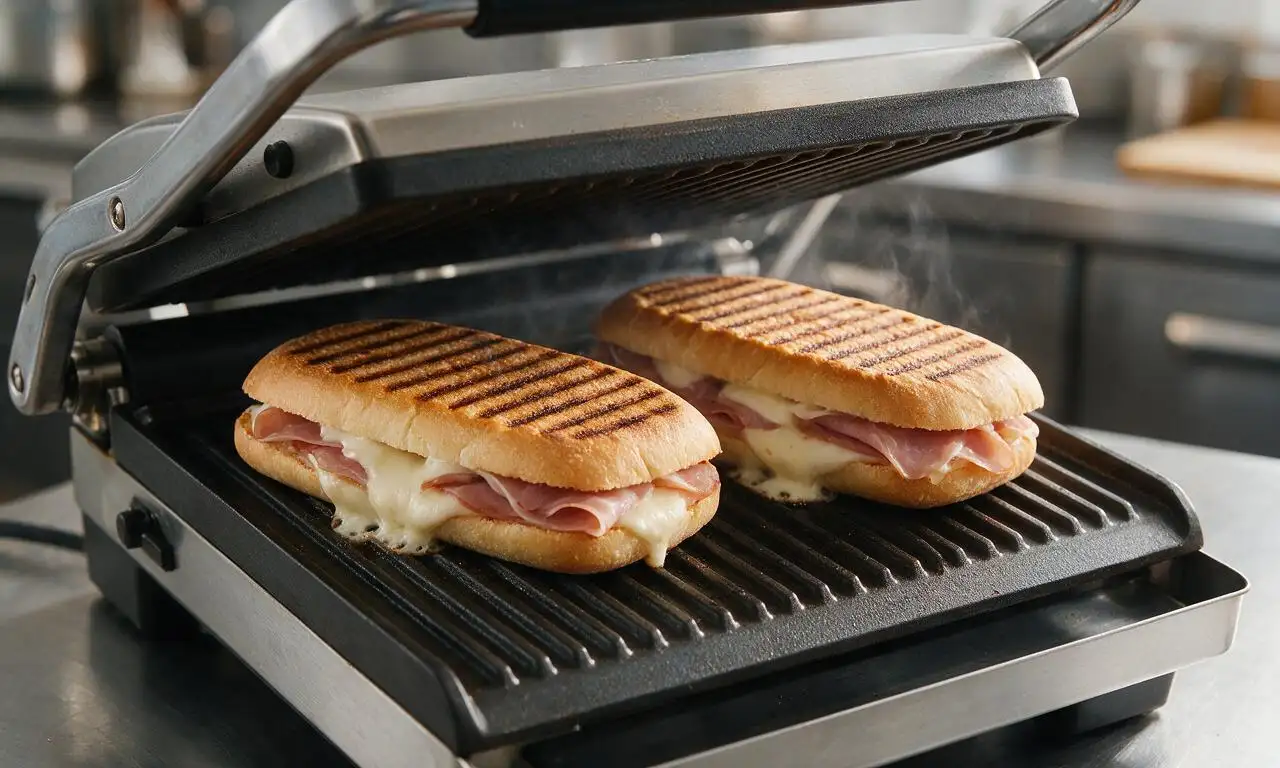
Place 2 assembled panini on the preheated press, leaving 2cm of space between them to allow even heat flow. Close the press lid, applying light, even pressure, and cook for 3–4 minutes until the bread is deep golden brown with distinct dark grill marks, and the mozzarella is fully melted and bubbling slightly at the edges.
Step 4
step4:Press first panini batch
5

Cook remaining panini

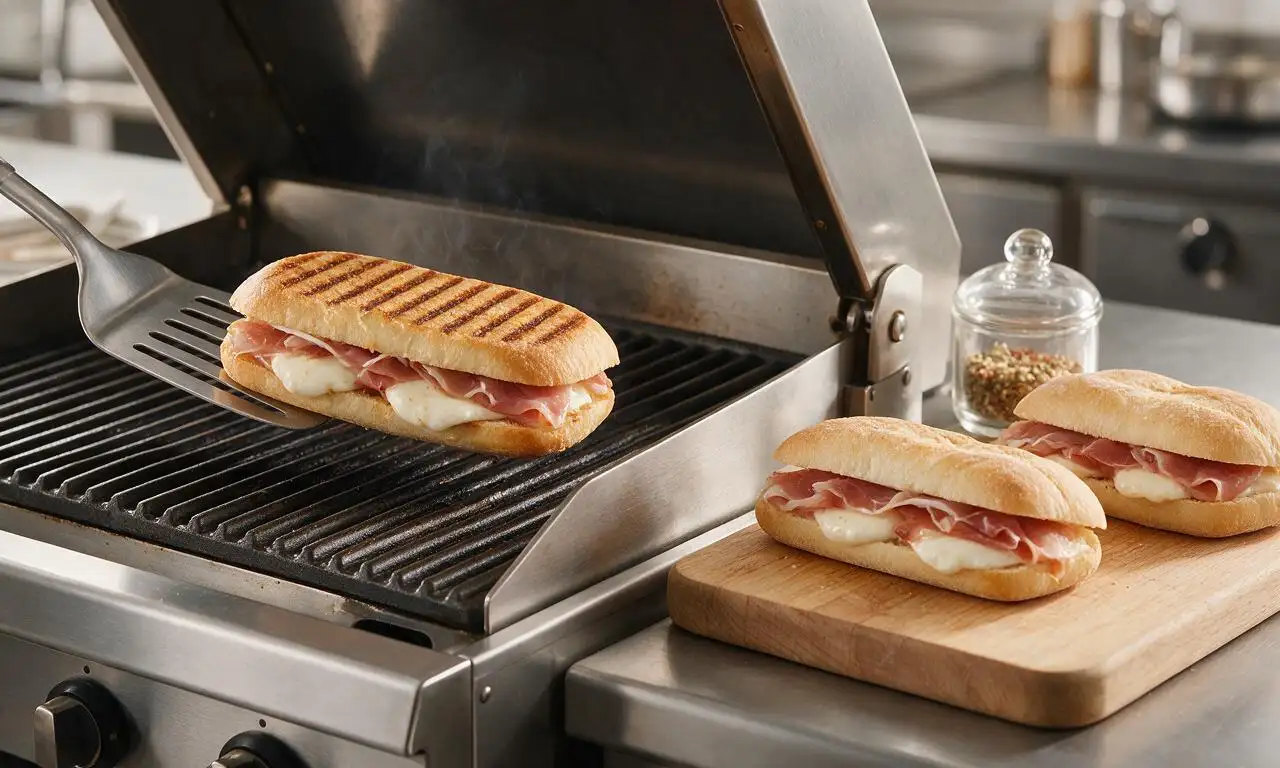
Transfer the cooked first batch to a cutting board, then brush the press grates with the remaining 15g (1 tbsp) melted butter. Cook the second batch of 2 panini for the same 3–4 minutes at medium-high heat, until the crust is crisp to the touch and cheese is fully melted through the center.
Step 5
step5:Cook remaining panini
6

Rest, slice, and serve

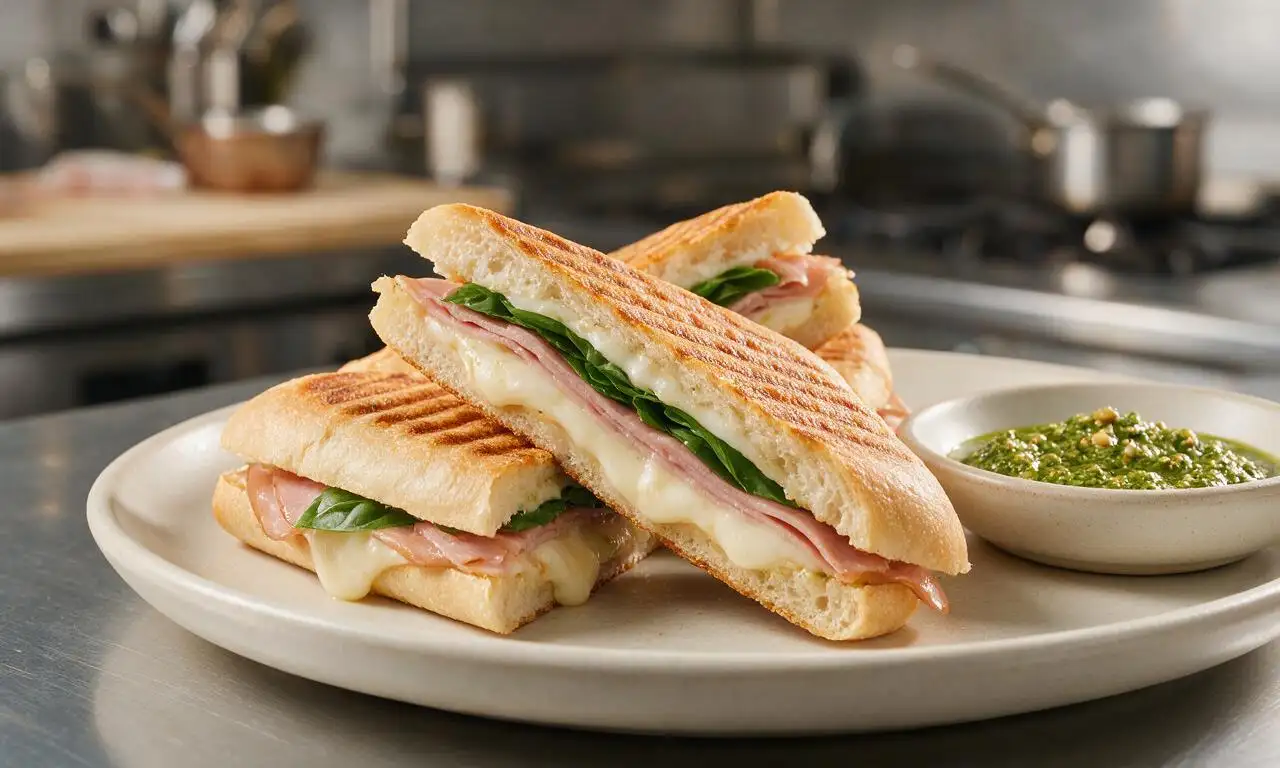
Let all cooked panini rest for 1 minute to allow the melted cheese to set and avoid oozing when cut, then slice each diagonally with a serrated bread knife. Sprinkle the cut edges lightly with the 1/4 tsp flaky sea salt, and serve warm.
Step 6
step6:Rest, slice, and serve

Tips

1.Always pat high-moisture ingredients like roasted red peppers completely dry before adding to sandwiches—excess moisture will turn crisp panini bread soggy as it cooks.
2.If you do not own a panini press, use a ridged cast-iron skillet over medium-high heat, and place a heavy, foil-wrapped brick or second cast-iron pan on top of the sandwich to apply even pressing weight.
3.Opt for low-moisture mozzarella instead of fresh water-packed mozzarella for panini; fresh mozzarella releases excess water even when patted dry, leading to soggy bread and runny fillings.


✨ You May Also Like

Lunch
🍜 United States

Creamy, salty, tangy nostalgic Midwestern sandwich pairing rich peanut butter with crisp briny dill pickles for a fast, satisfying no-cook meal.

⏱️ 5 minutesLunch ★ 4.6
Lunch
🍜 United States

Crispy, melty pressed sandwich layered with savory roast pork, ham, Swiss cheese, pickles, and tangy mustard: a beloved Cuban-American comfort classic.

⏱️ 25 minuteLunch ★ 4.9
Lunch
🍜 United States

Hearty, briny New Orleans pressed sandwich stacked with cured Italian meats, provolone, and zesty olive salad, served cold for bold, portable flavor.

⏱️ 1 hour 20Lunch ★ 4.7
Lunch
🍜 United States

A tangy, creamy Southern American staple, this no-cook cheesy sandwich is packed with sharp cheddar and sweet pimentos for a satisfying, portable bite.

⏱️ 1 hour 15Lunch ★ 4.8
Lunch
🍜 United States

Crispy Cajun-spiced fried shrimp piled on crusty French bread with tangy remoulade and fresh toppings, the iconic Louisiana street food sandwich.

⏱️ 35 minuteLunch ★ 4.4
Lunch
🍜 United States

Stacked, savory deli-style corned beef sandwich with melted Swiss, tangy mustard, and crisp griddled rye— a fast, hearty, satisfying classic.

⏱️ 15 minuteLunch ★ 4.9

Panini:Frequently Asked Questions

1.Can I use fresh mozzarella instead of low-moisture mozzarella for this panini? ▾
You can, but you’ll need to pat fresh mozzarella slices very dry with paper towels first—press them between two towels for 5 minutes to soak up excess whey. Low-moisture mozz is ideal here because it melts smoothly without leaking excess liquid that would turn your crispy ciabatta soggy during pressing.
2.Do I need a dedicated panini press to make this recipe? ▾
No fancy press is required! If you don’t have a panini maker, heat a cast iron or nonstick skillet over medium heat, add the assembled sandwich, and set a heavy, foil-wrapped brick or second heavy skillet on top to weigh it down. Flip halfway through cooking to get even crispness on both sides.
3.How do I keep my panini from getting soggy? ▾
The number one trick is to avoid overloading wet ingredients! Pat your roasted red peppers fully dry with paper towels before layering, stick to low-moisture mozz, and spread pesto in a thin, even layer instead of slathering it on thick. Cooking on medium-high heat to crisp the bread fast also helps lock out sogginess.
4.Can I prep these paninis ahead of time for meal prep or a party? ▾
You can assemble the raw sandwiches up to 4 hours ahead if you store them wrapped tightly in plastic wrap in the fridge—just hold off on cooking until right before serving. I don’t recommend assembling them further ahead, as the pesto and pepper moisture will seep into the ciabatta and make it mushy.
5.What can I use if I don’t have basil pesto on hand? ▾
Great quick swaps include sun-dried tomato spread, garlic aioli, olive tapenade, or even a thin layer of softened salted butter mixed with dried Italian herbs and a pinch of garlic powder. Just stick to a thin, spreadable layer so you don’t add too much extra moisture that ruins the crispy bread texture.
6.Is there a good vegetarian swap for the prosciutto? ▾
Absolutely! Thinly sliced marinated artichoke hearts (patted very dry), crispy pan-fried eggplant slices, or vegetarian deli slices like smoked seitan work beautifully here. For a similar salty, savory kick, add a pinch of flaky sea salt and a few thin slices of oil-cured olives to match prosciutto’s depth.
7.Can I use a different bread if I don’t have ciabatta rolls? ▾
Ciabatta’s chewy, open crumb and sturdy crust is ideal for pressing, but sturdy sourdough loaves, 1-inch thick sliced focaccia, or crusty Italian sub rolls work great too. Avoid super soft, thin white sandwich bread—it will get crushed under the press and turn mushy instead of developing that signature crispy crust.
8.How long should I cook the panini for the perfect melt and crisp? ▾
Cook for 3 to 4 minutes per side if using a stovetop weighted method, or 4 to 5 minutes in a preheated panini press set to medium-high. You’ll know it’s done when the ciabatta is deep golden and crispy on the outside, and the mozzarella is fully melted and oozing slightly out of the sandwich edges.
9.Do I need to cook the prosciutto before adding it to the panini? ▾
No pre-cooking is needed! Prosciutto is dry-cured, so it’s completely safe to eat straight from the package, and the short, hot press time will warm it through and crisp up its edges slightly for extra texture. If you love extra crispy prosciutto, you can pan-fry slices for 30 seconds per side first, but it’s totally optional.
10.Can I use homemade roasted red peppers instead of jarred? ▾
Homemade roasted peppers work wonderfully, and they add an extra fresh, smoky flavor! Just make sure you peel off all the charred skin, remove every seed, and pat the pepper strips completely dry before layering. You can toss them in a tiny bit of balsamic vinegar first for extra zing if you’d like.
11.How do I store leftover cooked panini, and how do I reheat it? ▾
Wrap leftover cooled panini tightly in foil and store it in the fridge for up to 3 days. For the best texture, reheat it in a 375°F oven or toaster oven for 8 to 10 minutes (or back in a panini press for 3 minutes) until the cheese remelts and the bread crisps up—skip the microwave, it makes bread rubbery.
12.What sides pair best with this panini for a full meal? ▾
Classic deli-style sides work perfectly here! Pair it with a crisp side salad tossed in balsamic vinaigrette, a cup of creamy tomato basil soup, dill pickle spears, salt and vinegar potato chips, or briny marinated olives. For a lighter pick, fresh cantaloupe wedges complement the salty prosciutto beautifully.

Comments (5)

2 days ago

OMG this panini is a total weekday game changer! I threw it together last night for the kids after soccer practice and they both asked for seconds. I didn’t have prosciutto the first time so I used deli ham, but grabbed the good prosciutto from the deli counter today and it’s even better. Crispy bread, melty mozz, that salty prosciutto hit? *Chef’s kiss* 10/10 will be adding this to our weekly meal rotation!

yesterday

Wait did you add any pesto? I feel like a little pesto spread would take this over the top but I don’t wanna mess up the classic vibe!

yesterday

So glad your family loved it! Pesto is a fantastic add-in if you’re feeling fancy — the classic recipe works great as written, but a thin layer of pesto or even a sprinkle of balsamic glaze never hurts. Let us know how it turns out if you try it!

3 days ago

Super easy recipe, made this on my cast iron press this weekend for our tailgate pregame and the whole crew demolished it in 10 minutes flat. Cook time was way less than 15 minutes for me since I had the press ripping hot, got that perfect crispy crust on the sourdough I used. Only note: pat the mozzarella dry a little if you’re using fresh so it doesn’t make the bread soggy! SO good.

2 days ago

Great tip about patting the fresh mozzarella dry! That’s such a common pitfall that leads to soggy bread, I’m glad you called that out. Sourdough is such a tasty swap for the classic ciabatta too — awesome call for a tailgate!

1 week ago

Tried this for my weekly meal prep this week and it holds up way better than I thought! I let the paninis cool completely before wrapping them in foil to toss in the fridge, and they crisp right back up when I pop them in the office toaster oven at lunch. No sad soggy sandwich here! Easy, quick, tastes just like the paninis I get at my favorite corner deli back home.

yesterday

Made this for a quick lunch date with my partner yesterday and we were both shocked how restaurant-quality it came out for only 15 minutes of effort! I added a couple slices of tomato and a pinch of oregano, paired it with a side salad, and it felt like a fancy cafe meal without the $15 price tag. Only giving 4 stars because I wish it had a little note about what bread works best, I used regular sandwich bread first and it was a little floppy.

2 hours ago

Ciabatta or a sturdy sourdough works perfect! I made that mistake once with soft white bread too, total flop, but the crustier the bread the better it holds up to the cheese and prosciutto.

5 days ago

Brought these to our neighborhood block party potluck last weekend and I must have handed out the recipe to 6 different neighbors! I cut them into little bite-sized triangles so they were easy to grab as an appetizer, and even the picky kids at the party were gobbling them up. So easy to scale up for a crowd too, I made 12 of them in under 40 minutes total. Will absolutely be making these again for our next game night!

3 days ago

Oh the bite-sized idea is genius! I’ve been trying to find easy appetizers for my book club next week, this is perfect. Did you use toothpicks to hold them together?

2 days ago

Love the bite-sized potluck hack! We’re so glad these were a hit at the block party. Quick tips for anyone making these for a crowd: you can keep cooked paninis warm in a 200°F oven on a baking sheet while you cook the rest so none get cold while prepping batches, and small toothpicks work perfectly to hold the cut triangles together for easy grabbing!



