
panini food

title 1
panini food
⏱️ cook time 12 minutes
🍽️ servings 2
⚡ Difficulty easy

intro

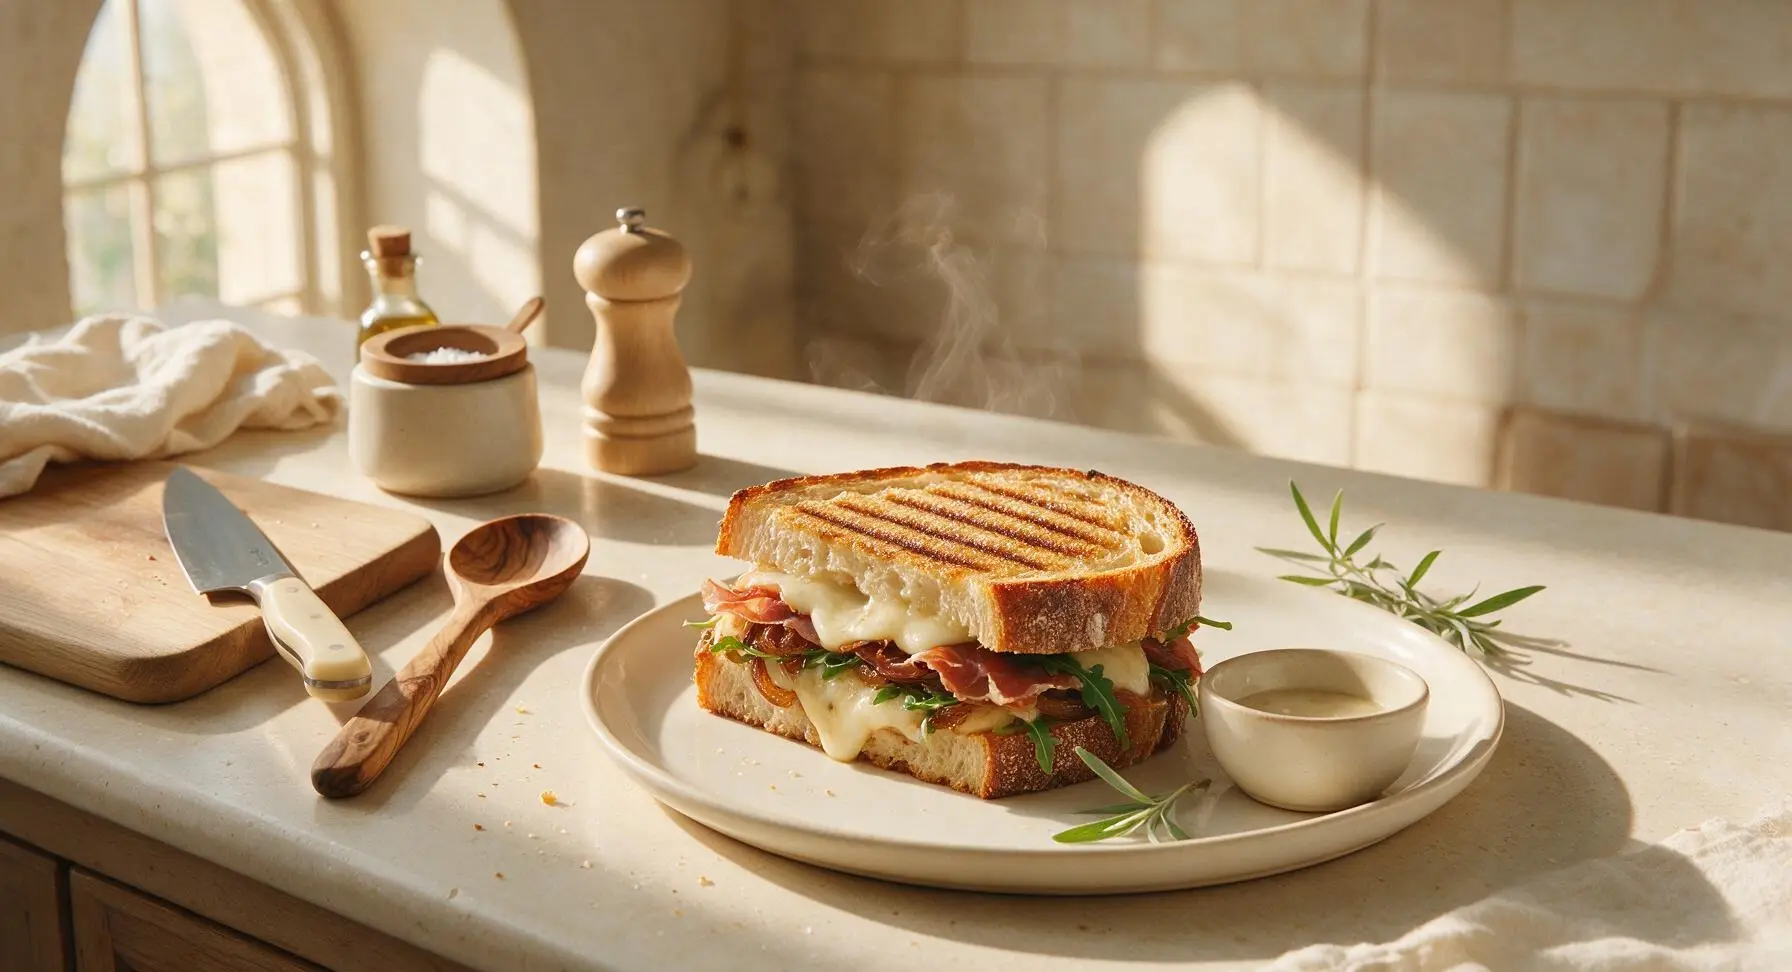
Crispy, ridged sourdough pressed around melted fontina, salty prosciutto, caramelized onion, and peppery arugula — a cozy, fast toasty panini for satisfying casual meals.

Ingredients
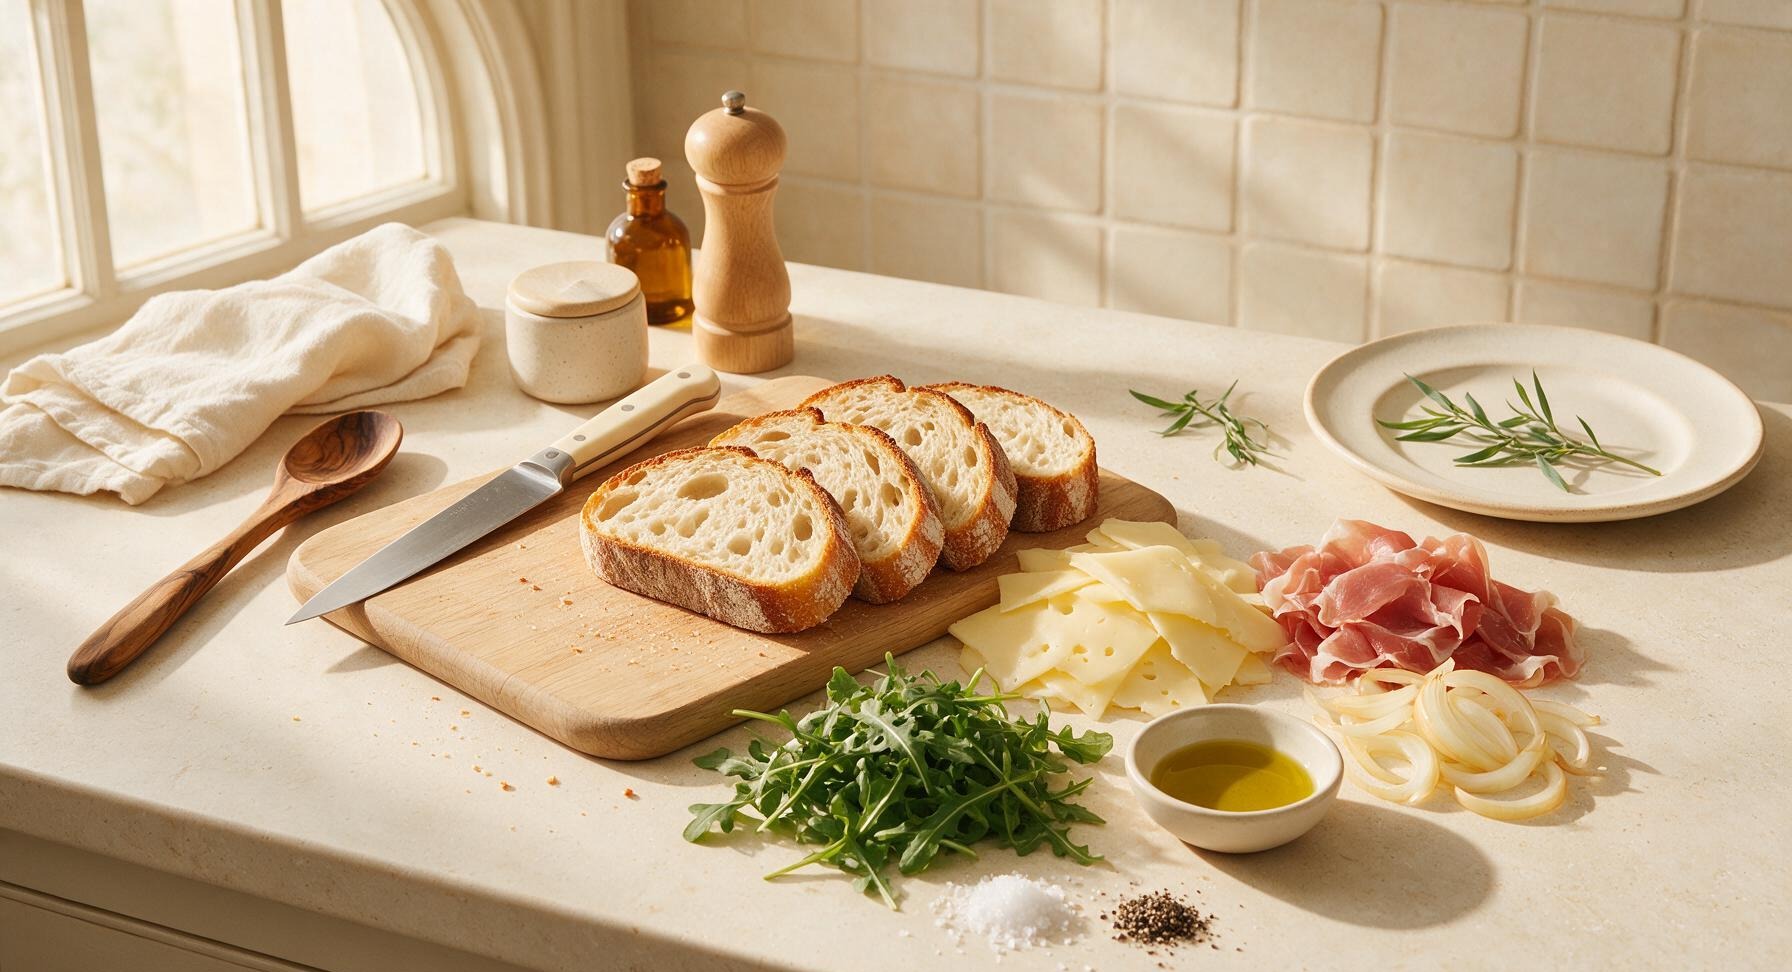
Thick-cut sourdough bread 4 slices (60g each, 1.5 inch thick)
Fontina cheese 120g, thinly sliced
Thinly sliced prosciutto di Parma 60g
Small yellow onion 1 (100g, thinly sliced)
Fresh arugula 30g
Extra-virgin olive oil 1 tbsp
Flaky sea salt 1/4 tsp
Cracked black pepper 1/8 tsp

Steps

1

Caramelize the Onion

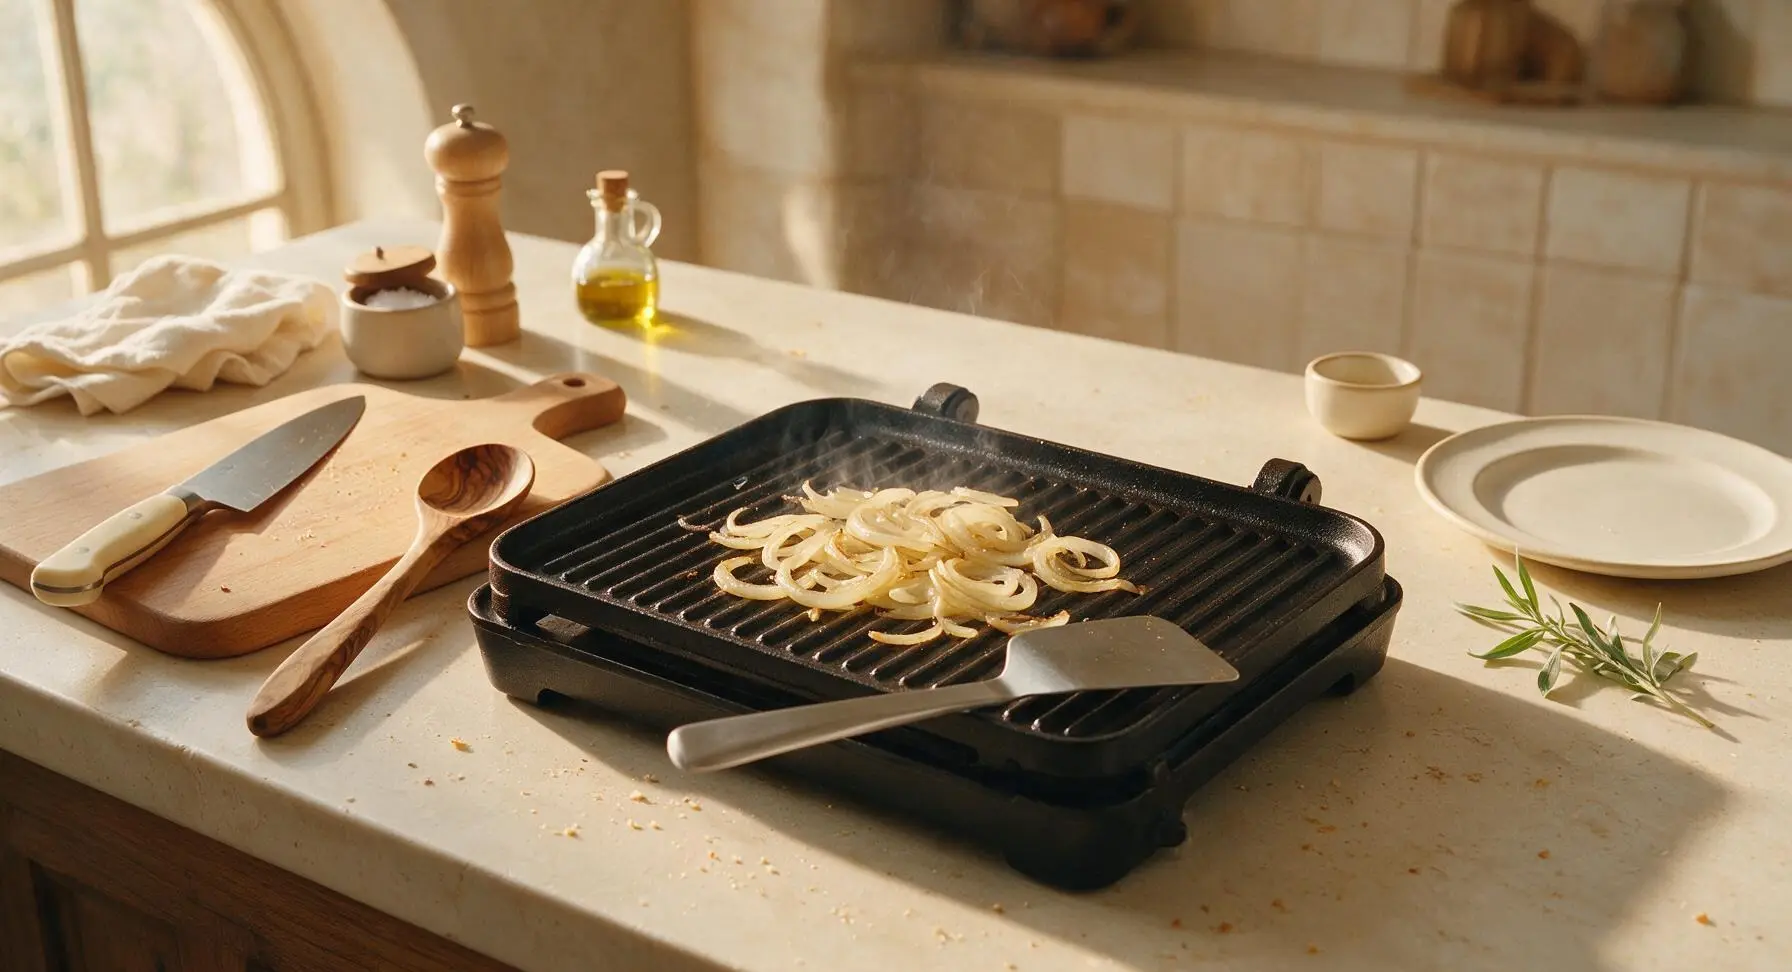
Heat 1 teaspoon of olive oil in the base of the cast iron panini press (set to medium heat, 375°F/190°C) once preheated. Add the thinly sliced small yellow onion to the ridged surface, stirring occasionally with the stainless steel offset spatula for 6-7 minutes until the onion is soft, deep golden brown, and sweetly aromatic. Transfer the caramelized onion to a small temporary spot on the cutting board, then wipe the press ridges lightly with a corner of the linen towel to remove any stuck onion bits.
Step 1
step1:Caramelize the Onion
2

Assemble Panini Layers

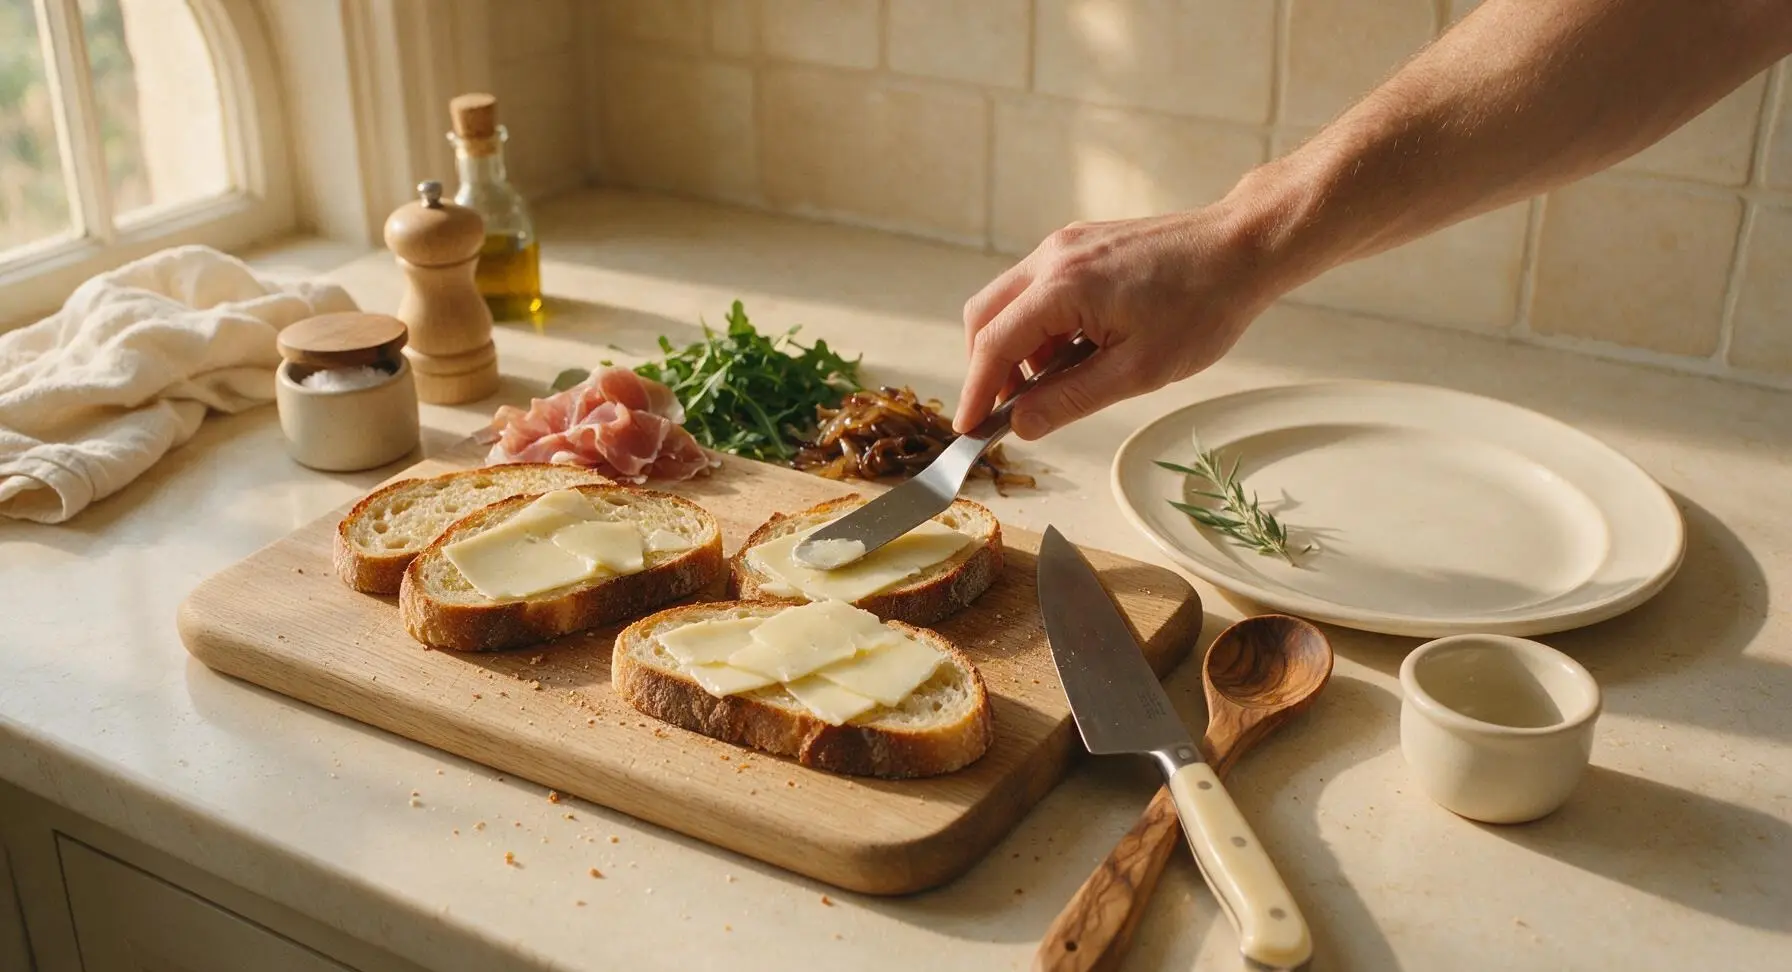
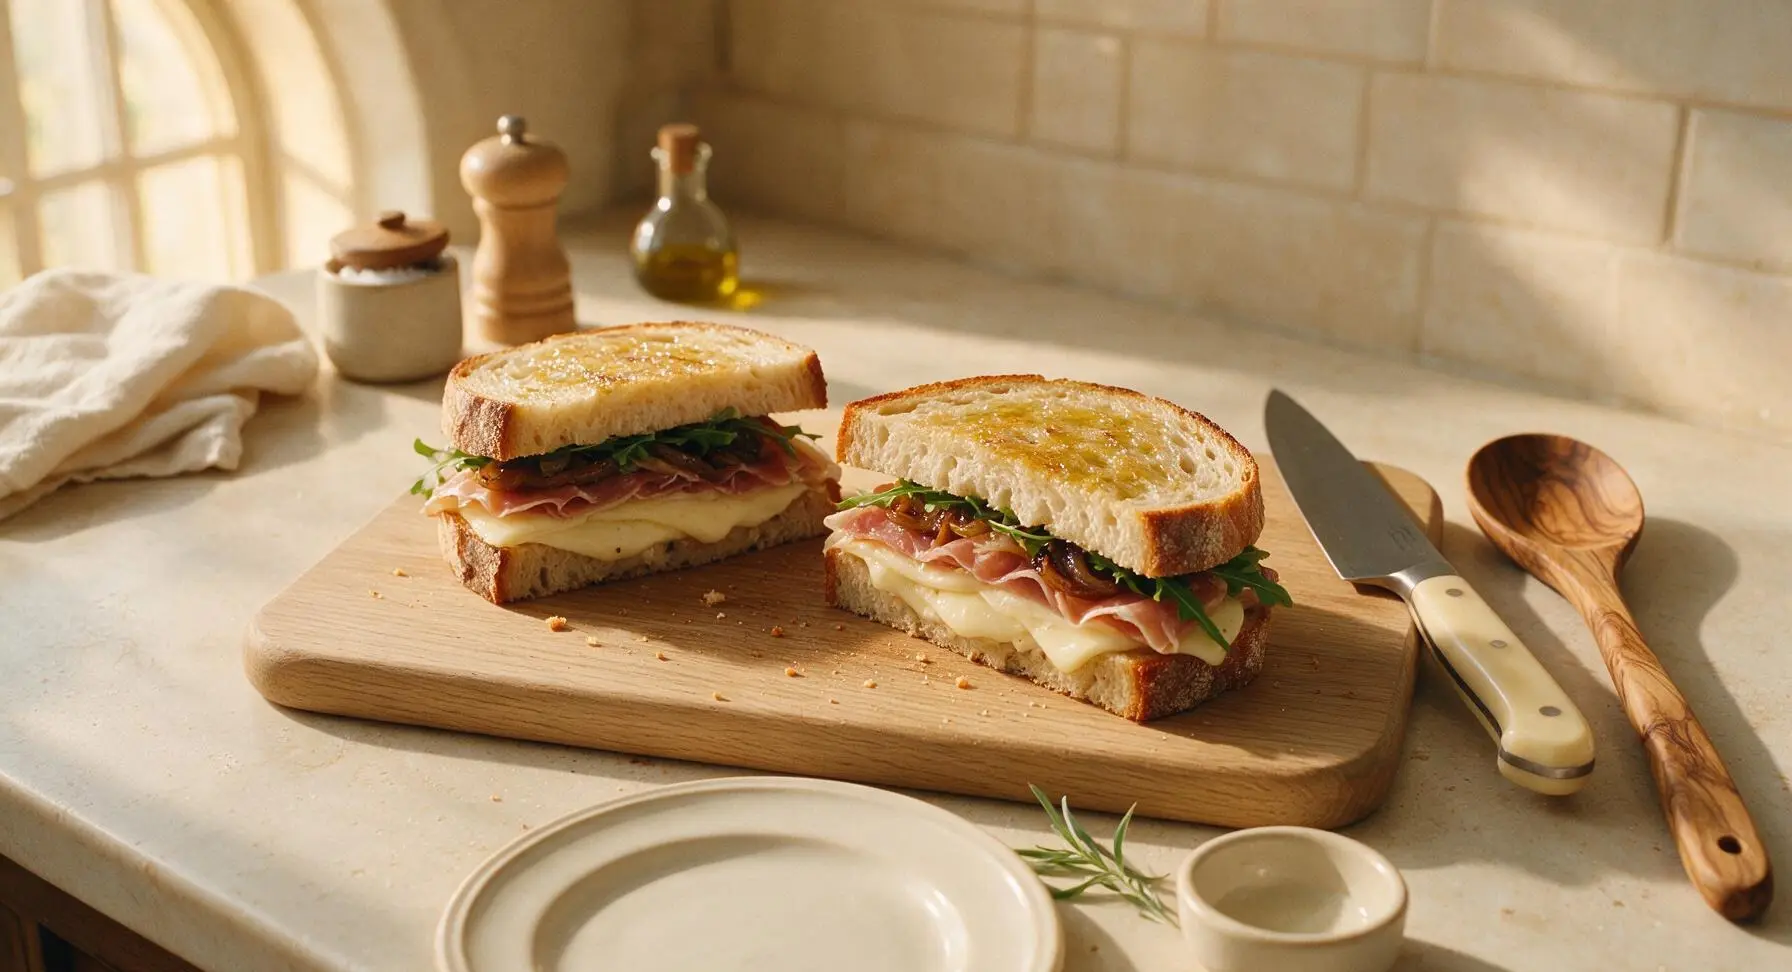
Lay the four thick sourdough slices on the honey beech cutting board. Drizzle 1/4 teaspoon of olive oil onto the outer side of each slice (1 teaspoon total for four slices), spreading it into a thin even layer with the back of the offset spatula. Flip the slices so the oiled side faces down against the board. Layer 30g of thinly sliced fontina, 15g of prosciutto, half the caramelized onion, and 15g of fresh arugula on two of the bread slices, then top with the remaining bread slices so the oiled side faces up. Add a light pinch of cracked black pepper between the cheese and prosciutto layers for depth.
Step 2
step2:Assemble Panini Layers
Step 2
step2:Assemble Panini Layers
3

Prep Press for Cooking

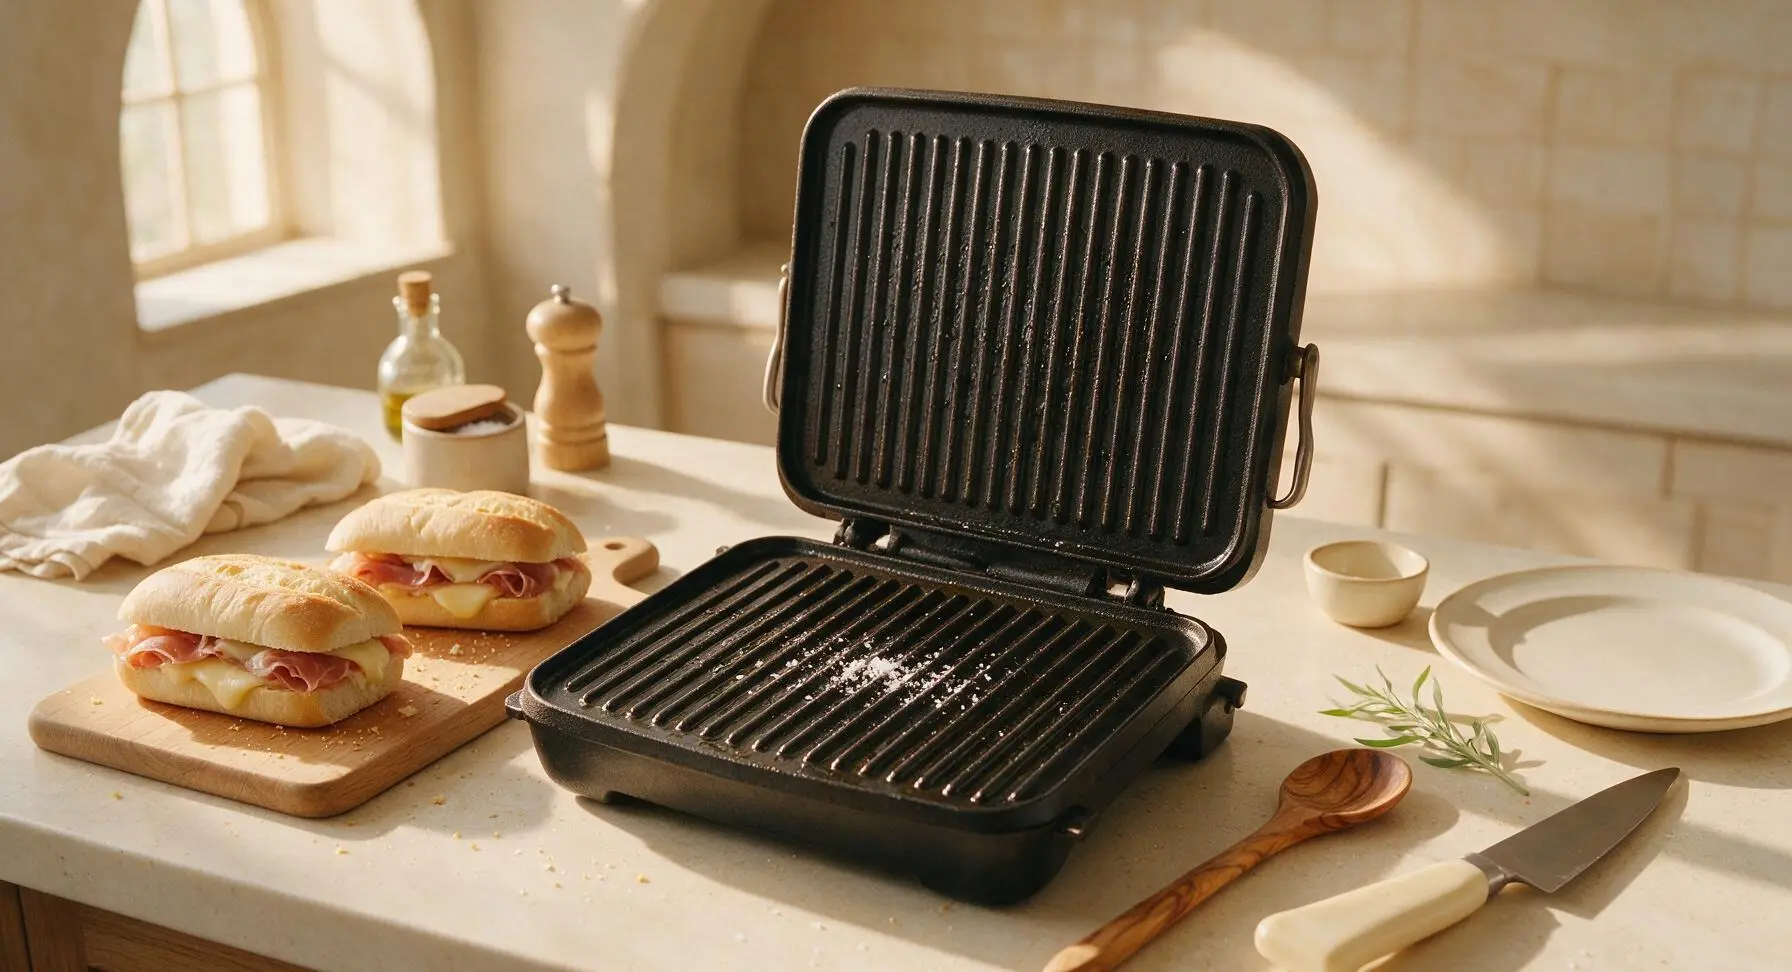
Drizzle the remaining 1 teaspoon of olive oil onto the ridged surfaces of the preheated cast iron panini press, spreading it lightly with the edge of the offset spatula to prevent sticking. Sprinkle a small pinch of flaky sea salt across the bottom press ridges. Verify the press holds a steady 375°F/190°C by holding your hand 2 inches above the surface — you should feel a strong, even wave of heat after 2 seconds.
Step 3
step3:Prep Press for Cooking
4

Press the First Panini

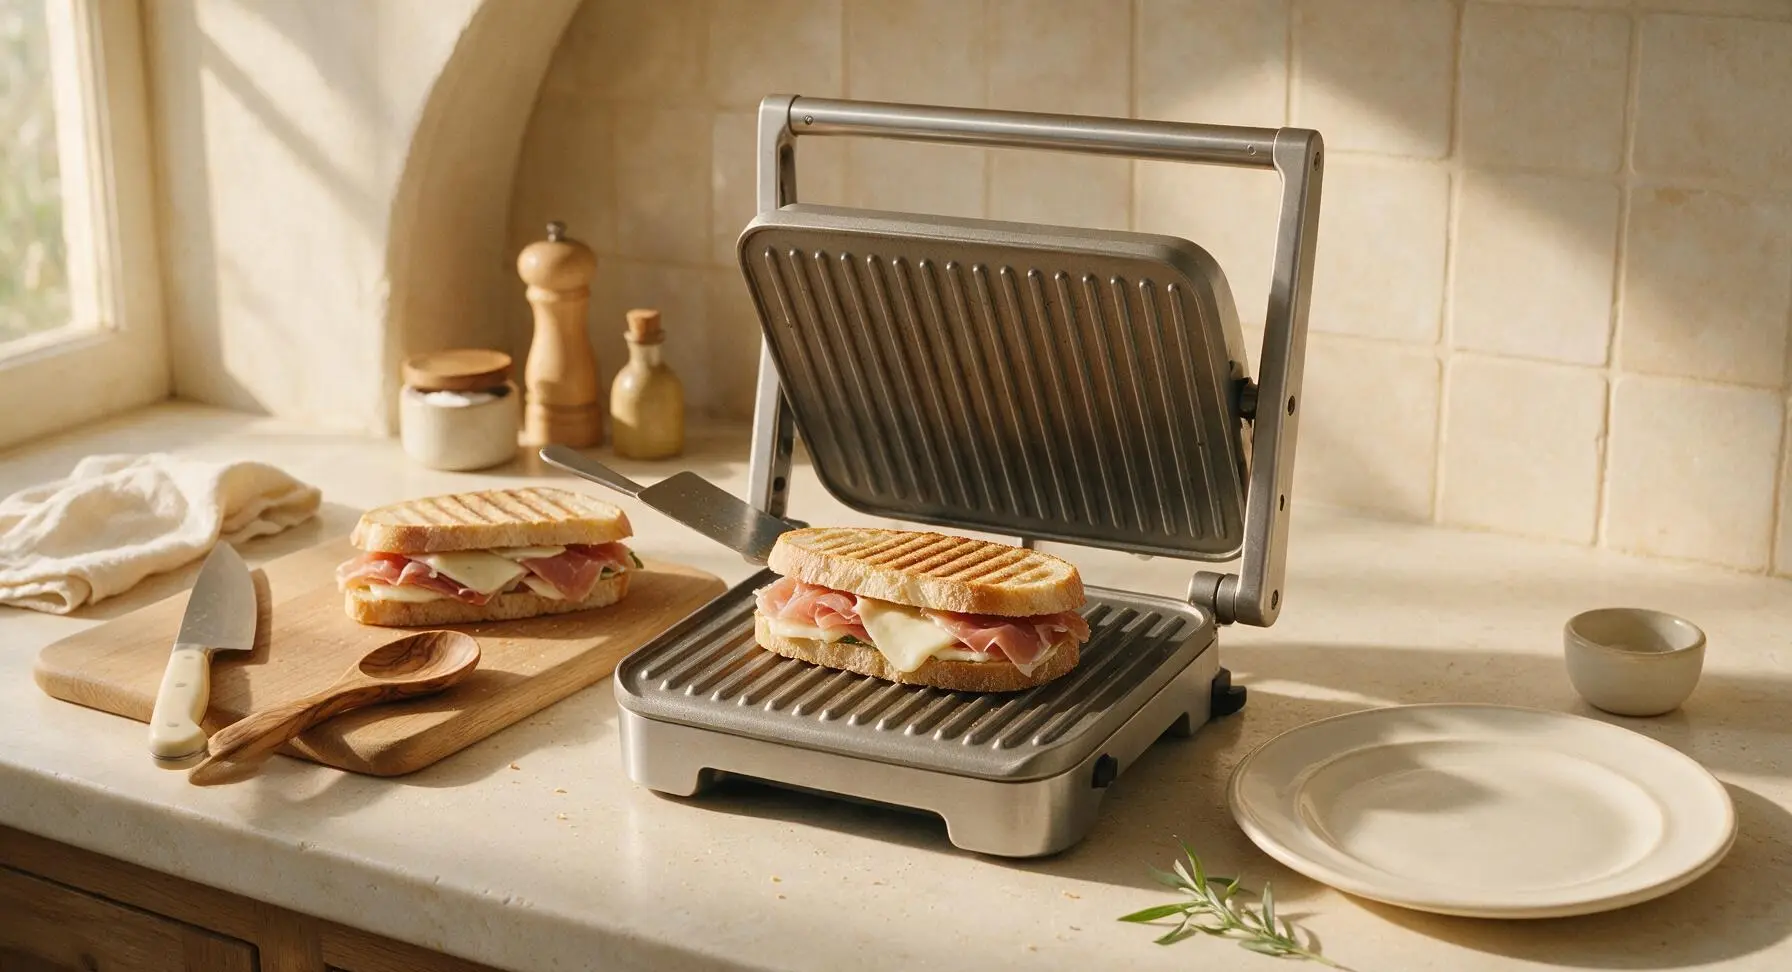
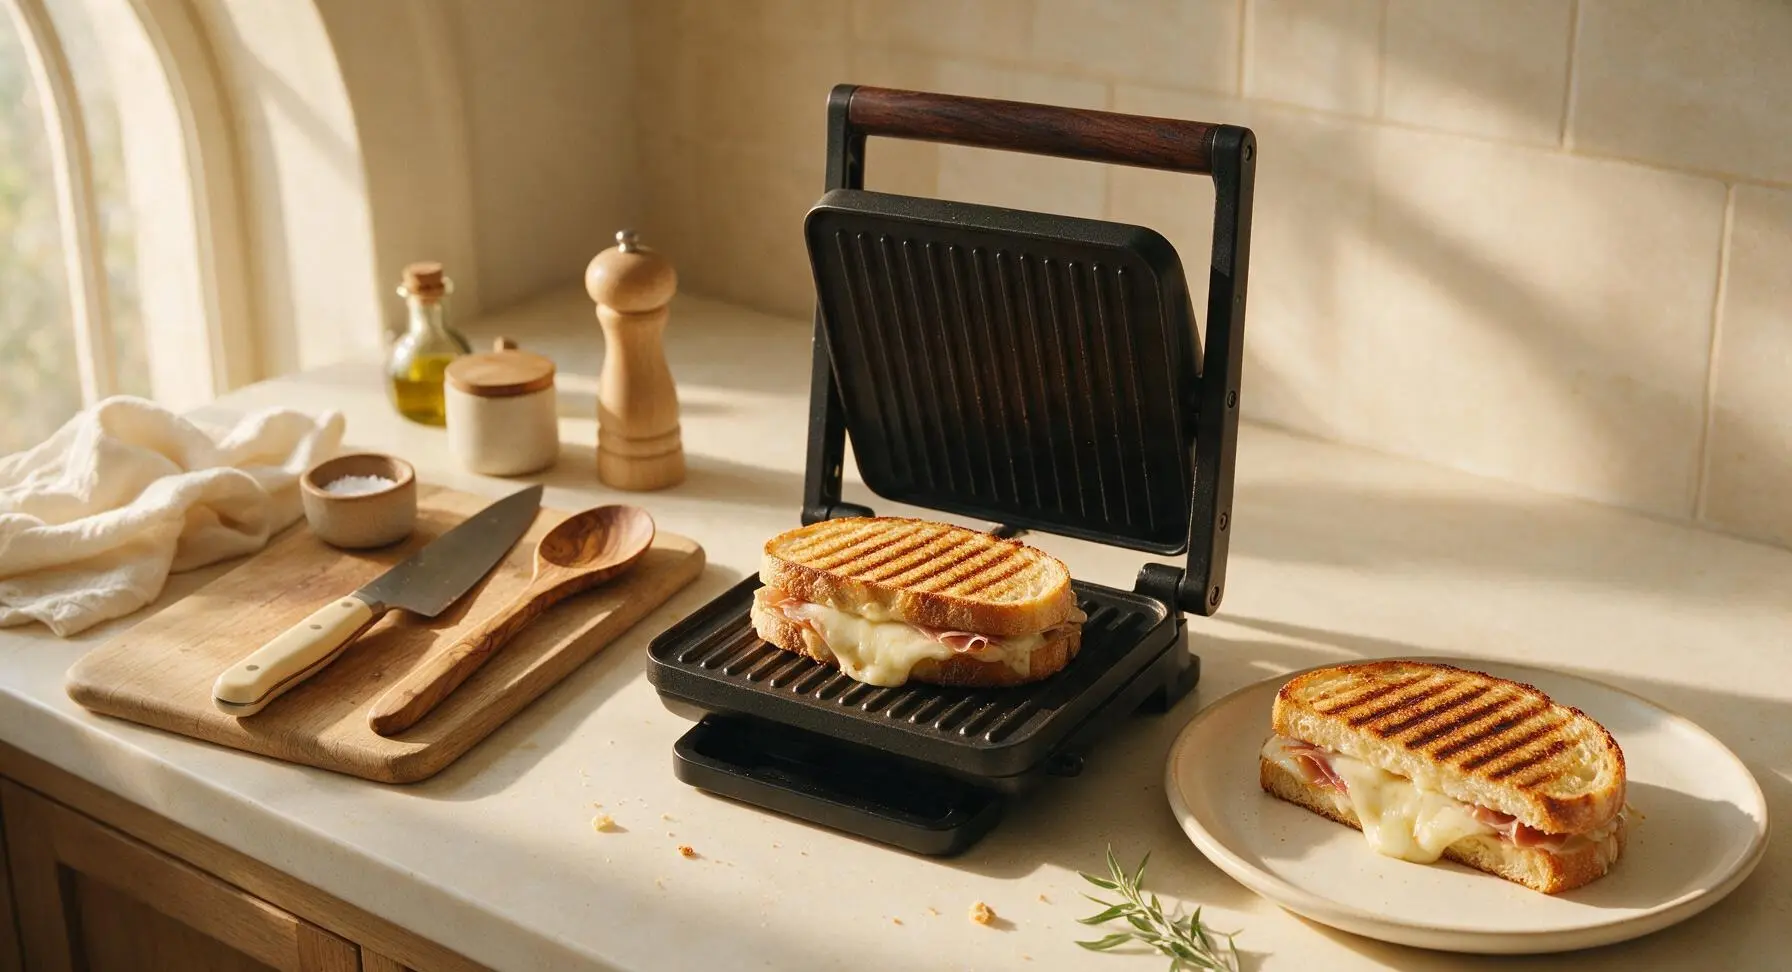
Carefully lift one assembled panini with the offset spatula and place it centered on the bottom ridged plate of the panini press. Close the top lid firmly, applying gentle, even downward pressure to create distinct, deep grill marks across the bread surface. Cook for 3-4 minutes, resisting the urge to lift the lid early, which releases heat and slows cooking.
Step 4
step4:Press the First Panini
5

Cook Until Crispy Golden

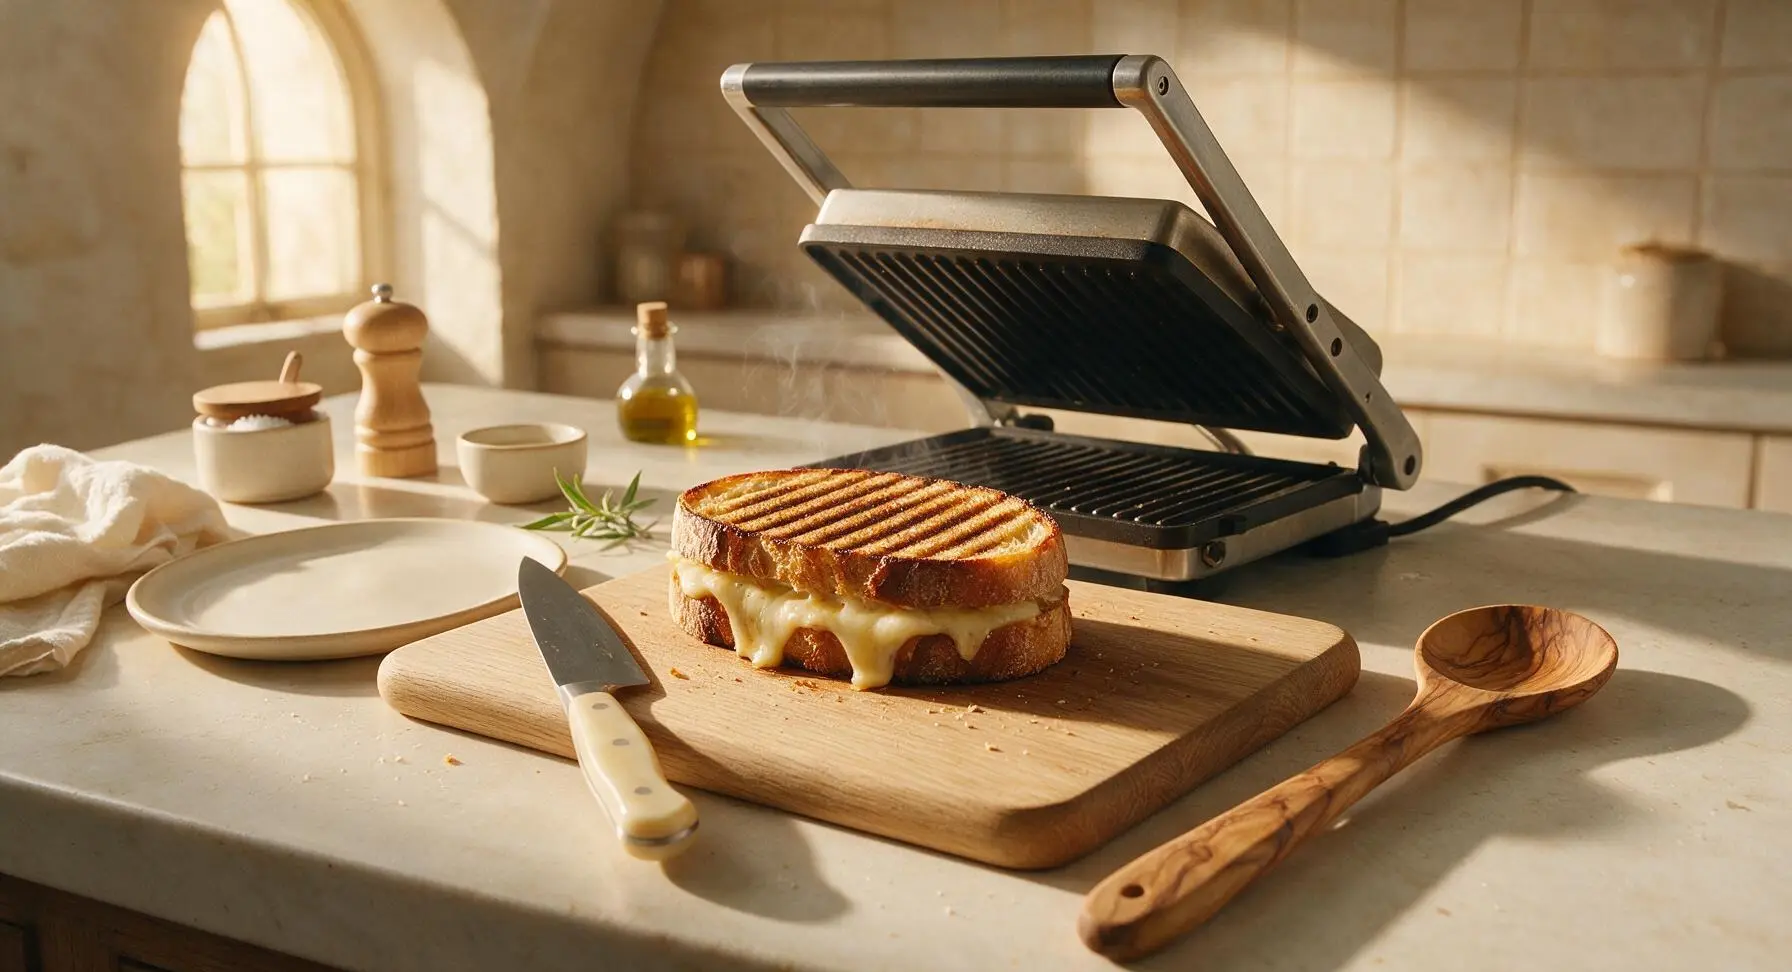
After 3-4 minutes, lift the press lid to check doneness. The bread should be crisp to the touch, with distinct dark brown grill ridges, and the fontina should be fully melted and bubbling slightly at the sandwich edges. If the cheese is not fully melted, close the lid and cook for 1 additional minute, taking care not to burn the bread to a dark charcoal color. Transfer the finished first panini to the matte cream ceramic plate temporarily, then repeat the cooking process with the second panini.
Step 5
step5:Cook Until Crispy Golden
Step 5
step5:Cook Until Crispy Golden
6

Rest and Slice Panini

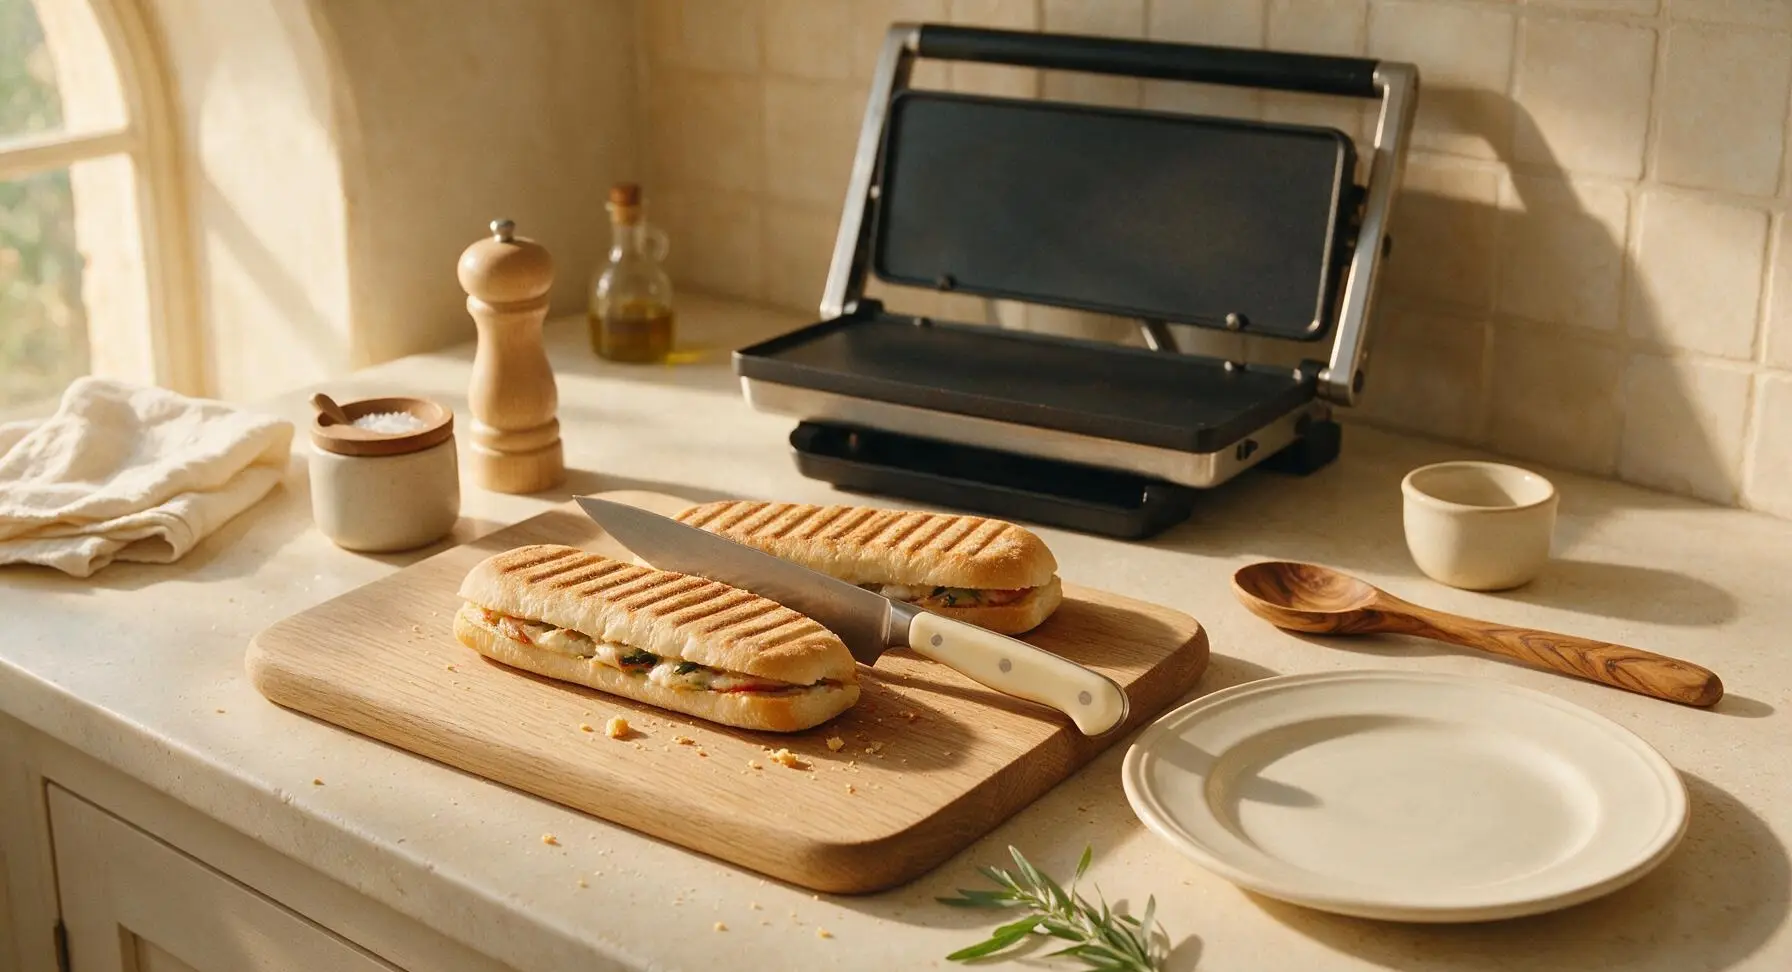
Once both panini are fully cooked, transfer them back to the beech cutting board and let rest for 1 full minute to allow the melted cheese to set slightly — this prevents excessive oozing when cutting. Use the 8-inch stainless steel chef’s knife to cut each panini diagonally into two equal triangular halves, applying gentle, even downward pressure to avoid squishing filling out the sides.
Step 6
step6:Rest and Slice Panini
7

Plate and Add Finishes

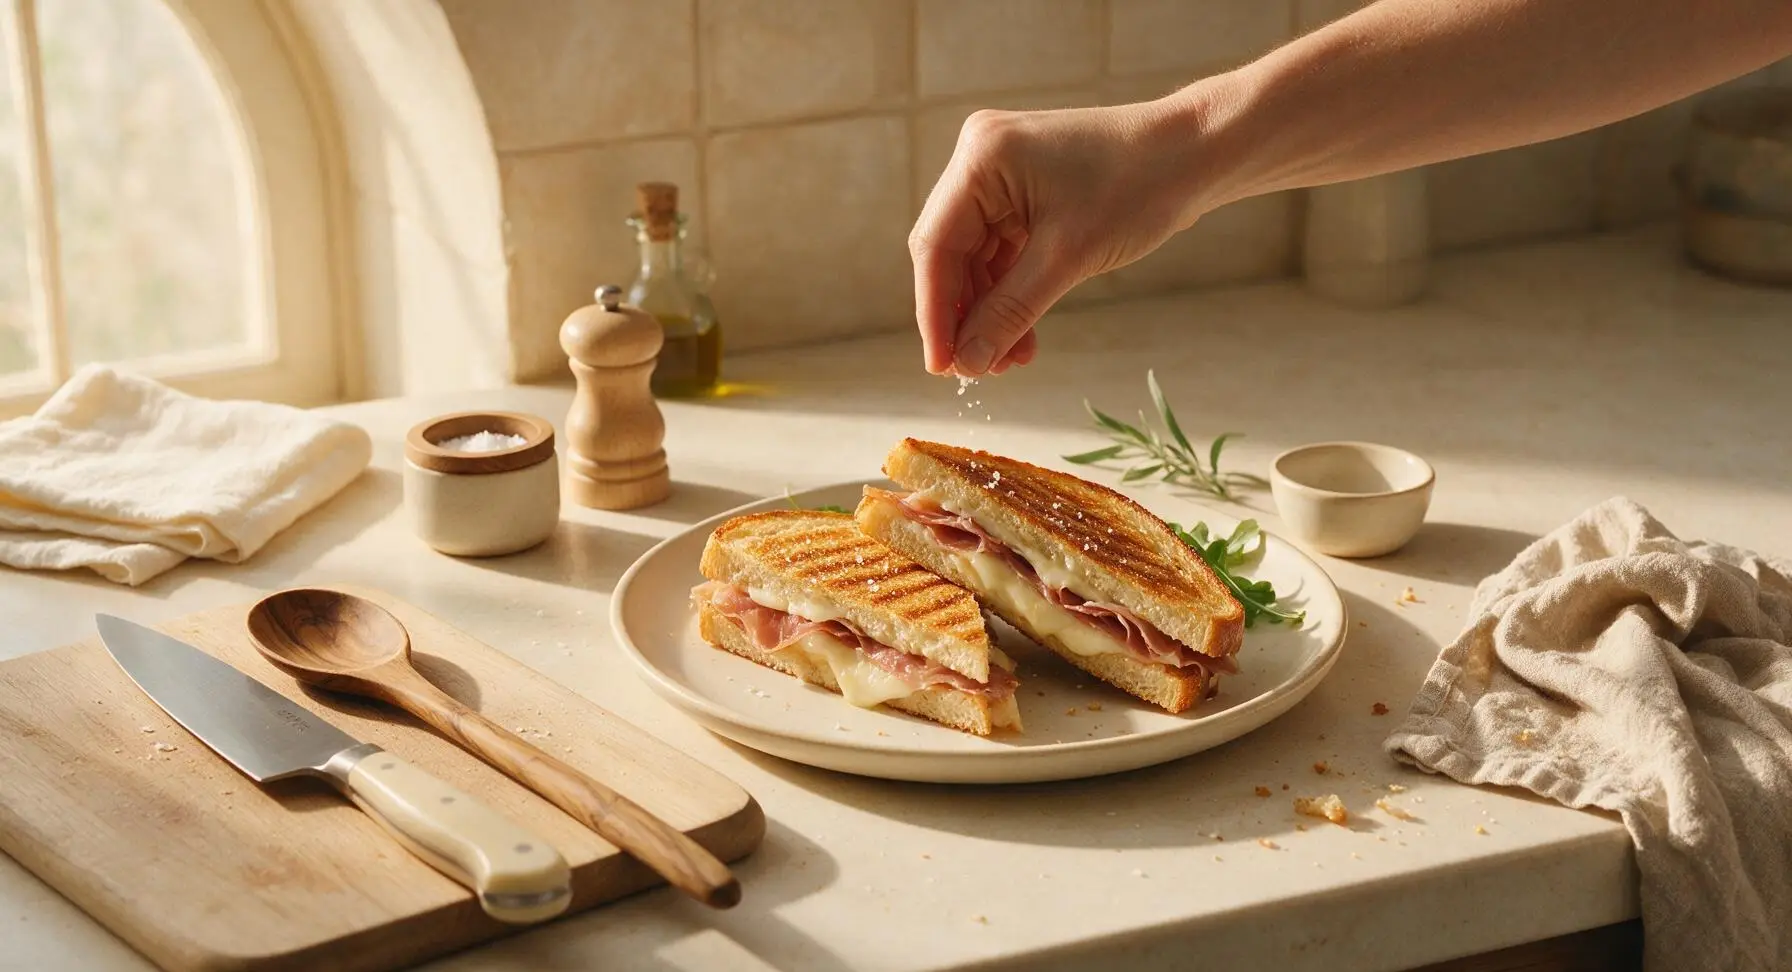
Arrange the cut panini halves on the matte cream ceramic dinner plate, overlapping slightly to show the layered cross-section of fillings. Sprinkle a tiny pinch of flaky sea salt over the crispy crust, and tuck a few extra fresh arugula leaves beside the sandwiches for a bright garnish. Add one light crack of fresh black pepper over the top if desired.
Step 7
step7:Plate and Add Finishes

Tips

1.Avoid overstuffing your panini: Too much filling will cause cheese to ooze out the sides before the bread crisps, and will make it impossible to apply even pressure for uniform grill marks. Stick to thin, even layers for the ideal melt-to-crust ratio.
2.Always let cooked panini rest for 1 full minute before slicing: Melted cheese is extremely runny immediately off the hot press, and this short rest allows it to thicken slightly so it stays anchored between the bread layers instead of running across your plate.
3.Choose low-moisture, meltable cheeses like fontina, young provolone, or low-moisture mozzarella: High-moisture cheeses like fresh mozzarella or burrata will release water as they melt, turning your crispy bread soggy before you finish cooking.


✨ You May Also Like

Lunch
🍜 United States

Creamy, salty, tangy nostalgic Midwestern sandwich pairing rich peanut butter with crisp briny dill pickles for a fast, satisfying no-cook meal.

⏱️ 5 minutesLunch ★ 4.6
Lunch
🍜 United States

Crispy, melty pressed sandwich layered with savory roast pork, ham, Swiss cheese, pickles, and tangy mustard: a beloved Cuban-American comfort classic.

⏱️ 25 minuteLunch ★ 4.9
Lunch
🍜 United States

Hearty, briny New Orleans pressed sandwich stacked with cured Italian meats, provolone, and zesty olive salad, served cold for bold, portable flavor.

⏱️ 1 hour 20Lunch ★ 4.7
Lunch
🍜 United States

A tangy, creamy Southern American staple, this no-cook cheesy sandwich is packed with sharp cheddar and sweet pimentos for a satisfying, portable bite.

⏱️ 1 hour 15Lunch ★ 4.8
Lunch
🍜 United States

Crispy Cajun-spiced fried shrimp piled on crusty French bread with tangy remoulade and fresh toppings, the iconic Louisiana street food sandwich.

⏱️ 35 minuteLunch ★ 4.4
Lunch
🍜 United States

Stacked, savory deli-style corned beef sandwich with melted Swiss, tangy mustard, and crisp griddled rye— a fast, hearty, satisfying classic.

⏱️ 15 minuteLunch ★ 4.9

panini food:Frequently Asked Questions

1.What if I don’t own a panini press to make this recipe? ▾
No fancy press needed! Use a heavy cast iron skillet or grill pan preheated to medium-low, set your assembled sandwich on the pan, then weigh it down with a second heavy skillet (add a couple canned goods on top for extra pressure). Flip halfway through, cooking 3-4 minutes per side until bread is crispy and cheese is fully melted.
2.Can I substitute Fontina cheese if I can’t find it at my local grocery store? ▾
Absolutely! Fontina is prized for its mild, nutty, ultra-meltable texture, so the closest swaps are young Gouda, a mix of low-moisture mozzarella and provolone, or Gruyère. Skip crumbly cheeses like feta or hard aged cheeses like Parmesan as your main cheese—they won’t create that gooey, stretchy layer that holds the panini together.
3.How do I keep my panini from getting soggy from the arugula and caramelized onions? ▾
A few quick, easy tricks: First, pat caramelized onions fully dry with a paper towel to remove excess moisture before adding them. Layer cheese directly against both slices of bread to create a moisture barrier between wet fillings and bread, and add arugula right before pressing so it doesn’t release excess water as it sits.
4.Can I caramelize the onions ahead of time to cut down on weeknight prep? ▾
Definitely! Caramelized onions keep beautifully for up to 5 days in an airtight container in the fridge, or up to 3 months in the freezer. Make a big batch on Sunday, let them cool completely before storing, and you’ll cut total panini prep time down to under 10 minutes for fast, stress-free weeknight meals.
5.Is there a pork-free substitute for prosciutto di Parma for guests who don’t eat pork? ▾
For a pork-free swap, use thinly sliced smoked turkey breast, crispy fried halloumi slices, or even thin slices of smoked salmon for a similar salty, rich kick. If you eat pork but don’t have prosciutto, thin slices of serrano ham or crispy cooked, well-drained pancetta work beautifully too.
6.Should I cook the prosciutto before adding it to the panini? ▾
You don’t have to! The thin prosciutto slices will warm through and crisp up slightly as the panini presses, which amplifies its salty, savory flavor. If you love extra-crispy prosciutto, you can pan-fry slices for 30 seconds per side first, just pat off excess grease before adding it to avoid sogginess.
7.What heat setting should I use to get crispy bread without burning it before the cheese melts? ▾
Stick to medium-low heat, whether you’re using a dedicated press or a stovetop skillet. Higher heat will char the outside of the sourdough before the Fontina has a chance to fully melt, or before fillings warm through. It takes 5-7 total minutes of pressing at that heat to get perfect golden ridges and gooey cheese.
8.Can I add extra spreads to this panini without ruining its flavor balance? ▾
Absolutely! Thin layers of fig jam, whole-grain Dijon mustard, or light garlic aioli pair beautifully with the salty prosciutto and nutty Fontina. Just go easy on spreads—too much will make the bread soggy, and you don’t want to overpower the delicate sweet caramelized onion and peppery arugula notes.
9.Why is thick-cut sourdough recommended instead of thinner sliced bread? ▾
Thin bread slices will squish flat under the weight of the press, leaving you with a dense, overly thin sandwich that can’t hold fillings without leaking. 1-inch thick sourdough has enough structure to hold deep, crispy grill ridges, contain all the melted cheese and fillings, and keep a nice chewy-crunchy texture in every bite.
10.Should I butter the outside of the bread before pressing the panini? ▾
Yes, a thin layer of softened unsalted butter (or extra-virgin olive oil for a fruitier note) brushed on the outer sides of the sourdough will give you that deep golden, ultra-crispy crust instead of a dry, pale exterior. Don’t overdo it—about 1/2 teaspoon per slice is enough, as too much butter makes the sandwich greasy instead of crisp.
11.Can I make these paninis ahead of time for a party or picnic? ▾
For the best crispy texture, assemble and press paninis right before serving. If you need to prep ahead, pre-make the caramelized onions, portion out prosciutto and cheese, and store all fillings separately, then assemble and press when guests arrive. Pre-pressed paninis get soggy quickly as they sit, even when reheated.
12.What’s the best way to reheat leftover panini if I have extra? ▾
Skip the microwave—it’ll turn the bread rubbery and make the crust soggy. Reheat leftovers in a 350°F oven for 8-10 minutes, or in a dry skillet over medium-low heat for 2-3 minutes per side, pressing gently with a spatula, until the cheese is melty again and the crust crisps back up.
13.Will baby arugula get too wilted and mushy when the panini is pressed? ▾
It will wilt slightly, which is totally normal, but it won’t turn mushy if you add it in a thin, even layer. If you prefer brighter, peppery crunch, tuck fresh arugula into the panini immediately after taking it off the press—the residual heat will soften it just enough without making it slimy.
14.How much Fontina should I use per sandwich to get that perfect cheesy pull without making a mess? ▾
Aim for 2 to 2.5 ounces of thinly sliced or shredded Fontina per sandwich, split evenly between both slices of bread. That amount melts into a perfect gooey layer that holds the prosciutto and onions in place, without oozing out the sides and burning on your press or skillet as it cooks.
15.Can I adapt this panini to be vegan or dairy-free? ▾
You absolutely can! Swap the Fontina for a high-melting vegan mozzarella or provolone-style cheese, use thinly sliced vegan prosciutto (or marinated roasted portobello slices for that rich umami kick), and brush the bread with olive oil or vegan butter instead of dairy butter. Use the same cooking method for crispy results.
16.Do I need to remove the rind from the Fontina before adding it to the sandwich? ▾
Yes, always trim the thin, slightly rubbery rind off Fontina before slicing or shredding it for the panini. The rind doesn’t melt smoothly, and it will leave chewy, tough bits in your otherwise gooey, smooth cheese layer. It only takes a minute to trim off with a small paring knife before prepping the cheese.
17.What side dishes pair best with this panini for a full, satisfying meal? ▾
Light, bright sides work perfectly to cut through the rich, salty cheese and prosciutto. Try a simple side salad tossed with lemon vinaigrette, creamy tomato soup, crispy dill pickle spears, or marinated olives. For a heartier meal, serve it alongside crispy oven-baked sweet potato fries.
18.Why does my cheese never fully melt by the time the bread gets crispy? ▾
This almost always happens if your cheese is too cold, or if you’re using cheese cut too thick. Let sliced Fontina sit at room temperature for 10 minutes before assembling the sandwich, and cut it into thin, even slices so it melts fast. That way, it will be fully gooey right as the bread hits that perfect golden crisp.
19.Can I add extra vegetables to this panini without throwing off the flavor or texture? ▾
Absolutely! Thinly sliced roasted red peppers, sautéed mushrooms, fresh basil leaves, or seeded thin slices of ripe tomato all pair beautifully. Just make sure any cooked veggies are patted fully dry before adding, and don’t overstuff the sandwich or it will be hard to press evenly.
20.How thin should I slice the prosciutto for the best panini texture? ▾
Stick to paper-thin slices, the standard cut for prosciutto di Parma from the deli counter. Thick prosciutto slices will be chewy and tough after pressing, instead of softening into that delicate, salty layer that pairs so well with melted cheese. Aim for 3 to 4 thin slices per sandwich to get a little prosciutto in every bite.

Comments (3)

3 days ago

OMG this panini is an absolute game changer! I whipped it up for a quick weeknight dinner last night when I was too tired to make anything complicated, and my kids loved it so much they asked for seconds before they even finished their first sandwich. The crispy prosciutto has that perfect salty crunch paired with the gooey melted fontina? *Chef’s kiss* The 12 minute cook time is no joke either, this is going straight into my regular rotation for busy workday meal prep. I tossed in a handful of baby arugula on mine for a little peppery bite and it was perfect!

2 days ago

Totally agree about the arugula add! I did the same last weekend when I made these for a small neighborhood potluck and everyone was hounding me for the recipe. It’s so easy to scale up for a crowd too, no fancy steps required!

yesterday

So happy this was a hit with your family, Sarah! Love the arugula addition—that bright, peppery bite cuts through the richness of the melted cheese and salty prosciutto perfectly. And great callout from you too, Jake, these panini are ideal for potlucks because they hold up so well and cook up fast even for a group!

2 hours ago

Super easy recipe overall, but I ran into a little hiccup when I made mine earlier! My prosciutto came out kind of chewy instead of nice and crispy, even though I cooked the panini for the full time on my countertop press on medium heat. The flavor was still SO good—fontina is the perfect melty cheese for this, not too sharp, just creamy and delicious. Would love any tips to get that perfect crunch next time!

30 minutes ago

Hi Jess! Great question—if your prosciutto is coming out chewy, try crisping the slices in a dry skillet for 1-2 minutes per side before assembling your panini! That way it gets perfectly shatteringly crisp before the cheese melts, instead of steaming inside the sandwich as it presses. So glad you loved the flavor combo even with the texture hiccup, that trick will make it perfect next time!

1 week ago

Made these for lunch today while working from home and wow, way better than the overpriced takeout panini I usually order from the spot down the street. I didn’t even have a panini press so I just used my cast iron skillet and pressed the sandwich down with a heavy spatula and a foil-wrapped brick, worked like a charm! Crispy buttery bread, perfectly melted cheese, salty crispy prosciutto—zero complaints. Will definitely be making this again on busy weekdays, it came together so fast even for a cooking newbie like me.



