
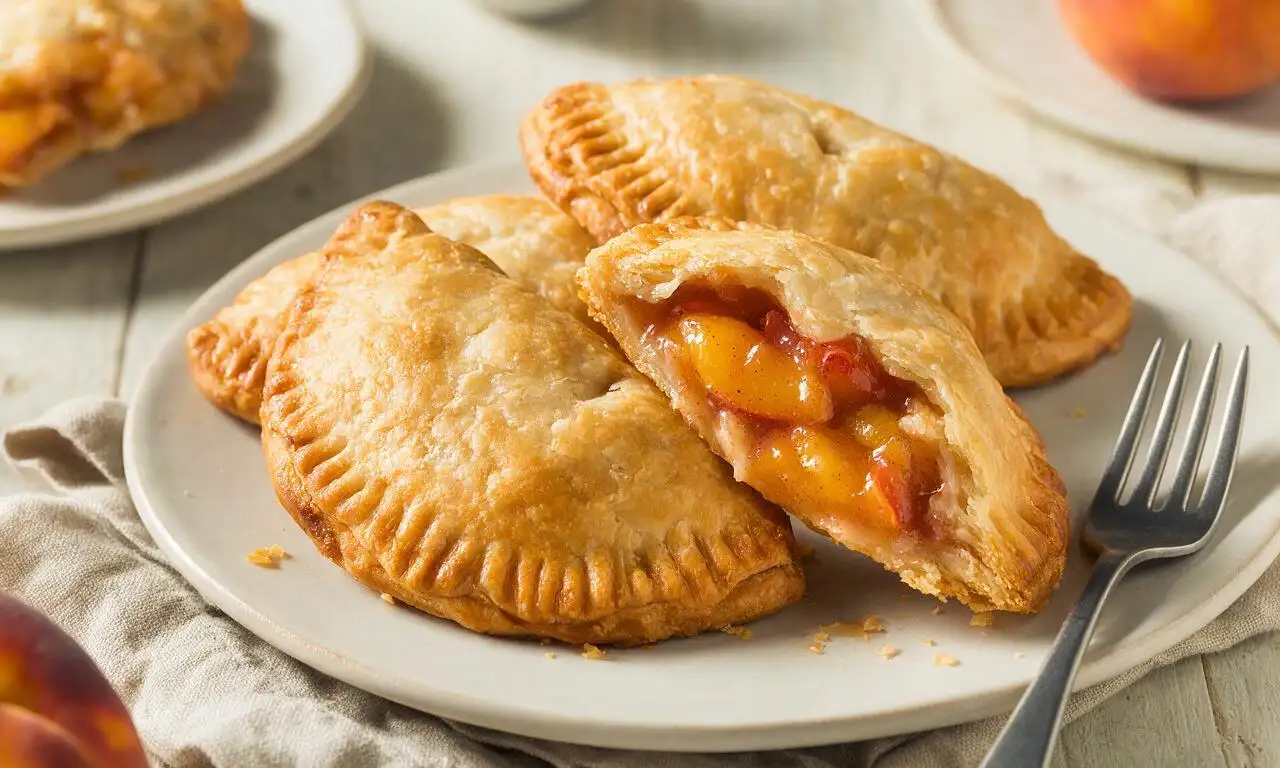
Peach Fried Pie

title 1
Peach Fried Pie
⏱️ cook time 45 minutes
🍽️ servings 6
⚡ Difficulty easy

intro

Crispy, flaky handheld pies bursting with sweet spiced fresh peach filling, a nostalgic Southern summer treat perfect for casual outings.

Ingredients

Fresh ripe peaches 450 grams (about 3 medium, peeled, pitted, 1cm diced)
Refrigerated double-crust pie dough 490 grams (2 standard store-bought rolls)
Granulated sugar 65 grams (1/3 cup, plus extra for optional dusting)
Unsalted butter 14 grams (1 tablespoon)
Ground cinnamon 1 teaspoon (2.6 grams)
Cornstarch 1 tablespoon (8 grams)
Lemon juice 1 tablespoon (15 ml)
Vanilla extract 1 teaspoon (5 ml)
Fine table salt 1/4 teaspoon (1.5 grams, divided)
All-purpose flour 2 tablespoons (16 grams, for dusting)
Neutral vegetable oil (canola/peanut) 750 ml (about 3 cups, for frying)

Steps

1

Cook the peach filling

Melt 14g (1 tbsp) unsalted butter in a small saucepan over medium-low heat. Add 450g diced peeled peaches, 65g granulated sugar, 1 tsp ground cinnamon, 1 tbsp (15ml) lemon juice, 1 tsp (5ml) vanilla extract, 1/8 tsp fine salt, and 1 tbsp (8g) cornstarch. Stir to fully combine, then simmer for 8-10 minutes, stirring occasionally, until peaches soften and the cooking liquid thickens to a spreadable jam-like consistency. Remove from heat and set aside to cool for 15 minutes while you prep remaining components.
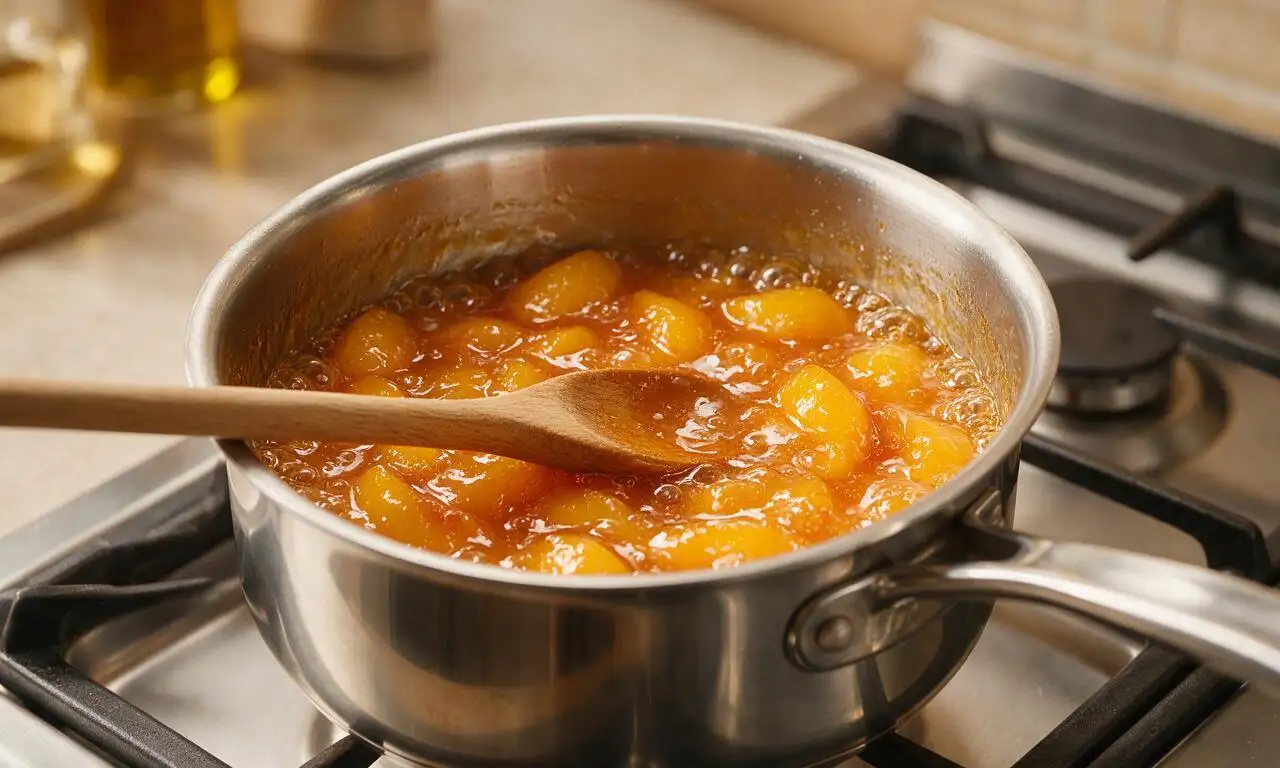
Step 1
step1:Cook the peach filling
2

Cut dough rounds

Lightly dust a clean work surface with 1 tbsp (8g) all-purpose flour. Unroll the 490g of refrigerated pie dough, rolling gently with a rolling pin to an even 3mm thickness if the dough is thicker than that. Use a 12cm (5-inch) round cookie cutter to cut equal circles from the dough, gathering and re-rolling scraps a single time to yield 6 total rounds. Place cut rounds on a parchment-lined baking sheet to prevent sticking.
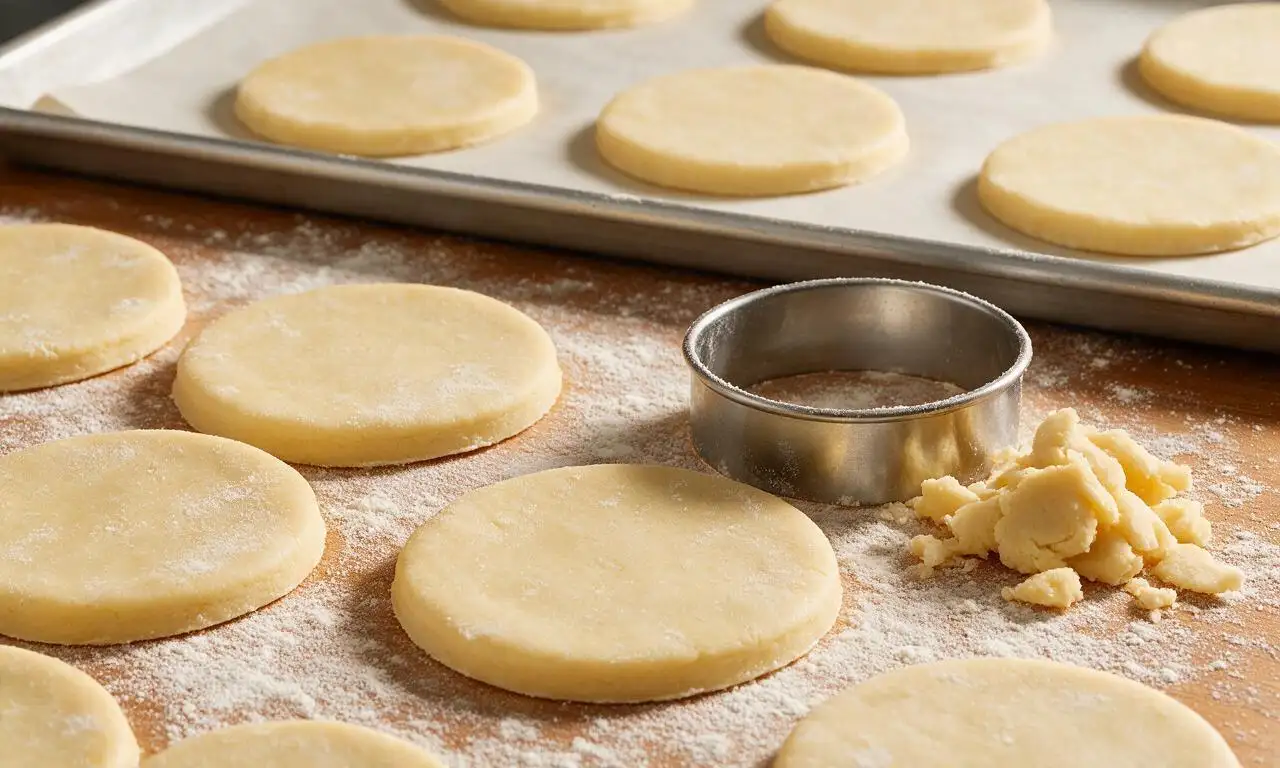
Step 2
step2:Cut dough rounds
3

Fill and seal pies

Scoop 2 heaped tablespoons (about 40g) of fully cooled peach filling onto the exact center of each dough round. Lightly dab the outer 1cm edge of each round with a small amount of water, then fold the dough over the filling to form a tight half-moon shape. Press the edges firmly together with the tines of a dinner fork to crimp a tight seal, checking for any gaps that could let filling leak during frying.
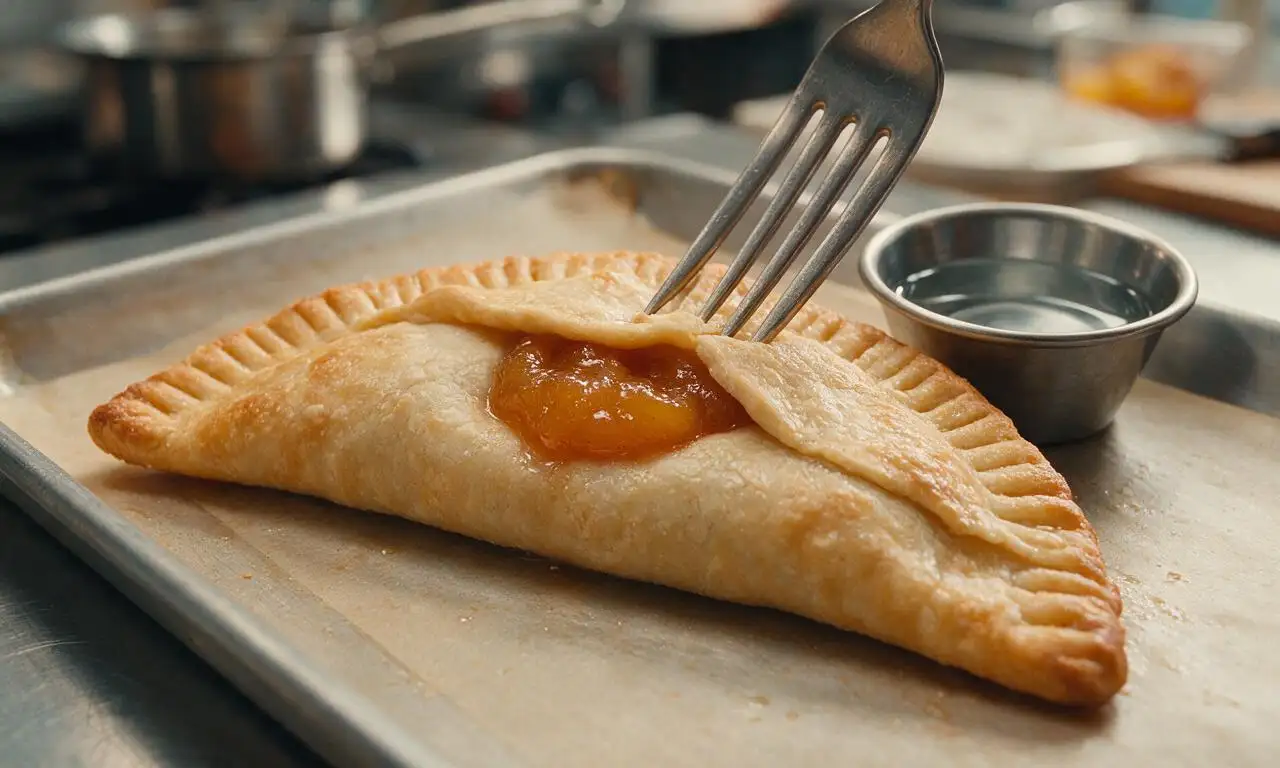
Step 3
step3:Fill and seal pies
4

Heat frying oil

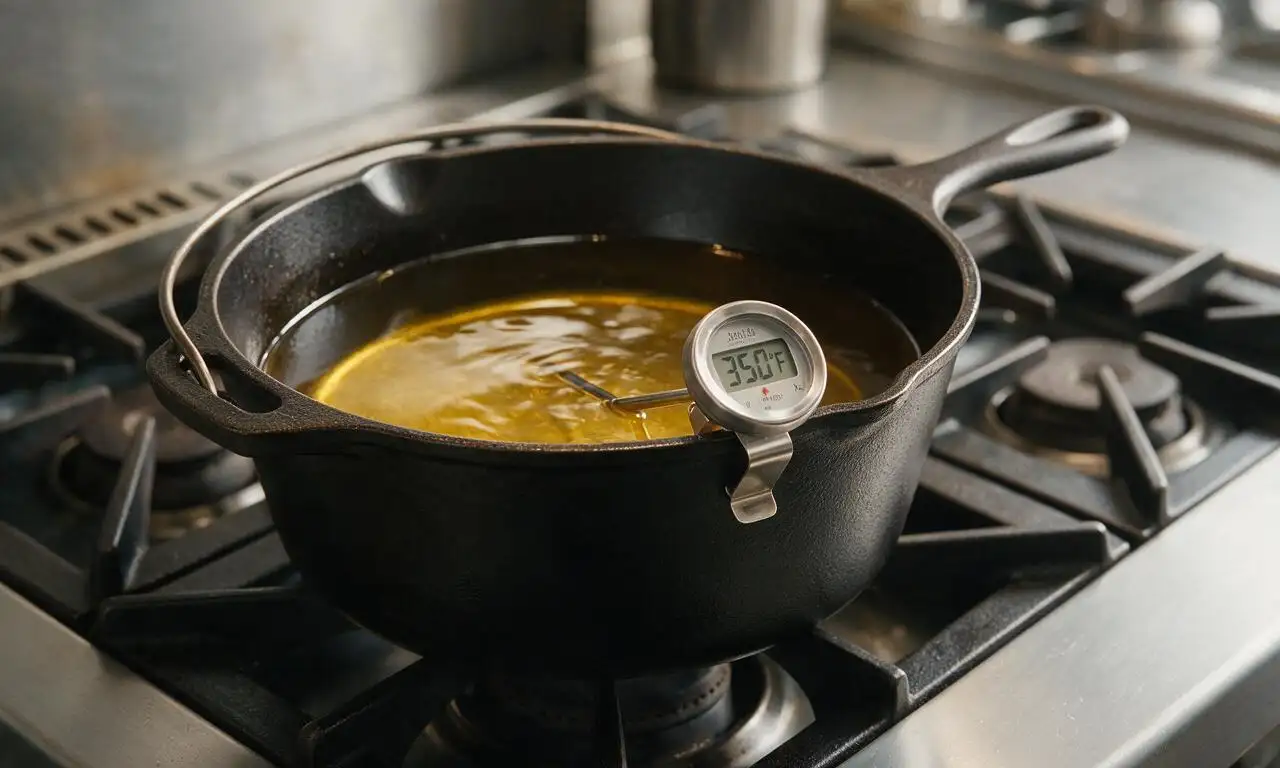
Pour 750ml neutral vegetable oil into a deep heavy-bottomed Dutch oven, clipping a candy thermometer to the inner side of the pot. Heat the oil over medium heat until it reaches a steady 175°C (350°F), adjusting the stovetop dial as needed to hold this consistent temperature through the entire frying process.
Step 4
step4:Heat frying oil
5

Fry pies to crisp

Carefully lower 2-3 pies at a time into the hot oil, taking care not to splash hot oil or overcrowd the pot (which drops oil temperature). Fry for 2-3 minutes per side, using a slotted metal spoon to flip each pie once, until both sides are a deep, even golden brown and the crust is crispy. Transfer finished pies to a wire rack lined with paper towels, immediately sprinkling tops with the remaining 1/8 tsp fine salt.

Step 5
step5:Fry pies to crisp
6

Rest and serve

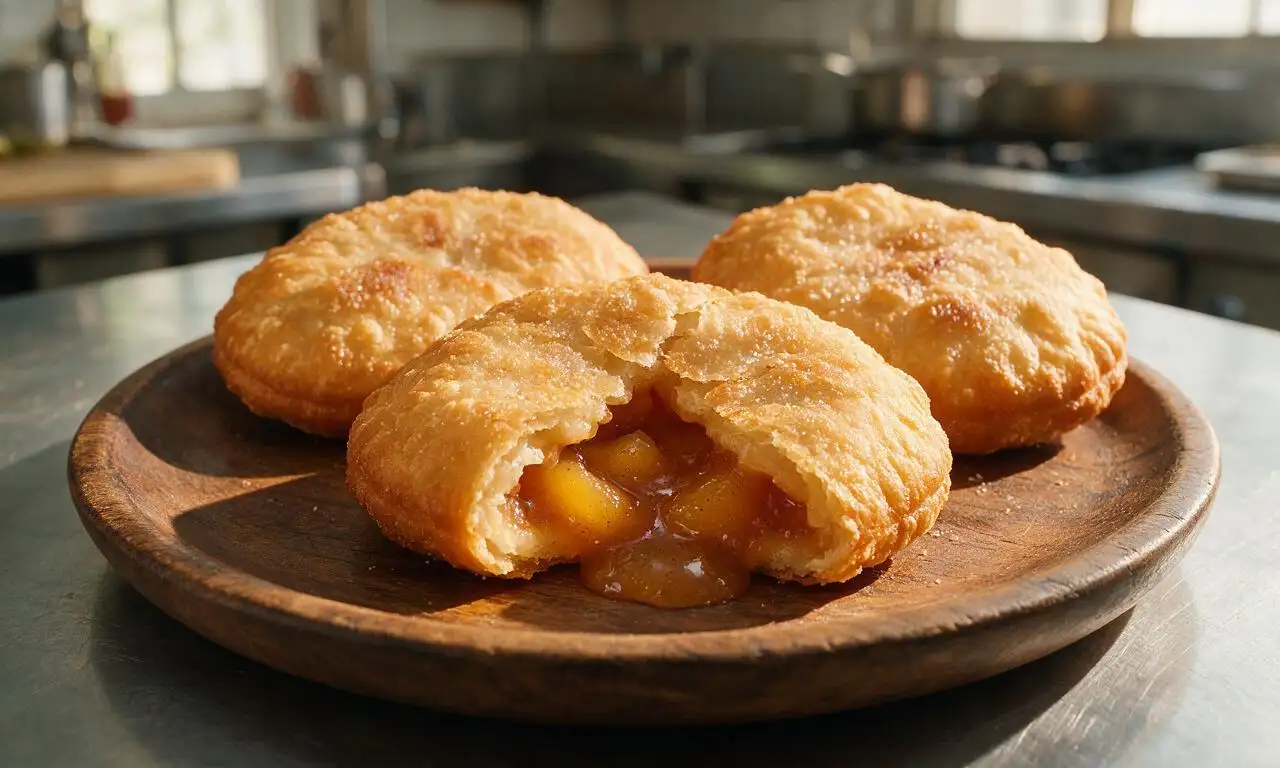
Let the fried pies rest for 5 minutes to allow the scalding hot fruit filling to set and cool to a safe eating temperature. Serve warm, either plain or with an optional side of vanilla ice cream for an extra indulgent treat.
Step 6
step6:Rest and serve

Tips

1.Avoid overfilling pie rounds: too much filling will leak out during frying, cause hot oil splatters, and leave you with dry, under-filled pies.
2.Monitor oil temperature closely: oil below 165°C (330°F) will make pies soggy and greasy, while oil above 190°C (375°F) will burn the crust before the filling heats through.
3.For a sweet, spiced finish, toss warm freshly fried pies in a mixture of 2 tbsp granulated sugar and 1/2 tsp ground cinnamon instead of sprinkling with plain salt.


✨ You May Also Like

Desserts & Baking
🍜 Italy

Creamy, coffee-kissed classic Northern Italian no-bake dessert, with layers of rum-spiked mascarpone cream, soft ladyfingers, and a rich cocoa dusting.

⏱️ 4 hours 3Desserts & Baking ★ 4.7
Desserts & Baking
🍜 France

Flaky, shatteringly crisp, buttery French croissants with golden exteriors and soft, airy layered interiors, perfect for pairing with coffee for a special morning treat.

⏱️ 12 hours Desserts & Baking ★ 4.5
Desserts & Baking
🍜 United States

Warm, spiced baked apples topped with a fluffy golden biscuit crust, this cozy dessert pairs perfectly with vanilla ice cream for cool-weather comfort.

⏱️ 55 minuteDesserts & Baking ★ 4.6
Desserts & Baking
🍜 United States

A star-spangled classic American blueberry pie with buttery flaky crust and bright sweet-tart filling, perfect for summer patriotic gatherings.

⏱️ 1 hour 25Desserts & Baking ★ 4.7
Desserts & Baking
🍜 United States

A beloved no-bake regional Maine candy with a chewy coconut-potato center coated in rich dark chocolate, a New England holiday staple since the 1870s.

⏱️ 2 hours 3Desserts & Baking ★ 4.8
Desserts & Baking
🍜 France

Luxuriously creamy, floral frozen custard made with aromatic Tahitian vanilla beans, boasting a smooth, rich texture that melts slowly on the tongue.

⏱️ 3 hours 3Desserts & Baking ★ 4.5

Peach Fried Pie:Frequently Asked Questions

1.Can I use canned or frozen peaches if fresh ripe peaches aren’t available? ▾
Absolutely, just take steps to cut down on excess moisture that makes crust soggy! If using canned peaches, drain them thoroughly and pat dry with paper towels before cooking the filling; for frozen, thaw fully and drain off all released juice. Simmer the filling a minute or two longer to thicken it properly before assembling pies.
2.Do I have to use store-bought refrigerated pie crust, or can I use homemade crust? ▾
Homemade crust works beautifully if you prefer to make it from scratch instead of using the refrigerated store-bought version! Stick to a sturdy, thin-rolling all-butter crust, as extra-tender, delicate crusts are prone to splitting open during frying. Keep your crust well-chilled right up until you fill and crimp the pies to prevent shrinking or filling leaks.
3.What oil temperature gives the crispiest crust without burning the pies? ▾
Hold a steady 350°F (175°C), measured with a clip-on candy or deep-fry thermometer, for ideal results. Oil that’s too cool makes crust soak up grease and turn soggy; oil that’s too hot burns the outside before the spiced peach filling warms through. Fry only 2 to 3 pies at a time to avoid sharp drops in oil temperature.
4.How do I seal the pies so peach filling doesn’t leak out while frying? ▾
Overfilling is the number one cause of messy leaks, so leave a clean ½-inch border around the edge of each dough circle when adding filling. Brush that border lightly with cold water, press the top crust firmly to adhere, then crimp tightly all the way around with the tines of a fork. Poke two tiny vent holes in the top of each pie to release built-up steam.
5.Can I bake these pies instead of frying them for a lighter take? ▾
You absolutely can! Brush each assembled, crimped pie all over with melted unsalted butter, sprinkle with a mix of granulated sugar and ground cinnamon, and bake on a parchment-lined sheet at 400°F (200°C) for 18 to 22 minutes, until deep golden brown. They won’t have that signature fried crunch, but they’ll still have that classic spiced peach flavor.
6.How should I store leftover pies, and how do I reheat them for the best texture? ▾
Let leftover pies cool fully to room temperature first, then store them in an airtight container lined with paper towels (to catch excess moisture) in the fridge for up to 3 days. Skip the microwave, which makes crust soggy—rewarm pies for 5 to 7 minutes in a 350°F oven or air fryer to bring back that crispy, flaky crust.

Comments (11)

2 days ago

OMG these peach fried pies taste exactly like the ones my grandma used to make at our summer cookouts! I used fresh Georgia peaches from the farmers market and they turned out perfect, even with my terrible frying skills. My kids devoured two each before I even got the rest of the batch on the plate. SO good!

yesterday

Wait did you peel your peaches first? I’ve seen recipes that say leave the skin on and I can never decide which is better!

yesterday

Great question! We recommend peeling peaches for that classic smooth filling texture, but if you love a little extra texture and don’t mind the skin, it works totally fine too! Just make sure to dice the peaches extra small if you leave the skin on.

3 days ago

Made these for our neighborhood block party potluck last weekend and they were gone in 10 minutes flat. People kept asking where I bought them! Game changer for summer BBQ spreads, way easier than I thought it’d be for how fancy they taste. I added a tiny pinch of cinnamon to the filling and it hit so hard.

2 days ago

Ugh I need to make these for our church potluck next Sunday! How many pies does this recipe make, do you remember?

2 days ago

Hi there! This recipe makes 8 handheld-sized fried pies, perfect for sharing at a potluck. If you’ve got a big crowd, you can easily double the batch without adjusting cook time per pie!

30 minutes ago

Okay I’m literally the worst at baking and frying things, I usually burn everything, but these were so easy! I followed the directions exactly, used canned peaches because fresh ones were out of season here, and they still came out amazing. My roommate said they’re better than the ones we got at that little pie shop downtown last month.

5 minutes ago

Wait canned peaches work? I was gonna skip this recipe because I don’t have fresh peaches in my dorm, that’s a game changer!

just now

Canned peaches work perfectly for this recipe! Just make sure to drain them really well before dicing and mixing with the sugar and cornstarch so your filling doesn’t get runny. Happy cooking!

1 week ago

Took these to my family’s Sunday dinner and my dad said they’re better than my great aunt’s famous fried pies, which is the highest compliment you can get in our family 😂 Only tiny note: I cooked them a smidge too long my first batch, so keep an eye on them once they hit the oil, they brown fast!

5 days ago

Thanks for the tip about watching the fry time! I’ve got a bad habit of walking away from the stove when I’m cooking, almost burned a batch of hushpuppies last week. Would these work with apple filling too?

5 days ago

They brown super quick in 350°F oil, usually only 2-3 minutes per side, so no walking away! And yes, this crust works beautifully for apple, cherry, or even sweet potato fried pie fillings if you want to switch it up.

yesterday

Meal prepped these for my kids’ after school snacks this week and they’re obsessed! I baked half the batch instead of frying to cut down on oil and they still came out flaky and delicious, totally going into our regular rotation. 10/10, no notes.

2 hours ago

So glad the baked version worked out for you! For folks who prefer baking over frying, 15-18 minutes at 375°F with a quick egg wash on the crust gives that perfect golden flaky finish too, great call.

2 weeks ago

Wait I never thought I’d be making fried pies for dessert on taco night but my partner begged me to try this recipe and wow. The sweet, juicy peach filling pairs so well with the crispy, buttery crust, we ate them warm with a scoop of vanilla ice cream on top. Chef’s kiss.

1 week ago

Oh the vanilla ice cream addition is genius! I made mine plain last time, definitely adding that next go around.

5 minutes ago

Has anyone tried making these with a gluten free all purpose flour blend? I’m gluten intolerant and have been craving fried peach pies something fierce since I was a kid going to county fairs.

just now

Hi Gabi! We’ve tested this recipe with a 1:1 gluten free all purpose flour blend for the crust and it worked great! Just make sure your blend has xanthan gum in it to keep the crust from crumbling when you fold the pies.

2 hours ago

Made these on my cast iron skillet out on the patio this weekend while I was grilling burgers, and they were the star of the show. The crust is so flaky, not too sweet, which lets the peach flavor really shine. Way easier than making a whole peach pie, less mess too.

30 minutes ago

Cast iron is the move for frying these! I used my Dutch oven last time but cast iron skillet holds heat way more evenly for sure.

yesterday

Used the peaches off the tree in my backyard to make these yesterday, and they turned out just like the ones my mom used to make when I was a kid growing up in the country. I added a little nutmeg to the filling and a dusting of powdered sugar on top, just like she did. Brought a plate to my next door neighbor and she asked for the recipe before she even finished her first bite.

5 days ago

Made these for my book club meeting last night and everyone was raving! I cut them into smaller, bite-sized pieces so they were easy to grab and eat while chatting, and they were the perfect handheld sweet treat. Will absolutely be making these for every potluck I go to this summer, no joke.

1 week ago

Packed a couple of these in my day pack for a hike last weekend and they held up perfectly! Not too messy, the filling didn’t leak out, and they were such a nice sweet reward at the top of the trail. Way better than packing granola bars for a change, I’ll be making these for all my upcoming camping trips too.



