
Peanut Butter Brownies
intro
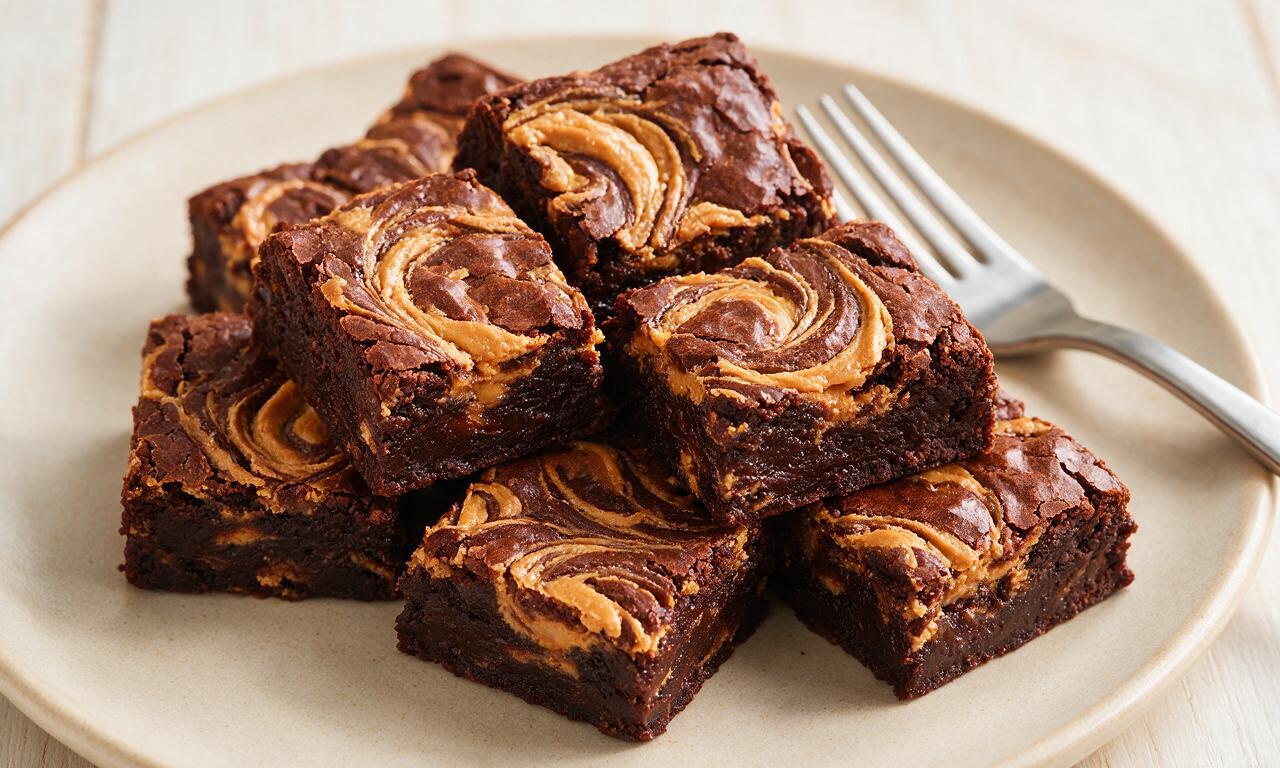
Rich, fudgy chocolate brownies swirled with creamy salted peanut butter, boasting a crackly top and gooey center—an irresistible, crowd-pleasing baked treat.
Ingredients
Steps
Prep oven and pan
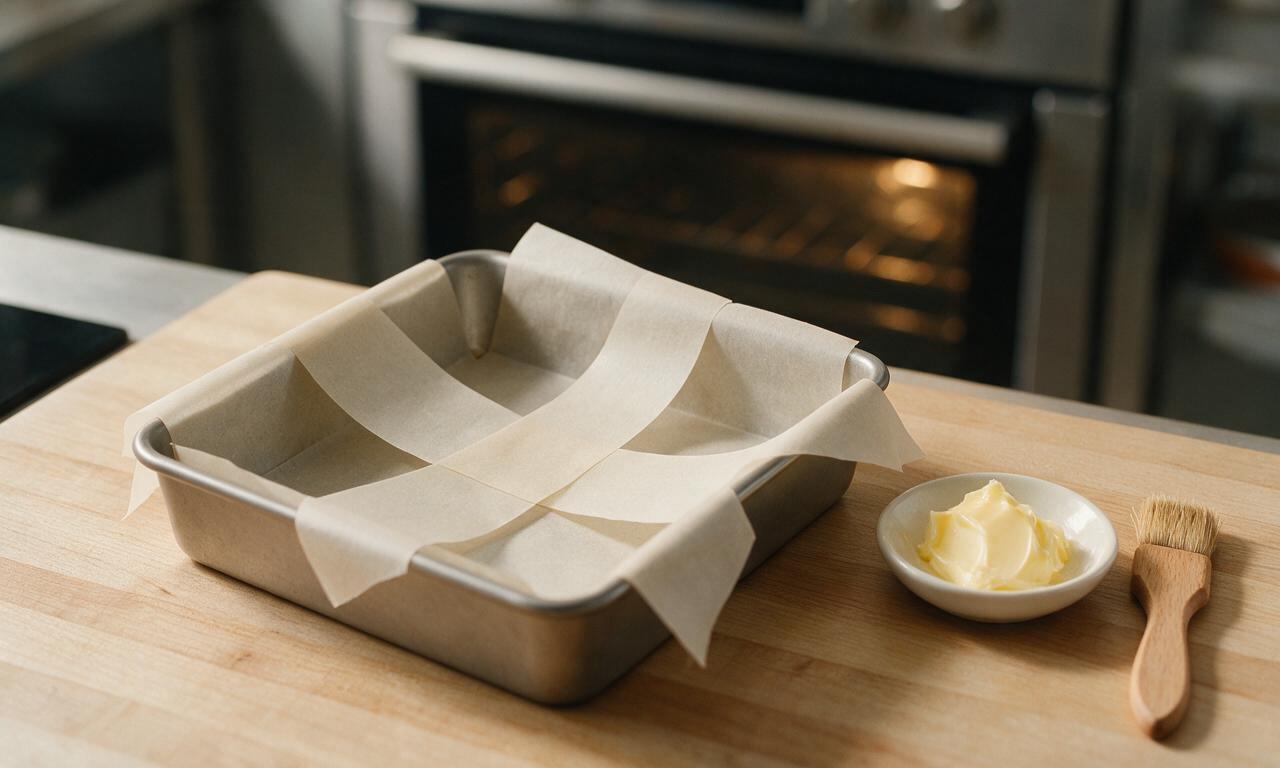
Preheat your oven to 175°C (350°F) with a rack positioned in the middle. Line a 20cm (8-inch) square metal baking pan with parchment paper, leaving a 5cm (2-inch) overhang on two opposite sides to easily lift finished brownies out later; lightly grease the exposed pan edges with 1 teaspoon of softened butter to prevent sticking.
Melt chocolate base
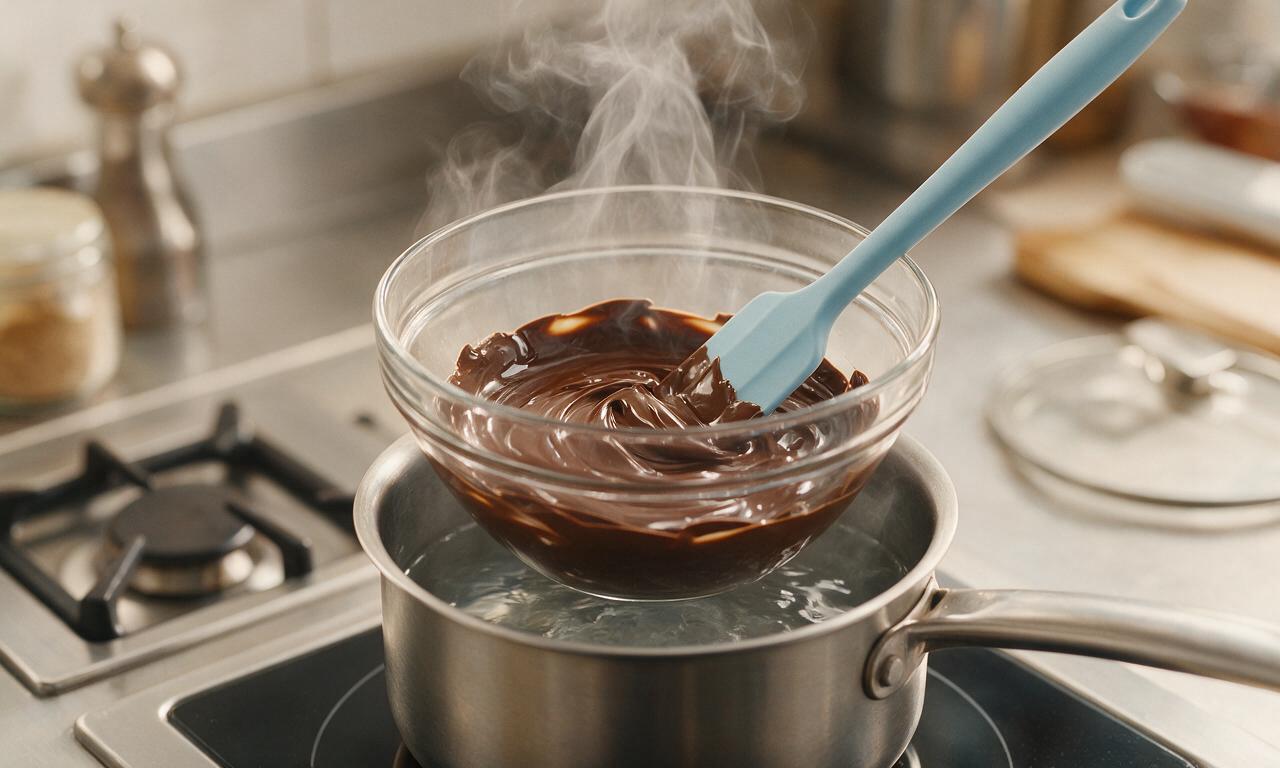
Place chopped 70% dark chocolate and the remaining 113 grams (1/2 cup) of unsalted butter in a heatproof glass bowl set over a small saucepan of gently simmering water (double boiler method, ensure the bowl does not touch the water surface). Stir continuously with a silicone spatula over medium-low heat for 3-4 minutes until fully melted and smooth, then remove the bowl from heat and let cool for 5 minutes.
Combine brownie batter
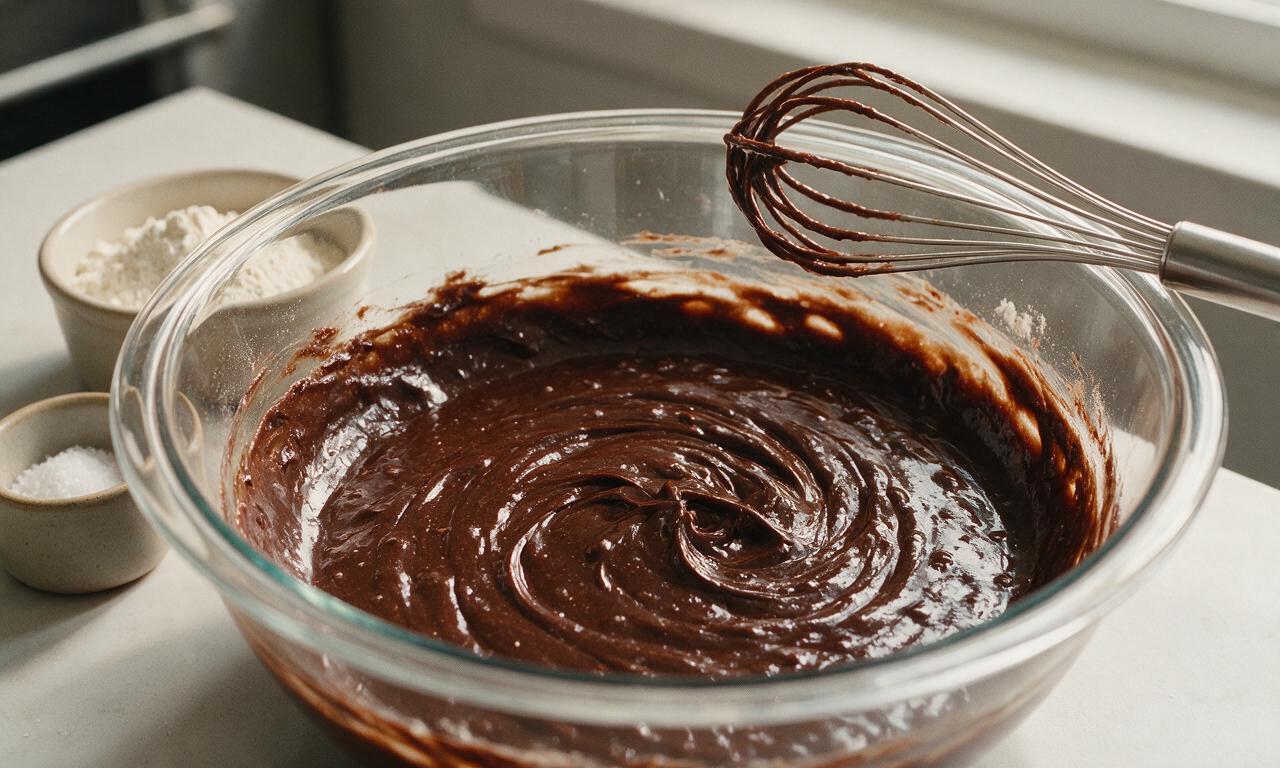
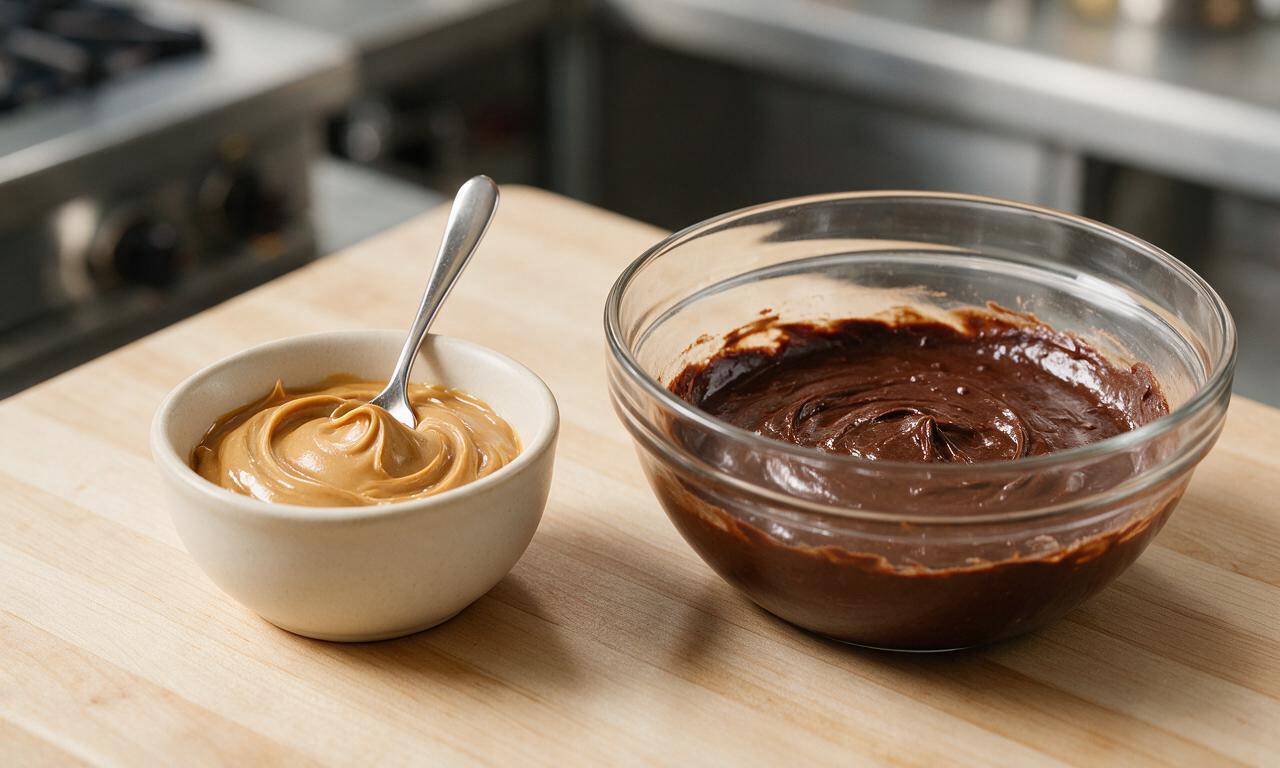
Add 200 grams (1 cup) granulated sugar, 2 room-temperature large eggs, and 5 ml (1 teaspoon) vanilla extract to the cooled melted chocolate mixture. Whisk vigorously for 1 minute until the batter is thick, glossy, and pulls away slightly from the bowl sides. Fold in 65 grams (1/2 cup) all-purpose flour and 1 gram (1/4 teaspoon) fine sea salt with a spatula, mixing only just until no dry flour streaks remain—do not overmix to avoid tough, cakey brownies.
Prep peanut butter swirl
Measure 130 grams (1/2 cup) creamy salted peanut butter into a small microwave-safe bowl. Microwave on high power for 20 seconds to soften it until it is easily stirrable and pourable, but not hot; stir briefly to create a smooth, drizzleable consistency.
Layer and swirl batter
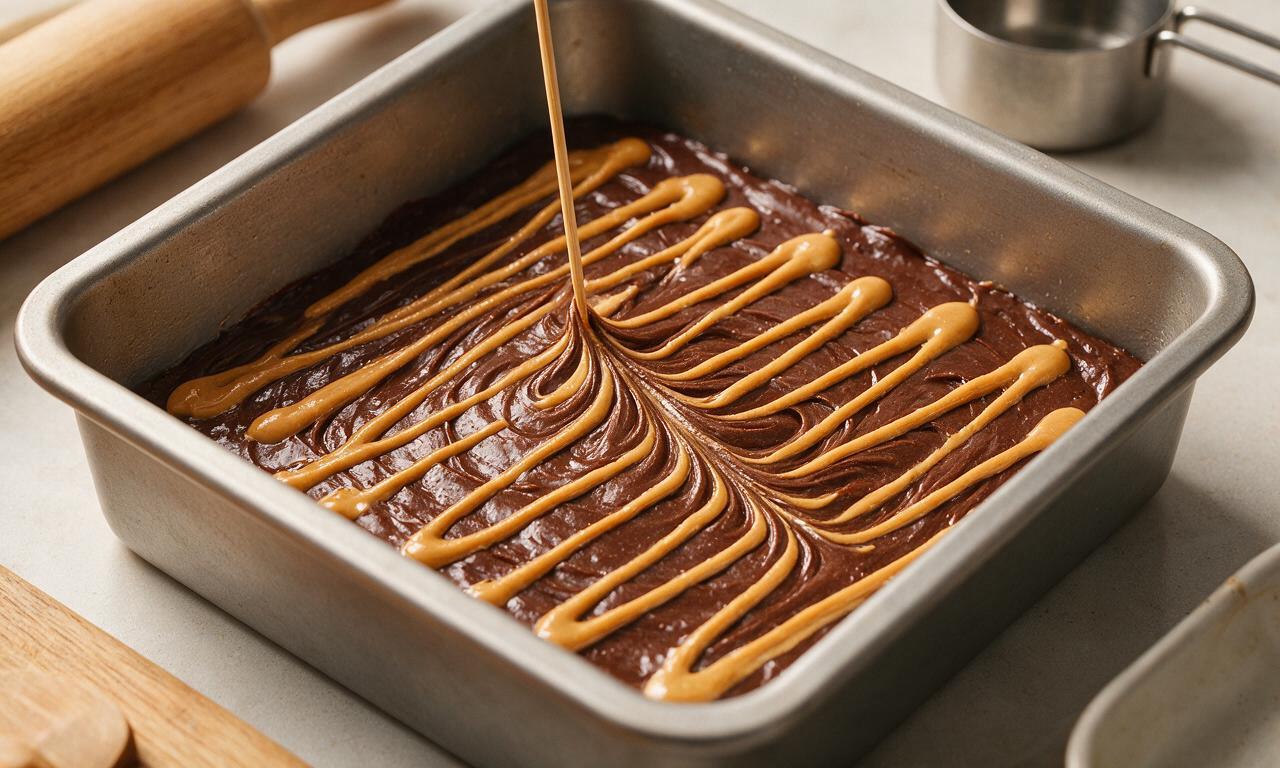
Pour all of the chocolate brownie batter into the prepared lined pan, spreading it into a flat, even layer with an offset spatula. Drizzle the warmed peanut butter in 3 evenly spaced parallel lines across the top of the batter, then drag a wooden toothpick or sharp knife tip through the peanut butter and batter in wide zig-zag motions to create a marbled swirl pattern; do not over-swirl to keep distinct chocolate and peanut butter sections.
Bake and cool brownies
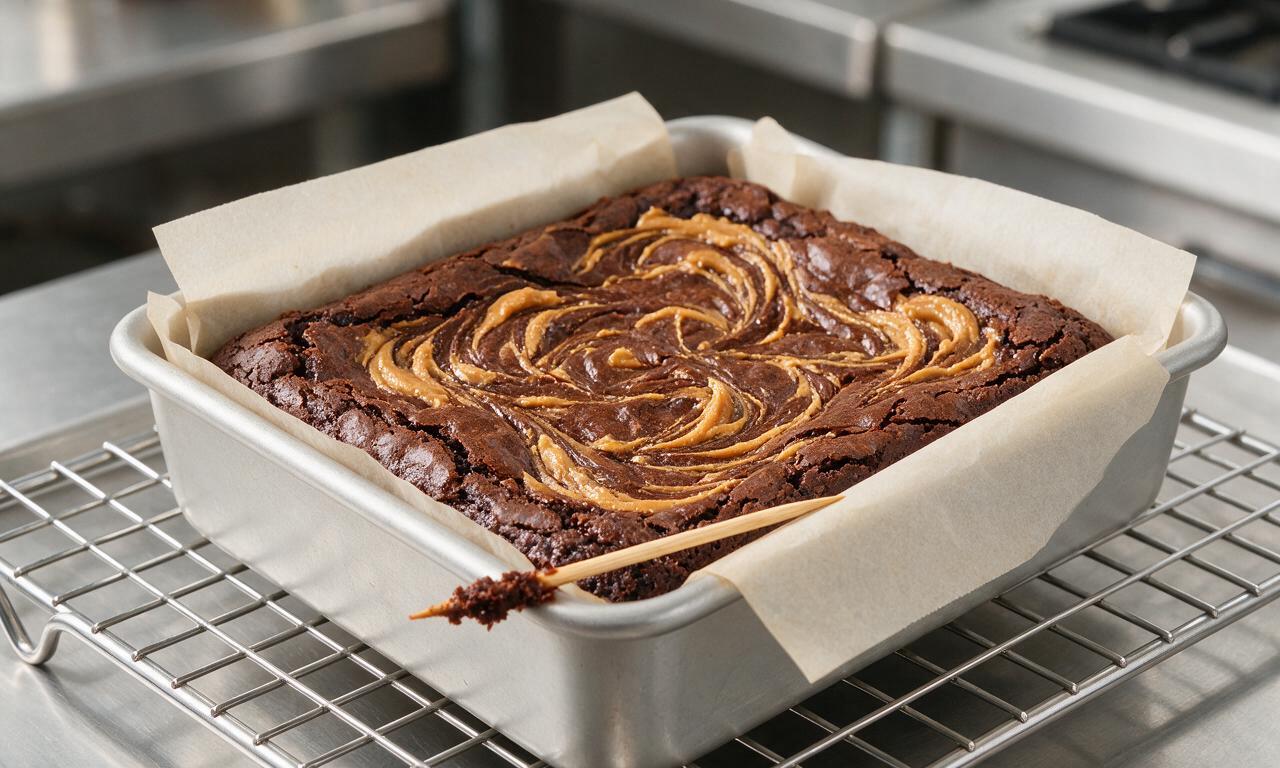
Place the pan on the middle oven rack and bake for 22-25 minutes at 175°C (350°F). The brownies are done when the edges are set and slightly puffed, the top has a thin crackly crust, and a toothpick inserted into the center comes out with moist, fudgy crumbs (not runny wet batter). Let brownies rest in the pan for 5 minutes, then lift them out using the parchment overhang, transfer to a wire rack, and cool for a minimum of 10 minutes before slicing into 9 equal squares.
Tips
2.Do not overbake the brownies: they will continue to set as they cool, so pull them out when a center toothpick has moist fudgy crumbs (not wet batter) to avoid dry, cakey results.
3.For extra crunch and nuttiness, fold 50 grams (1/3 cup) of chopped roasted salted peanuts into the brownie batter before spreading it in the pan, if desired.






My kids LOVED these! I made them for our weekly family dinner and even my super picky 7 year old asked for a second square. The fudgy texture is unreal, and the peanut butter swirl adds the perfect nutty kick without overpowering the chocolate. Cook time was exactly 45 minutes in my oven, no adjustments needed. Total win for a weeknight treat!
Total game changer for my Sunday meal prep! I cut these into bite-sized squares and keep them in the fridge for when that 3pm sweet craving hits at work. The texture stays perfectly fudgy all week, and I love that the recipe is easy enough to whip up while I’m doing laundry and prepping lunches for the week. Used crunchy peanut butter for extra crunch and it slapped.
OMG these look so good I can almost smell them through my screen! Quick question before I bake them for my daughter’s birthday party this weekend — has anyone tested this with 1:1 gluten free flour? She has a gluten sensitivity and I don’t want to make a separate dessert just for her if these will work for everyone.
SO good. I’m usually strictly a boxed brownie mix guy because every homemade batch I’ve ever made came out either dry, cakey, or burnt to a crisp. But these were totally foolproof! The easy difficulty rating is no lie — I didn’t even have to look up a baking tutorial to nail them on the first try.
Brought these to my neighborhood block party potluck last weekend and people were literally hovering over the platter until they were gone! I sprinkled a little flaky sea salt on top right as they came out of the oven and it made the peanut butter and chocolate flavors pop so hard. I did have to add 4 extra minutes of bake time because my ancient oven runs cool, but that was an easy fix.
Y’all, I made these last night and the flavor was out of this world, but my peanut butter swirl totally sank to the bottom of the pan! I didn’t get that pretty marbled top like the recipe photos show. Don’t get me wrong, we still ate half the pan warm with ice cream, zero regrets, but I want that pretty swirl next time! What did I do wrong?
Made these in my tiny dorm communal kitchen last night for my roommates and we are all obsessed. No fancy equipment required — just a mixing bowl, a spatula, and a cheap 8x8 pan — which is perfect for college students who don’t have a full kitchen setup. We ate them warm with a scoop of cheap vanilla ice cream from the campus convenience store while we crammed for our midterm, and it was the best study snack we’ve had all semester.