
Peanut Butter Cookie Bars
intro
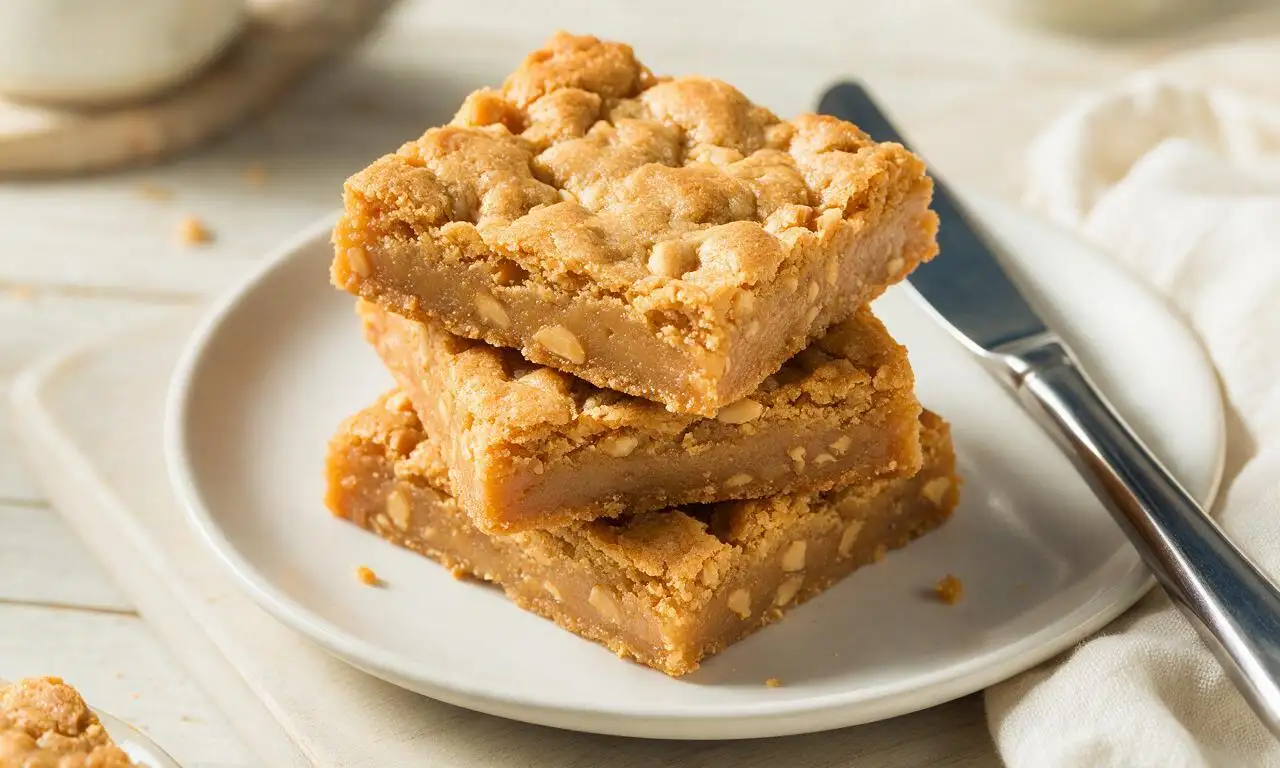
Chewy, rich peanut butter cookie bars with a soft fudgy center and golden crumbly top, simple to make and ideal for holiday treat platters and sharing.
Ingredients
Steps
Prep oven and pan
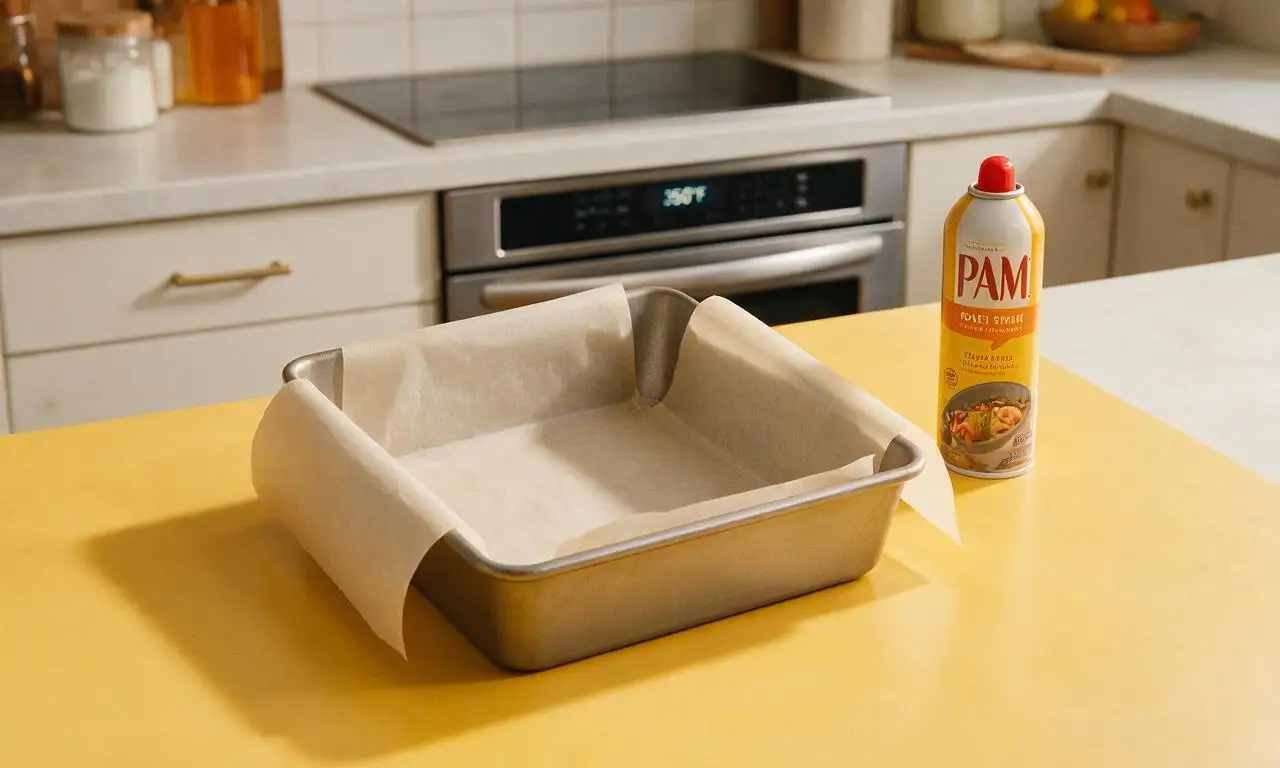
Preheat your oven to 350°F (175°C) with a rack positioned in the middle. Line a 9x9 inch (23x23cm) square baking pan with parchment paper, leaving 2-inch (5cm) overhangs on two opposite sides to use as lift handles later, then lightly coat exposed pan sides with non-stick cooking spray.
Mix wet ingredients
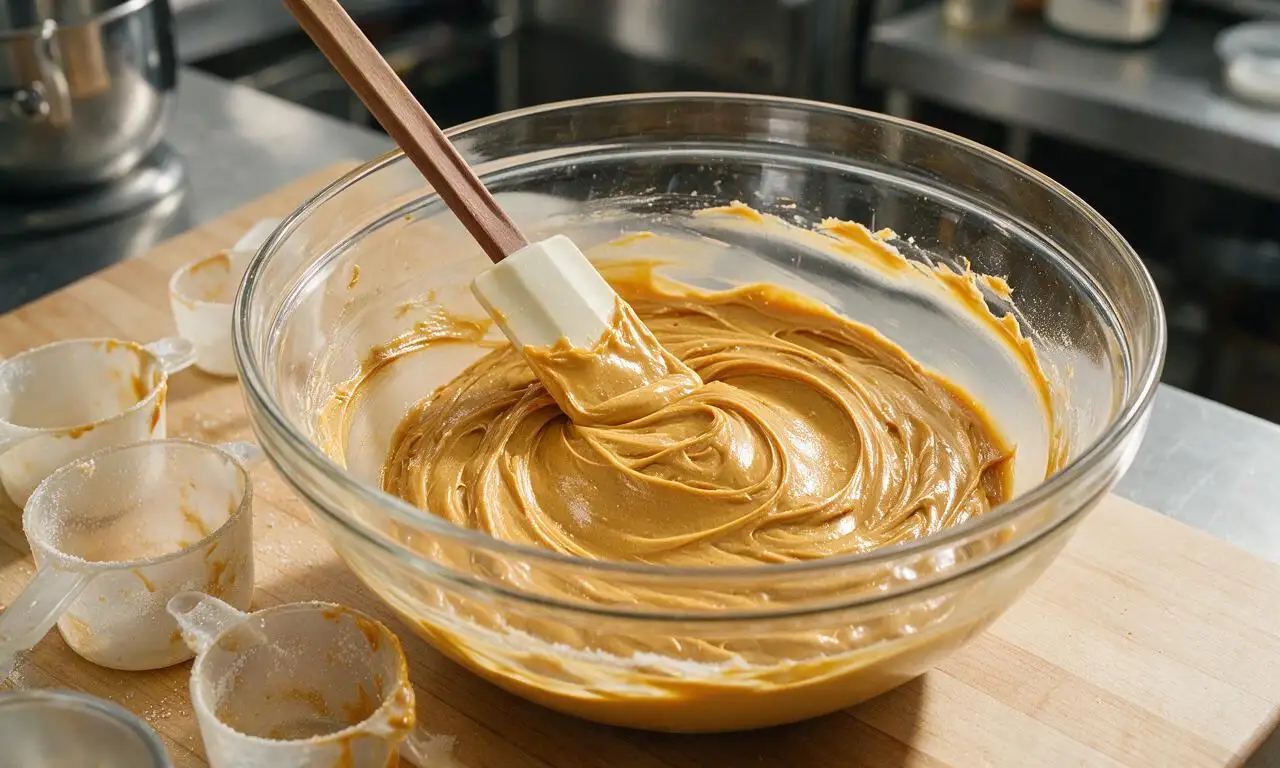
In a large mixing bowl, combine 1 ½ cups (384g) creamy unsalted peanut butter, ½ cup (113g) melted, slightly cooled unsalted butter, ¾ cup (150g) packed light brown sugar, and ¼ cup (50g) granulated sugar. Stir with a rubber spatula for 1 full minute until completely smooth, with no visible lumps of sugar or peanut butter, then stir in 2 room-temperature large eggs and 1 teaspoon (5ml) pure vanilla extract, mixing for 30 more seconds until fully incorporated.
Fold in dry ingredients
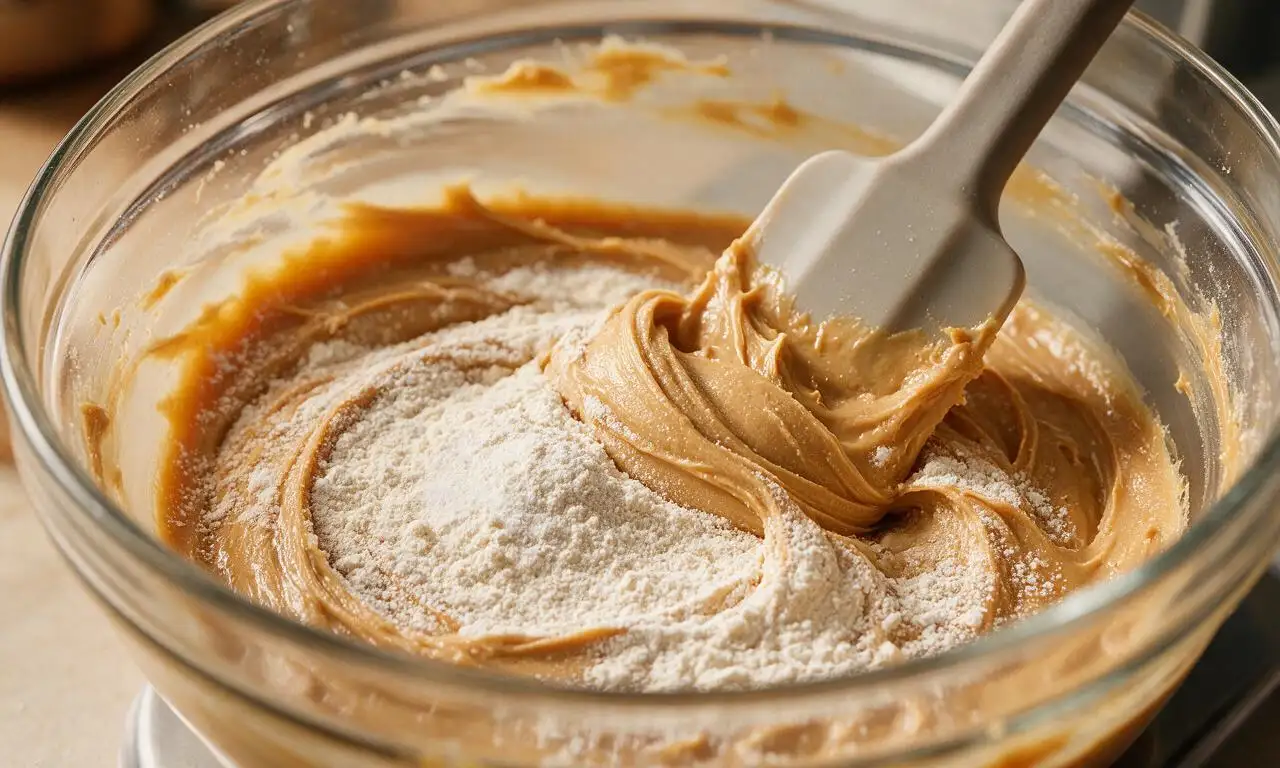
Sprinkle 1 ¼ cups (150g) all-purpose flour, ½ teaspoon baking powder, and ¼ teaspoon fine sea salt evenly across the surface of the wet peanut butter mixture. Fold gently with the rubber spatula for 45 seconds, stopping as soon as no dry white flour streaks remain—do not overmix, as this will create tough, dense bars instead of the desired chewy texture.
Spread batter evenly
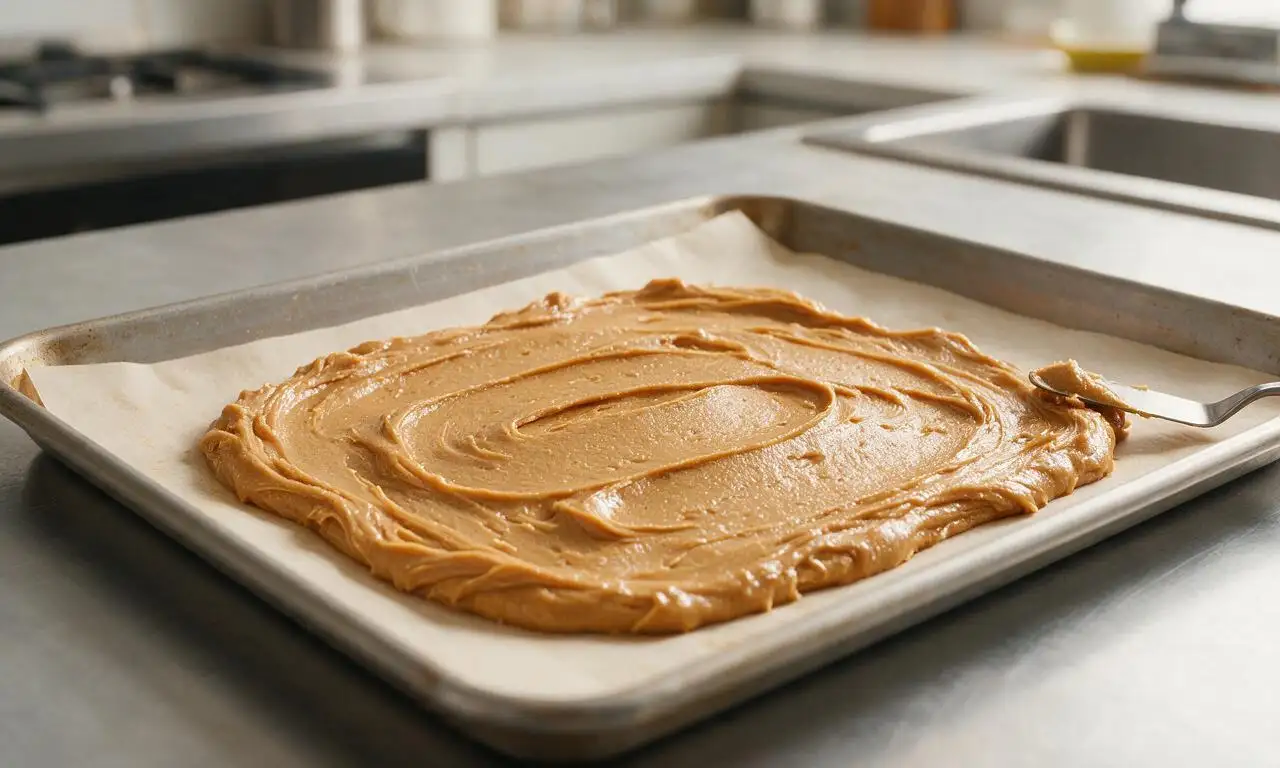
Scrape all thick cookie batter into the prepared 9x9 inch pan, using an offset spatula or the back of a metal spoon to spread it into a uniform, level layer across the entire pan. Ensure the batter reaches all four corners and is the same thickness at the edges and center to guarantee even baking across the whole batch.
Bake the cookie bars
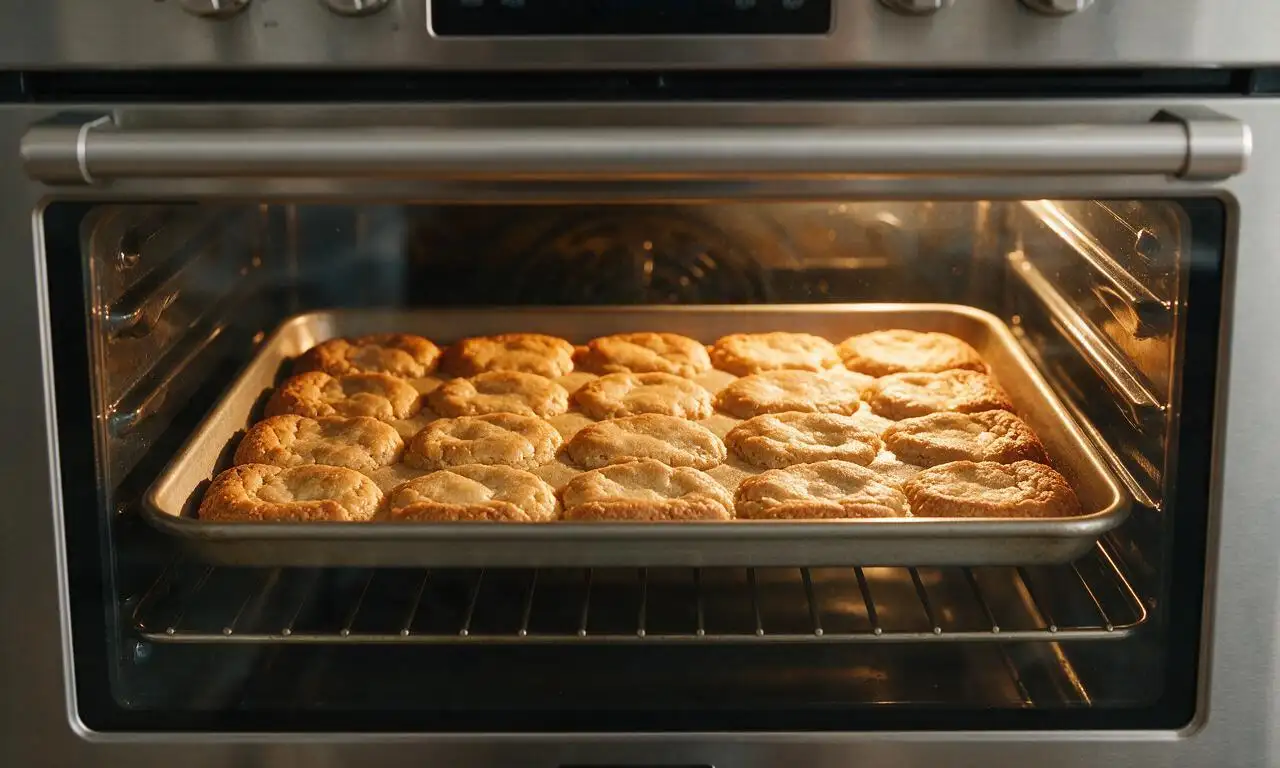
Place the pan on the middle oven rack and bake for 22 to 25 minutes at 350°F (175°C). The bars are done when the edges are deep golden brown and set, while the center looks slightly puffed and underbaked—it will fully set as it cools. Do not bake longer than 25 minutes, as overbaking leads to dry, crumbly bars.
Cool and slice bars
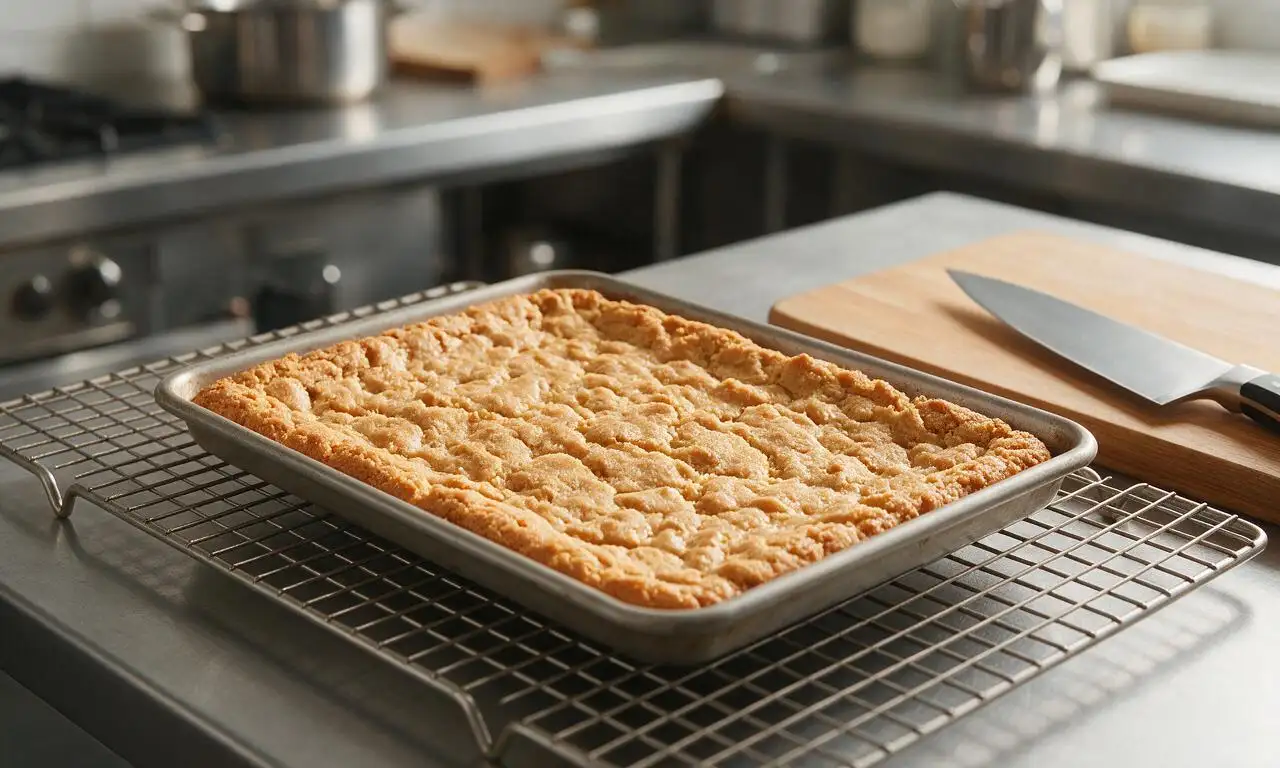
Remove the pan from the oven and set it on a wire cooling rack to cool completely for 20 minutes at room temperature. Use the parchment paper overhangs to lift the entire solid bar slab out of the pan, transfer it to a wooden cutting board, and cut into 12 equal 2x3 inch (5x7.5cm) squares with a sharp chef’s knife.
Tips
2.For extra flavor and texture, stir ½ cup (85g) of semi-sweet chocolate chips or salted roasted chopped peanuts into the batter right before spreading it in the pan, if desired.
3.Wait until the bars are fully cooled to room temperature before slicing—cutting warm bars will cause them to crumble and lose their clean, square shape.






OMG these chewy peanut butter cookie bars are a total game changer! I brought them to my office potluck yesterday and every single person asked for the recipe. So chewy, not too sweet, and the texture is perfect even after sitting out for a few hours. 10/10 will make again for my kid’s soccer snack next week!
Super easy recipe, total cook time was exactly what the page said which I appreciate as a beginner baker! Only reason I’m not giving 5 stars is I found them a tiny bit too salty when I used regular salted peanut butter — next time I’ll cut the added salt in half. Otherwise super chewy and tasty, my roommate ate half the pan in one sitting lol.
SO good. I made these for meal prep this week to grab as quick snacks between work meetings and they are holding up perfectly! Chewy, rich peanut butter flavor, no weird crumbly mess like other bar recipes I’ve tried. Already have the ingredients out to make a second batch this weekend.
My kids LOVED these! I’ve been searching forever for a chewy peanut butter bar that doesn’t turn rock hard after a day in the cookie tin, and this one nails it. Even my pickiest eater who hates all nuts (weird, I know, but he loves peanut butter?) asked for seconds. Total win for busy weeknight treats!
Took these on a weekend camping trip last week and they were the perfect trail snack! No melting, super filling, that chewy texture held up even when it was 90 degrees out. Way better than store bought granola bars, and so easy to throw together before a trip.
Pretty solid peanut butter bars. I added a little honey roasted peanut topping for extra crunch and it slapped. Chewy factor is 10/10, no dry crumbly bits at all. Easy enough that I didn’t mess it up even when I forgot to set a timer and left them in 2 minutes extra.
Wait, I’m a total disaster at baking and these actually turned out first try??? The instructions were so straightforward, no fancy ingredients, and they came out exactly as chewy as the photos look. I was convinced I’d burn them or make them too cakey but nope, perfect.
Made these for our neighborhood block party and they were gone in 10 minutes flat! Everyone kept saying they tasted like the inside of a perfect peanut butter cookie, no crispy edges (which I love, honestly). I even had a neighbor offer to pay me to make a pan for his kid’s bake sale!
I know these are peanut butter bars but I pressed a layer of mini Reese’s cups on top before baking and holy cow, next level. The chewy base pairs so well with the chocolate peanut butter cups, my whole family is obsessed. Will be making these for every holiday from now on.
This is such a great easy weeknight dessert! I threw it together while dinner was cooking, popped it in the oven, and by the time we finished eating it was almost cool enough to slice. No fancy equipment needed, just a bowl and a spoon — no mixer required which is a huge win for less cleanup.
As someone who eats peanut butter straight from the jar on a regular basis, these bars are my new favorite thing. The peanut butter flavor is so prominent, not muted by too much flour or sugar, and that chewy, almost fudgy texture is exactly what I’ve been searching for. 100% adding this to my permanent recipe rotation.
I made these with a 1:1 gluten free flour blend to accommodate my daughter’s celiac and they turned out pretty good! The texture was a little more crumbly than I expected, but the flavor was spot on. Just wanted to leave a note for other GF bakers out there!
Made these in my dorm room using a little toaster oven and they came out insane! I didn’t have a fancy pan so I just used a disposable aluminum baking tray and it worked totally fine. Super cheap to make, feeds all my roommates, and way better than the vending machine cookies we usually survive on. Total game changer for late night study sessions.