
Peanut Butter Cup Ice Cream
intro
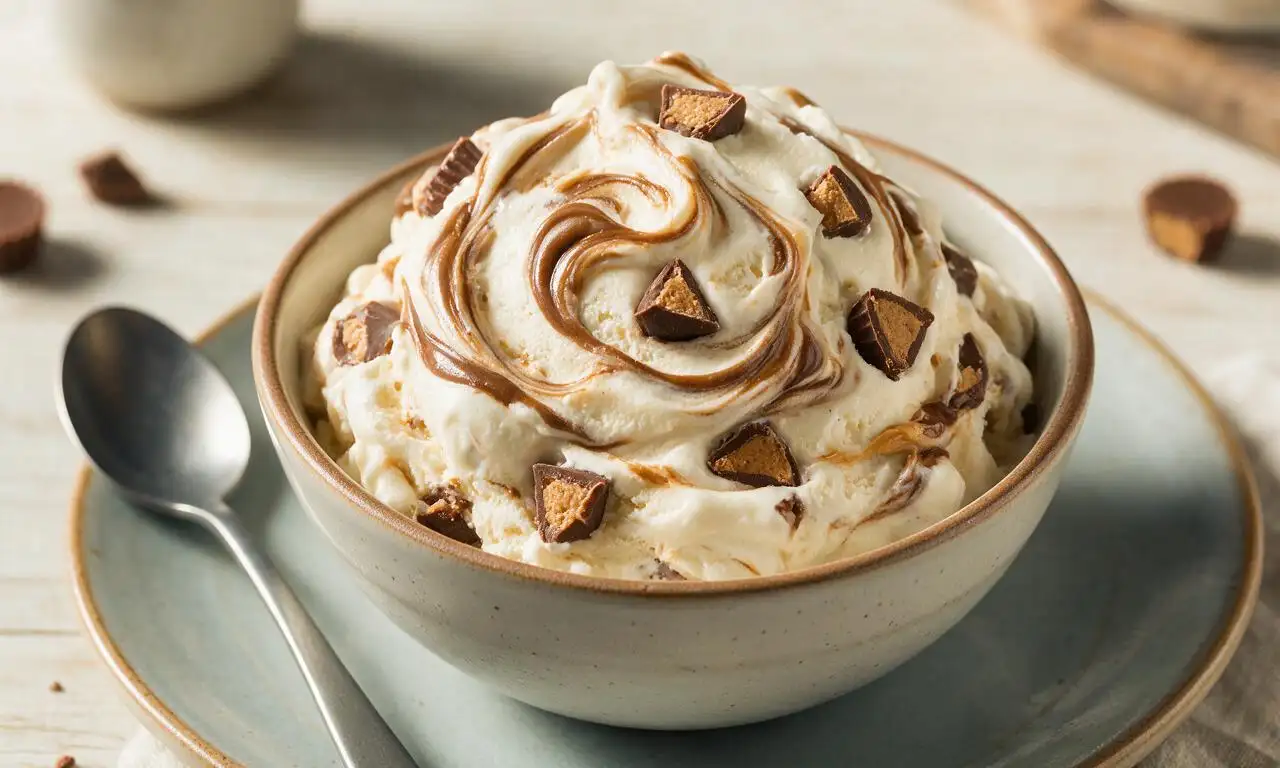
Creamy, rich no-churn ice cream swirled with smooth peanut butter and studded with chocolate peanut butter cups, a nostalgic, crowd-pleasing frozen summer treat.
Ingredients
Steps
Prep pan and ingredients
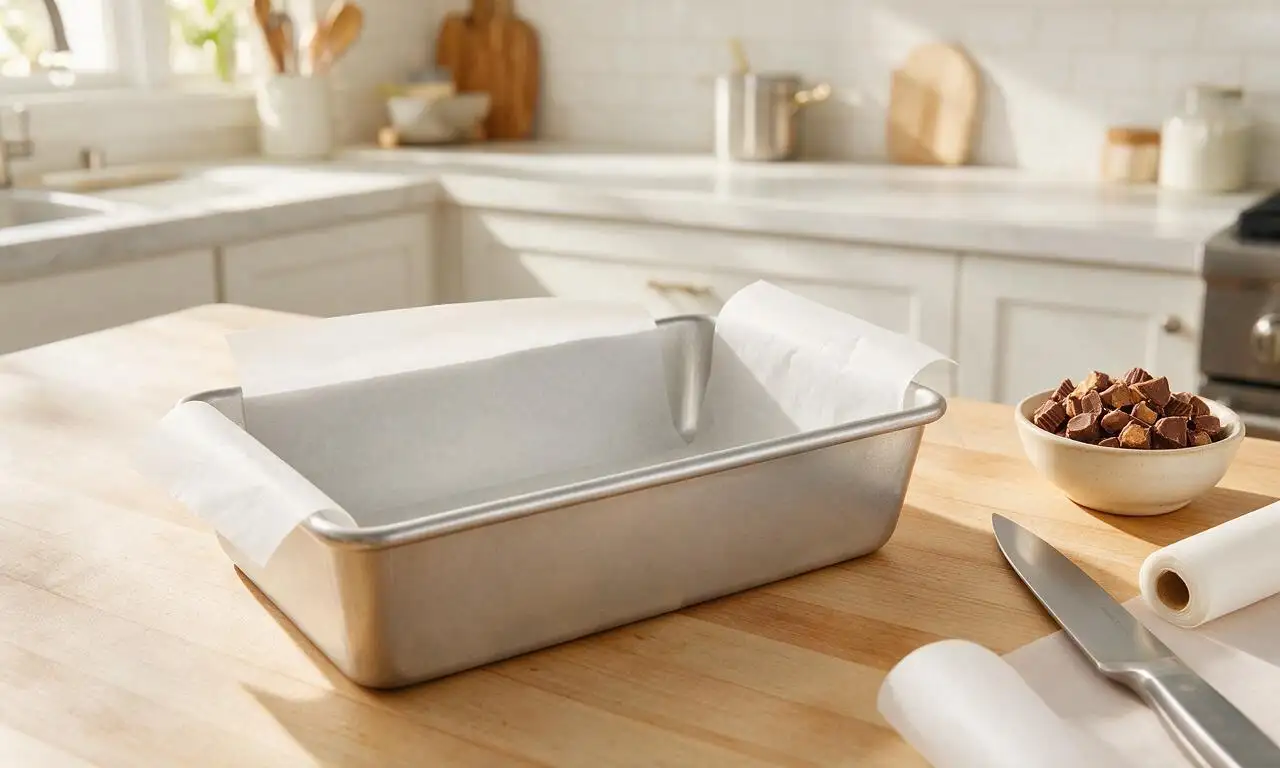
Line a 9x5-inch (23x13 cm) metal loaf pan with parchment paper, leaving 2-inch overhang on the long sides for easy removal later. Place the pan in the freezer to chill for 10 minutes while you prep other components. Chop the chilled mini peanut butter cups into ¼-inch chunks, setting ¼ cup of the chunks aside in a small bowl for topping.
Melt peanut butter portion
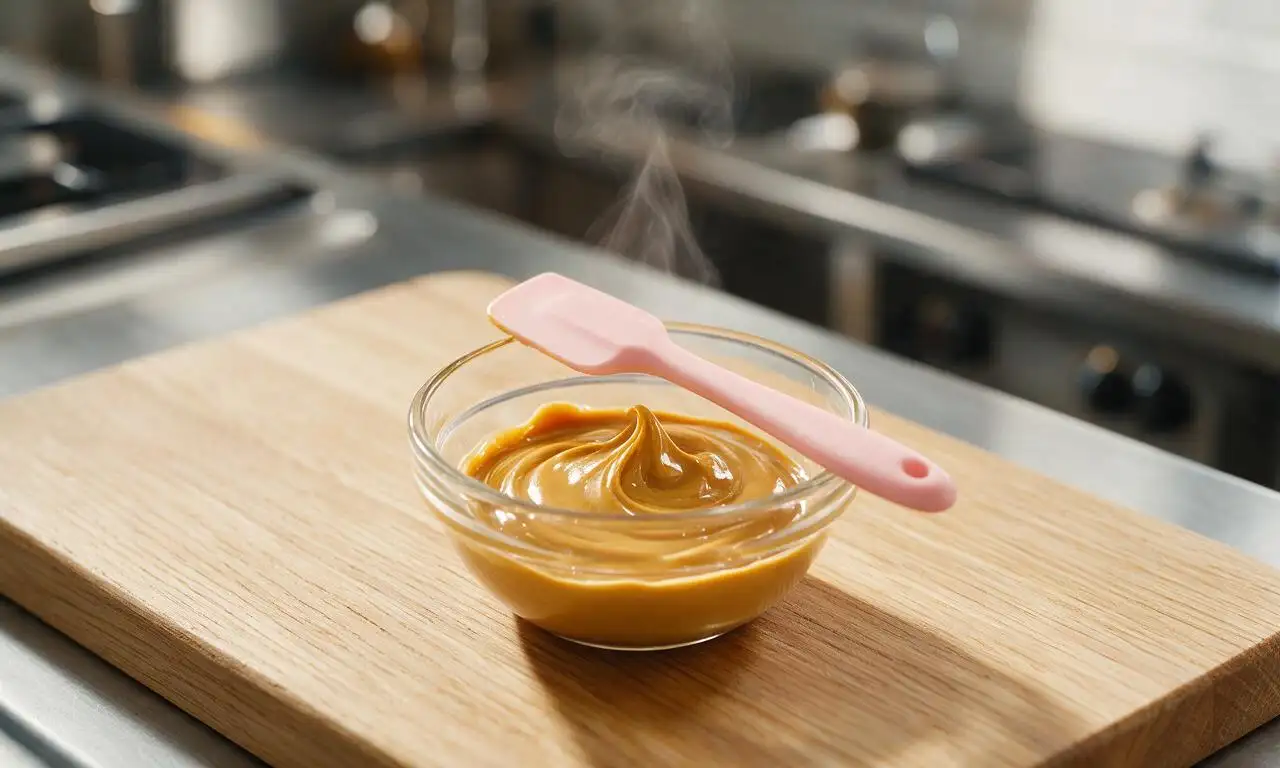
Scoop ½ cup (130 g) of the measured creamy peanut butter into a small microwave-safe bowl. Heat in the microwave on 50% power for 30-second intervals, stirring between each interval, until fully melted and smooth, about 1 minute total. Set the melted peanut butter aside to cool slightly for 5 minutes, so it does not melt the ice cream base when swirled later.
Whip the cream base
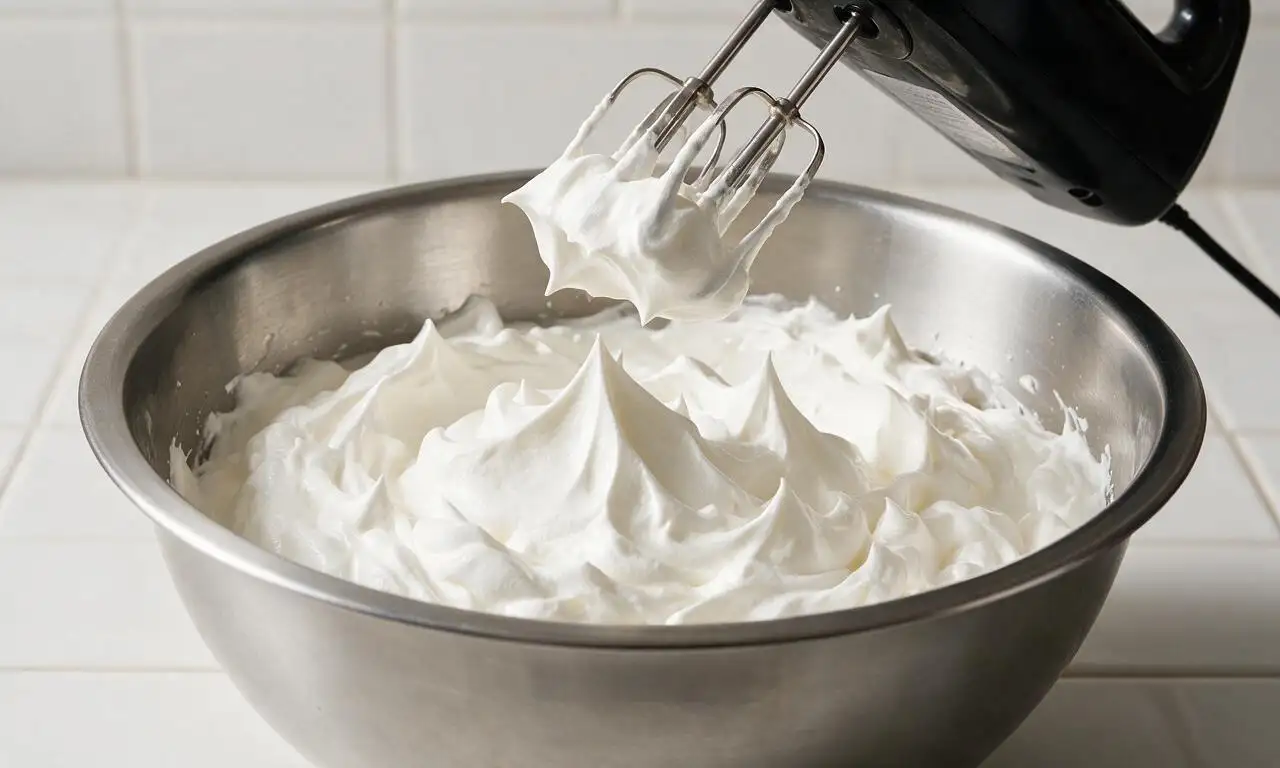
In a large, pre-chilled mixing bowl, pour 2 cups (480 ml) of cold heavy whipping cream. Use an electric hand mixer on medium-high speed to whip the cream for 2-3 minutes, until stiff, billowy peaks form that hold their shape when the mixer is lifted. Do not overwhip, as this will cause the cream to separate into butter and watery whey.
Fold in flavor base
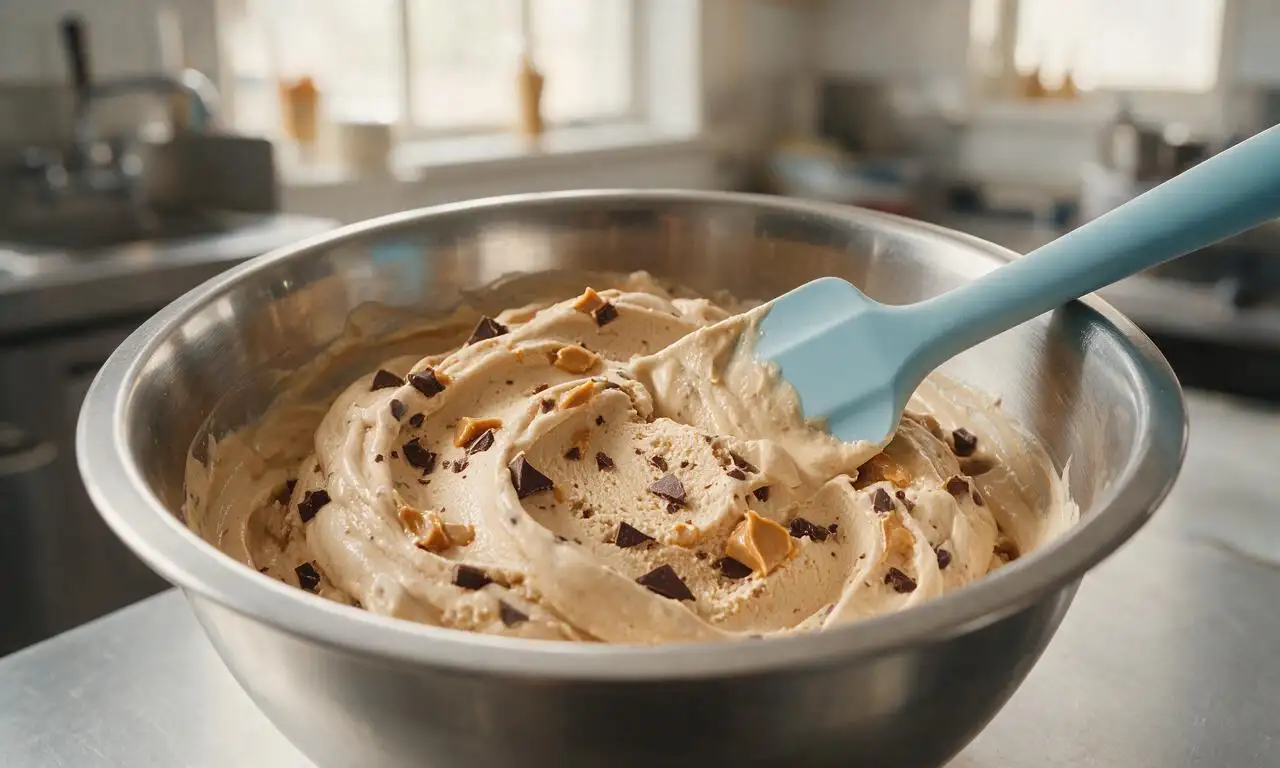
Reduce the mixer speed to low, and slowly pour in the chilled 14 oz (396 g) can of sweetened condensed milk, 1 teaspoon (5 ml) vanilla extract, ¼ teaspoon (1 g) fine sea salt, and the remaining ¼ cup (65 g) of un-melted creamy peanut butter. Mix on low speed for 30 seconds until fully combined, then use a silicone spatula to gently fold in 1 ¼ cups of the chopped peanut butter cups, taking care not to deflate the light, airy whipped cream.
Layer and swirl mixture
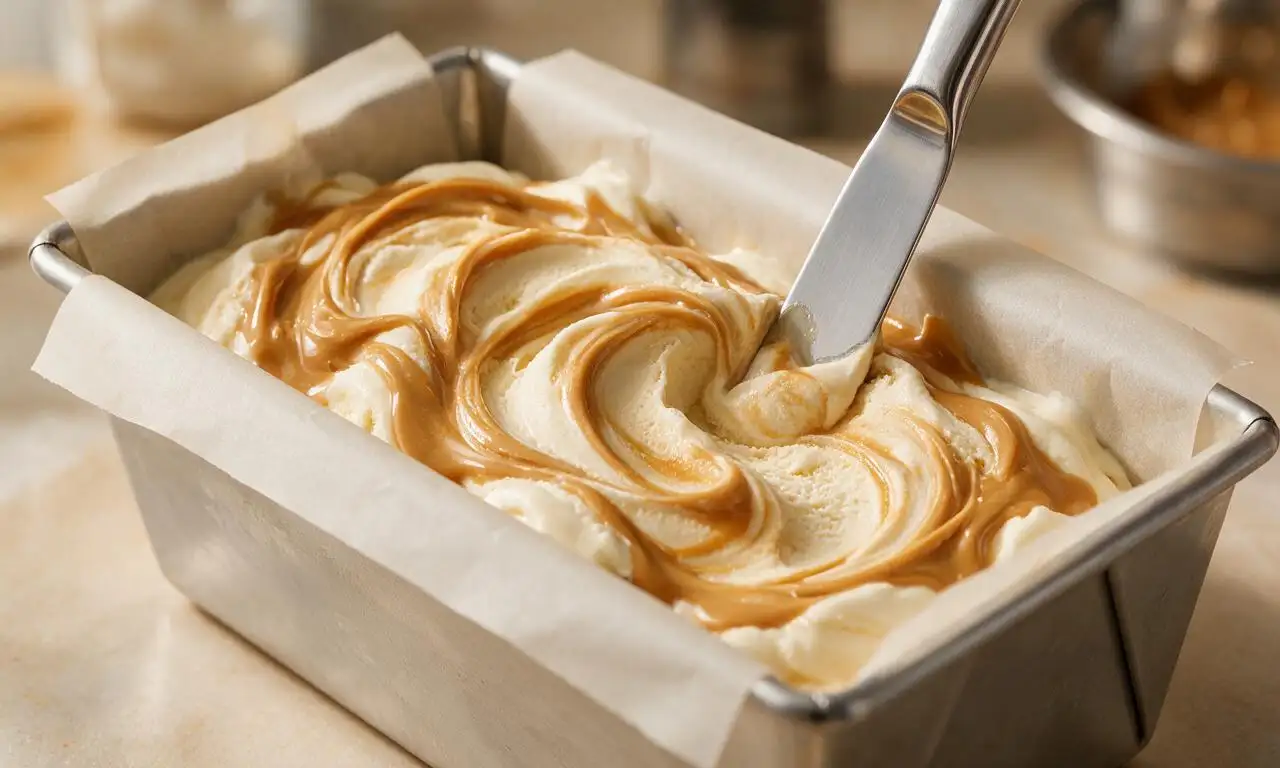
Remove the pre-chilled loaf pan from the freezer. Pour ⅓ of the ice cream base into the pan, spreading it into an even layer with the spatula. Drizzle ⅓ of the cooled melted peanut butter over the base, then repeat the layering process two more times, finishing with a drizzle of peanut butter on top. Use a butter knife to drag through the layers in gentle S-curves to create a marbled swirl effect, being careful not to over-mix the layers into a uniform color.
Freeze and serve
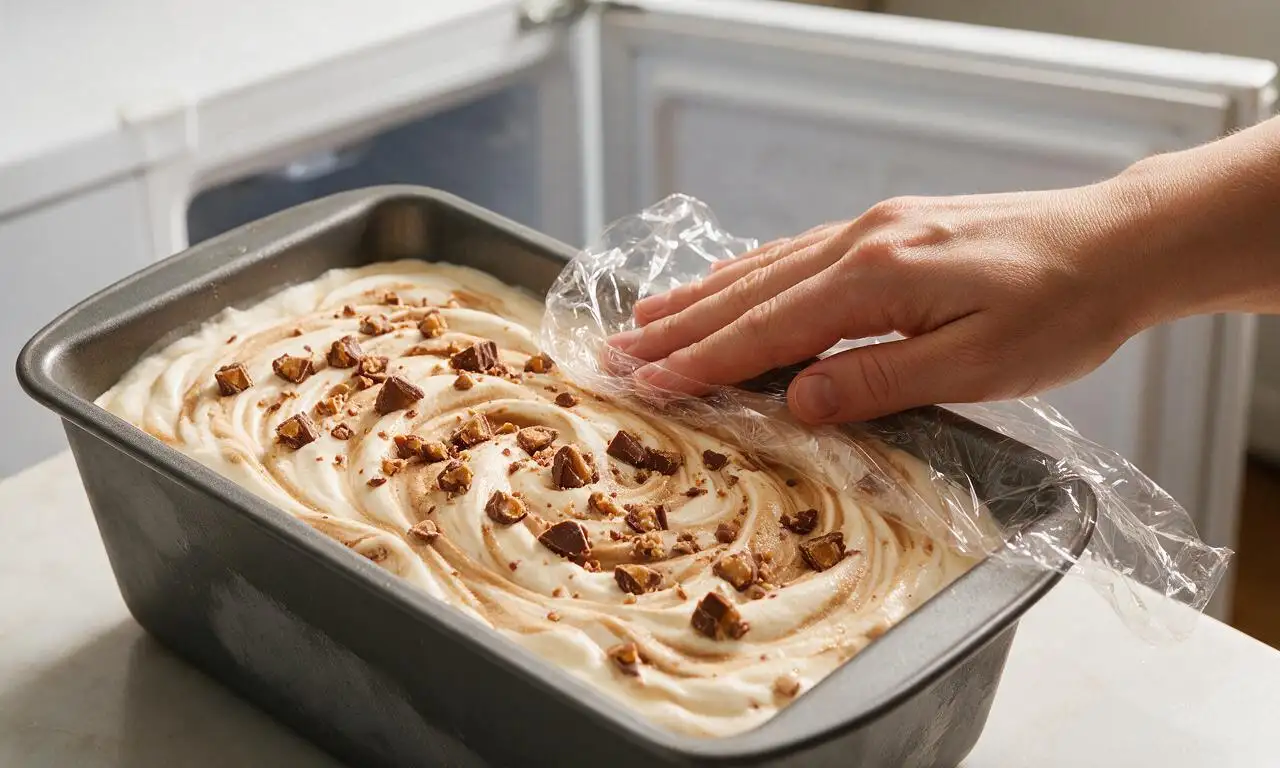
Sprinkle the reserved ¼ cup of chopped peanut butter cups evenly over the top of the swirled ice cream. Cover the pan tightly with a double layer of plastic wrap, pressing the wrap directly against the surface of the ice cream to prevent ice crystal formation. Place the pan in the coldest part of your freezer (the back of the lowest shelf) for 6 hours, or until fully firm. Let the ice cream sit at room temperature for 5 minutes before lifting it out via the parchment overhang, slicing, and serving.
Tips
2.Chill peanut butter cups in the refrigerator for 30 minutes before chopping to prevent chocolate smearing and melting when folded into the cold cream base, which can discolor the ice cream.
3.Press plastic wrap directly against the ice cream surface before freezing to block air exposure, which causes grainy ice crystals and freezer burn to form on the top of the finished dessert.






OMG this homemade peanut butter cup ice cream is a total game changer! I was so worried homemade ice cream would be a huge hassle requiring fancy equipment, but this was so easy to throw together. The 20 minute active prep was totally doable even after a long work day, and I stirred in extra mini peanut butter cups because I’m a sucker for extra chocolate. My kids loved it so much they’ve already asked me to make a double batch for our upcoming neighborhood block party potluck! 10/10, no notes.
Made this over the weekend for my Sunday family dinner and it was SO good. I was a little worried the 6 hour inactive freeze time would mess up my meal prep timeline, but I mixed the base up right after lunch and it was perfectly frozen and ready to go by dessert time. The only small swap I made was adding a thin hot fudge swirl between the ice cream layers, don’t @ me it slapped.
Super easy recipe that didn’t require a fancy ice cream maker, which is perfect for my tiny apartment kitchen. I made a batch last week and brought it along on my weekend camping trip (stored it in a super well-insulated cooler) and all my friends begged for the link to the recipe. Next time I make it I’m gonna try adding a light sprinkle of flaky sea salt on top to cut the sweetness, I bet that would take it to the next level.