1.Why does this recipe call for unsweetened creamy peanut butter instead of regular sweetened peanut butter?
▾
Sweetened peanut butter contains added refined sugar and stabilizing oils that throw off the recipe’s carefully balanced sweetness and moisture ratio, leading to overly sweet, dense muffins. Unsweetened creamy peanut butter delivers a pure, roasted nut flavor, lets you control exact sugar levels, and mixes smoothly into batter for a consistent, even tender crumb every time.
2.Can I use crunchy peanut butter instead of creamy for this recipe?
▾
Absolutely! Swap creamy for crunchy unsweetened peanut butter at a 1:1 ratio if you love bits of roasted peanut in every bite. Just note the final crumb will have extra nutty texture instead of being perfectly uniform, and be sure to stir separated peanut butter thoroughly before measuring to avoid dry, clumpy patches that throw off batter consistency.
3.How do I get that signature fluffy, light crumb instead of dense, heavy muffins?
▾
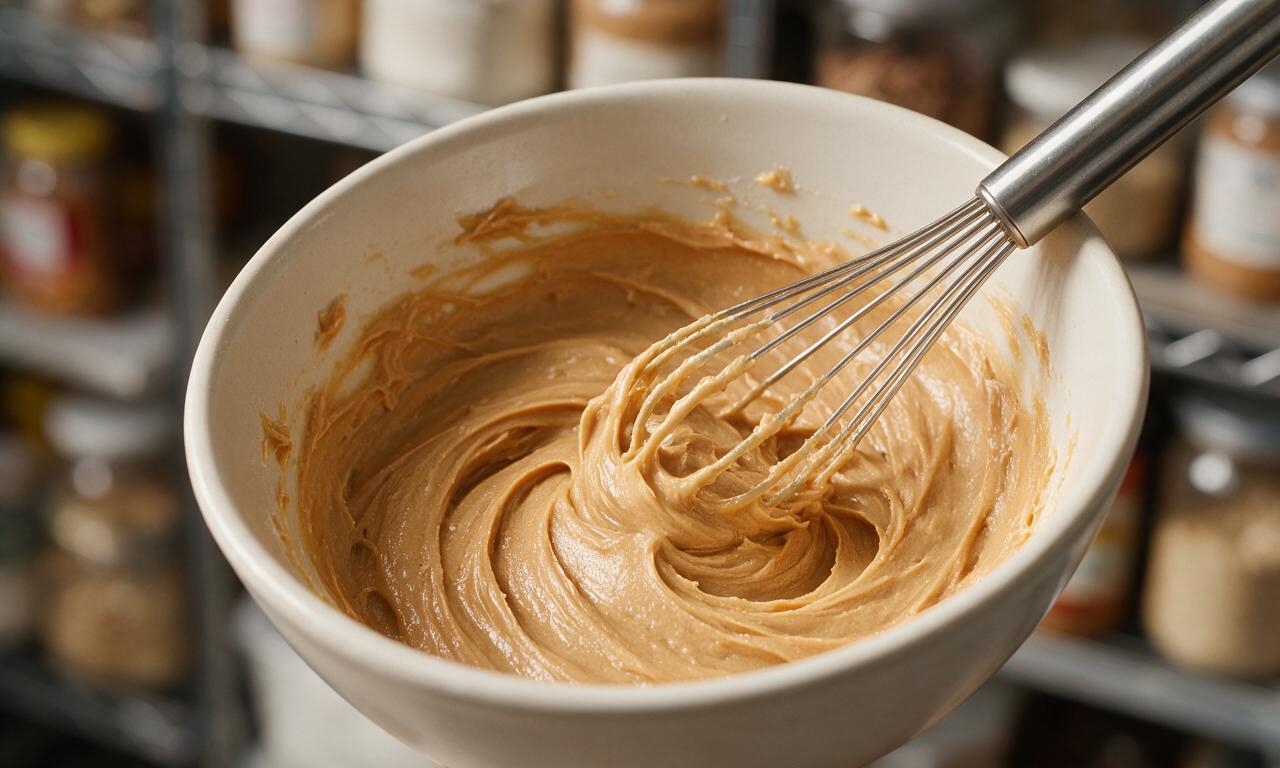
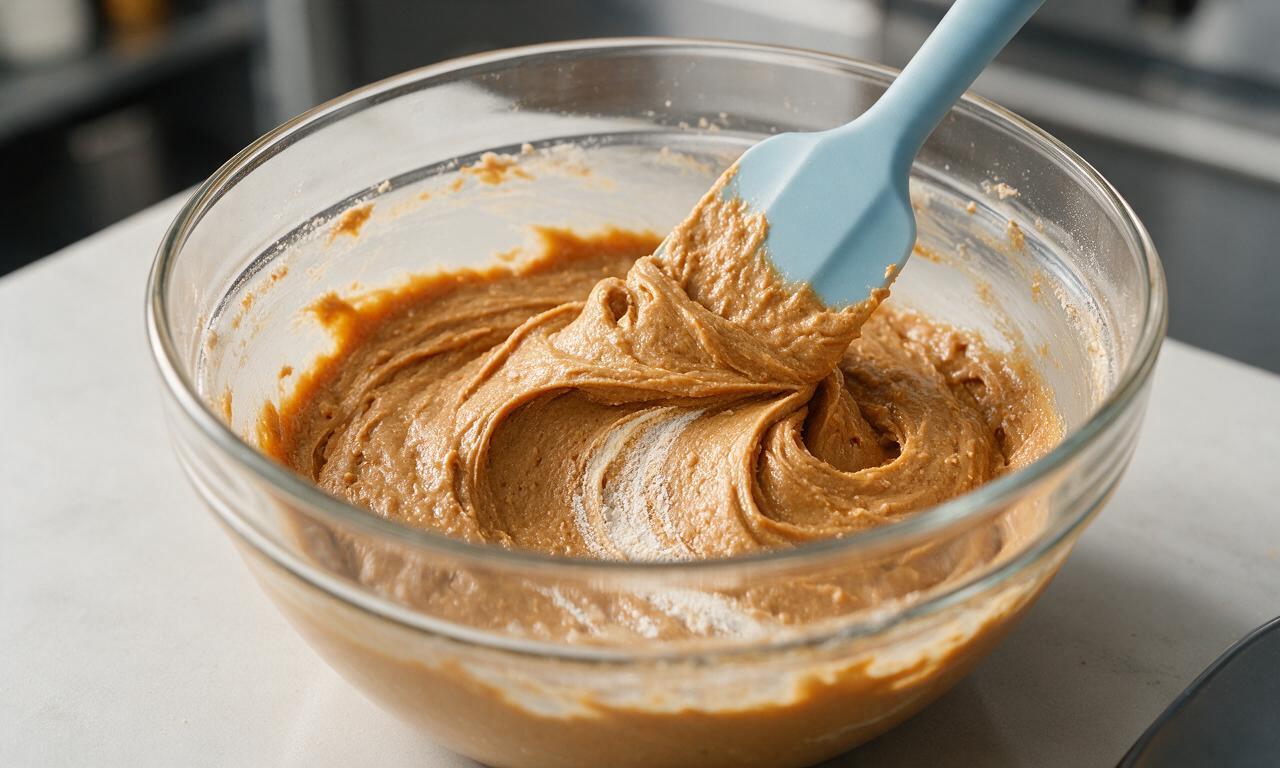
The biggest trick is to avoid overmixing your batter! Stir dry and wet ingredients only until just combined—small lumps are totally fine, as overmixing develops gluten in the all-purpose flour that leads to tough, dense results. Also, confirm your baking powder is fresh (a pinch dropped in hot water should fizz immediately) and skip opening the oven door for the first 15 minutes of baking to keep heat consistent for maximum rise.
4.Can I substitute non-dairy milk for the whole milk in this recipe?
▾
Yes, you can swap whole milk for unsweetened plain oat milk or barista-blend soy milk at a 1:1 ratio for the closest texture match. Skip thin, watery options like plain almond milk, as it lacks the fat content to replicate whole milk’s rich, moist crumb. For the best rise, bring whichever milk you use to room temperature before mixing so it combines smoothly without seizing cold ingredients.
5.How long do these peanut butter muffins stay fresh after baking?
▾
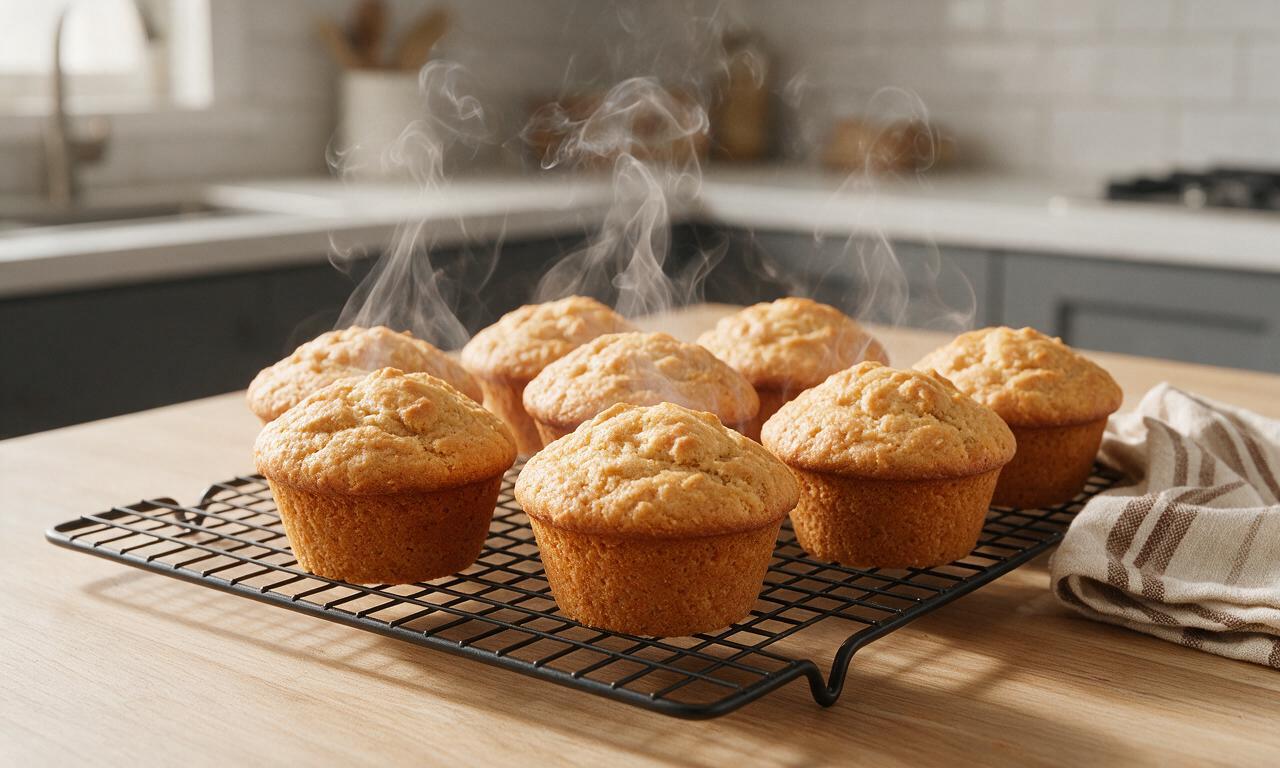
Stored correctly, these muffins will stay soft and moist for up to 4 days at room temperature. Let them cool completely first, then tuck them into an airtight container lined with a single paper towel on the bottom to absorb excess condensation that causes soggy tops. For longer storage, wrap individual muffins tightly in plastic and freeze for up to 3 months, thawing at room temp when ready to eat.
6.Can I add mix-ins like chocolate chips to these muffins?
▾
Of course! Mix-ins are a fun, easy way to customize these muffins, just stick to ½ to ¾ cup of total add-ins so you don’t weigh down the batter and ruin that signature fluffy rise. Tasty options include semi-sweet chocolate chips, chopped salted roasted peanuts, dried cranberries, or a small dollop of strawberry jam swirled on top right before baking.
7.Why did my muffins sink in the middle after I took them out of the oven?
▾
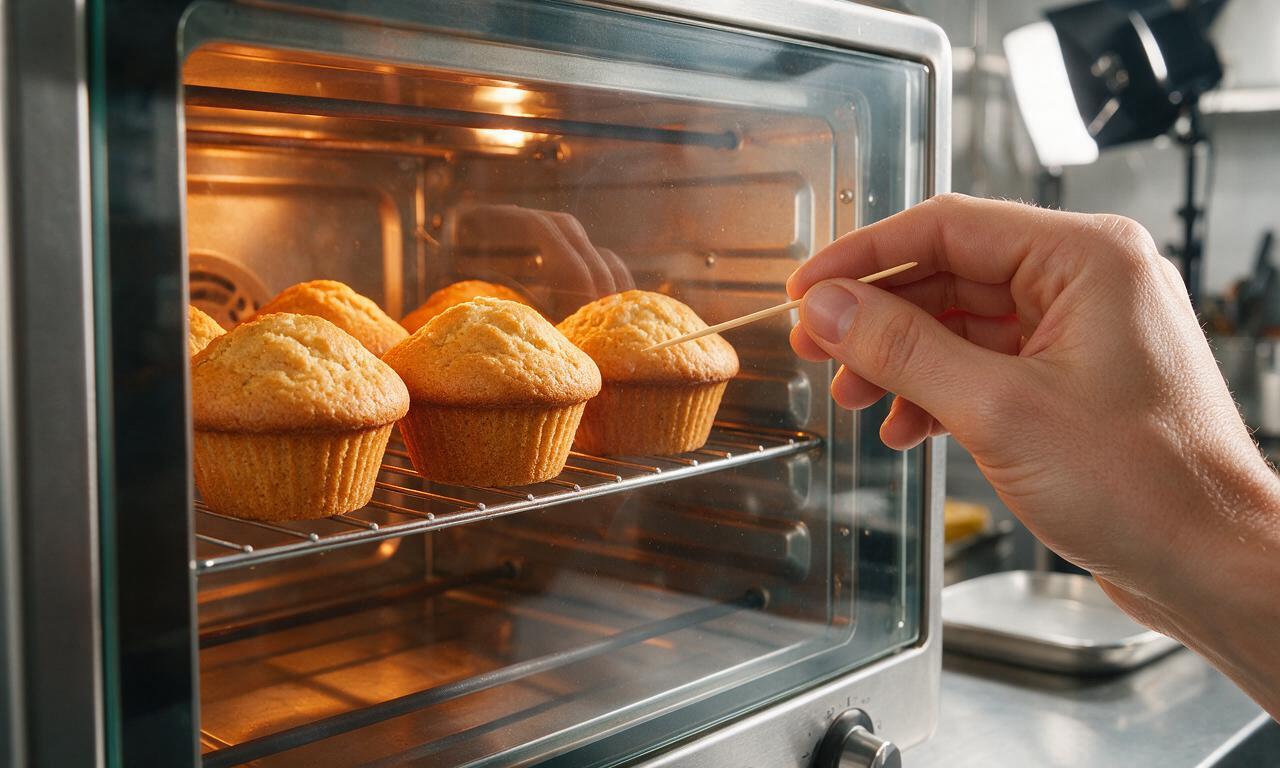
Sunken middles almost always trace back to one of three common issues: expired baking powder that lacked enough leavening power to hold the rise, underbaking so the center crumb structure never fully set, or opening the oven door too early, which lets a rush of cold air collapse delicate, just-risen batter. Test doneness with a toothpick: it should come out with 1-2 moist crumbs, not wet raw batter.
8.Do I need to use paper liners for my muffin tin, or can I grease the pan directly?
▾
You don’t need paper liners at all! If you prefer to skip them, generously grease each muffin cup with softened butter or non-stick baking spray, making sure to coat the top rim of the tin too, since the muffins will rise and spread slightly as they bake. Liners do make cleanup faster and are super convenient if you’re packing muffins for on-the-go breakfasts or holiday treat platters.
9.Can I use oil-separated natural peanut butter instead of no-stir creamy peanut butter?
▾
You can, but you have to prep it correctly first! Stir the separated oil completely back into the peanut butter until it’s totally smooth and uniform before measuring—if you scoop it while oil is pooled on top, your batter will be overly greasy and throw off the final texture. Skip very dry, gritty old natural peanut butter, as it will create dense, crumbly muffins instead of light, fluffy ones.
10.What oven temperature works best to get those tall, domed muffin tops?
▾
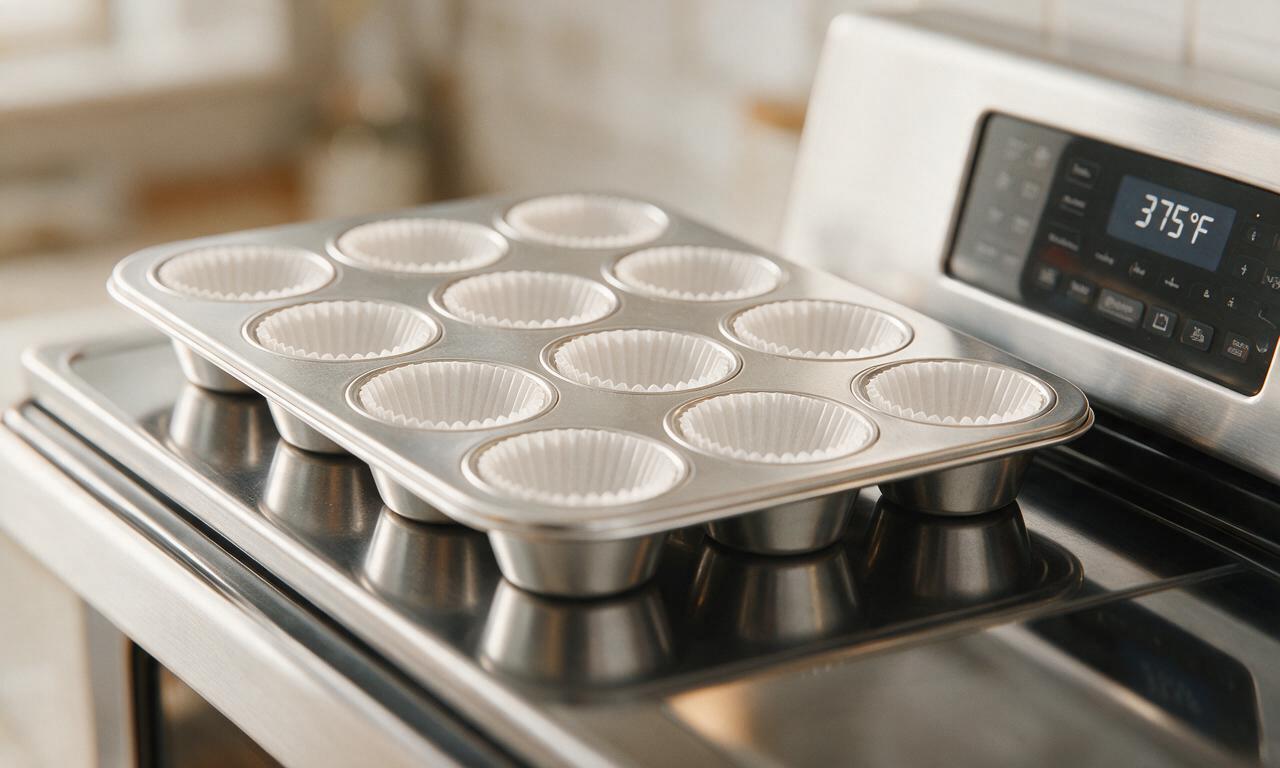
Bake these muffins at 375°F (190°C) for the first 10 minutes, then drop the temperature to 350°F (175°C) for the remaining 8-10 minutes of bake time. That initial high heat kick activates the baking powder quickly to create that tall, bakery-style domed top, while the lower temperature finishes cooking the center without burning the edges or sugary tops of the muffins.
11.Can I reduce the amount of granulated sugar to make these muffins less sweet?
▾
You can cut the granulated sugar by up to 25% without ruining the texture, since the unsweetened peanut butter adds rich, nutty depth that carries plenty of flavor. Don’t cut more than that, though: sugar doesn’t just add sweetness, it locks in moisture and supports that tender, soft crumb. Cutting too much will lead to dry, bland, tough muffins that don’t rise as high.
12.Can I make these muffins gluten-free?
▾
Yes! Swap the all-purpose flour for a 1:1 gluten-free all-purpose baking blend that contains xanthan gum, which replicates the gluten structure that gives muffins their tender, stretchy crumb. Skip single-ingredient gluten-free flours like almond or coconut flour, as they have wildly different moisture absorption rates and will create dense, crumbly muffins that don’t hold together well.
13.How full should I fill each muffin cup to avoid overflow while getting a good rise?
▾
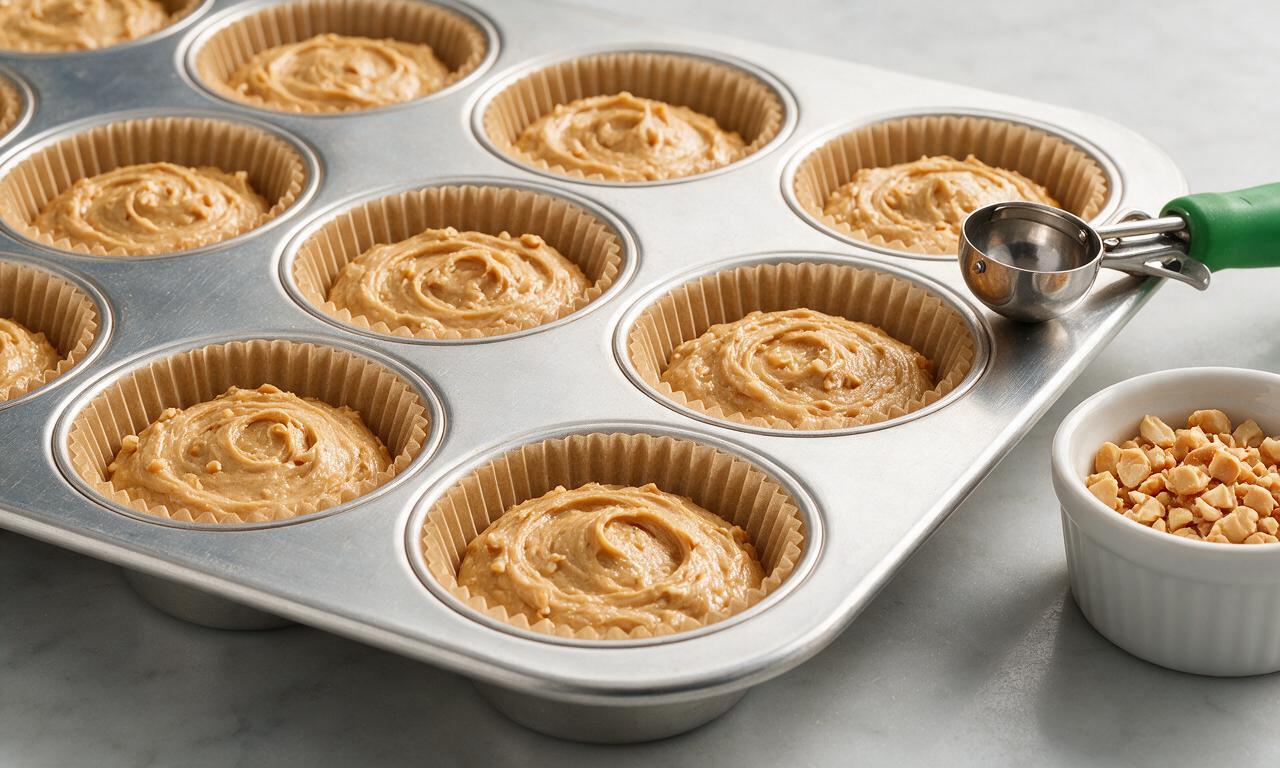
Fill each muffin cup about ⅔ to ¾ full of batter for the perfect size. If you fill cups all the way to the rim, the batter will rise quickly in the oven and spill over the edges of the tin, creating messy, flat-topped muffins stuck to the pan. If you fill them less than ⅔ full, you’ll end up with short, stubby muffins without that signature rounded, fluffy domed top.
14.Do I need to sift the all-purpose flour for this recipe?
▾
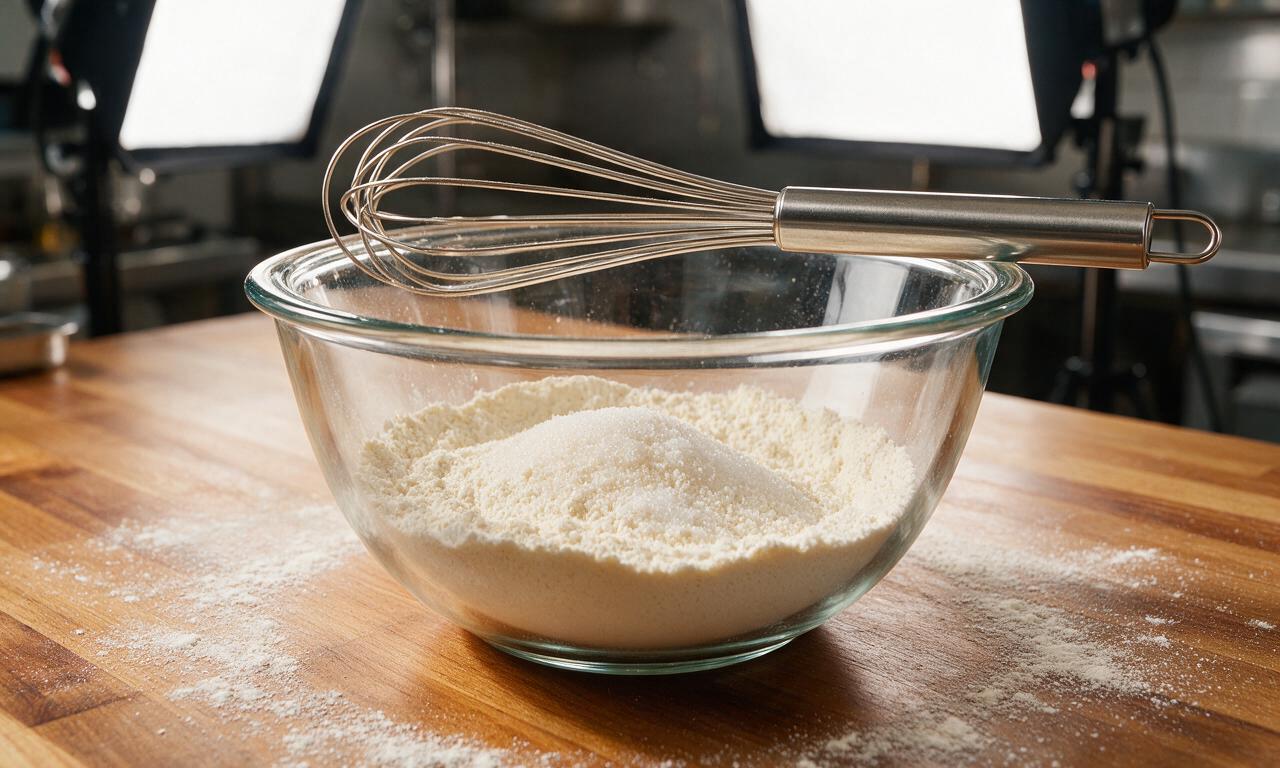
You don’t have to sift the flour, but I do recommend giving it a quick whisk in the bowl with the baking powder and sugar before adding wet ingredients. This breaks up any clumps of flour or leavening so they distribute evenly, preventing random pockets of dry flour in your finished muffins and supporting that light, uniform crumb without any extra fussy prep.
15.Can I mix the batter ahead of time to bake fresh muffins first thing in the morning?
▾
I don’t recommend mixing the full batter ahead of time, because baking powder starts activating as soon as it touches wet ingredients; letting it sit too long will lead to flat, dense muffins with almost no rise. Instead, mix all dry ingredients in a sealed container the night before, pre-measure your wet ingredients, and combine them right before baking for fast, no-fuss prep with zero loss of fluff.
16.Why are my muffin edges getting crispy and burnt before the center cooks through?
▾
This usually happens if your oven runs hot, or if you’re using a dark non-stick muffin tin that conducts heat much faster than light-colored metal tins. Grab an inexpensive oven thermometer to confirm your actual oven temperature matches the dial setting, and if you use a dark tin, drop the oven temperature by 25°F to slow edge browning so the center cooks through evenly without crispy, burnt edges.
17.Can I add a crumb topping to these muffins for extra texture?
▾
Absolutely! A simple peanut butter crumb topping pairs perfectly here. Mix 2 tablespoons melted butter, ¼ cup all-purpose flour, 2 tablespoons granulated sugar, and 1 tablespoon creamy peanut butter until coarse crumbs form, then sprinkle a tablespoon of the mixture over each muffin right before baking. It adds a sweet, nutty, crispy top that contrasts beautifully with the soft, fluffy interior crumb.
18.Are these muffins sturdy enough to pack in school lunches or picnic baskets?
▾
They’re perfect for that! They hold their shape really well at room temperature, don’t get soggy easily when stored correctly, and have no drippy fillings that leak through lunch bags or picnic wraps. Just be sure to cool them completely before packing, and tuck them into a small reusable container or sealed snack bag so they don’t get squished en route to school, work, or a holiday gathering.

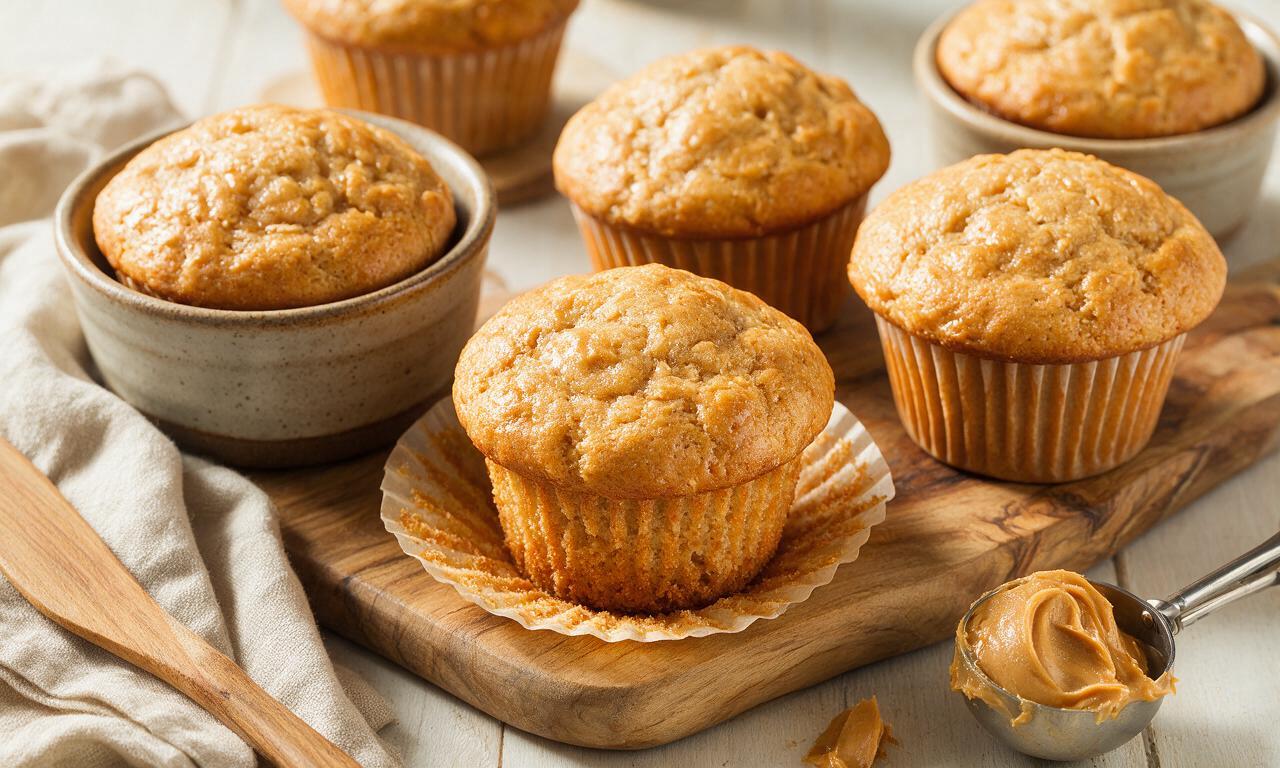






OMG these are SO good! I whipped these up for my kid’s after-school snack yesterday and they devoured every last muffin in 20 minutes. The texture is so light and fluffy, not dense like other peanut butter muffin recipes I’ve tried before. Perfect level of peanut butter flavor too, not overpowering at all.
Total game changer for meal prep! I make a batch of these every Sunday and grab one on my way to work all week. They stay moist for days if you store them in an airtight container, which is a huge win. Only thing I did differently was add a sprinkle of sea salt on top before baking, chef’s kiss.
Brought these to my neighborhood potluck last weekend and everyone was asking for the recipe! I was worried they’d be too dry since peanut butter baked goods can be hit or miss, but these were perfectly fluffy and everyone went back for seconds. Even my picky sister who hates peanut butter ate two!
Super easy recipe, even for someone who burns toast half the time! Total cook time was exactly 30 minutes like the recipe said, no extra steps or fancy ingredients needed. Mine came out a little stickier than I expected? Did I maybe overmix the batter?
I’ve been baking peanut butter muffins for my grandkids for 40 years, and this recipe is easily the fluffiest one I’ve ever made. The secret of not overmixing the batter? Total truth! I added a dollop of grape jelly in the center of each before baking for a little PB&J surprise, and the kids lost their minds.
SO good! I used crunchy peanut butter instead of creamy because that’s all I had in the pantry, and it added the perfect little nutty crunch in every bite. Will 100% be making these again for my book club next month, they’re the perfect grab-and-go sweet treat that’s not too sugary.
Tried these this morning for breakfast and they were great, but I noticed mine didn’t rise as much as the photos show? I used regular all-purpose flour like the recipe said, not sure where I went wrong.
OMG I can’t believe how easy these are! I’m a college student with basically zero kitchen supplies, and I made these in my dorm’s shared kitchen with just a mixing bowl and a cheap muffin tin. No fancy mixer required, which is a total win for anyone without a bunch of gear.
These are perfect for my son’s peanut butter themed birthday party! I’m going to make mini muffins instead of full size, should I adjust the bake time at all?
Game changer for my post-gym snack! I added a scoop of vanilla protein powder to the batter and they turned out amazing, still fluffy and not chalky at all like most protein baked goods. Great base recipe to tweak to your own taste preferences.
Made these for family dinner last night and everyone raved! I was nervous because I’m usually terrible at baking muffins (they always turn into hard little rocks lmao) but these were so light and fluffy even I couldn’t mess them up. The 10 minute prep time is no joke, I had them in the oven before my oven even finished beeping to say it was preheated almost.