1.Why do these peanut butter muffins stay moist instead of turning dry and crumbly?
▾
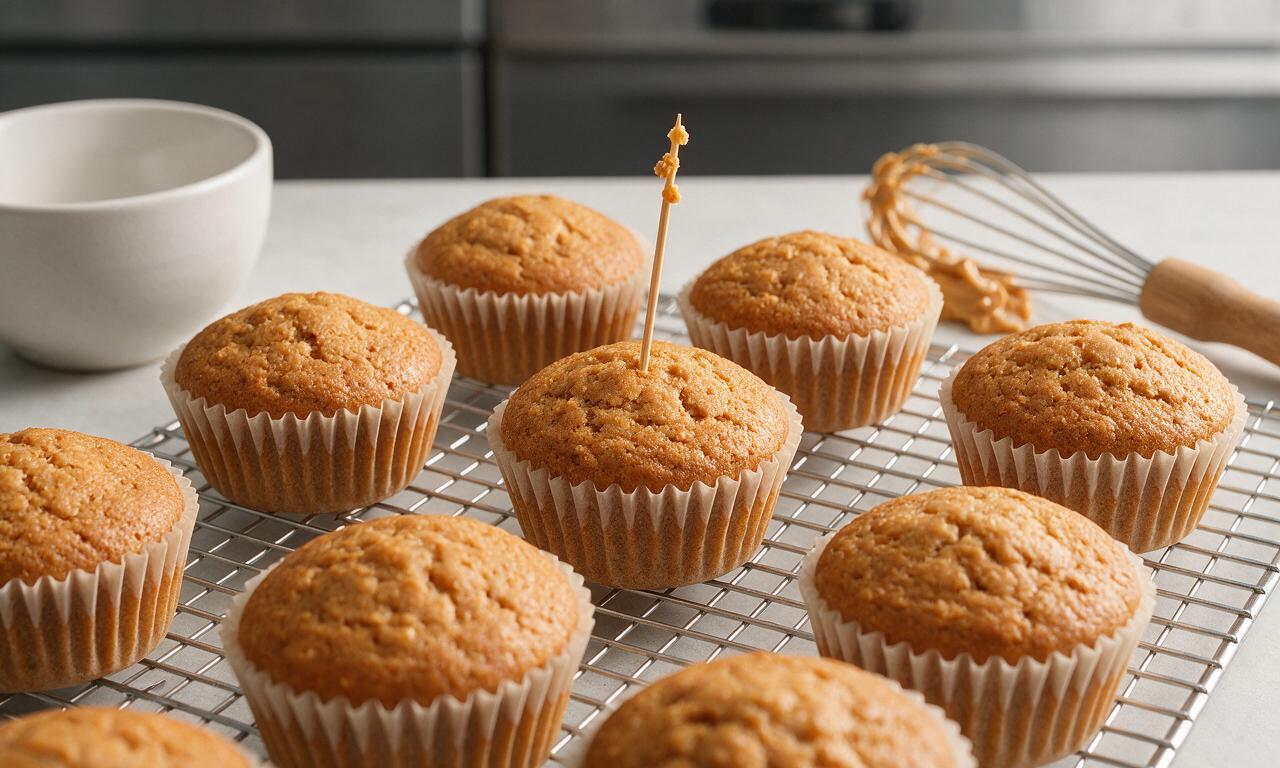
Great question! The balanced ratio of fat-rich creamy peanut butter and whole milk creates a moisture-locked tender crumb, as long as you don’t overmix the batter (overdeveloped gluten makes muffins tough) and avoid overbaking. Pull them when a center toothpick has 1-2 soft, moist crumbs attached, not totally clean.
2.Can I use crunchy peanut butter instead of creamy for this recipe?
▾
Absolutely! Swapping creamy for crunchy peanut butter adds tiny, satisfying nutty bits throughout each muffin without throwing off the moisture balance. Just stick to no-stir, shelf-stable crunchy peanut butter instead of the oil-separated natural kind, which can make the batter too oily and ruin the soft, even crumb.
3.How long does it actually take to make these muffins from start to finish?
▾
This whole recipe comes together in 40 minutes flat, perfect for busy weekday mornings. You’ll spend about 10 minutes prepping and mixing the batter, 20 to 22 minutes baking, and 8 minutes letting them cool slightly in the tin before popping them out to eat or pack for on-the-go meals.
4.Do I need any special equipment to make these peanut butter muffins?
▾
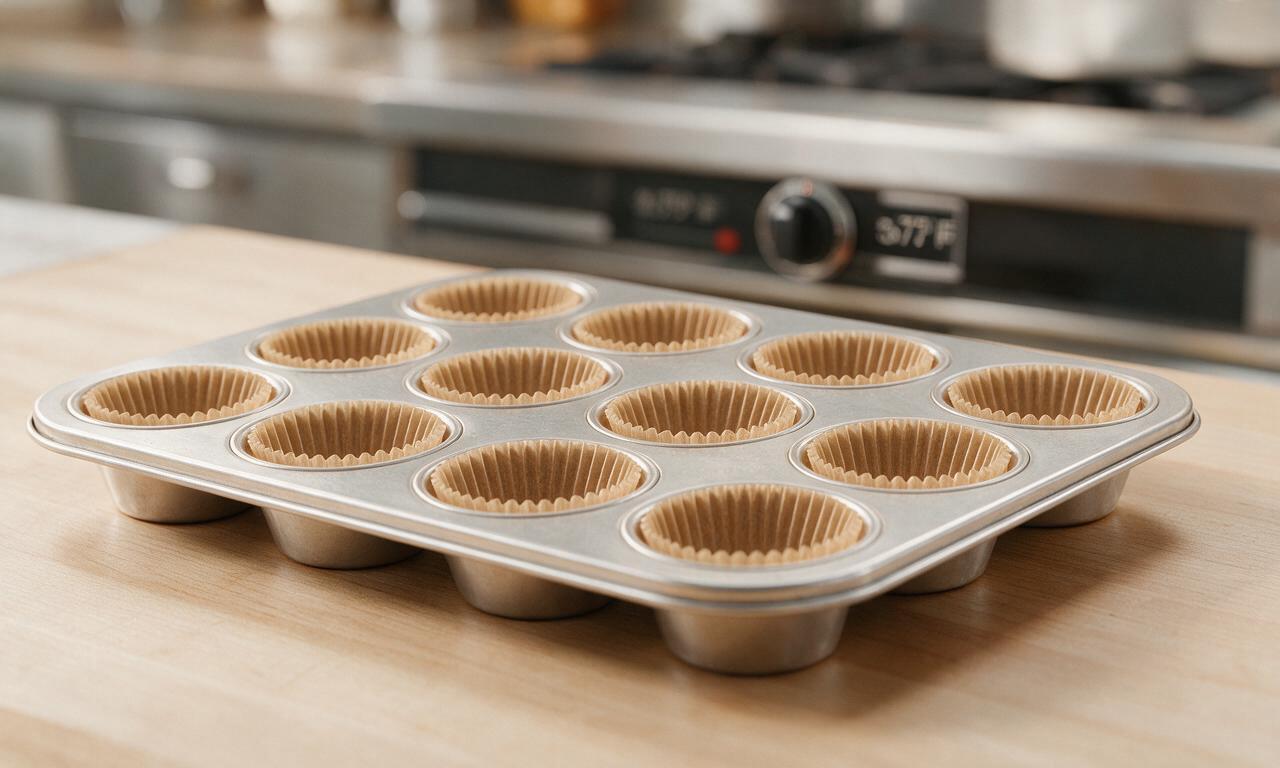
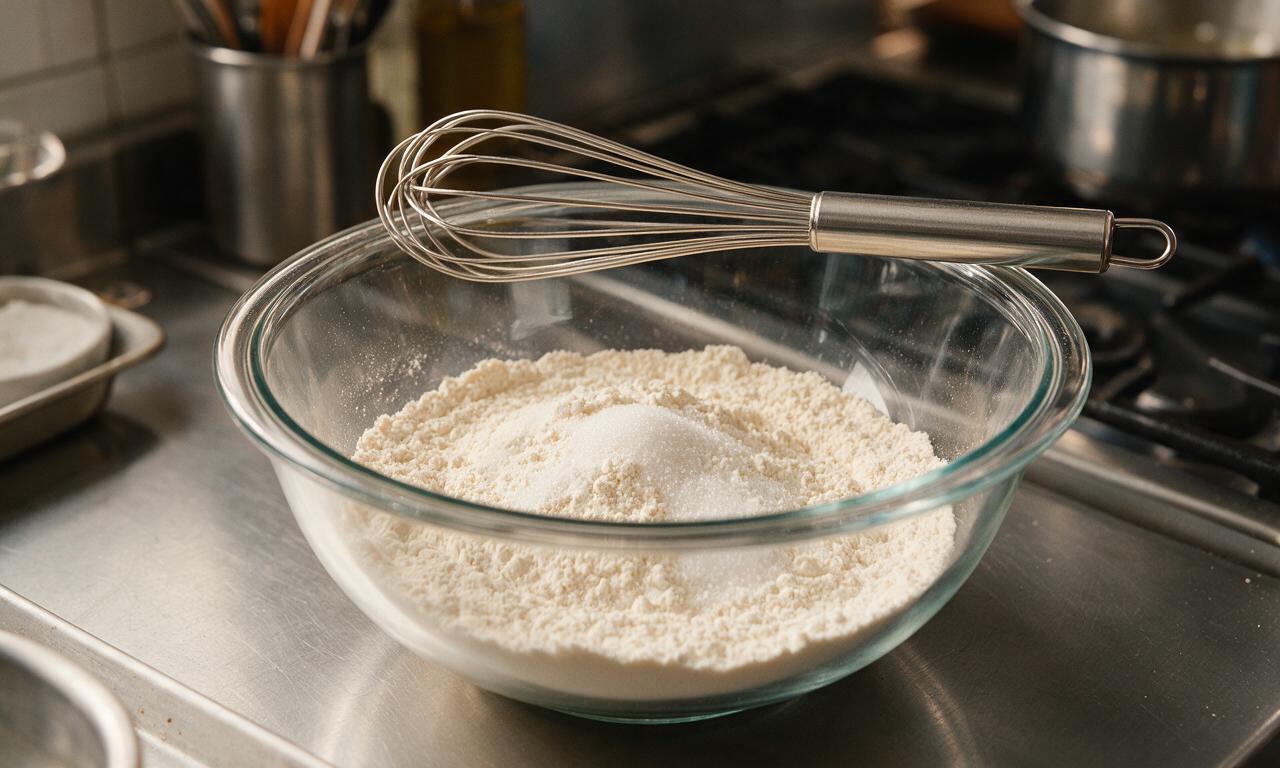
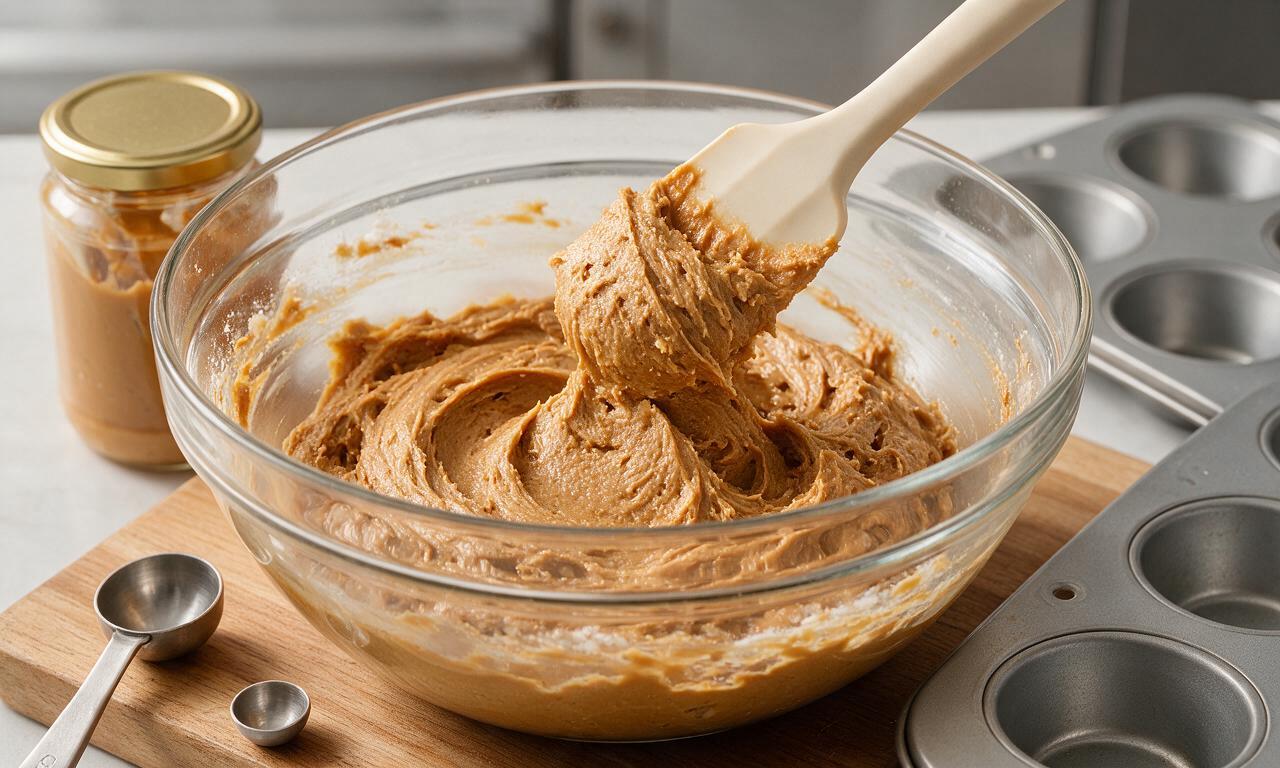
No fancy gear required! All you need is a standard 12-cup muffin tin, paper liners or a little nonstick spray to grease the tin cups, two mixing bowls (one for dry ingredients, one for wet), a whisk or rubber spatula, and a regular home oven—no stand mixer or special pastry tools necessary.
5.Can I substitute a plant-based milk for the whole milk in this recipe?
▾
Yes, you can swap whole milk for unsweetened plain oat milk or soy milk for a dairy-free version with minimal texture change. Skip thin, watery options like almond milk, though—those don’t have enough fat to replicate the rich, tender crumb whole milk creates, and can leave muffins dry or slightly tough.
6.Why is there no salt listed in the key ingredients for these muffins?
▾
Most standard shelf-stable creamy peanut butter already has added salt to balance its nutty, rich flavor, so extra salt usually isn’t necessary. If you’re using unsalted creamy peanut butter, just stir 1/4 teaspoon of fine table salt into your dry all-purpose flour and baking powder mix to amp up flavor without making muffins salty.
7.How do I know if my baking powder is fresh enough to make these muffins rise properly?
▾
Baking powder loses its leavening power about 6 months after opening, so test it first if it’s old: drop 1/2 teaspoon into a small cup of hot water. If it fizzes vigorously right away, it’s good to go. If it barely bubbles, swap it for a fresh can—flat baking powder leads to dense, sunken muffins instead of light, tender ones.
8.Can I add mix-ins to these peanut butter muffins?
▾
Of course! Stir in up to 3/4 cup of mix-ins right after combining wet and dry ingredients to keep the texture light. Great options include mini chocolate chips, chopped roasted peanuts, dried blueberries, or tiny bits of banana—just don’t add too many, or they’ll weigh the batter down and prevent even rising.
9.What’s the best way to store these muffins to keep them moist?
▾
Let muffins cool completely to room temperature first, then tuck them into an airtight container lined with a paper towel to absorb excess condensation. They’ll stay soft and moist on the counter for up to 4 days, or you can freeze them individually wrapped in plastic for up to 3 months for quick grab-and-go breakfasts.
10.Why did my muffins come out dense and tough instead of light and tender?
▾
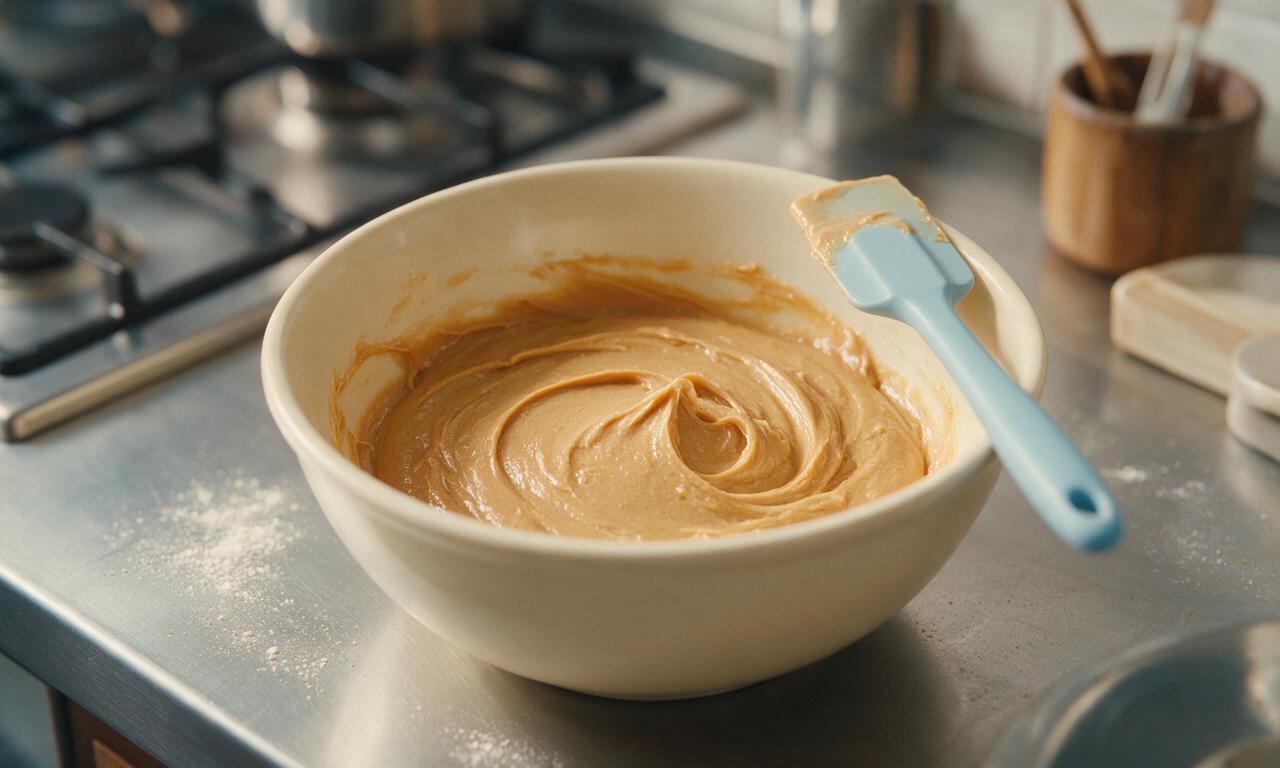
The most common culprit is overmixing the batter. Once you add the dry ingredients (flour, baking powder, sugar) to the wet peanut butter and milk mix, stir only until you no longer see dry streaks of flour—lumps are totally fine! Overstirring develops gluten in the flour, creating that tough, chewy, dense texture no one wants.
11.Can I make these muffins with natural, oil-separated peanut butter instead of regular creamy?
▾
I don’t recommend it for this specific recipe. Separated natural peanut butter has a different oil-to-solid ratio than no-stir creamy peanut butter, and can make the muffins greasy, crumbly, or unevenly moist. If that’s all you have, stir it extremely well, pour off 1 teaspoon of excess oil, and add 1 extra tablespoon of flour to balance.
12.Are these muffins sweet enough to serve as dessert, or are they better for breakfast?
▾
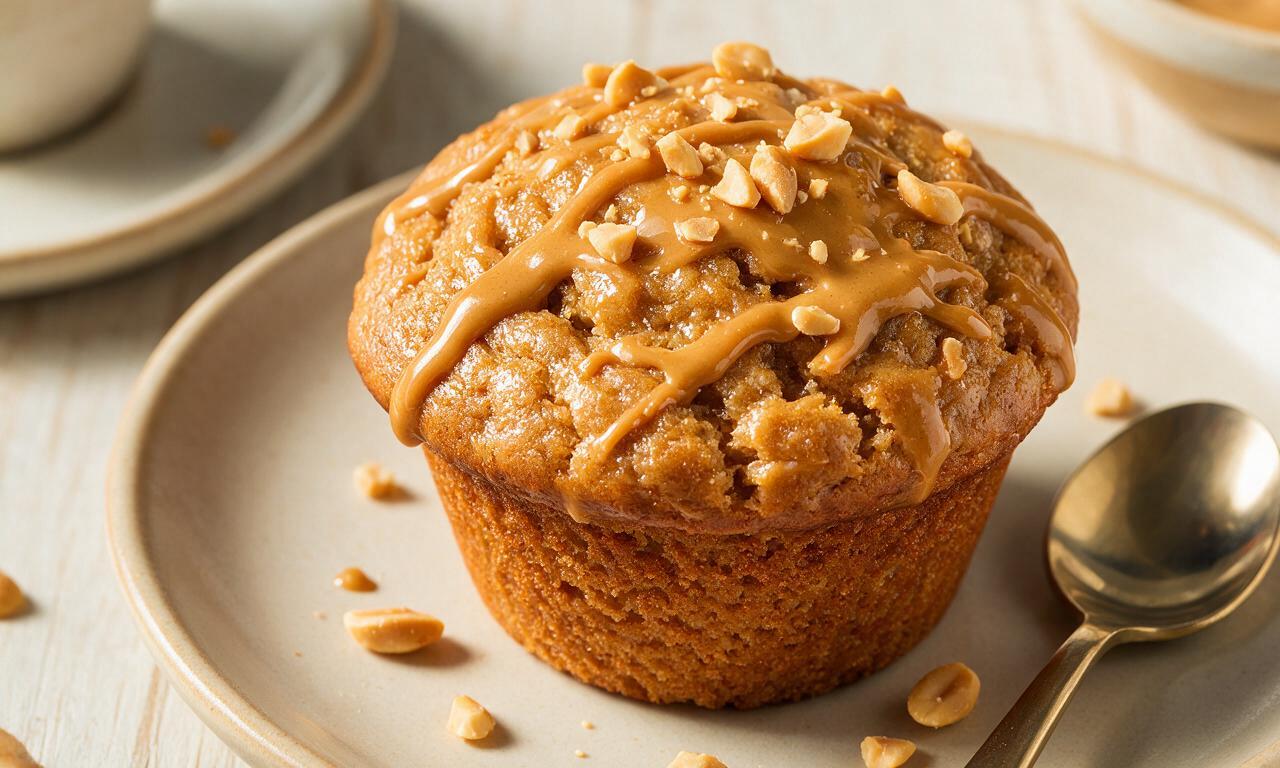
These are lightly sweet, not cloying like a cupcake, so they’re ideal for quick on-the-go breakfasts or casual shared snacks. If you want to make them more dessert-like, add a simple 2-ingredient peanut butter glaze (powdered sugar mixed with a little milk and peanut butter) drizzled on top once fully cooled.
13.Do I need to sift the all-purpose flour for this recipe?
▾
No sifting required! Sifting helps lighten flour for ultra-delicate cakes, but these muffins are meant to have a soft, homey, tender crumb that doesn’t need extra aeration. Just spoon the flour into your measuring cup and level it off with a knife instead of scooping straight from the bag, which packs the flour too tight and makes the muffins dense.
14.Can I make these muffins in a mini muffin tin instead of a standard size?
▾
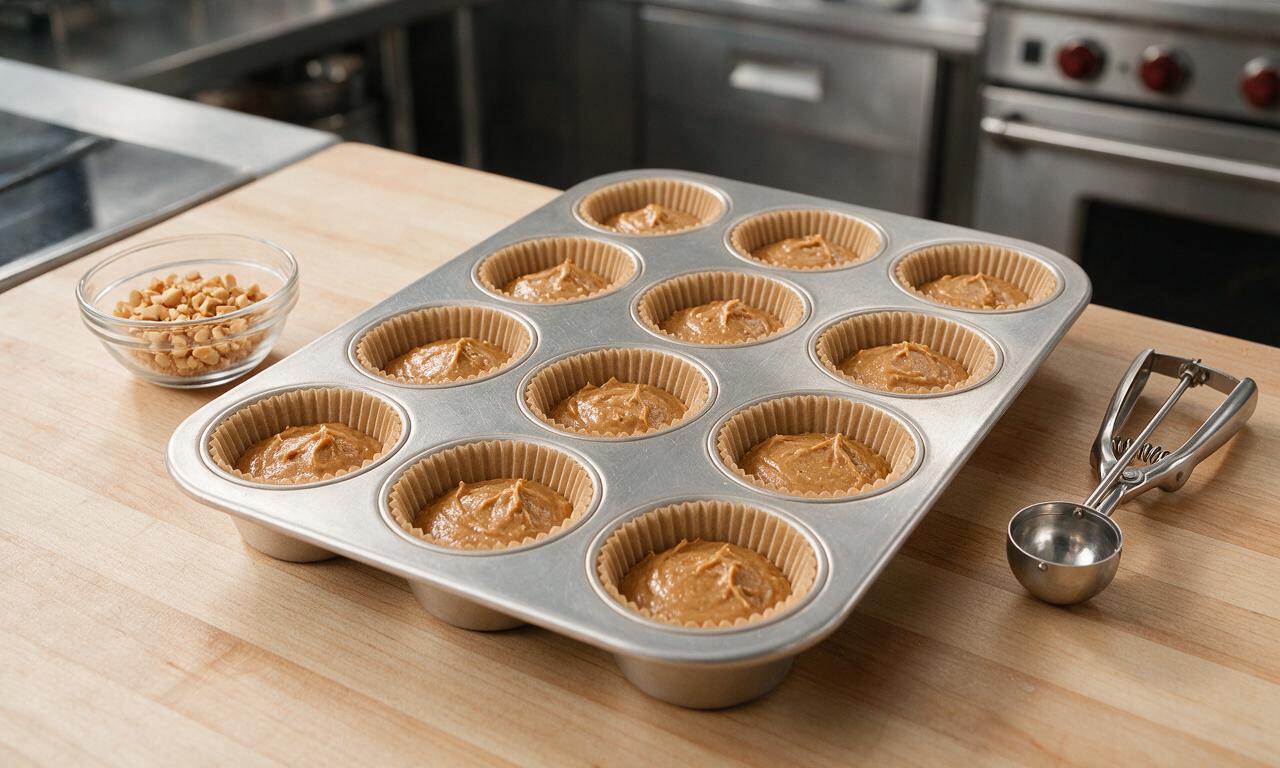
Definitely! Mini peanut butter muffins are perfect for kid snacks or potluck spreads. Fill mini muffin cups 2/3 full, same as you would for standard size, and cut baking time down to 10 to 12 minutes at the same oven temperature. Start checking for doneness at 10 minutes to avoid overbaking those tiny, bite-sized treats.
15.Why do my muffin tops come out flat instead of nicely domed?
▾
Flat tops usually happen if your oven temperature is too low, or your baking powder is expired. First, confirm your oven temp with an inexpensive oven thermometer—home ovens often run 25 to 50 degrees off! Also, fill each muffin cup 2/3 full of batter, not less, so there’s enough volume to rise into a rounded domed top.
16.Can I reduce the amount of granulated sugar in this recipe?
▾
You can cut the granulated sugar by up to 25% without ruining texture or flavor, since peanut butter adds its own rich, nutty base. I don’t recommend cutting more than that, though—sugar doesn’t just add sweetness, it helps lock in moisture and create a soft crumb, so too little can leave muffins dry, bland, and pale on top.
17.Should I let the batter rest before scooping it into the muffin tin?
▾
Unlike some thicker muffin batters that benefit from resting, this one goes straight into the tin right after mixing. The baking powder starts activating as soon as it hits the wet milk and peanut butter, so waiting too long to scoop and bake will make the muffins rise less, leading to denser, flatter results with a less tender crumb.
18.Can I add a surprise filling to the center of these muffins?
▾
Absolutely! For a fun twist, fill each muffin cup halfway with batter, drop a teaspoon of jelly, Nutella, or extra peanut butter in the center, then cover with another small scoop of batter to fill the cup 2/3 full. Keep the filling portion small, though—too much will leak out the sides or make the muffin center soggy instead of soft and set.
19.How do I keep the muffins from sticking to the paper liners?
▾
The easiest trick is to let muffins cool in the tin for 8 to 10 minutes after pulling them out of the oven before lifting them out to finish cooling. If you peel liners off when muffins are still piping hot, the soft crumb will stick to the paper. You can also lightly spray the inside of liners with a tiny bit of nonstick spray for extra insurance.







OMG these are SO good!!! I’ve tried so many dry peanut butter muffin recipes before and this one is perfectly moist every single time. I added a handful of mini chocolate chips to half the batch for my kids and they devoured them before breakfast even ended. Total game changer for school morning meal prep, 10/10!
Brought these to my office potluck yesterday and people were begging me for the recipe before I even left! They’re so easy to whip up, I didn’t even need to pull out my stand mixer. I topped mine with a little drizzle of honey and a sprinkle of flaky sea salt, chef’s kiss. Only thing I’ll note is they baked a tiny bit faster in my convection oven, so I pulled them out at 18 minutes instead of the full bake time to keep them from drying out.
As someone who burns literally every baked good I try, these were foolproof! Super easy recipe (which is perfect for beginner bakers like me), used ingredients I already had in my dorm pantry, no fancy equipment needed. They came out so moist and rich with peanut butter flavor, I ate two straight out of the muffin tin while they were still warm. 10/10 will be making these every Sunday for my weekly study snack meal prep.
Made these with a 1:1 gluten free all purpose flour swap and they turned out AMAZING. I was worried the texture would be dense or crumbly but they’re just as moist and fluffy as the regular version, my whole family loved them. I did add an extra tablespoon of creamy peanut butter because I’m a total fiend for it, zero regrets.