
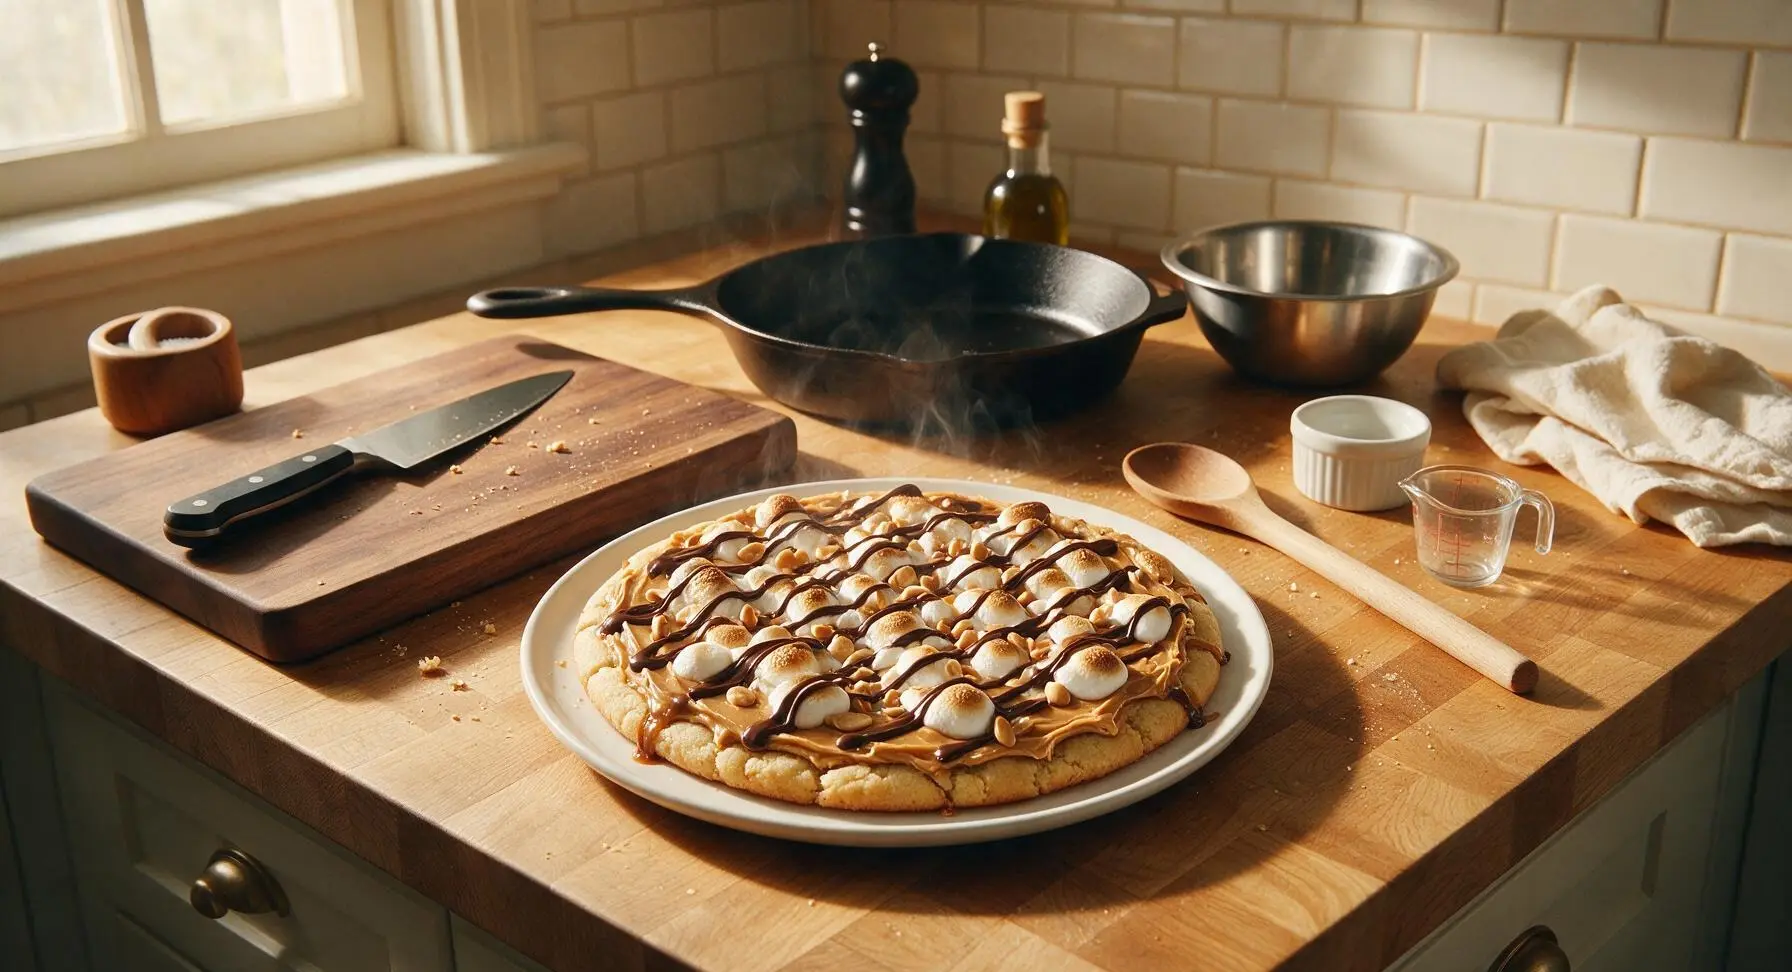
Peanut Butter Pizza

title 1
Peanut Butter Pizza
⏱️ cook time 13 minutes
🍽️ servings 8
⚡ Difficulty easy

intro

A nostalgic, shareable American dessert: chewy sugar cookie crust slathered with creamy peanut butter, topped with toasted marshmallows, chocolate drizzle, and salty peanuts for the perfect sweet-salty bite.

Ingredients
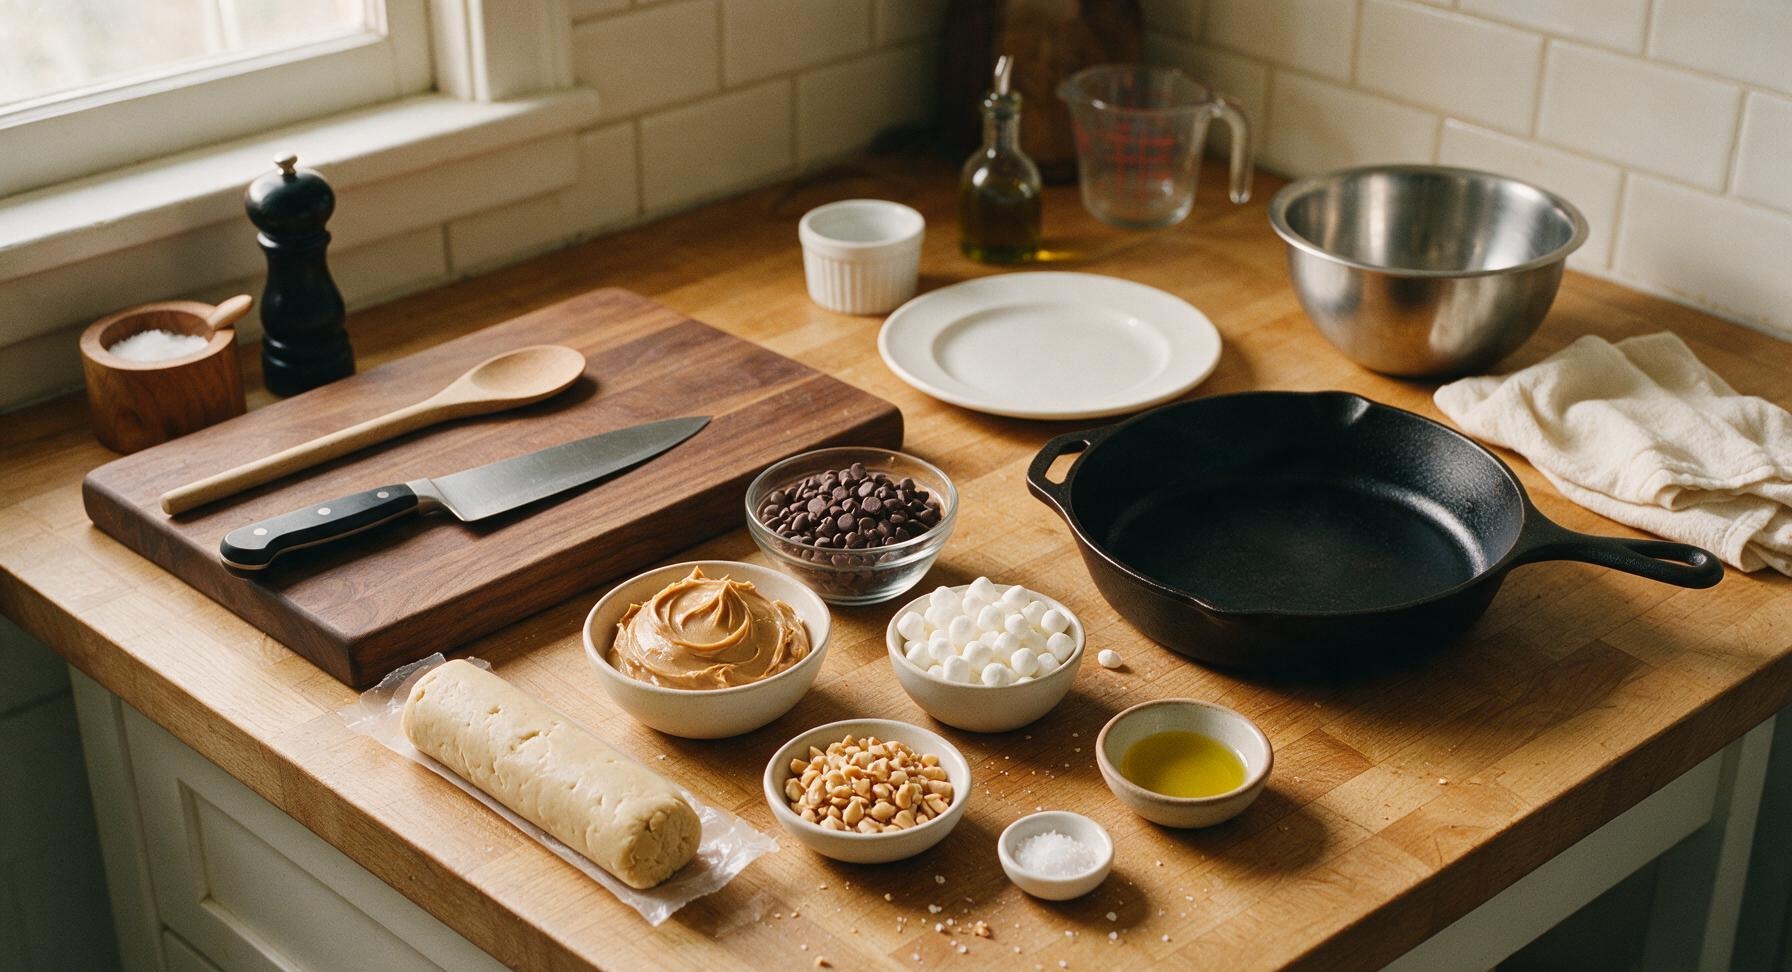
Refrigerated sugar cookie dough 450g (16oz log)
No-stir creamy peanut butter 180g (¾ cup)
Semi-sweet chocolate chips 90g (½ cup)
Mini marshmallows 25g (½ cup)
Roasted salted peanuts, chopped 35g (¼ cup)
Canola oil 5ml (1 tsp)
Flaky sea salt 1 tsp

Steps

1

Prep Pan and Oven

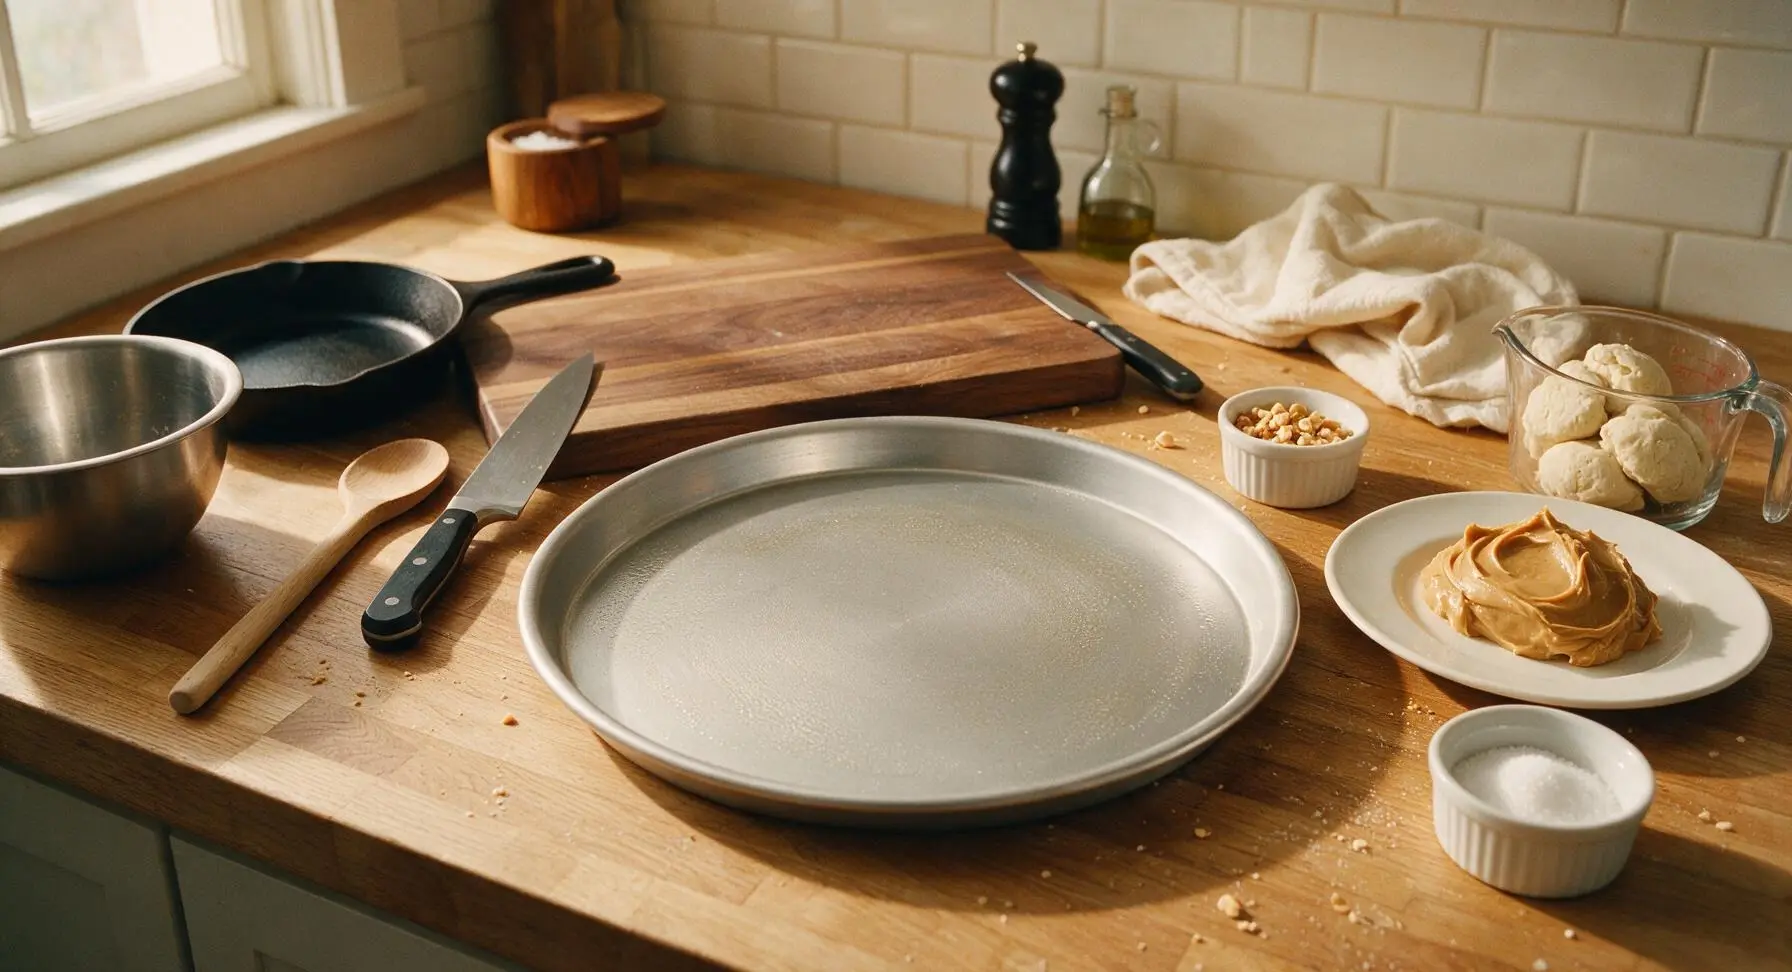
Preheat your oven to 375°F (190°C), with the rack positioned in the center for even baking. Lightly grease the surface of the 12-inch matte aluminum pizza pan with a thin swipe of butter or non-stick spray to prevent the cookie crust from sticking during baking.
Step 1
step1:Prep Pan and Oven
2

Press Cookie Crust

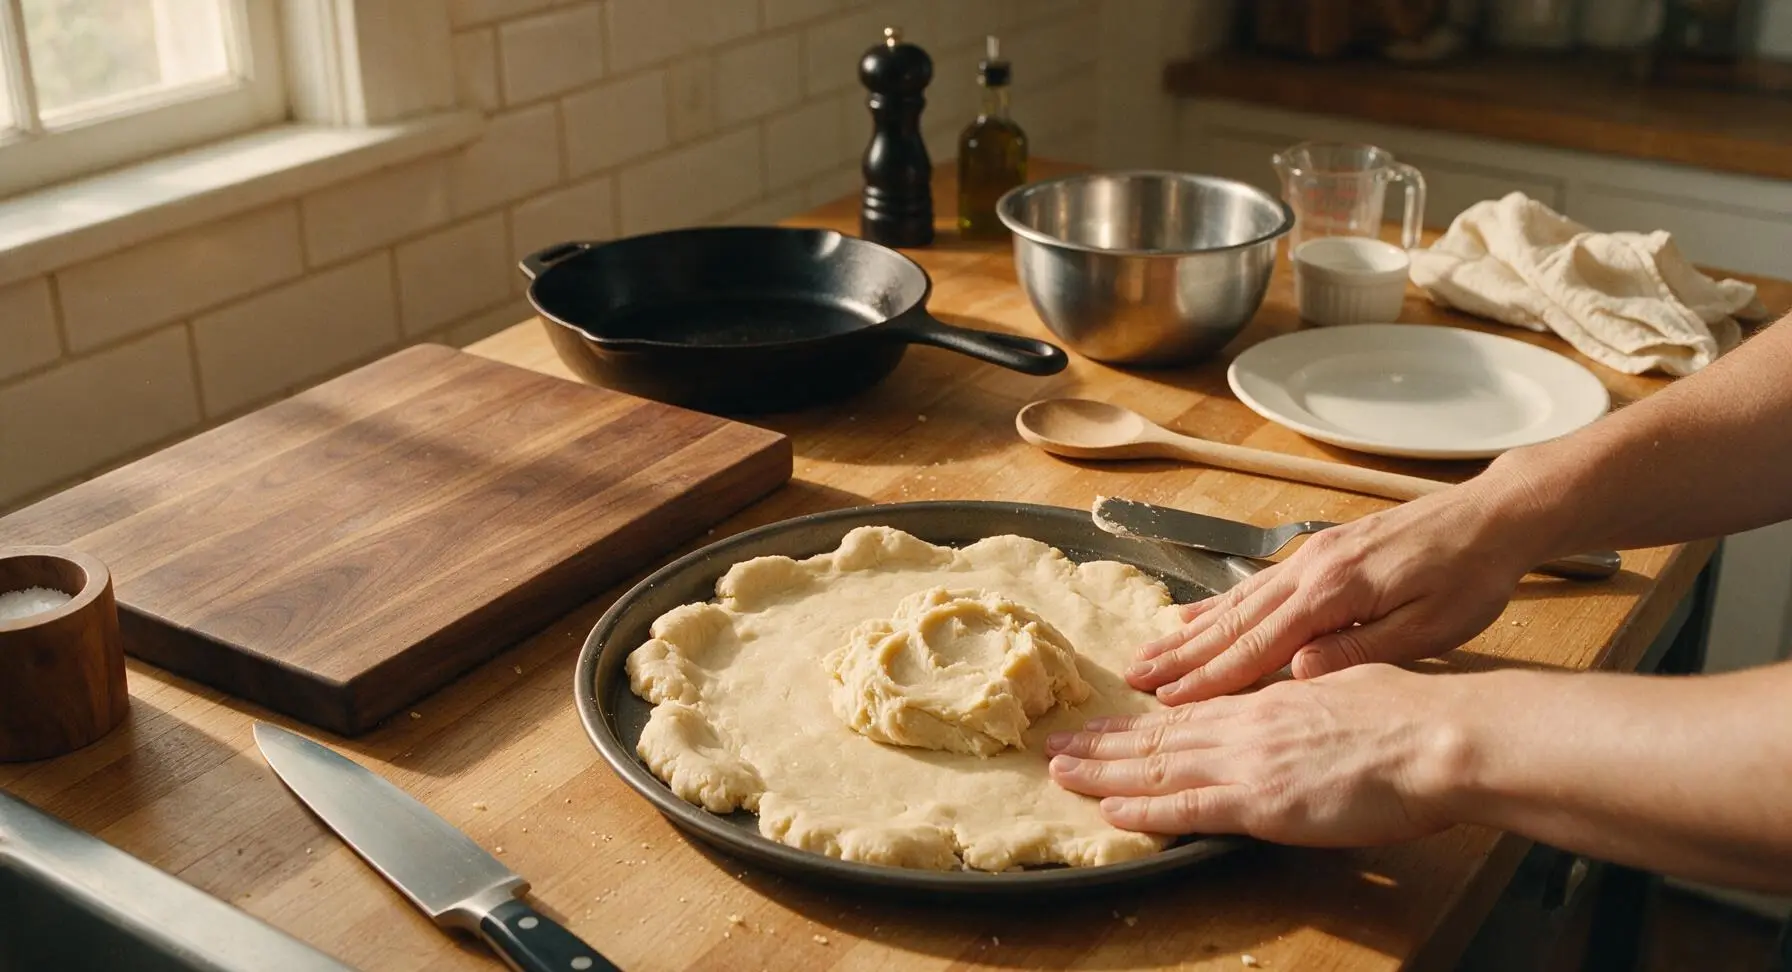
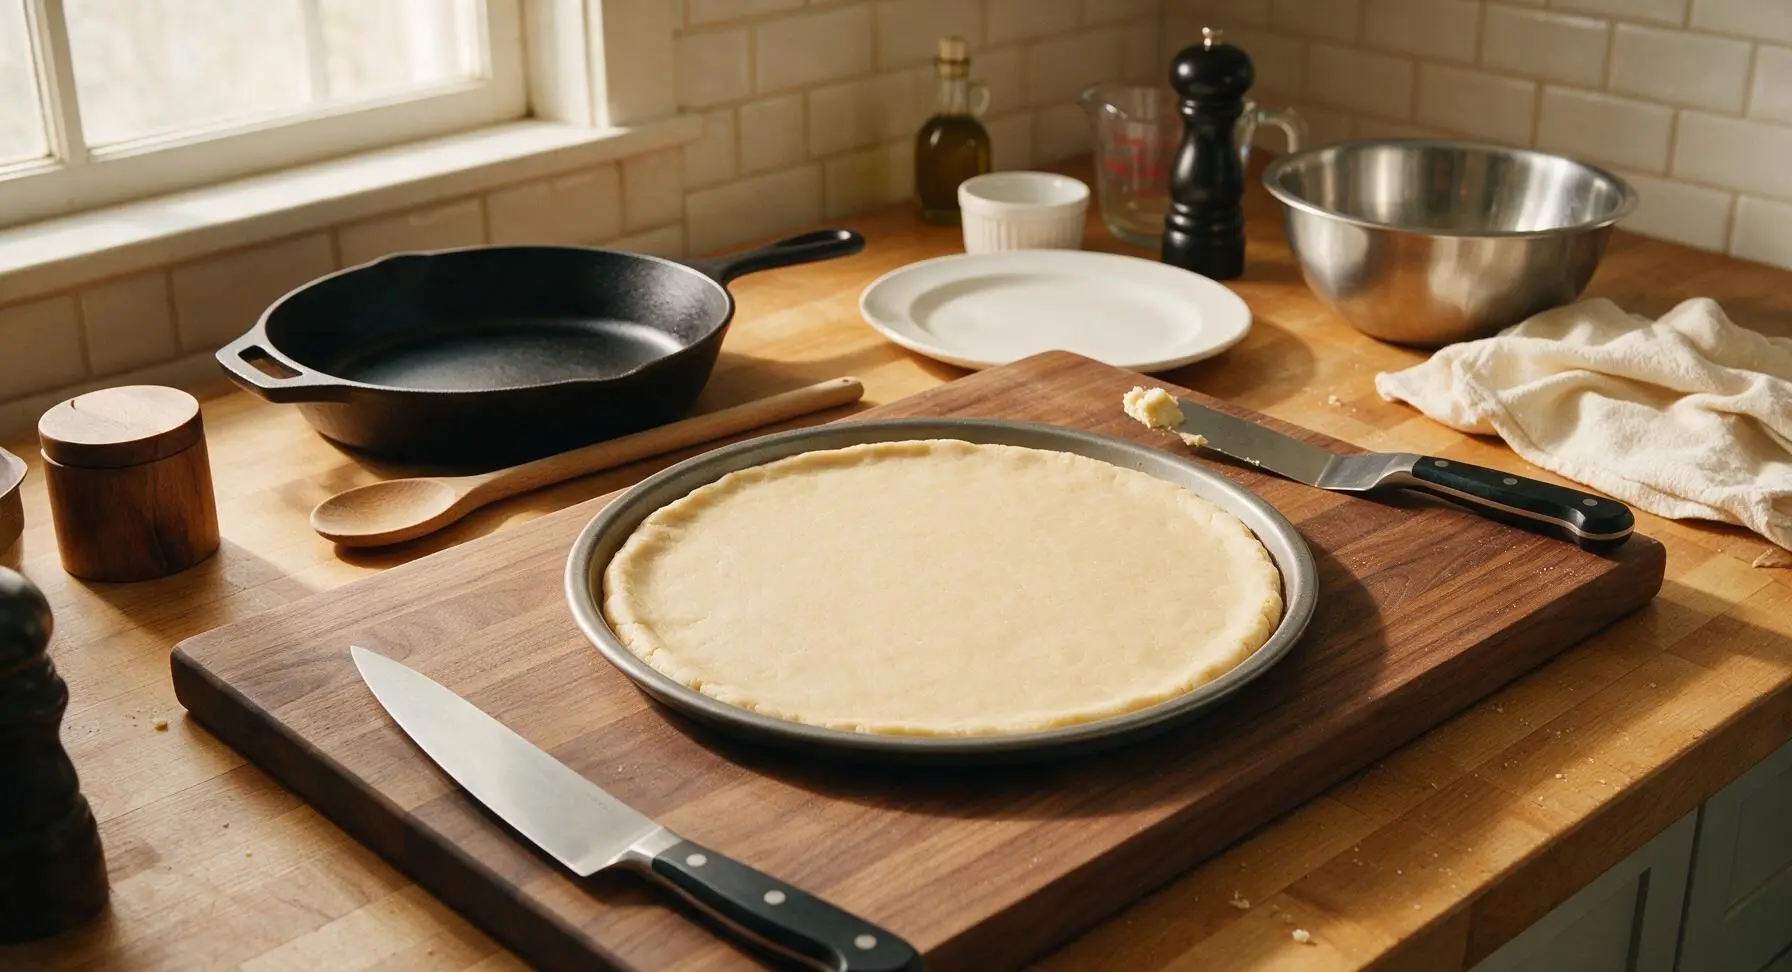
Place the unwrapped sugar cookie dough in the center of the greased pizza pan. Use the stainless steel offset spatula (or clean, lightly floured fingers) to press the dough into an even ¼-inch thick layer across the entire pan, extending all the way to the raised rim. Smooth out any lumps, cracks, or thin spots to ensure the crust bakes evenly with no hard, crispy thin edges.
Step 2
step2:Press Cookie Crust
Step 2
step2:Press Cookie Crust
3

Bake and Cool Crust

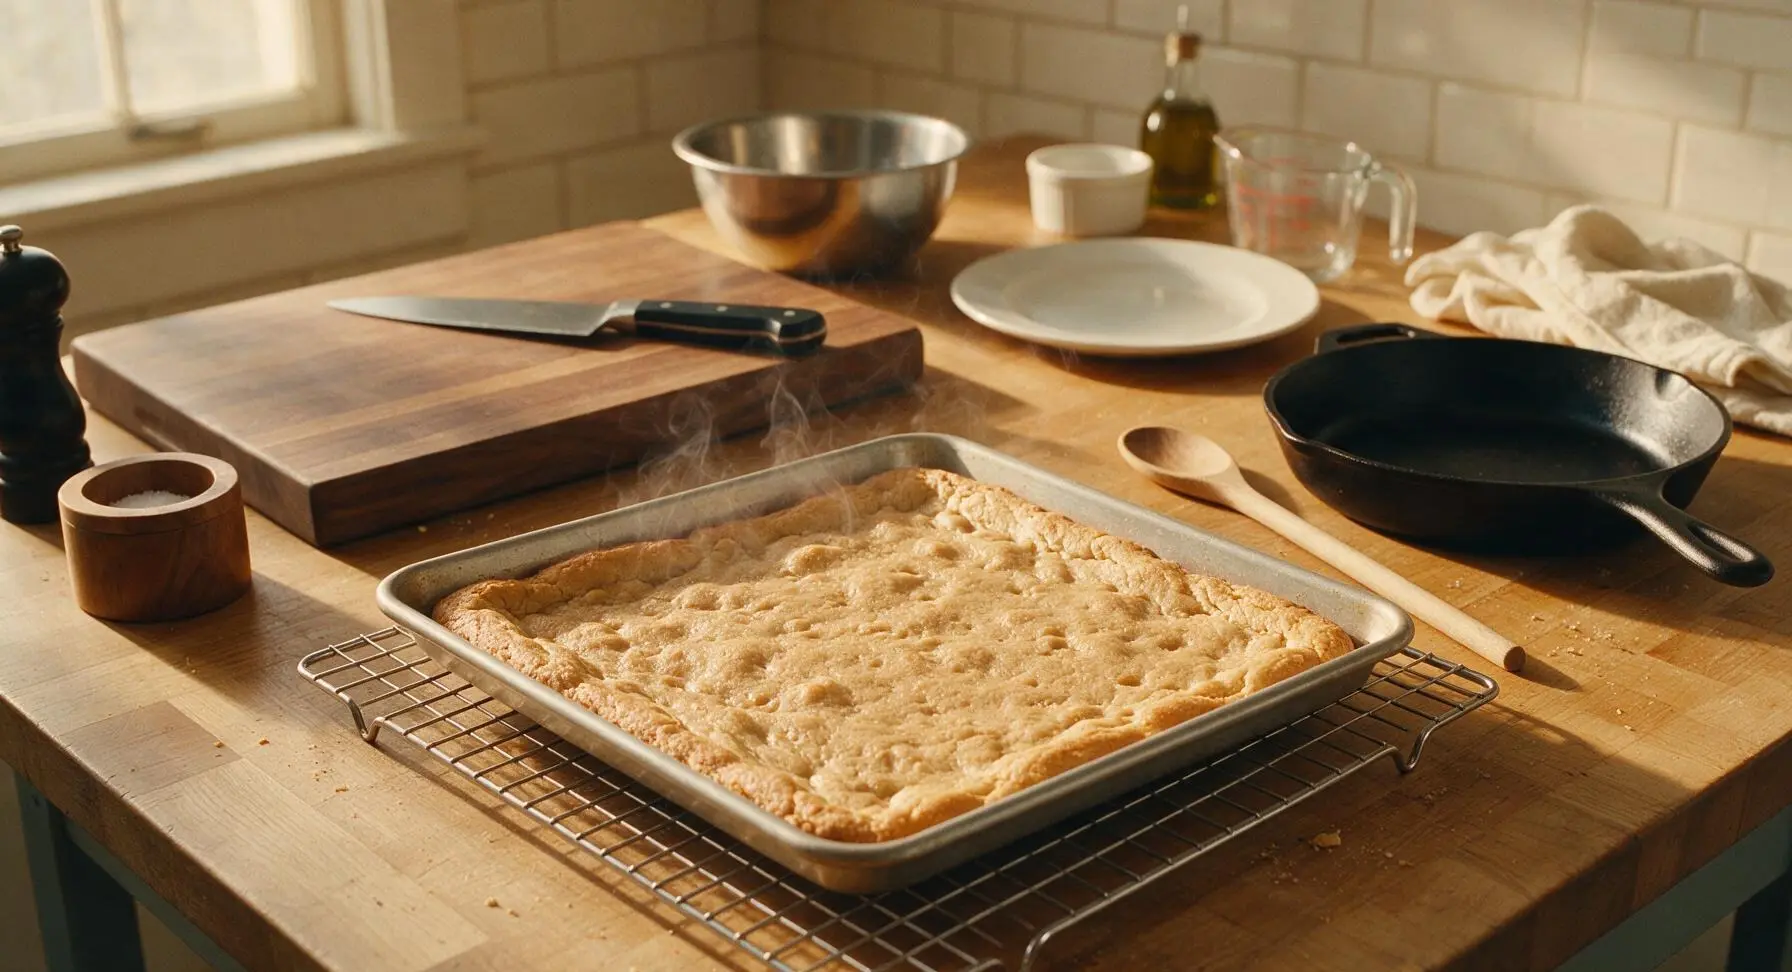
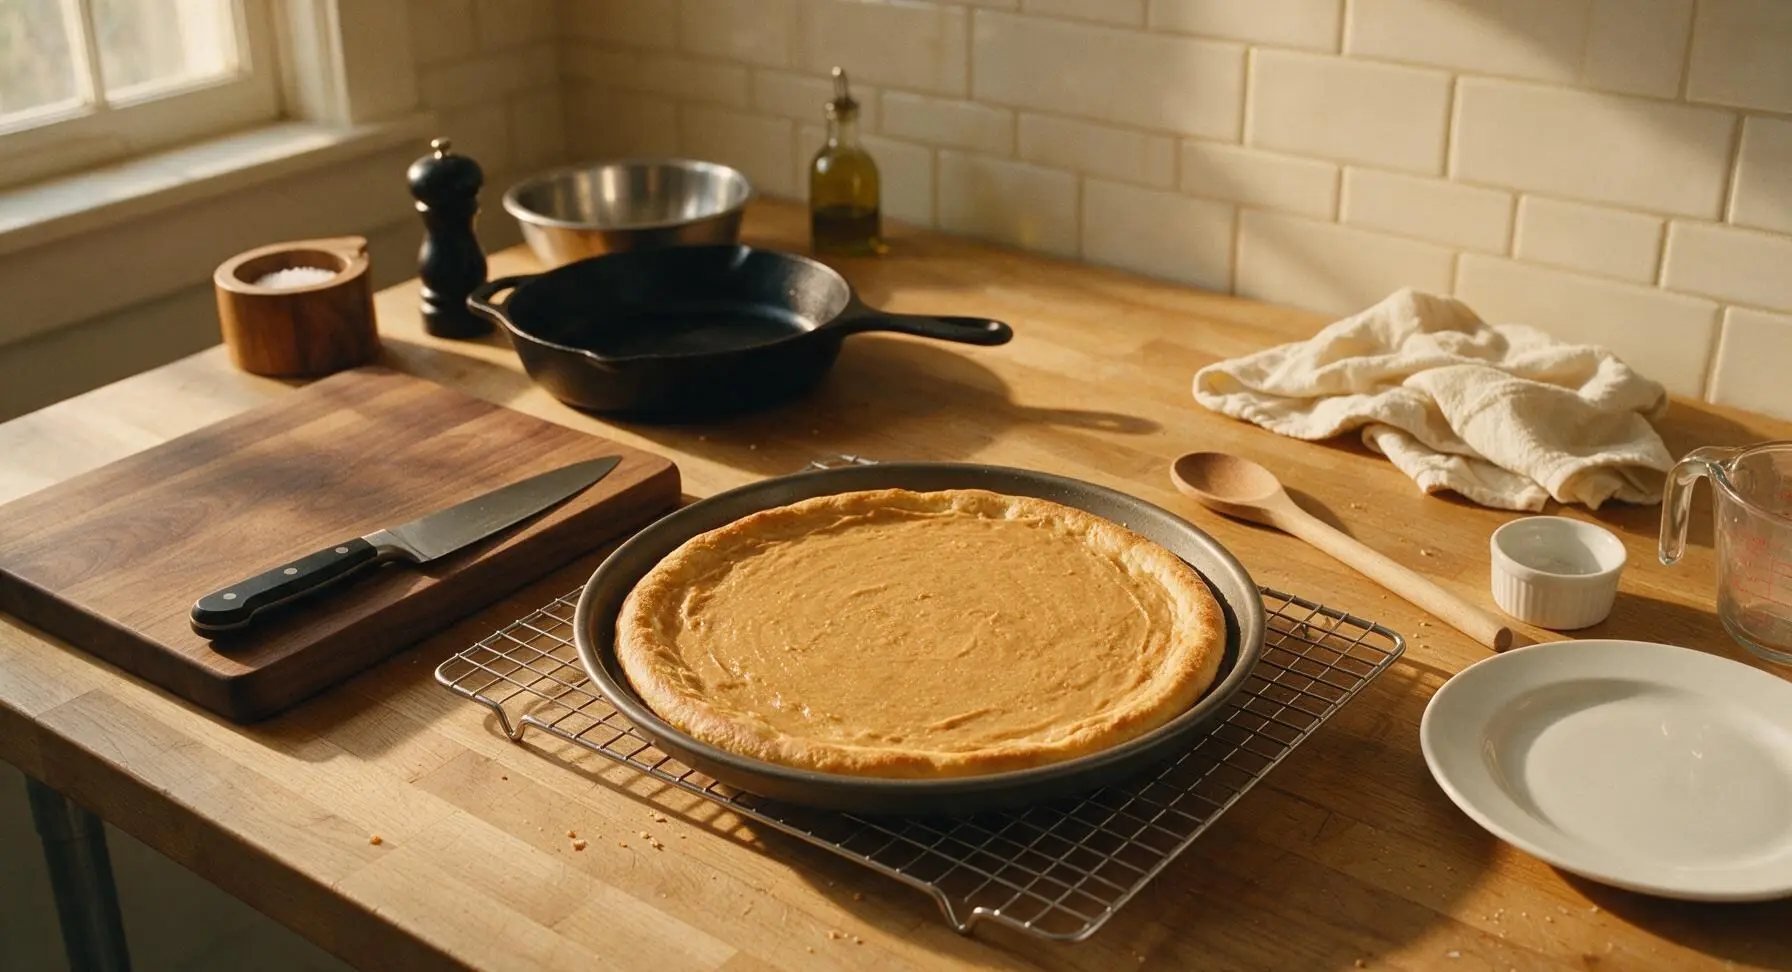
Place the pan with pressed crust on the center oven rack and bake for 10-12 minutes, until the crust is light golden brown at the edges and set across the top; it will puff slightly as it bakes. Once baked, carefully remove the pan from the oven and set it directly on the chrome wire cooling rack on the counter. Let the crust cool completely for 10 minutes before adding any toppings to prevent peanut butter from melting and sliding off.
Step 3
step3:Bake and Cool Crust
Step 3
step3:Bake and Cool Crust
4

Spread Peanut Butter Layer

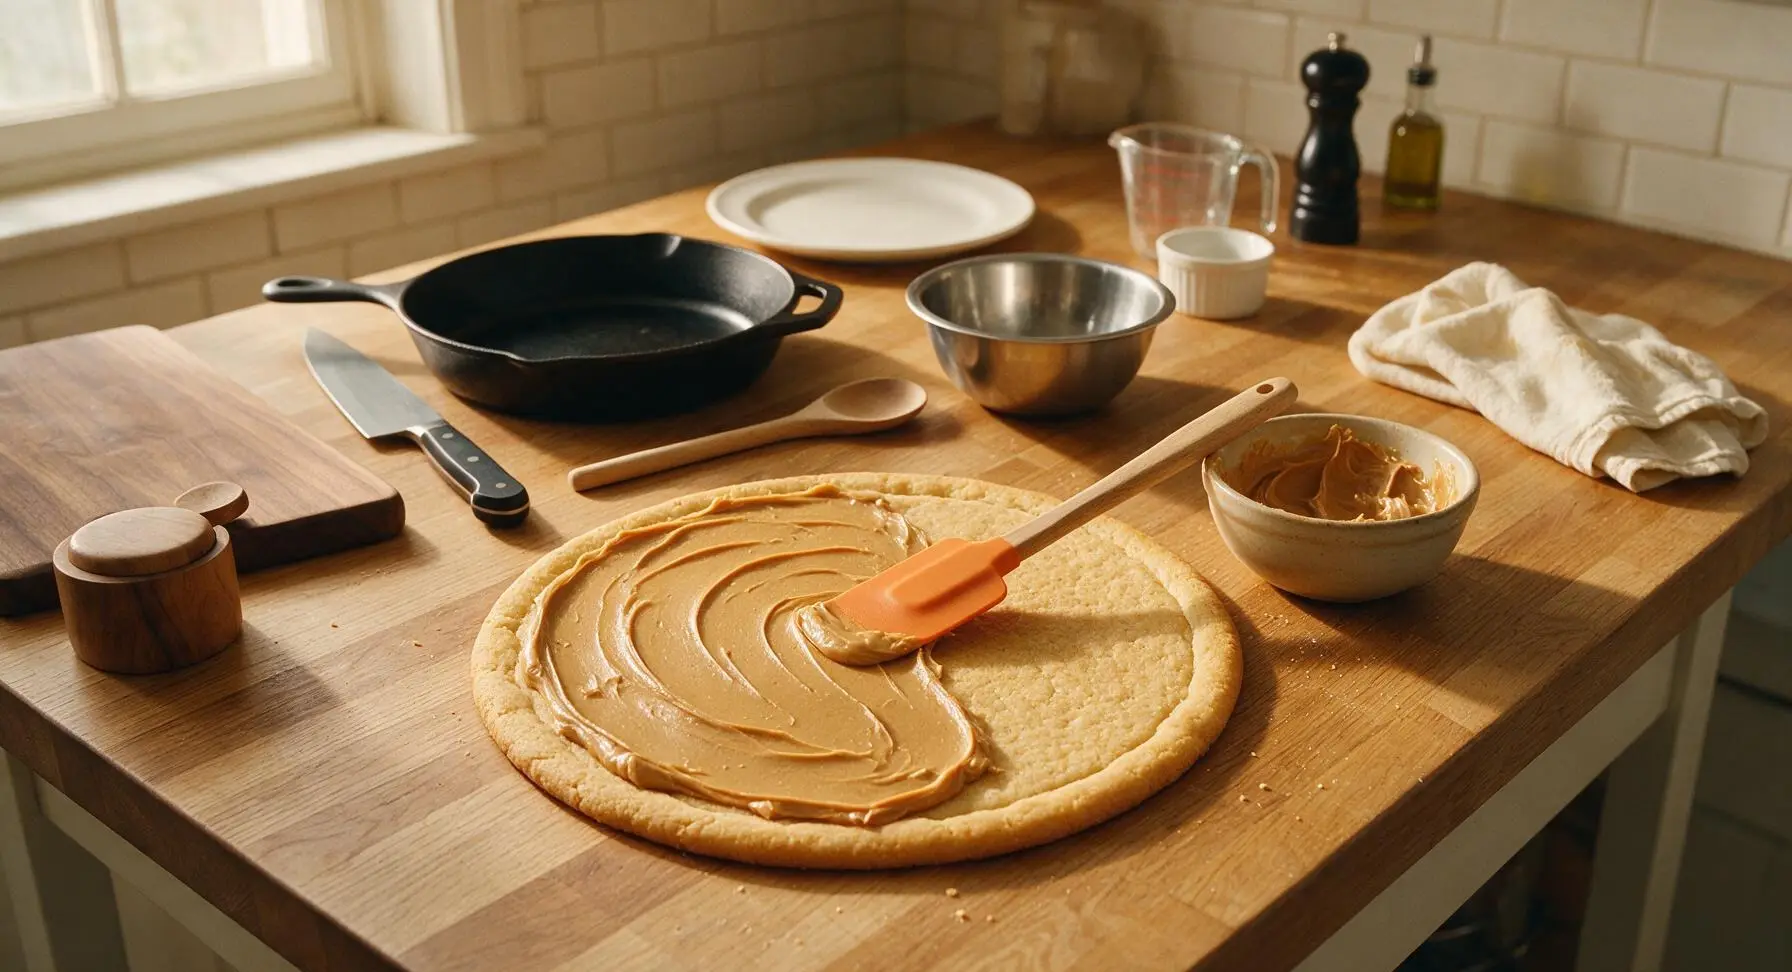
Scoop the full ¾ cup (180g) of creamy no-stir peanut butter into the center of the cooled cookie crust. Use the matte tangerine silicone spatula to spread the peanut butter into an even ⅛-inch thick layer, leaving a ½-inch bare golden crust border around the edge to mimic a traditional pizza rim. Spread slowly to avoid tearing the soft cooled cookie base.
Step 4
step4:Spread Peanut Butter Layer
5

Toast Marshmallow Topping

Sprinkle the ½ cup of mini marshmallows evenly across the peanut butter layer, distributing them so every slice will have 4-5 marshmallows. Switch the oven to high broil, and place the pan on the top oven rack, 6 inches from the broiler element. Broil for 30-60 seconds, watching constantly, until marshmallow tops are deep golden brown with slightly charred tips. Remove immediately to avoid burning.
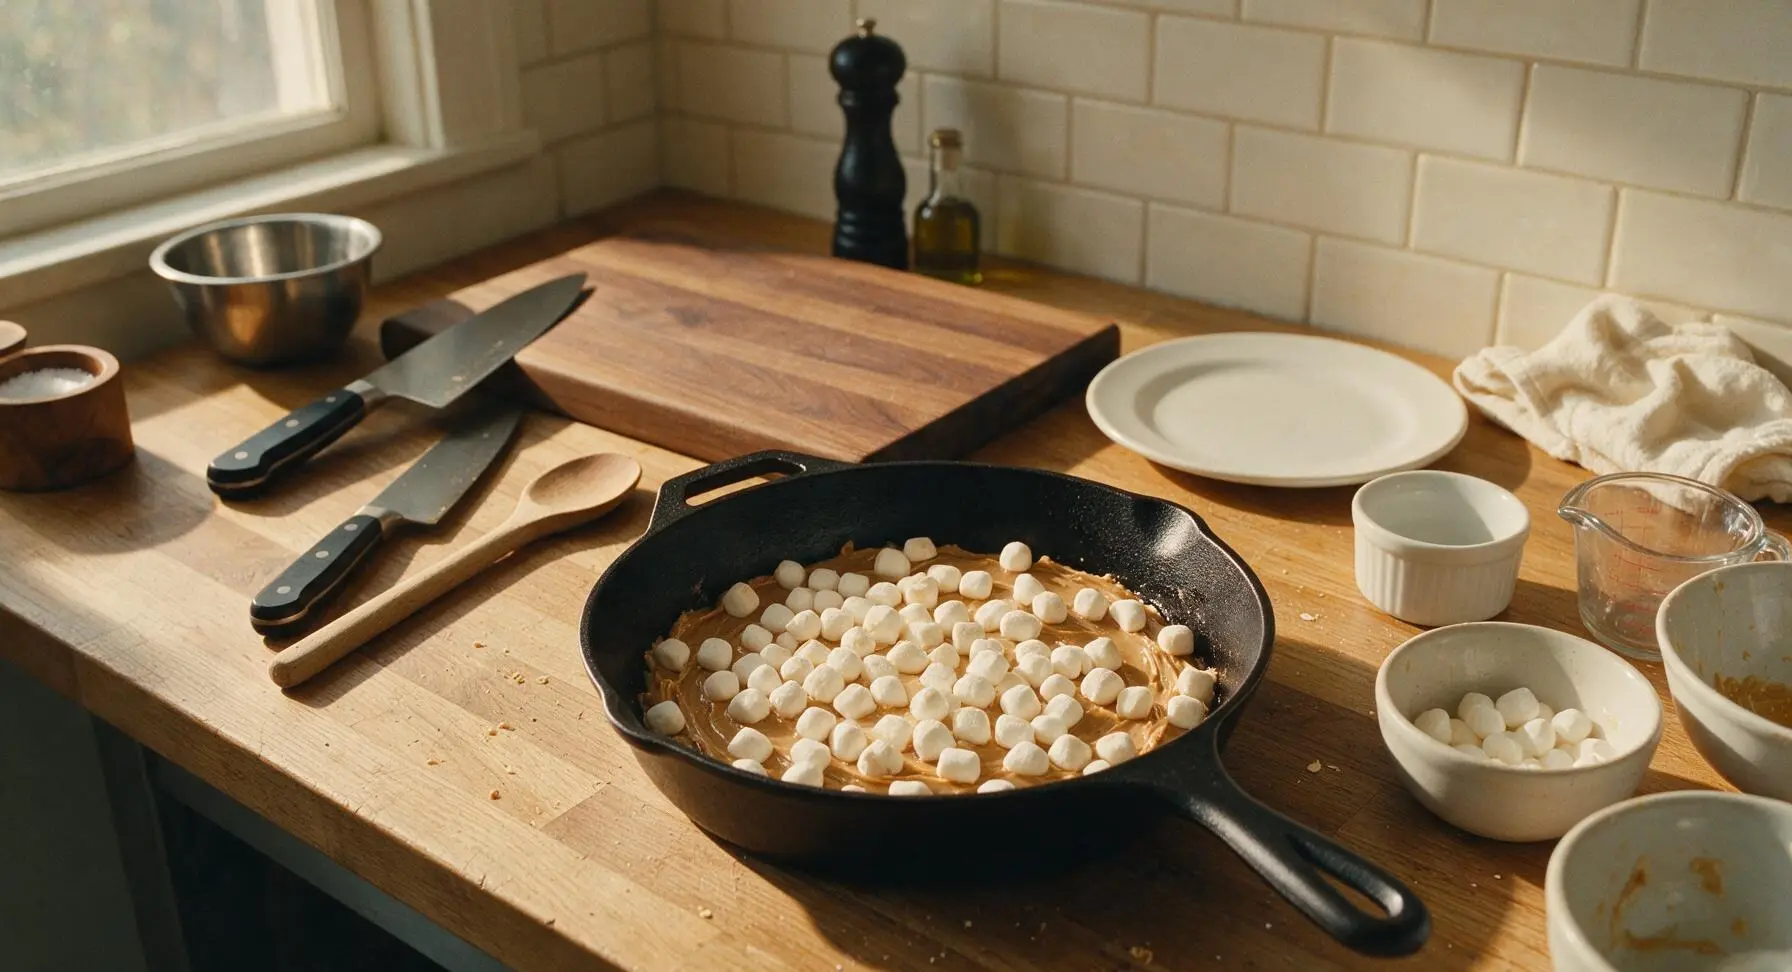
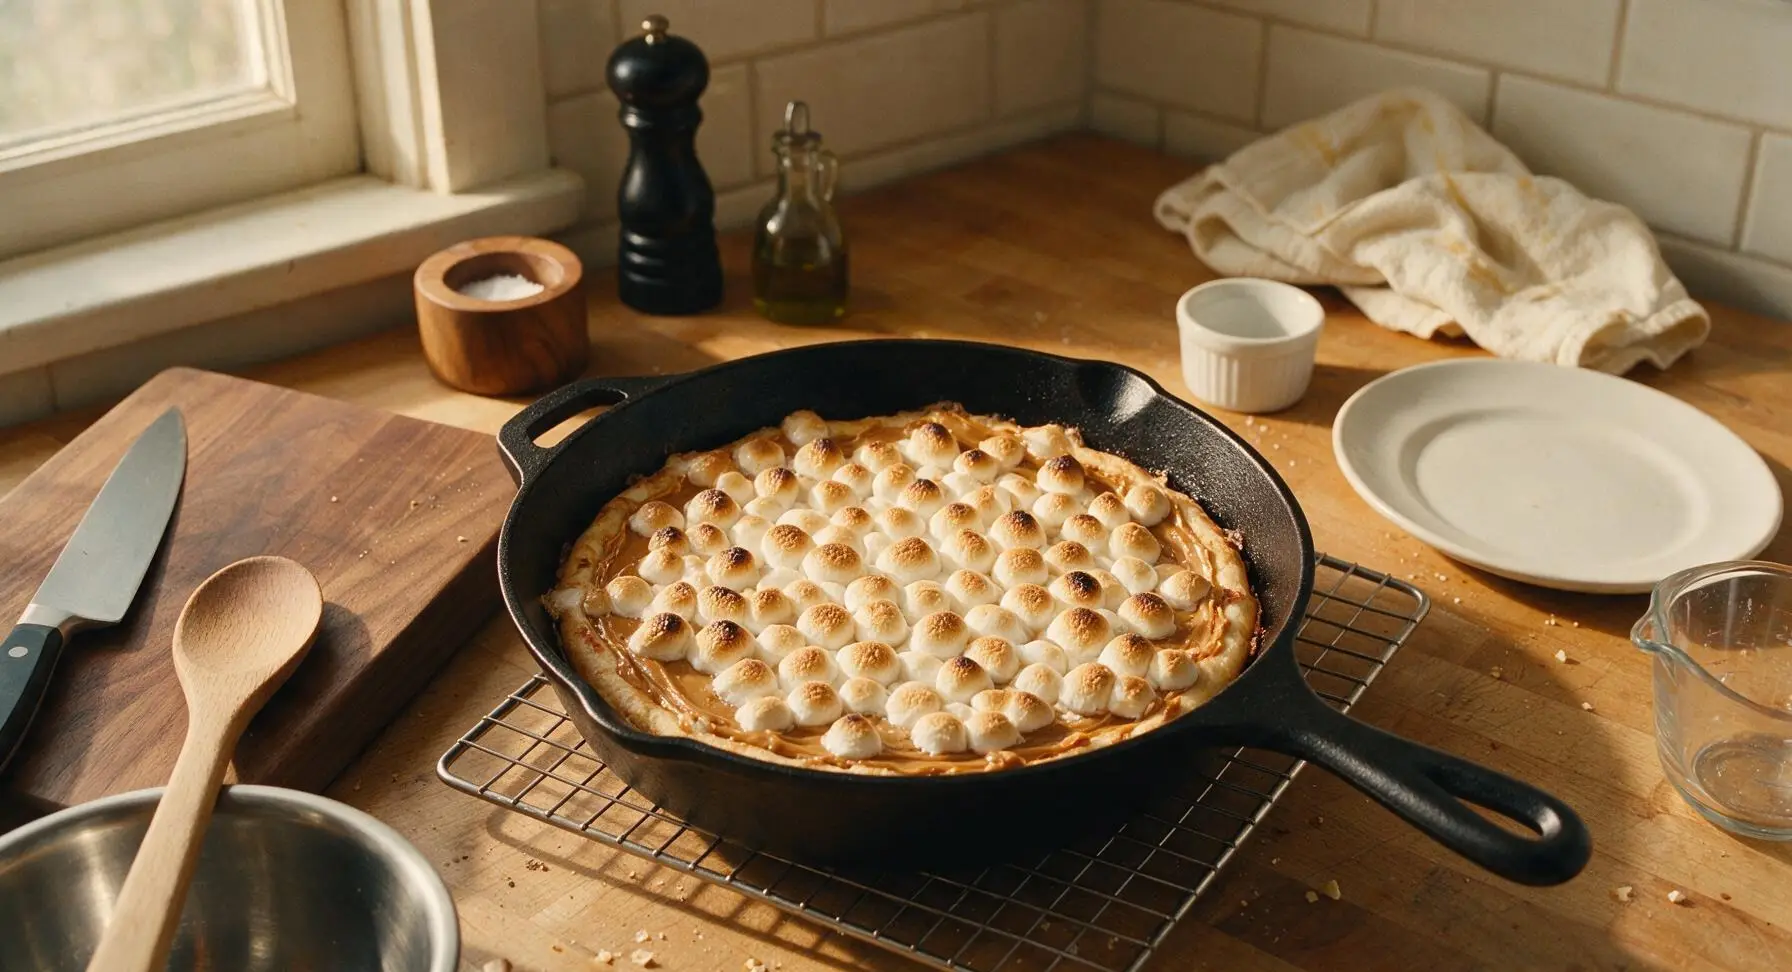
Step 5
step5:Toast Marshmallow Topping
Step 5
step5:Toast Marshmallow Topping
6

Drizzle Melted Chocolate

Take the prep bowl holding chocolate chips and canola oil, microwave in 20-second bursts, stirring between each, until chocolate is fully smooth and liquid (about 40 seconds total). Use the small stainless steel teaspoon to drizzle the melted chocolate in loose zig-zag lines across the top of the warm marshmallow layer.
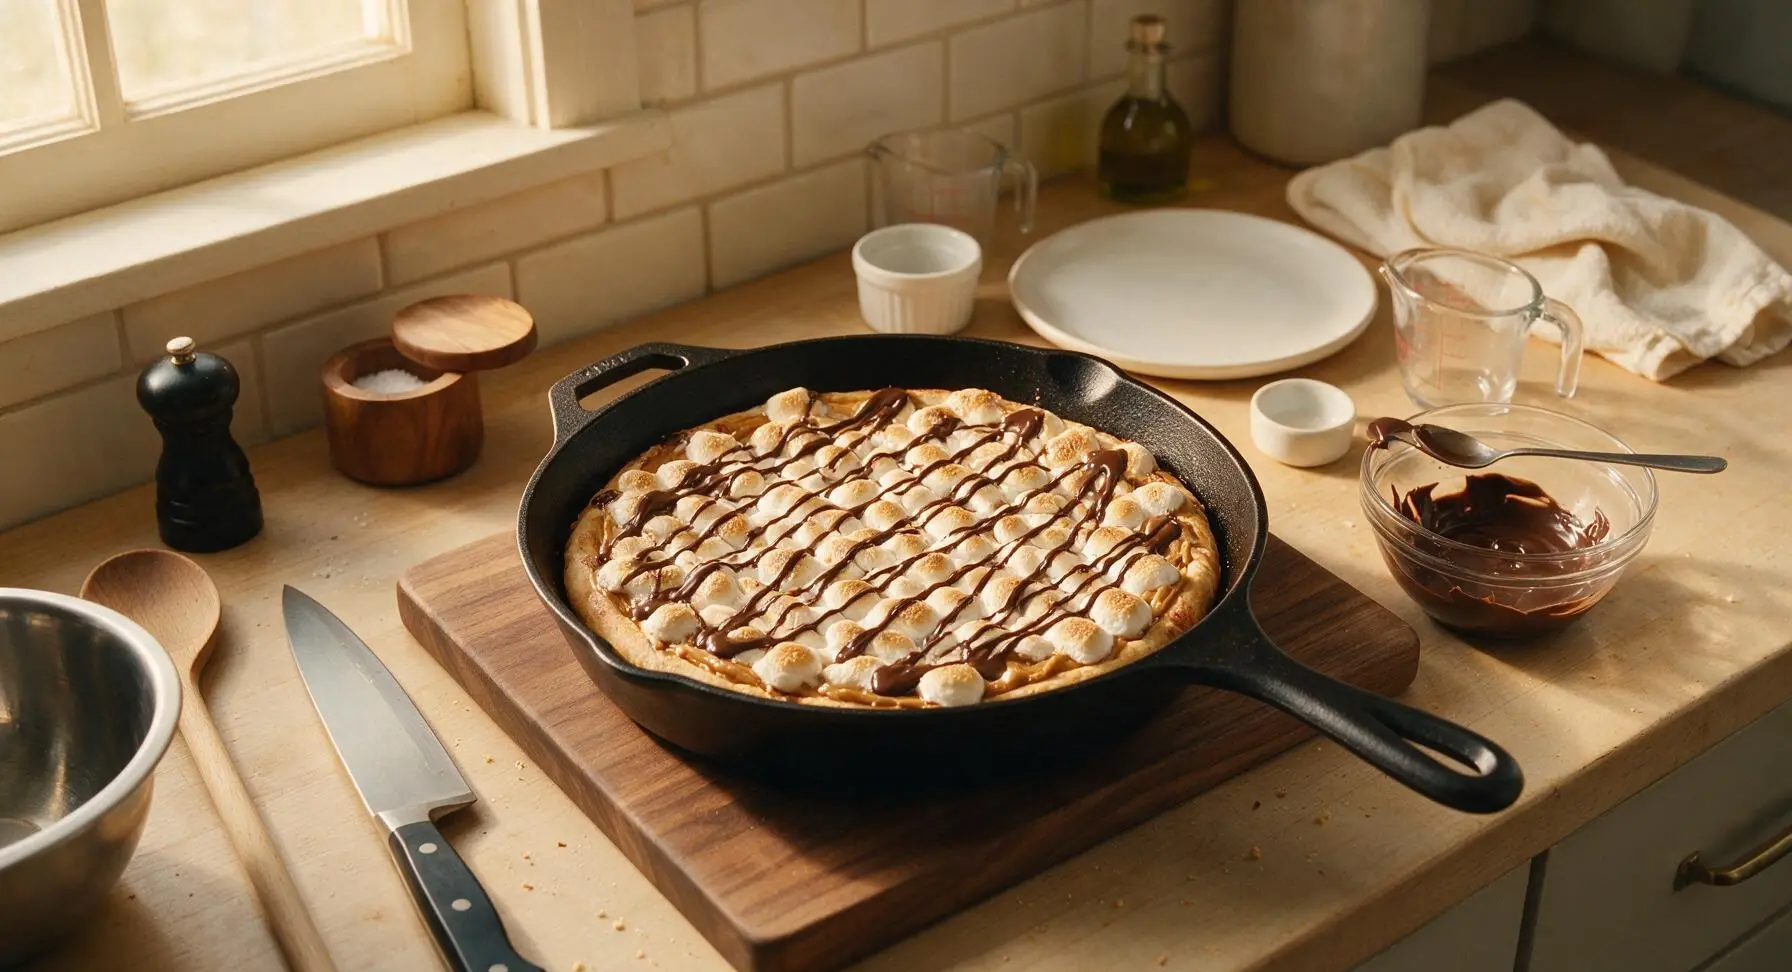
Step 6
step6:Drizzle Melted Chocolate
7

Add Final Garnishes

Sprinkle the chopped roasted salted peanuts evenly across the chocolate drizzle, then pinch the flaky sea salt between your fingers and scatter it lightly over the entire pizza. The salt will cut through the rich sweetness of the peanut butter, chocolate, and marshmallows for a balanced sweet-salty flavor. Let the pizza rest for 5 minutes to let the chocolate set slightly before slicing.
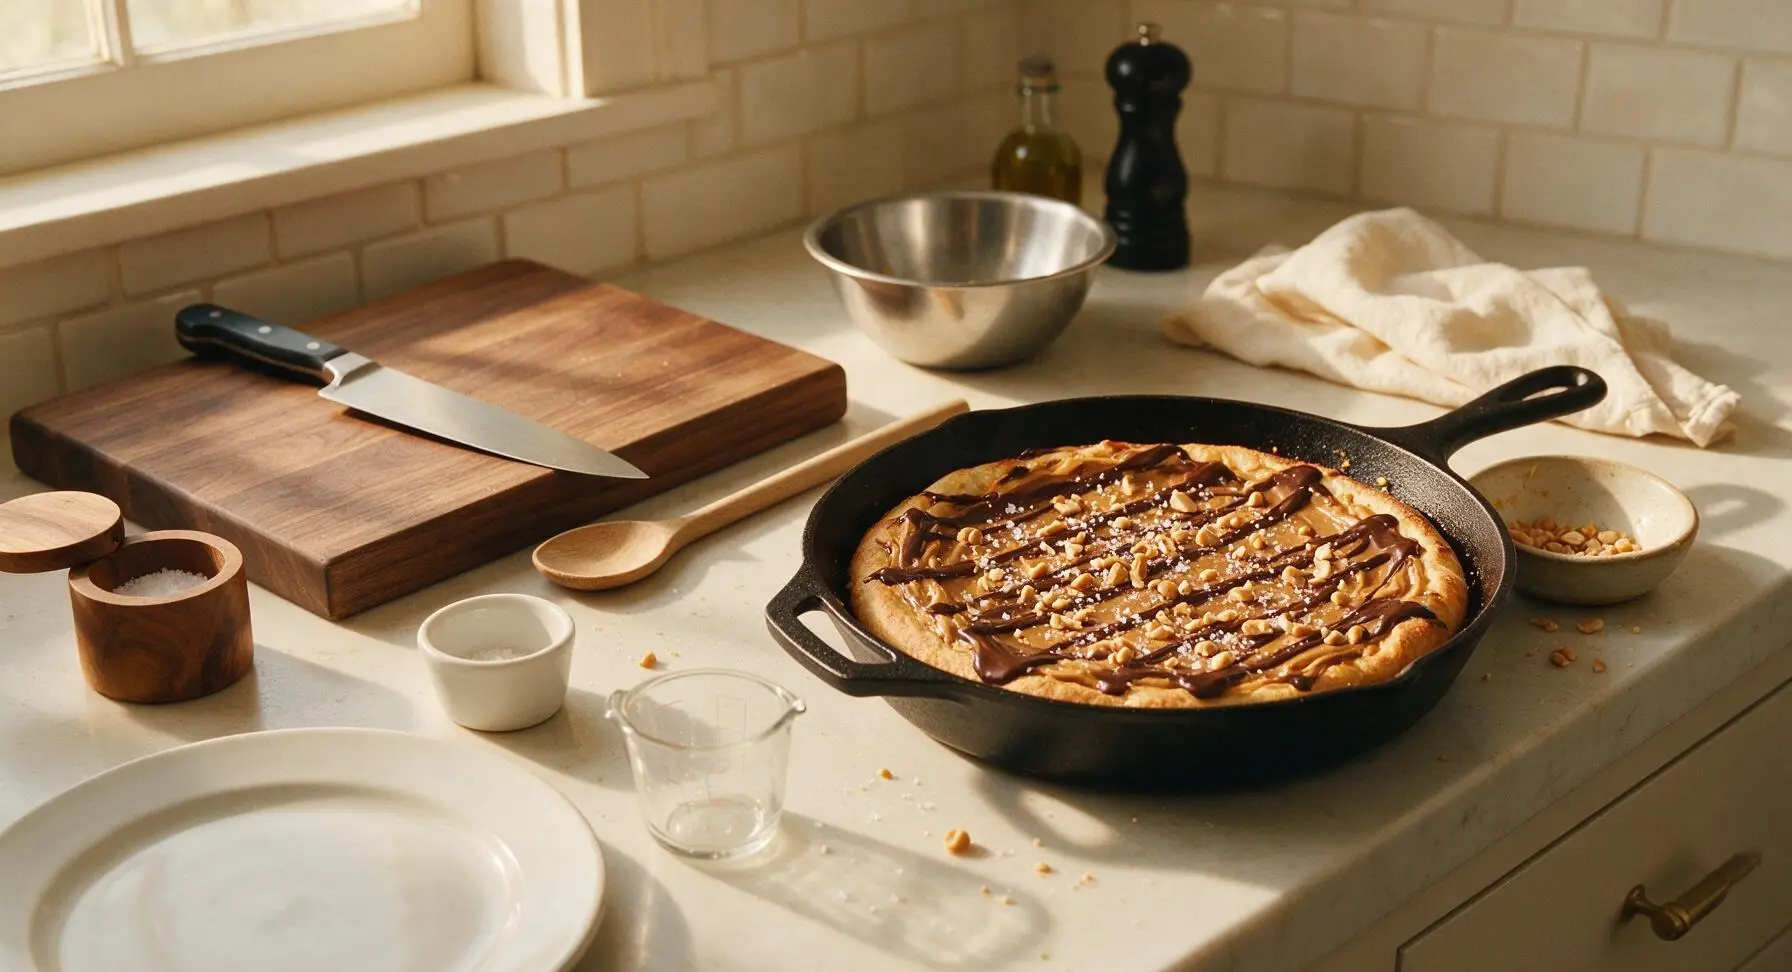
Step 7
step7:Add Final Garnishes
8

Slice and Plate Pizza

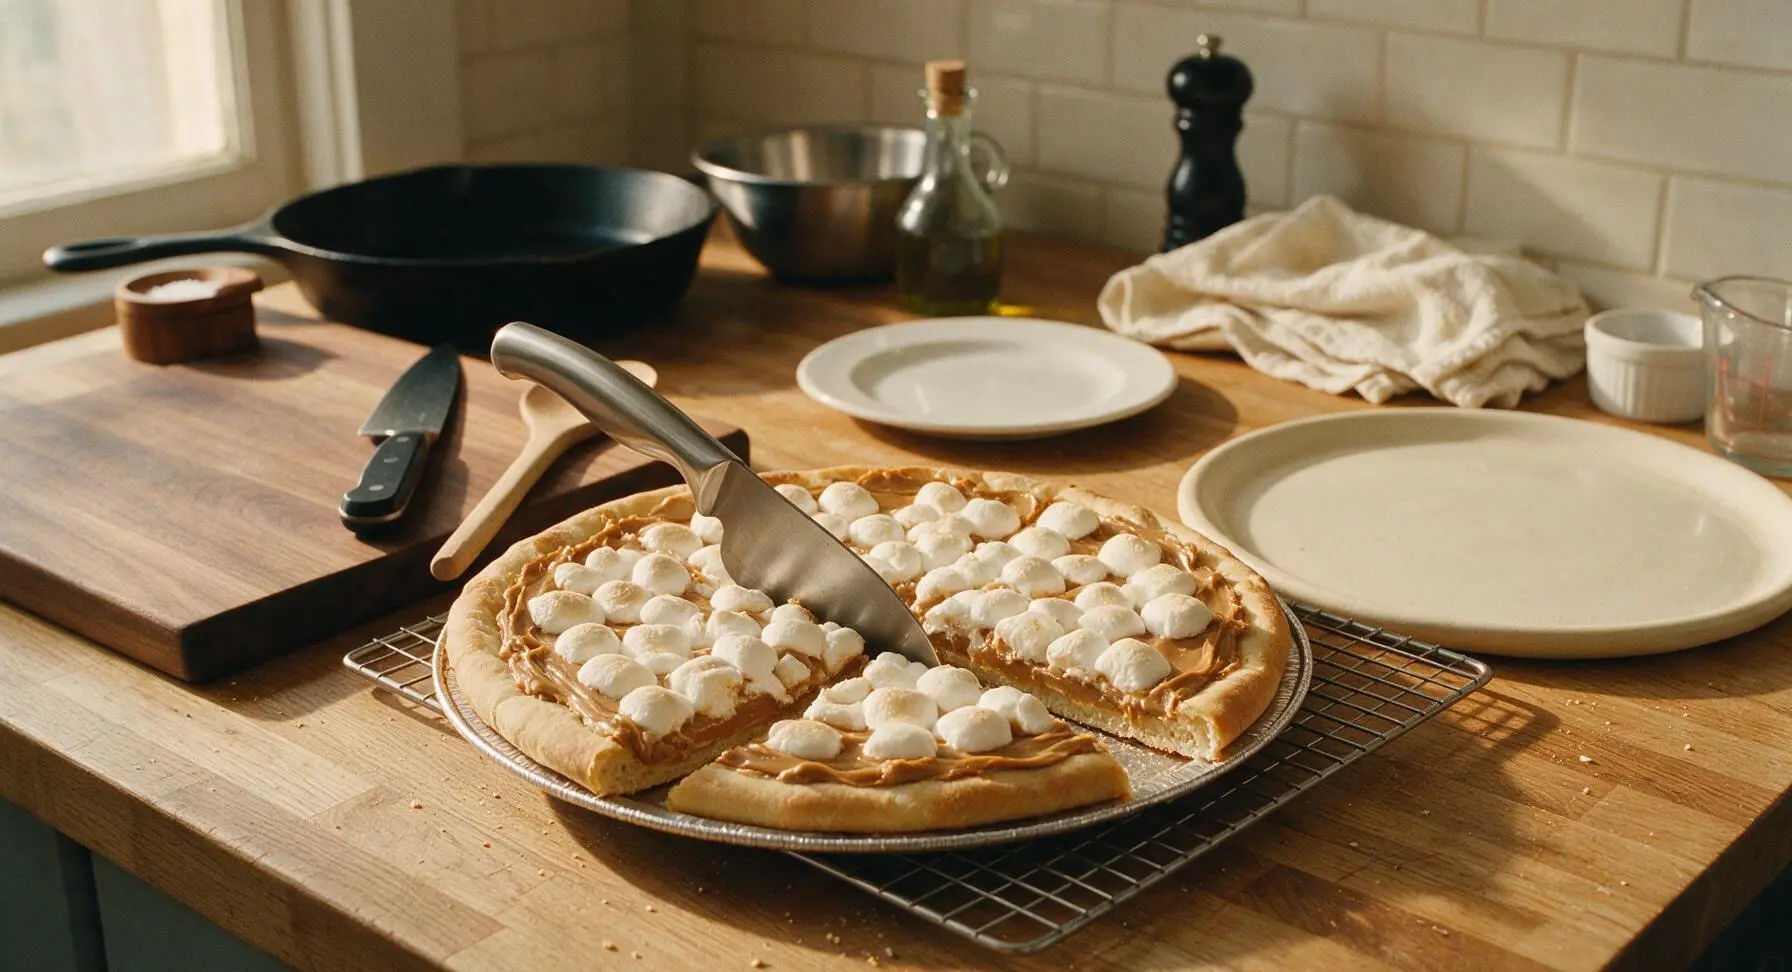
Use the stainless steel pizza cutter to slice the peanut butter pizza into 8 even triangular slices. Carefully transfer the slices to the round cream ceramic pizza platter, fanning them slightly to show the layered cross-section of crust, peanut butter, and toppings. Serve at room temperature.
Step 8
step8:Slice and Plate Pizza

Tips

1.Use no-stir creamy peanut butter instead of natural separated peanut butter: natural peanut butter has loose oil that will separate and soak into the warm cookie crust, making it soggy, while no-stir peanut butter stays firm and creamy once cooled.
2.Watch the marshmallows constantly while broiling: broiler elements heat extremely fast, and marshmallows can go from perfectly golden to burnt black in as little as 10 seconds, so do not step away from the oven during this step.
3.Let the cookie crust cool completely before adding peanut butter: even slightly warm crust will melt the peanut butter, causing it to slide off the crust and make toppings runny instead of staying in neat, even layers.


✨ You May Also Like

Desserts & Baking
🍜 Italy

Creamy, coffee-kissed classic Northern Italian no-bake dessert, with layers of rum-spiked mascarpone cream, soft ladyfingers, and a rich cocoa dusting.

⏱️ 4 hours 3Desserts & Baking ★ 4.7
Desserts & Baking
🍜 France

Flaky, shatteringly crisp, buttery French croissants with golden exteriors and soft, airy layered interiors, perfect for pairing with coffee for a special morning treat.

⏱️ 12 hours Desserts & Baking ★ 4.5
Desserts & Baking
🍜 United States

Warm, spiced baked apples topped with a fluffy golden biscuit crust, this cozy dessert pairs perfectly with vanilla ice cream for cool-weather comfort.

⏱️ 55 minuteDesserts & Baking ★ 4.6
Desserts & Baking
🍜 United States

A star-spangled classic American blueberry pie with buttery flaky crust and bright sweet-tart filling, perfect for summer patriotic gatherings.

⏱️ 1 hour 25Desserts & Baking ★ 4.7
Desserts & Baking
🍜 United States

A beloved no-bake regional Maine candy with a chewy coconut-potato center coated in rich dark chocolate, a New England holiday staple since the 1870s.

⏱️ 2 hours 3Desserts & Baking ★ 4.8
Desserts & Baking
🍜 France

Luxuriously creamy, floral frozen custard made with aromatic Tahitian vanilla beans, boasting a smooth, rich texture that melts slowly on the tongue.

⏱️ 3 hours 3Desserts & Baking ★ 4.5

Peanut Butter Pizza:Frequently Asked Questions

1.Can I make the sugar cookie crust from scratch instead of using refrigerated dough? ▾
Absolutely! While refrigerated dough delivers that quick, nostalgic chewy base, homemade sugar cookie dough works perfectly too. Press it evenly into a 12-inch greased pizza pan, par-bake for 10 minutes at 350°F before adding toppings, and avoid overbaking to keep that soft, chewy crust this dessert is known for.
2.Why do you recommend no-stir creamy peanut butter instead of the natural, separated kind? ▾
No-stir creamy peanut butter stays smooth and spreadable at room temperature without oozing off the crust as the pizza sits. Natural separated peanut butter has a looser, oilier consistency even when stirred, which can make the crust soggy and lead to sliding toppings when you slice and serve, so stick to no-stir for the most reliable results.
3.Do I need to toast the mini marshmallows, and what’s the easiest way to do that without burning them? ▾
Toasting the marshmallows gives them that gooey, caramelized, campfire-style flavor that makes this dessert feel extra special. The easiest method is to pop the assembled pizza (minus chocolate drizzle and peanuts) under the broiler for 30 to 60 seconds, watching constantly, until marshmallow tops are golden and puffed—they burn in seconds, so don’t walk away!
4.Can I use crunchy peanut butter instead of creamy for this recipe? ▾
You absolutely can, if you love extra nutty texture! Just note that crunchy peanut butter will make the spread layer a little less smooth, so warm it for 10 to 15 seconds in the microwave to make it easier to spread evenly over the cooled cookie crust without tearing the soft base. It adds fantastic extra crunch to every bite.
5.How do I keep the sugar cookie crust from getting soggy under the peanut butter layer? ▾
The key to avoiding a soggy crust is letting the baked sugar cookie base cool completely for 15 to 20 minutes before you spread on the peanut butter. Warm crust will melt the peanut butter, letting oil seep into the cookie and turn it mushy. For extra insurance, add a super thin layer of melted chocolate to the cooled crust first as a barrier.
6.Can I prep this peanut butter pizza ahead of time for a party? ▾
You can prep components ahead to cut down on day-of work, but I recommend fully assembling it no more than 2 hours before serving. Bake and cool the crust a day ahead, store it tightly wrapped at room temperature, and add the peanut butter, toasted marshmallows, chocolate drizzle, and peanuts right before guests arrive to keep toppings fresh.
7.What’s the easiest way to drizzle the melted semi-sweet chocolate evenly over the top? ▾
Melt your semi-sweet chocolate chips in 30-second bursts in the microwave, stirring between each, until totally smooth. Scoop the melted chocolate into a small zip-top bag, snip a tiny 1/8-inch corner off the bag, and squeeze gently to drizzle thin, even lines back and forth across the marshmallow-topped pizza. It’s way less messy than using a spoon!
8.Are there any fun topping swaps I can try to customize this pizza? ▾
This recipe is super flexible for fun, personal twists! Swap the chopped salted peanuts for crushed pretzels for extra salty crunch, add a layer of thinly sliced banana under the marshmallows for a classic PB&B vibe, or swap semi-sweet chocolate for milk or white chocolate to match your taste. Just don’t skip the salty element to balance all the sweetness.
9.How should I slice and serve this pizza to avoid making a total gooey mess? ▾
Let the finished pizza rest for 5 minutes after you add the final toppings so the chocolate sets slightly and the marshmallows cool just enough to not stretch everywhere. Use a sharp pizza cutter to slice it into 12 small, shareable wedges, and serve with small napkins—this is a delightfully gooey treat, so a little mess is half the fun!
10.Can I adapt this recipe to be nut-free for friends with peanut allergies? ▾
You can easily adapt this for nut-free eaters! Swap the creamy peanut butter for a no-stir sunflower seed butter or soy nut butter, swap the roasted salted peanuts for roasted salted sunflower seeds or crushed pretzels, and double check that your cookie dough and chocolate chips are made in a nut-free facility to avoid cross-contamination.
11.How do I store leftover peanut butter pizza, and how long will it stay fresh? ▾
Store leftover slices in an airtight container layered between pieces of parchment paper to prevent sticking, and keep it in the fridge for up to 3 days. Let slices come to room temperature for 10 minutes before serving to bring back that chewy crust and creamy peanut butter texture, since cold cookie crust can get a little firm straight from the fridge.

Comments (18)

2 days ago

OMG y’all, this peanut butter pizza was an absolute game changer for our Friday family movie night! 13 minutes in the oven and I had all three boys begging for seconds before the first batch even cooled. I added a handful of mini chocolate chips and sliced banana on top, chef’s kiss. Who knew something this easy could hit so hard?

yesterday

Wait the banana addition sounds insane! Did you put the banana on before or after baking? I’m making this for my kid’s soccer potluck this weekend and don’t want it to get mushy!

2 hours ago

So glad your crew loved it! For potlucks, I recommend adding banana slices right before serving to keep them firm, and if you want an extra treat, drizzle a little melted chocolate over top right before you head out!

3 days ago

No fancy equipment, no weird ingredients, 13 minute cook time? This was made for people like me who only have a tiny toaster oven in their dorm. I skipped the fancy toppings and just used crunchy peanut butter with a sprinkle of cinnamon, and my roommate ate half the pan before I could even grab a second slice. SO good.

2 days ago

Wait hold up, crunchy peanut butter? I only have creamy on hand, do you think that’ll work just as well? I’m also in a dorm and this looks way better than my usual microwave mac.

1 week ago

Made this for a post-hike snack last weekend and it was the perfect pick-me-up! I used whole grain crust to make it a little more filling, added a drizzle of honey and some crushed peanuts for crunch. Held up great in the cooler on the drive up to the trailhead, will absolutely be making this again for our next trip.

yesterday

I brought this to my office potluck yesterday and people were literally asking me for the recipe before I even set the platter down! I did a marshmallow fluff drizzle and crushed pretzel pieces on top for that sweet-salty vibe, and the whole thing was gone in 10 minutes. 10/10, easiest crowd pleaser I’ve ever made.

2 hours ago

The pretzel and marshmallow twist sounds incredible, I’m going to have to test that version for the site next! So happy it was a hit at your potluck :)

5 days ago

Wait, has anyone tried prepping this ahead for the week? I’m always looking for quick grab-and-go snacks for my kids’ after school activities, and this looks like it would be way better than the processed granola bars I usually buy. Knocked a star off because I wish there were make-ahead tips in the actual recipe post!

3 days ago

I prepped a big sheet on Sunday, cut it into squares, and stored it in an airtight container in the fridge! It held up perfectly for 4 days, my kids grabbed them on the way to practice all week. I will say I left the fresh fruit off until the day of so it didn’t get soggy.

2 days ago

Seconding this! I even froze a few squares for emergency snacks, they thaw in like 10 minutes in the lunchbox. Total game changer for busy school weeks.

30 minutes ago

Okay I’m literally the worst at baking, I burn toast half the time, and this turned out perfect first try! The 13 minute cook time was spot on for my oven, no burnt edges, perfectly melted peanut butter, I felt like a real chef. Even my partner who hates peanut butter went back for a second slice.

5 minutes ago

That’s what we love to hear! This recipe is designed for total beginners, so it makes us so happy it worked out even when you’re just starting out in the kitchen. Next time try a sprinkle of flaky sea salt on top for an extra flavor pop!

2 weeks ago

Super easy to swap for vegan ingredients! I used a vegan pre-made pizza crust, natural no-sugar-added peanut butter, and dairy free chocolate chips, and you couldn’t even tell the difference. Made it for my vegan friend’s birthday get together and everyone (even the non-vegans) raved about it.

2 hours ago

Wait why did I never think of this before? Peanut butter on pizza crust? It’s like a giant, warm peanut butter cookie but way less work. I topped mine with Reese’s Pieces because I have zero self control, and I’m not even sorry. My only complaint is that I ate 3 slices for dinner and now I’m in a food coma, worth it though.

30 minutes ago

LMAO the Reese’s Pieces addition is genius, I’m doing that next time. Did you use a regular pizza crust or the sugar cookie crust I’ve seen people use for dessert pizzas?

5 minutes ago

The Reese’s Pieces upgrade is next level! For this recipe we used a regular pre-made thin pizza crust for a little salty contrast, but a sugar cookie crust works amazing too if you want an extra indulgent treat!

1 week ago

Made this with my granddaughter when she came to visit last weekend, and we had the best time! It’s so easy even a 7 year old can help spread the peanut butter and add toppings. We did rainbow sprinkles per her request, and it was the silliest, tastiest dessert we’ve made in ages. Will be a staple for our grandma-granddaughter days from now on.

5 days ago

This is such a cute idea! My grandson is coming next month and I’ve been looking for easy recipes we can make together without a huge mess. Definitely saving this one!

3 days ago

I was skeptical at first because I’m usually a savory pizza only guy, but my partner begged me to make this and I’m so glad I did. I added a tiny sprinkle of cayenne pepper with the peanut butter for a little kick, and the sweet-spicy combo was unreal. Don’t knock it till you try it, even savory pizza stans will love this. Only knock is I wish the recipe suggested savory mix-ins earlier, I had to dig through my spice cabinet on a whim!

2 weeks ago

So happy this works with gluten free pizza crust! I’ve been looking for quick dessert recipes that don’t require a million weird GF flours, and this was perfect. The texture was amazing, no weird gritty aftertaste like some GF desserts have. My whole family ate it and didn’t even notice it was gluten free.

1 week ago

Love that it worked with GF crust for you! We try to make all our recipes easy to adapt for different dietary needs, so that makes our day to hear. If you haven’t tried it with a drizzle of salted caramel on top, you have to next time!

5 days ago

Threw this together for our football tailgate last Sunday and it was a total touchdown. I cut it into little bite sized squares, added a drizzle of Nutella and some crushed potato chips on top for crunch, and people were coming back for thirds. Way easier to make than the usual cookies and brownies people bring, will be a regular in my tailgate rotation.

3 days ago

Crushed potato chips? That sounds like the perfect sweet-salty crunch! Did you have any issues with it getting soggy sitting out at the tailgate? Our tailgates are usually 3-4 hours before the game so I worry about food holding up.

2 days ago

I made this for our last tailgate too! It sat out for 4 hours in 70 degree weather and was totally fine, no sogginess at all. The crust stays nice and crispy even with the peanut butter on it.

just now

Made this at 1am after a night out with friends and it was the best decision I’ve made all month. Only took 13 minutes, used whatever I had in the pantry—crunchy peanut butter, leftover Halloween candy, a little marshmallow fluff—and it hit so much better than the usual fast food run. 10/10, perfect late night snack.

1 week ago

I made this for a neighbor who just had a new baby, and she texted me saying it was the best thing anyone had brought over! It’s easy to transport, not too messy, and both her toddler and husband loved it too. Way better than the usual casseroles people bring, it’s nice to have a sweet treat that’s not a ton of work.

5 days ago

Wait I’m the neighbor who had the baby! This was literally incredible, I ate half the pan in one sitting when I was up for a 2am feeding. Thank you again for bringing it, I’m making it myself this week!

2 days ago

Okay hear me out, I thought this was going to be a total abomination. Peanut butter on pizza? Blasphemy. But my kids begged me to make it so I caved, and…I actually liked it? Don’t tell my pizza club friends I said that. The salty crust with the creamy peanut butter and a little chocolate is actually a banger. I’m never going to admit this publicly, though. Only reason it’s not 5 stars is I wish I’d thought to add bacon the first time around, total missed opportunity on my part.

yesterday

LMAO your secret is safe with us! I’m also a pizza purist who swears by pepperoni and extra cheese only, but my teen made this last week and I was shocked how good it was. We added bacon bits on top for extra savoriness, game over.

2 hours ago

We love converting the pizza purists! The sweet-savory combo is surprisingly addictive, we won’t tell your pizza club if you don’t 😉

2 weeks ago

Made this with my cabin of 10 year olds at summer camp last week, and it was the most popular cooking activity we did all session! All the kids got to add their own toppings—sprinkles, chocolate chips, crushed Oreos, you name it—and every single one of them cleaned their plates. It’s easy enough for kids to help with, minimal mess, and super fun. Will be bringing this back every summer.

1 week ago

This makes us so happy! Cooking with kids is such a fun memory, and we love that this recipe is accessible enough for little hands to help with. The custom topping bar idea is genius for groups!

3 days ago

I made this with no added sugar natural peanut butter, a whole wheat crust, and topped it with fresh strawberries and a tiny drizzle of maple syrup, and it satisfied my sweet tooth without making me feel like I ate a ton of junk. Perfect for when you want a treat but don’t want a total sugar crash. The cook time was exactly right, no adjustments needed.

yesterday

Just moved into my first apartment and hosted my first ever friend get together last night, and this was the star of the show! I was so nervous because I’m still learning to cook, but it was so easy, no fancy skills needed, and all my friends thought I was a baking genius. I did a mix of toppings so people could pick their favorite slices: chocolate banana, marshmallow pretzel, and cinnamon honey. 10/10, will be making this for every gathering from now on.

2 hours ago

Congrats on the first apartment! This looks like the perfect first host recipe—no stress, minimal cleanup, everyone loves it. Did you use a store bought crust or make your own? I’m also a new renter with barely any cooking supplies so store bought is a must for me.

30 minutes ago

So proud of you for nailing your first host gig! This recipe is perfect for new cooks because you can totally use a pre-made store bought crust (that’s what we use most of the time too!) to cut down on prep and cleanup. Can’t wait to hear what you make next!



