1.Why do I need to stir the separated oil into my unsweetened peanut butter instead of pouring it off?
▾
Great question! If you pour off that separated natural oil, your peanut butter will be dry, dense, and crumbly, which throws off both the cookie and filling texture. Stir it fully until smooth and evenly combined before measuring, so you get the rich, moist, nutty base this recipe is designed to deliver.
2.Can I use crunchy peanut butter instead of creamy for this recipe?
▾
Absolutely! Swap creamy for crunchy if you love extra nutty texture—just note it will change the signature smooth mouthfeel of both the cookies and filling. If you want a little crunch without losing that classic silky center, use crunchy in the cookie dough and stick to creamy peanut butter for the filling.
3.How do I know when my unsalted butter is properly softened to room temperature for the dough?
▾
Perfectly softened butter should give slightly when you press it gently with a finger, without melting or feeling greasy. It usually takes 30 to 45 minutes on the counter at 68–72°F. Skip microwaving to speed this up, as partially melted butter leads to flat, overly spread-out cookies instead of soft, chewy ones.
4.Why do the egg and butter need to be at room temperature instead of cold?
▾
Room temperature ingredients emulsify far more smoothly into cookie dough, creating a uniform, light texture that bakes up soft and chewy instead of lumpy or dense. Cold eggs can seize up softened butter, leading to unevenly mixed dough that spreads inconsistently, so pull your egg out 20 minutes before baking for best results.
5.Can I use salted butter if I don’t have unsalted on hand?
▾
You can! Just skip any extra added salt called for in the full recipe to keep the flavor balanced, since salted butter usually contains around 1/4 teaspoon of salt per stick. Give your finished dough a quick taste before baking to make sure the sweet, nutty peanut butter flavor isn’t overwhelmed by excess salt.
6.Why does the recipe use both white granulated sugar and packed light brown sugar?
▾
That sugar blend is the secret to that perfect chewy, nostalgic cookie texture! Granulated sugar helps cookies hold their shape and adds a delicate crisp edge, while packed light brown sugar brings subtle molasses depth, moisture, and that soft, fudgy center everyone loves. Skipping one leads to either too-crisp or too-dense cookies.
7.How thick should I portion my cookie dough for even, consistent baking?
▾
Use a 1-tablespoon spring-loaded cookie scoop to portion dough evenly, so every cookie bakes at the exact same rate. Roll each portion into a smooth ball, and don’t flatten them before baking—they’ll spread naturally to a perfect 2-inch round, ideal for matching up into evenly sized sandwich pairs later.
8.How do I prevent my peanut butter cookies from spreading too much in the oven?
▾
First, make sure you don’t over-soften or melt your butter, as that’s the top cause of flat, spread-out cookies. Chilling scooped dough for 15 minutes before baking also helps the fat set, so cookies hold their chewy shape. Always use fully cooled baking sheets between batches, too, so dough doesn’t melt on contact.
9.How long should I bake the cookies so they stay soft and chewy, not crispy?
▾
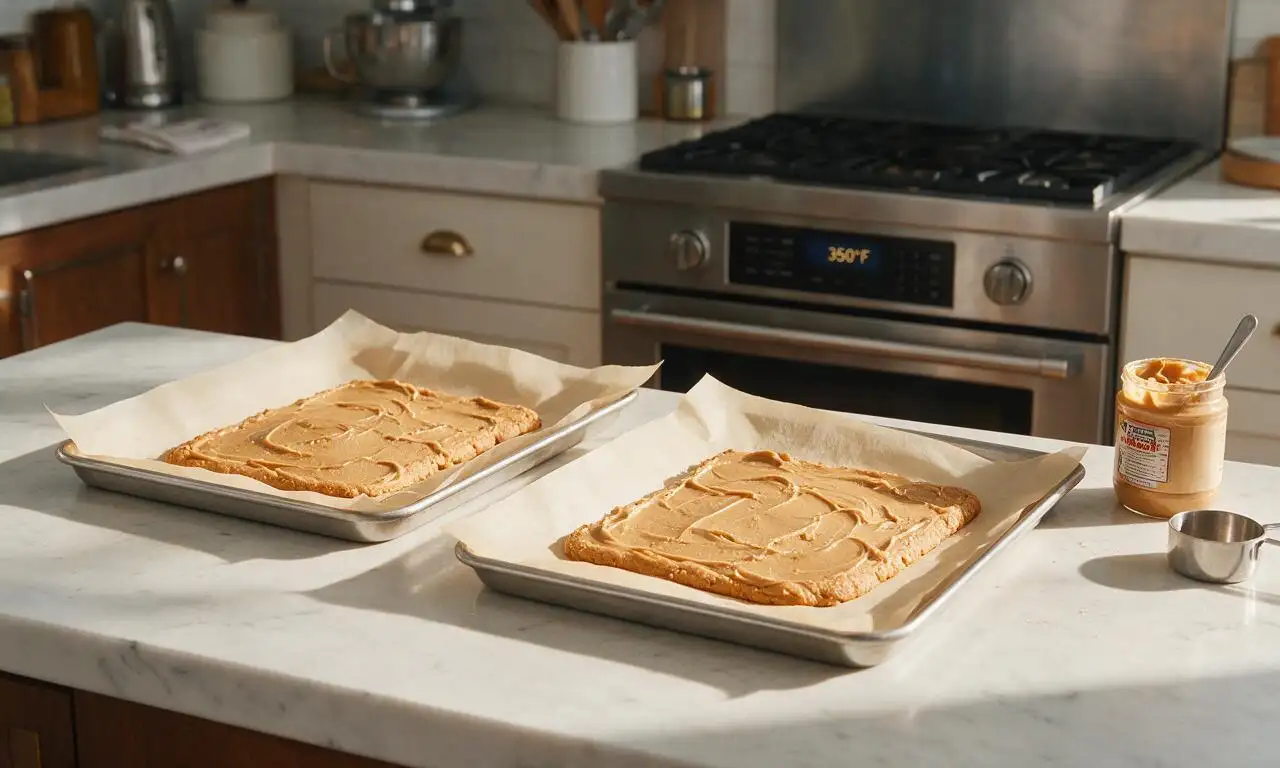
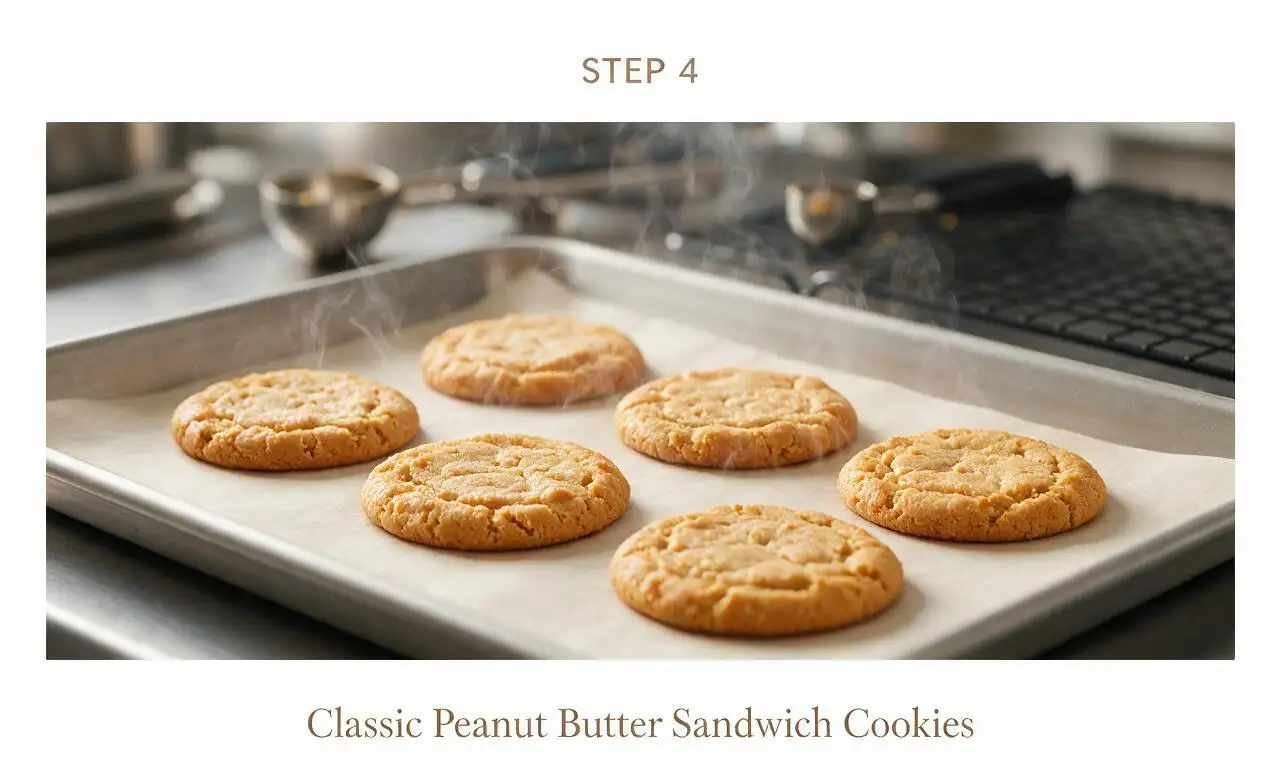
Bake them at 350°F for 8 to 10 minutes total! The edges will be just lightly golden, but the centers will look slightly underbaked when you pull them out. Let them rest on the hot baking sheet for 5 full minutes before moving to a rack—they’ll finish setting as they cool for that ideal soft bite.
10.How do I match up cookies for neat, evenly sized sandwiches?
▾
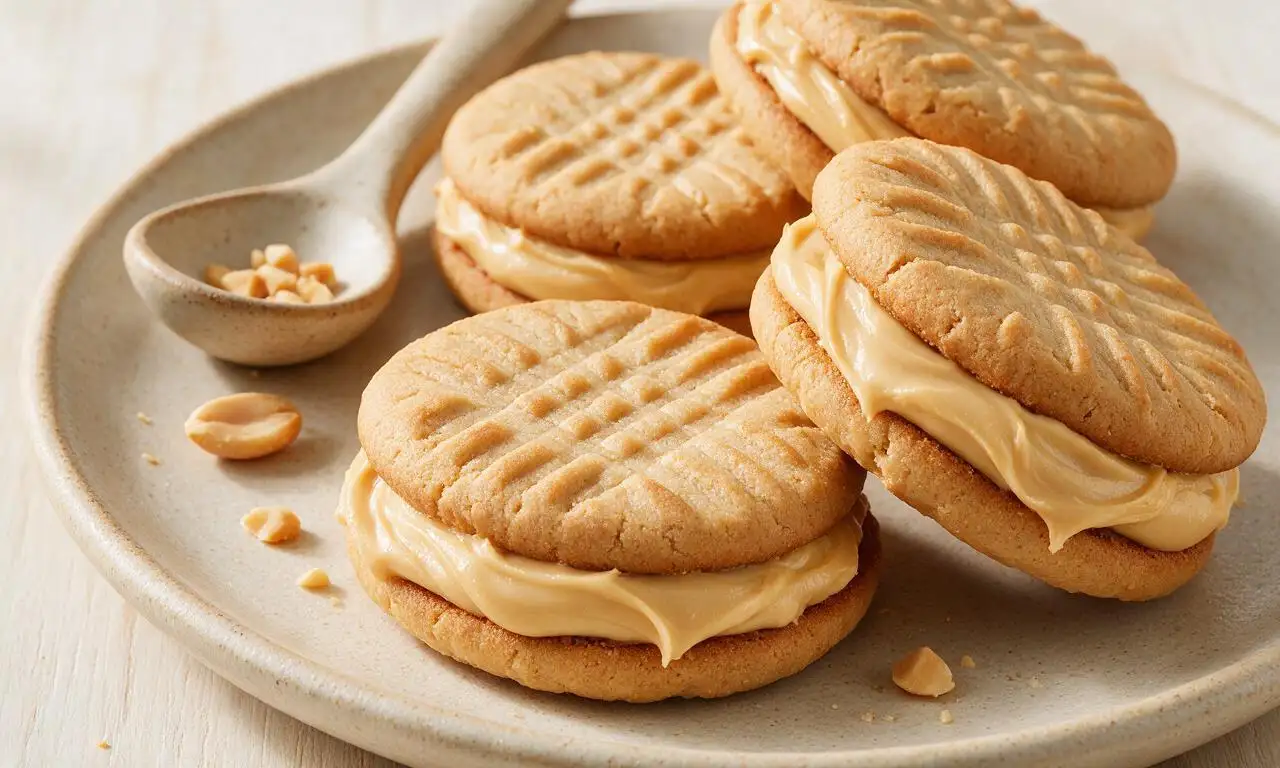
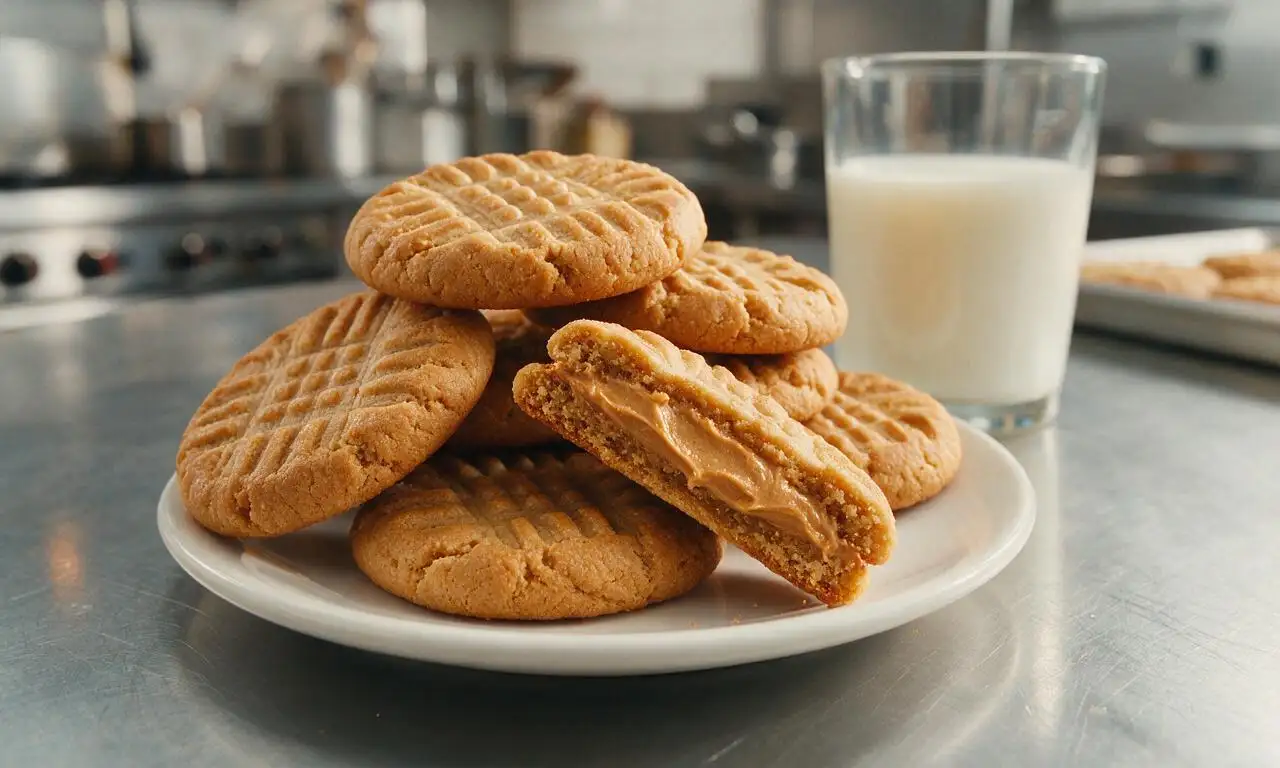
As soon as you pull baked cookies off the baking sheet, sort them by size while they’re still slightly warm and flexible. Pair up cookies of near-identical diameter and thickness, so when you spread filling between them, it doesn’t squish out the sides unevenly, giving you bakery-worthy, neat finished treats.
11.Can I make the peanut butter filling ahead of time?
▾
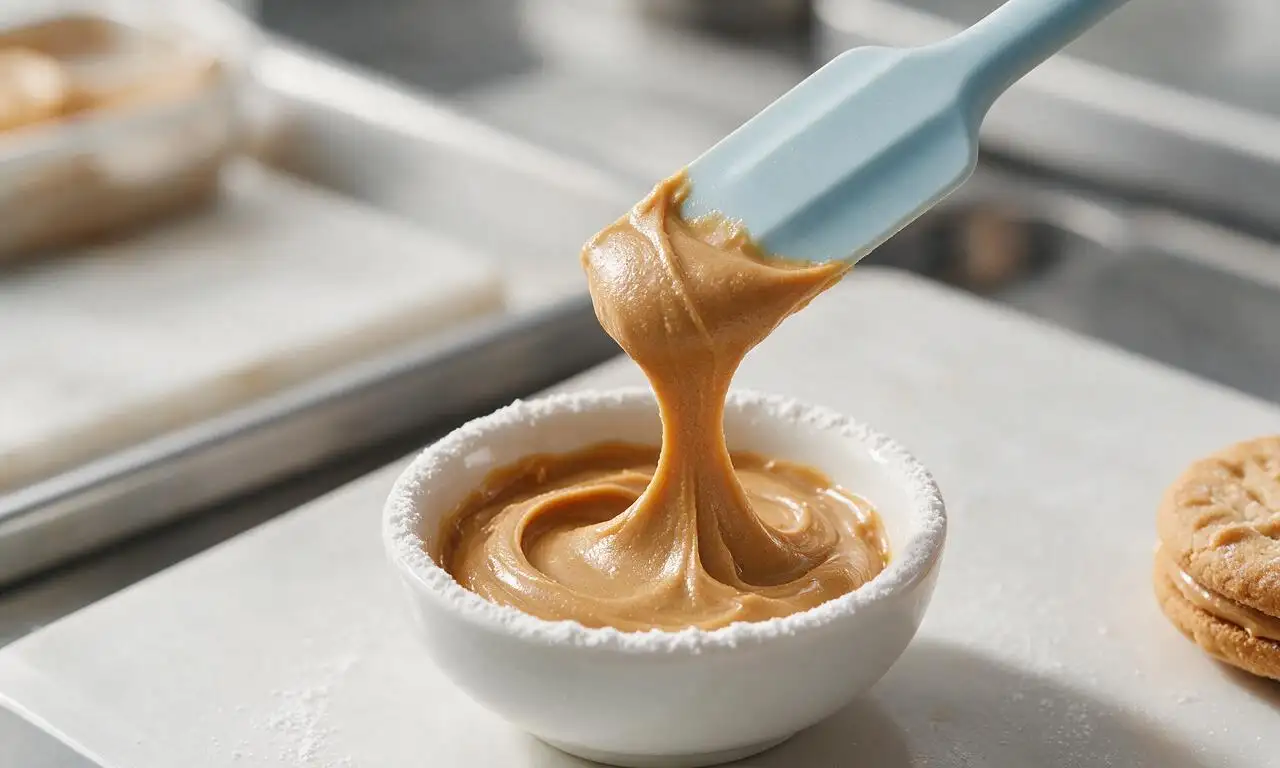
Definitely! Make the creamy peanut butter filling up to 3 days ahead, store it in an airtight container in the fridge, and let it sit at room temperature for 15 minutes before using so it’s soft enough to spread without tearing delicate cookie layers. Give it a quick stir before assembling to restore its smooth texture.
12.My peanut butter filling is too thick to spread easily—how do I fix that?
▾
If your filling is stiff and hard to spread, stir in 1/2 teaspoon of whole milk or heavy cream at a time until it reaches a smooth, spreadable consistency. It should be thick enough not to ooze out of sandwiches, but soft enough to glide across cookie surfaces without crumbing the soft baked layers.
13.Can I add mix-ins to the cookie dough, like chocolate chips?
▾
Of course! Stir in up to 1/2 cup of mini semi-sweet chocolate chips, chopped roasted peanuts, or toffee bits for a fun twist, or press a pinch of flaky sea salt on top of dough balls before baking. Don’t add more than 1/2 cup of mix-ins, though, or heavy add-ins will weigh down dough and cause thin, spread-out cookies.
14.How should I store assembled sandwich cookies to keep them chewy?
▾
Store assembled cookies in an airtight container at room temperature, separated by layers of parchment paper so they don’t stick together, for up to 5 days. Tuck a slice of plain white bread in the container too—it releases just enough moisture to keep cookies soft and chewy the whole time, with no stale, dry edges.
15.Can I freeze these peanut butter sandwich cookies for later?
▾
Absolutely! You can freeze unassembled baked cookie layers for up to 3 months, thawing them at room temperature for 20 minutes before adding filling. You can also freeze fully assembled sandwiches wrapped tightly in plastic in a freezer-safe bag, thawing them in the fridge for an hour before serving.
16.My cookies came out dry and crumbly—what did I do wrong?
▾
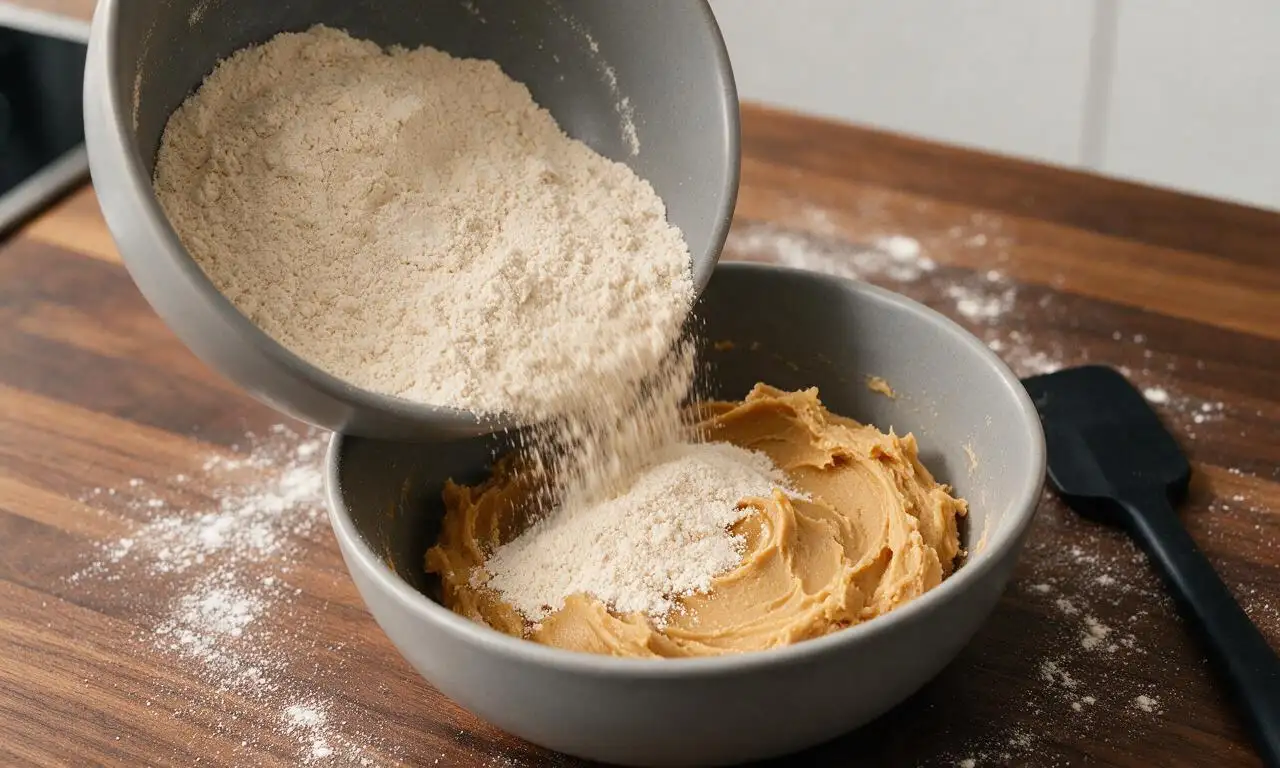
Crumbly, dry cookies usually mean you poured off the separated peanut oil instead of stirring it back in, used too much flour, or overbaked the dough. Next time, stir peanut butter fully before measuring, spoon and level flour (don’t pack it into cups), and pull cookies when centers are still slightly underdone.
17.Can I adapt this recipe to be gluten-free?
▾
You can easily make these gluten-free! Swap standard all-purpose flour for a 1:1 gluten-free all-purpose baking blend that contains xanthan gum, and double-check that your peanut butter is labeled gluten-free to avoid cross-contamination. The final cookies will be just as soft, chewy, and nutty as the classic version.
18.Are these cookies a good option to bring to a potluck or bake sale?
▾
They’re perfect for sharing at potlucks, bake sales, or cookie swaps! They’re sturdy enough to transport without falling apart, have that nostalgic, crowd-pleasing peanut butter flavor almost everyone loves, and stay chewy for days when stored properly. Wrap individual sandwiches in small cellophane bags for easy grab-and-go serving.







OMG these are SO good! I made them for my kid’s after-school soccer snack and the whole team devoured them in 10 minutes flat. The peanut butter filling is perfectly creamy, not too sweet at all. Total game changer for our weekly snack rotation!
Super easy recipe, came together way faster than I expected! Only note is I baked mine 2 minutes too long so the edges were a little crispier than I wanted, but the filling made up for it. Brought them to a neighborhood potluck and got tons of compliments.
I’ve been testing peanut butter cookie recipes for months trying to nail that old-school lunchbox vibe, and this is it! The ratio of cookie to filling is absolutely perfect, no sad skimpy filling here. Will be making these on repeat for weekend meal prep snacks.
My grandma used to make almost identical cookies when I was little, and I’ve been chasing that flavor for years. I cried a little when I took the first bite — it tasted exactly like summer at her house. 10/10, no notes.
Packed these for a day hike last weekend and they were the perfect trail snack! Held up great in my backpack, didn’t get squished, gave me exactly the energy boost I needed halfway up the trail. Even shared a couple with a fellow hiker who asked for the recipe on the spot.
Made these in my tiny dorm kitchen with a $10 hand mixer and they came out perfect?? Who knew fancy bakery-style cookies were this easy? My roommates are already begging me to make another batch before the weekend.
I swapped the all-purpose flour for a 1:1 gluten free baking flour and the cookies spread a ton in the oven, they turned out super thin. Flavor was great, texture was just off for me.
Brought these to my office potluck yesterday and they were the first dessert gone! People were hovering by the platter asking who made them before I even set it down. The flaky sea salt on top is *chef’s kiss*, don’t skip that step y’all.
Made these with my 7 year old daughter for her girl scout troop meeting and she was so proud to pass them out. The steps were simple enough for her to help with scooping dough and spreading the filling, zero complicated steps. 10/10 for kid-friendly baking!
These are the perfect pairing with my morning iced coffee, I’m obsessed. Not too cloyingly sweet, so they work for a quick breakfast bite too when I’m running out the door for work. Meal prepped a whole container to grab and go this week.
Really solid cookie! I added a little dash of cayenne to the filling for a tiny spicy kick and it was incredible, paired so well with the sweet peanut butter. Only reason it’s not 5 stars is I wish the filling was a little thicker, but that’s just personal preference.
I work at a coffee shop and tested this recipe for our seasonal pastry case last week, and customers have been asking for it every single day since. We added a little dark chocolate drizzle on top for a fancy touch and it’s been flying off the shelves.
I’ve made these three times in the last two weeks, no shame. My partner is obsessed, he keeps hiding them from me in the back of the fridge so he doesn’t have to share. Worth every single calorie, tbh.
I was so excited to make these for my husband’s birthday since peanut butter cookies are his favorite, but my filling came out super runny? I followed the recipe exactly, I don’t know what I did wrong. It oozed out the sides every time we picked one up.
I veganized these by swapping the butter for vegan stick butter and using flax eggs, and they came out amazing! My non-vegan roommates couldn’t even tell the difference. Only tiny gripe is they stuck a little to my parchment paper, but that’s probably my bad for not letting them cool long enough.
These taste exactly like the peanut butter sandwich cookies I used to get in my elementary school cafeteria, but way better because they don’t have all the weird preservatives. Total nostalgia trip, I felt like a kid again eating them after lunch.
These hold up so well in the fridge for up to a week! I make a batch every Sunday for quick snacks during the work week, and they don’t get soggy at all. Way cheaper and tastier than buying pre-packaged cookies from the grocery store.
Made these for my boyfriend’s Super Bowl watch party and even the guys who only eat savory food were going back for seconds. The best part is they don’t require any fancy ingredients, I already had everything in my pantry!
I was worried these would be too complicated for a beginner baker like me, but the instructions were so straightforward and they came out perfect on the first try! Even my cat tried to steal a bite off the counter while I was assembling them lmao.