
Pemmican
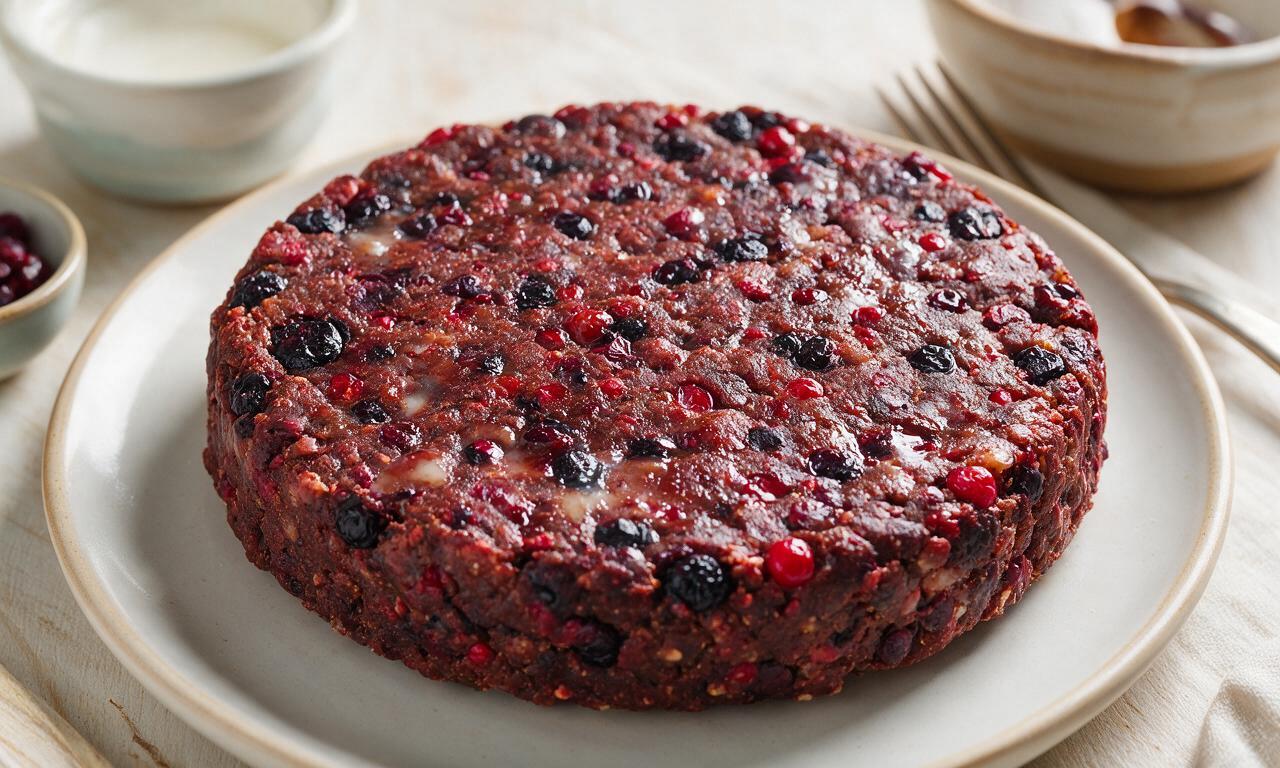
intro
Nutrient-dense, shelf-stable traditional Indigenous travel food made from dried beef, rendered tallow, and wild berries, requiring no refrigeration for long-term storage.
Ingredients
Steps
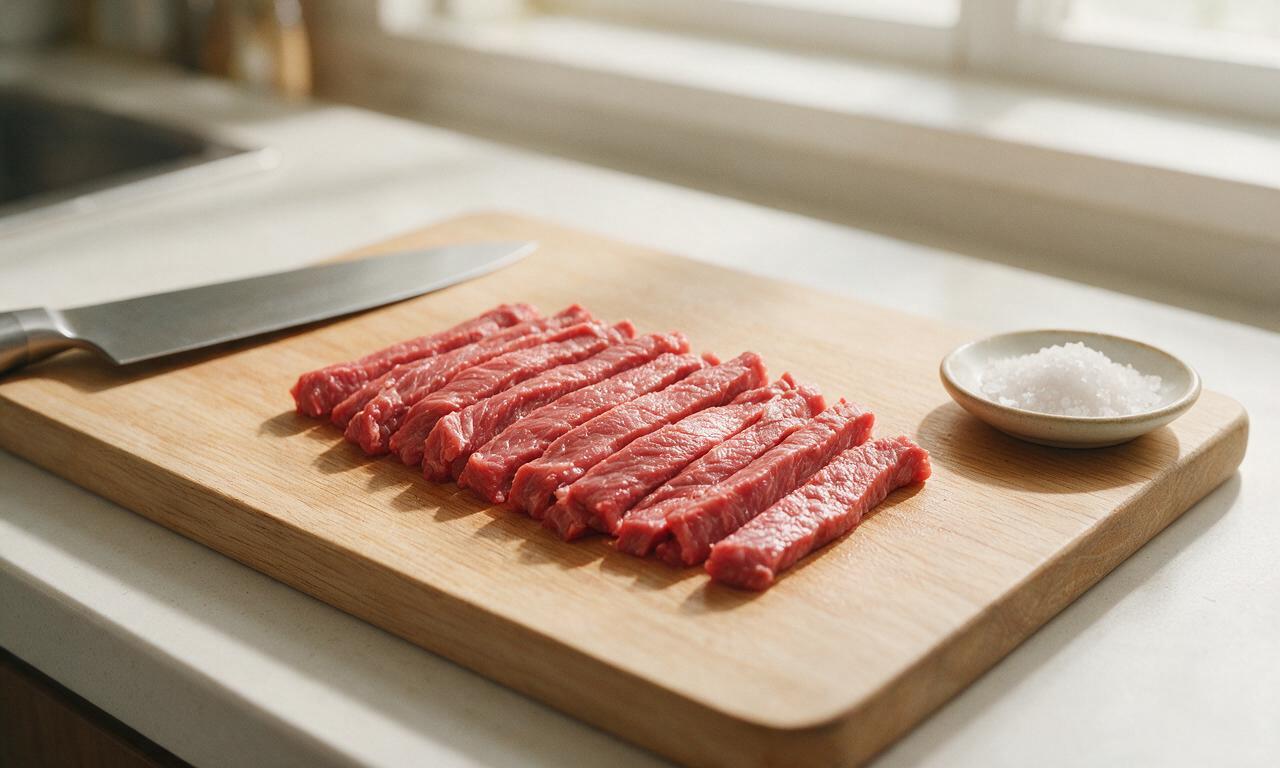
Prep lean beef
Trim all visible fat, silver skin, and connective tissue from 675g lean eye of round beef. Slice against the grain into uniform 3mm (1/8 inch) thick strips, pat completely dry with paper towels, and toss lightly with 1 teaspoon fine sea salt.
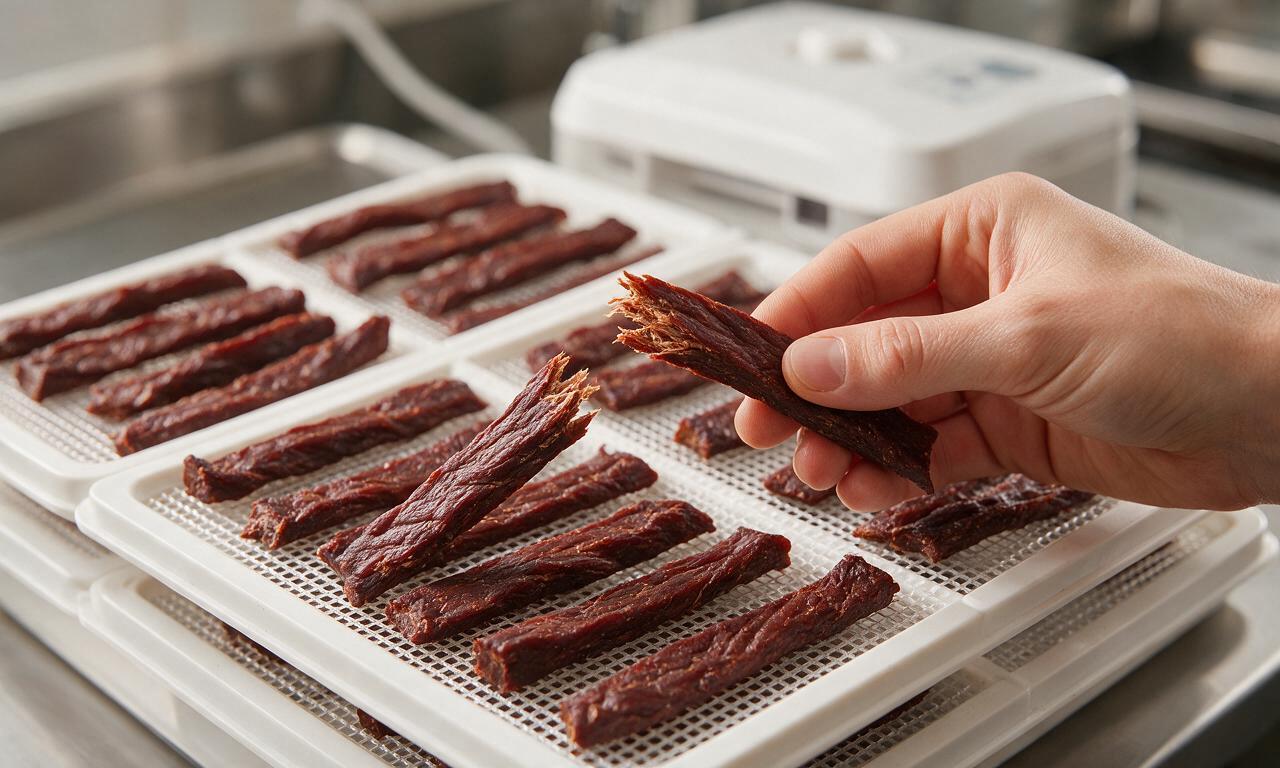
Dehydrate beef strips
Arrange seasoned beef strips in a single layer on dehydrator trays, leaving 1cm (½ inch) gaps between strips for air circulation. Set dehydrator to 60°C (140°F) and dry for 5-6 hours, until strips are fully brittle and snap cleanly when bent, with no soft, moist, or flexible sections.
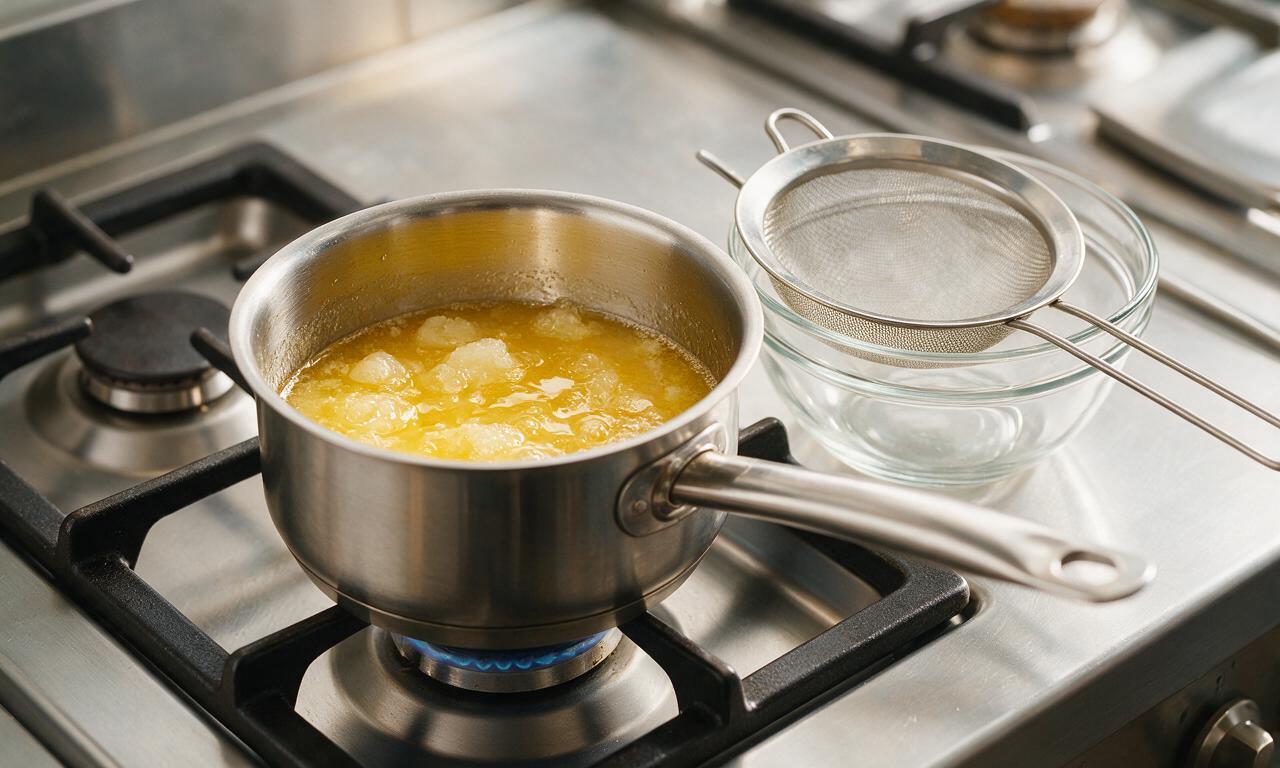
Melt and strain tallow
Once beef is nearly dry, place 225g rendered beef tallow in a small heavy-bottomed saucepan. Heat over the lowest stovetop setting for 5-7 minutes until fully liquid, clear, and reaching 65°C (150°F); do not bring to a boil. Strain through a fine-mesh sieve to remove any solid particles, then set aside to cool slightly.
Process dry ingredients
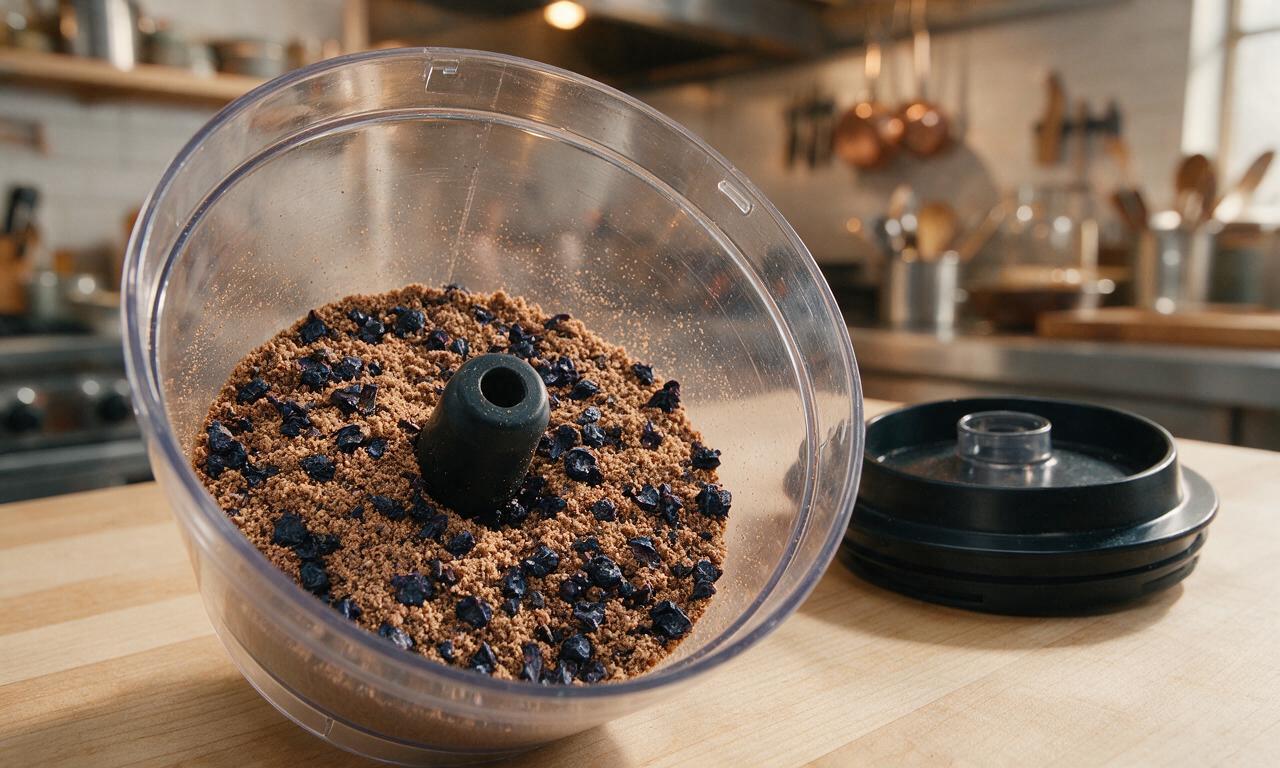
Break fully cooled, brittle dried beef strips into small chunks, add to a high-powered blender or food processor. Process on high for 1-2 minutes until beef becomes a fine, uniform powder with no remaining chunks. Add 75g dried unsweetened blueberries, pulse 3-4 times to chop berries into small, evenly distributed pieces; do not overprocess into a paste.
Mix pemmican base
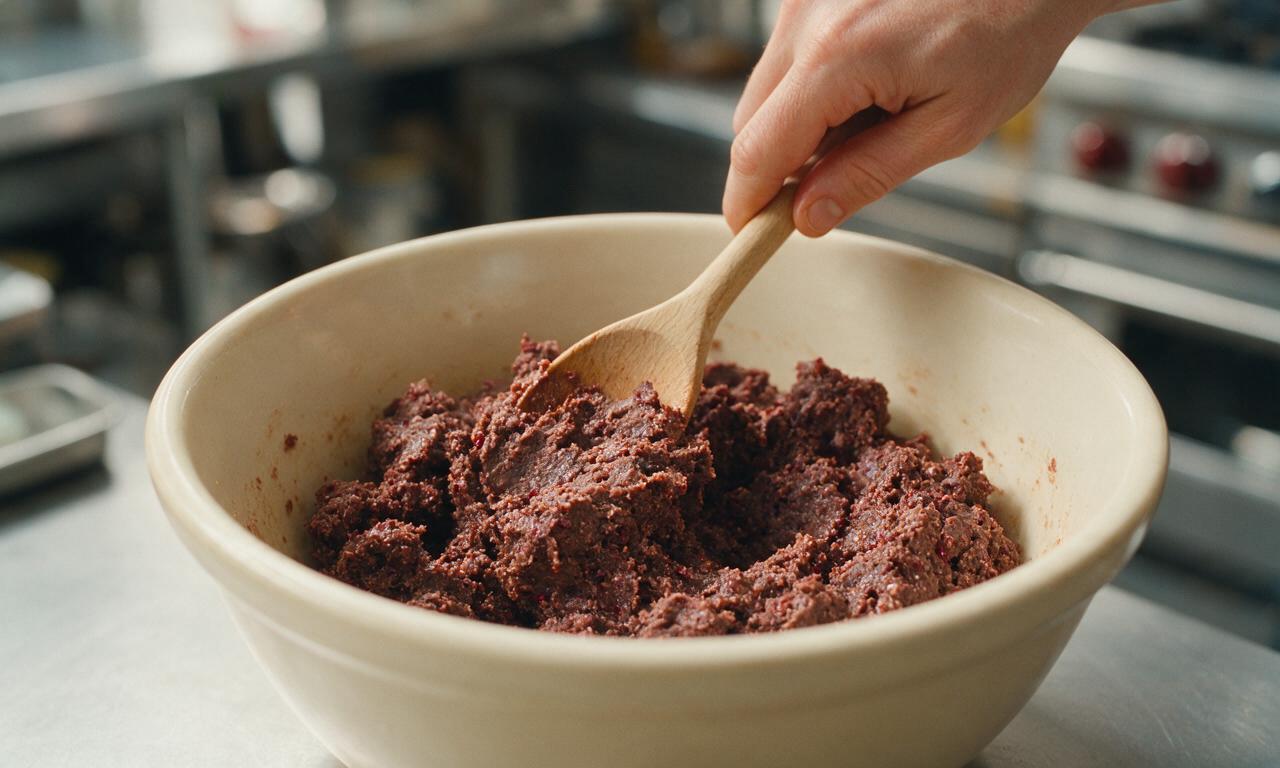
Transfer the powdered beef and berry mixture to a large heatproof mixing bowl. Slowly pour the warm, liquid tallow into the bowl while stirring continuously with a wooden spoon, until all dry ingredients are evenly coated and the mixture clumps firmly when squeezed, with no dry powdery patches remaining.
Press and set pemmican
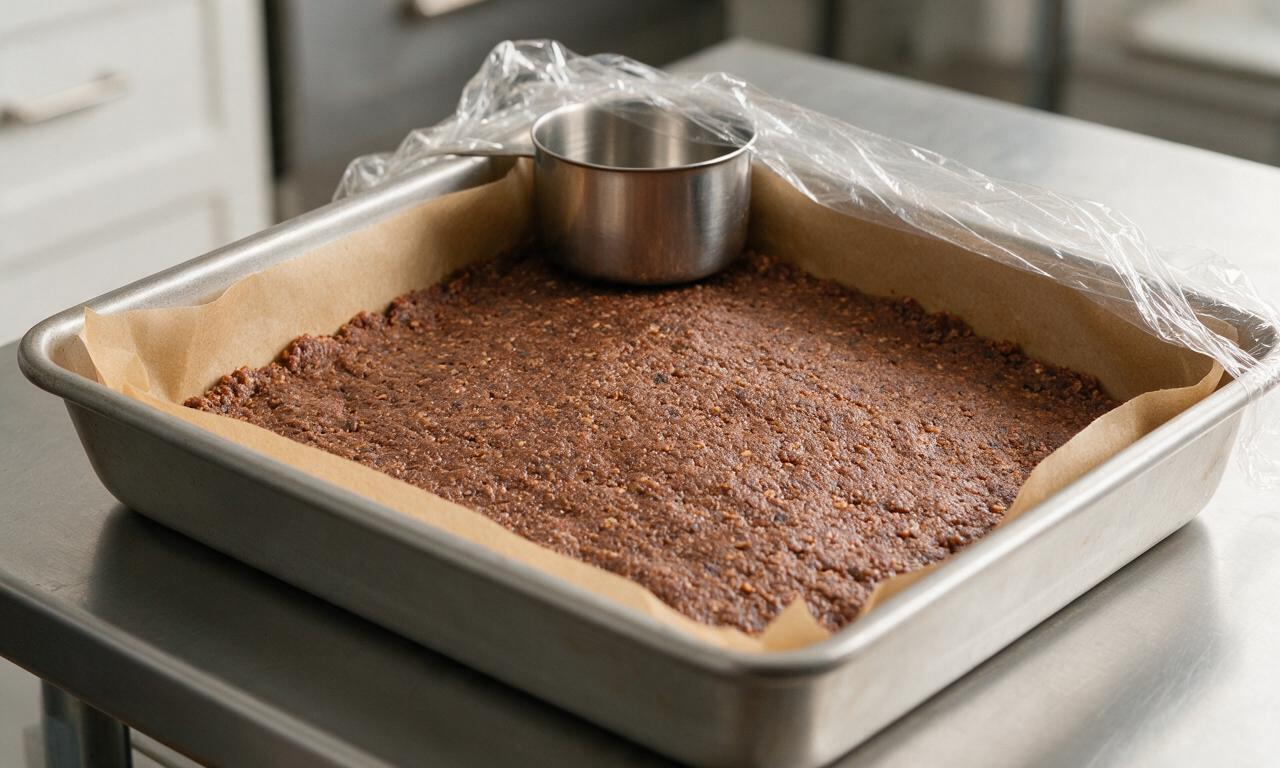
Line a 20cm (8 inch) square baking pan with parchment paper, leaving 5cm (2 inch) overhang on two sides for easy removal. Pour the pemmican mixture into the pan, press firmly and evenly with the flat bottom of a measuring cup to create a compact 2cm (¾ inch) thick layer with no trapped air pockets. Cover and refrigerate for 2 hours until fully solidified.
Cut and store bars
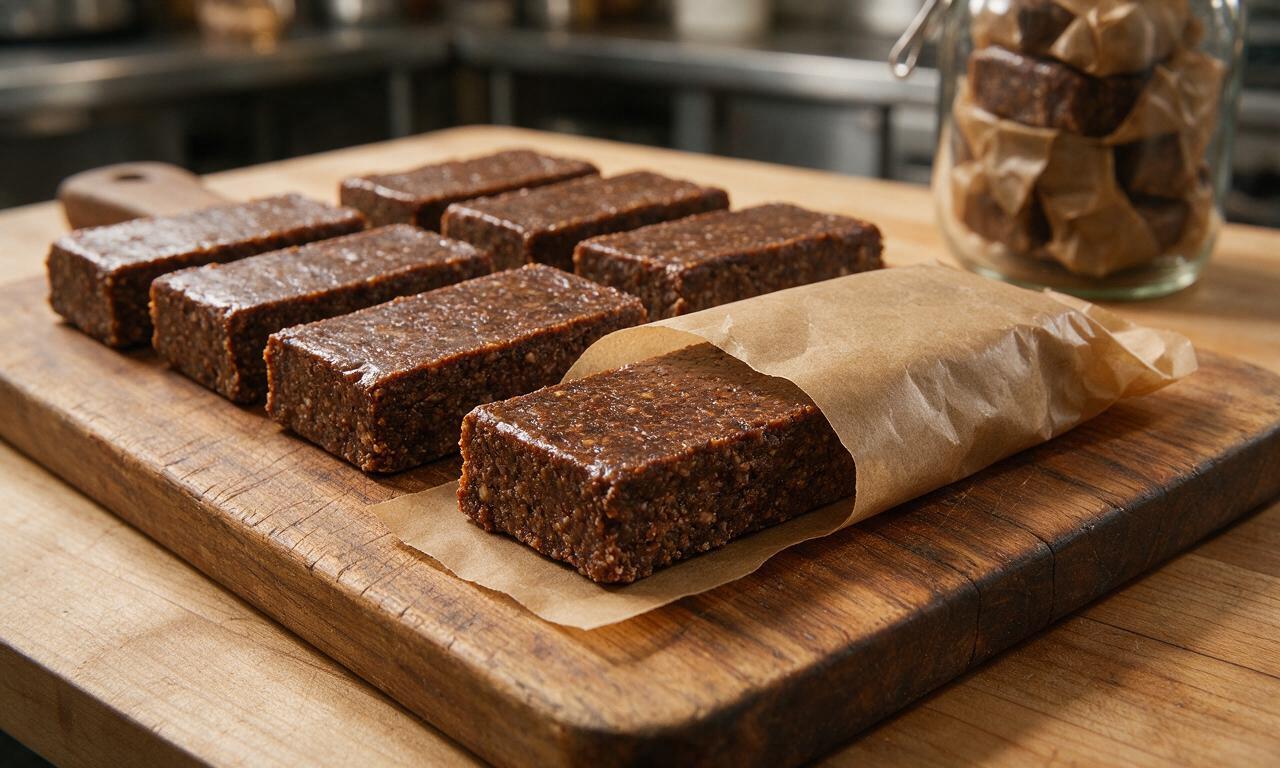
Lift the solid pemmican block out of the pan using the parchment overhang, transfer to a cutting board. Cut into 50g (1.75 ounce) rectangular bars, roughly 5cm x 10cm (2 inch x 4 inch) each. Wrap individual bars tightly in parchment paper, and store in a cool, dark cabinet for up to 1 year with no refrigeration.
Tips
2.Only use fully rendered, pure beef tallow (preferably kidney fat) — unrendered fat or marbling trimmed from beef will turn rancid quickly at room temperature.
3.For a traditional twist, swap dried blueberries for unsweetened Saskatoon berries or chokecherries; avoid sweetened dried fruit, as added sugar speeds spoilage.


OMG this traditional pemmican recipe is a total game changer for my backcountry camping trips! I’ve tried store-bought pemmican before and it always tastes like greasy cardboard, but this homemade version is SO good. I swapped the bison for grass-fed beef since that’s what I had on hand, and it turned out perfect. Packed so much energy for my 10 mile day hike last weekend, no crumbs, no melting, zero fuss. 10/10 will be making a double batch next month for my group trip.
I made this for my family’s emergency food stash and my kids loved it?! I was so worried the plain, meaty flavor would be a hard no for my picky 7 and 9 year olds, but they keep sneaking pieces out of the storage container as after school snacks. Total win for meal prep too, since it stores forever and I don’t have to worry about packing refrigerated snacks for soccer practice. My only note is that rendering the suet took me a little longer than the recipe said, probably because my stove runs a little cool.
Brought a batch of this cut into bite-sized squares to my neighborhood potluck last weekend and people were losing their minds. Half the group had never even heard of pemmican before, and I must have passed the recipe link out to at least 8 people. I added a little pinch of smoked sea salt on top before it set and wow, that extra little pop of flavor is chef’s kiss. Perfect portable, high-protein snack that doesn’t require any heating or fancy serving gear.
I’ve been making pemmican for years and this is hands down the most authentic, easy to follow traditional recipe I’ve found online. So many recipes cut corners and add weird fillers or too much honey, but this sticks to the basics just like the versions my grandma used to make when I was a kid growing up in the upper Midwest. The 8+ hour cook time sounds intimidating but it’s almost all inactive drying time, so it’s way less work than it seems at first glance.
Game. Changer. For my long run fueling! I’ve been spending a fortune on those processed energy gels that upset my stomach mid-run, and a 1 ounce square of this pemmican gives me steady energy for 6+ miles without the sugar crash. I did a mix of dried bison and venison from the deer my brother got last hunting season, and the flavor is incredible. Medium difficulty is spot on – the rendering part takes a little attention, but nothing a home cook can’t handle.
Okay full transparency, I burned the first batch of dried meat because I forgot I had it in the oven and ran to pick up my dog from daycare. Oops. Second batch I set 3 different timers and it came out AMAZING. I was so proud of myself. The texture is perfect, no weird aftertaste, and I’ve been taking it to work with me for quick desk lunches when I don’t have time to pack something. Even my roommate who hates “weird survival food” stole half the batch. Will make again.
Made a double batch of this for our family’s 5 day backcountry canoe trip and it was perfect. No refrigeration needed, packed a ton of calories for all that paddling, and even my 10 year old who only eats chicken nuggets asked for seconds. I added a little dried sage and black pepper to the mix for extra flavor, and it didn’t mess with the shelf life at all from what I can tell. Would absolutely recommend to anyone looking for lightweight trail food.
I love making historic/traditional recipes to teach my middle school history class, and this was such a hit! We talked about how Indigenous communities created pemmican as a nutrient-dense travel food, and the kids got to help mix up a batch (with parent permission, of course) to try. A lot of them were skeptical at first but so many came back the next week asking for the recipe to make at home with their families. Such a great, educational, tasty recipe!
I was looking for cheap, high protein snacks to prep for the week that don’t require a ton of fancy ingredients, and this fit the bill perfectly. I got suet for super cheap from my local butcher, used cheap chuck roast that I dried in the oven, and mixed in some leftover dried cranberries I had in the pantry. Total cost for a batch that lasted me a full week of snacks was like $12, which is way cheaper than buying protein bars. SO good, I will be making this every other week for sure.
As a butcher, I’m always telling customers about underrated uses for suet and tough, lean cuts of meat, and this pemmican recipe is the first one I recommend now. So many people don’t know that those cheap, lean roasts are perfect for drying, and suet is often thrown away or sold for pennies because people don’t know what to do with it. The ratios in this recipe are perfect, no crumbly mess, no too-greasy texture. 10/10.
Obsessed with this zero-waste, long lasting staple! I hate throwing food away, so the fact that this stays good for months in an airtight container without refrigeration is a dream. I used trimmings from the grass-fed beef I buy in bulk from a local farm, rendered the suet I got as part of my bulk order, and added foraged dried wild blackberries that I picked last summer. It feels so good to make something with literally no food waste, and it tastes amazing too.
I’m the pickiest eater on the planet, so I went into this fully expecting to hate it. My wife made a batch for her upcoming backpacking trip and made me try a bite, and honestly? It’s really good! It’s savory, a little sweet from the berries, has a nice crumbly but not dry texture, and it’s actually really filling. I ate three pieces before she even had a chance to pack it up for her trip, oops. Guess we’re making another batch this weekend.
I keep a container of this in my gym bag for post-workout fuel and it’s perfect. Way better than chugging a chalky protein shake when I’m running straight from the gym to work. The balance of protein and fat keeps me full for hours, no mid-morning crash at my desk. I added a little bit of dried chili powder for a tiny kick, and it’s chef’s kiss. Who knew old school survival food would be my new go-to gym snack?
We live off grid on a small homestead, so shelf-stable, nutrient dense foods are a staple for us. I’ve tried so many pemmican recipes over the years and this one is the most reliable, no-fuss version I’ve ever used. It doesn’t separate when it sets, it lasts for months in our root cellar, and the whole family loves it. We made 6 batches last fall to get us through the winter, and we still have 2 containers left that taste just as good as the day we made them.
I was worried I couldn’t make this because I live in a tiny studio apartment with a tiny oven, but it worked! I did the meat drying in batches on my small baking sheets, rendered the suet in a little saucepan on my stovetop, and set the whole thing in a glass baking dish in my mini fridge to set. It came out perfect! I was worried the whole apartment would smell like meat for days but it was totally fine, no weird lingering smells. Great recipe for small space dwellers!
As someone who studies traditional Indigenous foodways, I’m really happy to see a pemmican recipe that doesn’t bastardize the original with random trendy add-ins and actually explains the cultural context alongside the instructions. I made a batch using bison as the original recipes would have used, and it was so flavorful, shelf stable, and true to what I’ve read in historical accounts. Will absolutely be sharing this with my fellow food history nerds.
I made a big batch of this after seeing all the winter storm prep lists going around earlier this year, and thank goodness I did! We lost power for 3 days during that last ice storm, and we didn’t have to stress about food going bad in the fridge because we had a whole container of this to eat. It was filling, required zero cooking, and kept our energy up while we were shoveling the driveway and checking on neighbors. Total lifesaver.