
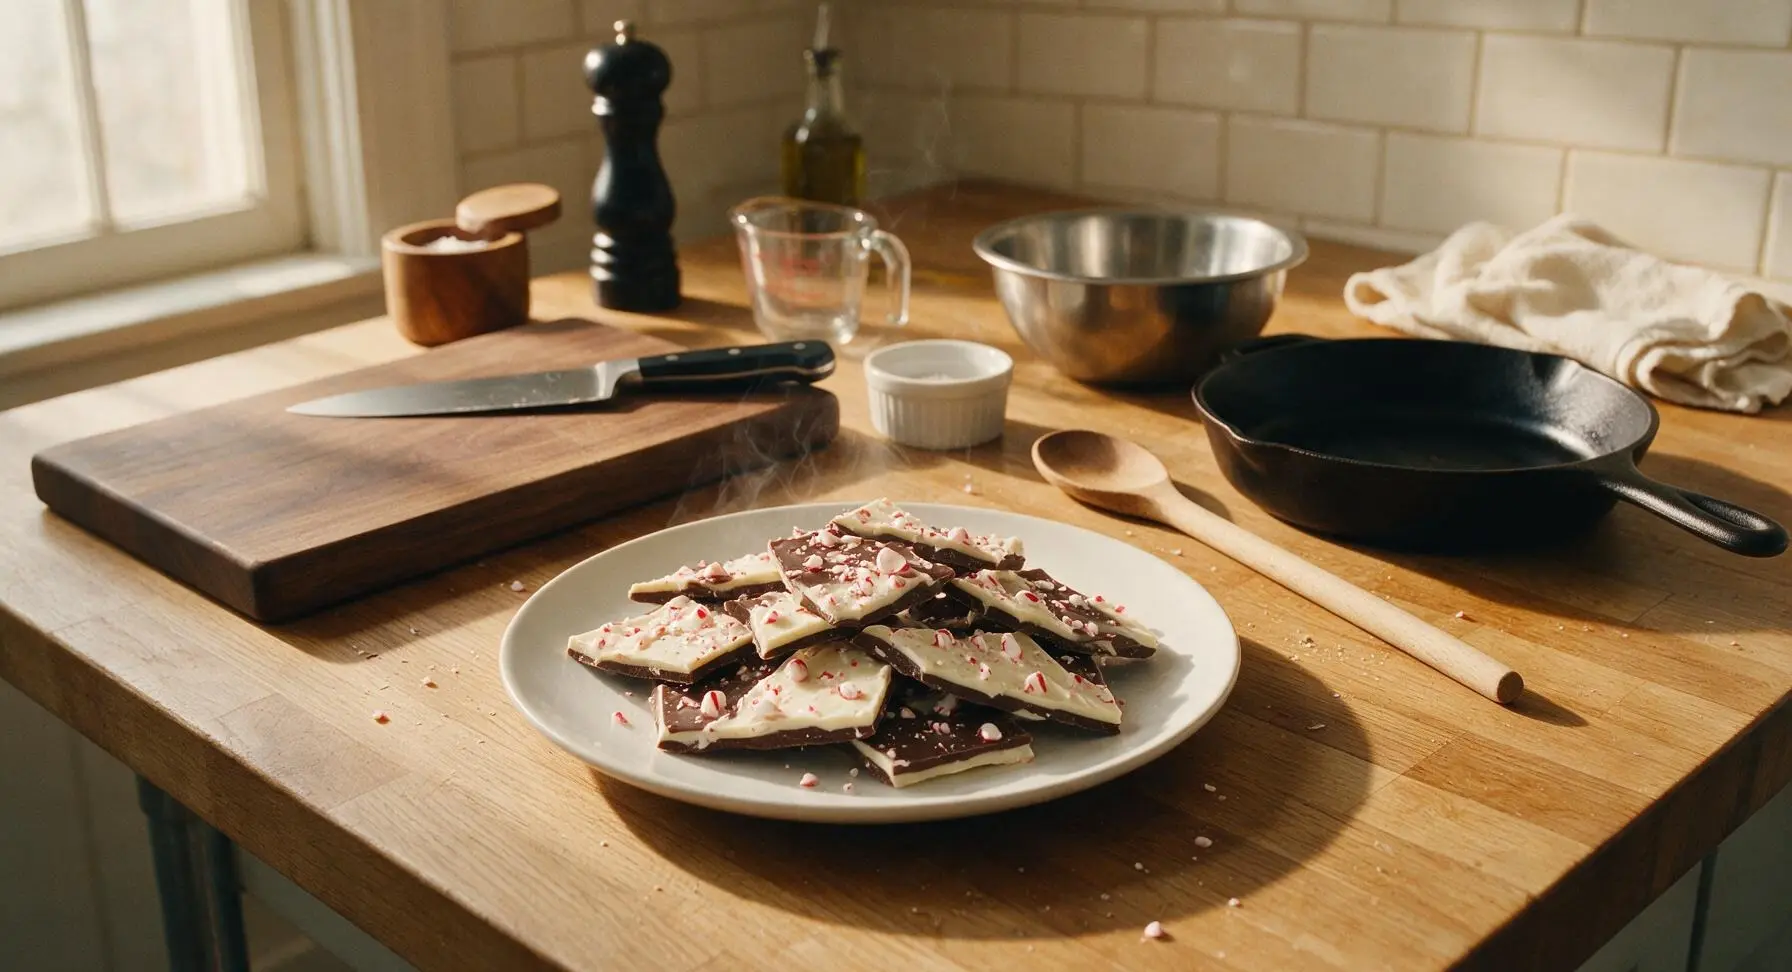
Peppermint Bark

title 1
Peppermint Bark
⏱️ cook time 1 hour 15 minutes (chilling/setting time)
🍽️ servings 12
⚡ Difficulty easy

intro

Crisp, layered dark and white chocolate studded with crushed peppermint, this no-bake festive candy is perfectly minty, rich, and ideal for holiday gifting and snacking.

Ingredients
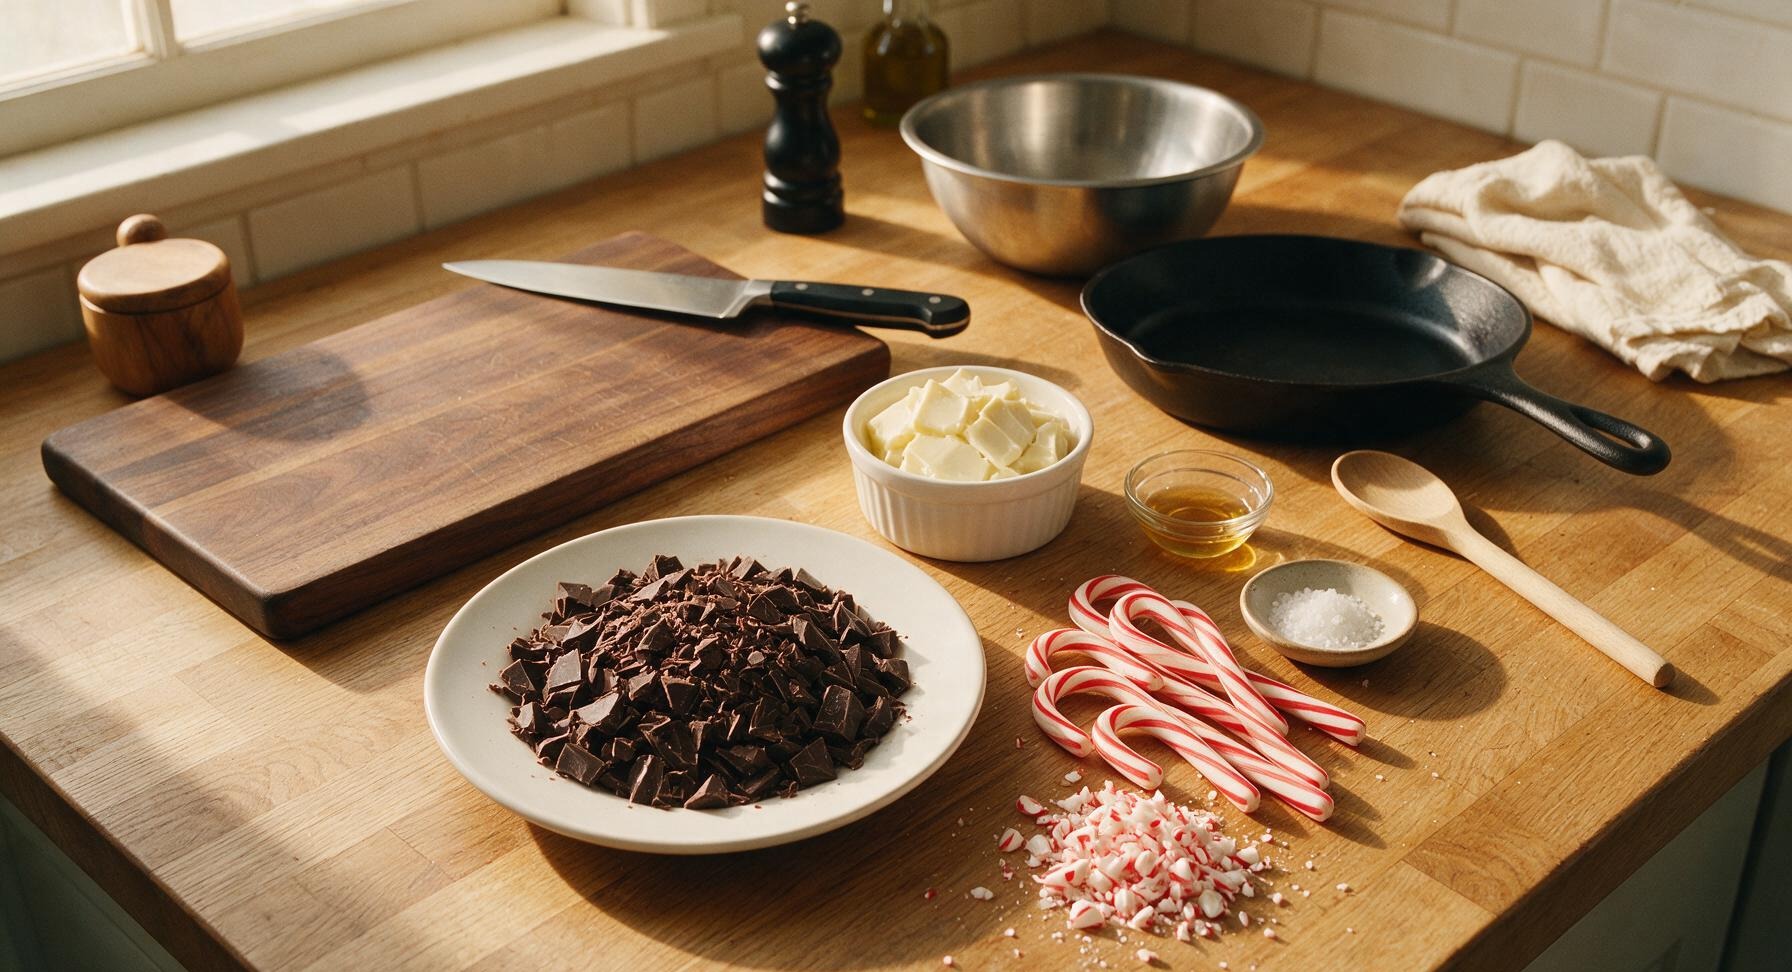
High-quality dark chocolate (60-70% cacao, finely chopped) 12 oz (340g)
High-quality white chocolate (finely chopped, no candy melts) 16 oz (450g)
Pure peppermint extract 1/2 teaspoon, divided
Hard peppermint candy canes 8 pieces (≈1 cup crushed)
Flaky sea salt 1/4 teaspoon

Steps

1

Line Baking Sheet

Line the 9x13 inch matte silver aluminum baking sheet with the cut unbleached parchment paper, leaving 2 inches of overhang on both long sides to act as handles for lifting the set bark later. Smooth the paper flat with your palm to eliminate wrinkles or air bubbles, so chocolate spreads evenly without gaps or thin spots.
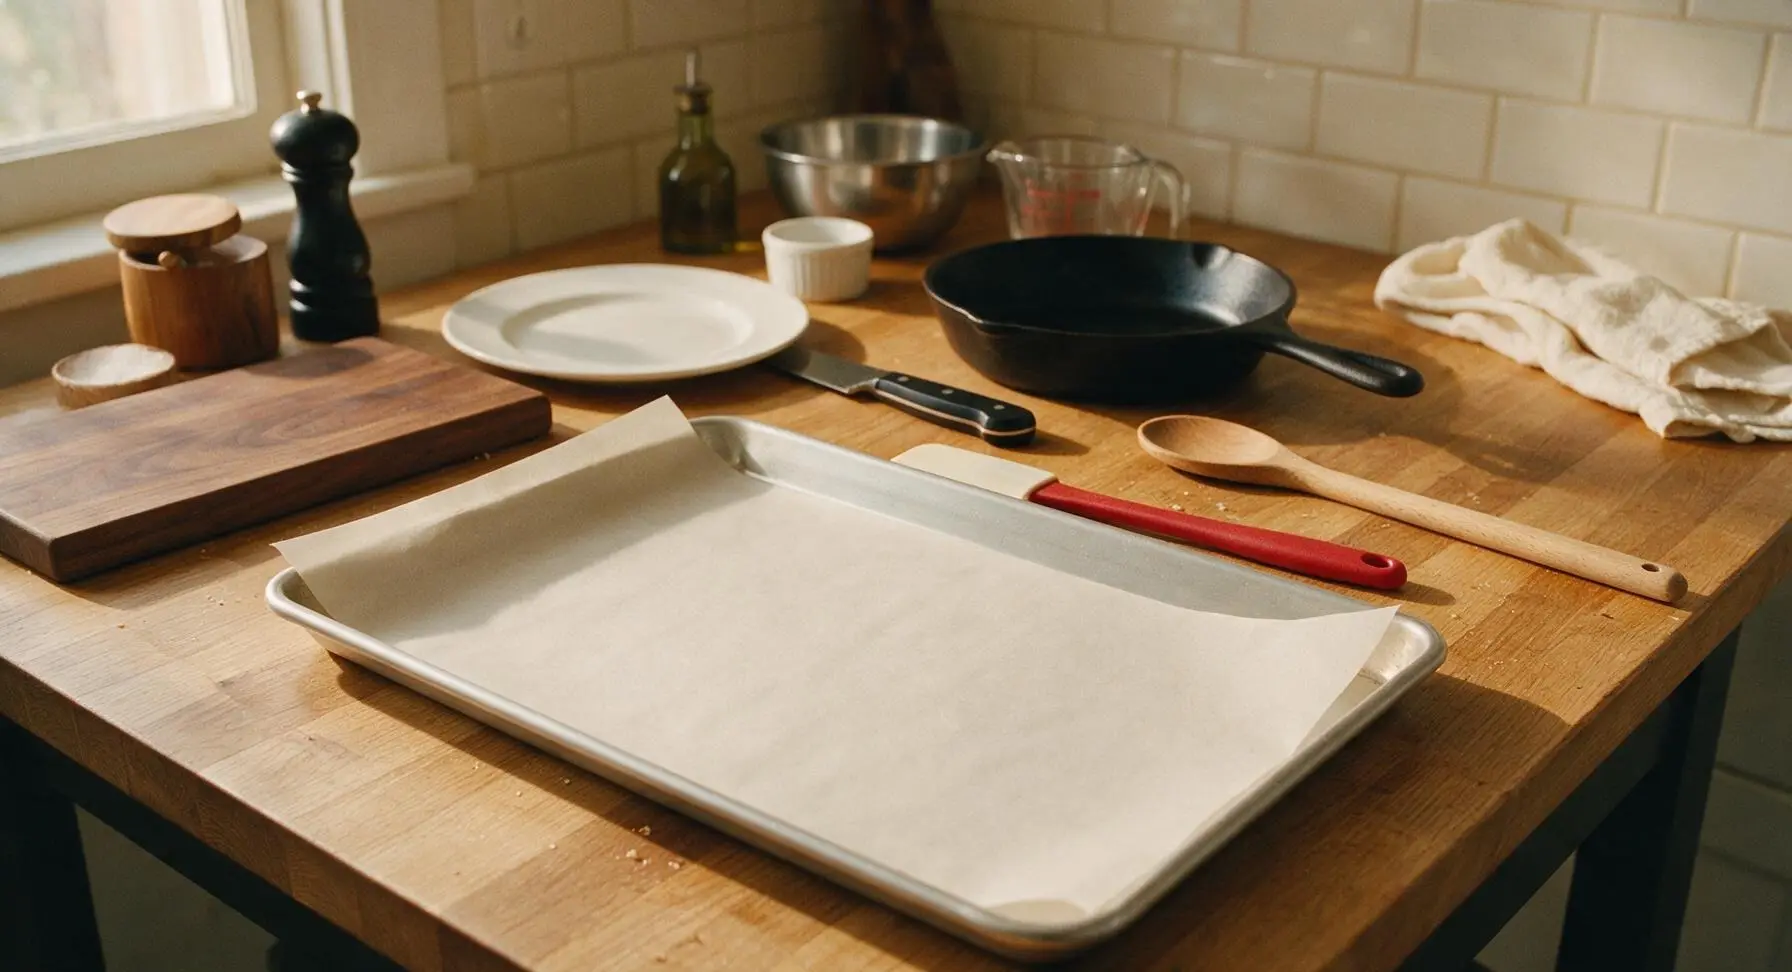
Step 1
step1:Line Baking Sheet
2

Crush Candy Canes

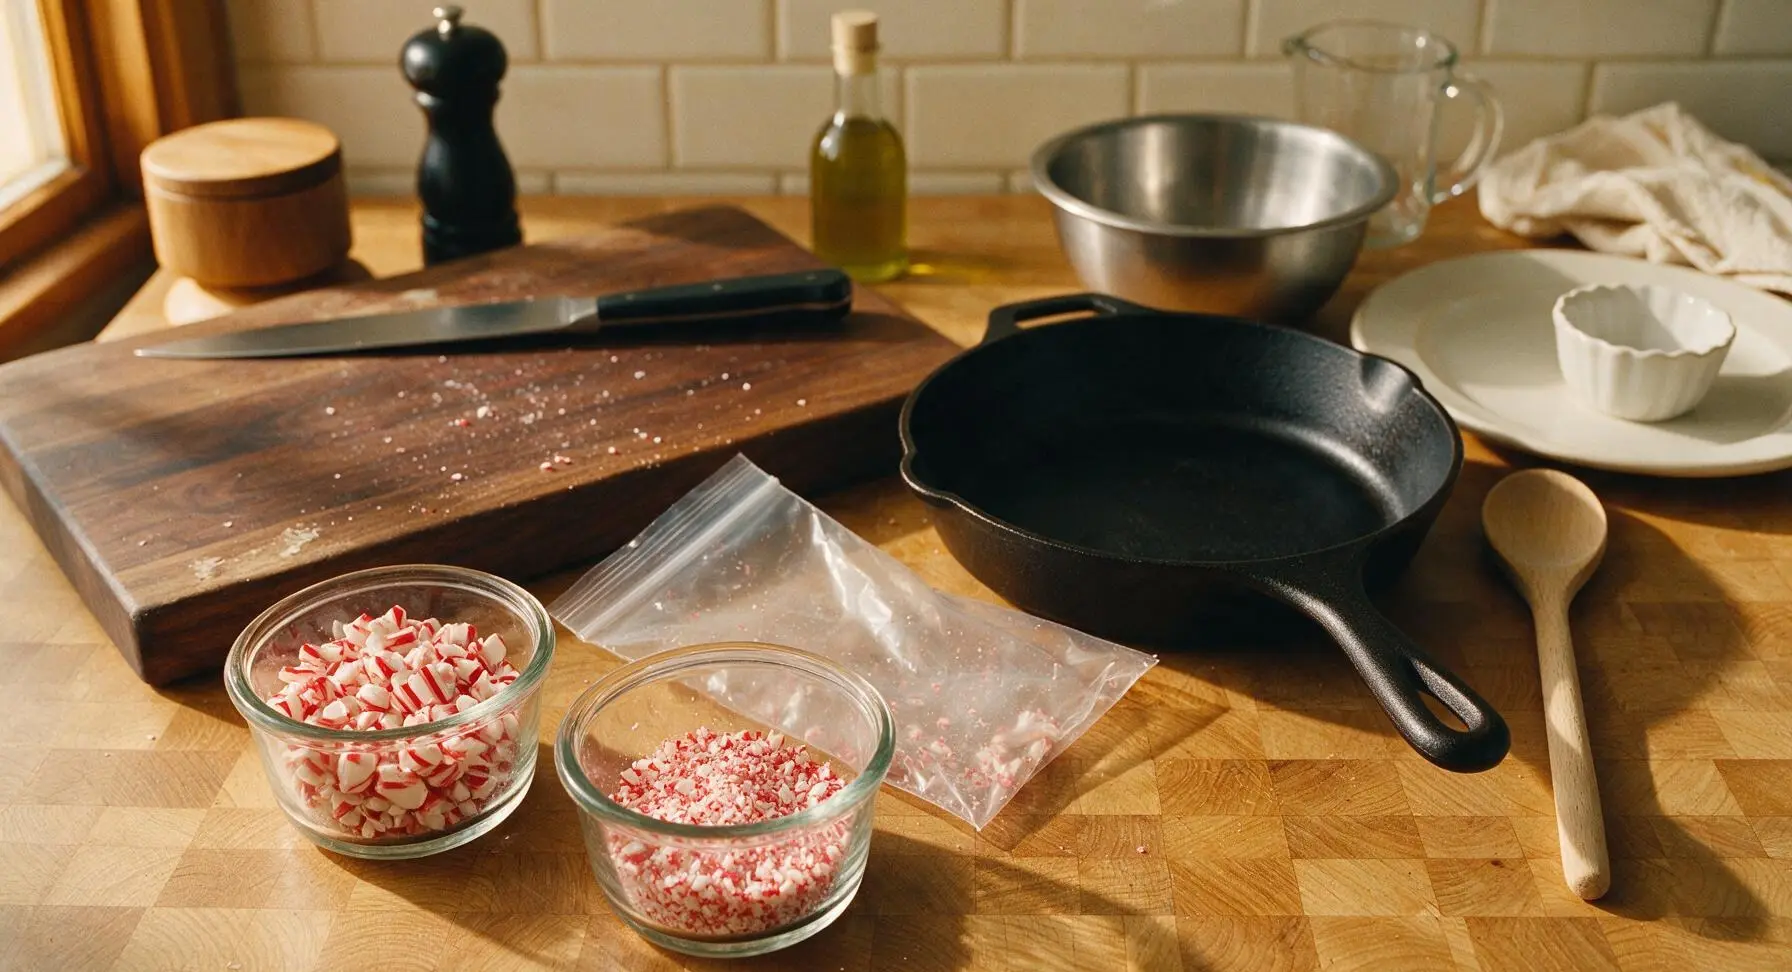
Unwrap all 8 candy canes and place them inside the 1 gallon clear zip-top freezer bag, pressing out excess air before sealing the bag tightly. Use the solid maple rolling pin to gently tap and roll over the bag, crushing the candies into a mix of fine crumbs and 1/4-inch chunky pieces. Pour 3/4 of the crushed candy into one small glass ramekin (for the middle layer), reserving the remaining 1/4 of finer crumbs in a second ramekin for the top garnish.
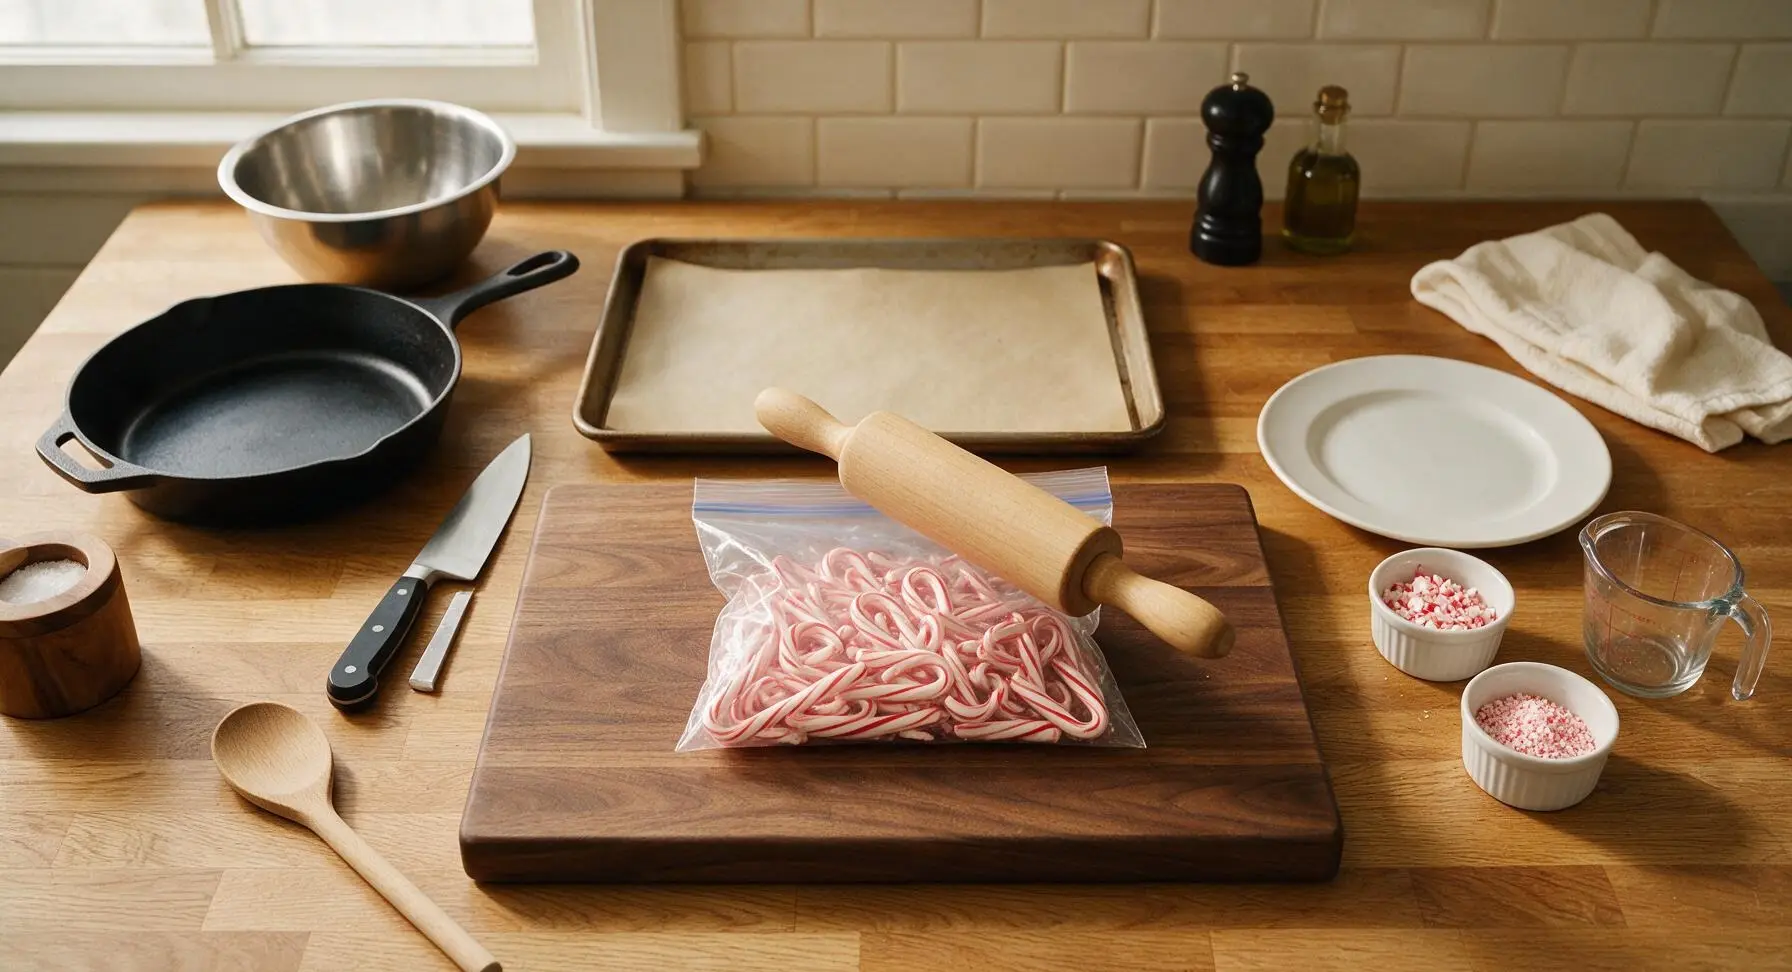
Step 2
step2:Crush Candy Canes
Step 2
step2:Crush Candy Canes
3

Melt Dark Chocolate

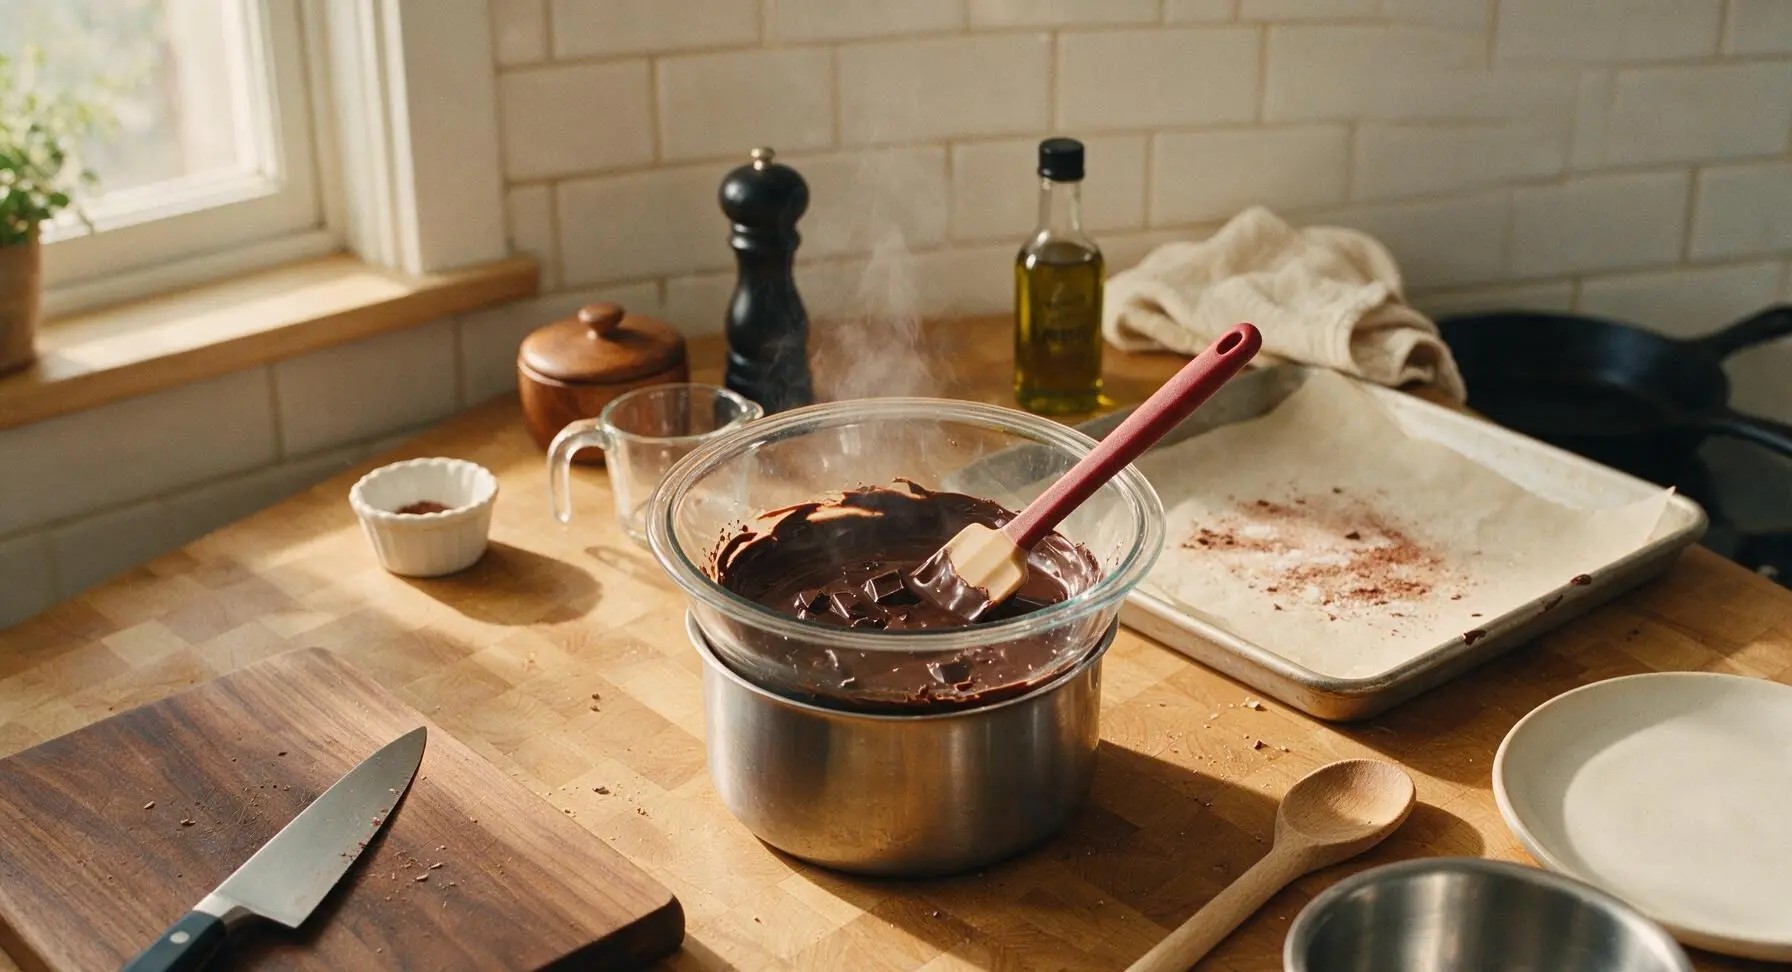
Fill the 1.5 quart stainless steel saucepan with 1 inch of water, bringing to a bare simmer over low heat. Place the 2 quart clear glass mixing bowl on top of the saucepan, ensuring the bowl bottom does not touch the simmering water (to avoid seizing chocolate). Add the chopped dark chocolate to the bowl, stirring slowly and constantly with the red-handled silicone spatula until 90% melted, about 3-4 minutes. Remove the bowl from heat, add 1/4 teaspoon peppermint extract, and stir until completely smooth and glossy, with no remaining lumps.
Step 3
step3:Melt Dark Chocolate
4

Spread Dark Chocolate Layer

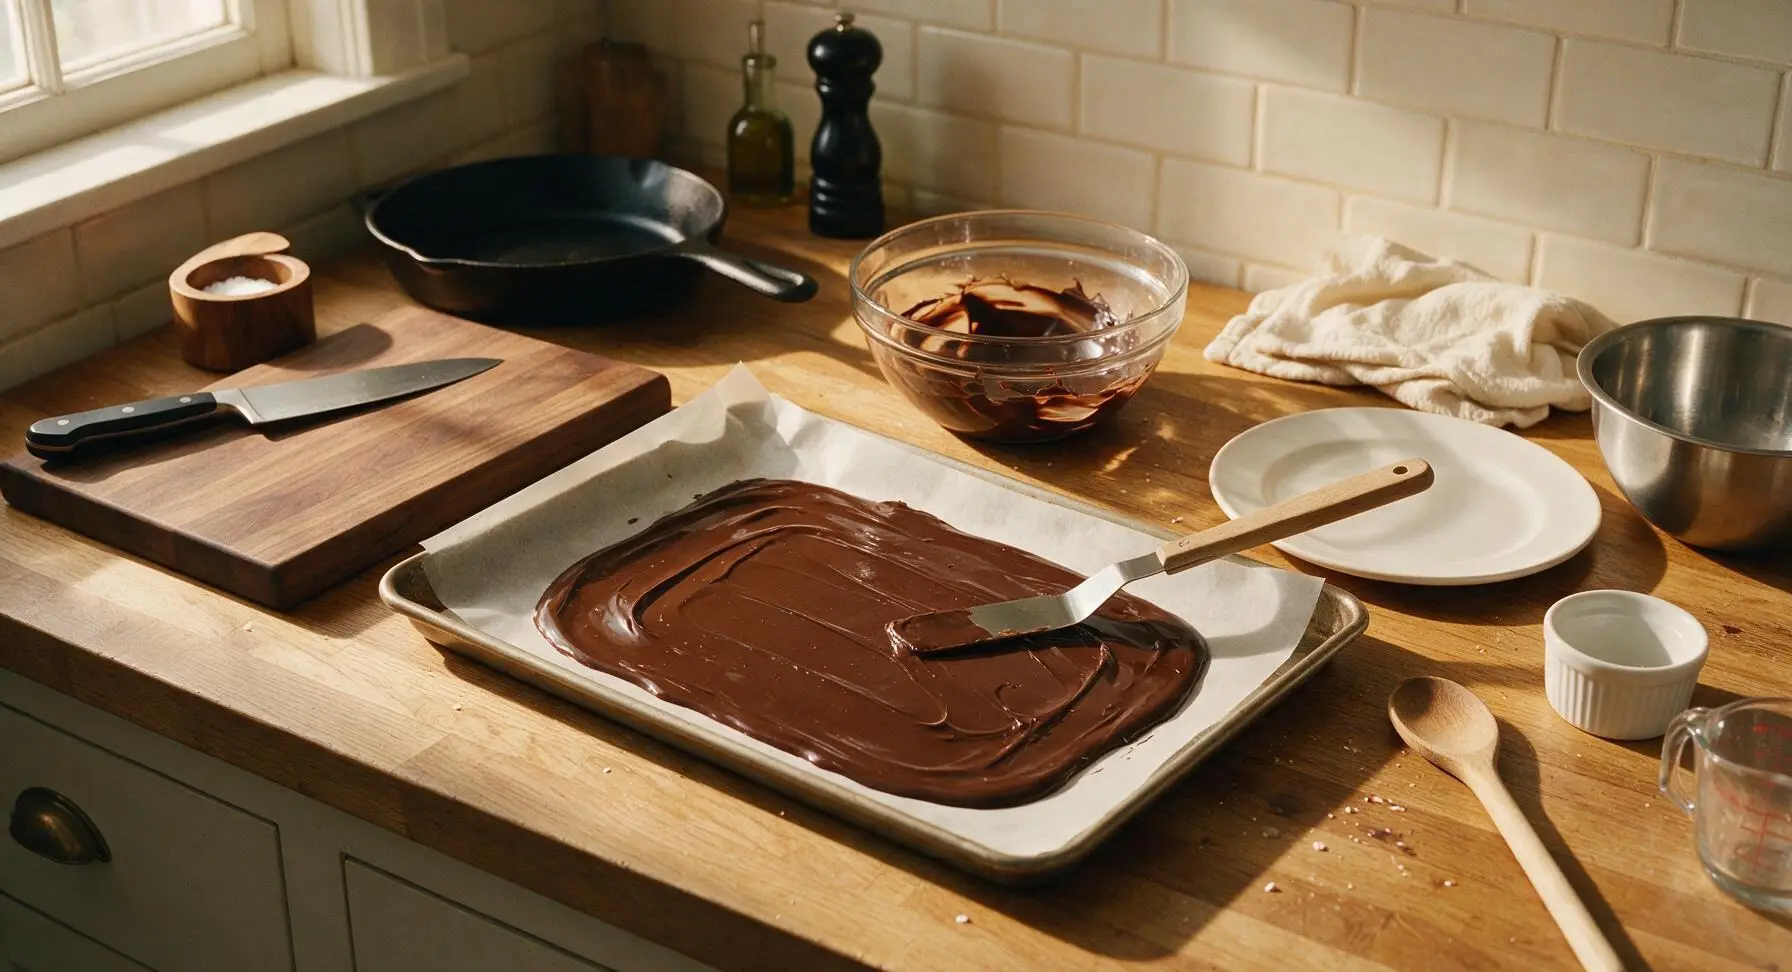
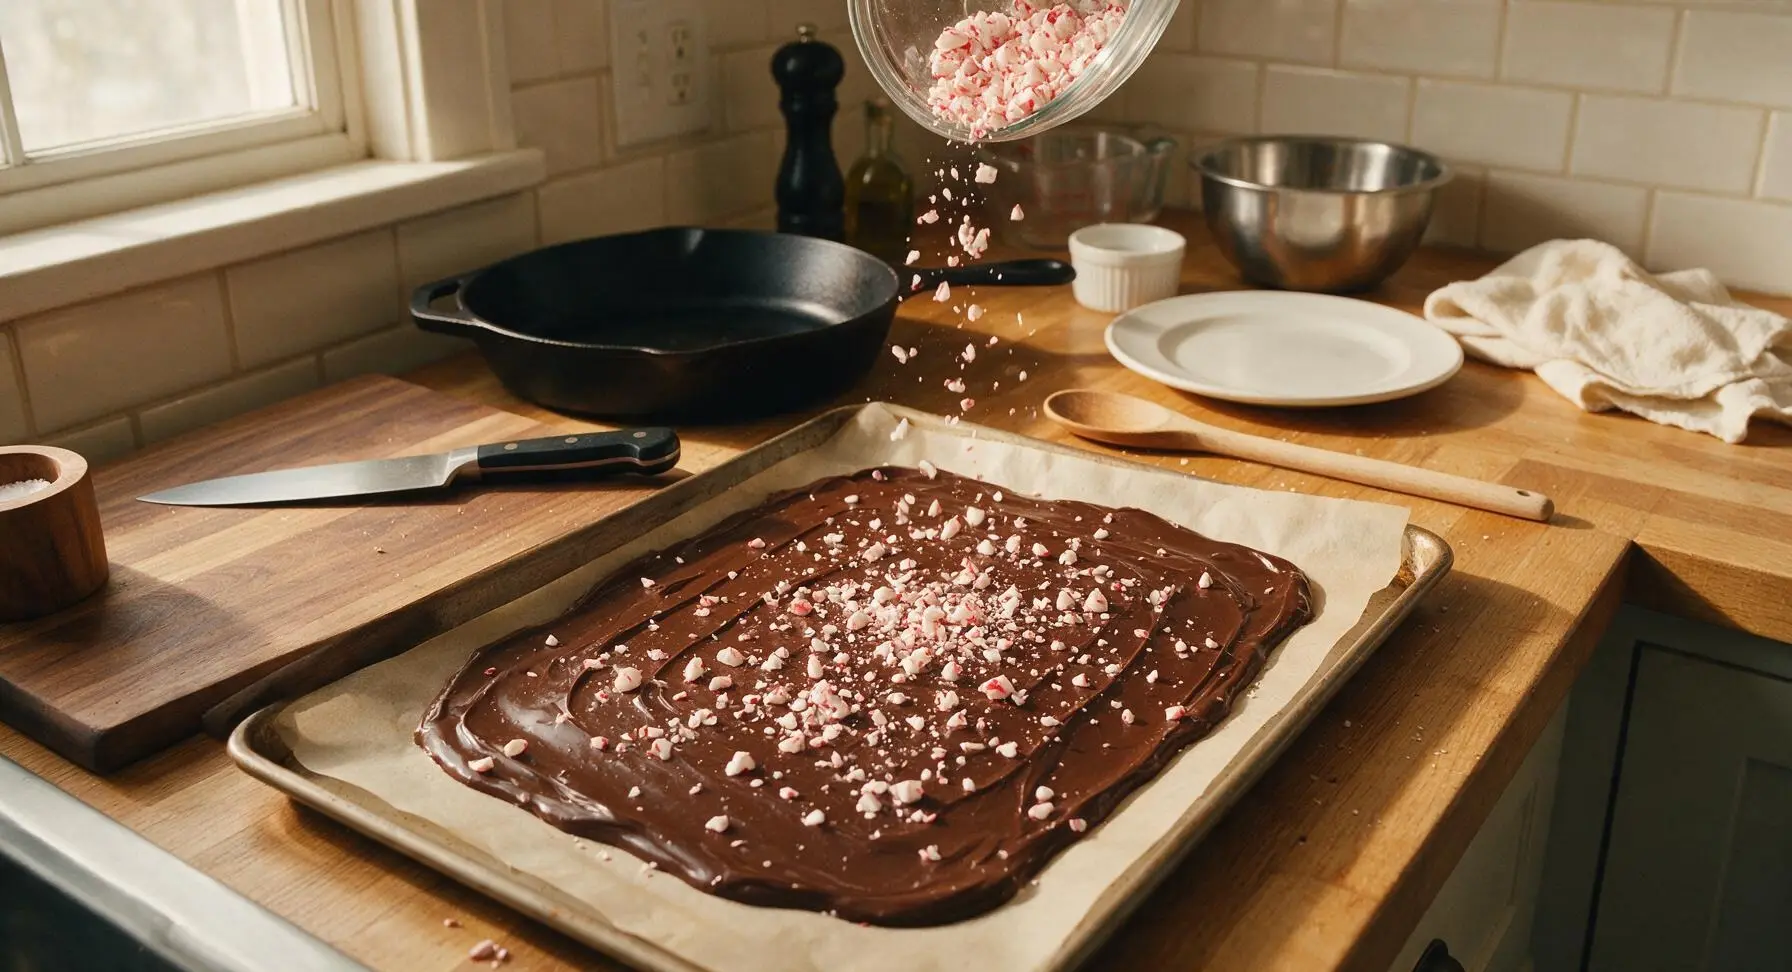
Pour the fully melted smooth dark chocolate directly onto the center of the parchment-lined baking sheet. Use the offset metal spatula to spread the chocolate into an even, thin 1/4-inch thick layer across the parchment, leaving a 1/2-inch border from the pan edges. Sprinkle the reserved 3/4 portion of chunky crushed peppermint evenly across the dark chocolate, pressing very gently so the pieces adhere. Place the pan in the refrigerator to chill for 15 minutes, until the dark chocolate is firm to the touch and no longer glossy on top.
Step 4
step4:Spread Dark Chocolate Layer
Step 4
step4:Spread Dark Chocolate Layer
5

Melt White Chocolate

Wipe the glass mixing bowl clean of any residual dark chocolate, then return it to the top of the simmering double boiler (ensure water remains at a bare simmer, not boiling, to avoid scorching). Add the finely chopped white chocolate to the bowl, stirring constantly with the silicone spatula until 90% melted, about 4-5 minutes. Remove the bowl from heat, stir in the remaining 1/4 teaspoon peppermint extract, and stir until completely smooth with no lumps. Let the melted white chocolate cool for 2 minutes, so it does not melt the set dark chocolate layer when poured.
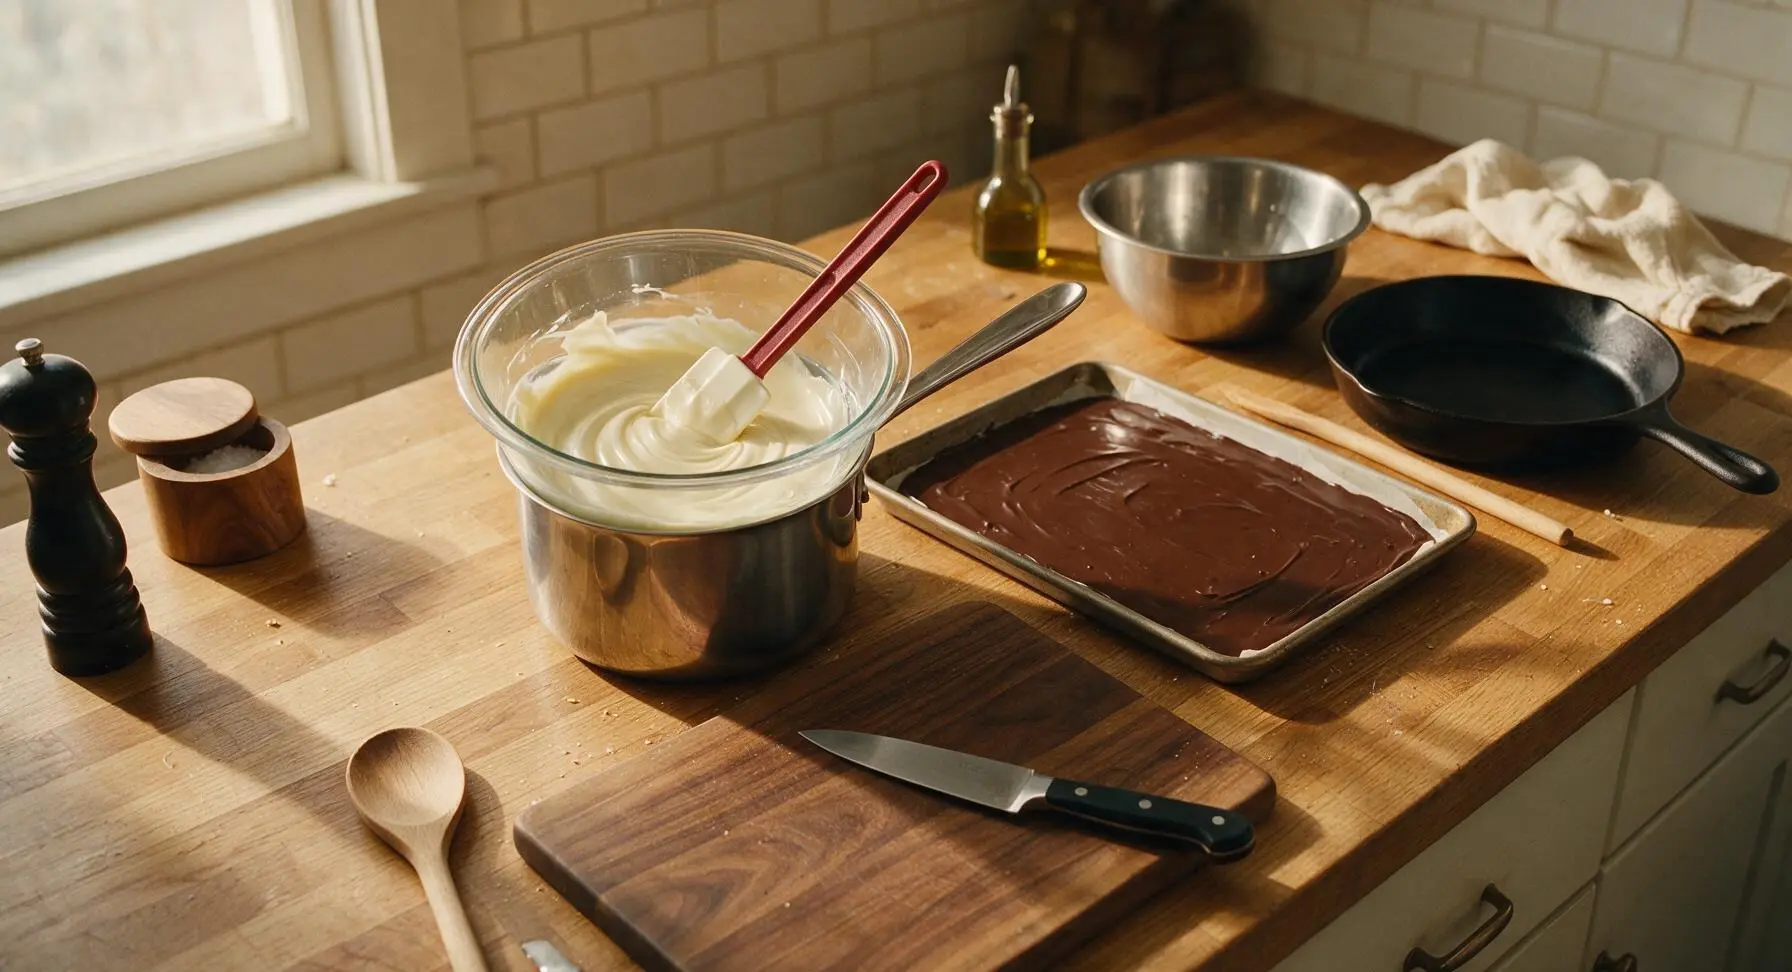
Step 5
step5:Melt White Chocolate
6

Top With White Chocolate

Remove the chilled baking sheet with firm dark chocolate from the refrigerator. Pour the cooled melted white chocolate directly over the dark chocolate layer, using the clean offset spatula to spread it gently into an even layer that fully covers the dark chocolate and peppermint pieces below. Work slowly to avoid disturbing the set dark chocolate layer underneath, which can cause muddy, mixed layers.
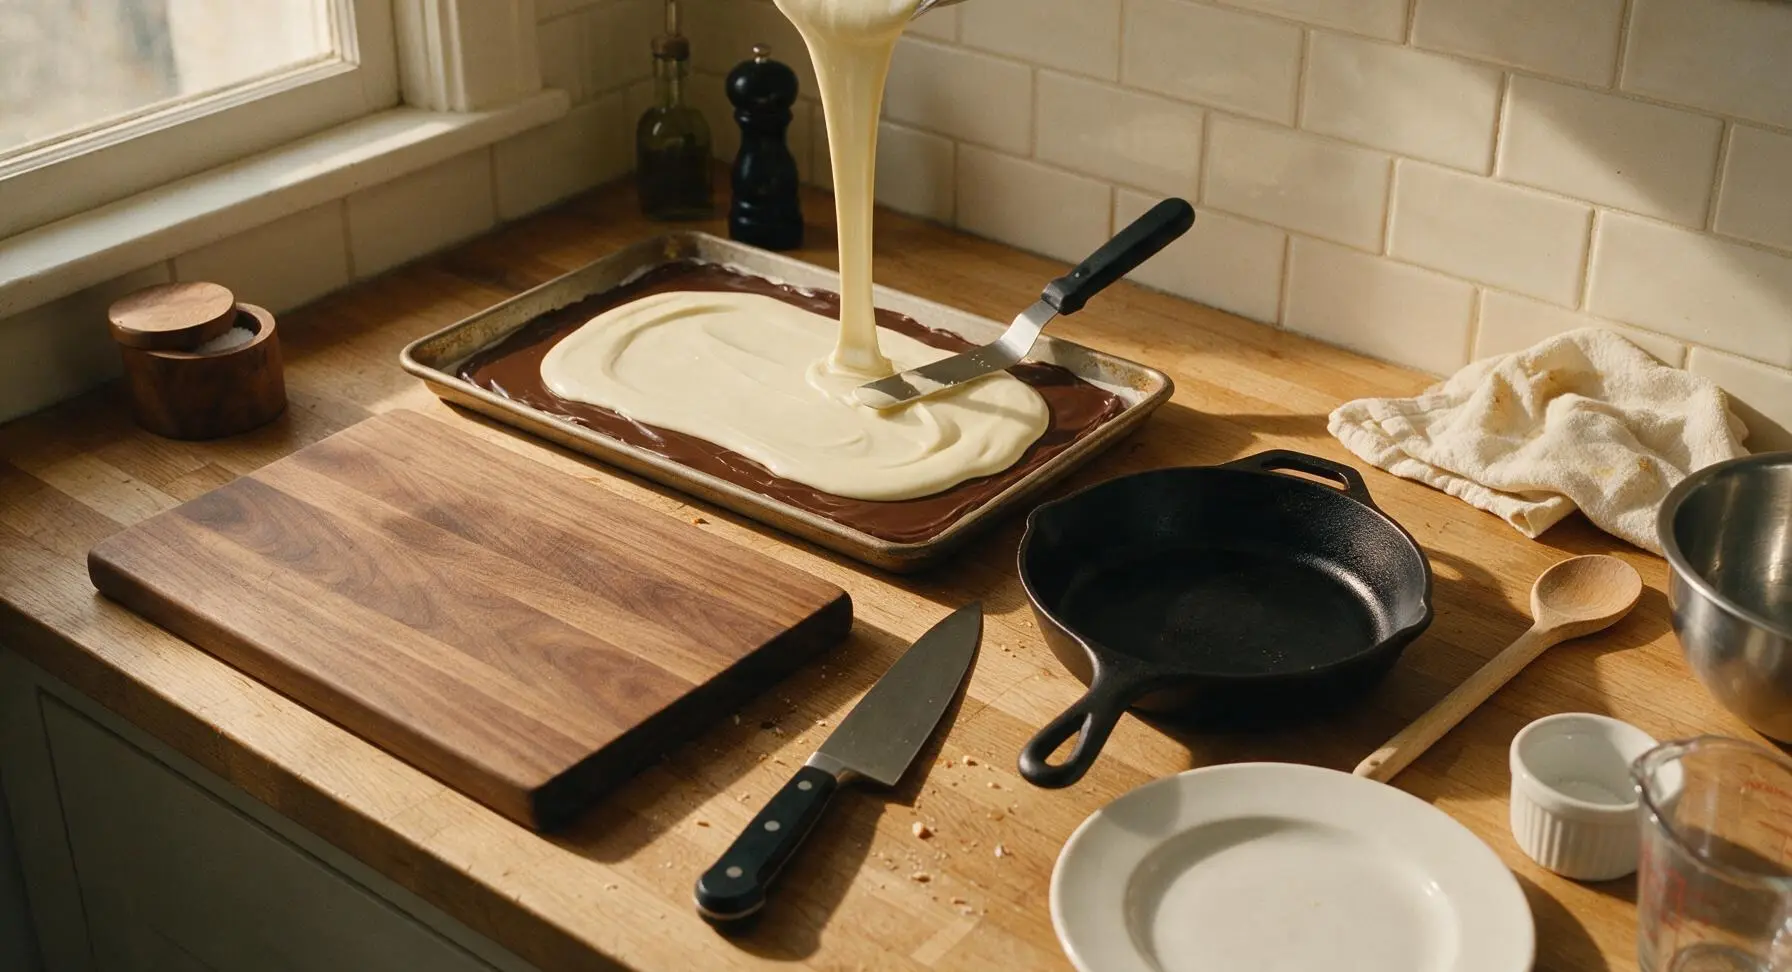
Step 6
step6:Top With White Chocolate
7

Add Toppings And Chill

Immediately after spreading the white chocolate into an even layer, sprinkle the remaining fine crushed peppermint crumbs evenly across the entire top, followed by a light, even dusting of flaky sea salt. Do not press the toppings in—let them settle naturally into the still-soft white chocolate. Return the pan to the refrigerator to chill for a full 1 hour, until both chocolate layers are completely firm and set to the touch, with no soft spots when pressed lightly.
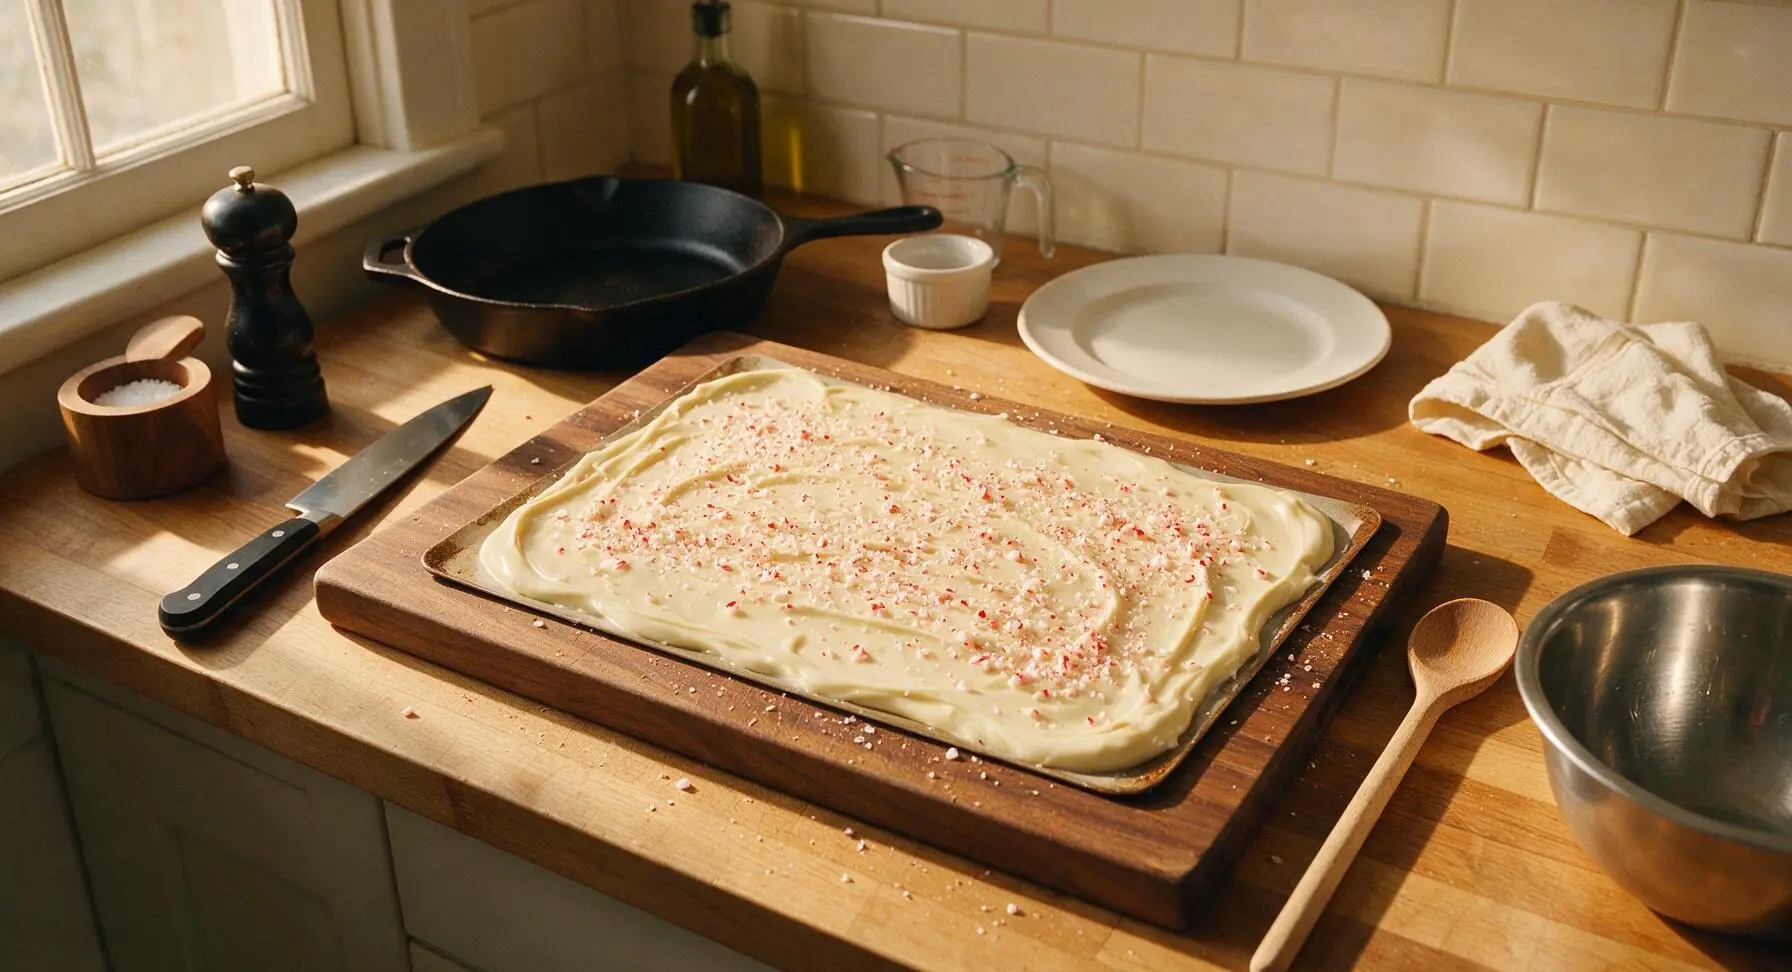
Step 7
step7:Add Toppings And Chill
8

Break Bark Into Pieces

Once fully set, lift the entire block of peppermint bark out of the baking sheet using the parchment paper overhang handles, transferring it to a clean section of the counter. Peel the parchment paper away from the back of the bark. Use the walnut-handled chef's knife to cut the bark into irregular 2-3 inch pieces, or simply break it by hand for a more rustic look—do not aim for perfectly uniform shapes, as uneven edges are part of classic peppermint bark appeal.
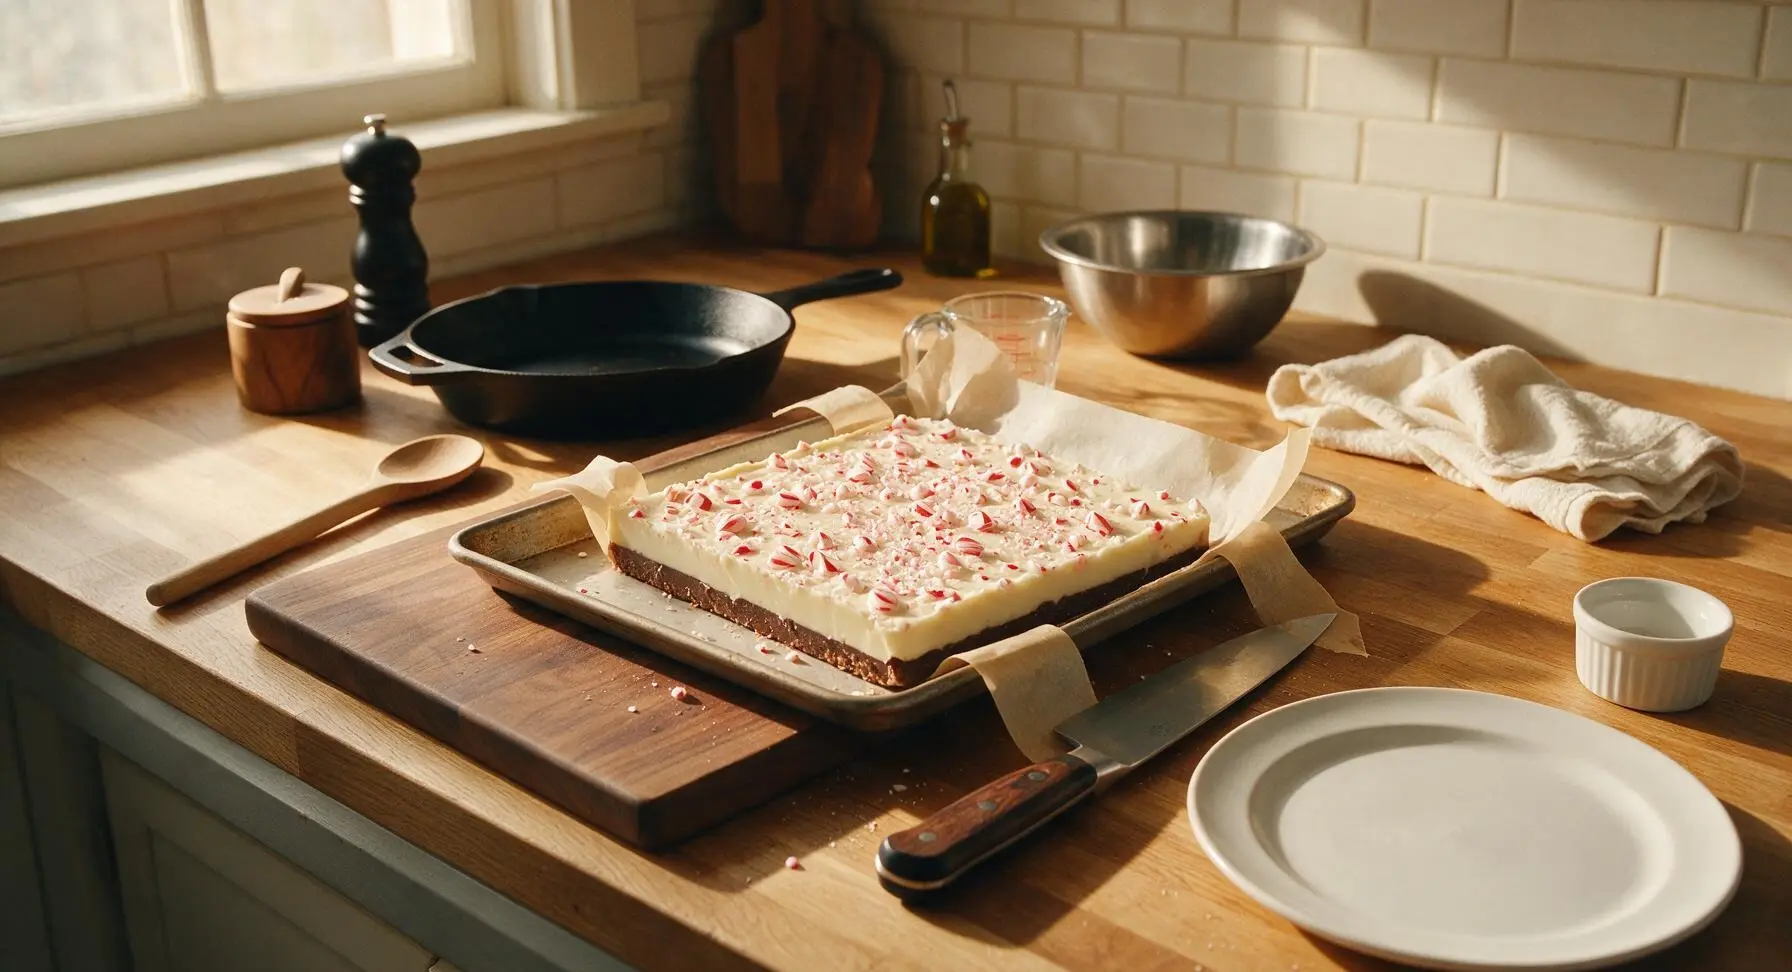
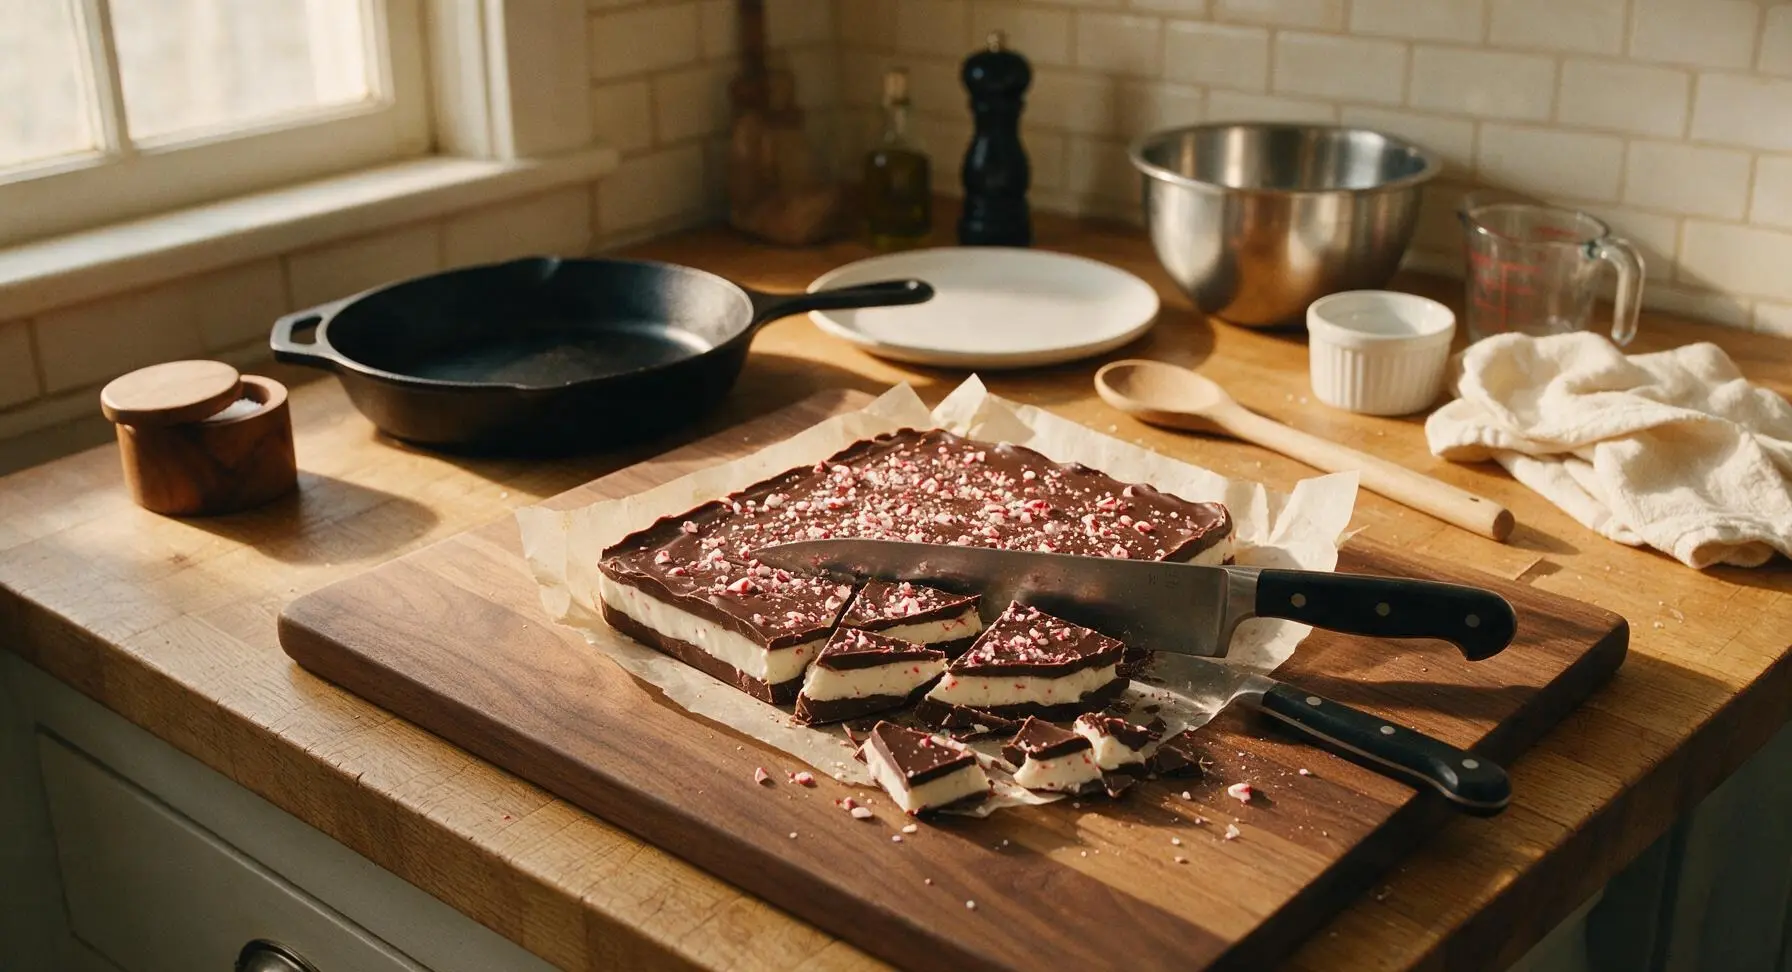
Step 8
step8:Break Bark Into Pieces
Step 8
step8:Break Bark Into Pieces

Tips

1.Skip candy melts or low-quality compound chocolate for this recipe: their high vegetable oil content creates a waxy texture, dull flavor, and soft set that won’t snap cleanly when broken. Finely chop bar chocolate by hand for fast, even melting that avoids scorched lumps.
2.Ensure no water or steam touches melting chocolate, as even a single drop will cause chocolate to seize into a grainy, unusable paste. Wipe the bottom of the glass mixing bowl dry after removing it from the double boiler to prevent water drips from marring your set chocolate layers.
3.Let melted white chocolate cool for 2 full minutes before pouring it over the chilled dark chocolate layer: if white chocolate is too hot, it will melt the dark chocolate underneath, creating muddy, swirled layers instead of the signature clean, distinct two-tone look.


✨ You May Also Like

Desserts & Baking
🍜 Italy

Creamy, coffee-kissed classic Northern Italian no-bake dessert, with layers of rum-spiked mascarpone cream, soft ladyfingers, and a rich cocoa dusting.

⏱️ 4 hours 3Desserts & Baking ★ 4.7
Desserts & Baking
🍜 France

Flaky, shatteringly crisp, buttery French croissants with golden exteriors and soft, airy layered interiors, perfect for pairing with coffee for a special morning treat.

⏱️ 12 hours Desserts & Baking ★ 4.5
Desserts & Baking
🍜 United States

Warm, spiced baked apples topped with a fluffy golden biscuit crust, this cozy dessert pairs perfectly with vanilla ice cream for cool-weather comfort.

⏱️ 55 minuteDesserts & Baking ★ 4.6
Desserts & Baking
🍜 United States

A star-spangled classic American blueberry pie with buttery flaky crust and bright sweet-tart filling, perfect for summer patriotic gatherings.

⏱️ 1 hour 25Desserts & Baking ★ 4.7
Desserts & Baking
🍜 United States

A beloved no-bake regional Maine candy with a chewy coconut-potato center coated in rich dark chocolate, a New England holiday staple since the 1870s.

⏱️ 2 hours 3Desserts & Baking ★ 4.8
Desserts & Baking
🍜 France

Luxuriously creamy, floral frozen custard made with aromatic Tahitian vanilla beans, boasting a smooth, rich texture that melts slowly on the tongue.

⏱️ 3 hours 3Desserts & Baking ★ 4.5

Peppermint Bark:Frequently Asked Questions

1.Why can’t I use candy melts instead of high-quality white chocolate for this recipe? ▾
Candy melts have a waxy, artificial mouthfeel and overly sweet, flat flavor that can’t match the smooth, rich snap of real white chocolate made with cocoa butter. They’ll make your bark taste cheap instead of luxe, and won’t set with that satisfying crisp texture that makes classic peppermint bark so good.
2.What cacao percentage works best for the dark chocolate layer? ▾
Stick to 60-70% cacao dark chocolate for the perfect balance of deep, slightly bitter chocolate flavor that cuts the sweetness of the white chocolate and peppermint. Anything over 72% will be too sharp and bitter for most palates, while anything under 55% will be cloyingly sweet and lack rich depth.
3.Do I have to temper the chocolate to make good peppermint bark? ▾
You don’t need to temper it if you plan to eat the bark within 3-4 days and store it in the fridge, but tempering gives it a glossy, snappy finish that won’t develop chalky white bloom at room temperature. That makes tempered bark ideal if you’re gifting it or leaving it out on a holiday dessert spread.
4.How do I crush candy canes without making a huge sticky mess? ▾
The easiest mess-free method is to place unwrapped candy canes in a sealed heavy-duty zip-top bag, squeeze out all excess air, then whack them gently with a rolling pin or heavy skillet until you have a mix of fine crumbs and ¼-inch chunks. Don’t over-crush them into powder—varied texture makes the bark more fun to eat.
5.Can I melt chocolate in the microwave instead of using a double boiler? ▾
Absolutely! Use 30-second bursts in the microwave at 50% power, stirring really well between each burst, until the chocolate is 90% melted. Let residual heat melt the last few lumps as you stir—this prevents you from accidentally scorching the chocolate, which turns grainy and unusable if overheated.
6.How much peppermint extract do I add so it doesn’t taste like toothpaste? ▾
Start with ¼ teaspoon of pure peppermint extract per 8 ounces of chocolate, and taste as you go. Pure extract is far more concentrated than artificial peppermint flavoring, so adding too much will quickly tip into toothpaste territory. Skip artificial extracts entirely for a smooth, natural mint flavor with no chemical aftertaste.
7.Why did my white chocolate seize up into a clumpy mess when I melted it? ▾
White chocolate seizes when even a tiny drop of water or steam gets into it, or if it’s overheated. Make sure all your bowls and utensils are completely dry before you start, and never cover melting chocolate, as trapped condensation will drip in. If it seizes, stir in a teaspoon of neutral vegetable oil to smooth it back out in a pinch.
8.How long does peppermint bark need to set before I can break it apart? ▾
If you’re setting it in the fridge, it will be fully firm and ready to break in 1 to 1.5 hours. If you’re setting it at cool room temperature (65°F or below, low humidity), it will take 3 to 4 hours. Don’t rush it in the freezer, as that can cause the chocolate to develop unsightly white bloom as it thaws.
9.Can I add extra mix-ins to customize my peppermint bark? ▾
Definitely! Just keep add-ins light so they don’t weigh down the thin chocolate layers. Great options include toasted chopped almonds, mini dark chocolate chips, crushed pretzel bits for salty crunch, or edible gold glitter for a festive touch. Stick to ¼ cup of add-ins total per batch so the classic mint-chocolate flavor still shines.
10.Why do you add flaky sea salt to peppermint bark? ▾
That light pinch of flaky sea salt cuts through the rich sweetness of the two chocolates and bright, sharp peppermint, making every flavor pop instead of tasting cloying. Skip regular table salt here—it’s too fine and harsh, and will make the bark taste salty instead of perfectly balanced.
11.How long will homemade peppermint bark stay fresh? ▾
Stored in an airtight container in a cool, dark spot (or the fridge if your kitchen runs warm), peppermint bark will stay fresh and crisp for 2 to 3 weeks. The peppermint flavor will fade a little after that, and the chocolate may develop bloom if exposed to temperature swings, so enjoy it within that window.
12.Can I freeze peppermint bark to make it ahead for the holidays? ▾
Yes, you can freeze it for up to 3 months if stored properly. Wrap the fully set slab tightly in plastic wrap, then slide it into a sealed freezer bag to protect it from freezer burn and off-flavors from other frozen foods. Thaw it overnight in the fridge before breaking it apart to avoid unsightly bloom.
13.What’s the best way to break peppermint bark into nice, rustic pieces? ▾
Skip the knife, which will cause the chocolate to shatter into tiny, uneven crumbs. Once the bark is fully set, lift the whole slab out of the pan using the parchment paper overhang, hold it about an inch above your cutting board, and gently tap it with a butter knife handle to create natural 2-3 inch pieces.
14.Why did my two chocolate layers separate when I broke the bark? ▾
That usually happens if you poured the white chocolate layer onto completely cold, fully set dark chocolate, so the two layers didn’t adhere properly. Next time, pour the white chocolate when the dark chocolate is just set to the touch (still slightly soft, not rock hard) so the warm white chocolate bonds the layers together.
15.Is peppermint bark a good option for homemade holiday gifting? ▾
It’s one of the best homemade holiday gifts! It travels well, looks beautiful packed in clear cellophane bags tied with festive ribbon, and most people love the classic mint-chocolate flavor. Just temper the chocolate if you’re shipping it to warmer climates, so it doesn’t melt or develop bloom in transit.
16.Can I make this peppermint bark nut-free for friends with food allergies? ▾
Absolutely—this base recipe is naturally nut-free as written! Just double check that your chocolate, peppermint extract, and candy canes are made in a nut-free facility if you’re serving people with severe nut allergies. It’s also naturally gluten-free as long as your candy canes don’t have hidden gluten additives.
17.My crushed candy canes keep sliding off the top of the bark—how do I fix that? ▾
Sprinkle the crushed candy canes and flaky salt immediately after you spread the top white chocolate layer, before it starts to set. If you wait even 5 minutes, the white chocolate surface will form a skin, and the candy pieces won’t stick. Press them very lightly into the chocolate (don’t squish!) to make sure they’re anchored.
18.Can I use milk chocolate instead of dark chocolate if I don’t like dark chocolate? ▾
You absolutely can! Swap the 60-70% dark chocolate for a high-quality milk chocolate (30-40% cacao) for a sweeter, creamier base. Just note that milk chocolate is a little more prone to overheating when melting, so take extra care to use low heat and stir frequently to avoid scorching it.
19.What size pan should I use to get the perfect bark thickness? ▾
Use a 9x13 inch rimmed baking sheet lined with parchment paper, leaving a 2-inch overhang on the long sides to easily lift the set bark out later. This will give you layers that are about ¼ inch thick each—thick enough for a satisfying snap, but not so thick that it’s hard to bite into.
20.Why does my homemade peppermint bark have a gritty texture? ▾
Gritty bark almost always comes from one of two issues: either you scorched the chocolate by melting it over too-high heat, which burns cocoa solids and turns them grainy, or you over-crushed your candy canes into fine dust that mixes into the chocolate instead of sitting on top as crunchy pieces. Melt slowly, and leave some larger candy chunks for best texture.

Comments (14)

2 days ago

OMG this peppermint bark is SO good! I made it for my kid’s class holiday party and every single kid asked for seconds. I was worried the white chocolate layer would be too sweet but the crushed peppermint cuts it perfectly. Total game changer for my annual Christmas treat spread!

yesterday

Same! I brought mine to the office potluck last week and people were begging for the recipe. Even my boss who hates sweet stuff ate three pieces!

yesterday

So happy it was a hit at the class party! Pro tip: if you want a little extra depth, try adding a tiny pinch of sea salt on top right before it sets — it takes the flavor to the next level!

3 days ago

Super easy recipe even for someone who burns toast like me! Only thing I messed up was microwaving the chocolate a little too long on the first batch so it seized, but the second batch came out perfect. Chilling time was exactly right too, no waiting forever for it to set.

2 days ago

Great job sticking with it after the first batch! Next time, try microwaving the chocolate in 30 second bursts, stirring between each, to avoid seizing. Works like a charm!

1 week ago

Made this last minute for our family Christmas dinner and it was a home run. I used dark chocolate instead of semi-sweet because that’s what I had in the pantry and it was chef’s kiss. Will be adding this to my yearly rotation for sure!

5 days ago

Wait, has anyone tried adding a layer of crushed Oreos between the chocolate and white chocolate? I’m thinking of switching it up for our neighborhood cookie swap and wondering if that works well?

3 days ago

I did that last year! It’s amazing, just make sure you don’t add too thick of an Oreo layer or the bark won’t cut cleanly when it’s set. I did about 1/4 cup of finely crushed crumbs and it was perfect.

3 days ago

Such a fun twist! We’ve tested Oreo layers before and it works beautifully — just add the crumbs right after you spread the white chocolate so they stick well, no extra prep needed.

2 weeks ago

This is way cheaper than buying the fancy tins of peppermint bark from the mall, and it tastes better! I made a big batch and divided it into little treat bags to give out to neighbors this year. Super affordable, even with the nice chocolate.

1 week ago

Total steal, right? I priced out the store-bought stuff and it was literally 3x the cost to buy pre-made. The treat bag idea is so cute, I’m stealing that for my kid’s soccer team coaches!

yesterday

How long does this keep in the fridge? I want to make it a few days ahead of our Christmas party so I don’t have to cook the day of, but I don’t want it to get stale or weird.

30 minutes ago

Great question! Stored in an airtight container in the fridge, it will stay fresh for up to 2 weeks. You can even freeze it for up to 3 months if you want to make it way ahead of time — just thaw it in the fridge for a few hours before serving.

2 hours ago

I added a tiny dash of cayenne pepper to the dark chocolate layer for a little kick and wow, that combo is unreal. The cool peppermint with the little heat? *Chef’s kiss* Don’t knock it till you try it!

30 minutes ago

My kids loved helping me make this! They had a blast crushing up the candy canes in a Ziploc bag with a rolling pin. It was the perfect easy weekend activity, and the end result tastes incredible. 10/10 for family fun.

5 minutes ago

My toddler went to town smashing the candy canes too! It was so messy but worth it, she was so proud to tell everyone she “made” the dessert for dinner. Such a great kid-friendly recipe.

1 week ago

Quick question — is this recipe naturally gluten free? I have a few celiac friends coming to my holiday party and I want to make sure I don’t accidentally make something that will make them sick.

5 days ago

As long as you use gluten free candy canes (some have hidden wheat in the flavoring!) and double check your chocolate labels, it’s totally gf! I made it for my celiac sister last year and she had zero issues.

5 days ago

Sam is exactly right! The base recipe is gluten free, but always double check your ingredient labels to avoid cross-contamination or hidden gluten additives, especially with the peppermint candies.

5 minutes ago

Made this in my tiny dorm room microwave! No fancy equipment needed, just a microwave, a baking sheet, and some parchment paper. My roommates and I ate half the batch in one sitting. So worth the wait for it to chill.

2 days ago

Help! My two layers separated when I went to cut the bark into pieces. What did I do wrong? I let the dark chocolate chill first before pouring the white chocolate on top like the recipe said.

yesterday

Oh no, that’s such a common easy fix! If you let the dark chocolate chill fully until it’s completely hard, the white chocolate won’t stick to it. Next time, pour the white chocolate on when the dark chocolate is just set (still a little soft to the touch, not rock hard) and the layers will stick together perfectly.

just now

I brought this to my office holiday potluck today and it was the first dessert gone! People were hovering over the platter before I even set it down. I topped mine with a little extra crushed peppermint for color and it looked so festive.

just now

Wait were you at the downtown Atlanta office potluck? I swear I had a piece of that bark today and it was the best thing there! I was just asking who brought it so I could get the recipe!

just now

That makes us so happy to hear! Festive toppings are our favorite way to dress this up for parties — crushed pretzels, sprinkles, even a drizzle of extra dark chocolate all work great too.

3 days ago

Made this for our cabin trip over the weekend and it was the perfect apres-ski treat. We kept the tin on the coffee table and everyone grabbed a piece every time they walked by. Way better than the overpriced candy they sell at the ski lodge.

1 week ago

I swapped the dairy chocolate for vegan dark and white chocolate, and used vegan candy canes, and this came out perfect! You honestly can’t even tell it’s vegan, my non-vegan roommate had three pieces and had no idea.

5 days ago

Thanks for the tip! I’m vegan and was nervous I’d have to tweak this a ton to make it work. I’m grabbing vegan chocolate and candy canes on my grocery run tomorrow to make this for my family!



