
Peppermint Meringue Cookies

title 1
Peppermint Meringue Cookies
⏱️ cook time 1 hour 30 minutes
🍽️ servings 24
⚡ Difficulty medium

intro

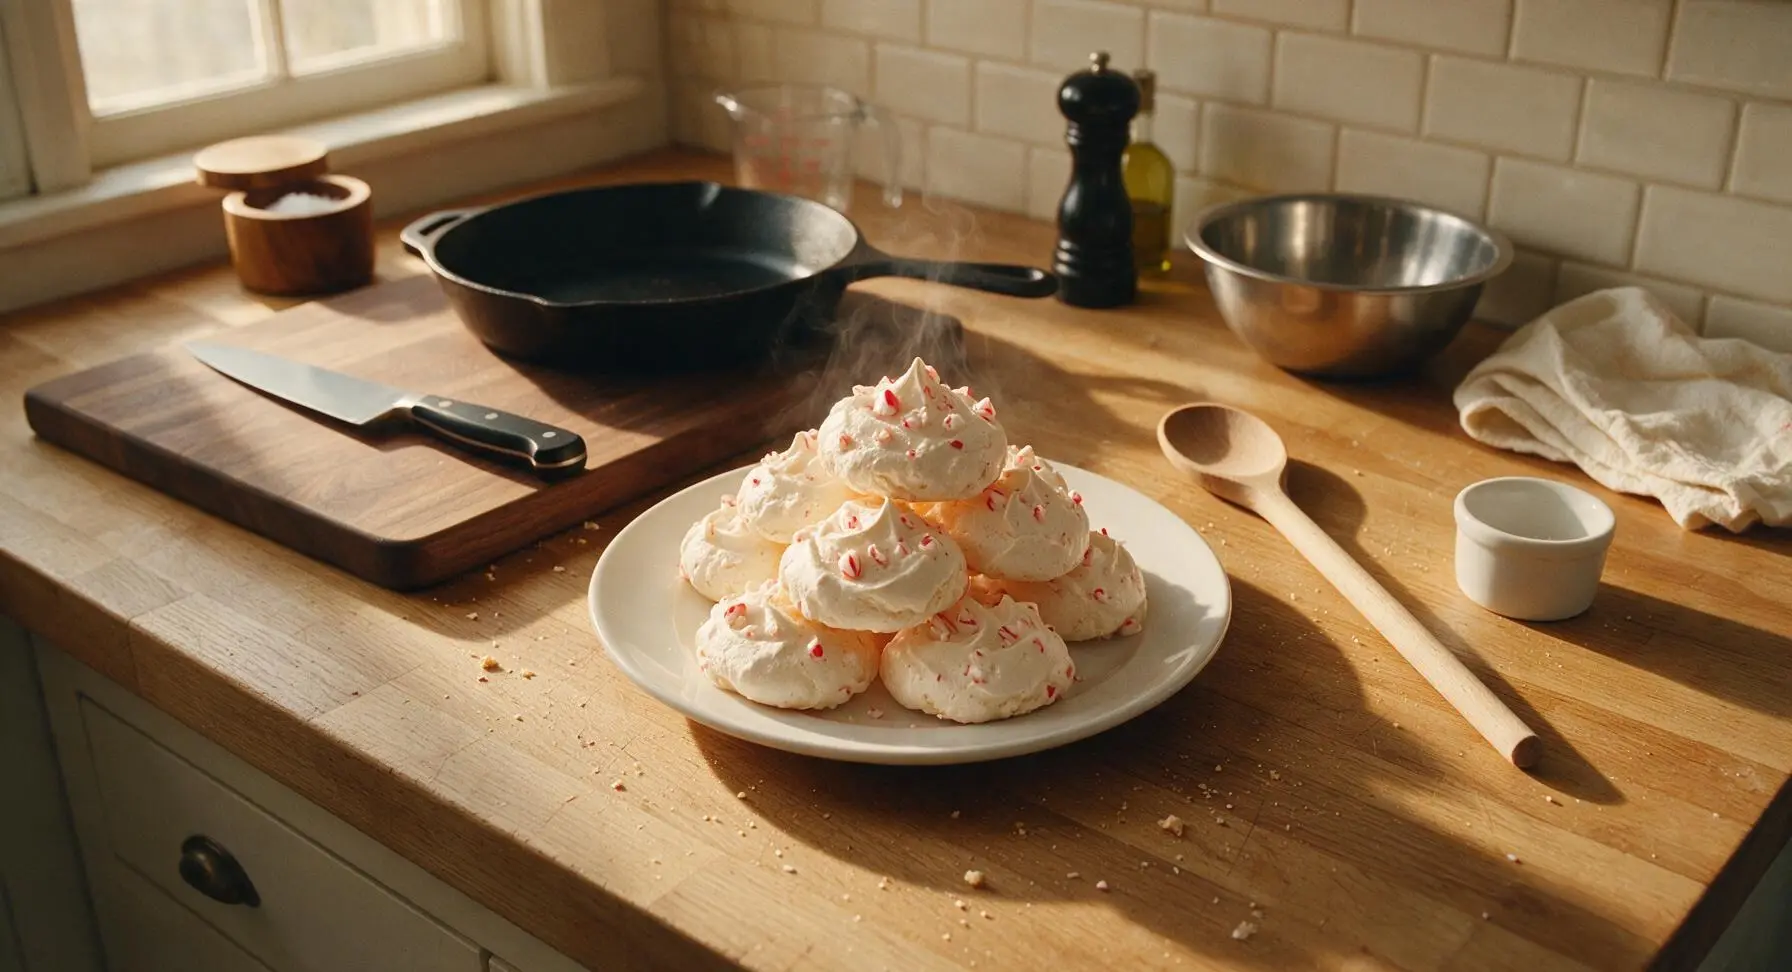
Light as air, crisp, melt-in-your-mouth peppermint meringue cookies with cool mint flavor and crunchy candy cane bits, ideal for Christmas cookie platters.

Ingredients
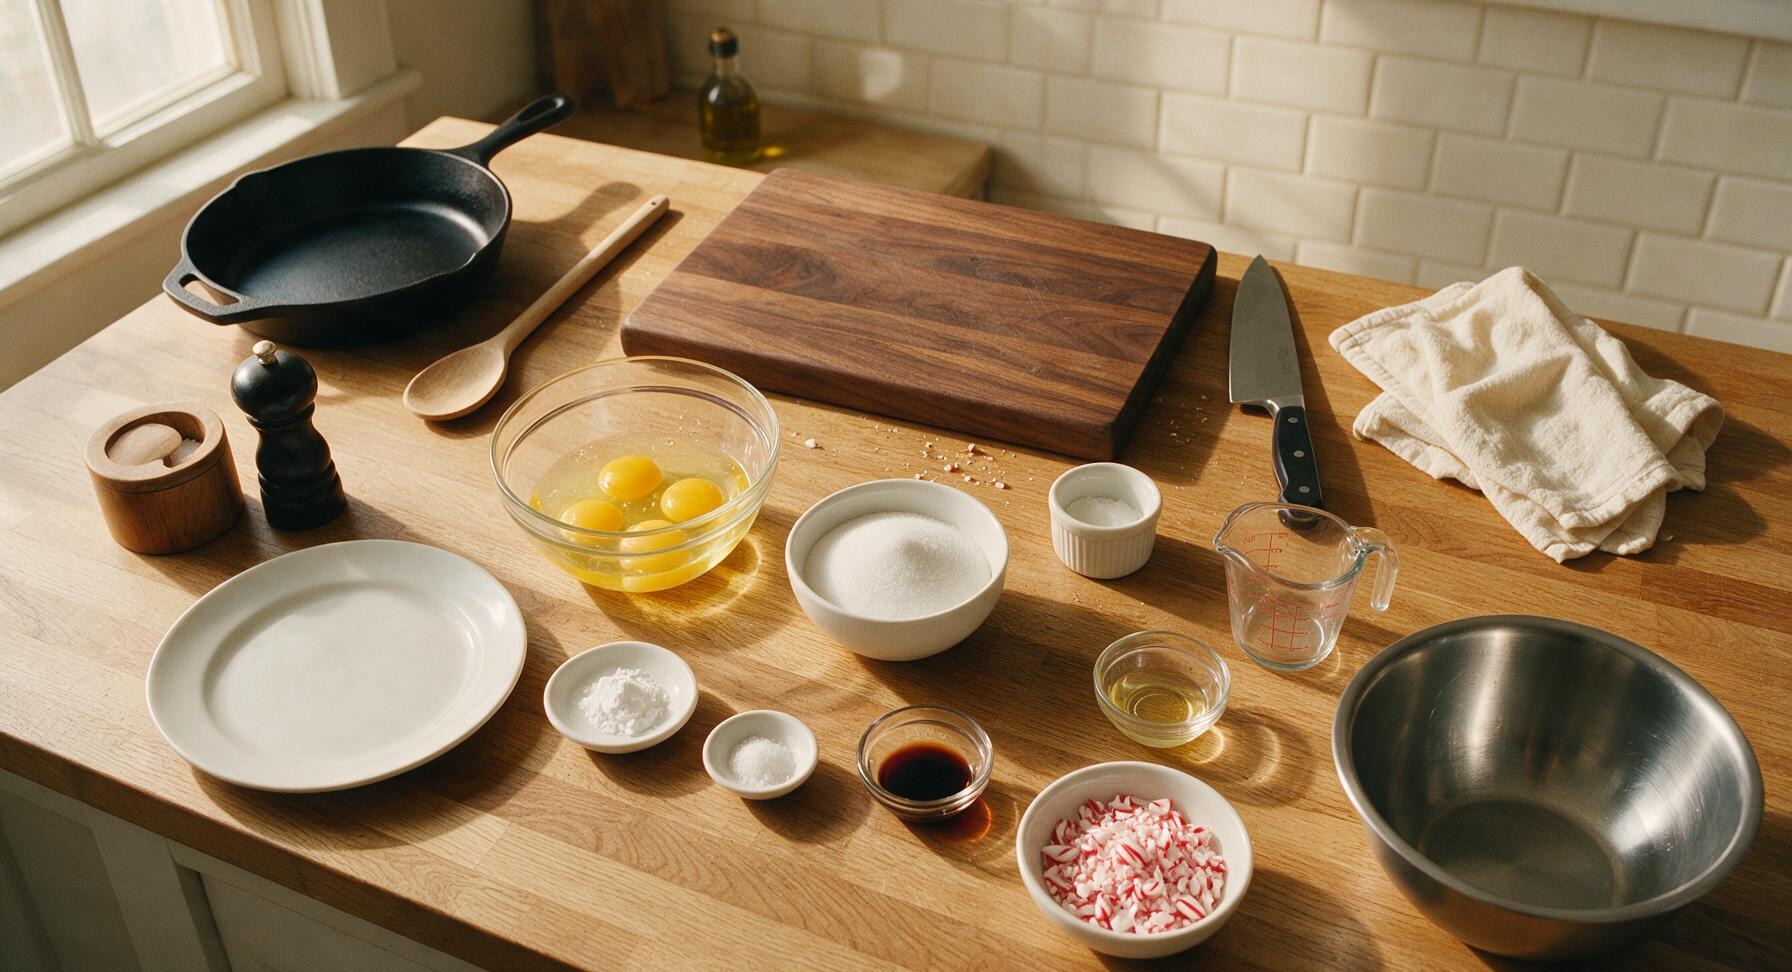
Large egg whites (room temperature) 4 (120g)
Granulated white sugar 150g
Cream of tartar 1/4 tsp
Fine sea salt 1/8 tsp
Pure peppermint extract 1/2 tsp
Pure vanilla extract 1/4 tsp
Crushed peppermint candy canes 1/3 cup (50g)

Steps

1

Prep Bowl and Egg Whites

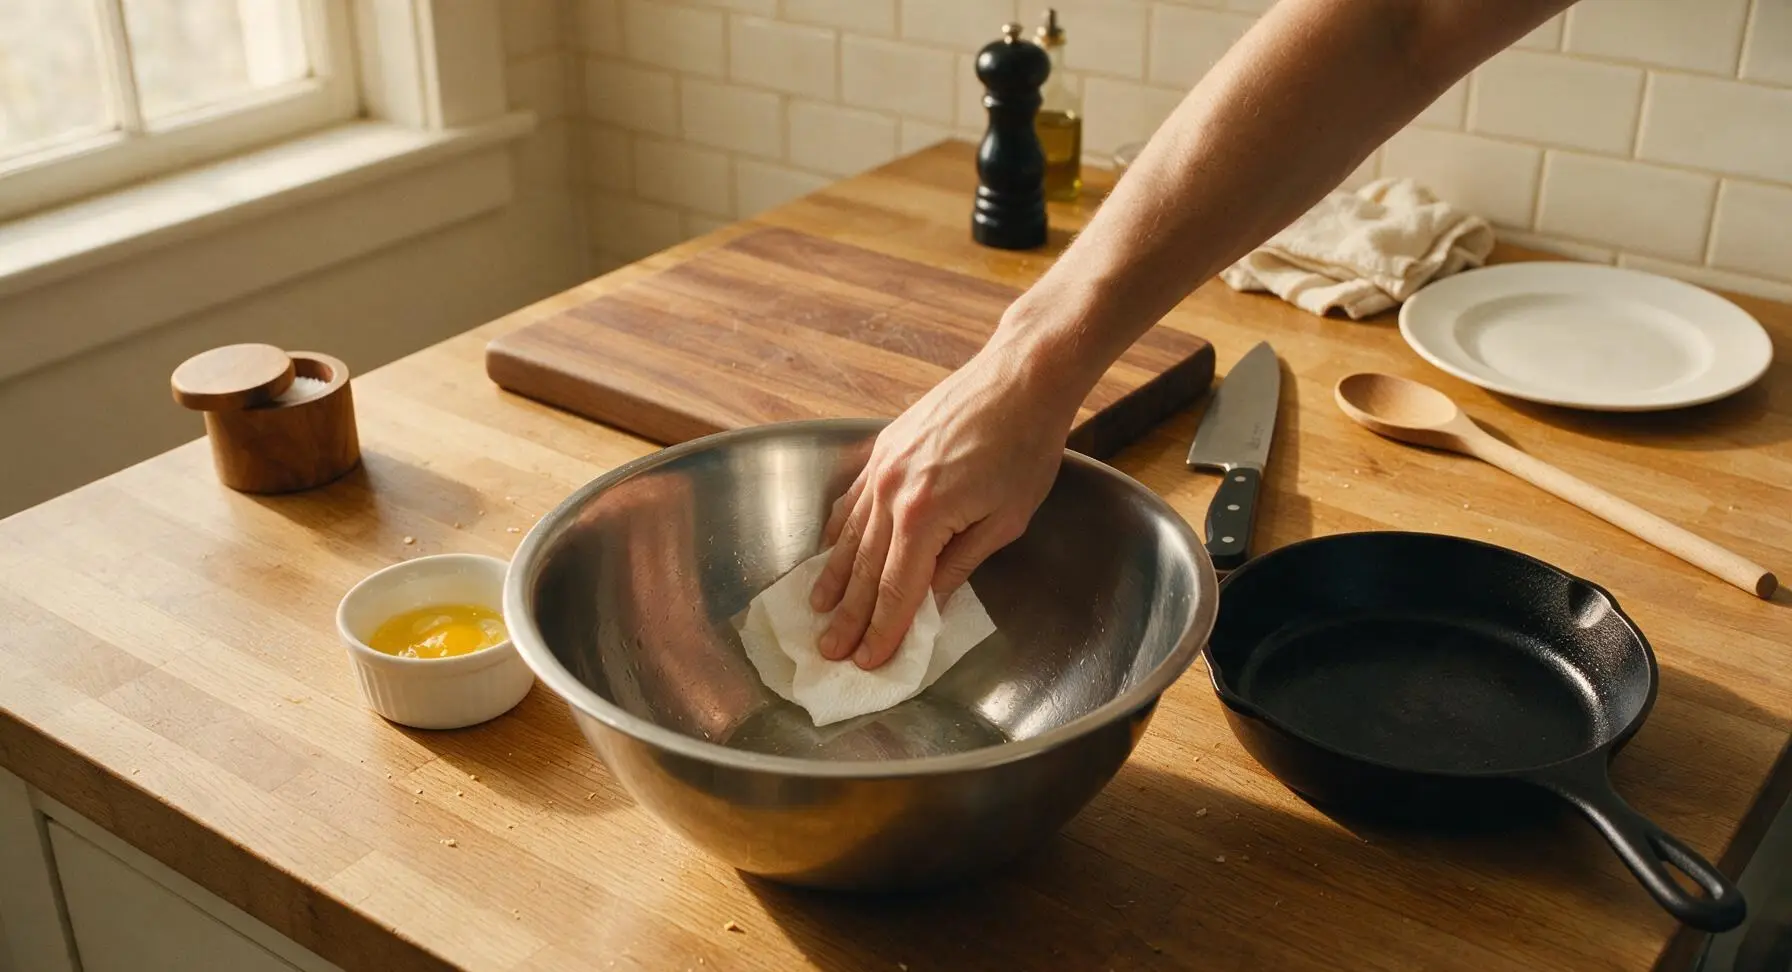
First, wipe the interior of the large stainless steel mixing bowl and the electric mixer beaters with a paper towel dampened with white vinegar to remove all traces of residual grease. Separate 4 room-temperature large egg whites into the clean bowl, taking care not to let any specks of egg yolk fall into the whites (yolk contains fat that will deflate meringue). If eggs are cold, let the whites rest in the bowl for 10 minutes to come to room temperature.
Step 1
step1:Prep Bowl and Egg Whites
2

Whip to Soft Peaks

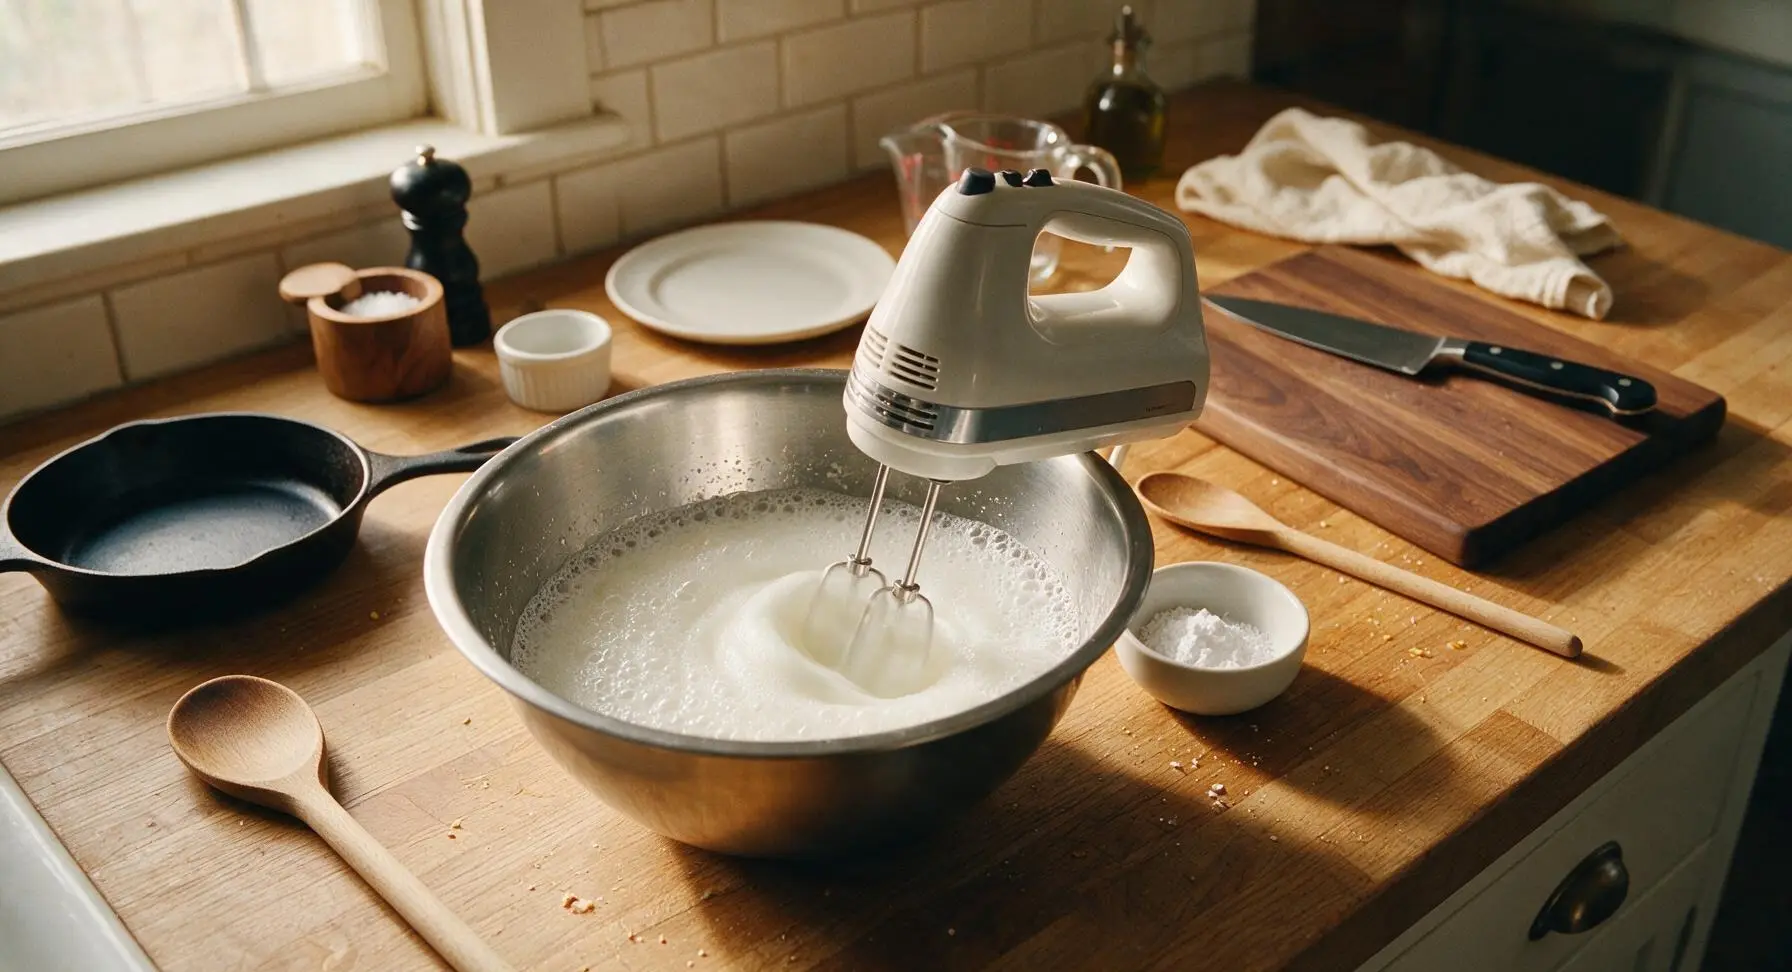
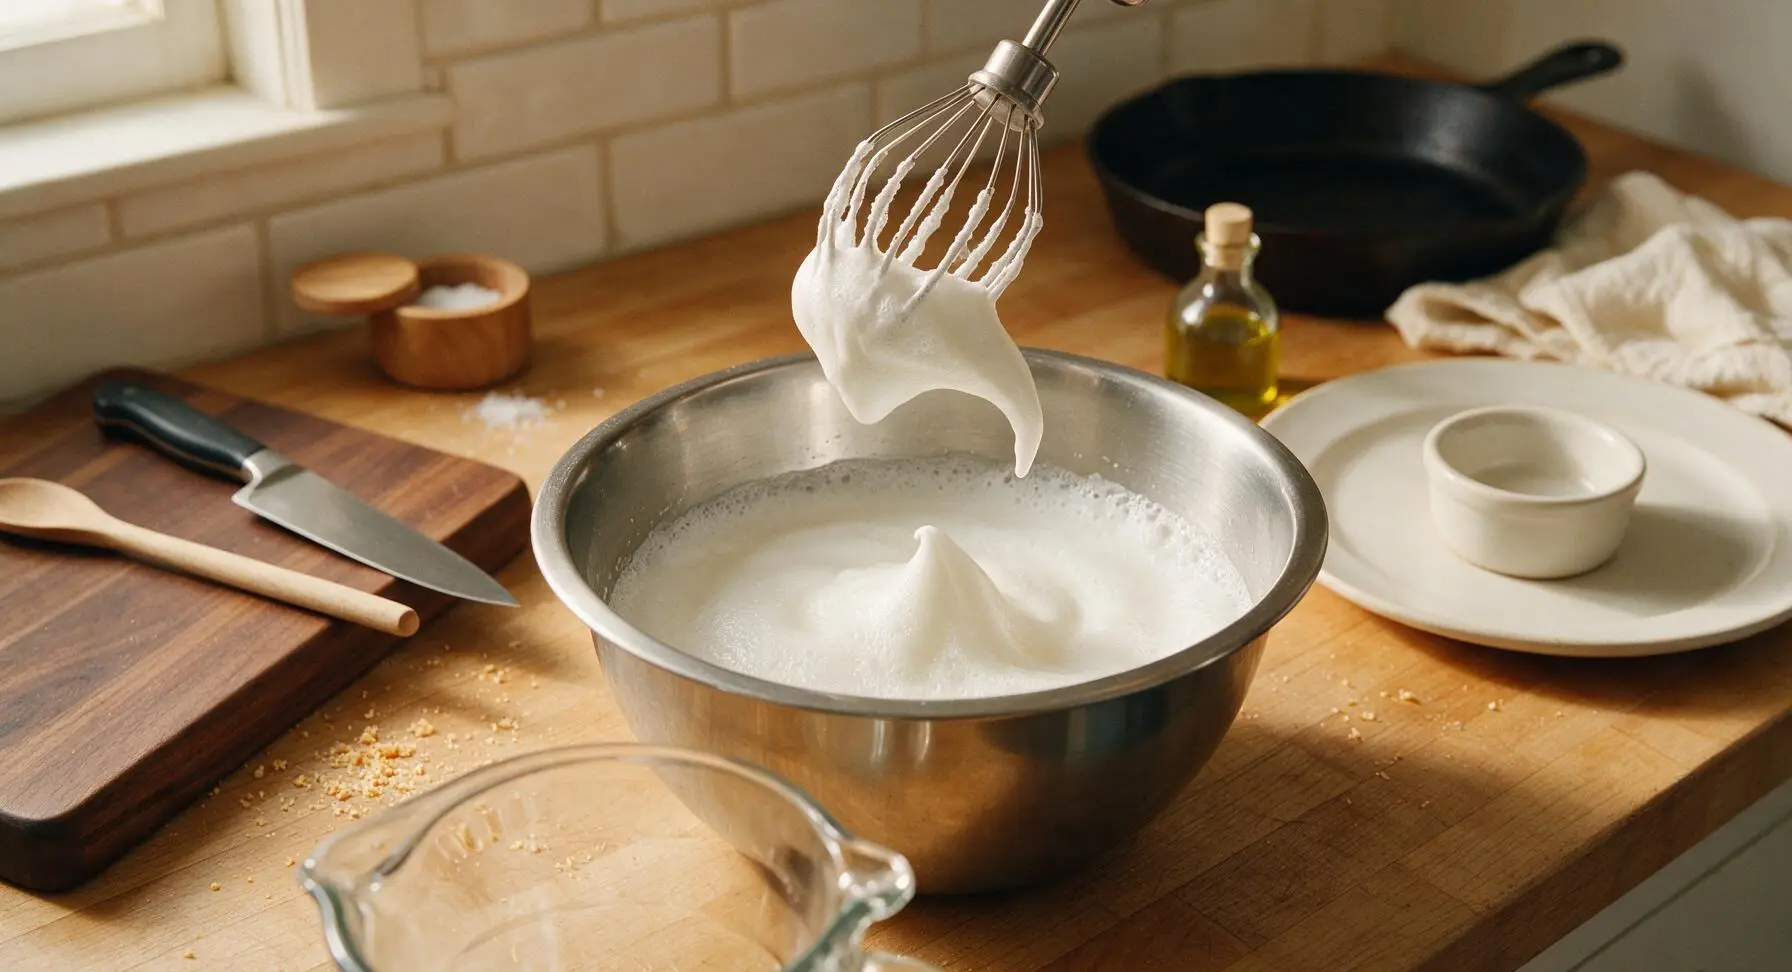
Attach the stainless steel beaters to the handheld electric mixer. Beat the egg whites on medium-low speed (speed 2) until frothy and bubbly, about 1 minute. Add 1/4 tsp cream of tartar and 1/8 tsp fine sea salt, then increase speed to medium (speed 4) and continue beating until soft, drooping peaks form when the beaters are lifted, 2-3 minutes total. The whites will be opaque bright white, with fine, uniform bubbles rather than large, soapy-looking bubbles.
Step 2
step2:Whip to Soft Peaks
Step 2
step2:Whip to Soft Peaks
3

Add Sugar Gradually

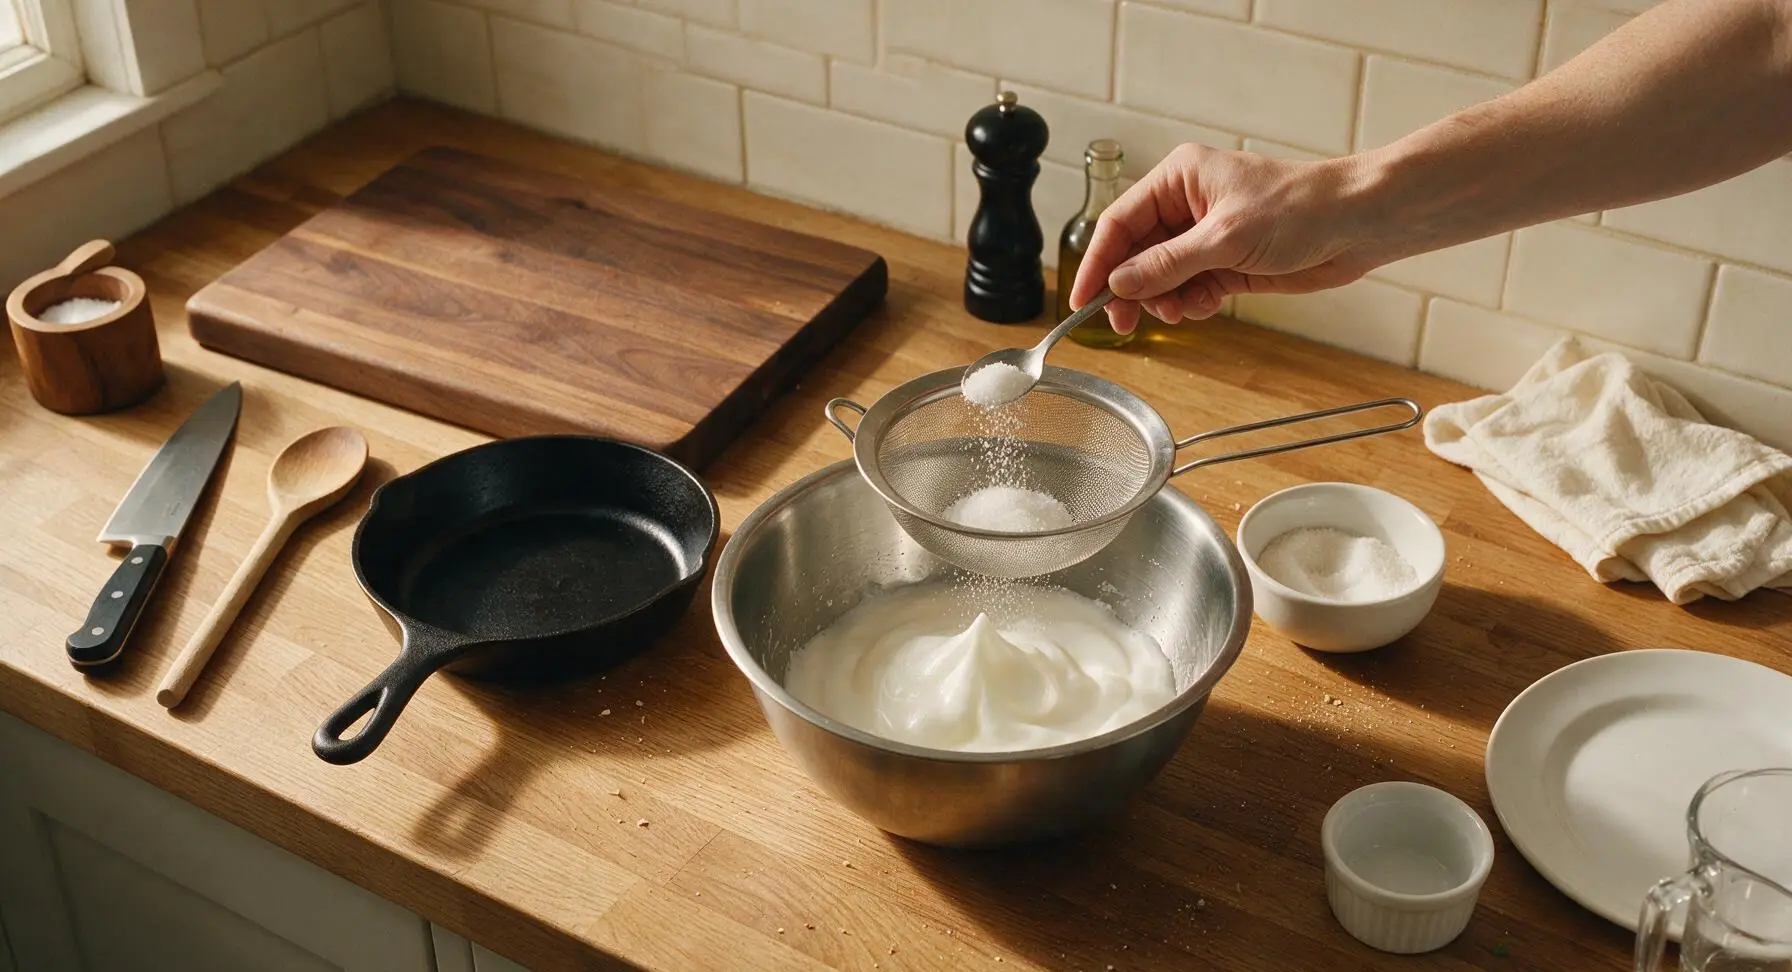
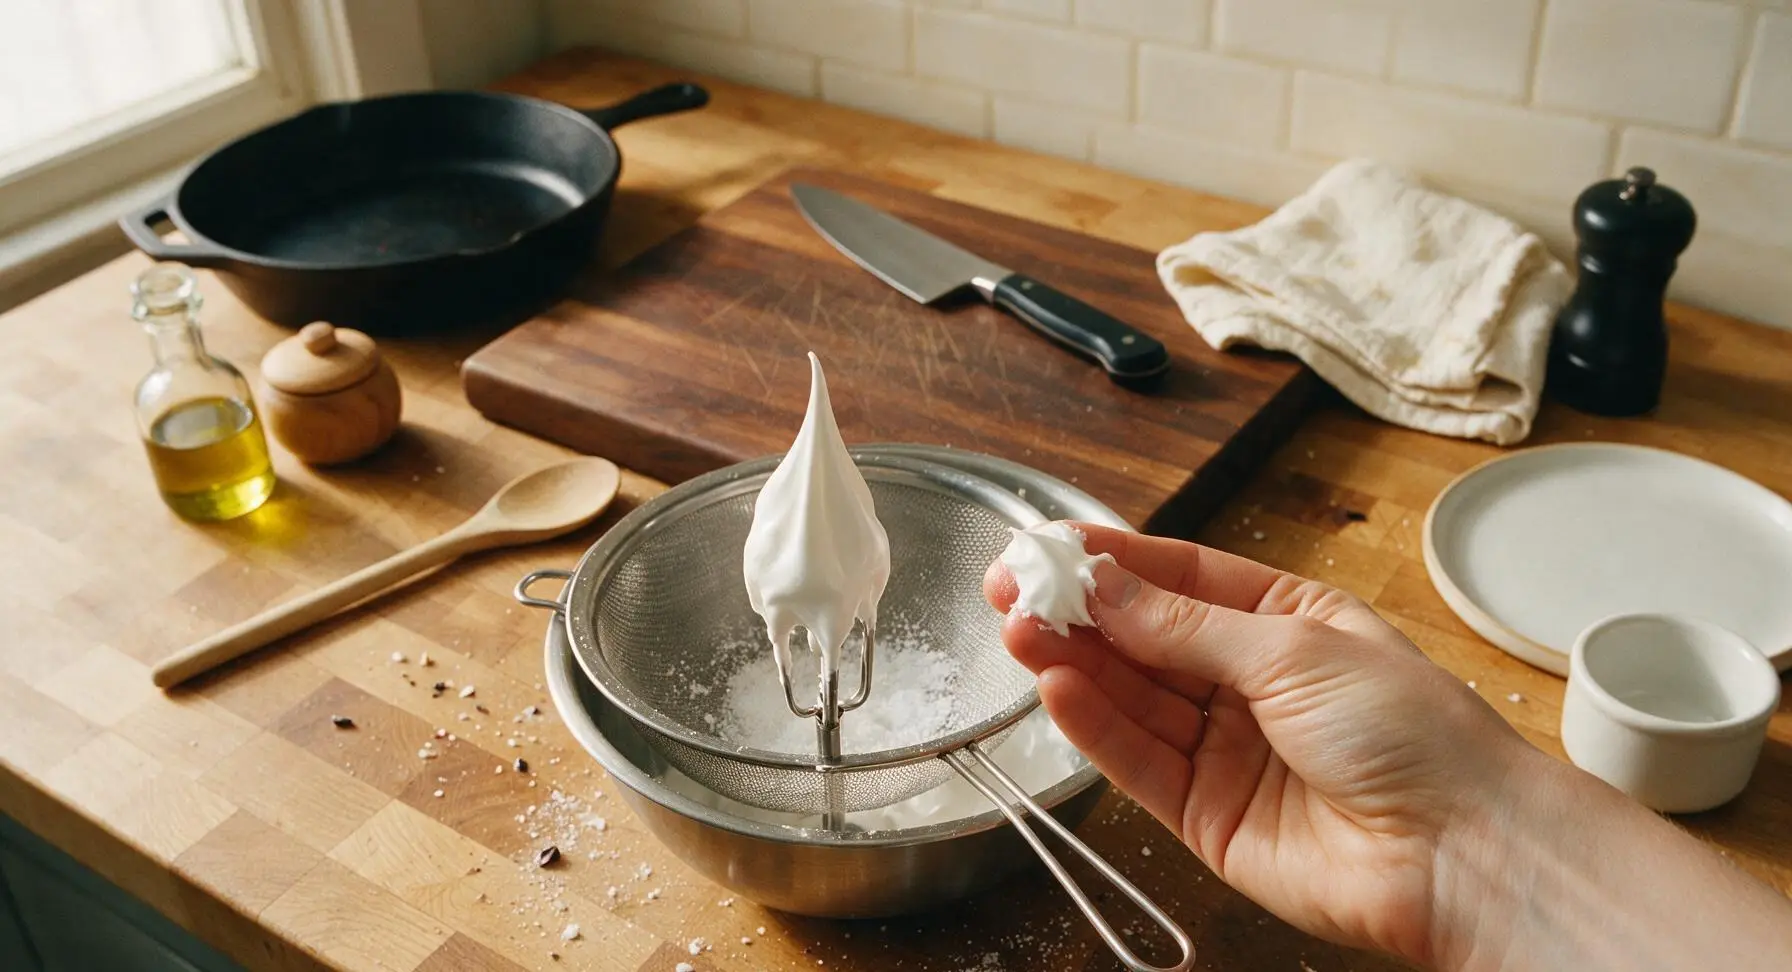
Set the fine-mesh stainless steel sieve over the mixing bowl. Add 1 tablespoon of granulated sugar at a time through the sieve, beating on medium-high speed (speed 6) for 10-15 seconds between each addition. This slow, sifted addition ensures sugar fully dissolves into the whites, preventing gritty meringue. Once all 150g of sugar is added, increase speed to high (speed 8) and beat until stiff, glossy peaks form, 4-5 minutes total. Test doneness by rubbing a small dab of meringue between your fingers: it should feel completely smooth, with no gritty undissolved sugar granules.
Step 3
step3:Add Sugar Gradually
Step 3
step3:Add Sugar Gradually
4

Fold in Peppermint Extract

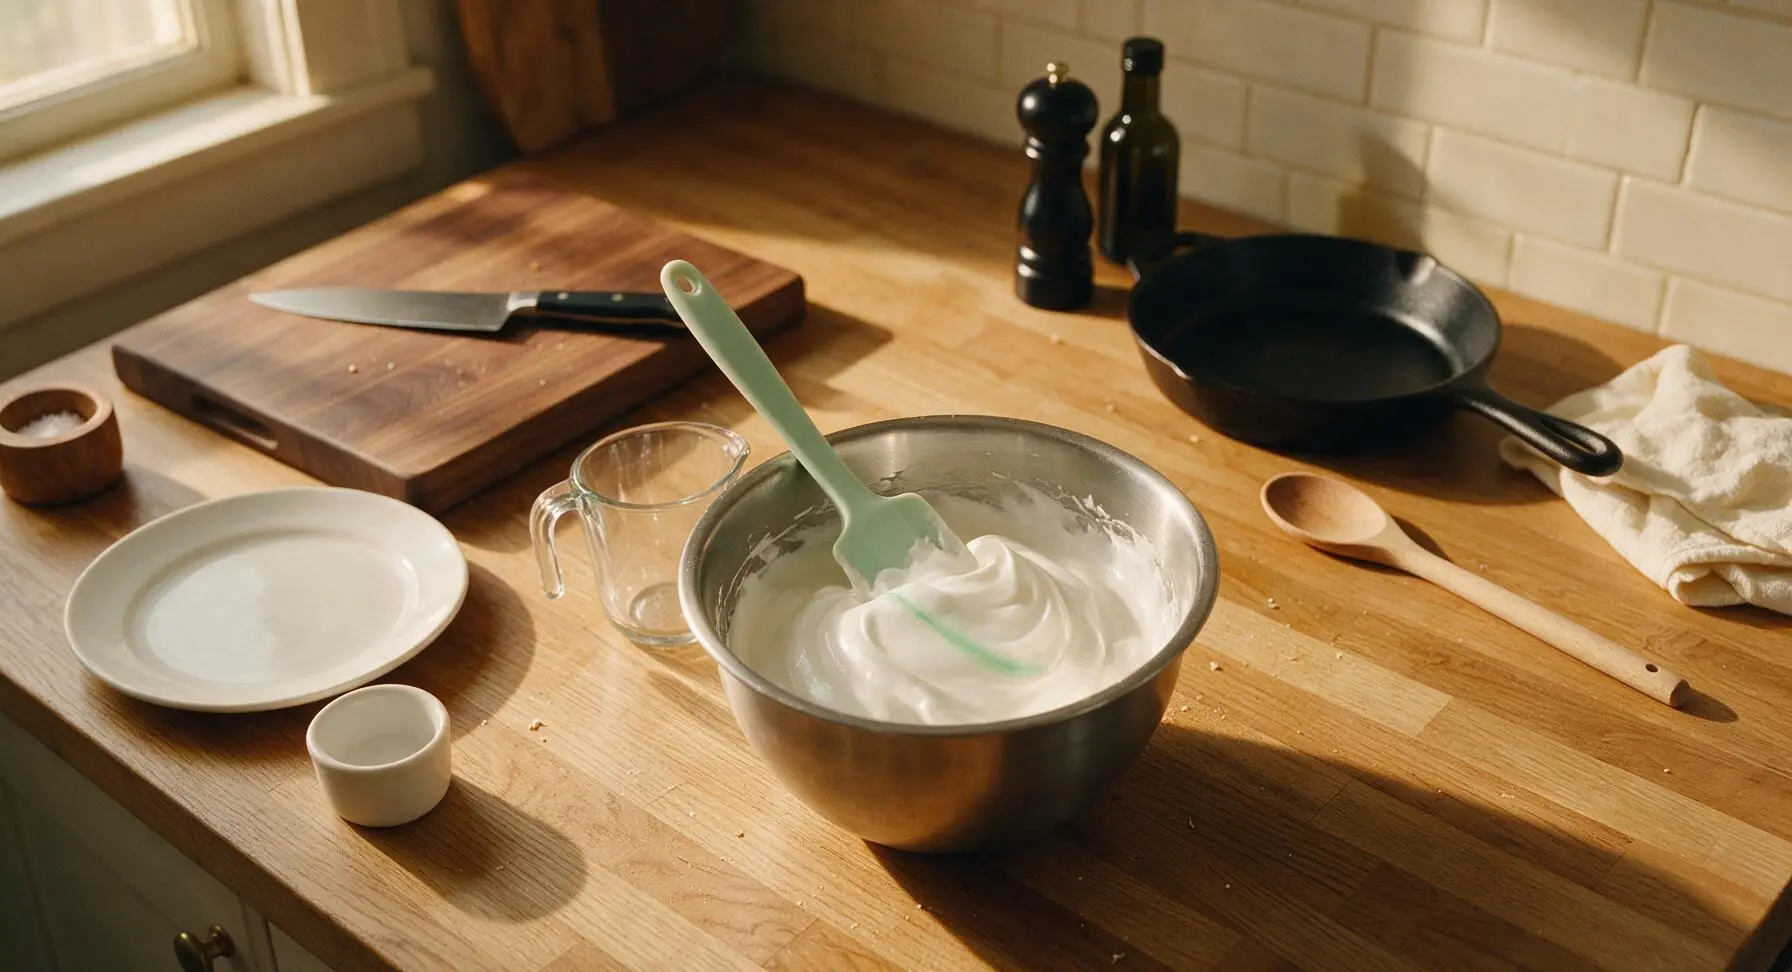
Turn off the mixer. Add 1/2 tsp peppermint extract and 1/4 tsp vanilla extract to the meringue. Use the pale mint green silicone spatula to gently fold the extracts into the meringue: cut straight down through the center of the meringue, scrape along the bottom of the bowl, and fold the meringue over the top in slow, gentle strokes, 6-8 total folds. Do not overmix, as this will pop air bubbles and deflate the meringue. The finished meringue should remain thick, glossy, and hold its shape when the spatula is lifted.
Step 4
step4:Fold in Peppermint Extract
5

Pipe Meringue Swirls

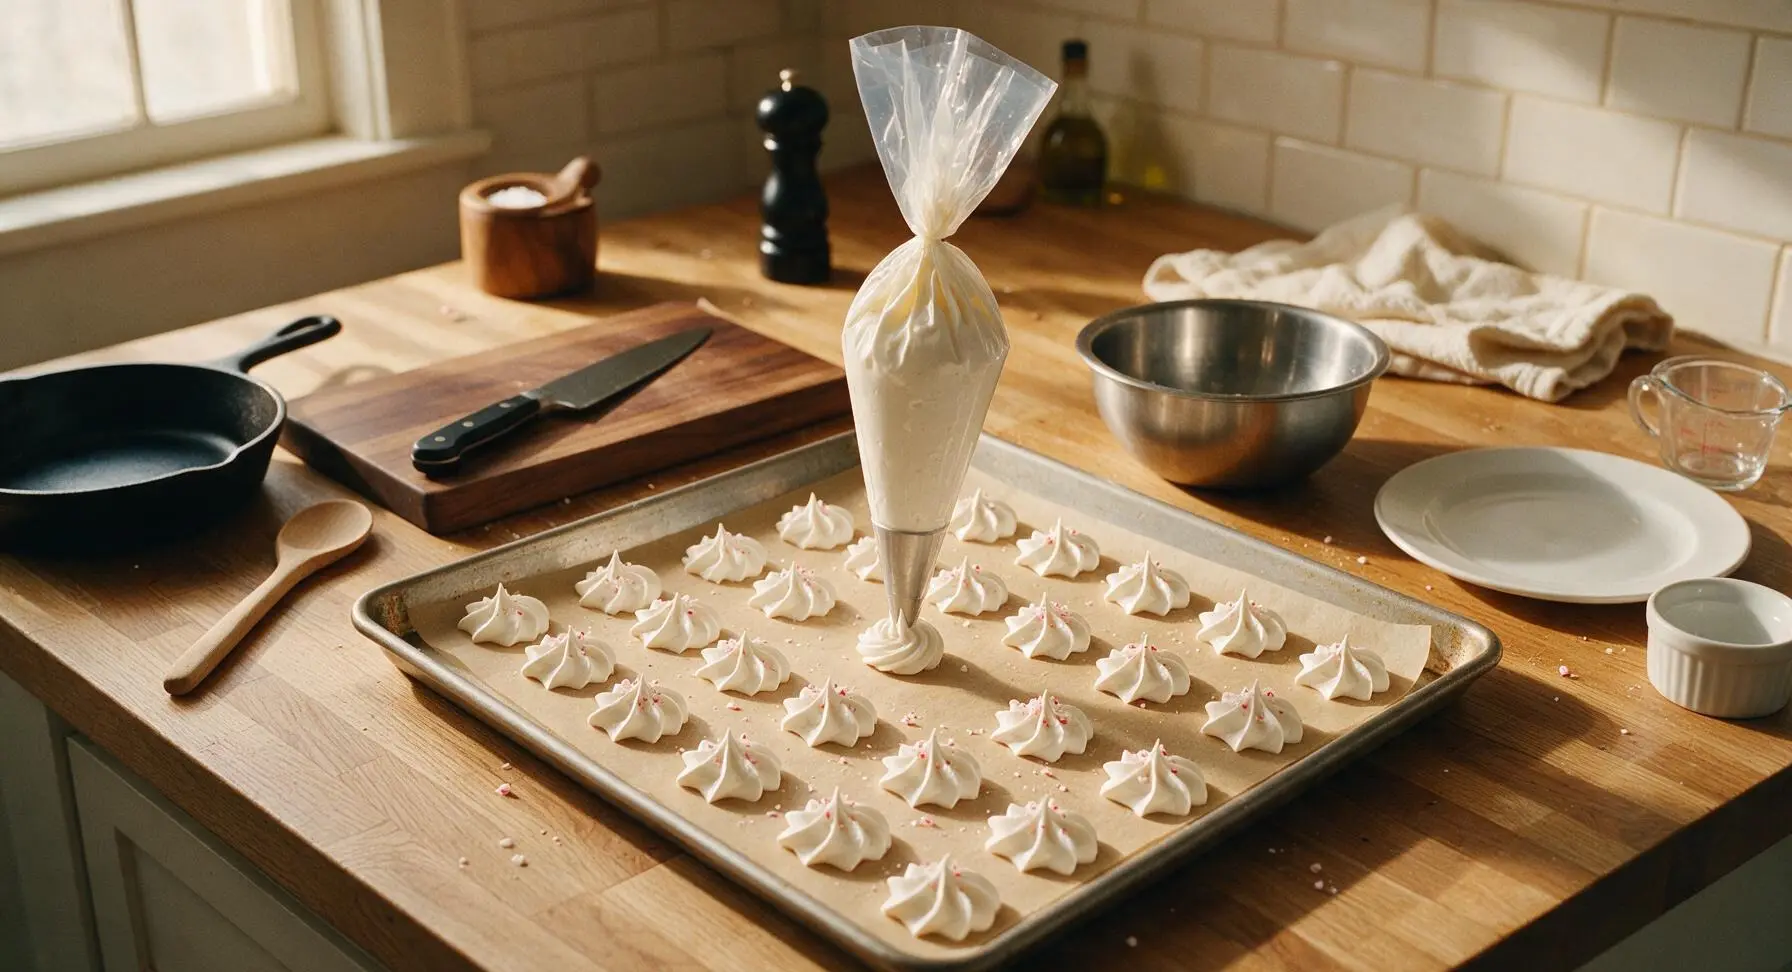
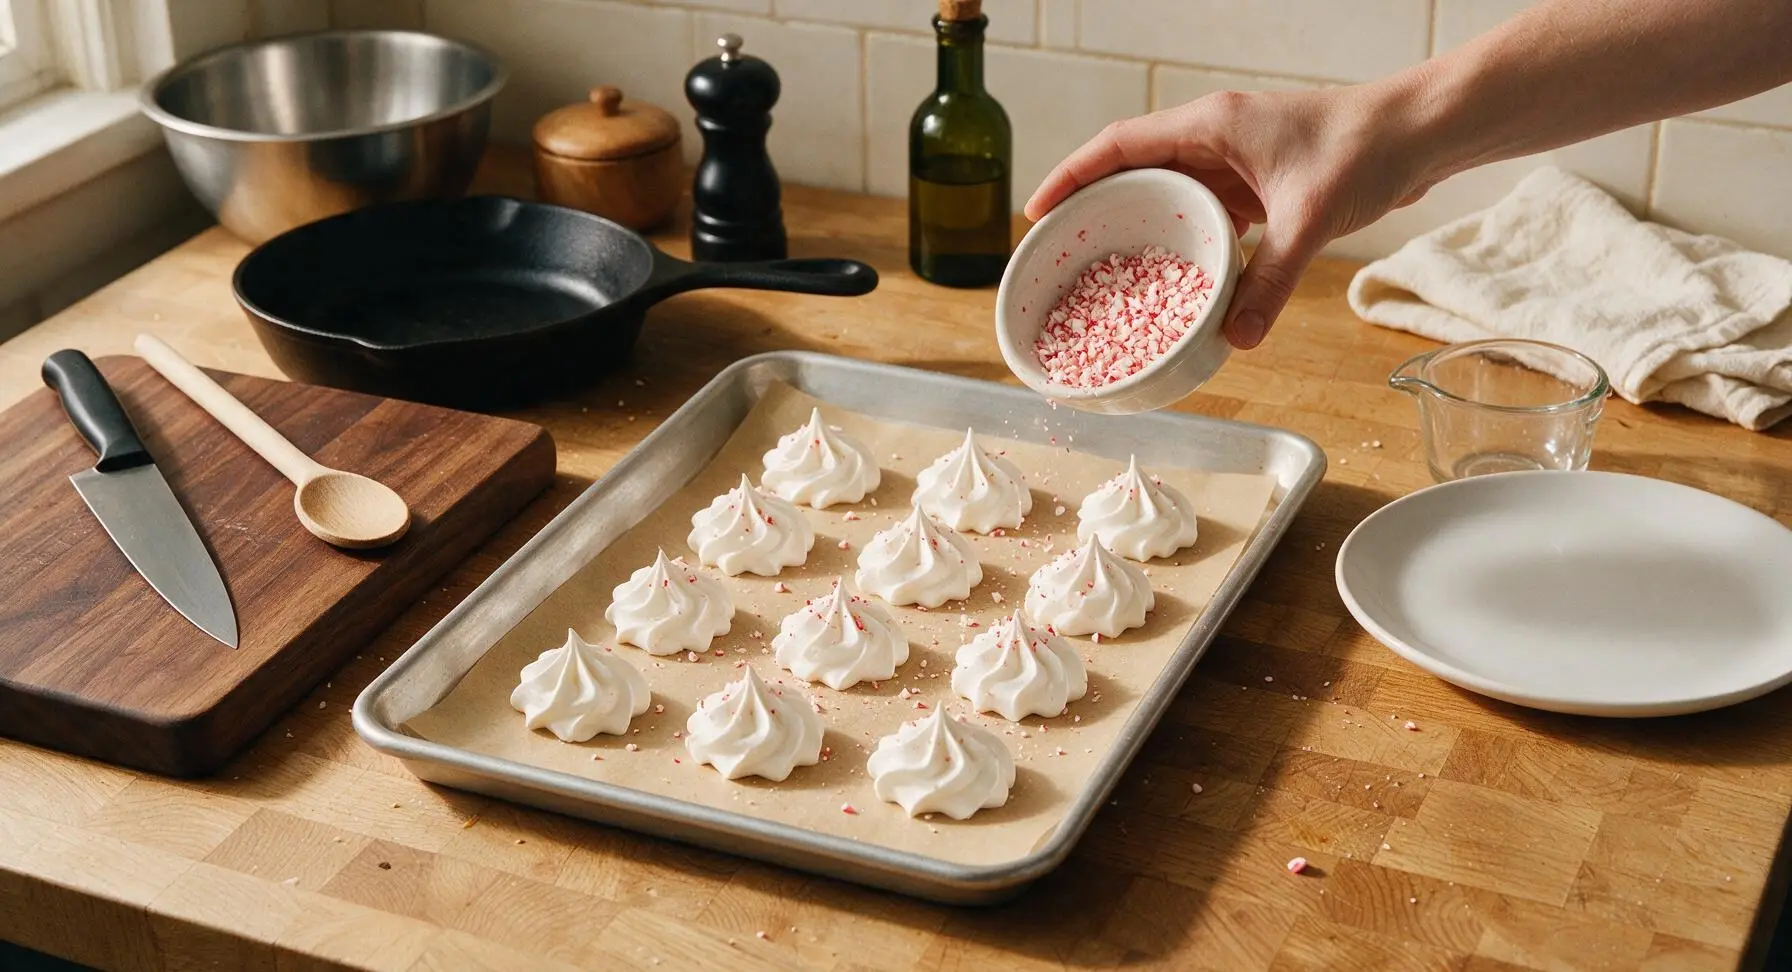
Fit the clear 16-inch piping bag with the large open star tip, then fill the bag 2/3 full with meringue, twisting the top tightly closed to prevent oozing. Line the heavy-gauge aluminum baking sheet with unbleached parchment paper cut to fit exactly. Hold the piping bag perpendicular to the baking sheet, 1cm above the parchment, and apply steady, even pressure to pipe 2-inch wide star swirls, pulling straight up quickly at the end to form a small pointed tip. Space cookies 2cm apart (they will not spread during baking). Sprinkle the top of each piped cookie lightly with finely crushed candy canes, reserving 1 tsp of candy for final garnish.
Step 5
step5:Pipe Meringue Swirls
Step 5
step5:Pipe Meringue Swirls
6

Bake Low and Slow

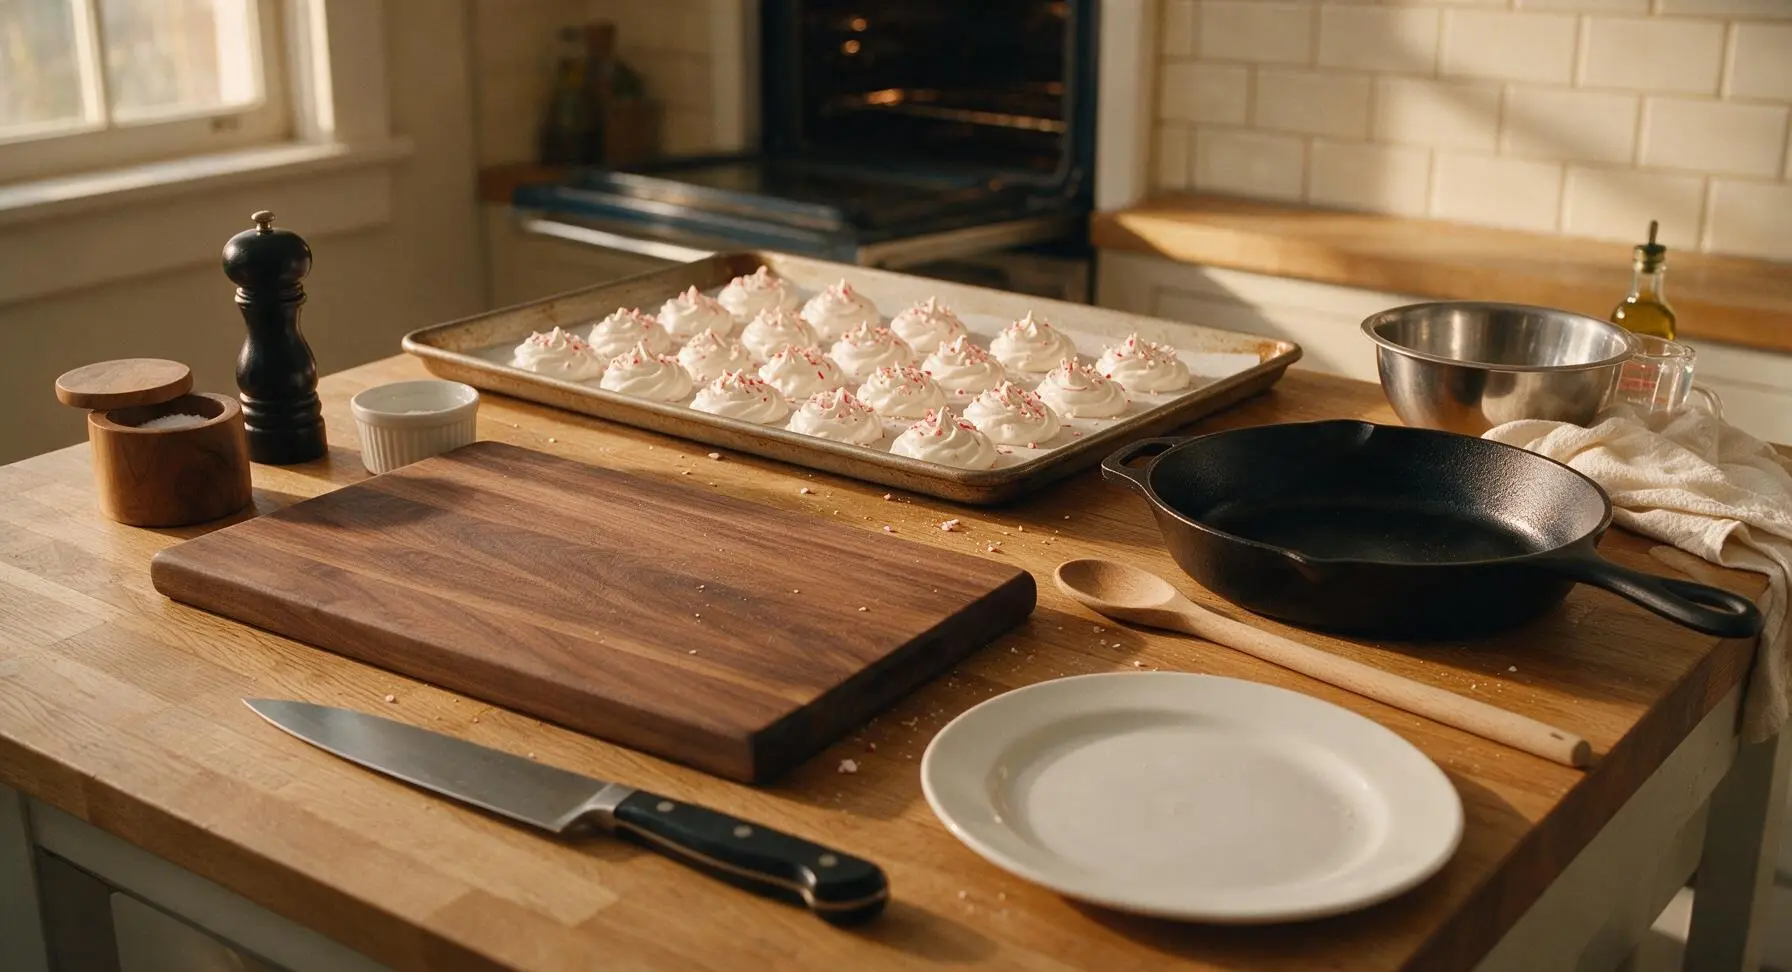
Place the baking sheet on the middle rack of an oven preheated to 200°F (95°C). Bake for 1 full hour, without opening the oven door at any point—sudden cold air will shock the meringues and cause surface cracking. After 1 hour, turn the oven off completely, crack the oven door open 1 inch, and let the meringues rest inside the cooling oven for an additional 30 minutes to dry out fully. Properly baked meringues will lift easily off the parchment paper with no sticking, and feel completely crisp to the touch with no soft, chewy spots.
Step 6
step6:Bake Low and Slow
7

Cool and Plate Cookies

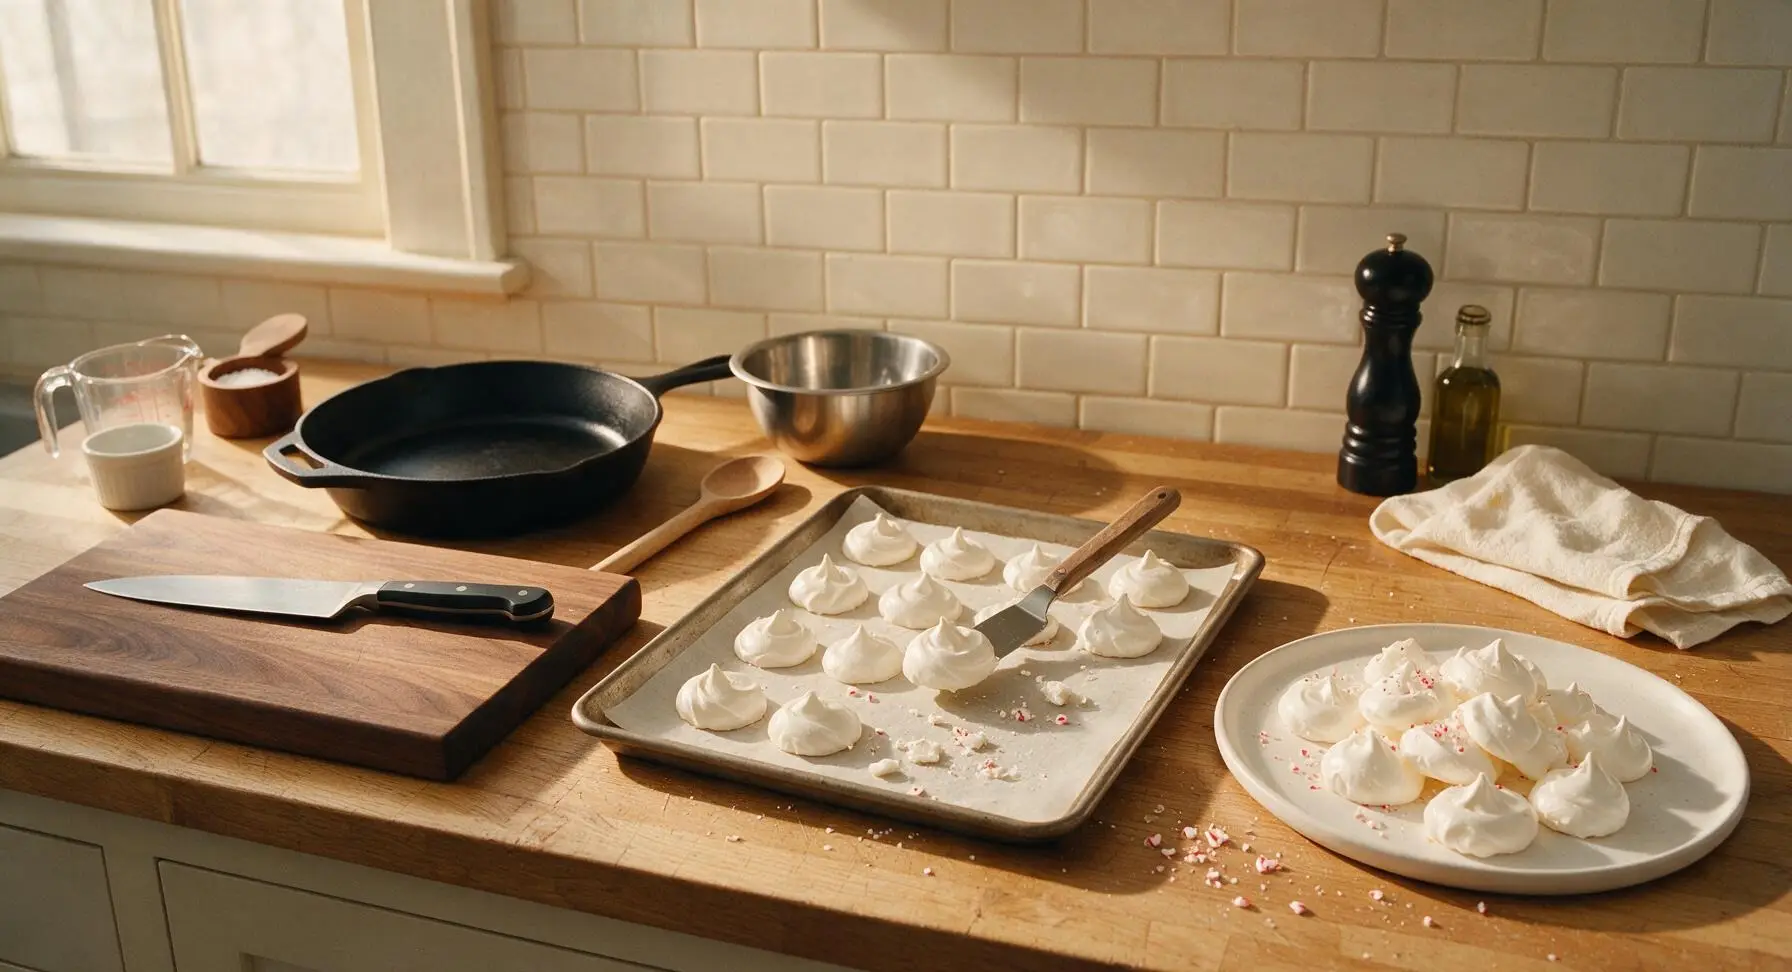
After the 30-minute in-oven rest, remove the baking sheet from the oven and let cookies cool completely on the sheet for 10 minutes at room temperature. Use the small offset metal spatula to gently lift each cookie off the parchment paper, and arrange them loosely on the matte white ceramic serving platter. Sprinkle the reserved 1 tsp of crushed candy canes over the top of the piled cookies for extra color and crunch.
Step 7
step7:Cool and Plate Cookies

Tips

1.Use room-temperature egg whites for maximum volume: Cold egg whites do not trap air as effectively, whipping to only half the volume of room-temperature whites and leading to dense, flat meringues that may collapse during baking.
2.Wipe all bowls and beaters with vinegar before starting: Even a tiny trace of grease, butter, or egg yolk will break down egg white protein structure, preventing stiff, stable peaks from forming. White vinegar cuts residual grease without leaving an aftertaste.
3.Never rush the baking process with higher heat: Oven temperatures above 225°F (107°C) will caramelize the sugar, turn meringues golden, and create a chewy, sticky center instead of the signature crisp, melt-in-your-mouth texture. Low, slow baking and gradual cooling prevents cracking.


✨ You May Also Like

Desserts & Baking
🍜 Italy

Creamy, coffee-kissed classic Northern Italian no-bake dessert, with layers of rum-spiked mascarpone cream, soft ladyfingers, and a rich cocoa dusting.

⏱️ 4 hours 3Desserts & Baking ★ 4.7
Desserts & Baking
🍜 France

Flaky, shatteringly crisp, buttery French croissants with golden exteriors and soft, airy layered interiors, perfect for pairing with coffee for a special morning treat.

⏱️ 12 hours Desserts & Baking ★ 4.5
Desserts & Baking
🍜 United States

Warm, spiced baked apples topped with a fluffy golden biscuit crust, this cozy dessert pairs perfectly with vanilla ice cream for cool-weather comfort.

⏱️ 55 minuteDesserts & Baking ★ 4.6
Desserts & Baking
🍜 United States

A star-spangled classic American blueberry pie with buttery flaky crust and bright sweet-tart filling, perfect for summer patriotic gatherings.

⏱️ 1 hour 25Desserts & Baking ★ 4.7
Desserts & Baking
🍜 United States

A beloved no-bake regional Maine candy with a chewy coconut-potato center coated in rich dark chocolate, a New England holiday staple since the 1870s.

⏱️ 2 hours 3Desserts & Baking ★ 4.8
Desserts & Baking
🍜 France

Luxuriously creamy, floral frozen custard made with aromatic Tahitian vanilla beans, boasting a smooth, rich texture that melts slowly on the tongue.

⏱️ 3 hours 3Desserts & Baking ★ 4.5

Peppermint Meringue Cookies:Frequently Asked Questions

1.Why do the egg whites need to be at room temperature for these meringues? ▾
Room temperature egg whites whip up to 2 to 3 times more volume than cold whites, because their proteins are more relaxed, leading to lighter, airier, evenly crisp cookies. Pull whites out of the fridge 30 to 60 minutes before baking, or sub sealed whole eggs in warm tap water for 5 minutes if you’re short on time—just make sure no yolk slips into the whites!
2.Can I skip the cream of tartar if I don’t have any on hand? ▾
Cream of tartar stabilizes egg white foam so your meringues don’t deflate before or during baking, but you can swap it for 1 teaspoon of fresh lemon juice or white vinegar per 1/2 teaspoon of cream of tartar. Don’t skip the acid entirely, though—without it, your meringues are far more likely to collapse or turn unpleasantly chewy.
3.Do I really need to add fine sea salt to these meringues? ▾
That small pinch of fine sea salt doesn’t make the cookies taste salty—it cuts the cloying sweetness of the granulated sugar and amplifies the bright, cool peppermint flavor so the cookies taste balanced, not one-note. Don’t swap it for coarse kosher or table salt, which won’t dissolve evenly and can leave gritty, salty spots in your meringues.
4.Can I use regular mint extract instead of pure peppermint extract? ▾
Pure peppermint extract gives that bright, cool, classic candy cane mint flavor these cookies are known for. Regular mint extract (often blended with spearmint) will work, but it has a milder, more herbal mint note that tastes less like traditional holiday candy canes. Skip artificial mint flavoring, which can taste harsh or soapy if used in the same quantity.
5.How do I keep my meringues from turning sticky or chewy after baking? ▾
Sticky, chewy meringues usually come from underbaking or high humidity. Bake them low and slow at 200°F for the full recommended time, then leave them in the turned-off oven for 1 to 2 hours to dry out completely. Avoid making them on rainy, high-humidity days if possible, and store them in an airtight container as soon as they cool.
6.Can I use peppermint baking chips instead of crushed candy canes? ▾
Absolutely! Crushed regular candy canes give that classic festive red-and-white crunch mentioned in the recipe, but peppermint baking chips work just as well for that minty, textured bite. If you use candy canes, crush them into small pea-sized bits in a sealed plastic bag, and skip the fine powdery dust at the bottom so it doesn’t streak your meringue pale pink.
7.Why did my meringues crack while they were baking? ▾
Minor surface cracking is totally normal and won’t affect taste or texture, but large, widespread cracks usually mean your oven temperature was too high, or you opened the oven door too early. Wait to peek until at least 45 minutes into baking, and use an oven thermometer to confirm a steady 200°F, since hot spots cause fast expansion and cracking.
8.How long do these peppermint meringue cookies stay fresh after baking? ▾
When stored in a tightly sealed airtight container at room temperature, away from direct heat or moisture, these cookies stay crisp and perfectly minty for up to 2 weeks. Don’t refrigerate them, as cold, moist fridge air will make them turn soft and sticky fast, and avoid storing them next to chewy cookies that release moisture.
9.Can I make these meringues ahead of time for my Christmas cookie platter? ▾
These are ideal for make-ahead holiday prep! Bake them up to 1 week before your gathering, let them dry fully in the oven, cool completely, and tuck them into an airtight container with parchment between layers to prevent sticking. Keep them in a cool, dry pantry spot, and add them to your platter right before serving for the best crisp texture.
10.What do I do if I accidentally get a little egg yolk in my whites? ▾
Even a tiny drop of yolk (which is fat) can prevent egg whites from whipping to stiff, stable peaks, so fish out any stray yolk bits with a clean, dry piece of eggshell before you start whipping. Make sure your mixing bowl and whisk are completely grease-free too—wipe them down with a little white vinegar and dry thoroughly to cut leftover residue.
11.Why do my meringues have a weepy, syrupy layer at the bottom after baking? ▾
That weeping happens when granulated sugar isn’t fully dissolved into the egg white foam, or when meringues are exposed to sudden temperature changes. Add your sugar 1 tablespoon at a time while whipping on medium-high speed, waiting 10 to 15 seconds between additions, to ensure every grain dissolves, then cool them slowly in the turned-off oven.
12.How do I know when the meringues are done baking and ready to cool? ▾
Properly baked meringues will lift easily off a parchment-lined baking sheet without sticking, and feel completely dry and crisp on the outside, with no soft, squishy give when you gently press the bottom. If they stick or feel soft, bake them for 10 to 15 more minutes before letting them finish drying in the turned-off oven.
13.Can I pipe these meringues into fun holiday shapes instead of dropping them as dollops? ▾
Absolutely! Fit a piping bag with a large star or round tip, fill it with your finished meringue, and pipe festive shapes like little trees, candy canes, or rosettes onto your parchment-lined sheets. Sprinkle the crushed candy cane bits on right after piping, before they go in the oven, so the bits stick firmly to the surface as they bake.

Comments (16)

2 days ago

OMG these peppermint meringue cookies were SUCH a hit at my kid’s holiday class party! Crunchy, perfectly minty, not too sweet. My kids begged me to make a second batch before the first one even ran out. SO good, will be making these every Christmas from now on.

1 week ago

Brought these to my office potluck last week and people were fighting over the last one. I added a tiny drizzle of white chocolate on top and *chef’s kiss*. Game changer for holiday cookie spreads.

3 days ago

So happy this recipe is naturally gluten free! I was worried they’d deflate on me since I’m terrible at meringues, but they held their shape perfectly. Light as air, just the right amount of peppermint kick.

5 days ago

These turned out pretty good! I only gave 4 stars because I overbeat the egg whites my first try and they came out a little grainy, but the second batch was perfect. Definitely read the notes about room temp eggs before you start, folks.

2 weeks ago

Made these for my wife’s annual girls’ night cookie swap and she said everyone was asking for the recipe. I don’t bake much at all so I was shocked they came out looking just like the photos. Will definitely make again.

yesterday

Quick question! Can I make these a day ahead of a party? I’m worried they’ll get soggy if I store them too long. Super excited to try these for my family’s Christmas dinner!

2 hours ago

Great question! These stay perfectly crisp for 3-4 days if stored in an airtight container at room temperature, no need to refrigerate. Just make sure they’re fully cooled before popping them in the container, and they’ll be perfect for your dinner!

30 minutes ago

I made these last night and added crushed candy canes on top before baking, it made them look so festive! Tasted just like the fancy ones from the bakery downtown.

5 minutes ago

Oh that’s such a good idea! I have a ton of leftover candy canes from my tree decorating party, I’m definitely stealing that tip when I make these this weekend.

2 hours ago

Help! My meringues spread all over the baking sheet and turned flat instead of those cute little puffs in the photo. What did I do wrong? I followed the measurements exactly!

30 minutes ago

Oh no, sorry to hear that! The most common reason for flat meringues is even a tiny bit of egg yolk getting into the whites, or not beating them long enough to reach stiff, glossy peaks. Also, make sure your bowl and whisk are totally grease-free before you start — even a little leftover soap residue can make them fall!

5 minutes ago

These are perfect for quick holiday treats! I made a big batch on Sunday and portioned them out into little treat bags for my neighbors, everyone loved them. Way easier than rolling out sugar cookies.

just now

Wait I never thought of portioning these into treat bags! I’ve been stressing about what to give our mail carrier and dog walker, this is perfect. Thanks for the inspo!

3 days ago

Has anyone tried making these with aquafaba instead of egg whites for a vegan version? I’d love to make these for my vegan cousin who’s coming for the holidays.

2 days ago

Great question! We’ve tested this with aquafaba (use 3 tbsp of aquafaba per egg white, chilled) and it works beautifully! Just add an extra 1/4 tsp of cream of tartar to help stabilize the meringue, and it’ll turn out just as light and crisp.

5 days ago

Made these for my dorm floor holiday party and even my roommate who hates mint thought they were good! I accidentally used peppermint extract that was a little old so the flavor was mild, but they still slapped.

3 days ago

LMAO “they still slapped” is the best review I’ve ever seen on here. I’m making these for my floor too now, thanks for the confidence boost!

yesterday

Wait how peppery is the peppermint in these? I’m not a huge fan of super strong mint that tastes like toothpaste, haha. Debating cutting the extract amount a little.

2 hours ago

I felt the same way! I cut the extract to 1/2 tsp instead of 3/4 and it was perfect — just a nice, subtle mint flavor, no toothpaste vibe at all.

30 minutes ago

Great tip from MildMintMolly! The recipe as written has a moderate peppermint flavor, but it’s totally easy to dial back the extract if you prefer a more mild mint taste. Just taste a tiny bit of the meringue before piping to adjust!

2 days ago

These cook time says 1 hour 30 minutes — is that all active time? I’m trying to plan my cookie baking marathon for this weekend and don’t want to get stuck slaving over the oven when I have 3 other recipes to make.

yesterday

Nah almost all of that is bake time! You only spend like 15 minutes whipping the meringue and piping them, then they just sit in the low oven to dry out. You can totally prep other cookies while these bake, just don’t open the oven door!

2 hours ago

Exactly what CookieMarathonVet said! Only about 15-20 minutes of active prep time, the rest is low-temperature baking and cooling time where you don’t have to do anything. It’s a great low-effort recipe to slot in between more labor-intensive bakes.

1 week ago

My super picky 7 year old turned her nose up at these at first because she thought they’d be “too spicy” (aka minty) but after one bite she ate 4 in a row! Game changer for getting her to try new holiday treats.

5 days ago

Same here! My boys thought they’d be weird because they’re “light and puffy” but now they keep asking when I’m making more. We even dyed them light pink for a fun twist and they went crazy for it.

3 days ago

The pink dye idea is so cute! I’m doing red and green swirls for our Christmas Eve dinner, I bet the kids will lose their minds.

3 days ago

I was so intimidated to make meringue for the first time because everyone says it’s super finicky, but these came out perfect on my first try! I did end up leaving them in the oven an extra 15 minutes because they were still a little chewy in the middle, but otherwise no issues.

2 days ago

So proud of you for nailing your first meringue! Great call adding extra bake time — ovens can vary a lot in temperature, so going by texture (fully crisp all the way through) is always better than strictly following the clock.

yesterday

This gives me so much hope! I’ve burned meringue, had it deflate, you name it, I’ve messed it up. I’m giving this recipe a shot tomorrow, wish me luck!

just now

These look so fancy for how little effort they take! I brought them to my friend’s ugly sweater party over the weekend and everyone thought I bought them from a fancy patisserie. I’ll never tell how easy they were, lol.

just now

LOL that’s my favorite baking hack — make something that looks super impressive but only takes 20 minutes of actual work. No one has to know our secret!

just now

We won’t tell if you don’t! 😉 So glad they were a hit at the party, that’s exactly what we love to hear.



