
peppers for hot dogs

title 1
peppers for hot dogs
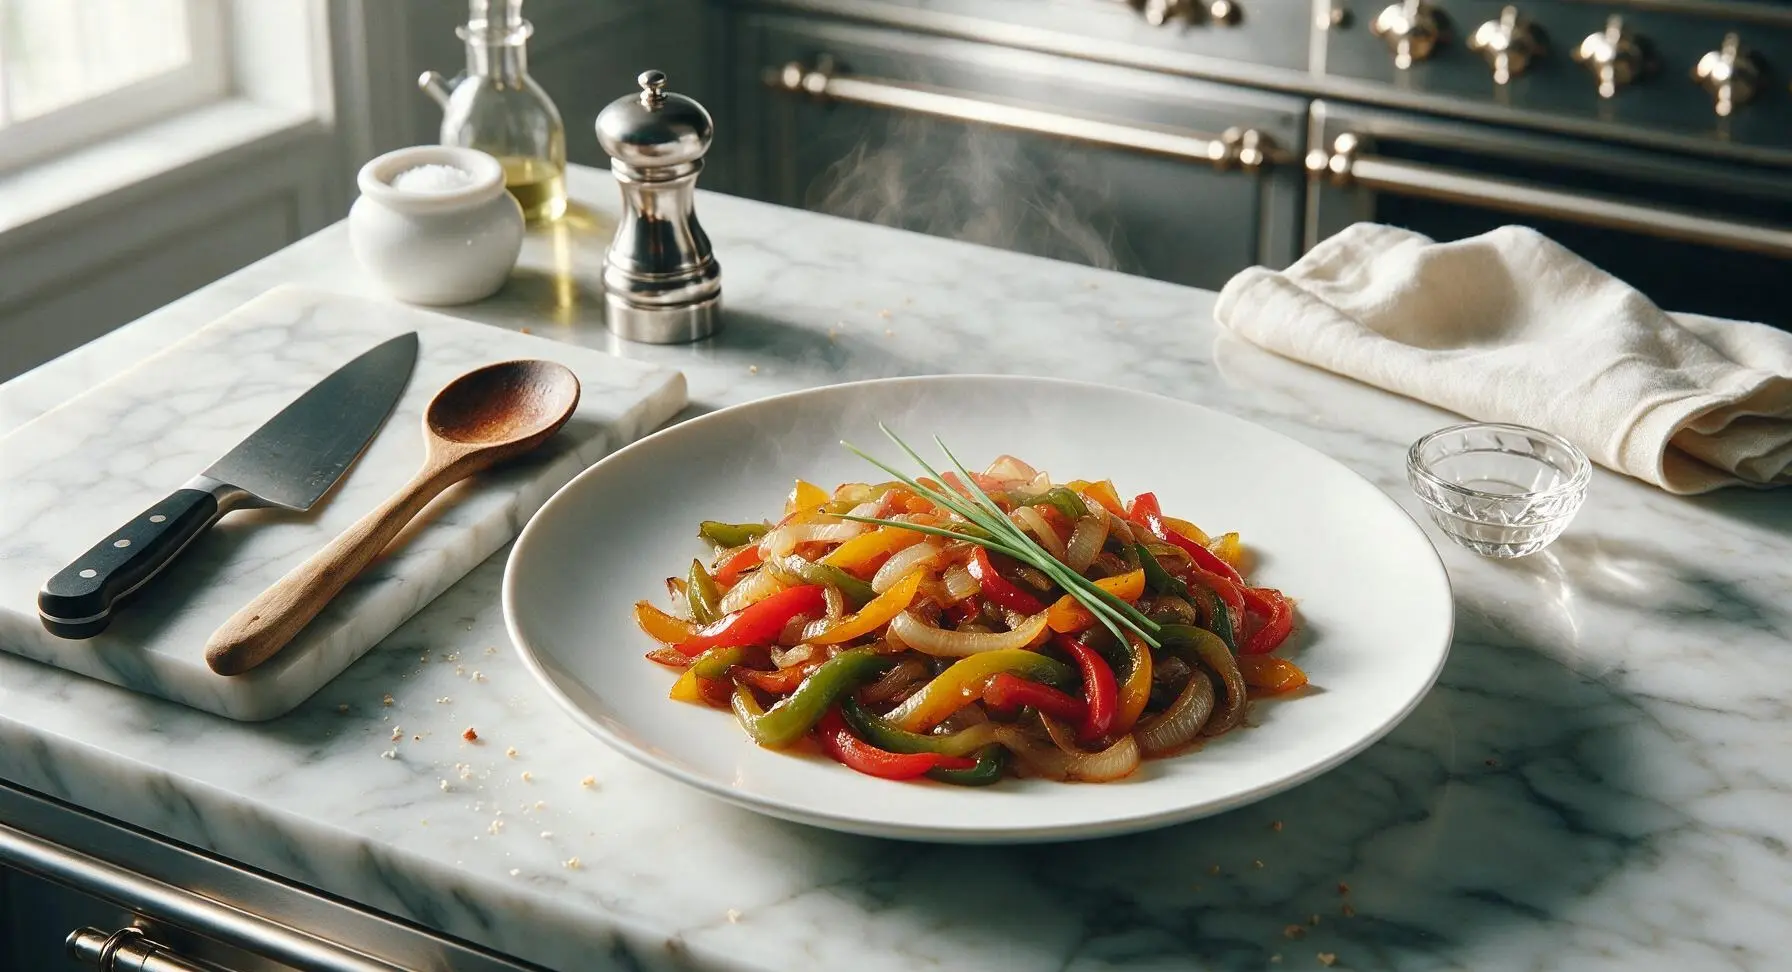
⏱️ cook time 15 minutes
🍽️ servings 6
⚡ Difficulty easy

intro

Sweet, tender sautéed bell peppers with soft caramelized onion, the iconic tangy-savory hot dog topping that makes every summer cookout bite feel like a classic ballpark treat.

Ingredients
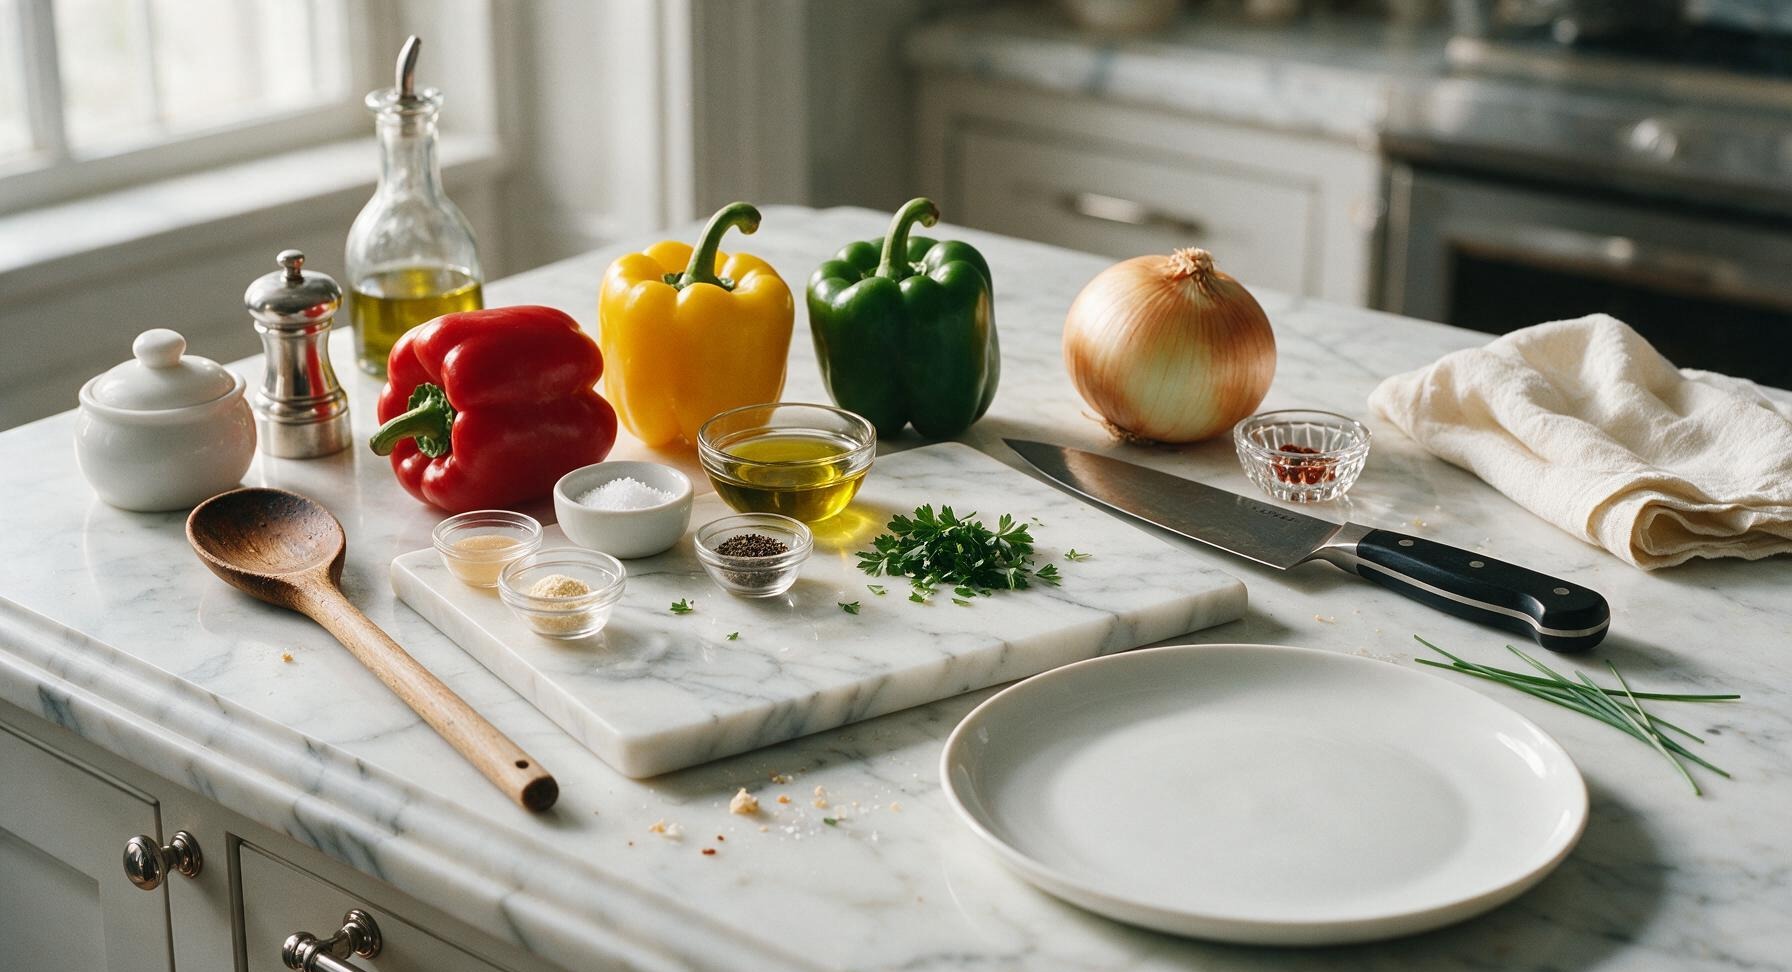
Red bell pepper 1 large (≈200g)
Yellow bell pepper 1 large (≈200g)
Green bell pepper 1 large (≈200g)
Yellow sweet onion 1 large (≈250g)
Extra-virgin olive oil 2 tablespoons
Kosher salt 1 teaspoon
Freshly ground black pepper 1/2 teaspoon
Garlic powder 1/2 teaspoon
Apple cider vinegar 1 tablespoon
Red pepper flakes 1/4 teaspoon (optional)
Fresh flat-leaf parsley 1 tablespoon (chopped)

Steps

1

Slice Peppers and Onion

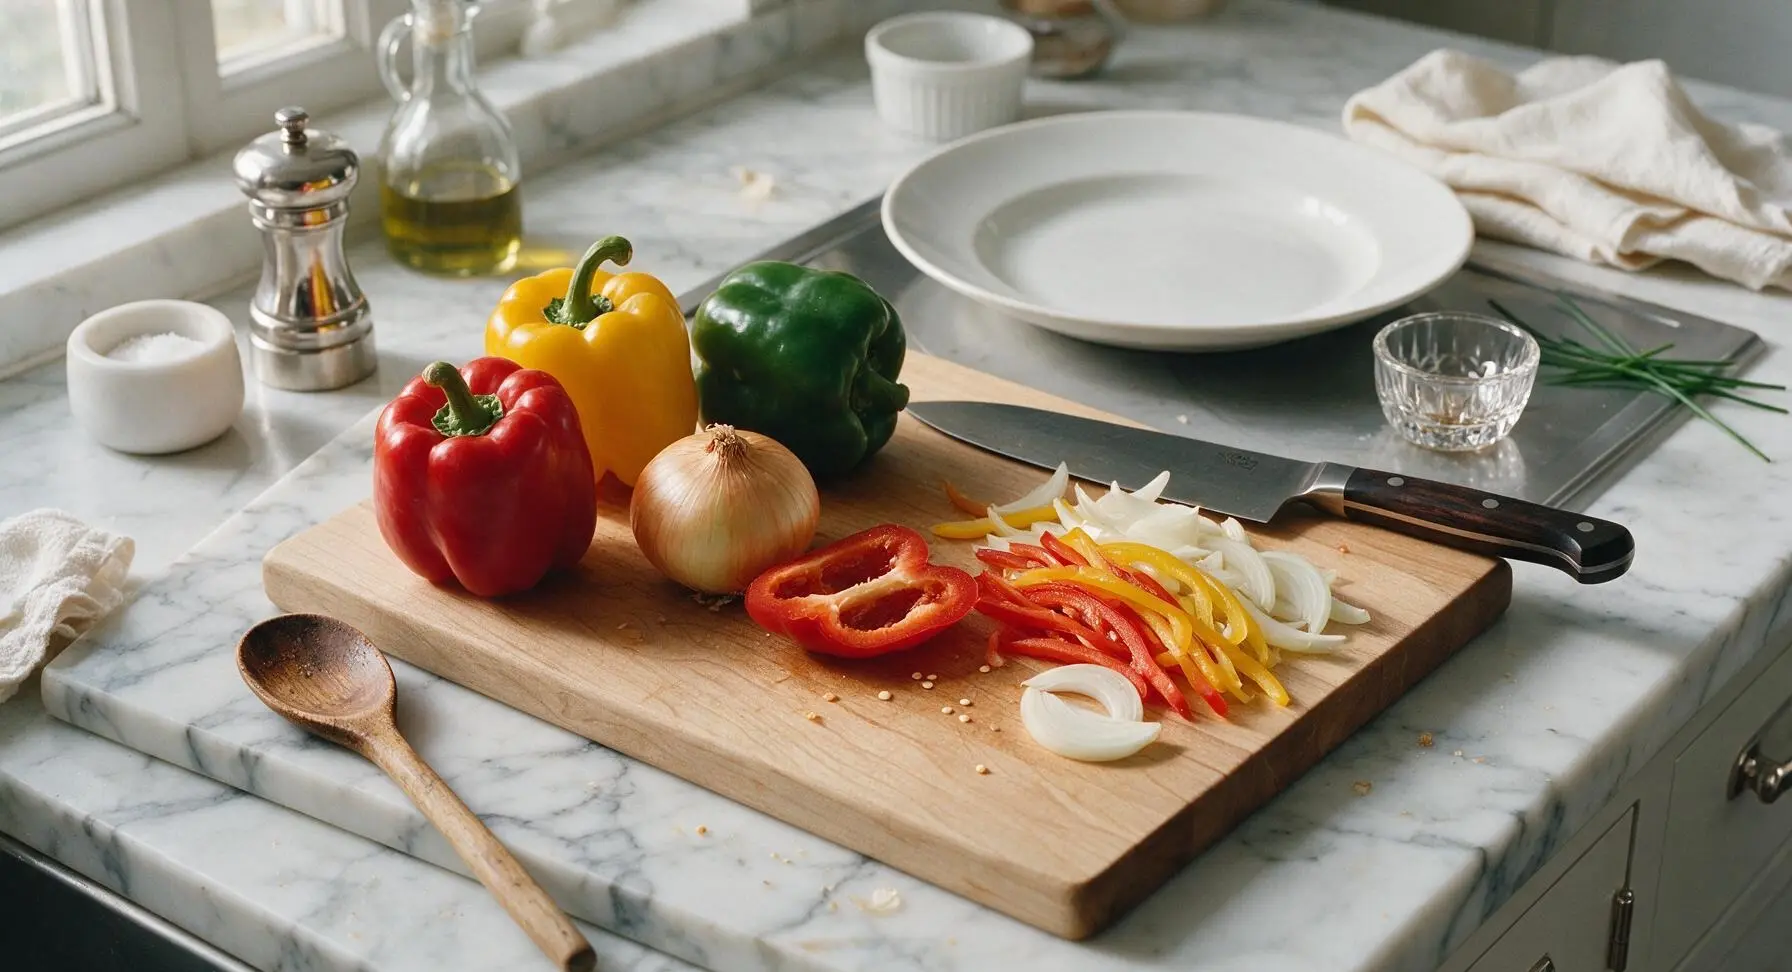
First, rinse all bell peppers and the onion under cool running water, pat dry with a corner of the indigo kitchen towel. Place the bell peppers on the maple cutting board, use the chef knife to slice off the top and bottom 1/4 inch of each pepper, scoop out the inner white pith and seeds with your fingers, then slice into uniform 1/4-inch thick strips. Peel the outer papery skin from the onion, cut in half from root to tip, then slice into 1/4-inch thick half-moons, discarding the tough root end. Keep all sliced vegetables in a loose pile on one side of the cutting board.
Step 1
step1:Slice Peppers and Onion
2

Heat Oil in Skillet

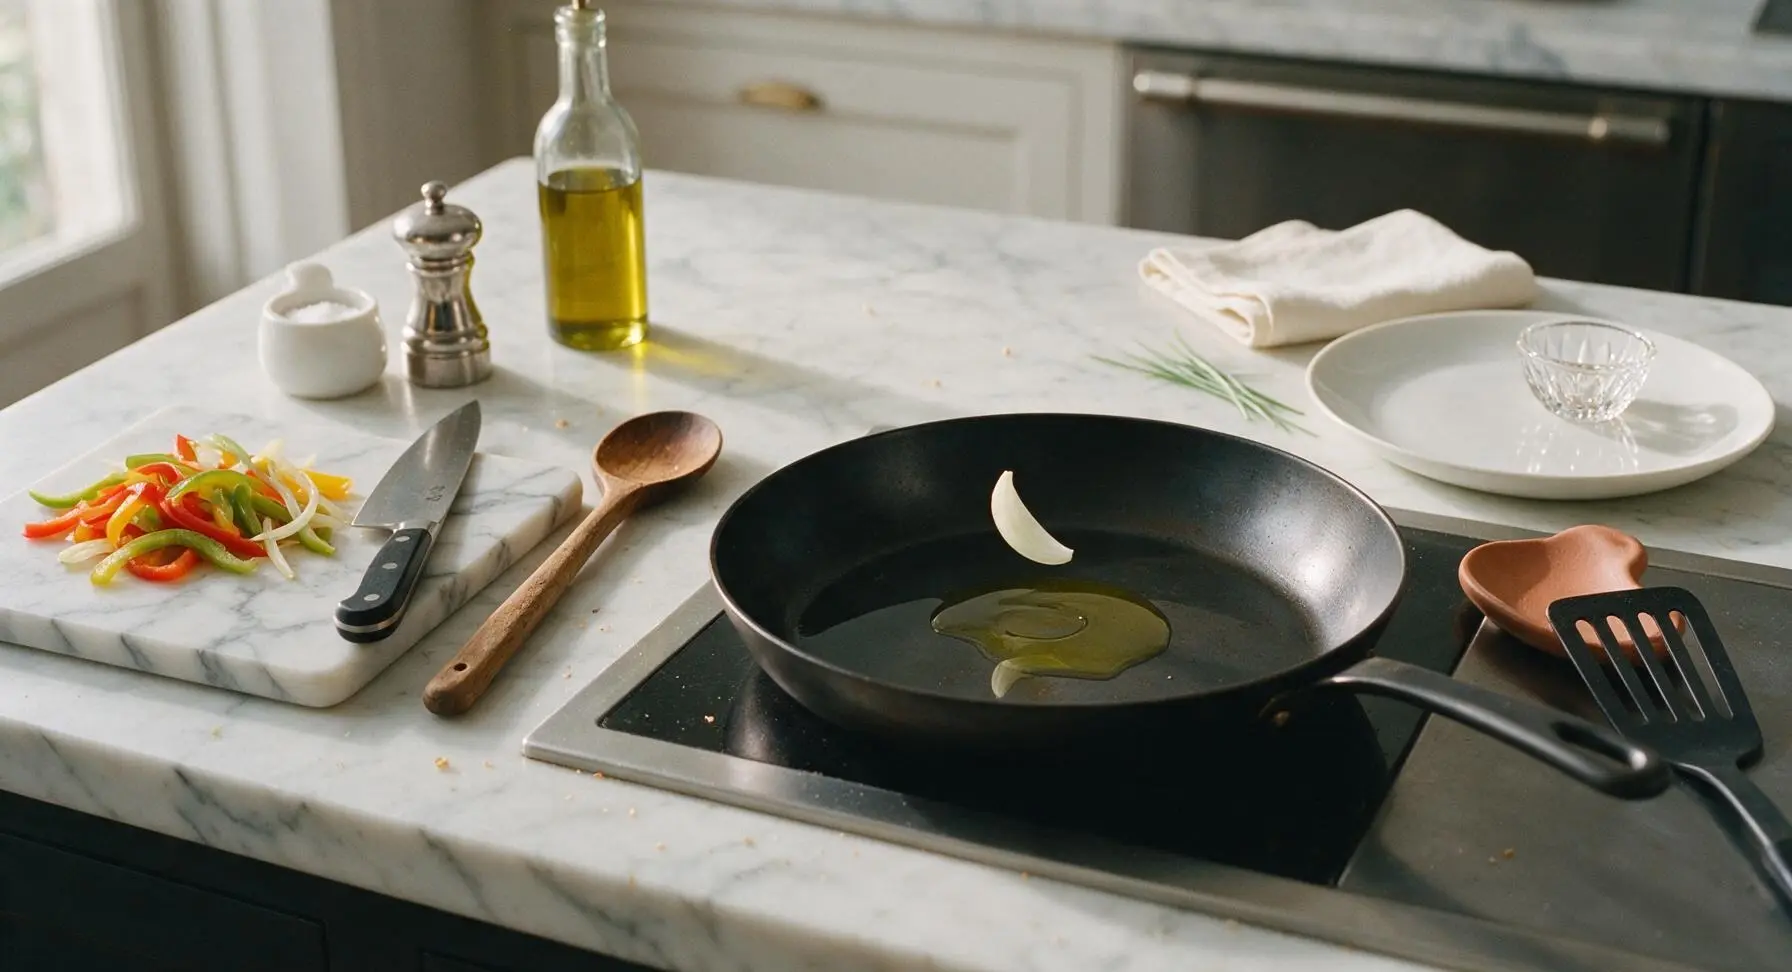
Set the 30cm matte black carbon steel skillet on the integrated induction stovetop over medium heat (350°F / 175°C). Pour 2 tablespoons of extra-virgin olive oil from the clear glass bottle into the skillet, and let the oil heat for 2 minutes until it shimmers but does not smoke. Test the heat by dropping in a single onion slice: it should sizzle gently immediately on contact.
Step 2
step2:Heat Oil in Skillet
3

Sauté Onions First

Add all of the sliced onion to the heated skillet, using the black silicone slotted turner to toss them evenly in the oil. Cook the onions for 5 minutes over medium heat, stirring every 60 seconds, until they turn soft, translucent, and just start to turn pale golden at the edges. Do not brown them too quickly—if they start to darken fast, turn the heat down slightly to medium-low.
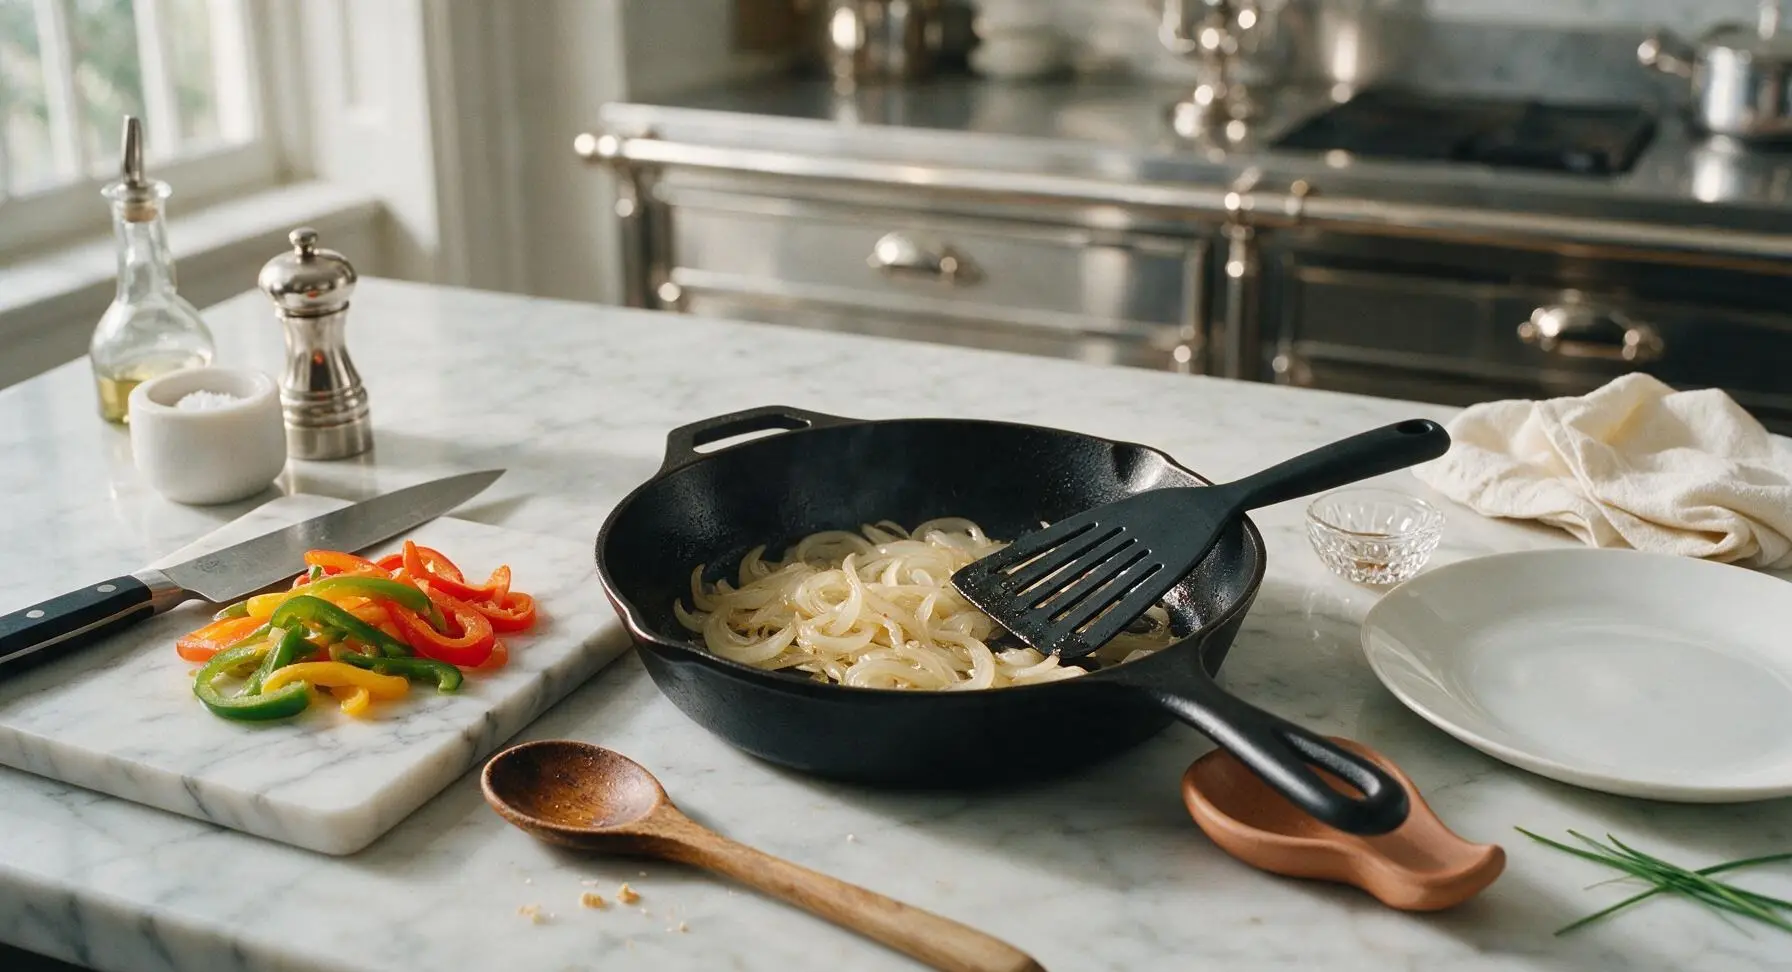
Step 3
step3:Sauté Onions First
4

Add Bell Peppers

Add all of the sliced bell pepper strips to the skillet with the onions, tossing thoroughly with the slotted turner to combine the vegetables evenly with the oil and partially cooked onions. Spread the vegetables out in a single even layer across the bottom of the skillet to encourage even cooking, rather than letting them pile up in the center.
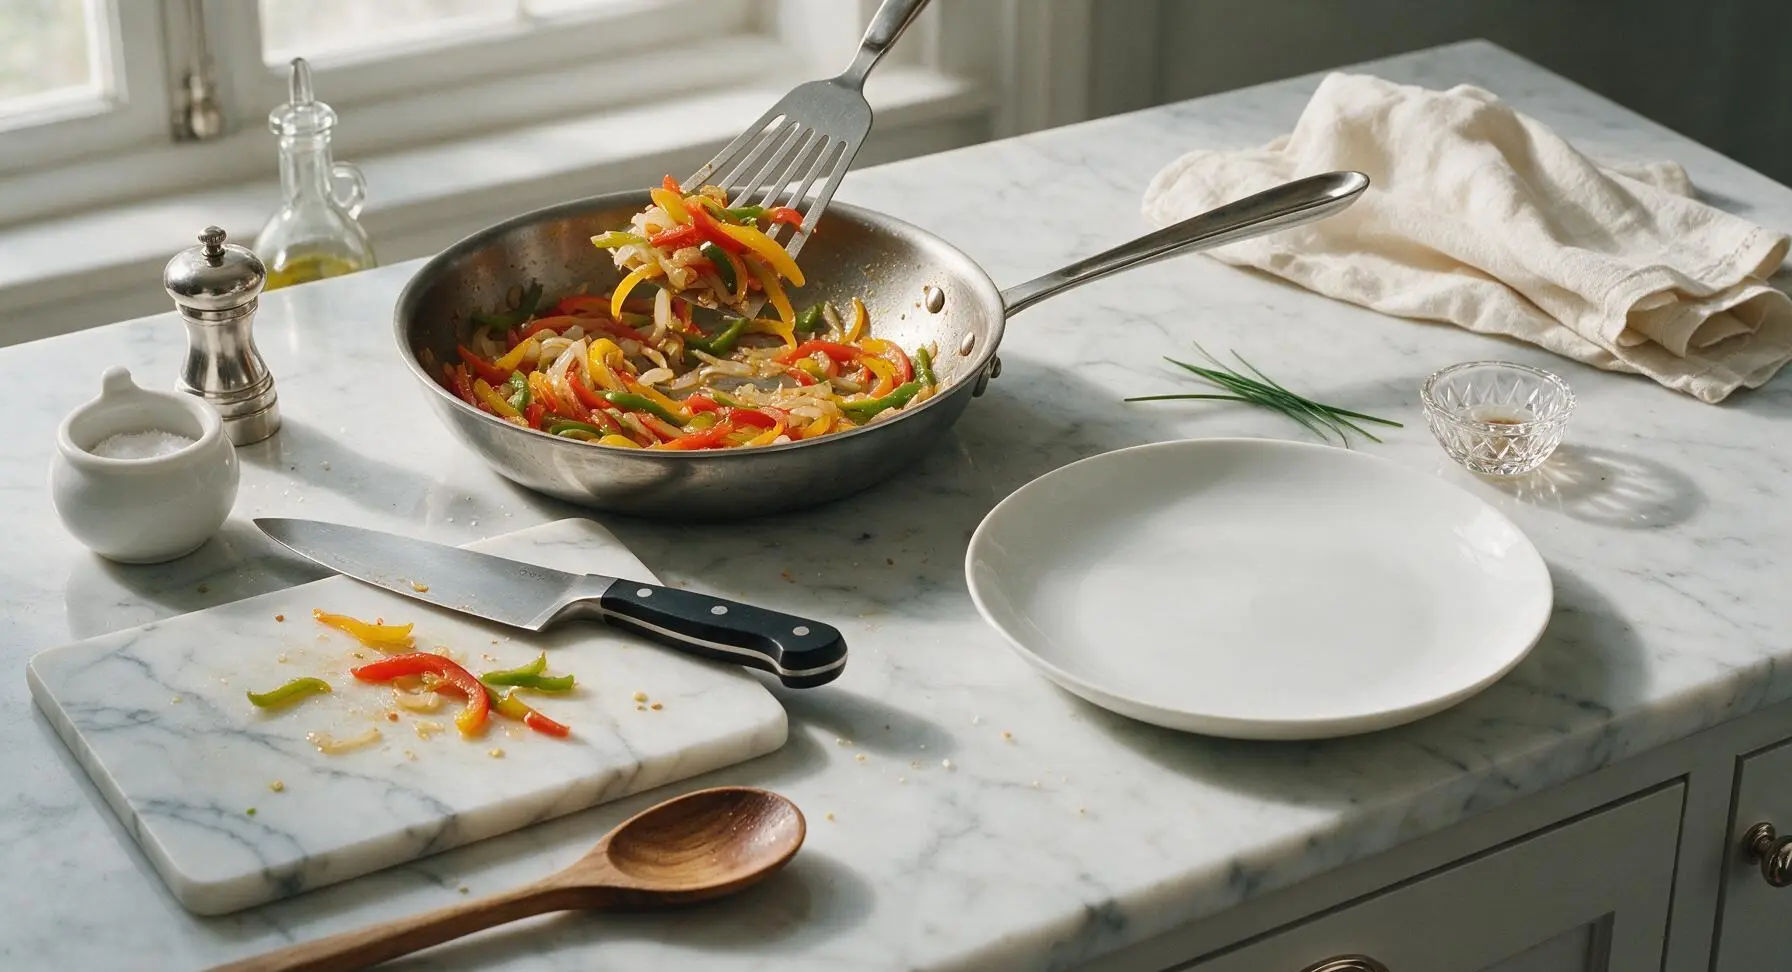
Step 4
step4:Add Bell Peppers
5

Season and Simmer

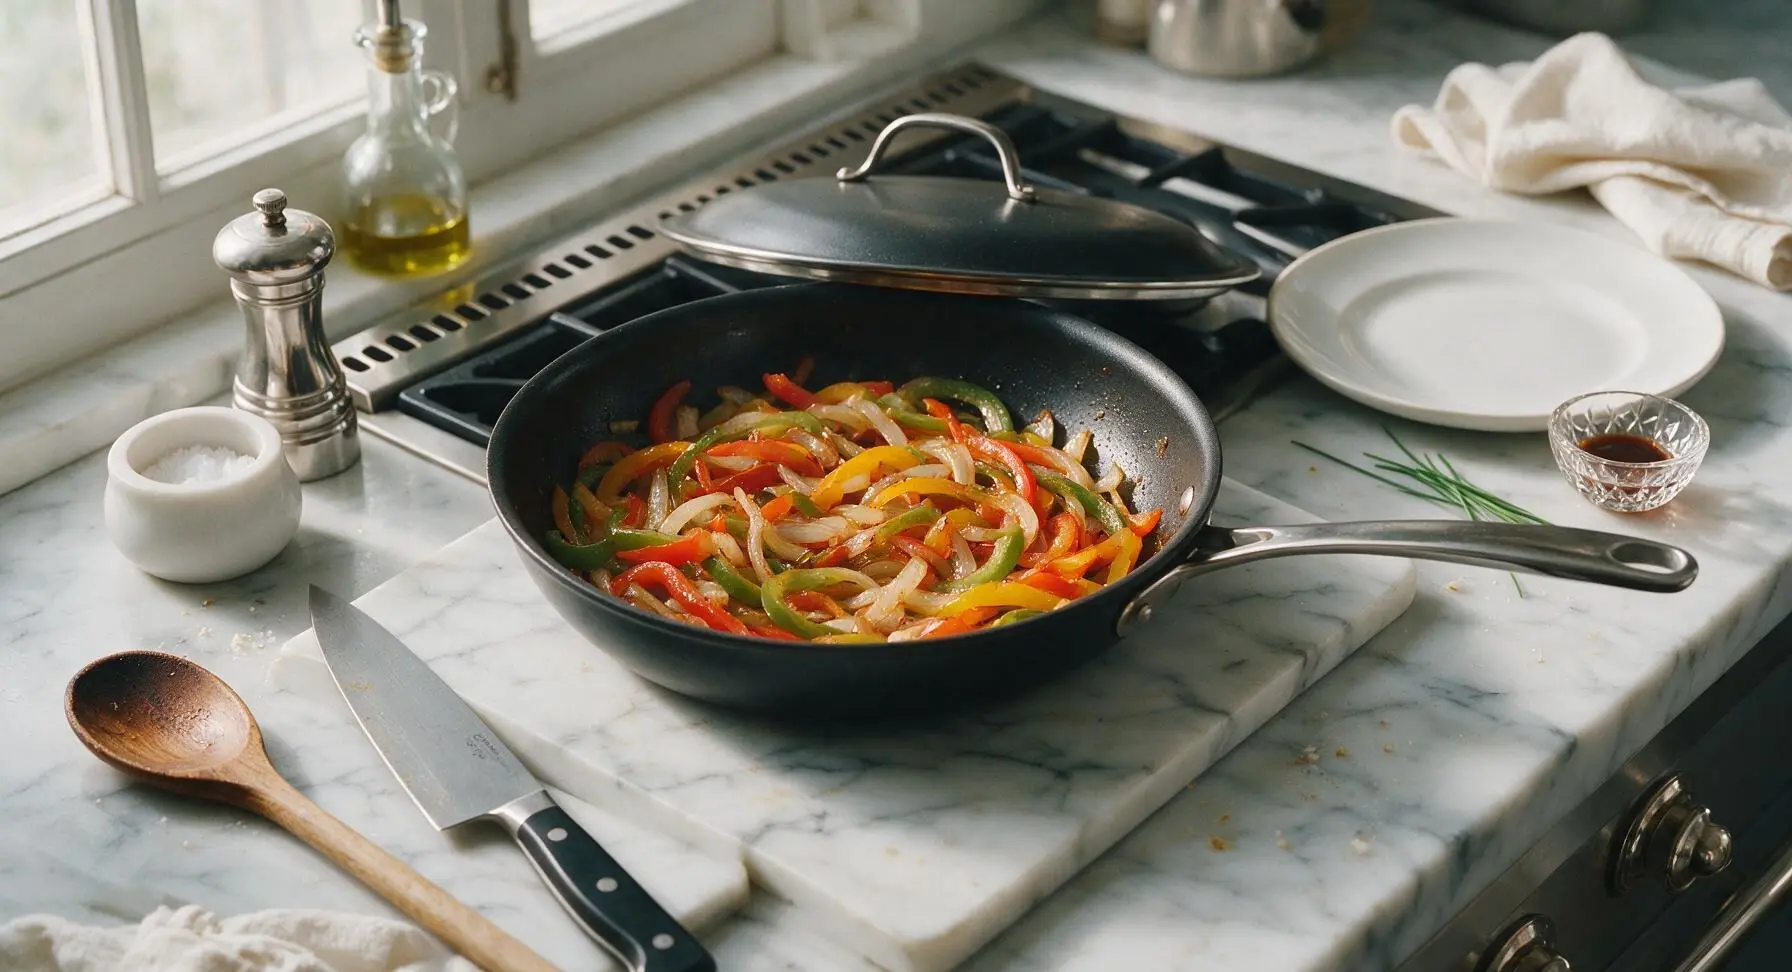
Sprinkle the 1 teaspoon kosher salt, 1/2 teaspoon black pepper, 1/2 teaspoon garlic powder, and optional 1/4 teaspoon red pepper flakes evenly over the top of the pepper and onion mixture. Toss again to distribute the seasonings evenly, then reduce the heat to medium-low (300°F / 150°C), cover the skillet with the lid, and let the vegetables cook for 8 minutes, stirring once halfway through. The peppers should be tender but still have a slight crisp bite, not mushy.
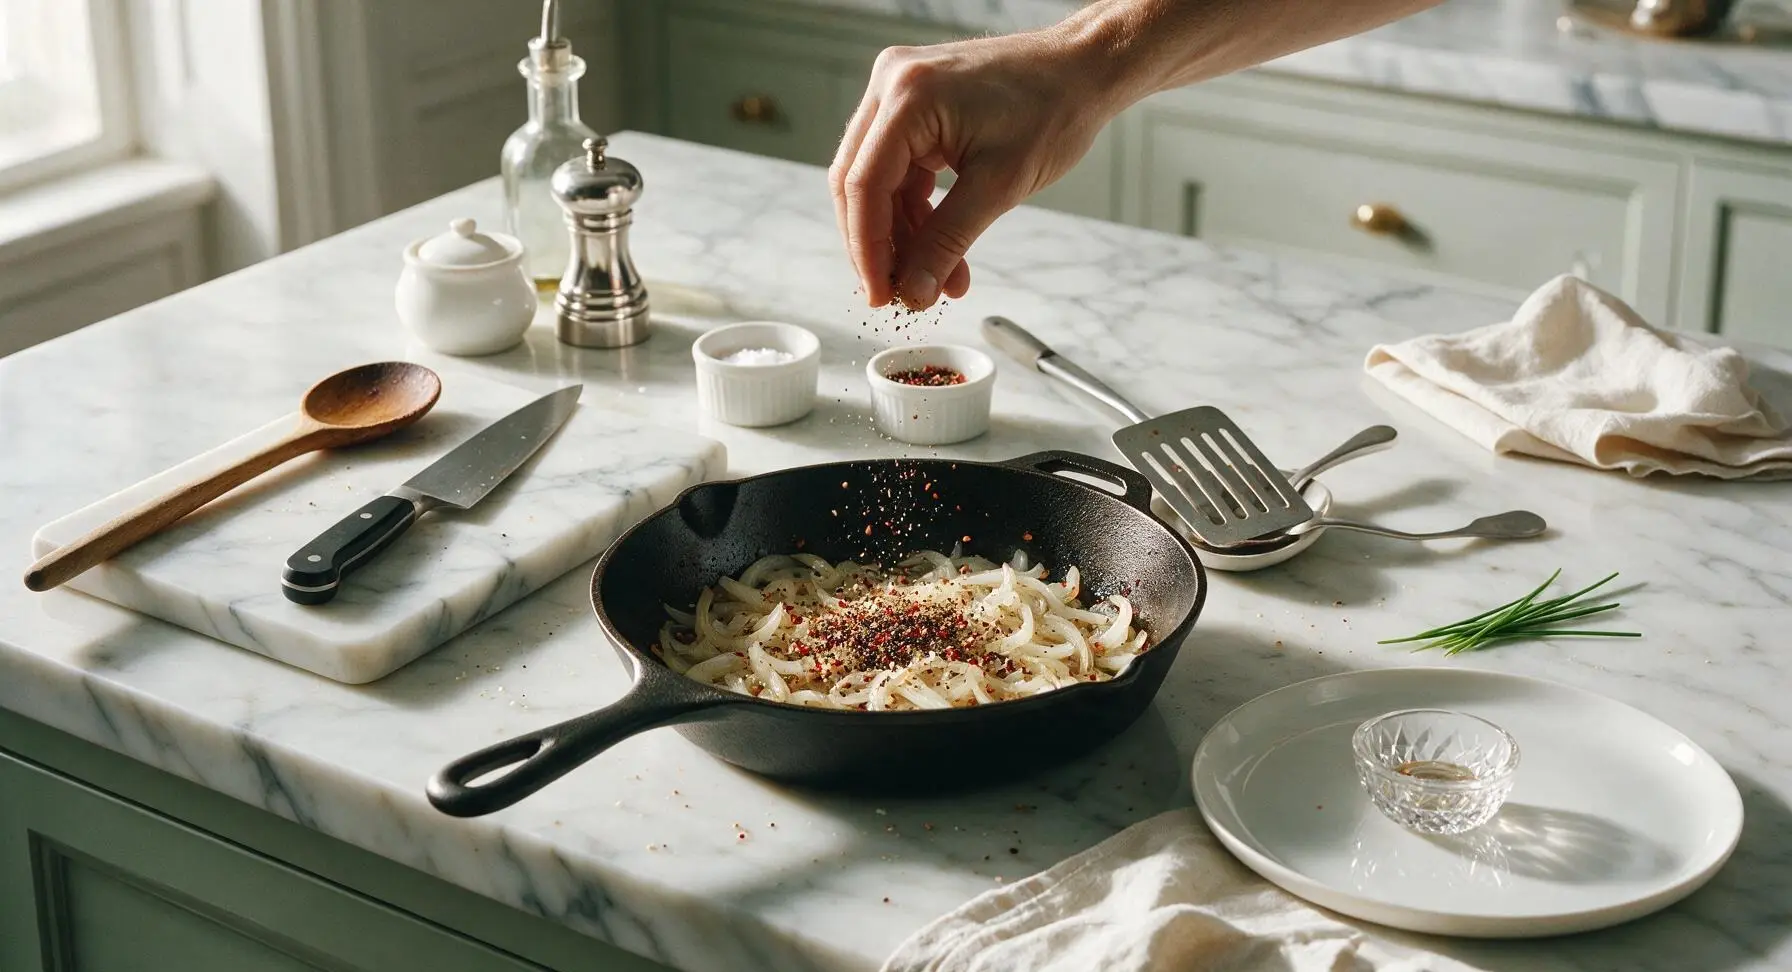
Step 5
step5:Season and Simmer
Step 5
step5:Season and Simmer
6

Finish with Vinegar

Remove the skillet lid, turn the heat up slightly to medium, drizzle 1 tablespoon of apple cider vinegar evenly over the cooked peppers and onions. Toss continuously with the slotted turner for 1 minute, letting the vinegar cook down and coat all the vegetable strips, until the sharp vinegar smell mellows and there is no standing liquid left in the bottom of the skillet. Taste a small piece of pepper, and adjust salt if needed.
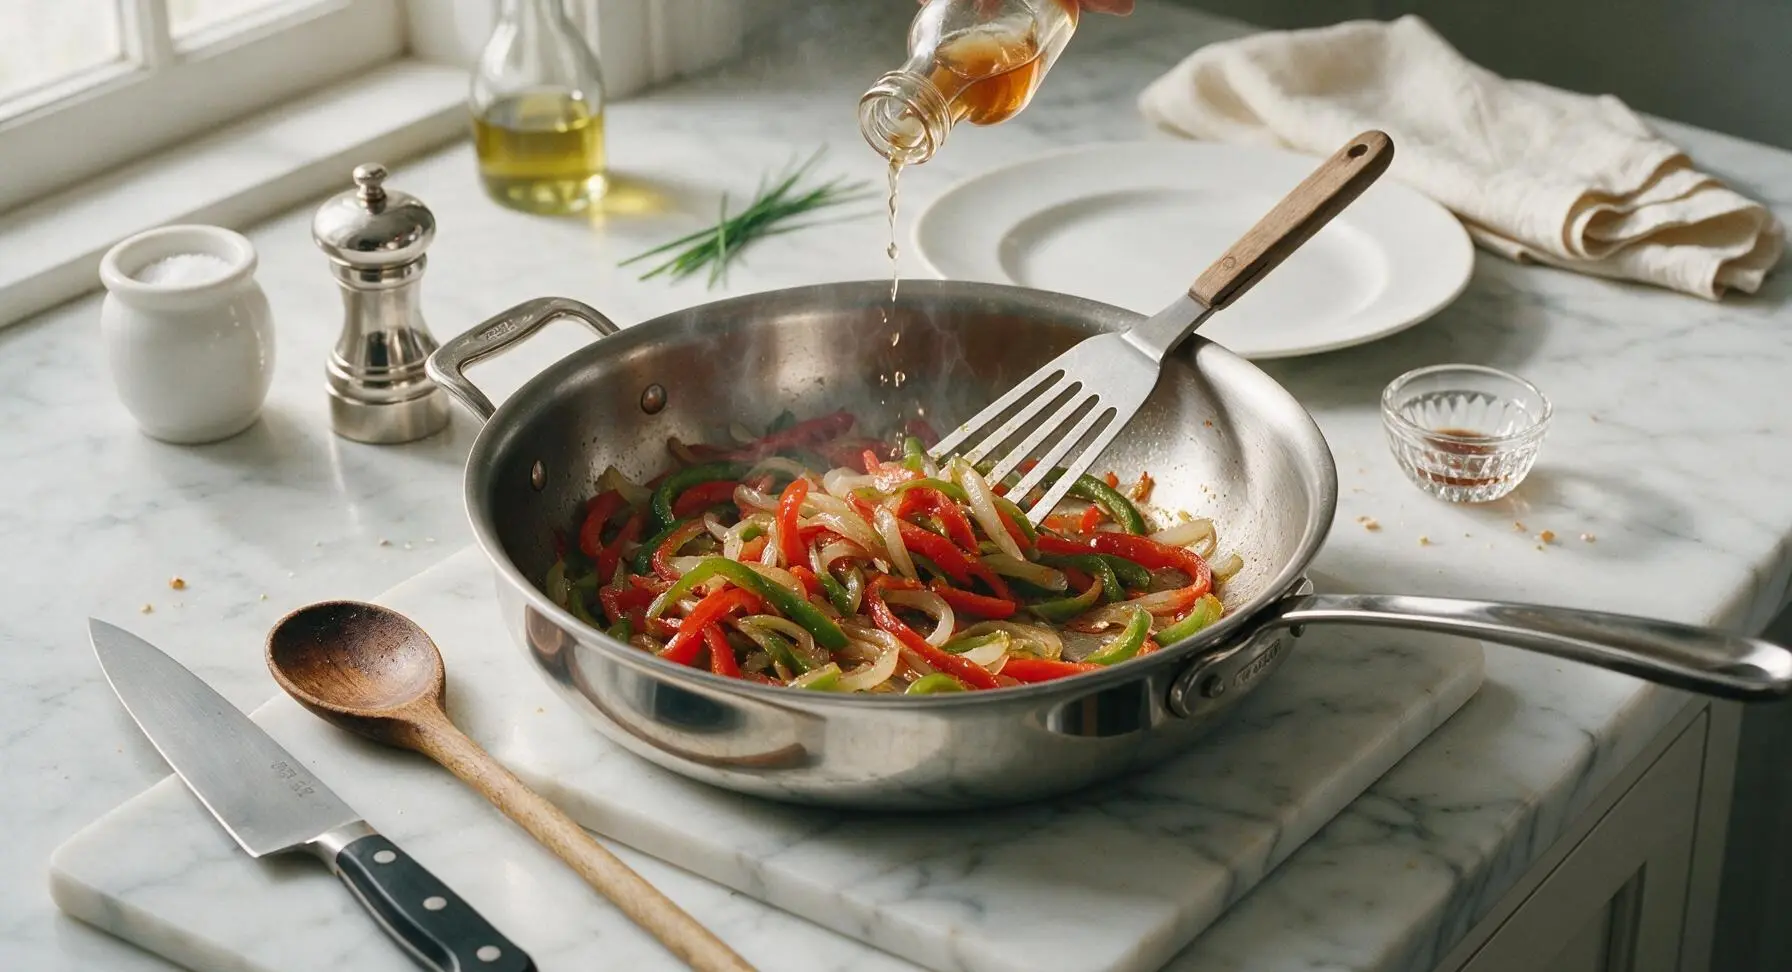
Step 6
step6:Finish with Vinegar
7

Plate for Serving

Turn off the stovetop heat. Use the slotted turner to transfer the finished pepper and onion mixture to the rectangular matte white ceramic serving platter, letting any excess oil drain off before placing on the platter. Sprinkle 1 tablespoon of chopped fresh flat-leaf parsley over the top for a bright color contrast. Serve immediately piled high on grilled hot dogs in soft buns.
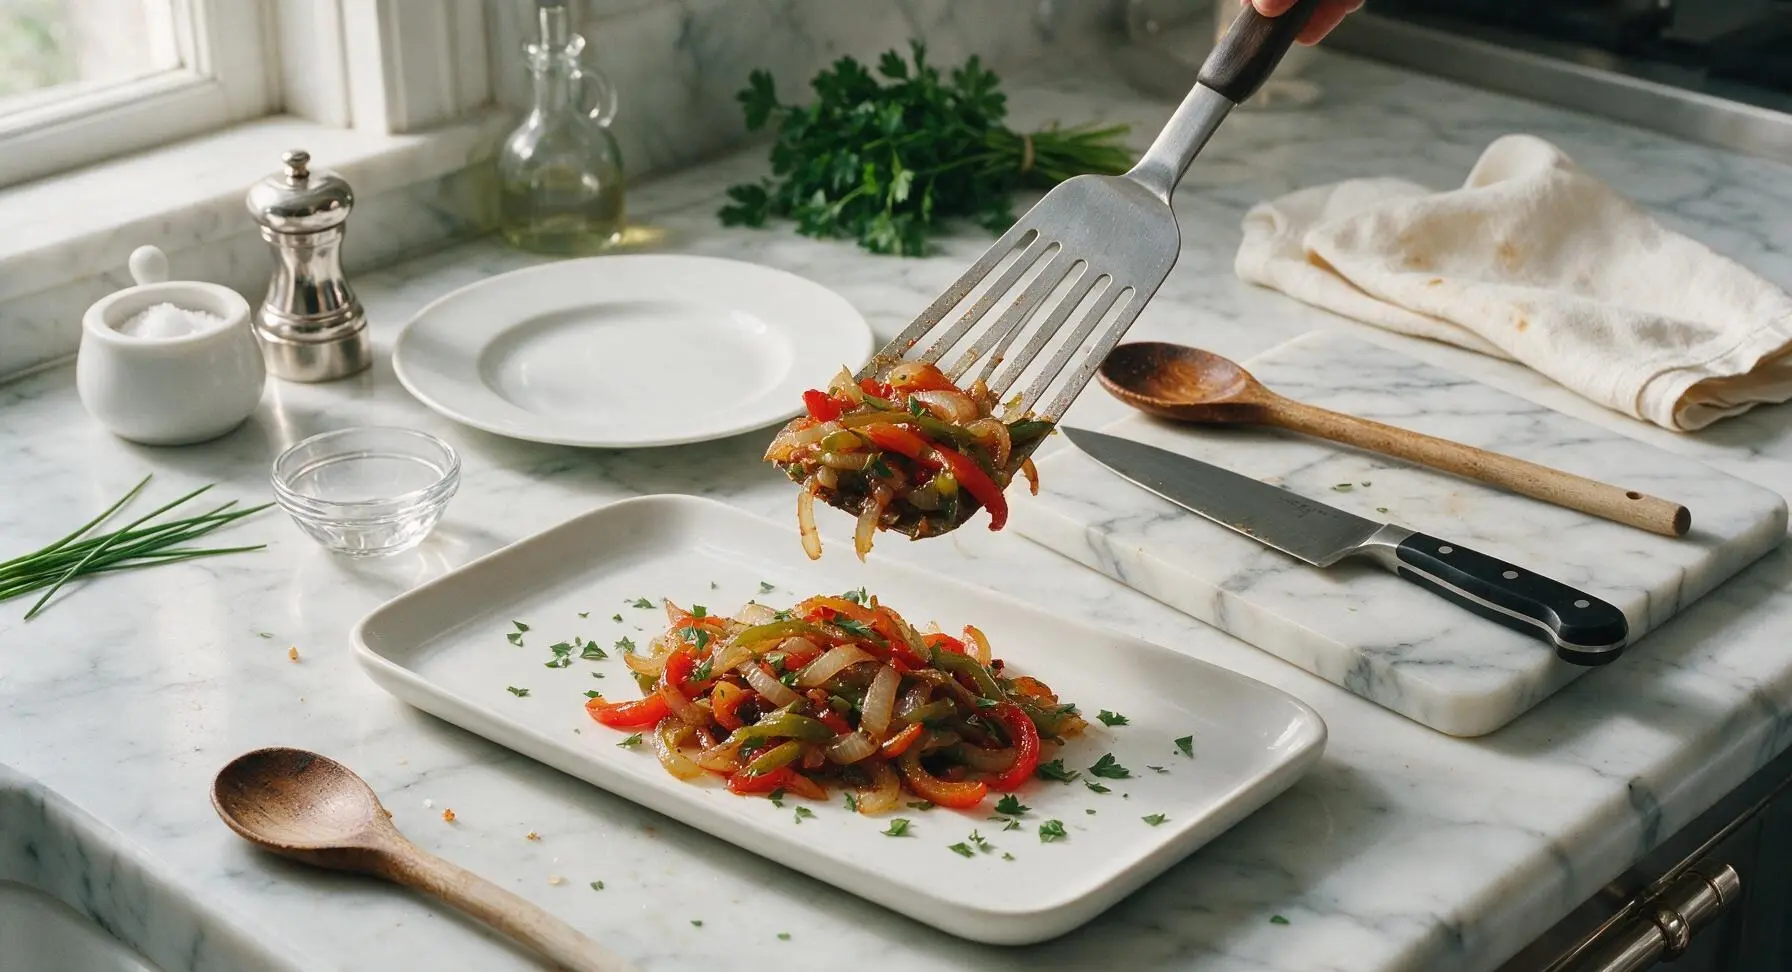
Step 7
step7:Plate for Serving

Tips

1.Cut all pepper and onion slices to a uniform 1/4-inch thickness to ensure even cooking: thicker slices will stay unpleasantly crunchy while thinner slices will turn mushy before the rest of the batch finishes cooking.
2.Don’t skip the apple cider vinegar finish: its bright tang cuts through the rich, fatty flavor of grilled hot dogs and balances the sweet caramelized notes of the cooked vegetables, preventing the topping from tasting flat or overly oily.
3.Cook peppers only to crisp-tender, not fully soft: the slight remaining bite helps the topping hold its shape on a hot dog, so it won’t turn soggy and slide out of the bun when you take your first bite.


✨ You May Also Like

BBQ & Grilling
🍜 United States

Tender, melt-in-your-mouth beef brisket with a crisp, spiced bark, slow-smoked to deep smoky perfection, the iconic centerpiece of Texas backyard barbecue.

⏱️ 12 hours BBQ & Grilling ★ 4.4
BBQ & Grilling
🍜 Korea

Tender, sweet-savory marinated beef short ribs, a beloved Korean BBQ staple with caramelized, slightly charred edges and deep umami flavor, perfect for outdoor summer gatherings.

⏱️ 4 hours 2BBQ & Grilling ★ 4.8
BBQ & Grilling
🍜 United States

Juicy grilled beef patties topped with smoky homemade chili, melted cheddar, and tangy pickles on toasted brioche buns for a hearty, flavor-packed handheld meal.

⏱️ 40 minuteBBQ & Grilling ★ 4.7
BBQ & Grilling
🍜 United States

A sweet, smoky, tangy BBQ sauce brightened with peak-season dark cherries, ideal for glazing grilled ribs, chicken, pork, or summer roasted veggies.

⏱️ 35 minuteBBQ & Grilling ★ 4.7
BBQ & Grilling
🍜 United States

Rich, smoky, slightly sweet homemade bourbon BBQ sauce with deep caramel notes, ideal for glazing grilled ribs, chicken, and burgers at cookouts.

⏱️ 25 minuteBBQ & Grilling ★ 4.7
BBQ & Grilling
🍜 United States

Iconic Alabama-style BBQ featuring tender hickory-smoked chicken slathered in tangy creamy white sauce, a beloved regional Southern cookout staple.

⏱️ 3 hoursBBQ & Grilling ★ 5

peppers for hot dogs:Frequently Asked Questions

1.Why do you use three different colors of bell pepper for this hot dog topping instead of just one? ▾
Using red, yellow, and green bell peppers gives you perfect flavor and visual balance: green peppers have a bright, slightly grassy bite, red peppers are the sweetest and deepest in flavor, and yellow peppers have a mild, honeyed sweetness. The mix of vibrant colors matches that iconic ballpark look, and all three cook at nearly the same rate so you won’t end up with unevenly tender pieces.
2.Can I make these sautéed peppers ahead of time for a cookout? ▾
Absolutely! You can make these 2 to 3 days ahead and store them in an airtight container in the fridge. When you’re ready to serve, gently reheat them in a skillet over low heat for 3 to 4 minutes, or warm them in a microwave-safe dish in 30-second bursts, stirring between each, until heated through. They won’t get mushy as long as you don’t overcook them initially.
3.How thin should I slice the peppers and onions for this recipe? ▾
Aim for uniform ¼-inch thick slices for both peppers and onions. This thickness is substantial enough that they won’t turn to mushy pulp as they sauté, but thin enough that they get tender and develop light caramelized edges in 10 to 12 minutes of cooking. Skip ultra-thin julienne cuts, since those overcook too fast and lose that pleasant tender bite.
4.Why use yellow sweet onion instead of white or red onion here? ▾
Yellow sweet onion has that perfect balance of sharp, oniony bite when raw that mellows into a soft, sweet, caramelized flavor as it cooks. It doesn’t have the harsh, sharp bite white onion can carry, or the overly bold, fruity punch red onion brings. It’s the exact onion classic ballpark stands use for that authentic, nostalgic flavor.
5.My peppers always turn out soggy when I sauté them—what am I doing wrong? ▾
Soggy peppers almost always come from two common mistakes: overcrowding the pan, which makes veggies steam instead of sauté, or cooking them on too low of heat for too long. Make sure your skillet is large enough that slices sit in a single layer, keep heat at medium, and don’t stir too often so pieces can develop light caramelized edges.
6.Do I need to remove the seeds and inner ribs from the bell peppers before cooking? ▾
Yes, you absolutely should. The inner white ribs are tough, slightly bitter, and won’t soften nicely even with extended cooking, and loose seeds will get scattered throughout your topping, creating an unpleasant gritty texture. Just slice each pepper in half, pull out the core and ribs, scrape out stray seeds, then slice into even strips.
7.Can I add other seasonings to these peppers without ruining the classic flavor? ▾
You can add small, complementary seasonings without straying from that classic ballpark taste. A pinch of kosher salt and fresh black pepper is a given, but a light sprinkle of garlic powder, a tiny dash of smoked paprika, or a splash of apple cider vinegar at the end of cooking adds nice depth without overpowering the sweet, savory pepper and onion flavor.
8.What heat setting should I use to get perfectly caramelized edges without burning the veggies? ▾
Stick to medium heat once your olive oil is shimmering. If the heat is too high, the outside of the peppers and onions will burn before the insides get tender; if it’s too low, the veggies will release all their moisture and steam instead of caramelizing. Give them a stir every 2 to 3 minutes so they cook evenly on all sides.
9.How much extra-virgin olive oil do I actually need for this recipe? ▾
You only need about 2 tablespoons of extra-virgin olive oil for a full batch made with three bell peppers and one large sweet onion. That’s enough to coat every slice evenly so they don’t stick to the pan and develop nice caramelized edges, without making the topping greasy enough to turn your hot dog bun soggy.
10.Can I freeze leftover sautéed peppers and onions for later use? ▾
Yes, these freeze really well for up to 3 months. Let the cooked peppers cool completely first, then portion them into freezer-safe zip-top bags, squeeze out as much excess air as possible, and lay them flat to freeze. Thaw in the fridge overnight before reheating, and drain off any excess moisture to avoid soggy buns when serving.
11.How long should I cook the peppers and onions to get that classic ballpark texture? ▾
Cook them for 10 to 12 minutes total, stirring occasionally, until they’re tender but still have a very slight firm bite, with light golden caramelized edges on some pieces. You don’t want them cooked until completely mushy—authentic ballpark peppers are soft but hold their shape, so they stay neat when piled high on a hot dog.
12.Can I use this pepper topping for things other than hot dogs? ▾
Definitely! While it’s perfect for hot dogs, this classic sautéed pepper and onion mix works great piled on brats, Italian sausages, cheesesteaks, and grilled chicken sandwiches, or served as a simple side for grilled steak or chicken. You can also toss leftovers into scrambled eggs or omelets the next morning for a quick, flavorful breakfast.
13.Is it okay to use frozen pre-sliced bell peppers and onions to save time? ▾
Frozen pre-sliced veggies work in a pinch, but you’ll get much better texture with fresh. Frozen peppers and onions release far more excess moisture as they cook, so they’re more likely to steam instead of caramelize, leading to a soggier final topping. If you use frozen, pat slices really dry with paper towels before adding them to the hot pan to cut down on excess moisture.
14.Why do some recipes add sugar to sautéed peppers for hot dogs, and do I need it? ▾
Some recipes add a pinch of sugar to speed up caramelization, but you don’t need it here. The natural sugars in ripe bell peppers and sweet onion will caramelize perfectly on their own over medium heat, giving you that ideal sweet-savory balance without extra added sugar. Extra sugar can make the topping overly sweet and more likely to burn quickly.
15.How do I keep the pepper topping from making my hot dog buns soggy? ▾
Two easy tricks prevent soggy buns: first, don’t overcook the peppers so they don’t release excess moisture, and use a slotted spoon to scoop them out of the pan when serving, leaving any pooled liquid behind. If serving a crowd, keep warmed peppers in a fine-mesh strainer set over a bowl to catch drips before guests top their dogs.
16.Can I add spicy peppers to this mix for a little kick? ▾
Absolutely! If you want a little heat to cut the sweet, savory flavor, add 1 thinly sliced jalapeño—remove seeds and ribs for mild heat, leave them in for extra spice—along with the bell peppers and onion. Just don’t add too many spicy peppers, or you’ll overpower the classic sweet pepper and onion flavor that pairs so perfectly with grilled hot dogs.
17.Do I need to cover the pan while sautéing these peppers and onions? ▾
No, you never want to cover the pan while cooking these. Trapping steam under a lid will make the peppers and onions release too much moisture, turning them soft and soggy instead of letting them develop those nice, light caramelized edges. Cook them uncovered the whole time, stirring only occasionally, for the best texture and classic flavor.

Comments (19)

1 week ago

OMG these were the star of our college football tailgate last Saturday! I mixed green, red, and orange bell peppers, sautéed them up with a little extra garlic, and piled ‘em high on char-grilled hot dogs. Every single person came back for seconds, and half the group begged for the recipe. 15 minute cook time is so accurate — I threw these together in the parking lot on my camp stove right as people started arriving, zero stress!

5 days ago

Same! I made these for our tailgate too and people were raving. Threw in a handful of sliced onion too, *chef’s kiss*

3 days ago

So stoked these were a tailgate hit! Adding a little sliced onion is such a classic, delicious tweak — love that idea.

2 days ago

Game. Changer. My boys turn their nose up at any veggie on their hot dogs usually, but I made these last night for our weekly hot dog dinner and they both asked for extra peppers! I couldn’t believe it. No mushy texture, just that perfect little crisp-tender bite, exactly like the recipe says.

yesterday

That makes our day! Getting picky eaters to enjoy veggies is always a huge win — so glad your boys loved them.

3 days ago

SO good! I meal prepped a big batch of these on Sunday and have been topping quick lunch hot dogs, brats, even turkey sandwiches all week. They hold up way better than I thought they would in the fridge, no sogginess at all.

5 days ago

Super easy recipe, but mine came out a little more oily than I expected? I used the 2 tbsp of olive oil the recipe called for, but maybe my pan was too hot? Flavor was still great, just had to drain a little off before serving.

3 days ago

Sorry to hear they were a little oily! If your stove runs hot, you can cut the oil back to 1.5 tbsp next time, or turn the heat down just a touch to keep the peppers from absorbing extra oil. Glad the flavor was still on point!

2 weeks ago

Brought these to our neighborhood block party potluck over the weekend and they were gone in 10 minutes! People were putting them on hot dogs, hamburgers, even eating them straight out of the bowl with a fork. 10/10, will be making these for every summer get together from now on.

1 week ago

Wait, did you make these ahead or cook them right before the potluck? I’m signed up to bring a side for our work cookout next week and these look perfect!

5 days ago

Great question! These hold up beautifully — you can make them a day ahead, store them in an airtight container in the fridge, and reheat gently over low heat before serving. They also stay tasty at room temp for a couple of hours, which makes them ideal for potlucks!

yesterday

As someone who takes their hot dog toppings extremely seriously, I can confirm these are legit. Perfect balance of sweet and savory, not overcooked, way better than the sad greasy peppers you get from most hot dog stands. I added a tiny sprinkle of Italian seasoning like my nonna used to, and it transported me right back to childhood cookouts.

30 minutes ago

Fellow Chicago dog stan here! Adding Italian seasoning is such a smart call, I’m definitely trying that next batch. I usually add a few sport peppers too for a little heat.

2 hours ago

I made these to top my carrot dogs and they were so flavorful I didn’t even miss the meat! Used a mix of rainbow bell peppers, added a pinch of red pepper flakes for a tiny kick, and wow. Even my omnivore roommate stole a few bites straight from the pan.

3 days ago

15 minute cook time is not a lie! I got home late from work last night, remembered I had hot dogs in the fridge, threw these together while the dogs boiled, and had dinner on the table in 20 minutes total. My whole family loved it, zero complaints. Weeknight dinner win for sure.

2 days ago

That’s exactly what we love to hear — quick, low-fuss meals that the whole family enjoys are what weeknight cooking is all about!

5 days ago

Made these in my cast iron skillet on the patio grill last night and the little bit of char on the peppers was *chef’s kiss*. Used all green peppers like the recipe suggests, served ‘em on grilled brats instead of regular hot dogs, and my husband said it’s the best meal I’ve made all summer.

3 days ago

How hot did you have your cast iron to get that nice char? I always end up steaming my peppers instead of getting those crispy little edges!

2 days ago

I had it on medium-high, didn’t stir them too often! Let ‘em sit for 2-3 minutes at a time before flipping so they get that nice caramelized edge. Game changer.

30 minutes ago

Quick question — how long do these stay good in the fridge? I want to make a double batch so I have toppings ready for lunches all week, but I don’t want them to get slimy before I can use them up.

5 minutes ago

Great question! Stored in an airtight container in the fridge, these peppers will stay fresh for 4-5 days. Just give them a quick reheat in the microwave or on the stovetop before using, and they’ll taste just as good as the day you made them!

just now

Added a pinch of cayenne and a dash of smoked paprika to these and wow, the little kick was perfect! Not too spicy, just enough depth to make the peppers taste way more complex than a 15 minute recipe has any right to. Will be making these on repeat all grilling season.

2 days ago

I’m literally just learning to cook and this recipe was so hard to mess up! I totally forgot to add the garlic the recipe calls for, and even then the peppers came out so tasty. Next time I’ll remember the garlic, but even my mistake version was a hit with my roommates.

yesterday

We love that this was approachable for you as a new cook! Even without the garlic, those peppers are bound to taste great — and we have a feeling the garlicky version next time will blow you away. Keep cooking!

1 week ago

Threw a build-your-own hot dog bar for my kid’s birthday party over the weekend and these peppers were the most popular topping by far! I made a big batch with mixed color peppers, set out ketchup, mustard, relish, onions, chili, and cheese too, and every kid (and parent!) was piling the peppers high. Zero leftovers, not even a single pepper strip left.

5 days ago

This is such a good idea! I’m doing a hot dog bar for my son’s end-of-soccer-season party next weekend, how many peppers did you use per person? I don’t want to run out!

3 days ago

Love the hot dog bar idea! As a general rule, plan for about 1/2 a bell pepper per person if you’re serving a crowd — better to have a little extra than run out, trust us!

5 days ago

I love that this recipe doesn’t have a million fancy ingredients. I already had bell peppers, olive oil, garlic, salt, and pepper in my kitchen, so I didn’t have to make a special trip to the grocery store at all. Tastes way better than the pre-made sautéed peppers in the jar at the store, too.

2 weeks ago

Random question — has anyone tried freezing these after cooking? I make a bunch of freezer meals for busy weeks and it would be so convenient to be able to pull a portion out and reheat it for a quick hot dog topping.

1 week ago

Great question! We don’t recommend freezing these, as the peppers will get pretty mushy once thawed and reheated. They do last 4-5 days in the fridge though, which works great for short-term meal prep!

3 days ago

I didn’t have regular bell peppers on hand so I used a bag of those mini sweet peppers from the grocery store, sliced thin, and they were amazing! So much sweeter than regular bell peppers, my 4 year old ate them straight off the pan before I even got the hot dogs ready.

2 days ago

Oh my gosh, mini sweet peppers are such a good call! My toddler will only eat those, I never thought to slice them up for hot dog toppings. Trying this tomorrow!

yesterday

I’ve never been a fan of sweet relish on hot dogs, so these sautéed peppers are my new go-to topping. Savory, a little garlicky, perfect texture, no weird sugary relish aftertaste. I even put them on my breakfast sausage this morning and it slapped.

1 week ago

Made these for our family dinner last night and they were so easy! I only had green bell peppers, so that’s what I used, and I sautéed them with a little sliced yellow onion like my dad used to make when I was a kid. Tasted exactly like summer cookouts from my childhood, I almost teared up a little.

5 days ago

Adding onion is such a classic move! My grandma always made sautéed peppers and onions for hot dogs too, there’s nothing that tastes quite like that nostalgia.

3 days ago

There’s nothing better than a recipe that brings back happy childhood memories — adding a little onion is such a perfect, cozy tweak to make the recipe feel like your own.

2 days ago

This recipe is so budget friendly! Bell peppers were on sale at my grocery store for $0.79 each this week, so I made a huge batch for under $3 total. Way cheaper than buying pre-made toppings, and tastes a million times better. Perfect for anyone cooking on a tight grocery budget.



