
perfect loaf waffles
intro
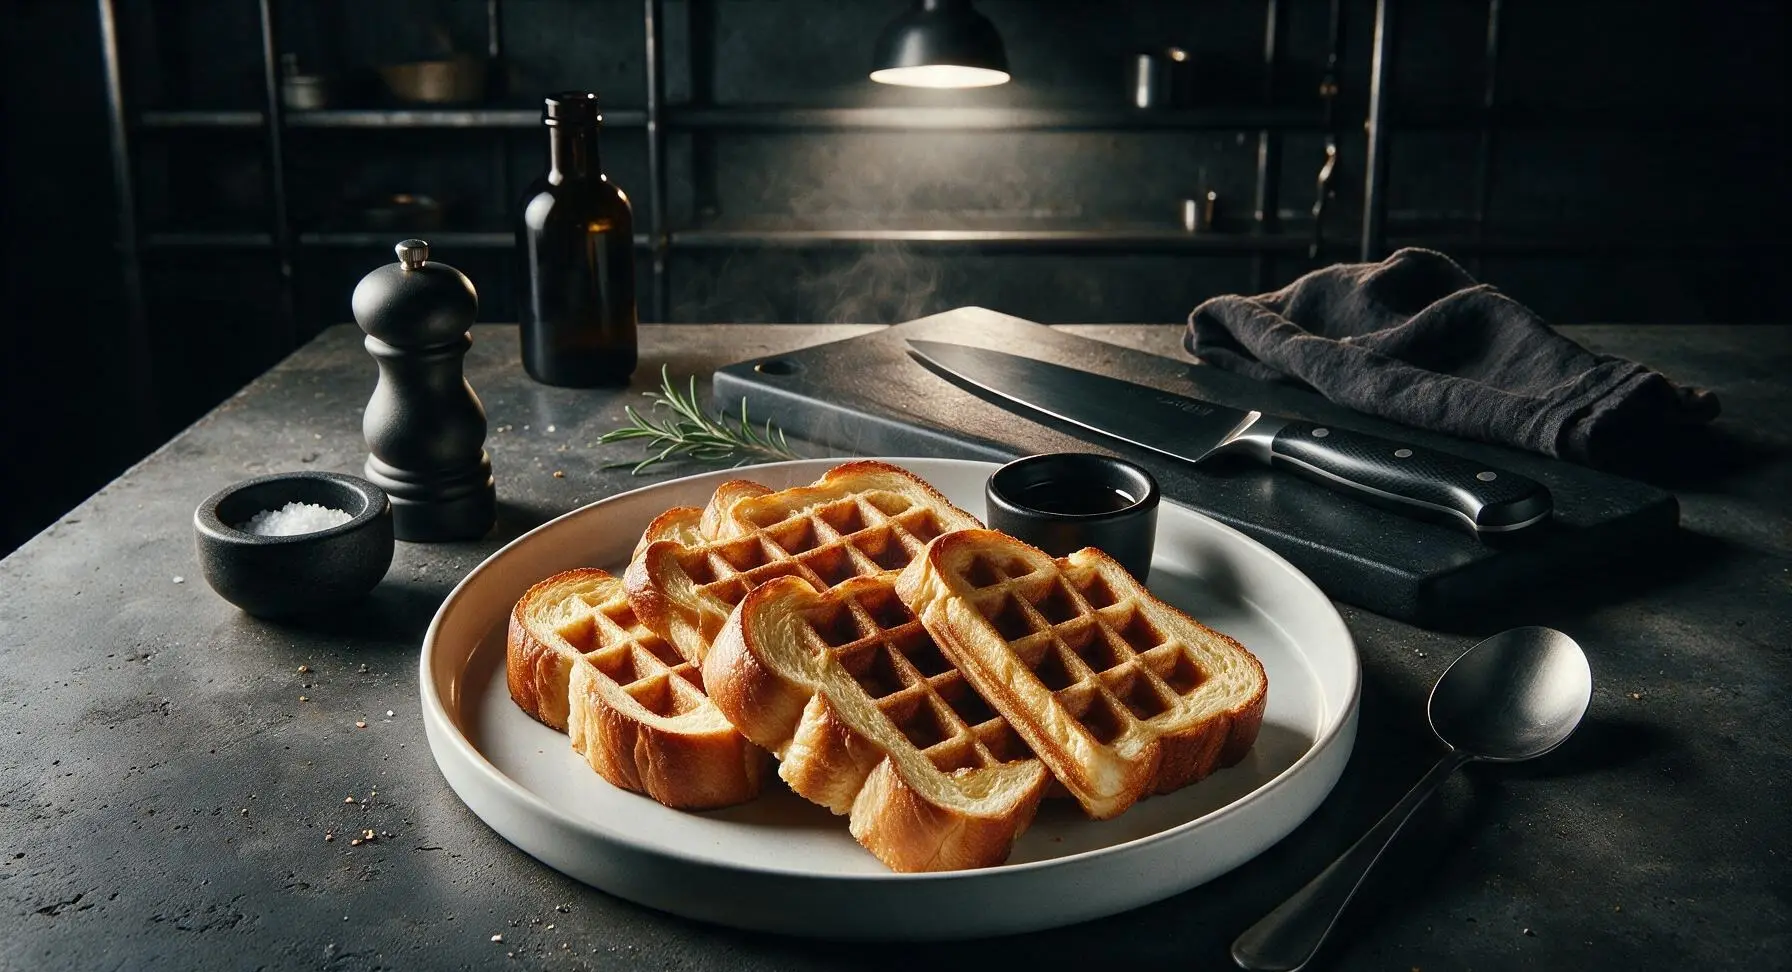
Crisp, golden waffles made from thick slices of soft homemade enriched loaf, with fluffy tender insides and deep, syrup-catching grid marks. Make the loaf ahead for 2-minute fresh waffles all week.
Ingredients
Steps
Mix Loaf Dough Base
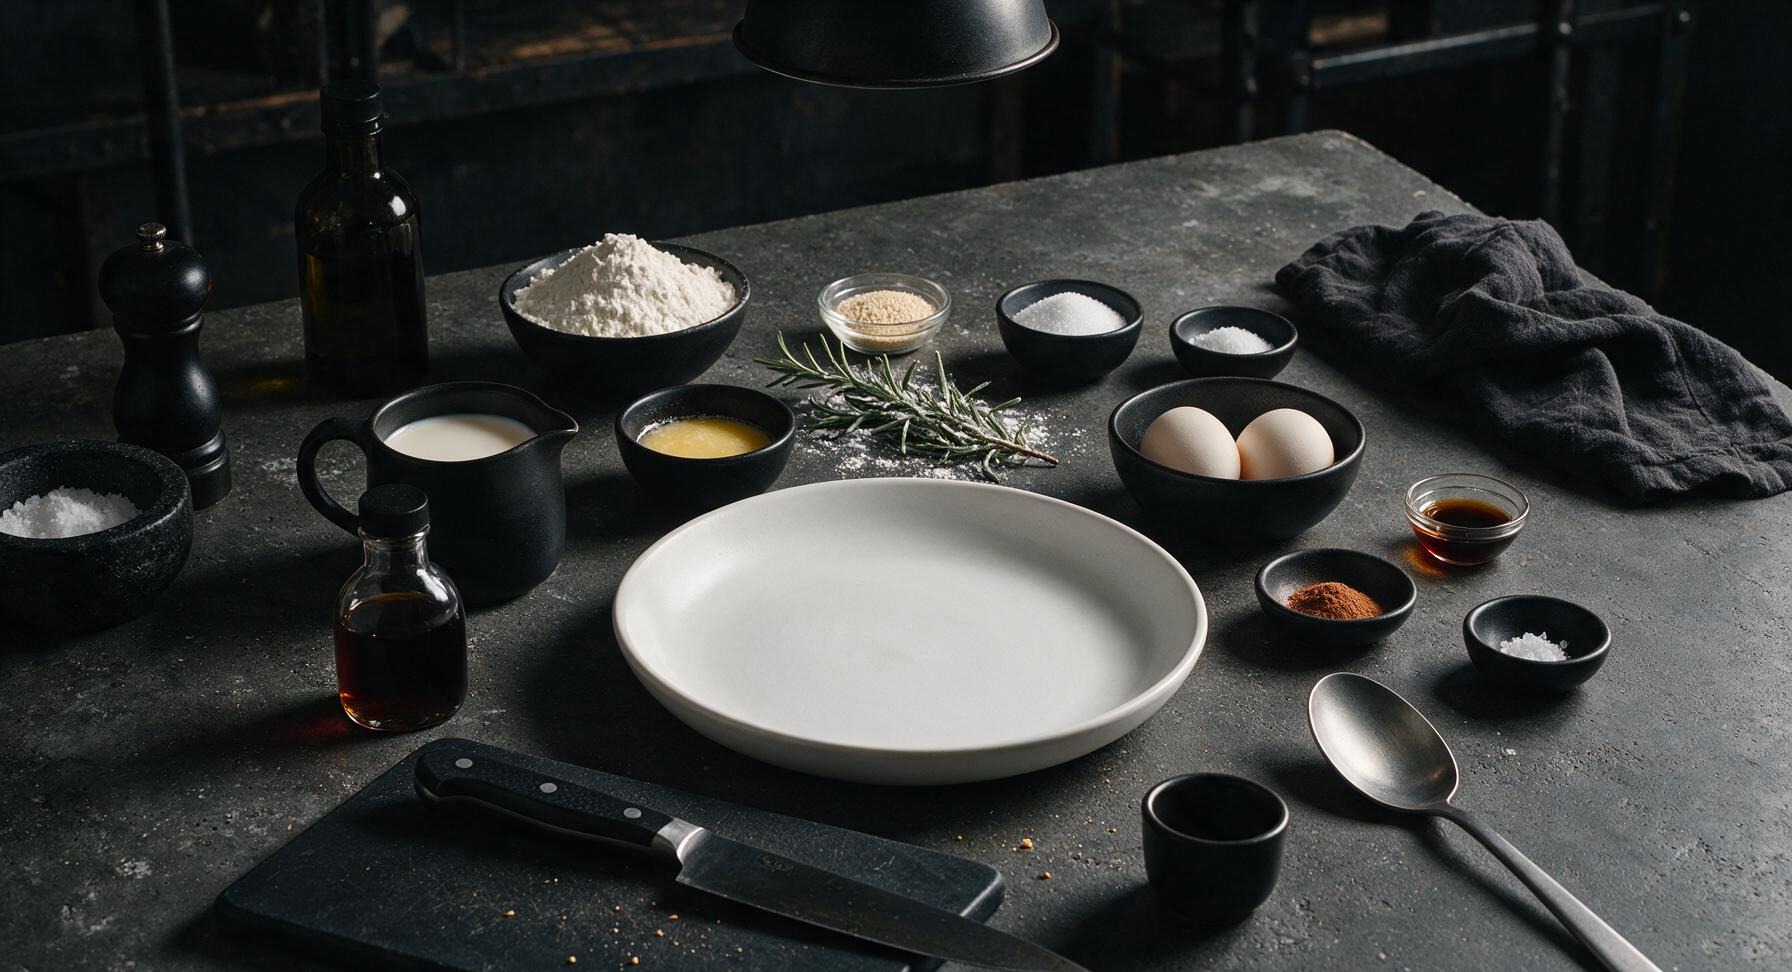
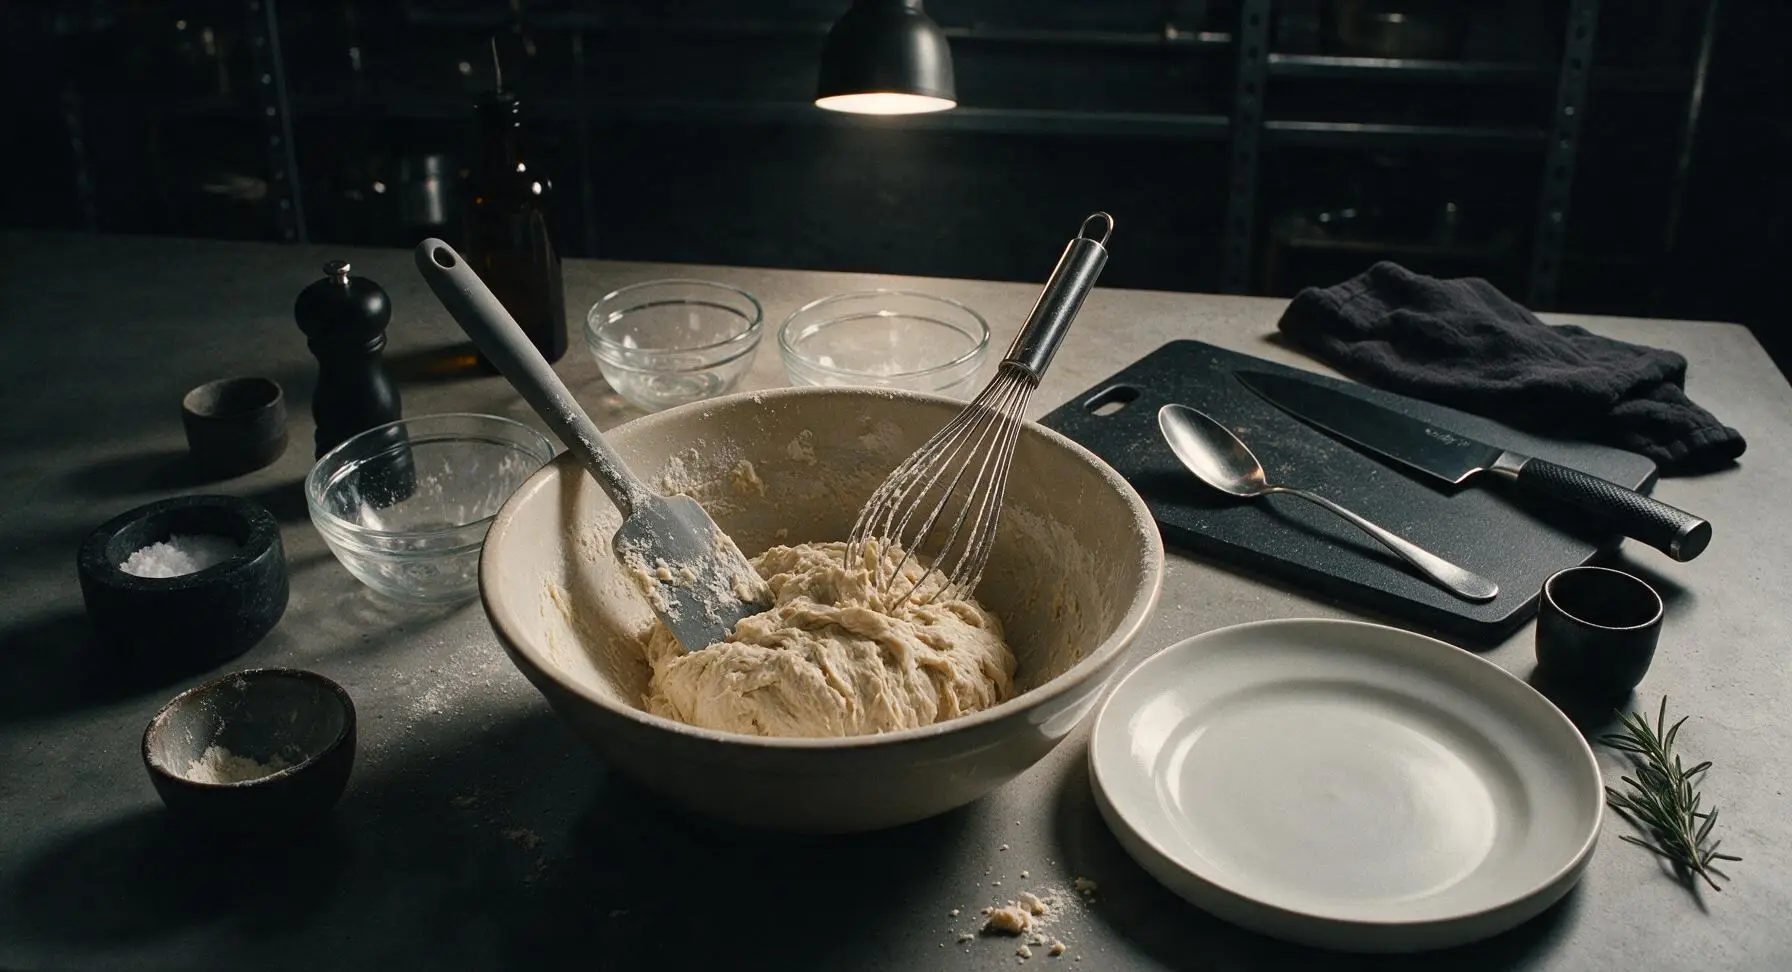
In the large light beige ceramic mixing bowl, combine 3 cups all-purpose flour, 2 1/4 tsp instant yeast, 2 tbsp granulated sugar, and 1 tsp fine sea salt. Use the stainless steel wire whisk to stir dry ingredients until fully combined, about 30 seconds. Make a well in the center of the dry mix, then pour in 1 1/4 cups warmed (110°F) whole milk, 3 tbsp melted cooled butter, 2 room-temperature large eggs, and 1 tsp vanilla extract. Use the flexible gray silicone spatula to stir until a shaggy, slightly sticky dough forms, with no dry flour pockets remaining at the bottom of the bowl.
Let Dough Rise
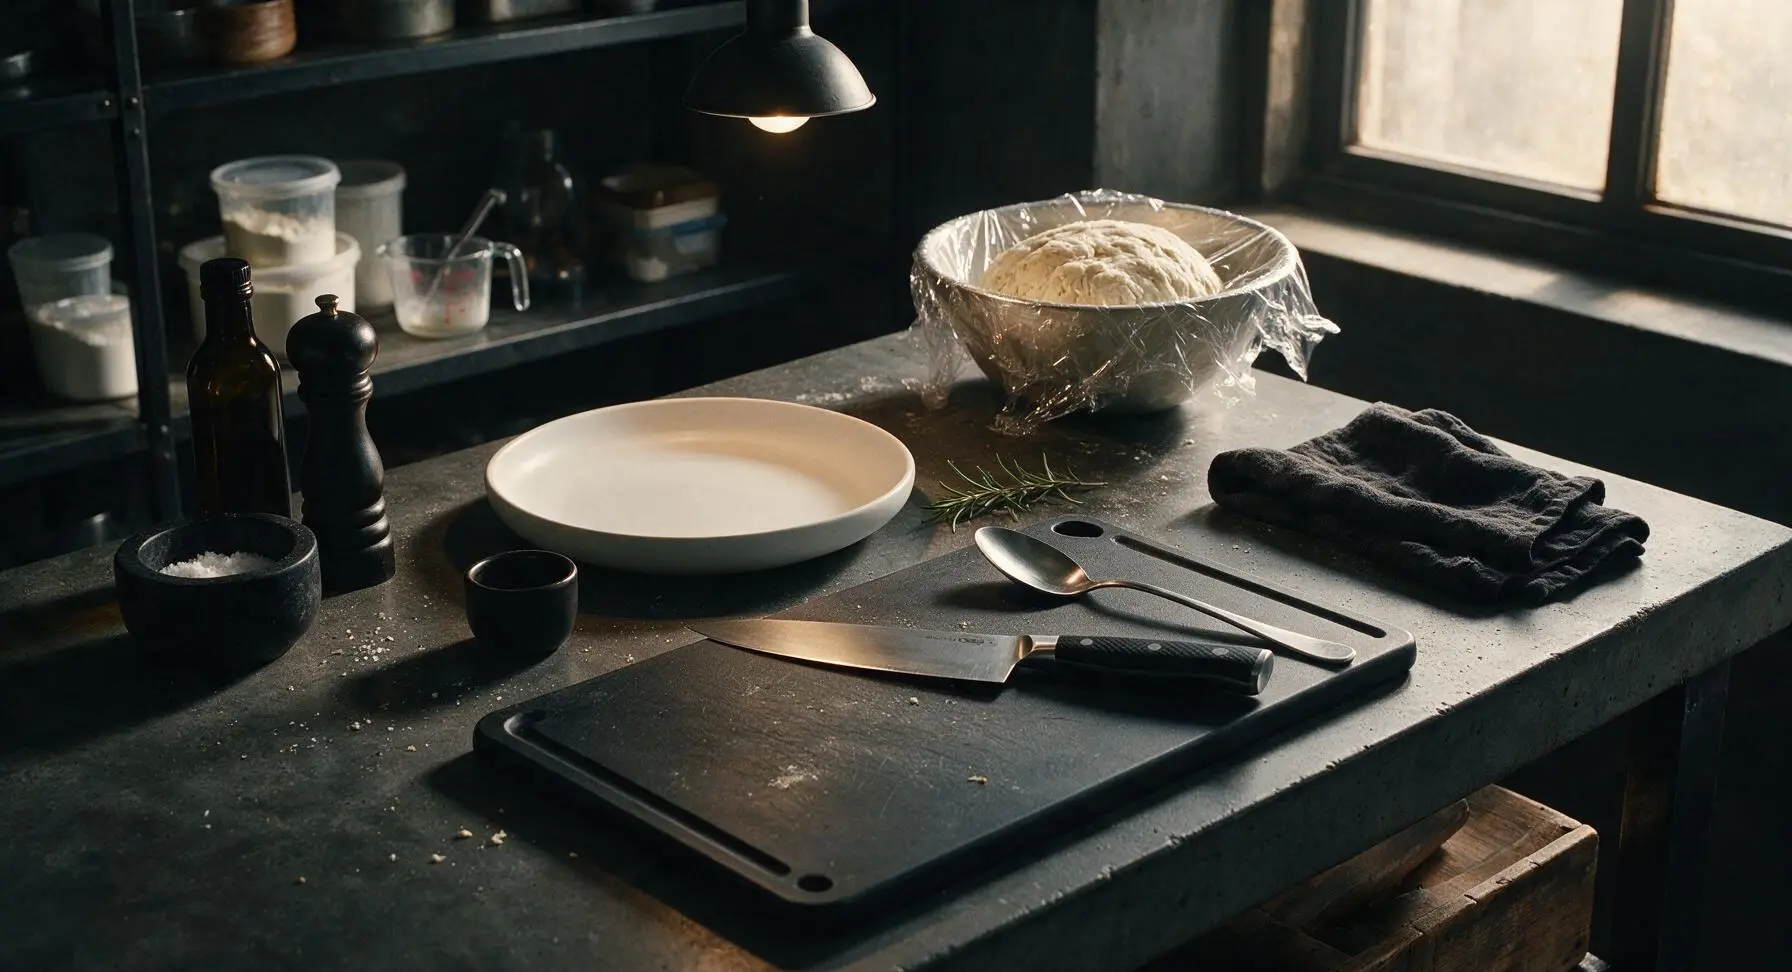
Cover the mixing bowl tightly with a sheet of clear plastic wrap, then set it in the warm sunlit spot near the right rear window to rise for 45 minutes, until the dough doubles in volume, appears light and billowy, and is dotted with visible air bubbles across its surface. Do not punch down the risen dough.
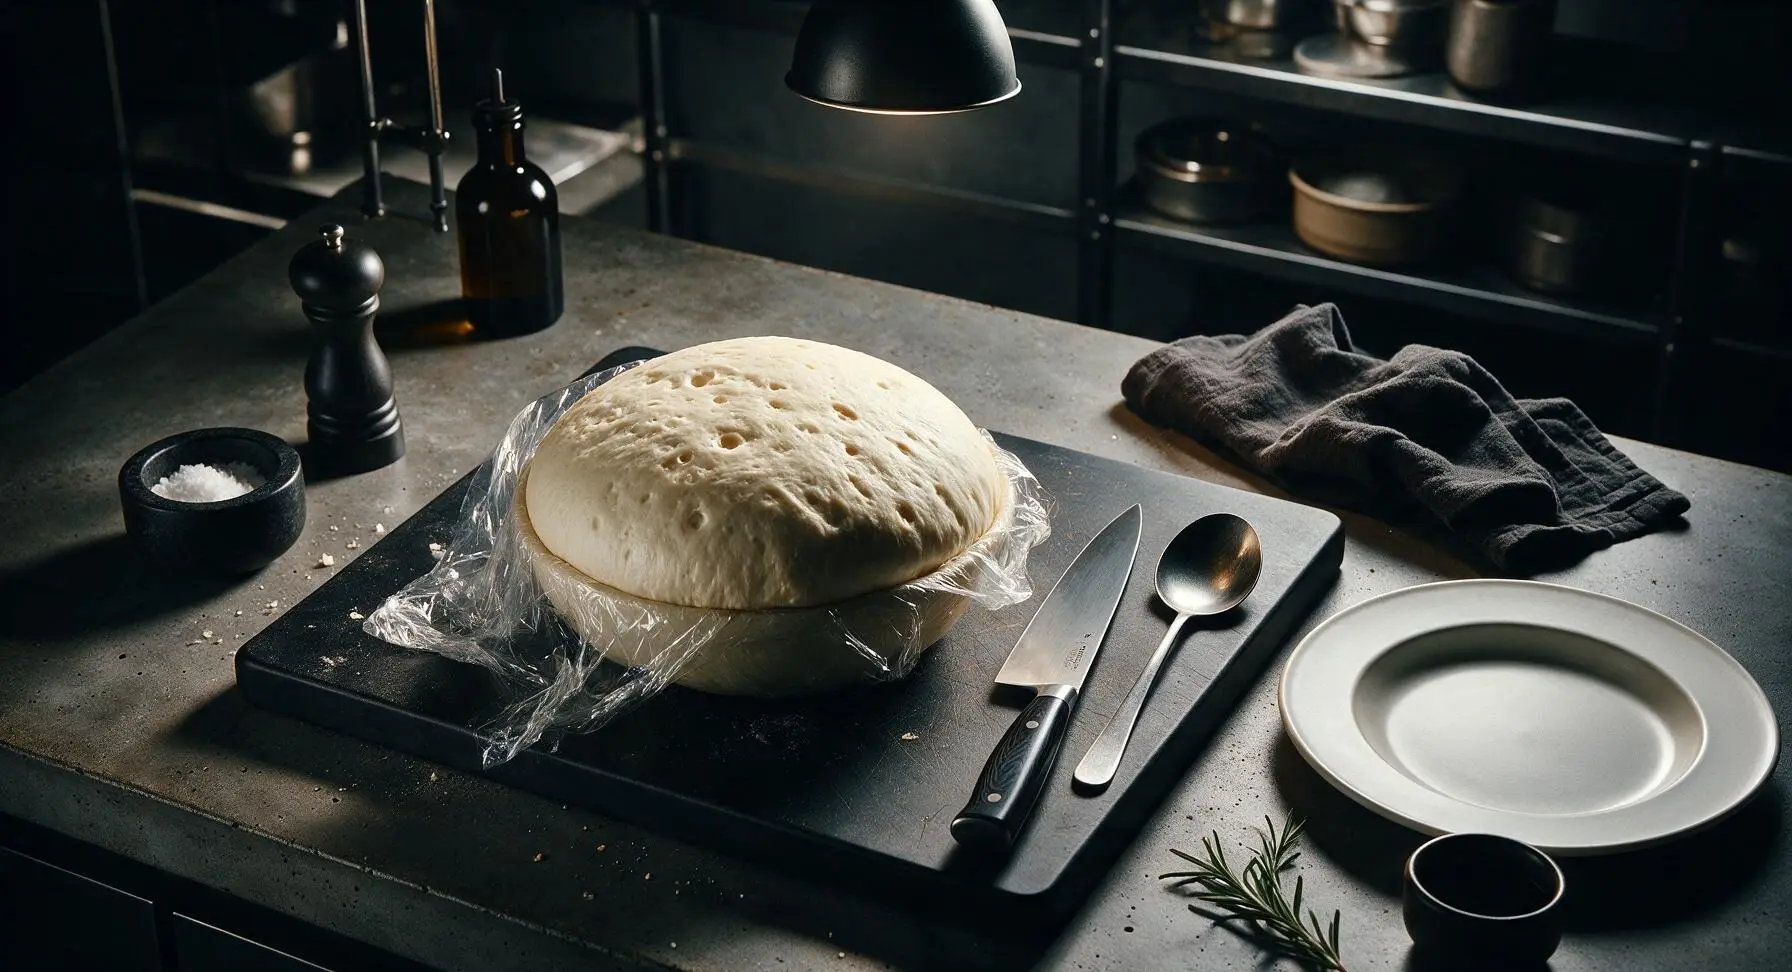
Shape Dough in Loaf Pan
Lightly coat the interior of the 9x5 inch matte light gray loaf pan with a thin layer of softened butter. Scrape the risen dough out onto the lightly floured light maple cutting board, then gently shape it into a tight 8-inch log, tucking the rough edges under to create a smooth, even top. Place the shaped log seam-side down into the prepared pan, pressing gently so the dough spreads evenly across the pan bottom.
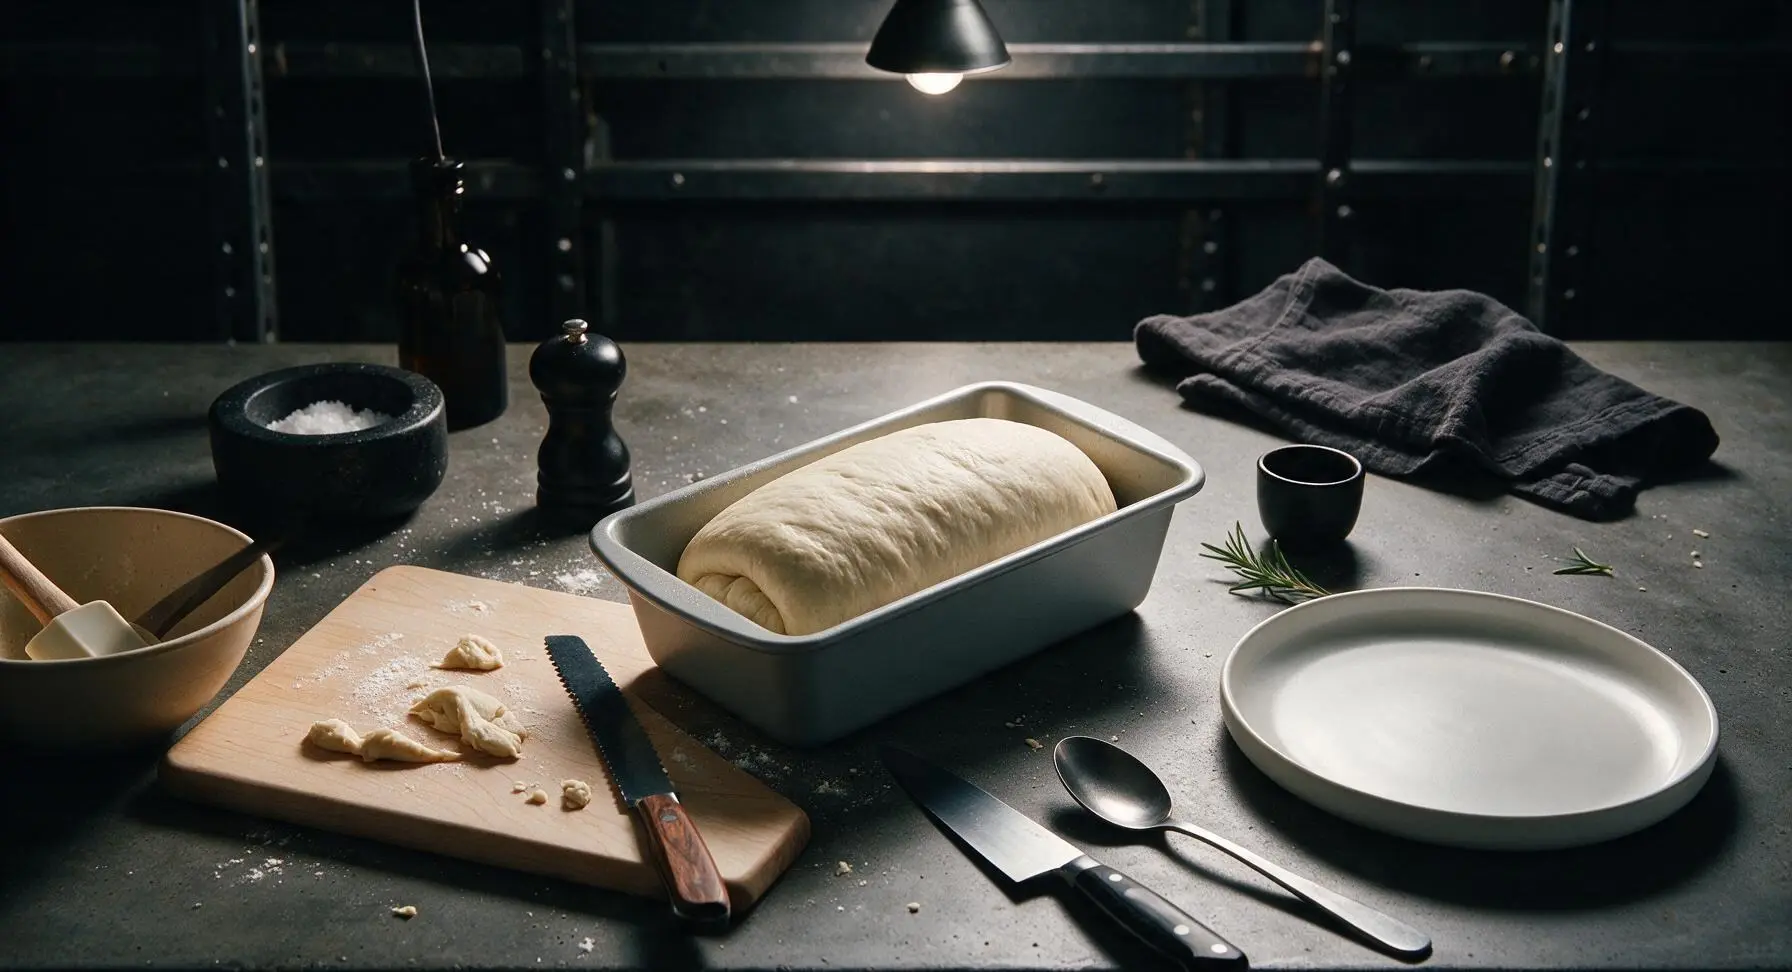
Bake Until Golden
Let the shaped dough rest in the pan for 15 minutes, until it puffs 1/2 inch above the pan rim. Place the pan in a preheated 350°F (175°C) oven, and bake for 35 minutes, until the loaf top is deep even golden brown, and the internal temperature reads 190°F (88°C) at the center. Remove the pan from the oven, and transfer the pan to the maple cutting board to cool completely for 1 full hour before slicing—skipping this cool-down step will cause squished, uneven slices.
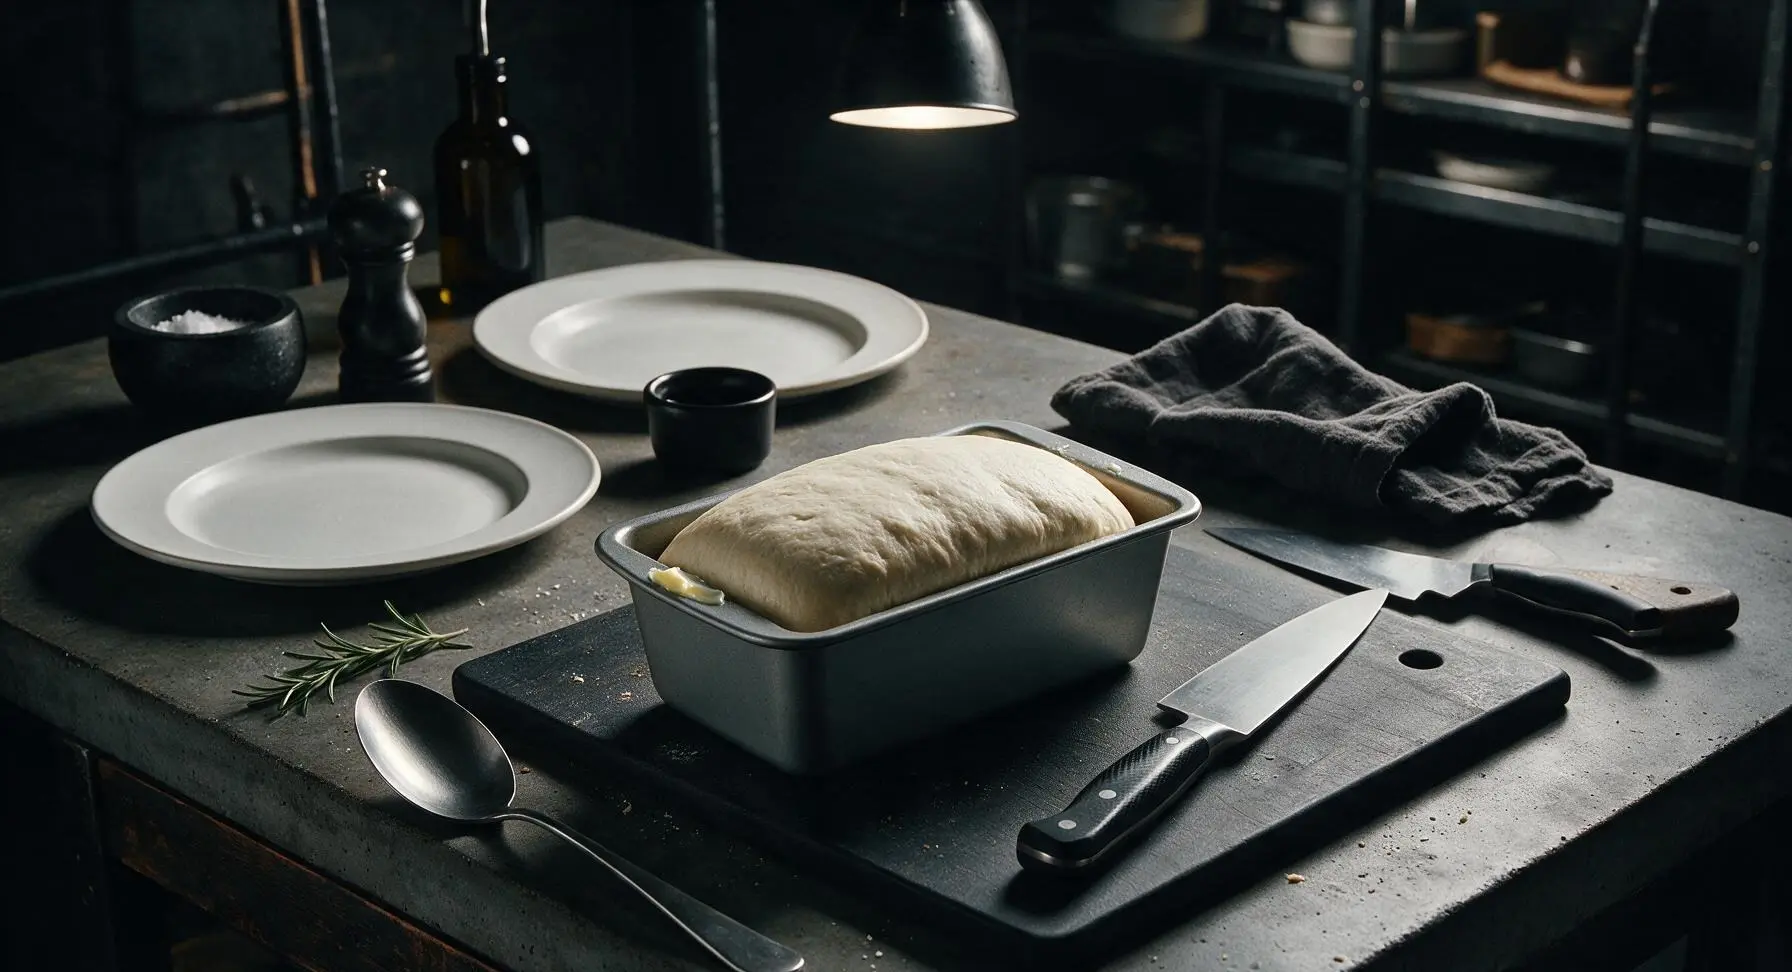
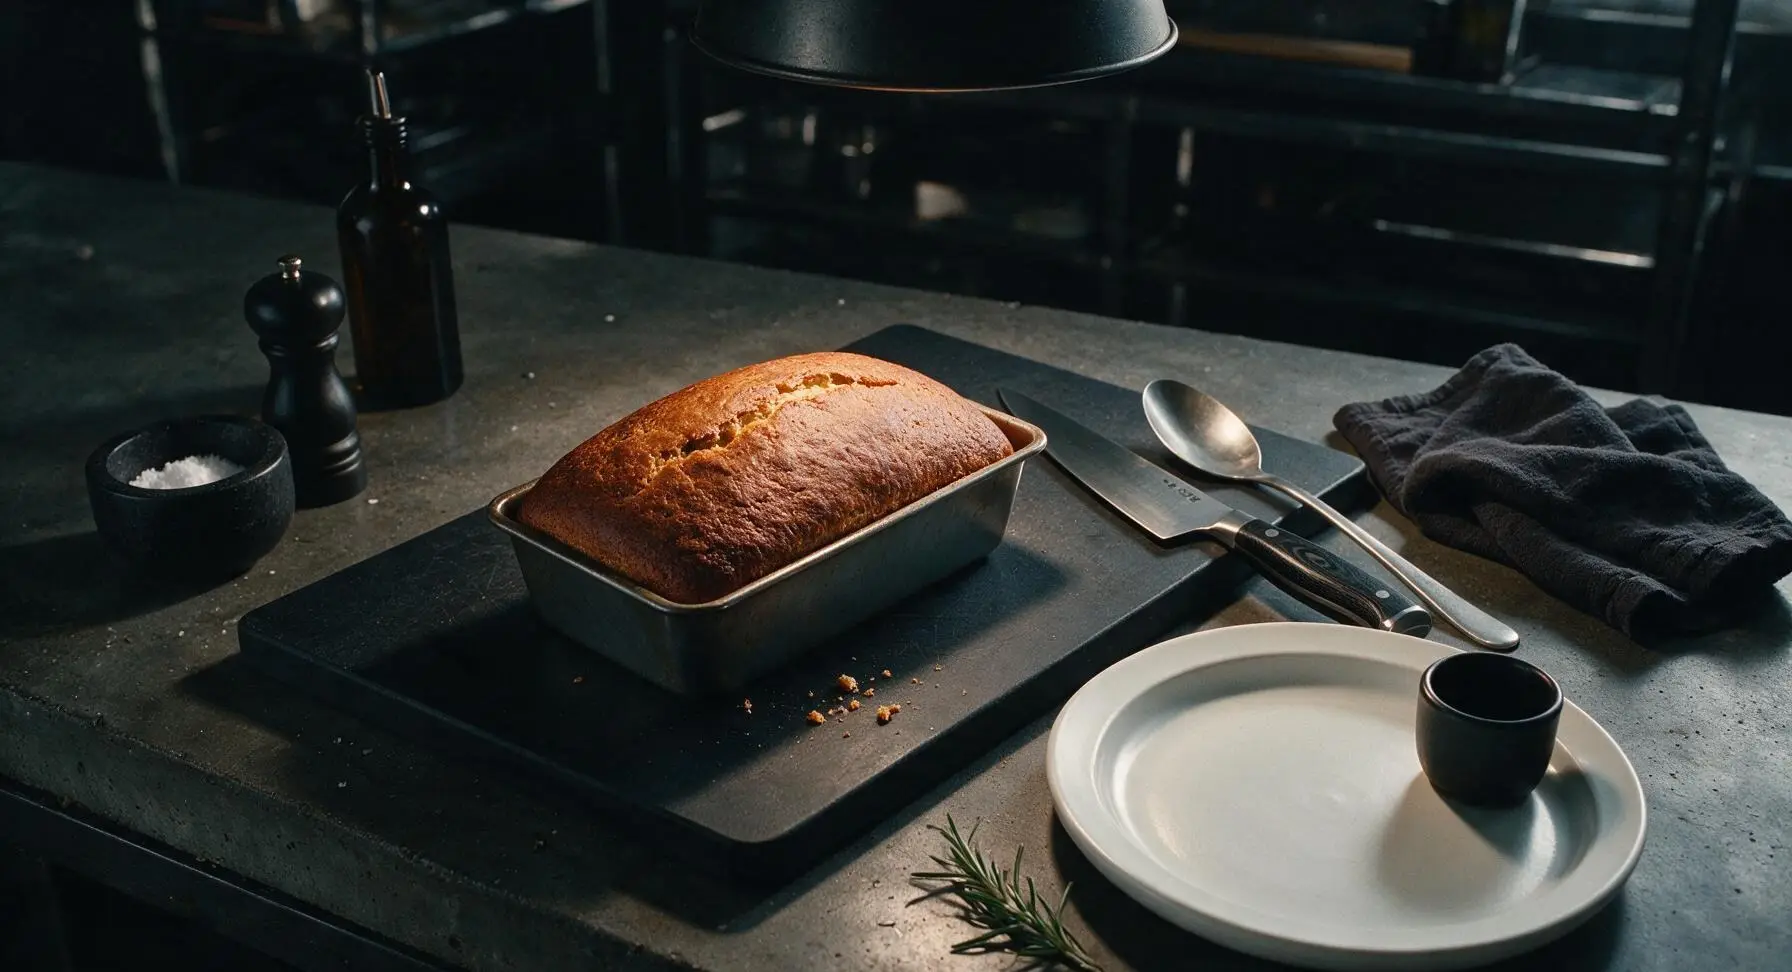
Slice Loaf Thickly
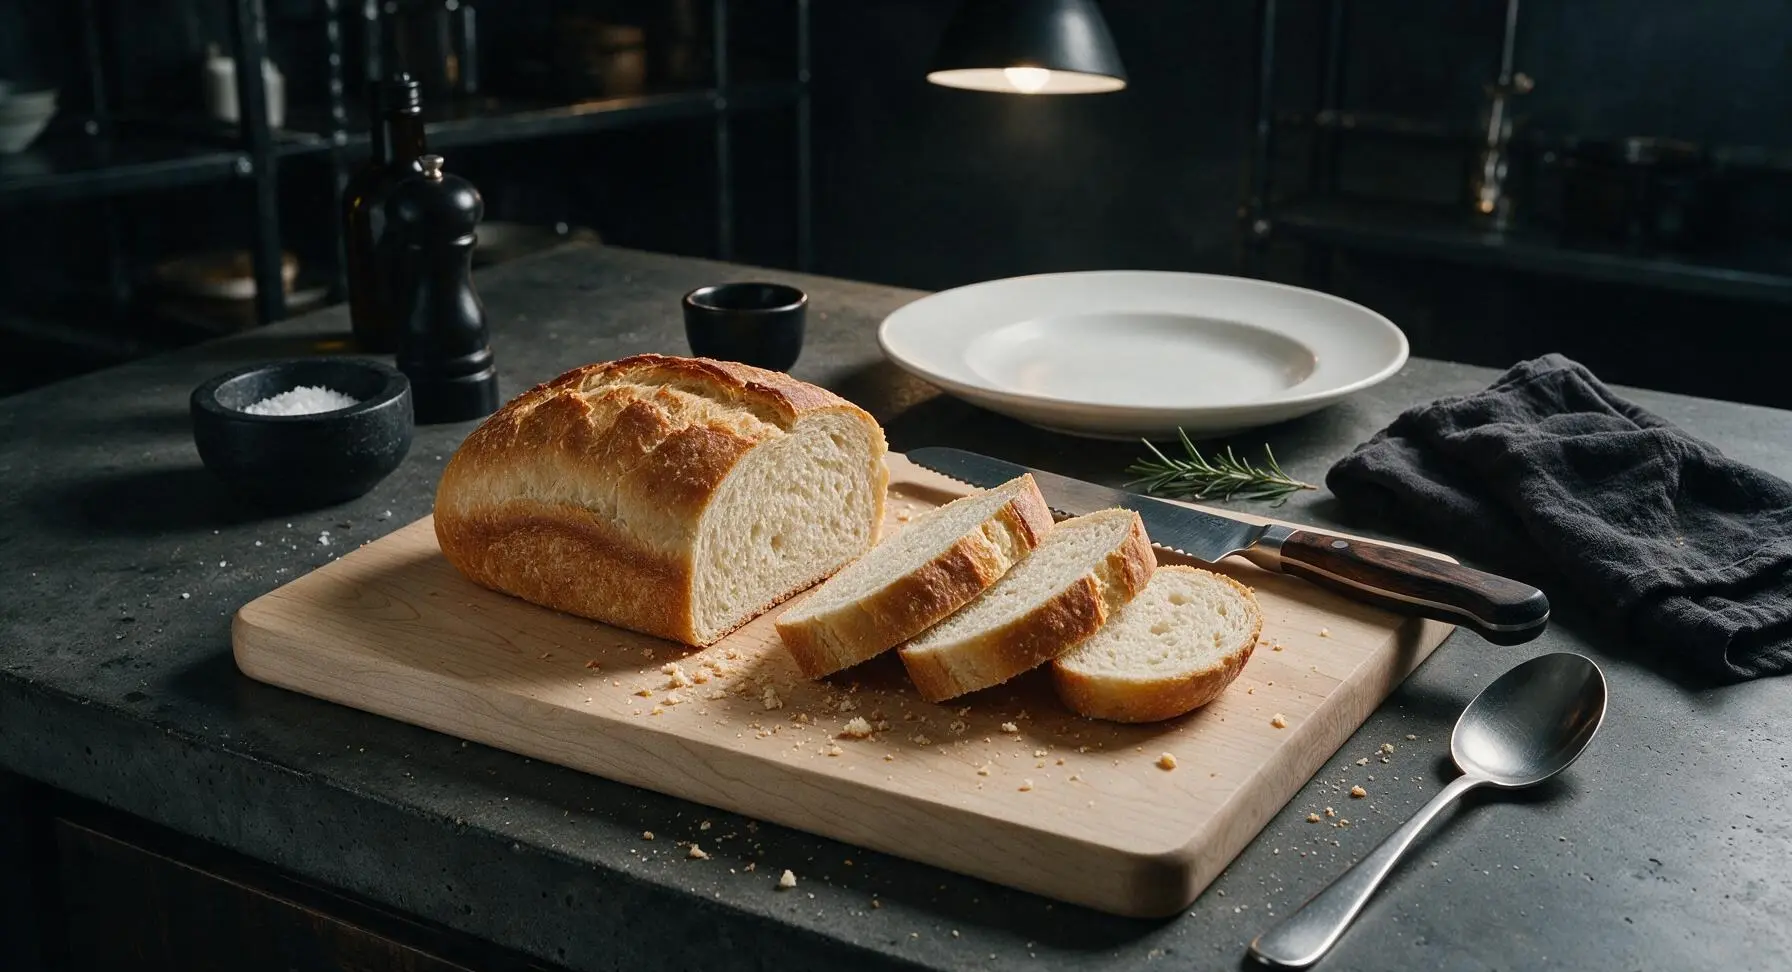
Once the loaf is fully cooled to room temperature, turn it out of the pan onto the light maple cutting board. Use the serrated walnut-handle bread knife to cut the loaf into even 1-inch thick slices, using smooth, sawing motions to avoid squishing the soft crumb. You will yield 8 total slices, enough for 4 servings.
Preheat Waffle Iron
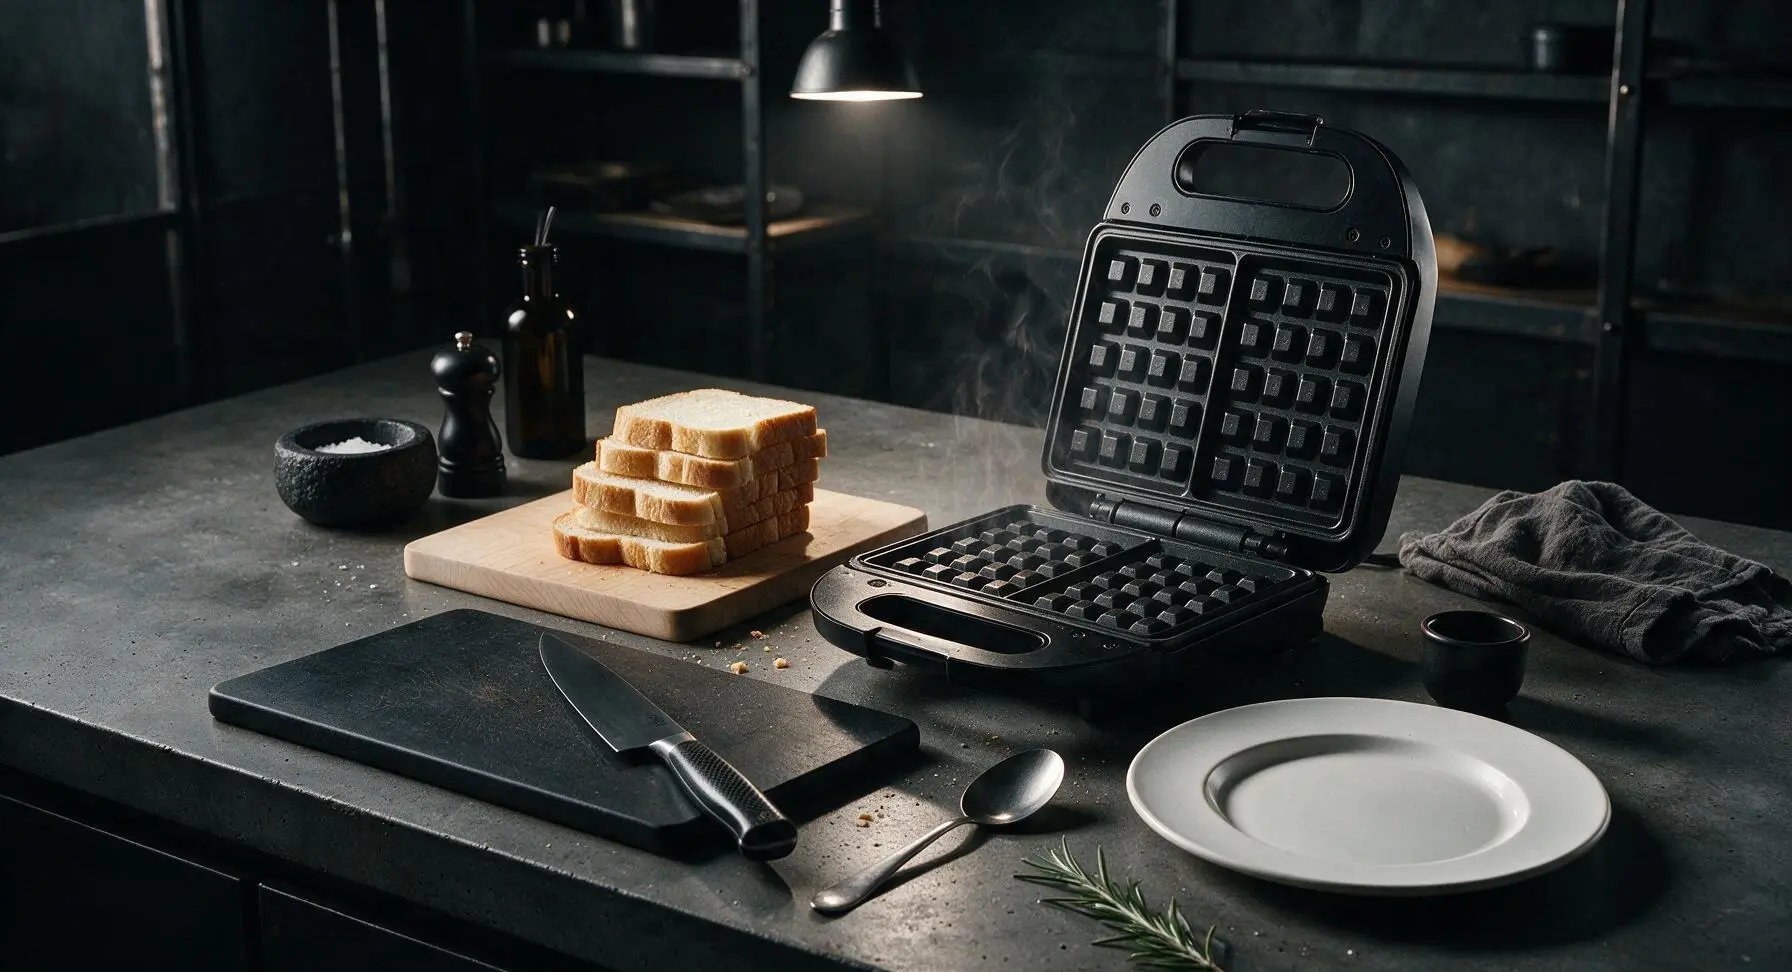
Position the matte black waffle iron in its fixed right-center spot, plug it in, and set it to medium-high heat (375°F/190°C). Preheat for 5 full minutes, until a drop of cold water sizzles and evaporates within 2 seconds of hitting the hot plate surface. There is no need to grease the plates unless your waffle iron has a history of sticking.
Cook Slices to Crisp
Place one 1-inch thick loaf slice directly in the center of the preheated waffle iron. Close the lid without pressing down hard, and cook for 1 1/2 to 2 minutes, until the slice is deep golden brown, with sharp, defined waffle grid marks pressed into both sides, and the edges are crisp and lightly toasted. Transfer cooked waffles to a wire rack to stay crisp while you cook the remaining slices.
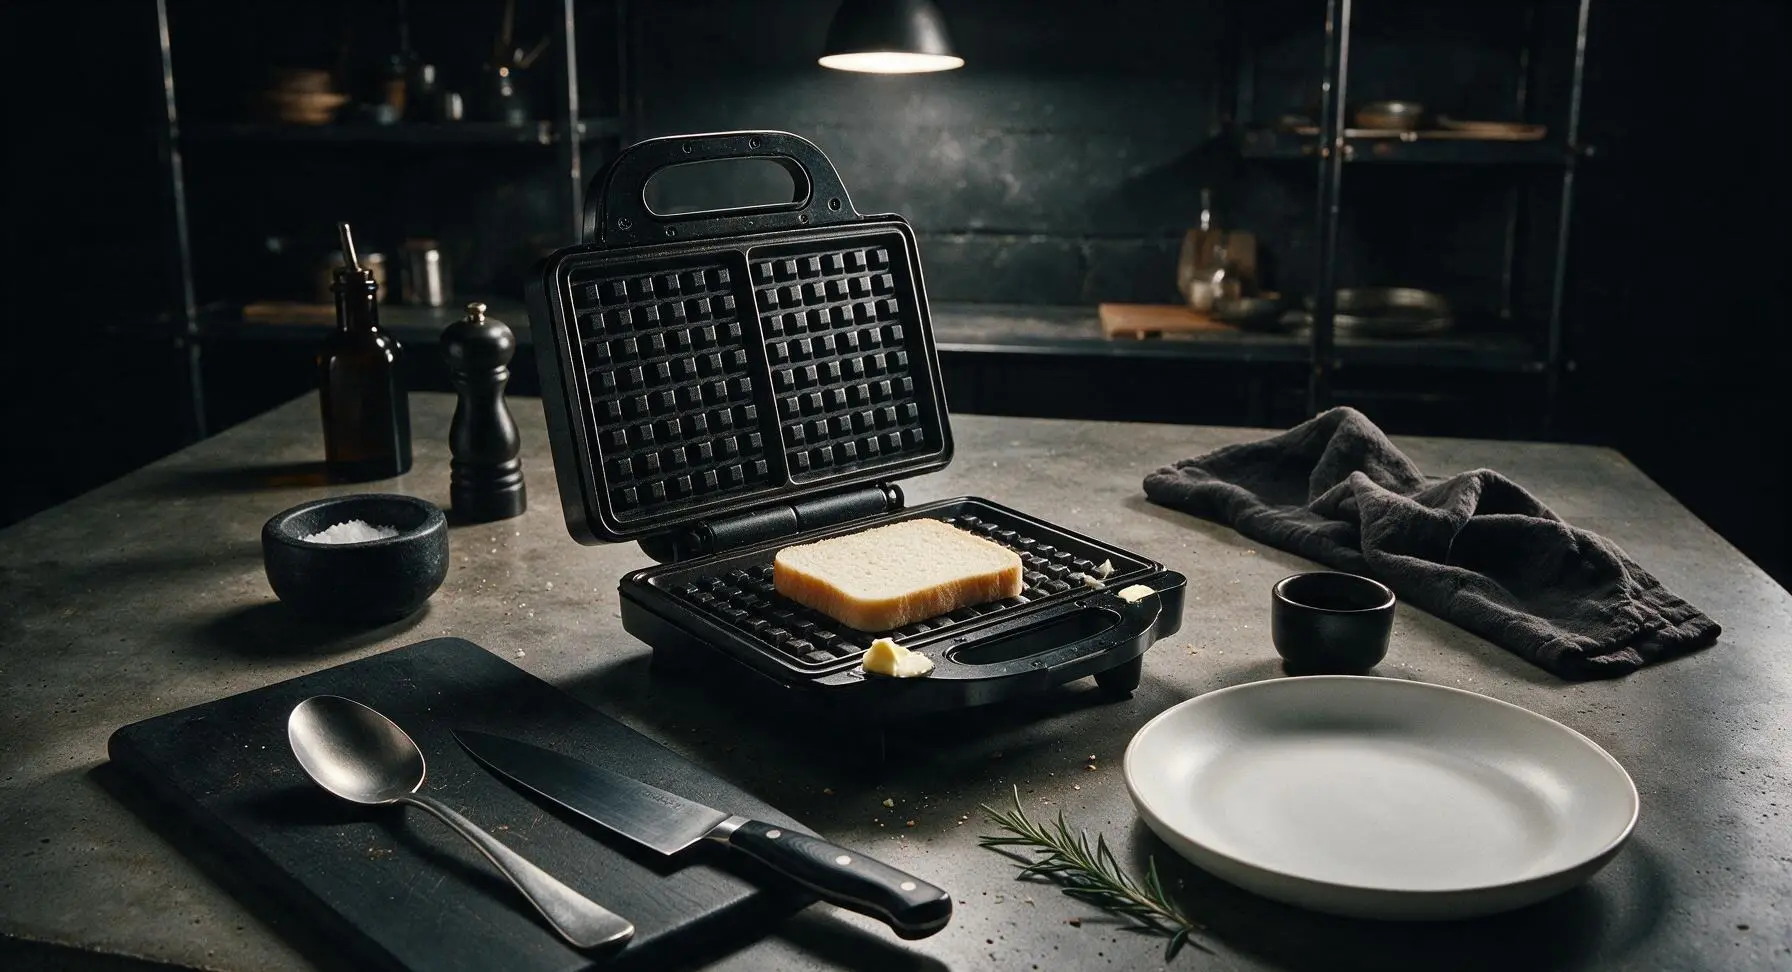
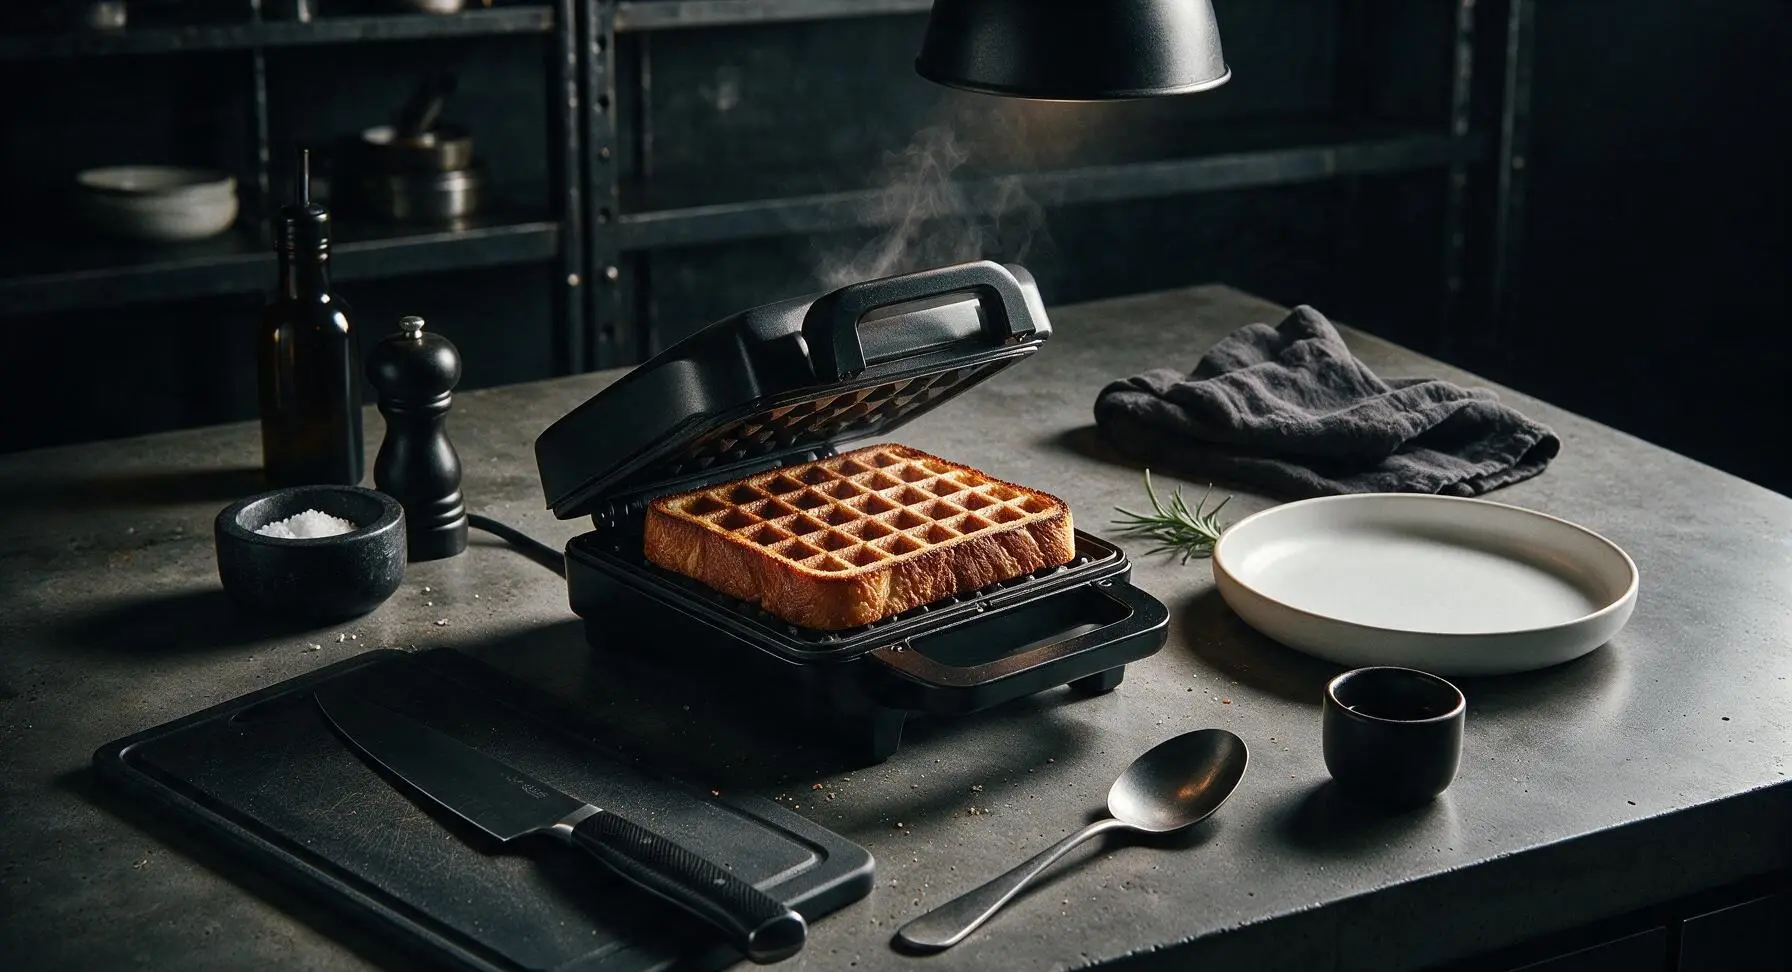
Plate and Serve Hot
Stack two crisp cooked waffle slices per serving on the 27cm matte warm white ceramic dinner plate. Top with a 1-tbsp pat of salted butter, a 2-tbsp drizzle of pure maple syrup, a tiny pinch of flaky sea salt, and a light dusting of ground cinnamon. Serve immediately while the waffles are hot and crisp, with extra syrup on the side in the matching 12cm ceramic ramekin.

Tips
2.Make the loaf up to 3 days ahead for ultra-fast meals: Store the fully cooled, unsliced loaf tightly wrapped in plastic wrap at room temperature, and slice only as many pieces as you need right before waffling. This cuts active cook time to just 2 minutes per serving, perfect for busy weeknights.
3.Never press down hard on the waffle iron lid while cooking: The thick bread slices compress naturally as they heat, and pressing firmly squeezes out the soft, moist interior crumb, leading to dry, tough waffles instead of the ideal crisp-outside, fluffy-inside texture.






OMG these are SO good! I made them for Sunday brunch last weekend and my whole family went back for seconds. The texture is perfectly crispy on the outside and fluffy inside, way better than the boxed mix I usually grab. 45 minutes total was totally doable even with my toddler hanging on my leg the whole time, lol.
Total game changer for weekday meal prep! I make a big batch on Sunday, pop them in the toaster during the week, and they taste just as fresh as the day I made them. Super easy recipe too, I’m not much of a baker and I didn’t mess these up at all. Only thing I added was a dash of cinnamon to the batter, chef’s kiss.
Wait, hold up - can I use regular all-purpose flour if I don’t have bread flour on hand? I’ve been craving waffles all week and don’t want to run to the grocery store if I don’t have to! The recipe looks so easy otherwise, 10/10 for no fancy equipment needed from what I can see.
Made these for my son’s birthday sleepover breakfast and all the kids were raving — my kids loved it so much they’ve already asked for a repeat this weekend. Even the pickiest eater in the group asked for the recipe to take home to his mom. Topped them with whipped cream, sprinkles, and fresh strawberries, zero leftovers. 10/10 will make again.
Took these to my neighborhood potluck last weekend and they were the first dish gone! I cut them into sticks so people could dip them in syrup or Nutella, it was such a hit. Who knew waffles could be a potluck star? I was worried 45 minutes cook time would be too long but it was totally worth it.
First time making waffles from scratch instead of using a mix, and I think I overmixed the batter? Mine came out a little denser than the photos look, but they still tasted amazing. Any tips for next time to get that super fluffy lift?
Made a vegan version of these for my daughter who’s dairy free, swapped the milk for oat milk and used flax eggs, and they came out INCREDIBLE. I was worried the texture would be off but they were just as crispy and fluffy as the regular version I made for the rest of the family. Easy recipe to adapt, love it!
Dude these slap. I made them in my tiny dorm waffle maker for my roommates after our late study session last night and we all ate way too many. Super easy to follow, didn’t need any fancy tools, even with my terrible college kitchen setup. 10/10 would make again instead of ordering takeout breakfast.
Can I mix the batter the night before and leave it in the fridge to make waffles first thing in the morning? I host a monthly moms’ brunch and want to cut down on morning prep time so I can actually hang out with my friends instead of cooking the whole time!
Used my new mini waffle iron to make these for tailgating last weekend, put a little piece of fried chicken on top of each tiny waffle and drizzled with hot honey. People were losing their minds over them, best tailgate snack I’ve brought all season.
Who says waffles are only for breakfast? I made these for family dinner last night with fried chicken and coleslaw, it was a total hit with my husband and teenagers. The recipe is so easy I let my 14 year old help mix the batter, he felt like a total pro chef. No complaints whatsoever, these are going into our regular dinner rotation!