
perfect waffles
intro
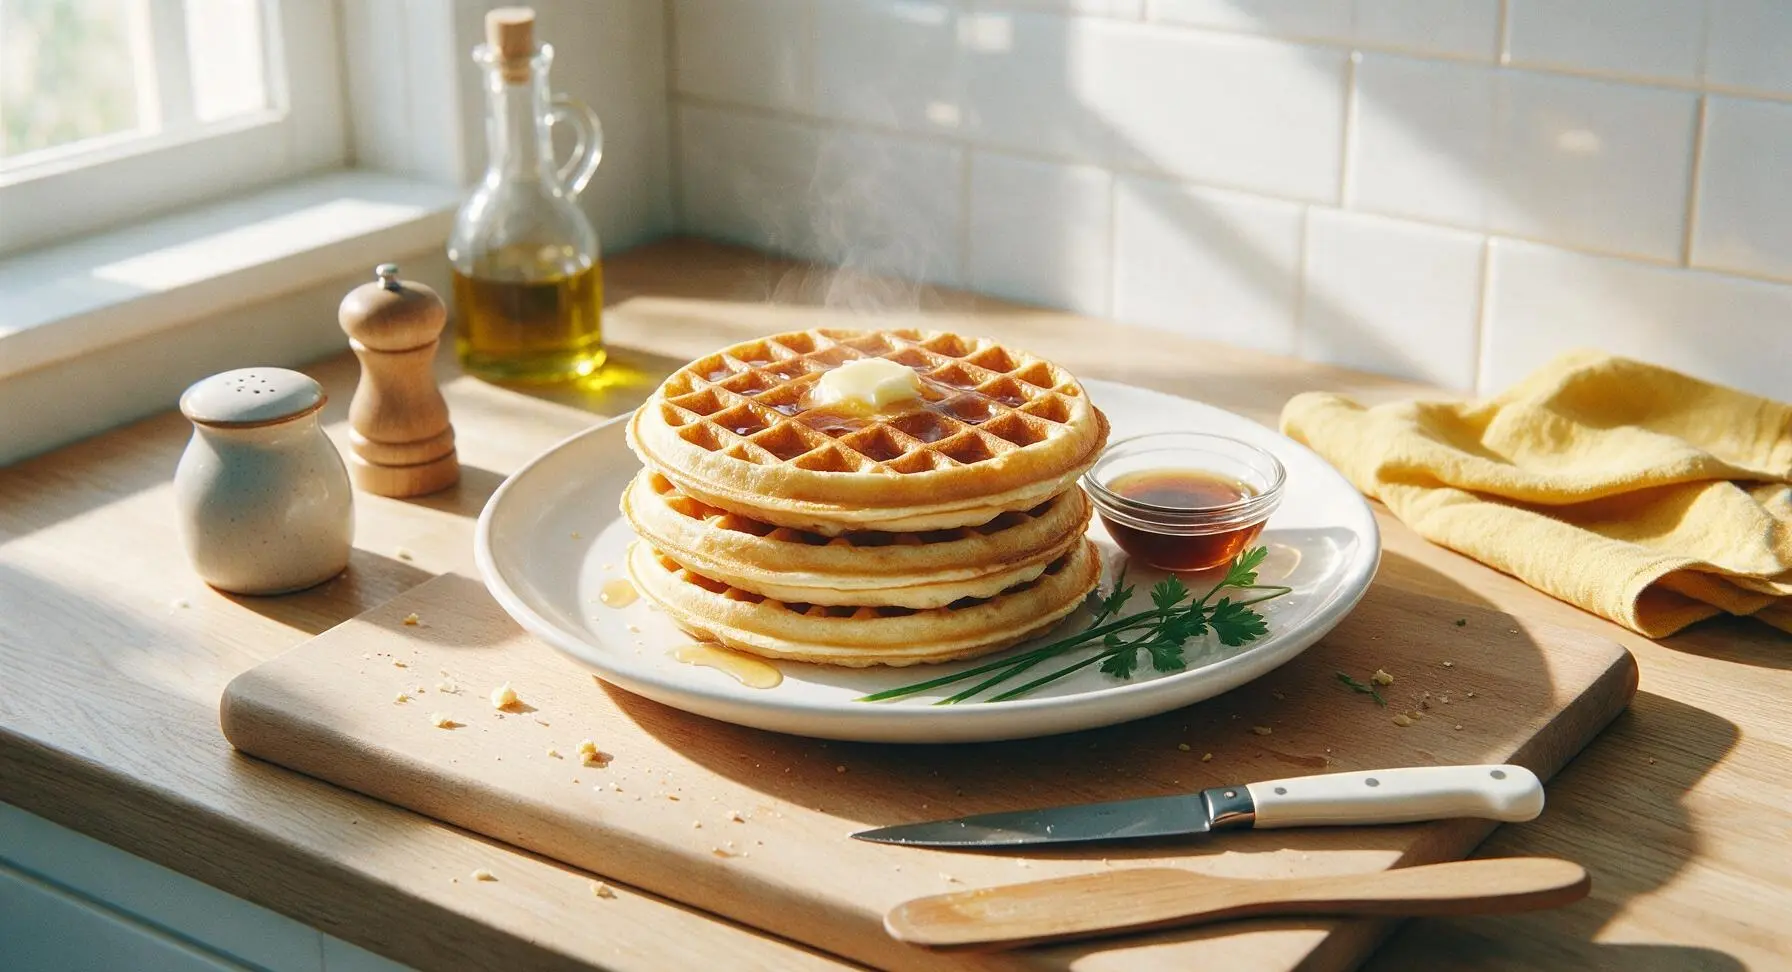
Crisp golden edges, light fluffy centers, and deep pockets perfect for holding melted butter and maple syrup—this no-fuss recipe delivers diner-perfect waffles every time.
Ingredients
Steps
Preheat Waffle Iron
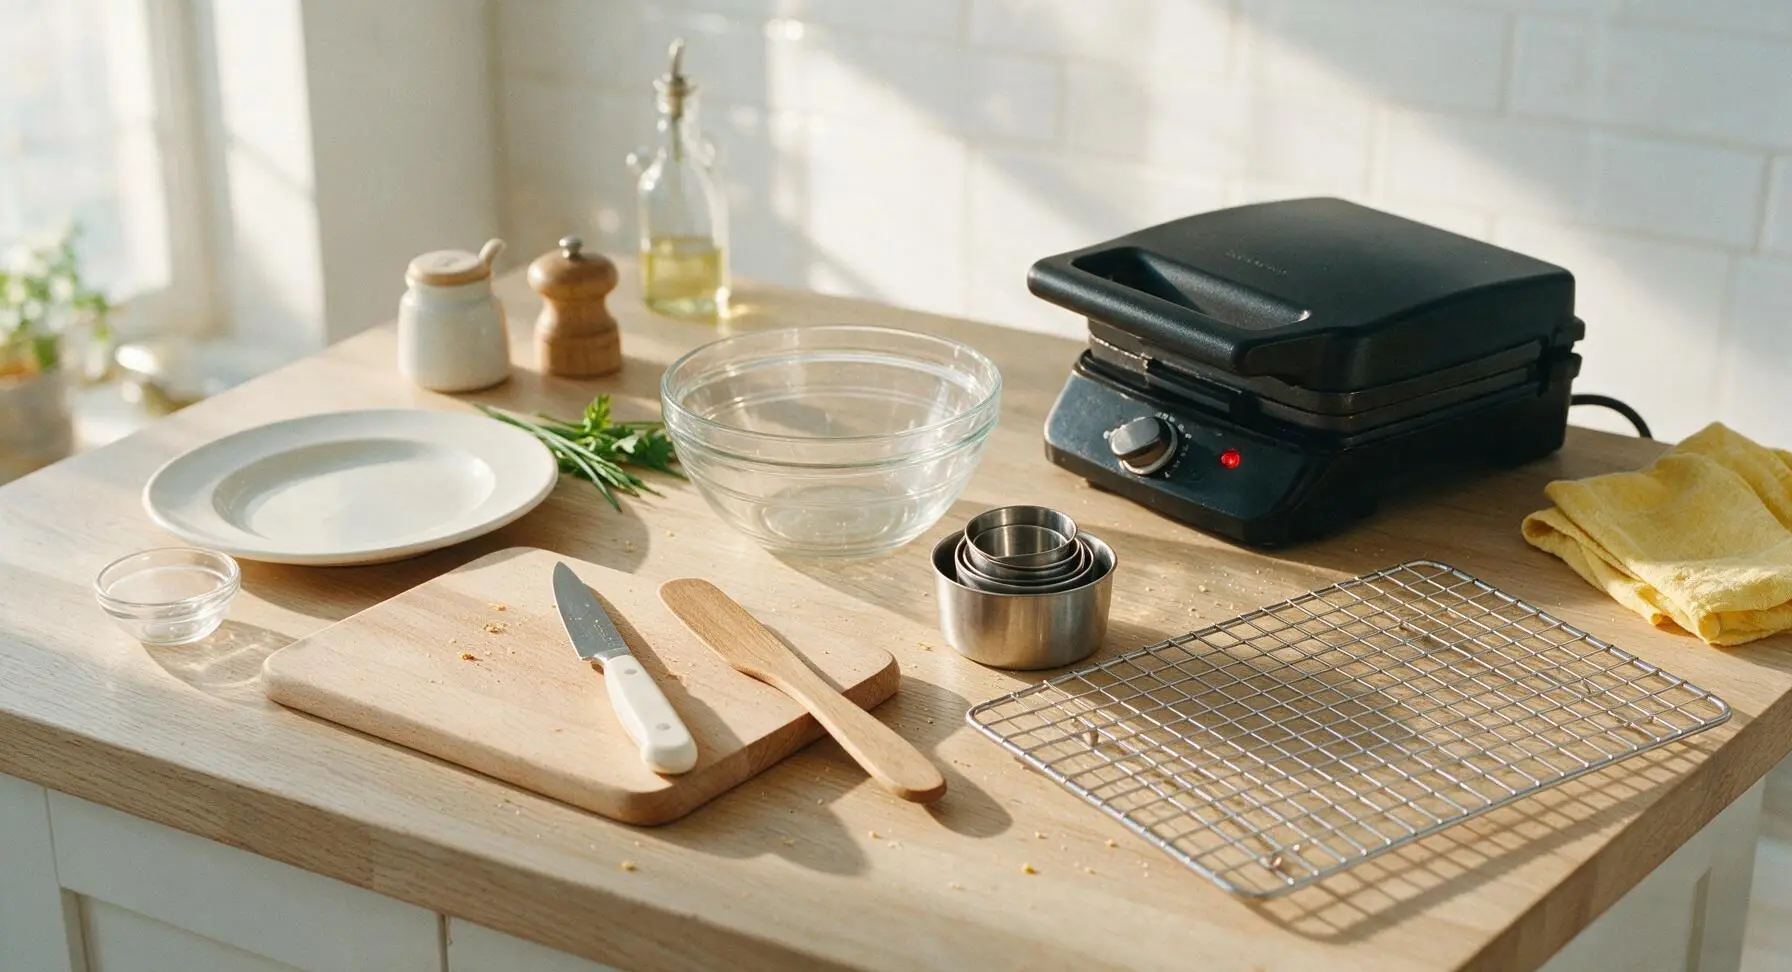
Place the 7-inch non-stick electric waffle iron on the right rear section of the counter, plug it in, and set it to medium-high heat (375°F / 190°C). Allow it to preheat for 5 full minutes, until the built-in ready indicator light illuminates. Preheating fully prevents batter from sticking and creates crisp, golden waffle exteriors. Position the matte chrome wire cooling rack on the counter directly next to the waffle iron for finished waffles.
Combine Dry Ingredients
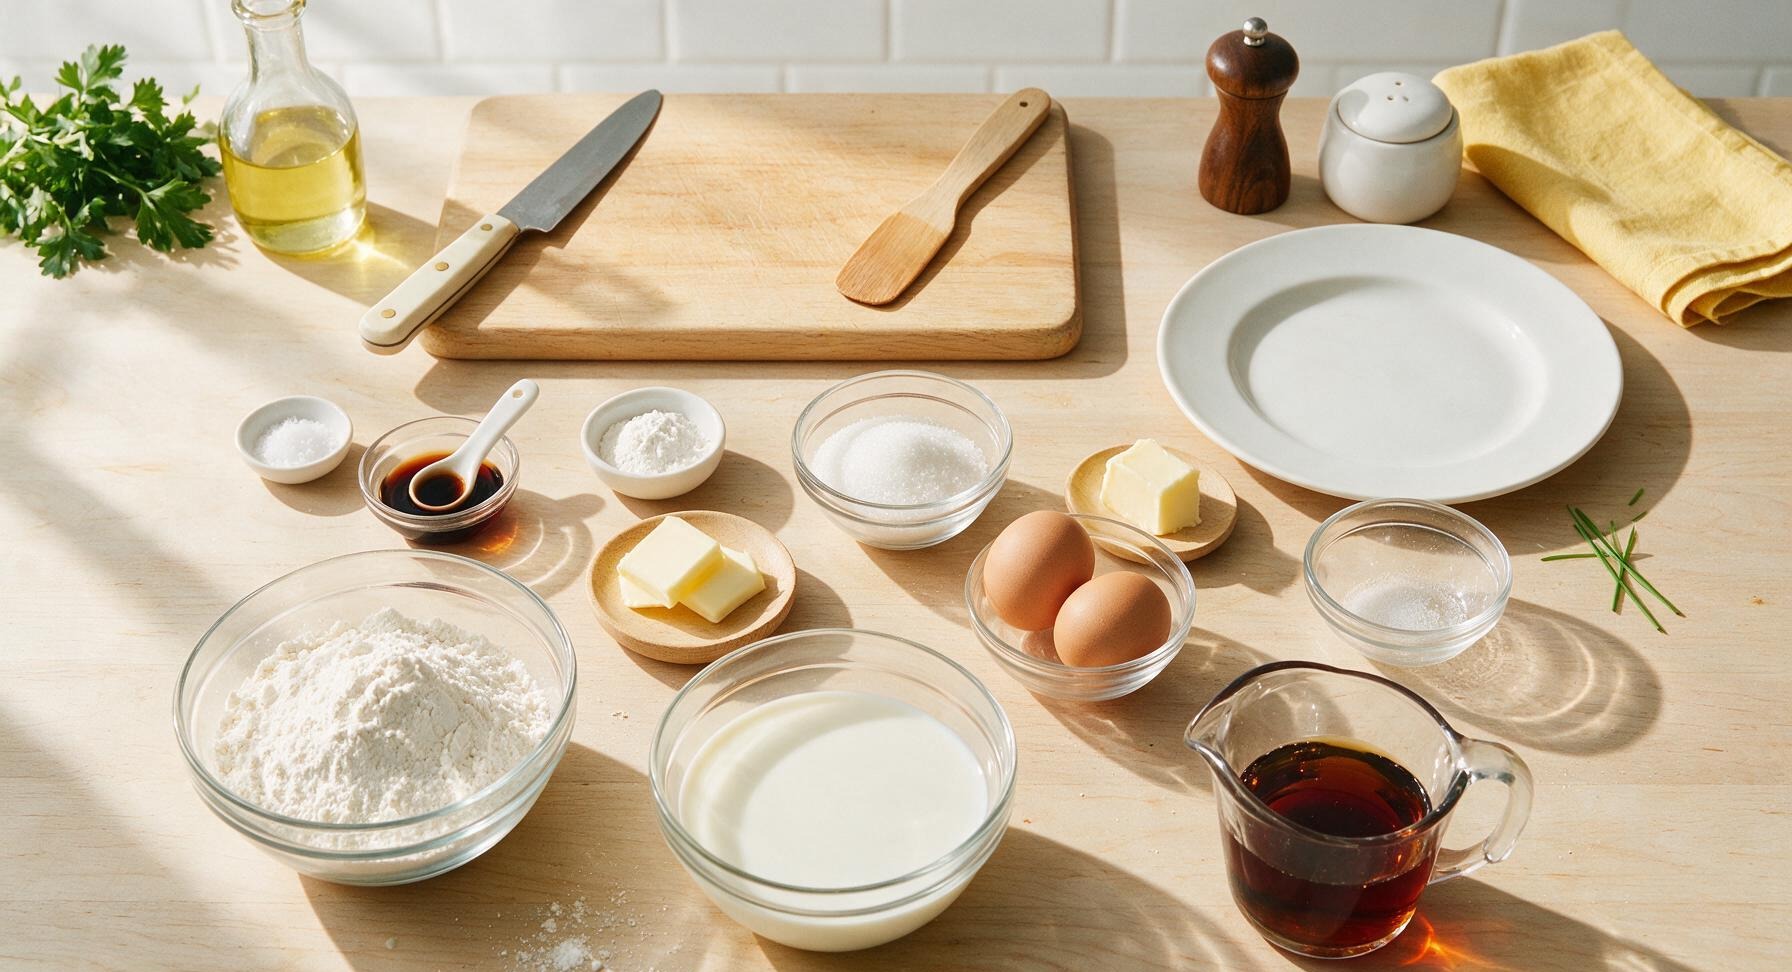
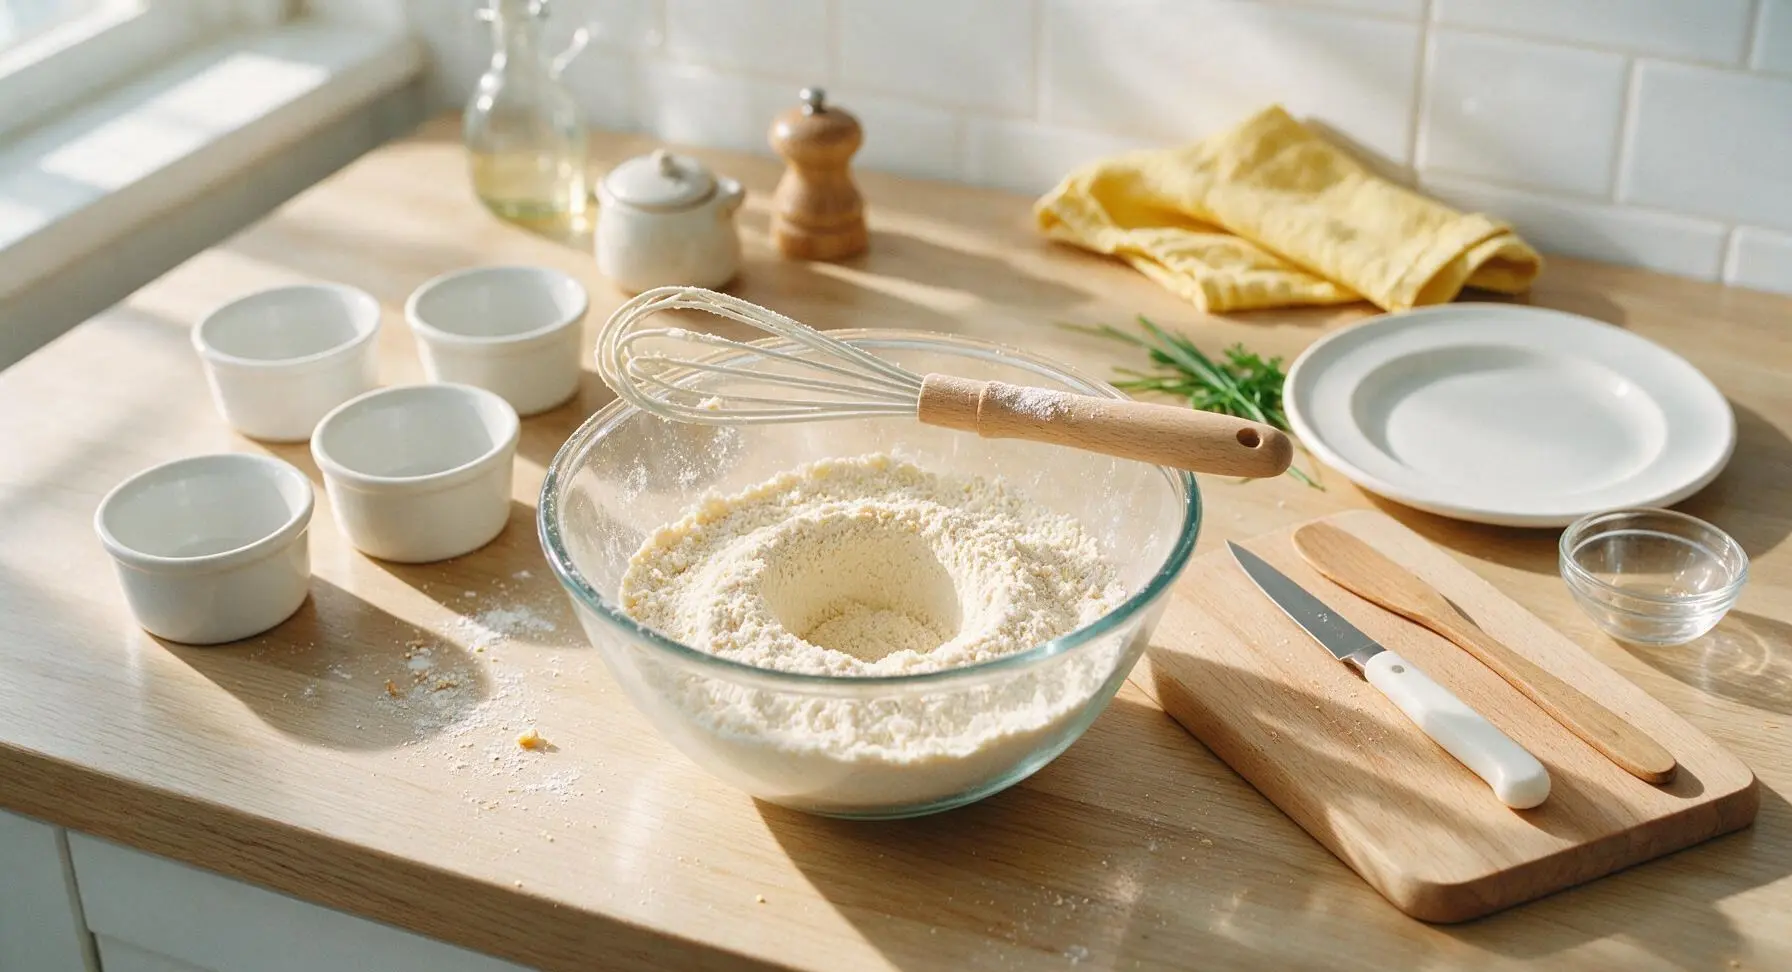
Add 2 cups (240g) all-purpose flour, 1 tablespoon baking powder, 1/2 teaspoon fine sea salt, and 2 tablespoons granulated sugar to the clear glass mixing bowl. Use the beech-handled silicone whisk to stir the dry mixture for 30 seconds, until evenly blended, with no concentrated clumps of baking powder or salt. Use the whisk to create a 4-inch wide well in the center of the dry mix to hold wet ingredients.
Add Wet Ingredients
Crack the 2 room-temperature large eggs directly into the well in the dry mix, then pour in 1 3/4 cups (420ml) room-temperature whole milk, 1/3 cup (75g) slightly cooled melted unsalted butter, and 1 teaspoon pure vanilla extract. Pour all wet ingredients directly into the center well to avoid splashing dry flour up the bowl sides.
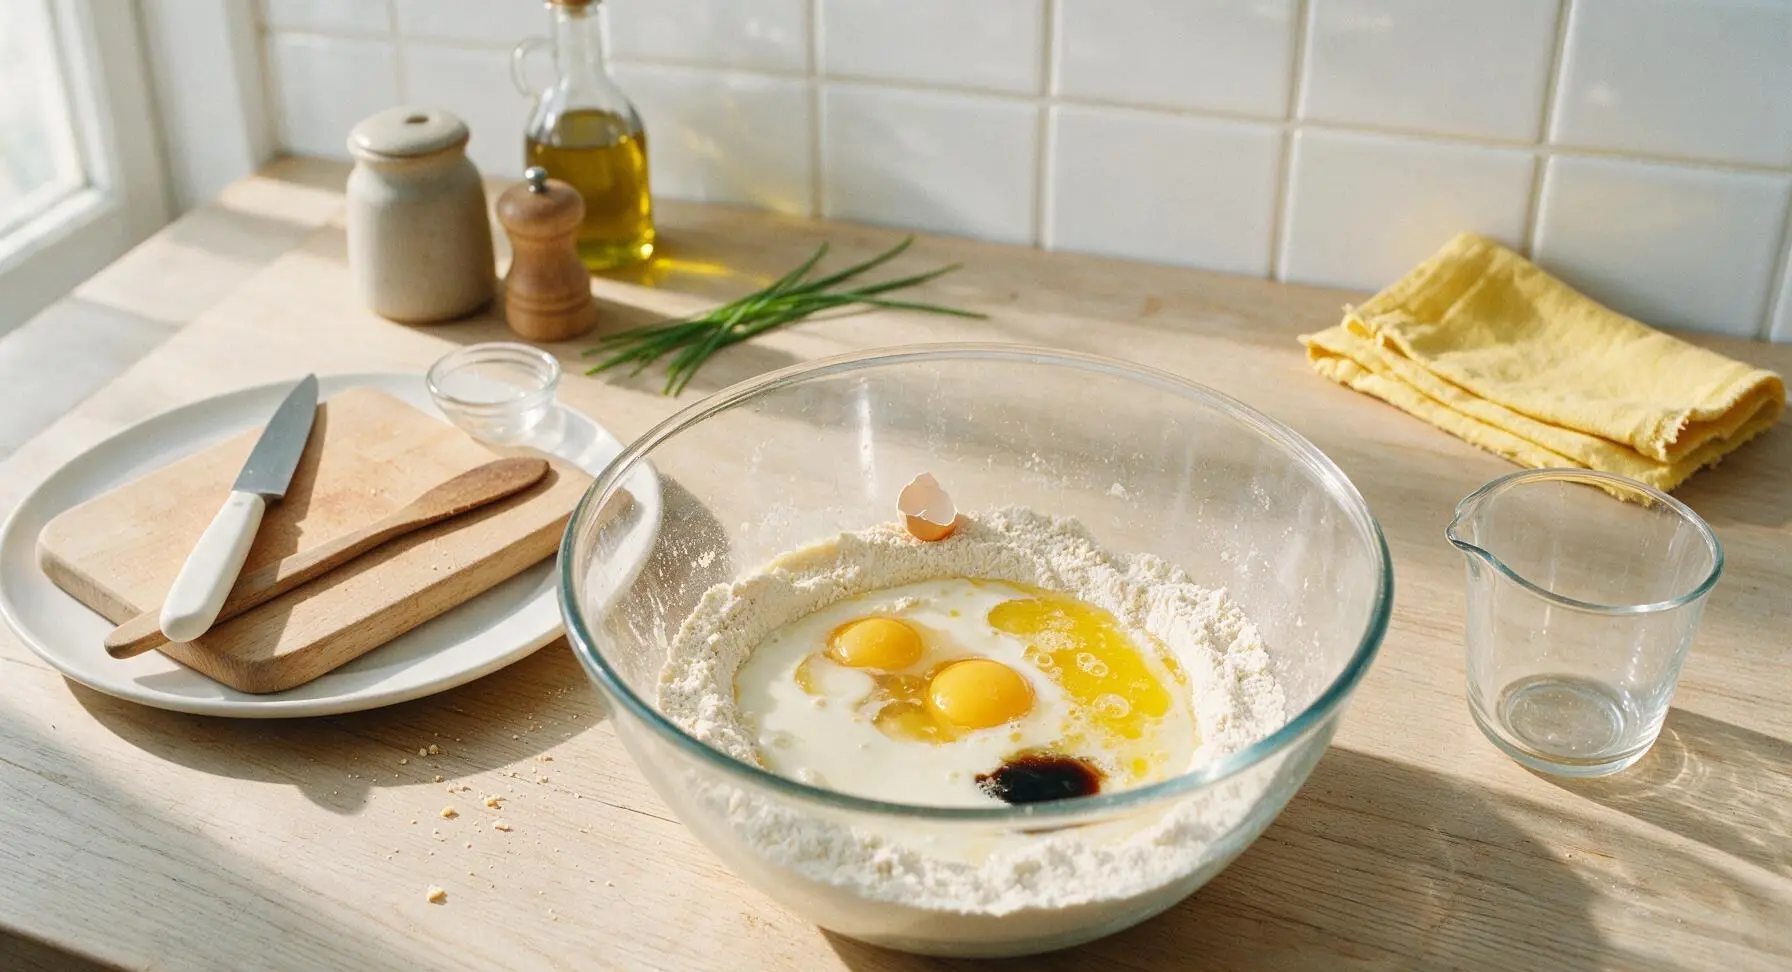
Mix Resting Batter
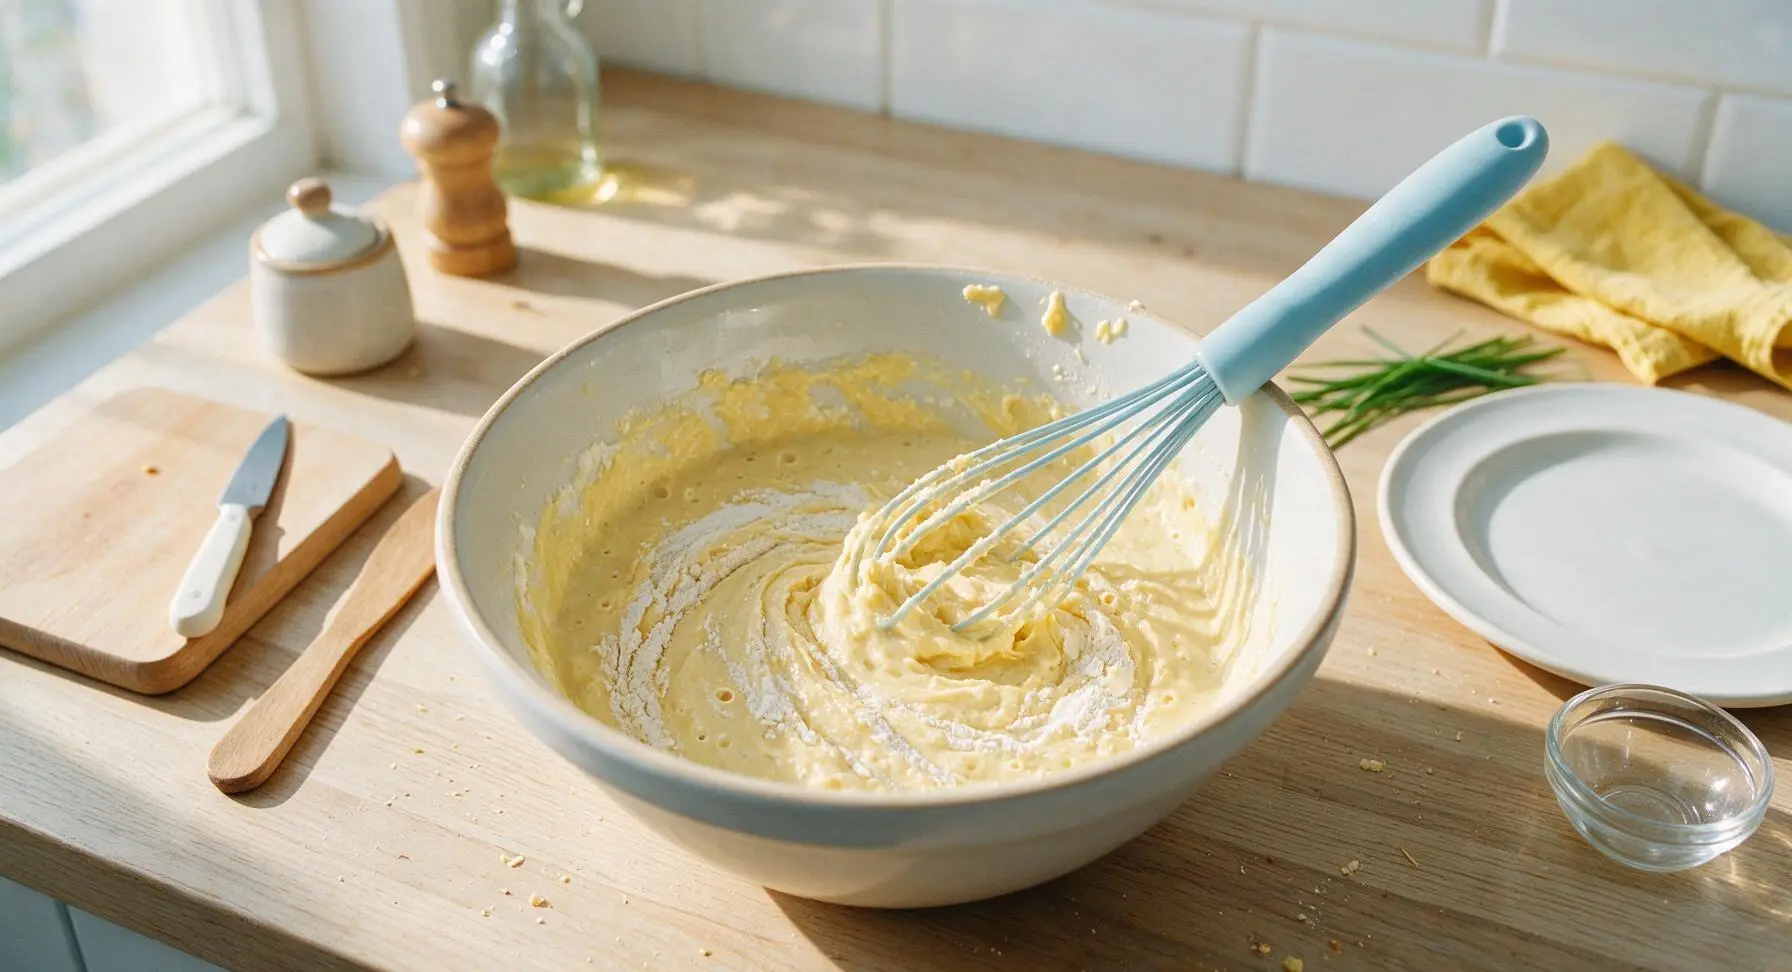
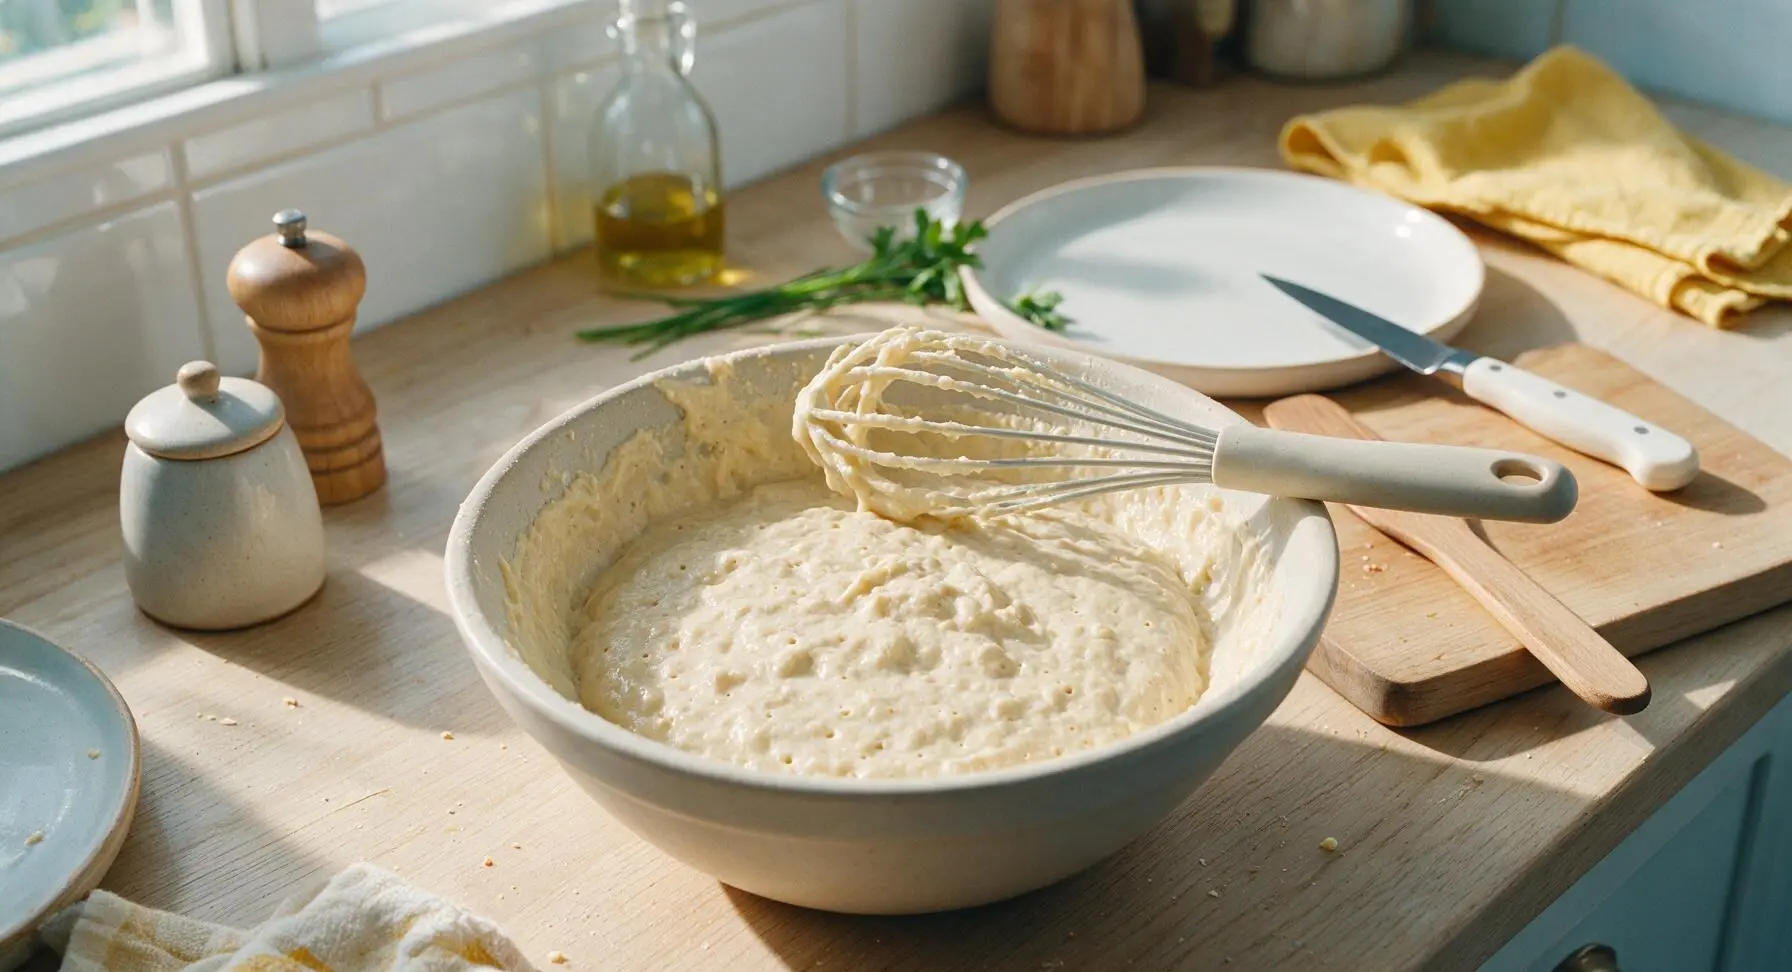
Use the silicone whisk to gently fold the wet and dry ingredients together with slow, wide circular strokes. Stop mixing immediately once no large pockets of dry flour remain – the batter will be thick, visibly lumpy, and not completely smooth. Do not overmix: overworked batter creates tough, chewy waffles, while lumps guarantee tender, fluffy interiors. Let the batter rest for 3 minutes at room temperature, until small air bubbles dot the surface from the activated baking powder.
Grease Waffle Iron
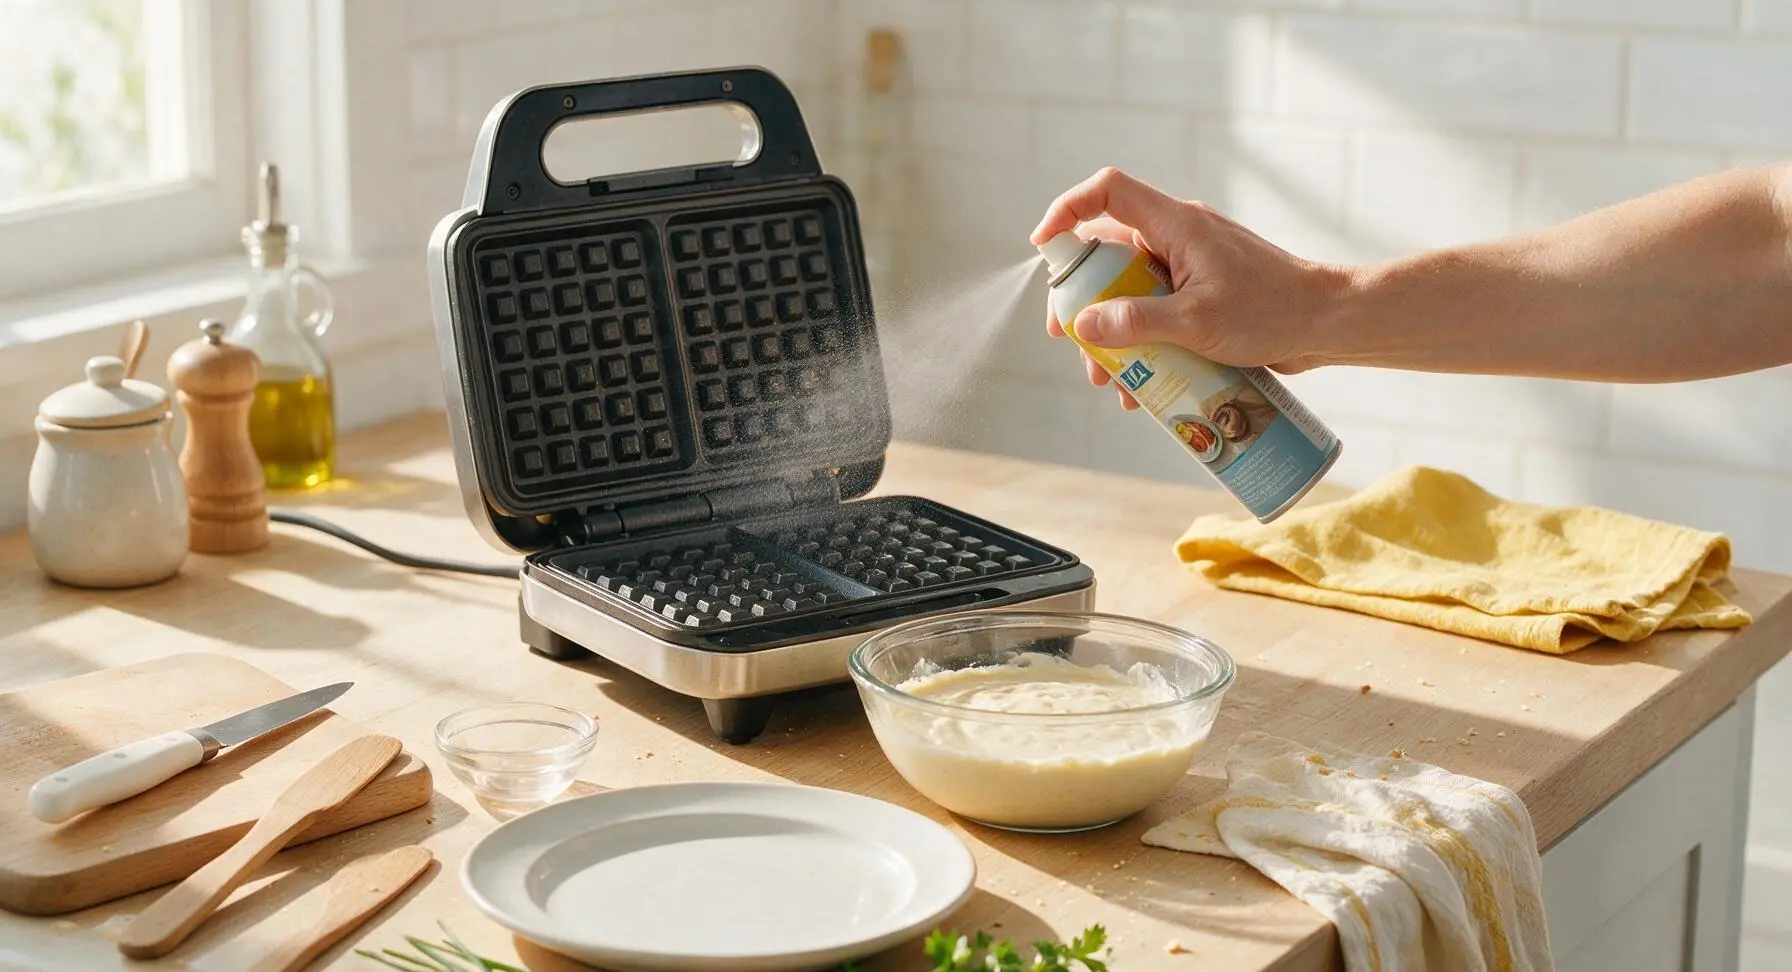
Once the waffle iron is fully preheated, give the top and bottom cooking grids a quick 2-second burst of non-stick cooking spray, holding the can 6 inches away to avoid over-saturating the surface. Wipe any excess spray from the iron housing with a corner of the fixed linen towel. Excess spray will burn and create dark, sticky residue on your waffles.
Pour and Cook Waffles
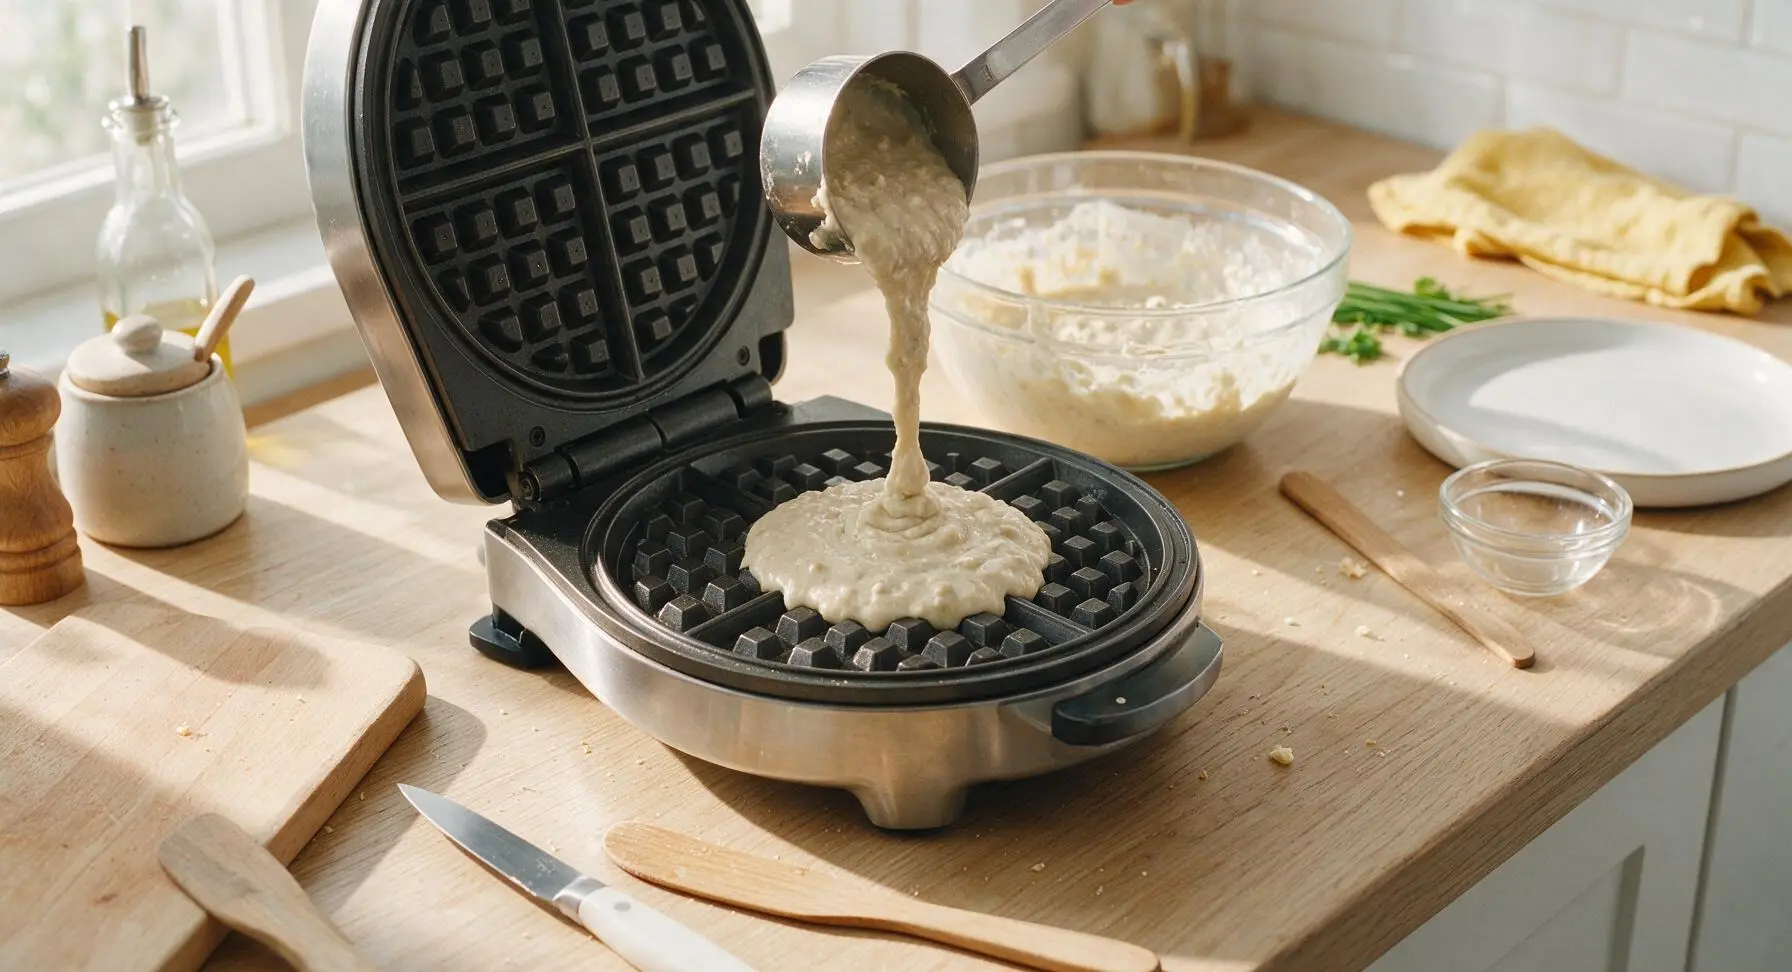
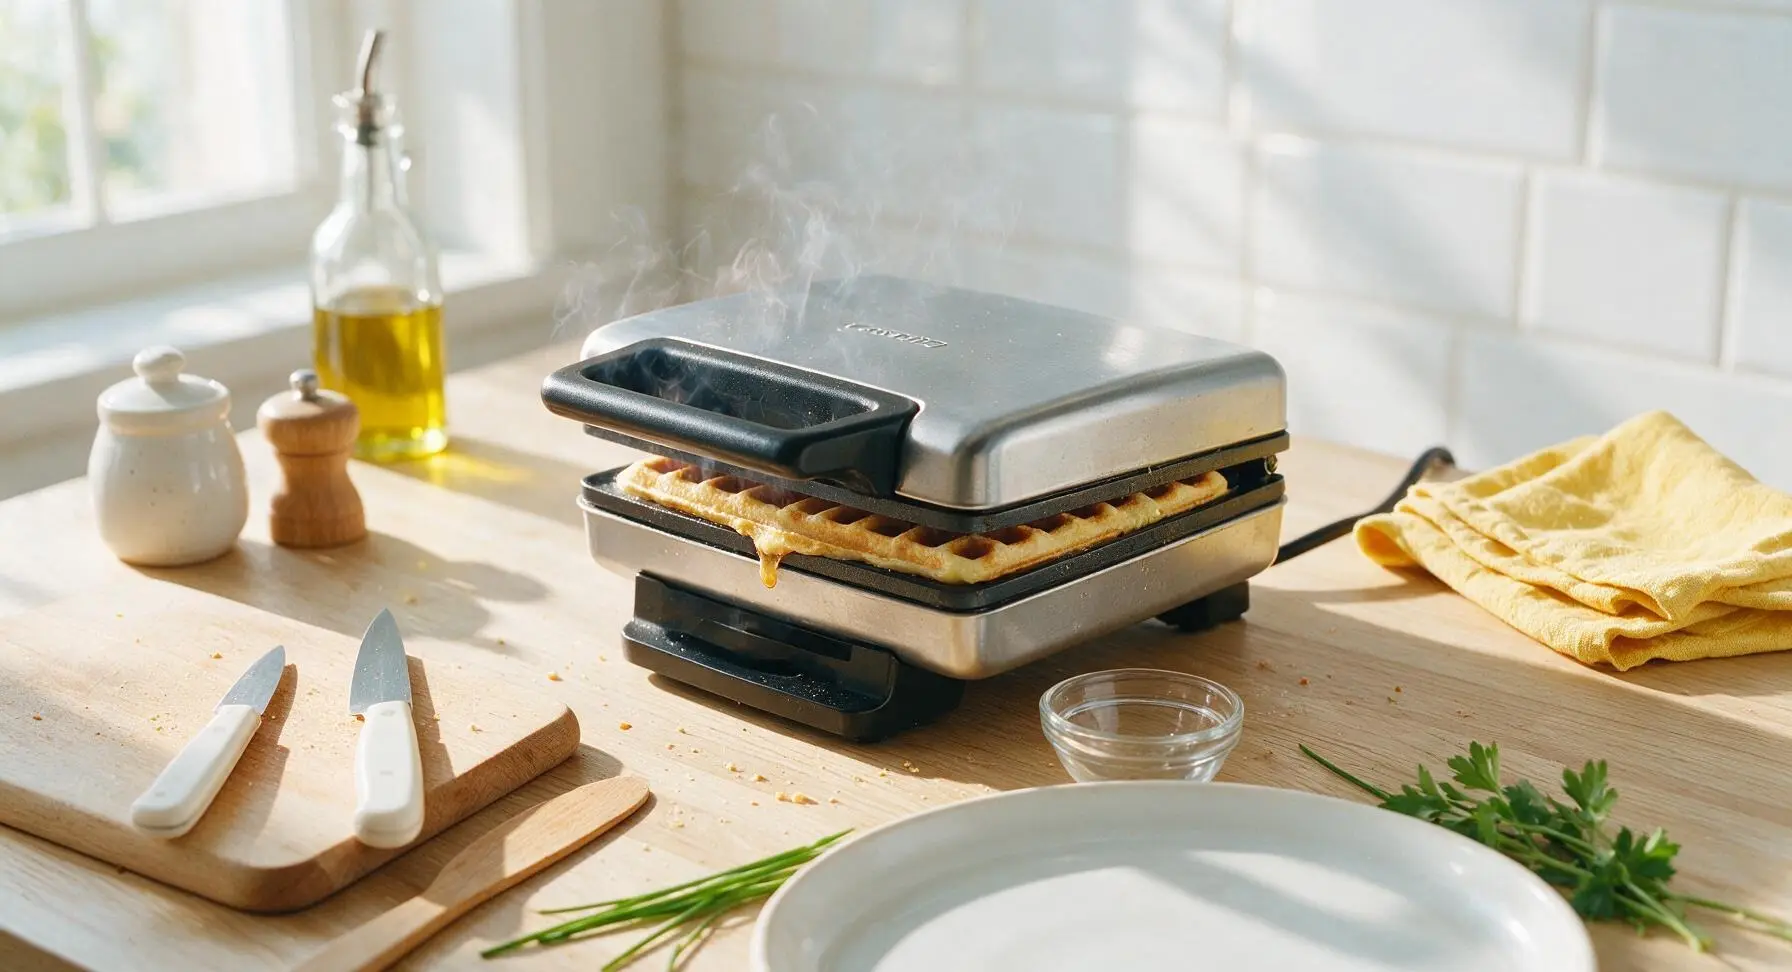
Ladle 1/2 cup of the lumpy batter directly into the center of the preheated greased waffle grid. Close the lid gently – do not press down hard on the lid, as this will squeeze out batter and create flat, dense waffles. Cook for 3 to 4 minutes, until steam stops escaping from the edges of the waffle iron, and the waffle is deep golden brown. Do not open the lid before 3 minutes, as this will cause the waffle to tear and stick.
Rest Cooked Waffles
When the waffle is done cooking, open the lid and use the thin beech wood spatula to gently lift the waffle from the grid, taking care not to tear the crisp edges. Transfer the finished waffle directly to the wire cooling rack, and place it in a single layer (do not stack waffles while hot, as this will make them soggy). Repeat the greasing, pouring, and cooking process with the remaining batter, making 4 total waffles.
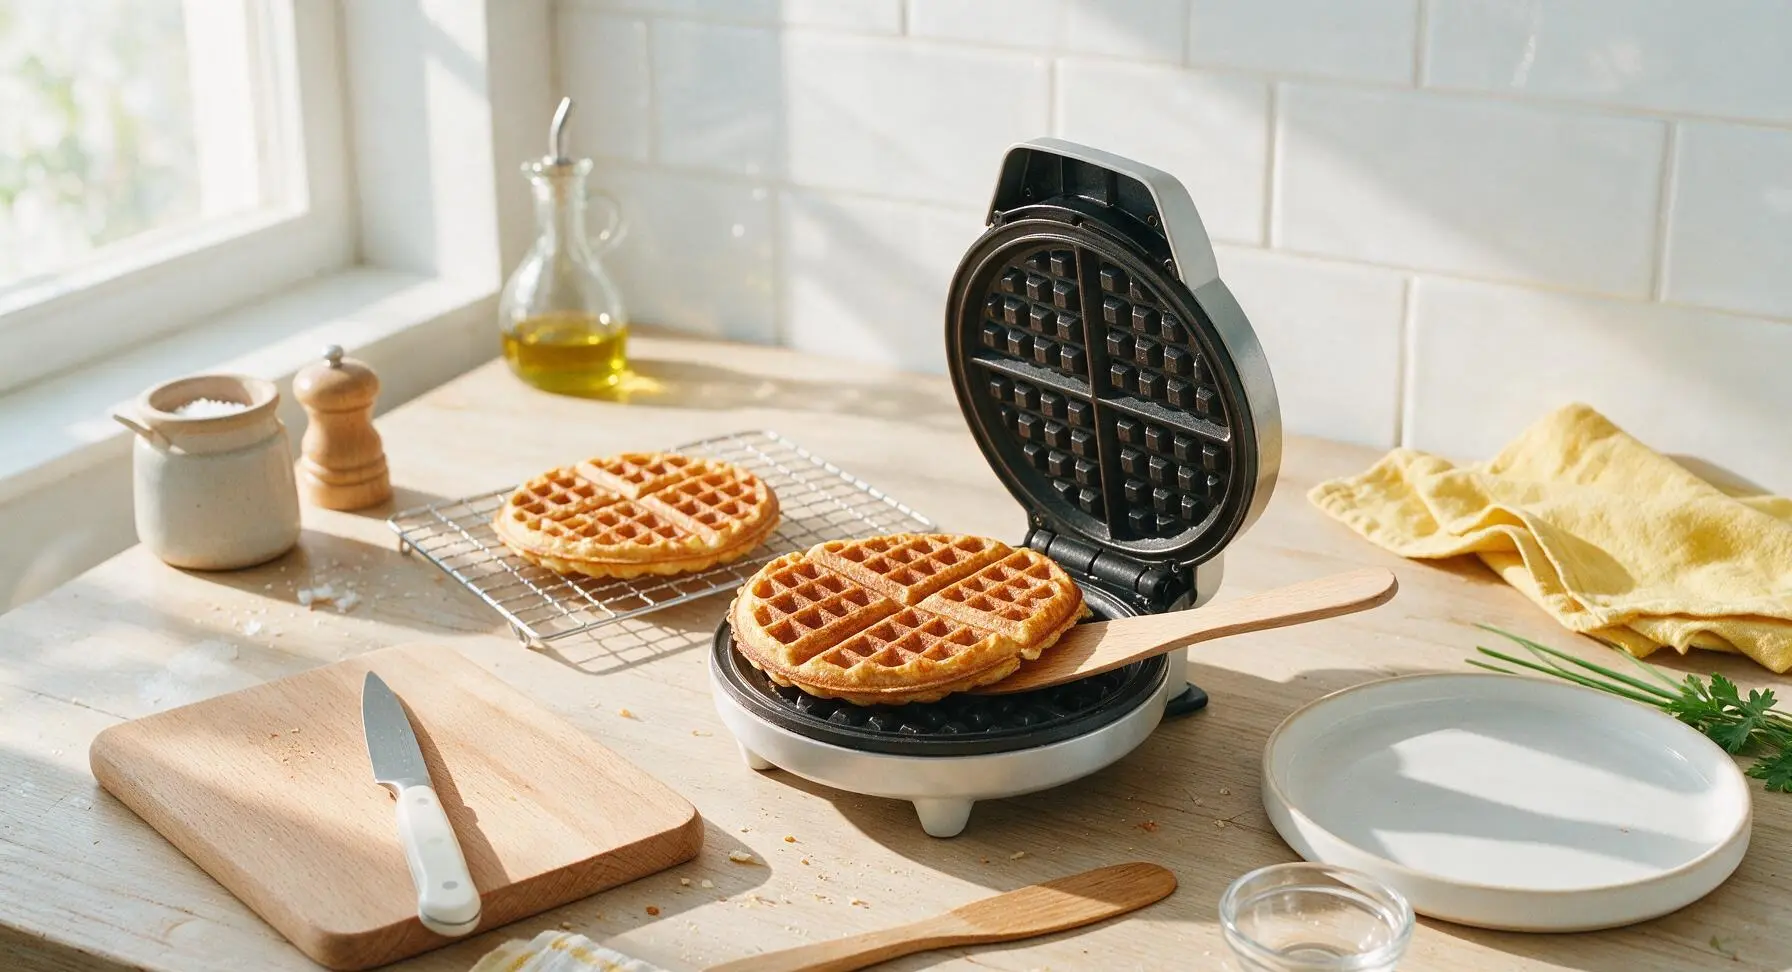
Plate and Serve
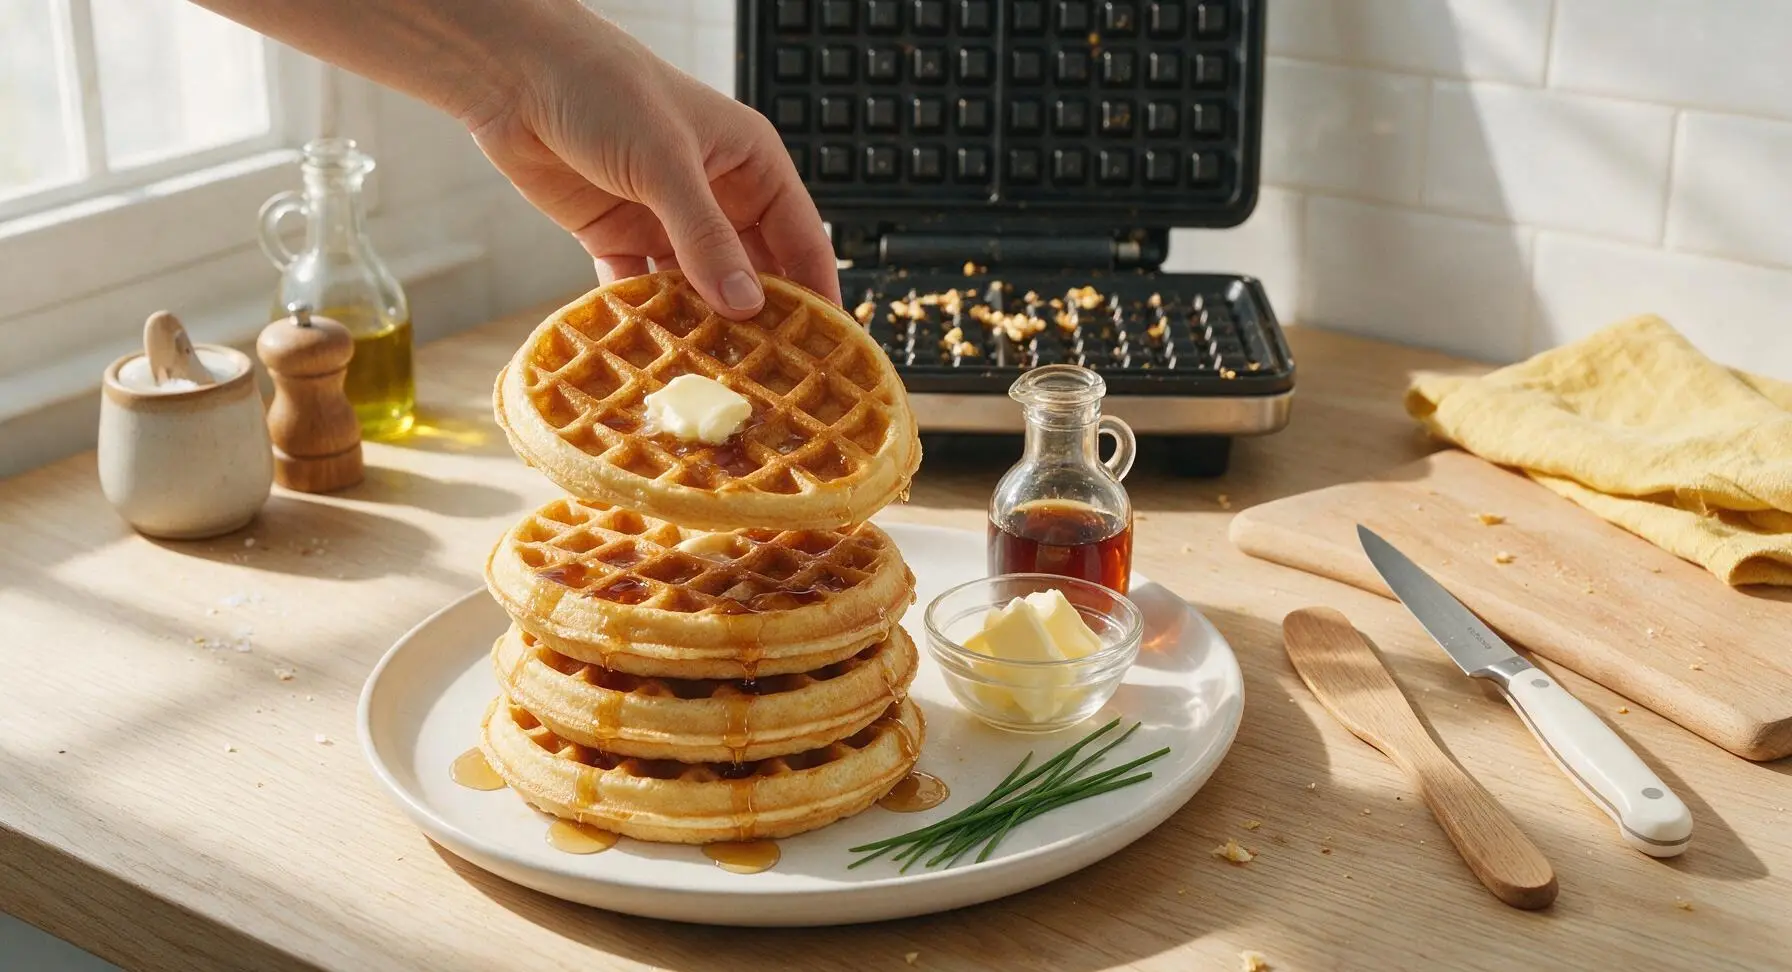
Stack the four warm, crisp waffles centered on the matte cream ceramic dinner plate. Top the stack with a thin pat of salted butter, then drizzle 2 tablespoons of warm maple syrup over the top, allowing it to run down the sides and pool in the waffle pockets. Serve immediately, while the exterior is crisp and the interior is light and fluffy.
Tips
2.Never stack hot waffles directly on a plate: Trapped steam from fresh-cooked waffles will turn crisp exteriors soggy in as little as 30 seconds. Resting waffles in a single layer on the wire cooling rack for 1 minute before plating lets excess moisture escape, keeping edges shatteringly crisp.
3.Resist the urge to overmix the batter: Visible small lumps are not a mistake – overmixing develops gluten in the flour, resulting in tough, chewy waffles instead of tender, pull-apart fluffy centers. Stop stirring as soon as you no longer see large pockets of dry flour.






OMG these are exactly the waffles I grew up getting at our small town diner! I’ve tried so many copycat recipes that came out dense or soggy, but these were so fluffy and had that perfect crisp edge. My kids ate a full stack each before I even sat down to eat my own. 10/10, will be making these every Sunday from now on!
Super easy recipe to whip up on Sundays for weekday breakfasts! I make a big batch, pop them in the toaster during the work week, and they taste just as fresh as the day I made them. Only note is I added a tiny bit of extra vanilla because I love that warm flavor, but the base recipe is solid.
SO good. I topped these with fried chicken, spicy honey, and a sprinkle of chives for a savory twist and my roommates lost their minds. Who knew diner waffles could work for brinner too? Absolute game changer for our weekly potluck nights.
Made these on our last camping trip with a cast iron waffle maker over the campfire and they turned out perfect! Fluffy, golden, didn’t stick at all. We slathered them with peanut butter and maple syrup after our morning hike and it was the best post-trail fuel ever.
I’ve never made waffles from scratch before, I always used the boxed mix, and wow I’ll never go back! The instructions were so straightforward, no fancy ingredients required, and they came out fluffy on the first try. My girlfriend said they’re better than the ones we get at our favorite brunch spot.
Great base recipe! I swapped the all-purpose flour for a 1:1 gluten free baking flour and they still came out super fluffy, which is so rare for GF waffle recipes that usually turn into cardboard. I knocked off a star only because I wish there was a note about adjusting cook time for GF blends.
As someone who’s eaten waffles at diners across 20+ states on road trips, I can confirm these are LEGIT. That slight crisp on the outside, cloud-like fluff inside, not too sweet so the toppings can shine? Exactly what you’d get sliding into a vinyl booth at a 24-hour spot off the highway.
Made these for my kid’s birthday breakfast before school and it was a total hit. I set up a little waffle bar with sprinkles, whipped cream, strawberries, and chocolate syrup, and all the kids (and my wife!) raved. 15 minutes cook time is no joke, I had the whole batch done before the bus showed up.
These were good, but I found them a little too bland for my taste. I ended up doubling the sugar and adding a teaspoon of cinnamon, which made them way better for my preference. Texture was spot on though, super fluffy no complaints there.
Served these at my monthly brunch club last weekend and everyone asked for the recipe before they left! I made a double batch and there were zero leftovers, which never happens when I test new recipes. Even my friend who swears he ‘doesn’t like sweet breakfast’ ate two full waffles with sausage gravy on top.
Wait, mine came out totally flat? I followed the recipe exactly, measured everything, but they didn’t puff up at all. Did I do something wrong? I was so excited for fluffy waffles and ended up with thin, chewy discs instead :(
Made these vegan by swapping the eggs for flax eggs and using oat milk instead of dairy, and they still came out so fluffy! I was convinced the diner texture wouldn’t translate without dairy and eggs, but these were perfect topped with blueberry compote and coconut whipped cream.
These came out absolutely perfect when I made them last weekend! How well do these freeze? I want to make a huge batch for quick breakfasts before school for my teens, but I don’t want them to get freezer burnt or turn soggy when I reheat them.
These taste exactly like the waffles my grandma used to make at her old diner in upstate New York back in the 70s! I got a little teary eating the first bite, the flavor and texture brought back so many childhood memories of weekend breakfasts at her counter. Thank you so much for sharing this recipe.