
Pesto Mozzarella Grilled Cheese
intro
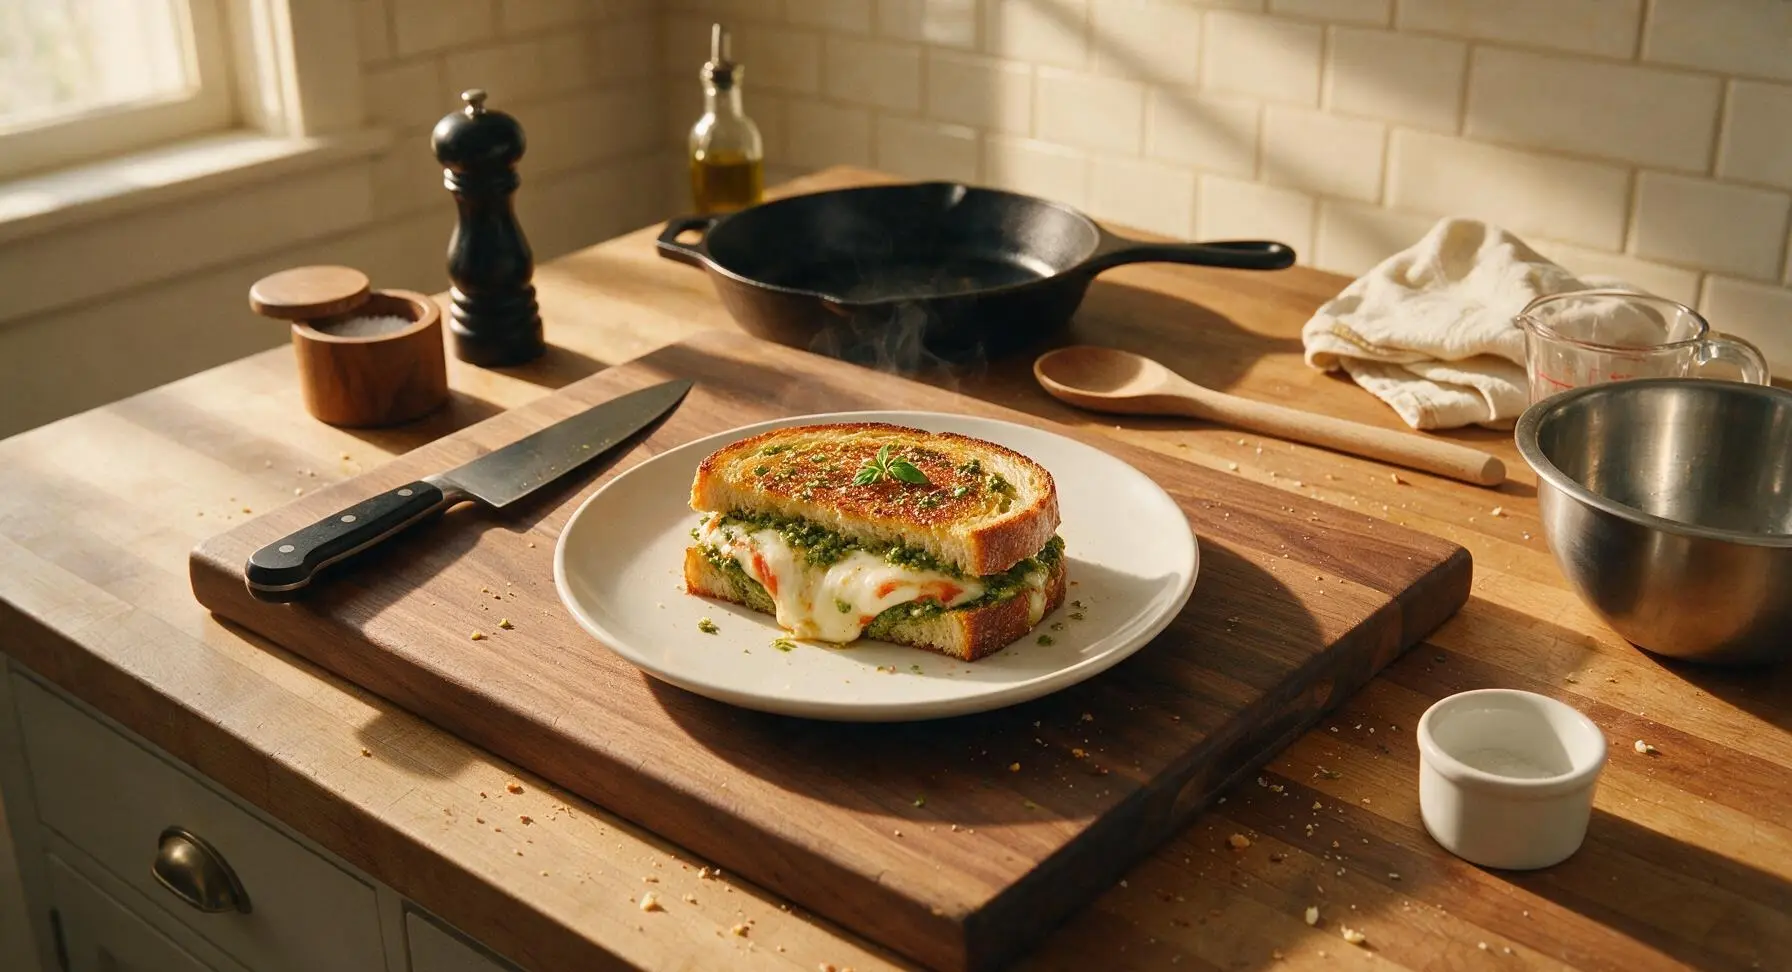
Crispy buttery sourdough slathered with bright basil pesto, oozing melted fresh mozzarella, and a hint of tangy tomato—elevated, fast comfort food perfect for busy days.
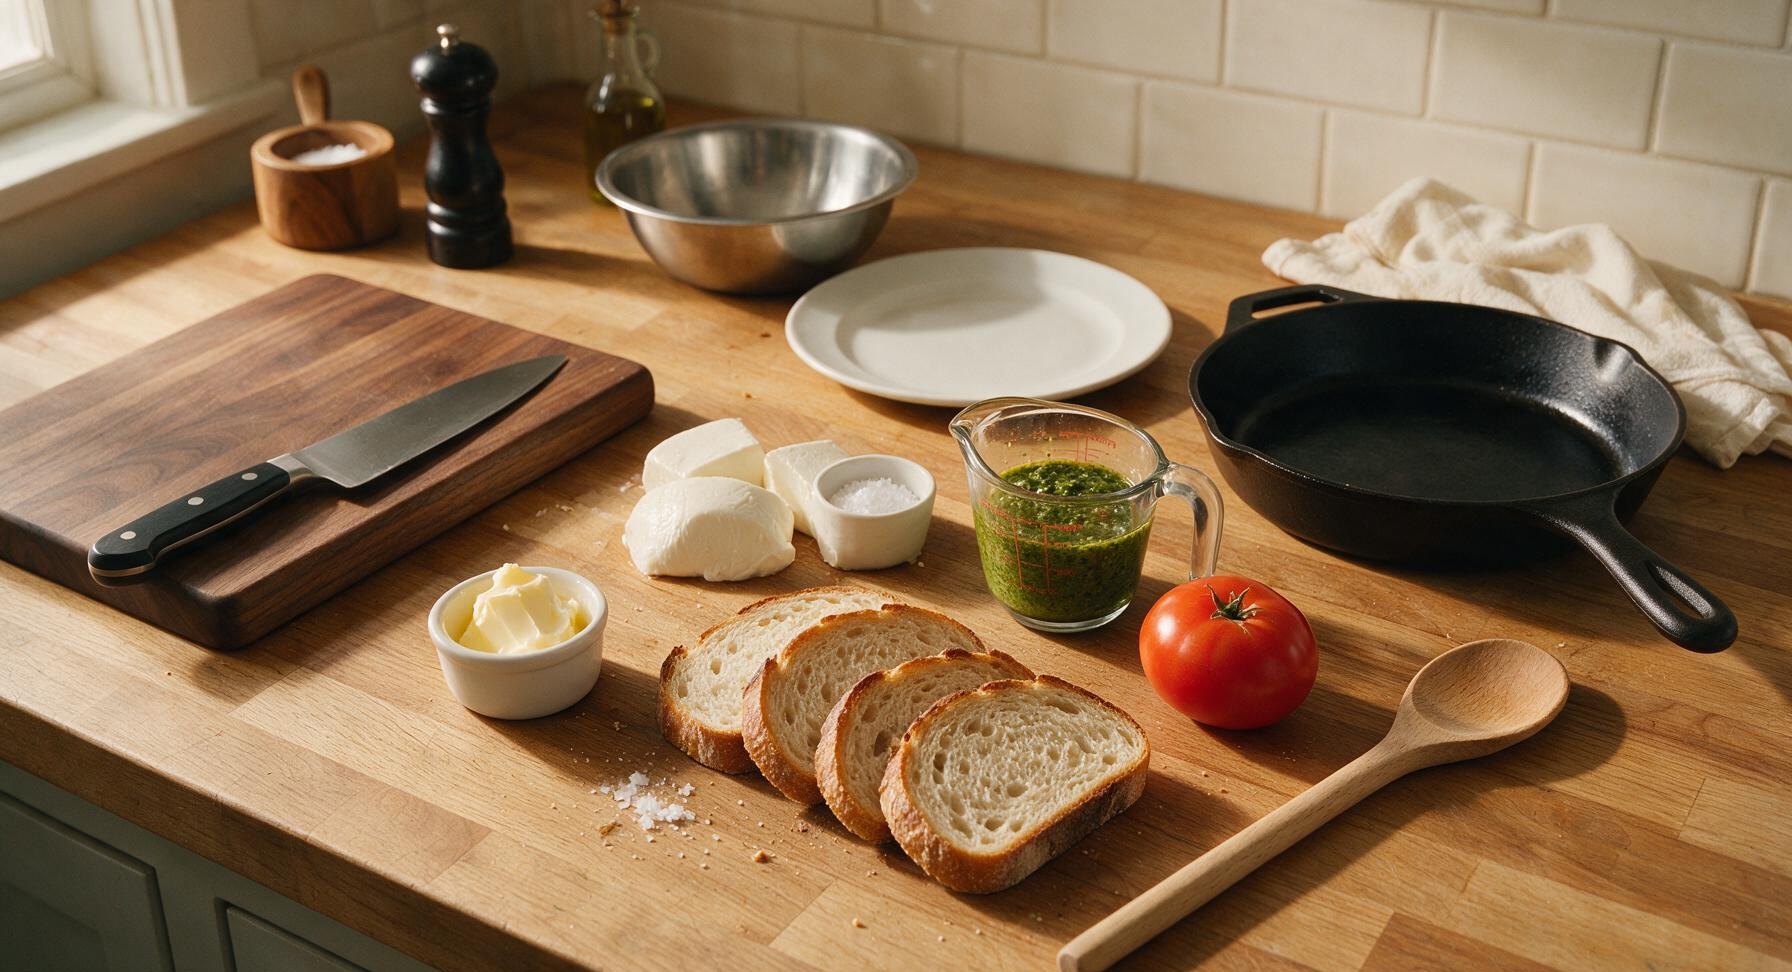
Ingredients
Steps
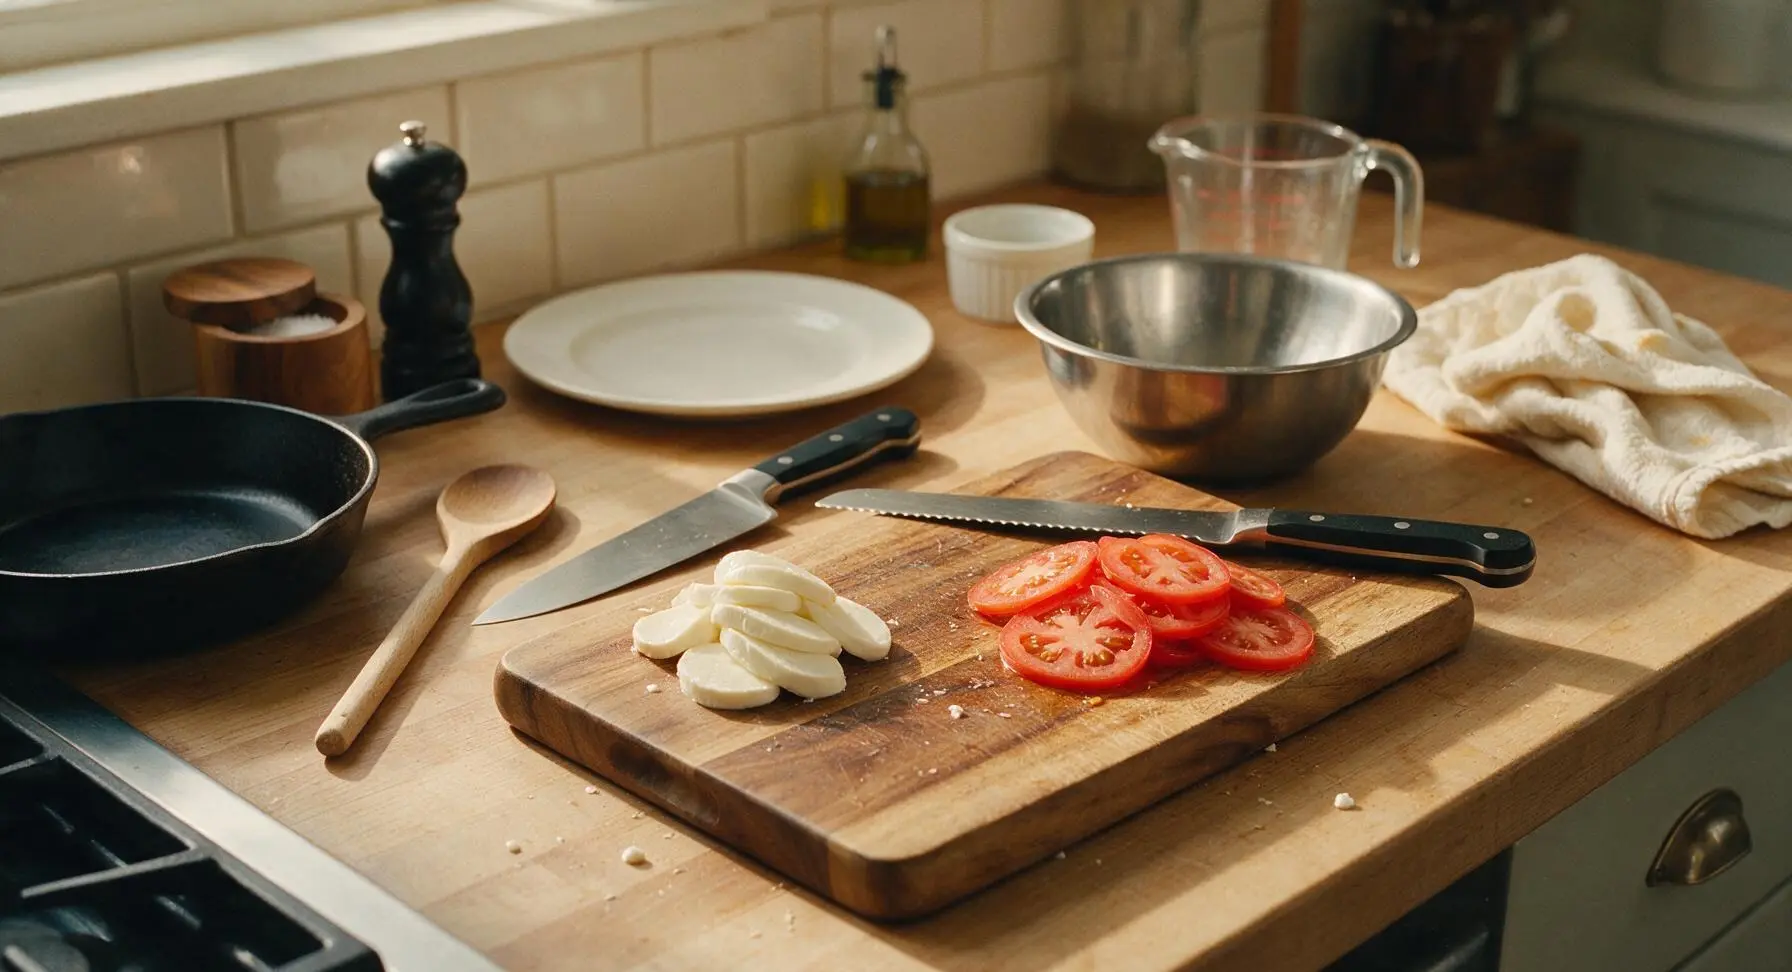
Prep Sandwich Components
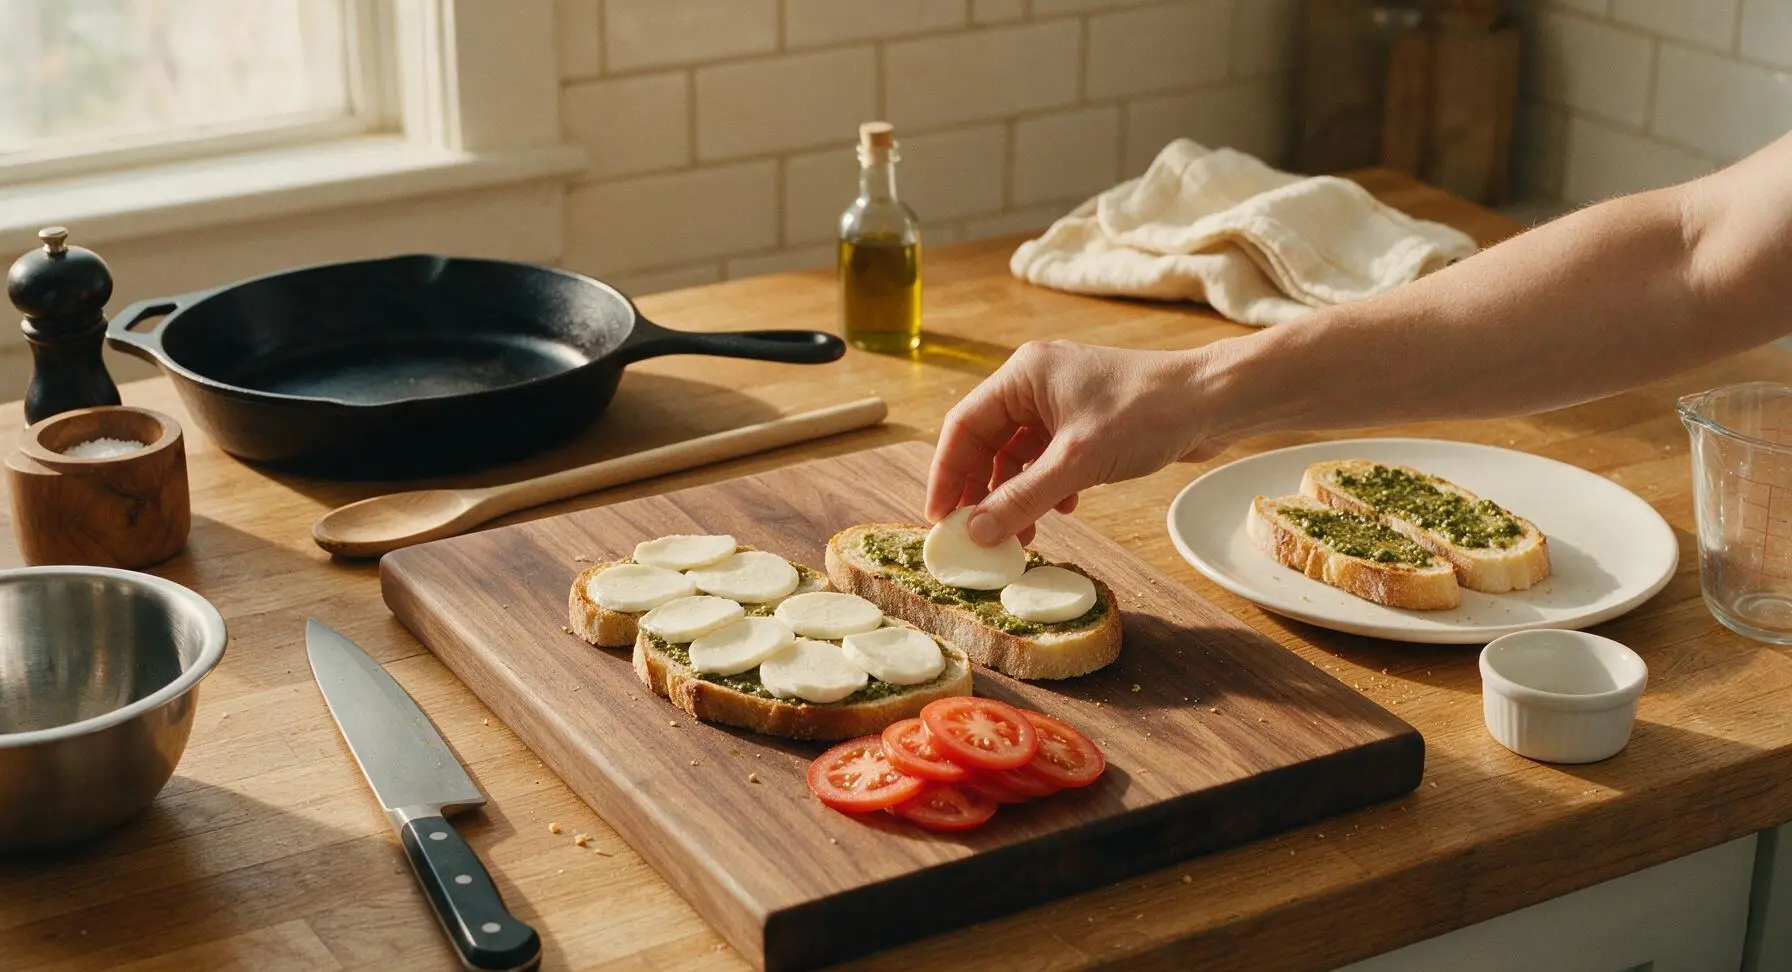
Place the acacia wood cutting board on the center of the counter work zone. Pat the fresh mozzarella dry with a clean corner of the linen towel, then slice into 0.5cm thick slices using the serrated bread knife. Thinly slice the Roma tomato into 0.3cm rounds, gently squeeze out seeds and excess juice to prevent sogginess during cooking. Set sliced mozzarella and tomato in separate small piles on the edge of the cutting board.
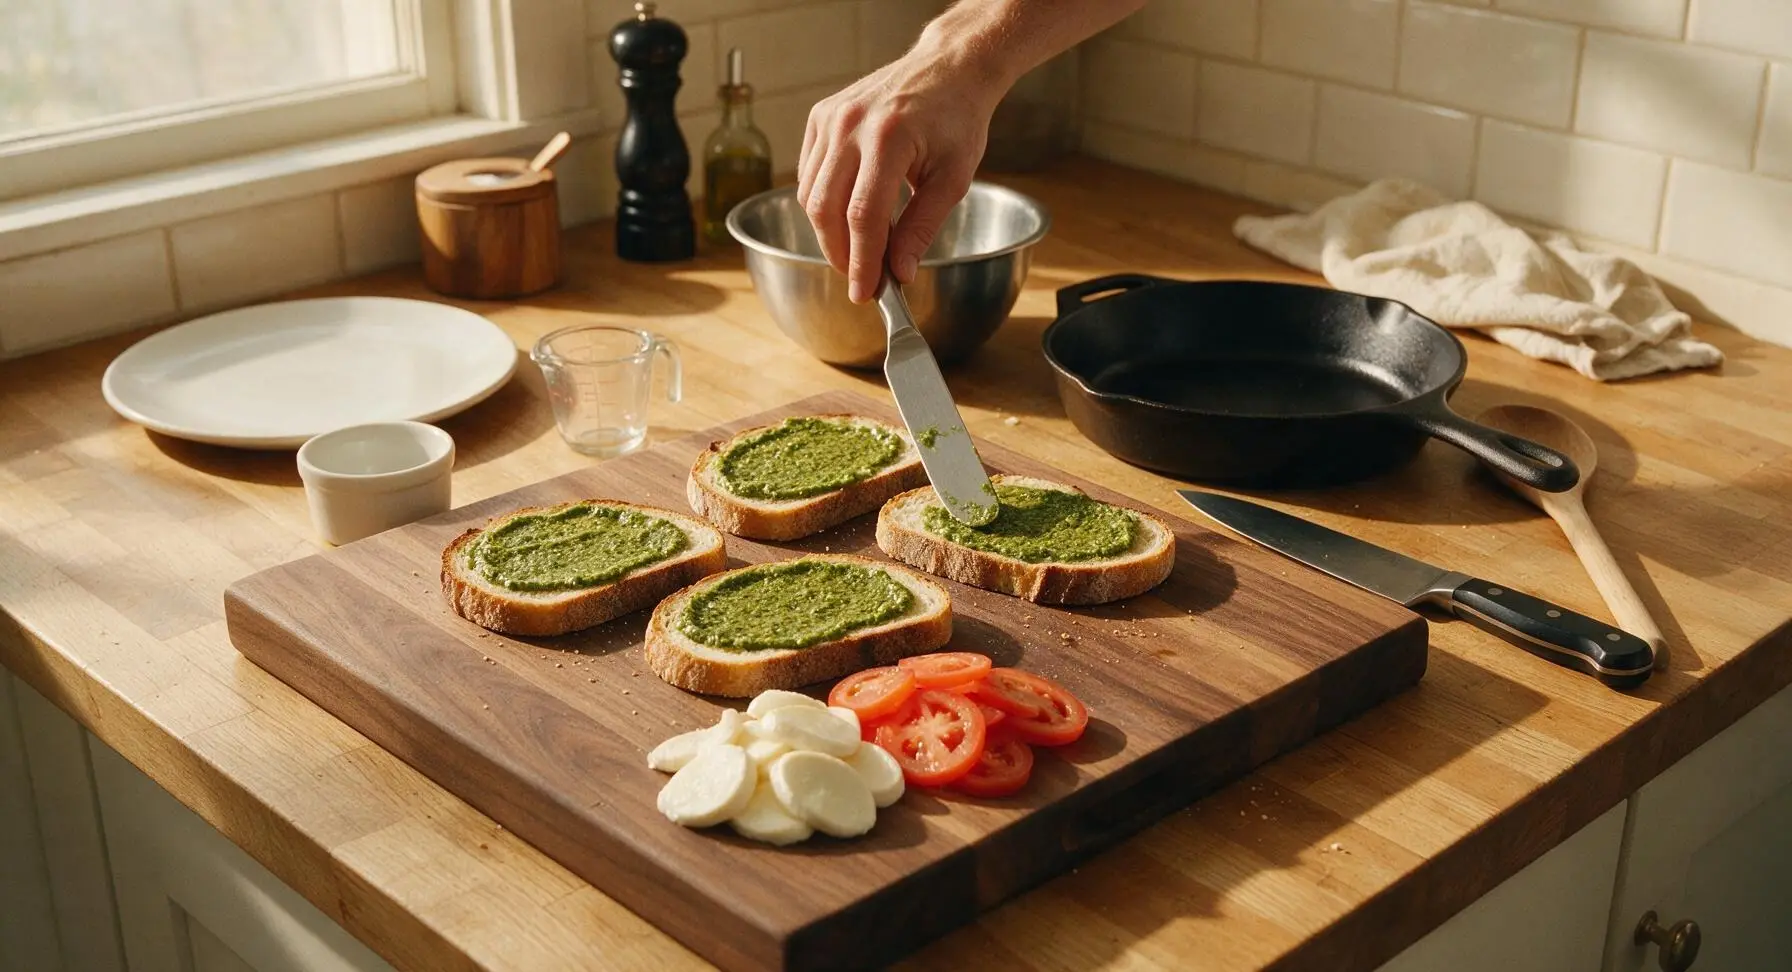
Spread Pesto Evenly
Lay all 4 slices of sourdough bread flat on the acacia cutting board. Use the stainless steel butter spreader to slather 1.5 tablespoons of basil pesto evenly across one side of each bread slice, leaving a 0.5cm border around the edge to prevent oozing when the sandwich is pressed. Spread pesto in a thin, consistent layer with no thick clumps that could make the bread soggy.
Layer Sandwich Fillings
Divide the patted-dry mozzarella slices evenly across two of the pesto-coated bread slices, arranging cheese in a single layer that covers most of the pesto. Top the mozzarella with 2-3 thin slices of seeded tomato per sandwich, then sprinkle a tiny pinch of flaky sea salt over the tomato. Top each stack with the remaining two bread slices, pesto-side facing down toward the fillings, to form two evenly stacked closed sandwiches.
Butter Outer Surfaces
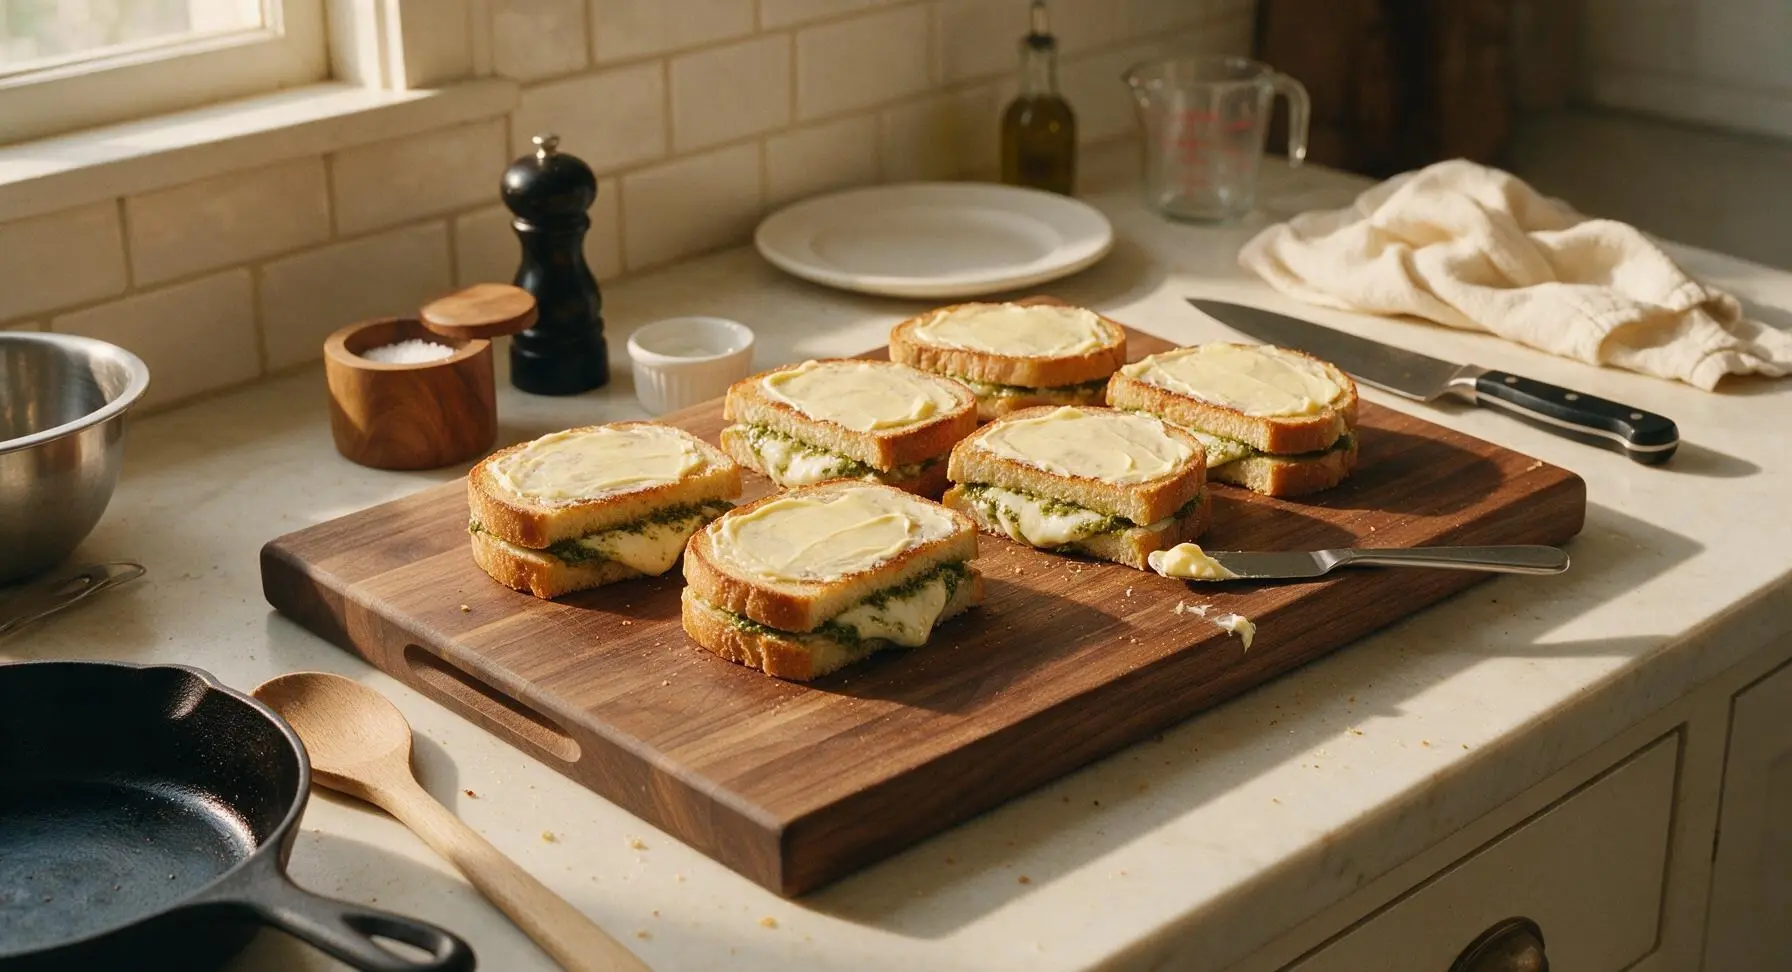
Use the stainless steel butter spreader to spread 3/4 tablespoon of softened unsalted butter evenly across the top outer surface of each closed sandwich, covering the entire slice edge to edge for even toasting. Carefully flip each sandwich and spread the remaining butter across the opposite outer surface, so both sides of every sandwich have a thin, even coat of butter. Wipe any stray butter smudges off the cutting board with a corner of the linen towel.
Preheat the Skillet
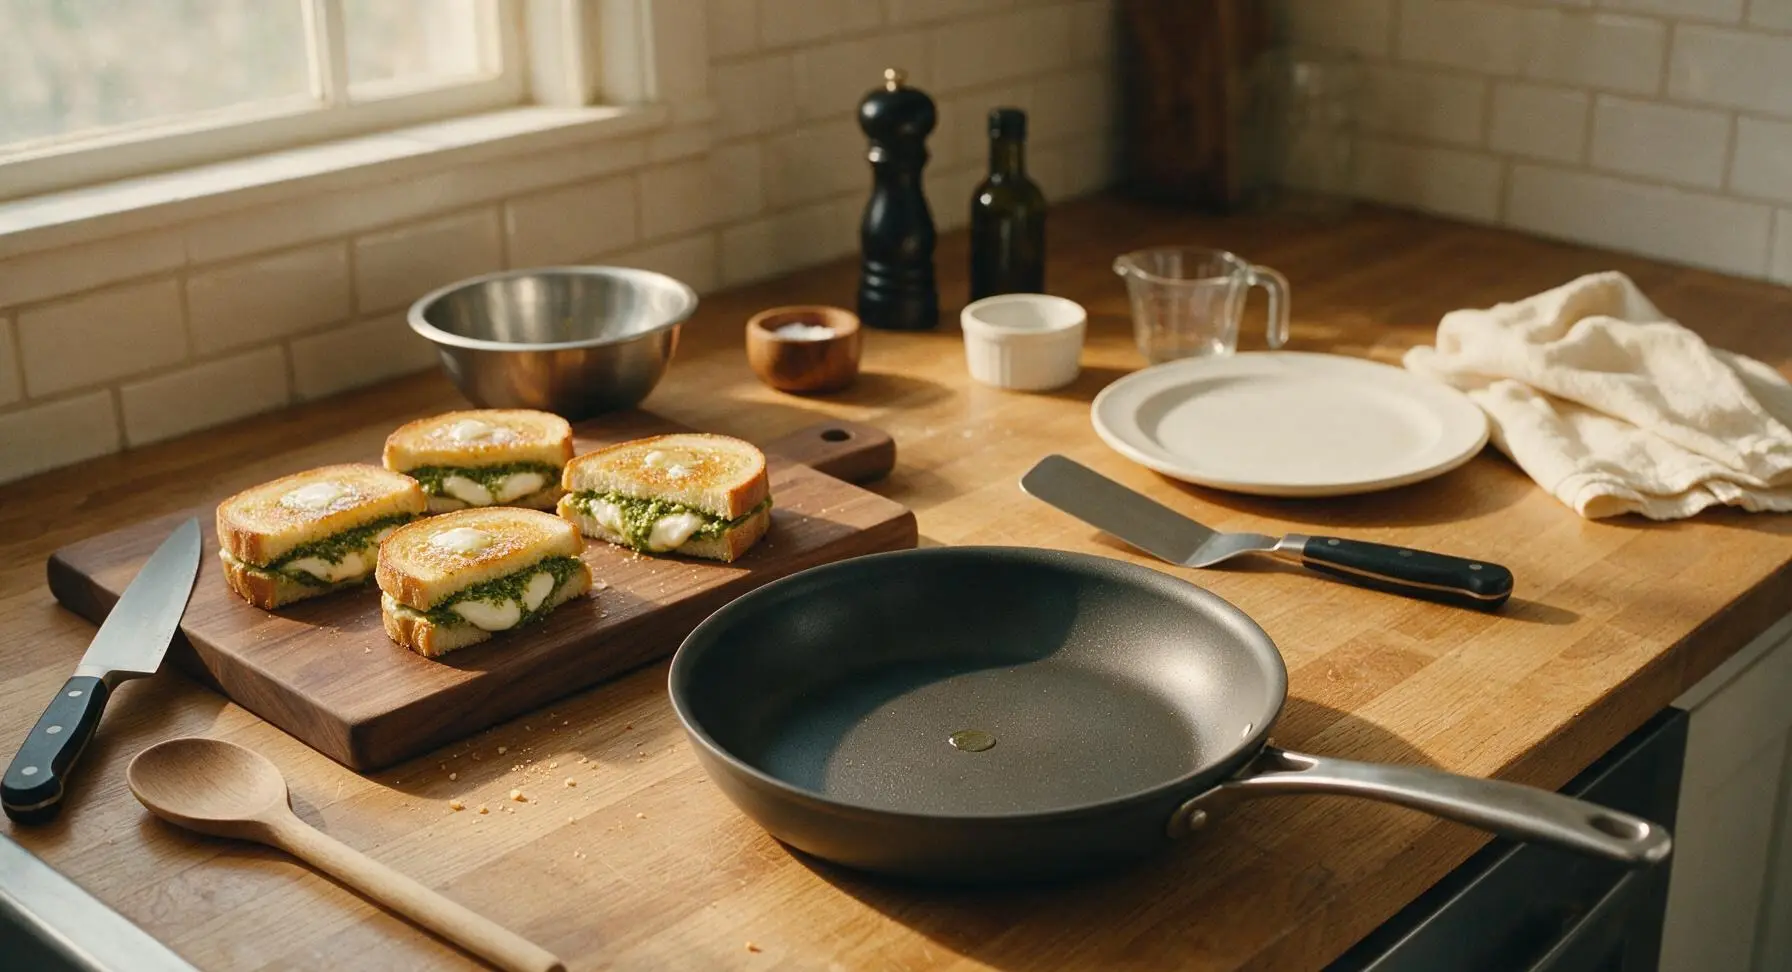
Retrieve the 10-inch non-stick skillet from lower storage and place it on the front center of the work counter, set to medium-low heat (325°F / 160°C). Allow the skillet to preheat for 2 minutes, until a drop of water flicked onto the surface sizzles gently and evaporates slowly—do not heat until smoking, as this will burn the bread before the cheese fully melts. Set the offset stainless steel spatula on the counter to the right of the skillet for flipping.
Grill First Side
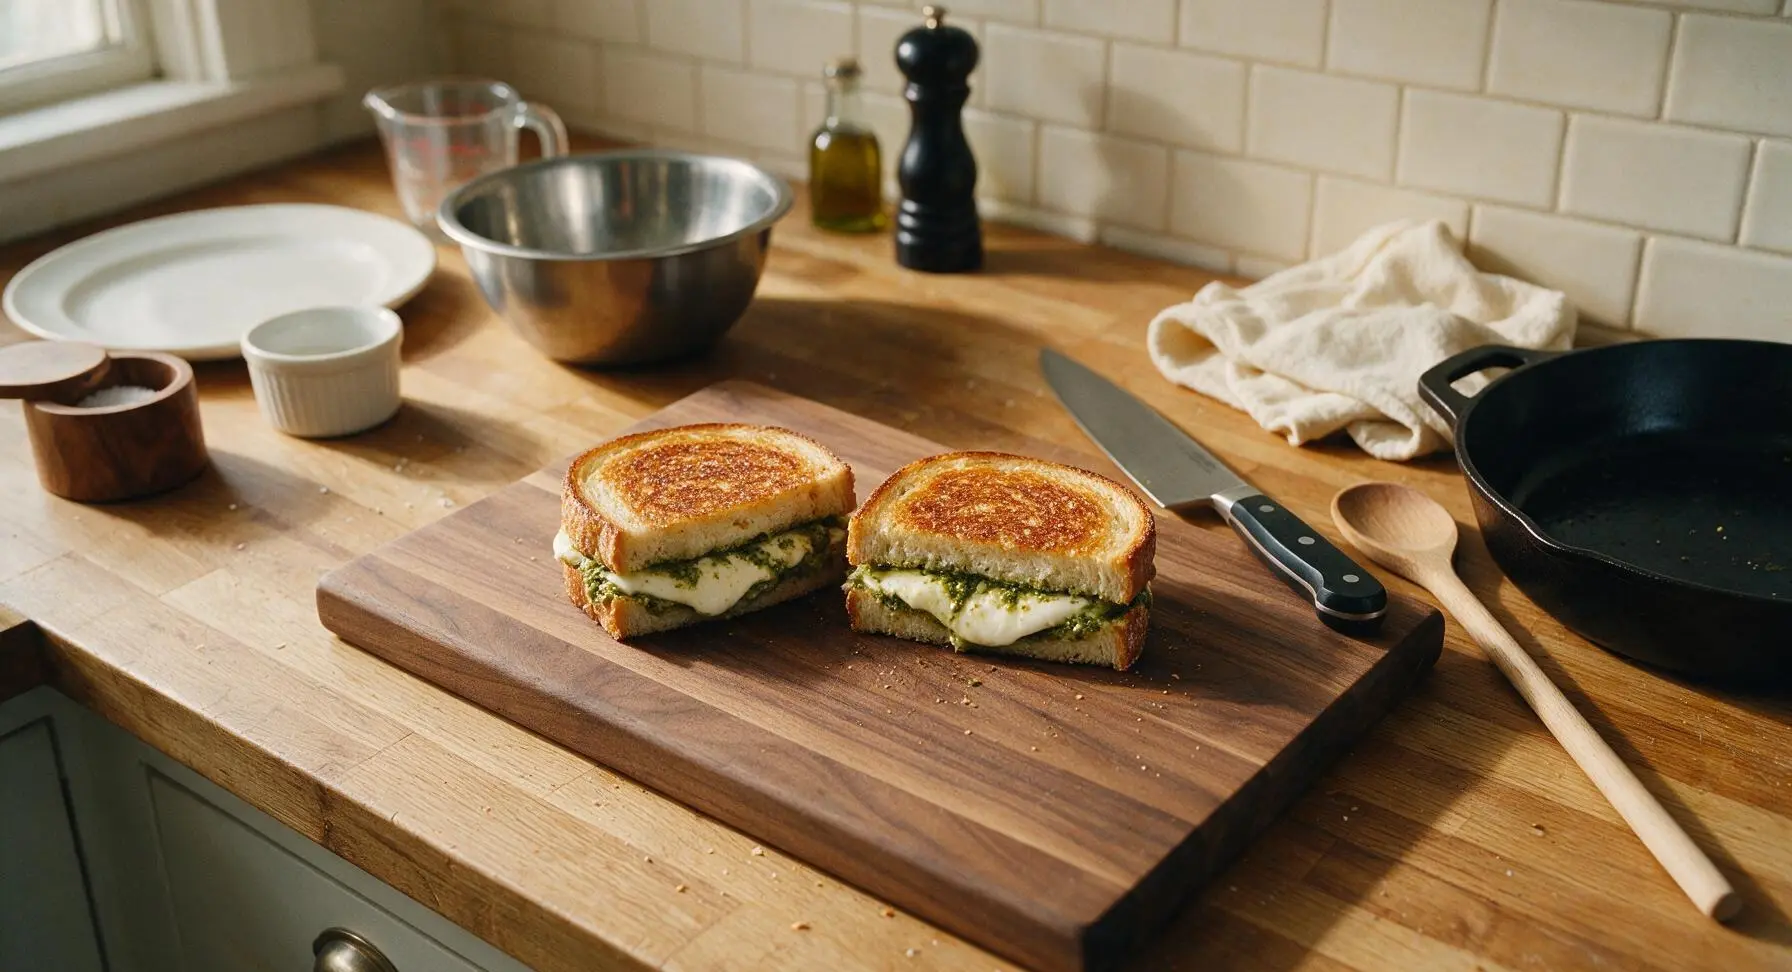
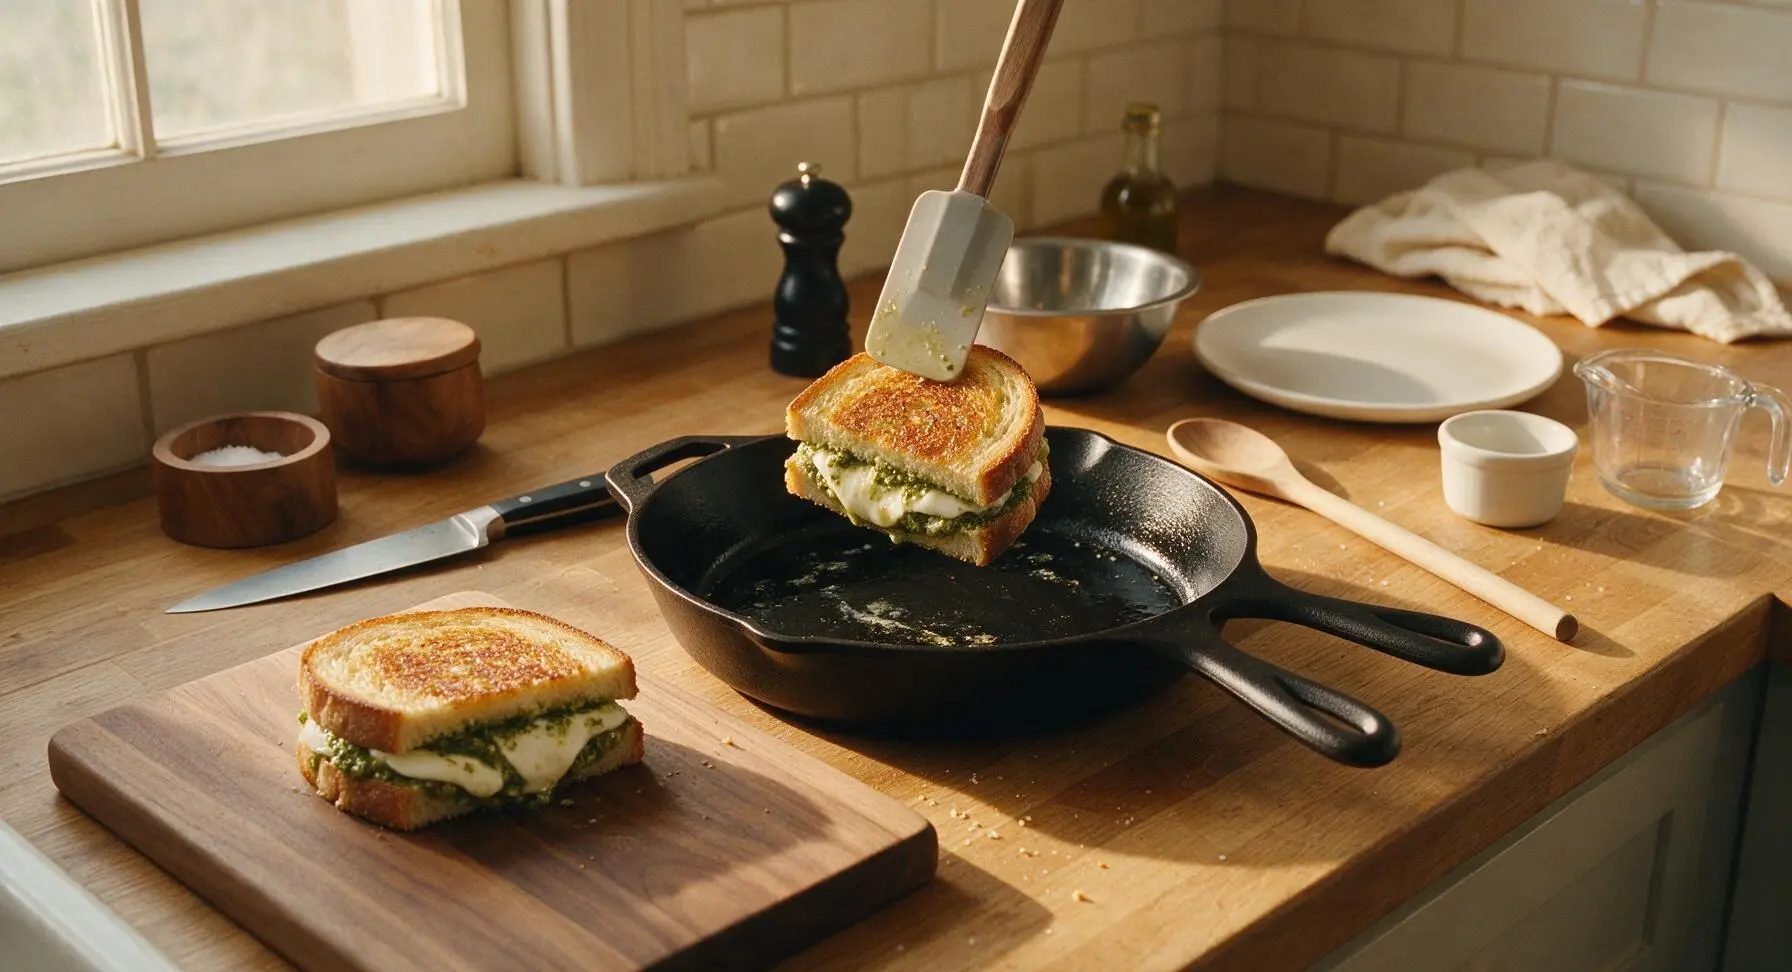
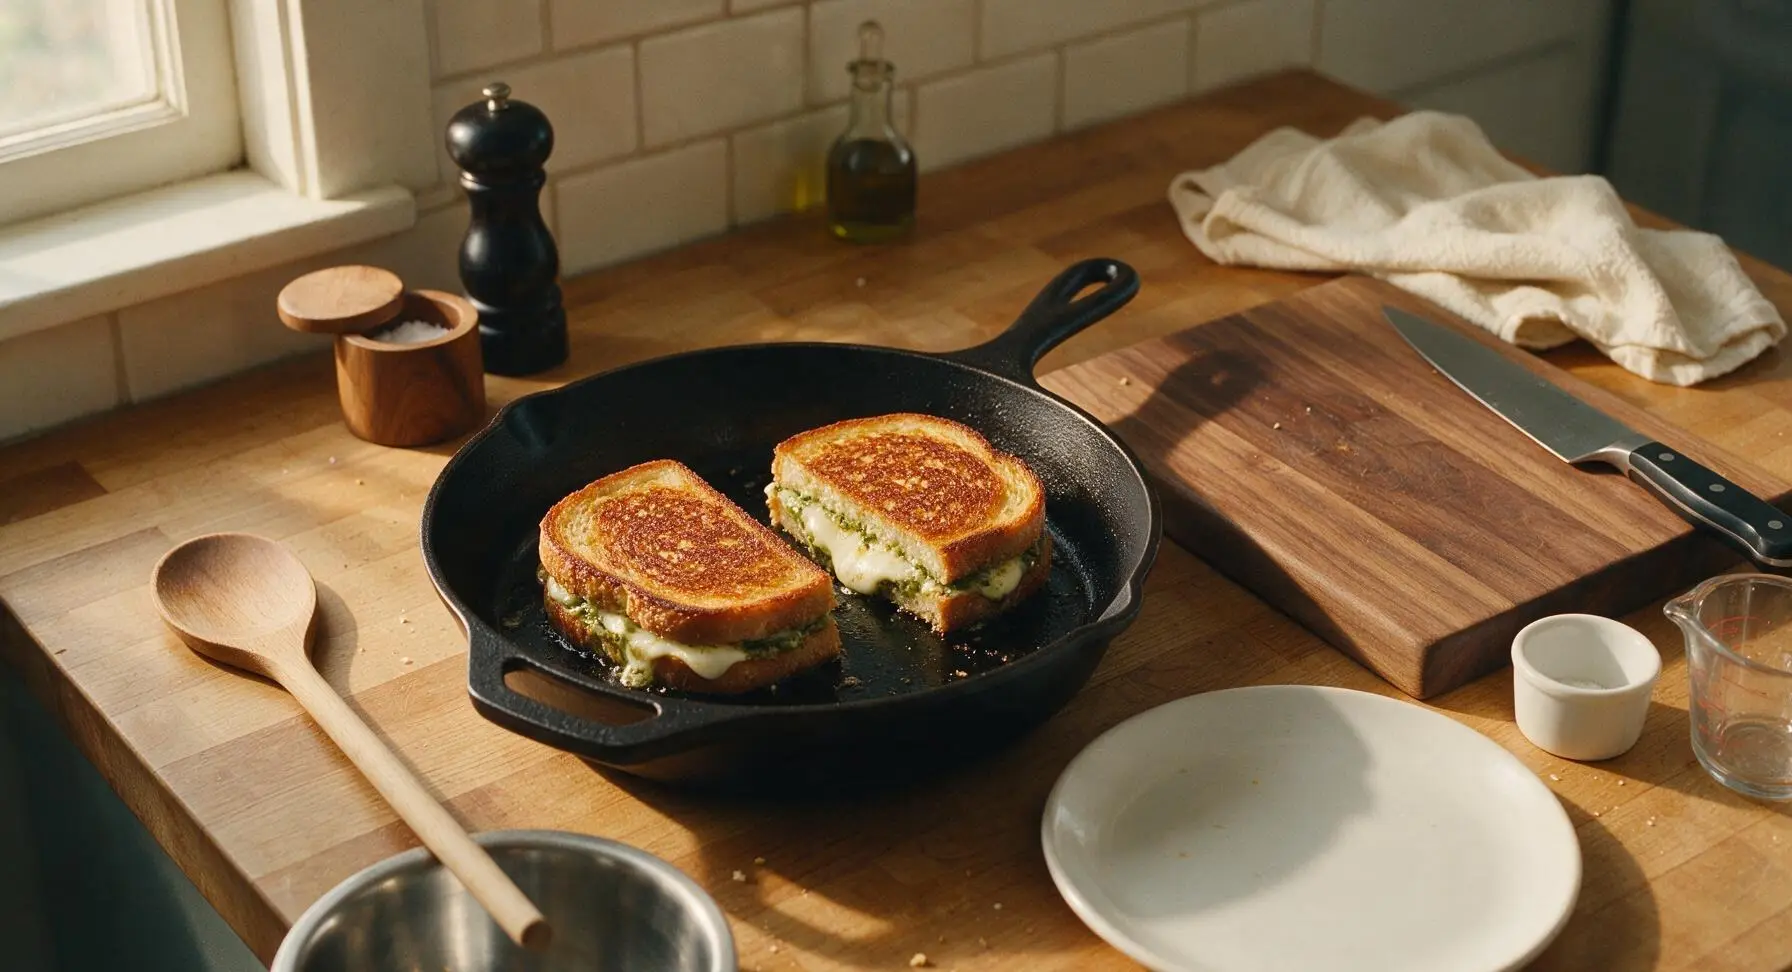
Carefully place both buttered sandwiches into the preheated skillet using the offset spatula. Cook for 3-4 minutes on the first side, resisting the urge to press down on the sandwiches (this squeezes out melted cheese and creates soggy bread), until the bottom bread is deep golden brown and crispy, and the mozzarella closest to the pan begins to soften and melt. Adjust heat to low if the bread browns faster than 3 minutes to avoid burning.
Flip and Finish Cooking
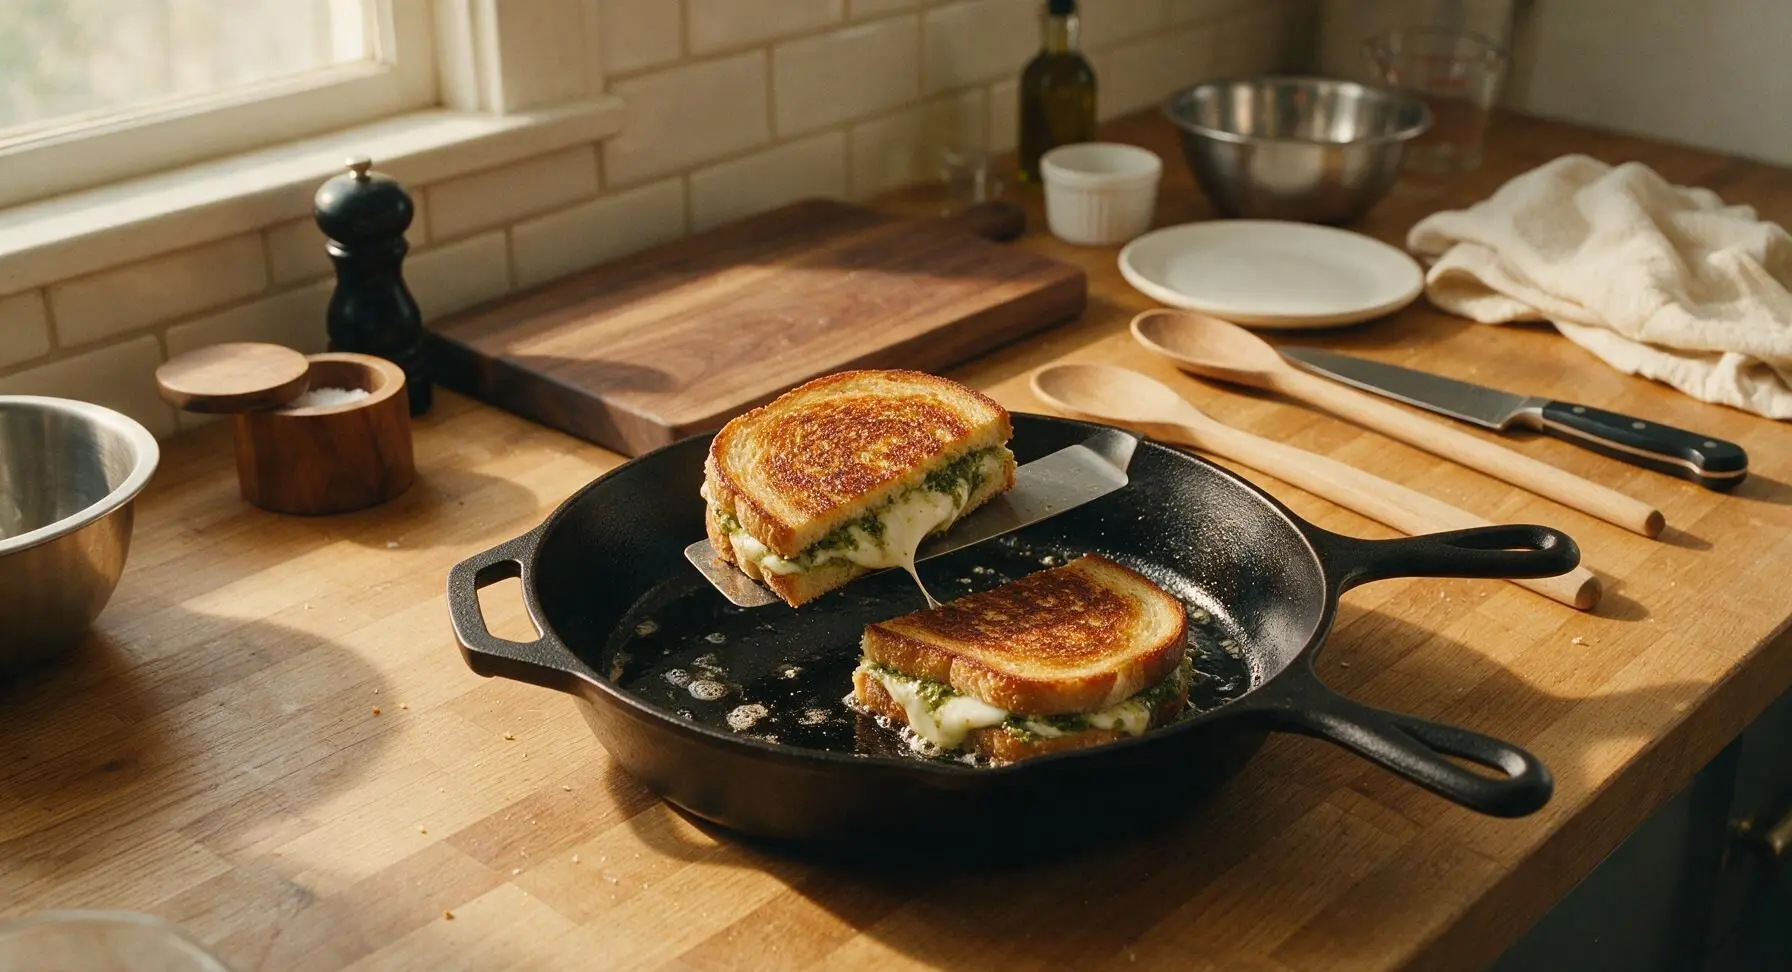
Slide the offset spatula fully under each sandwich to flip carefully, then cook for an additional 3-4 minutes on the second side, until the bread is equally golden and crispy, and the mozzarella is fully melted and oozing slightly from the sandwich edges. Total cook time per sandwich is 6-8 minutes; the cheese will be fully stretchy when melted, with no firm, unmelted chunks left in the center.
Rest, Slice, and Plate
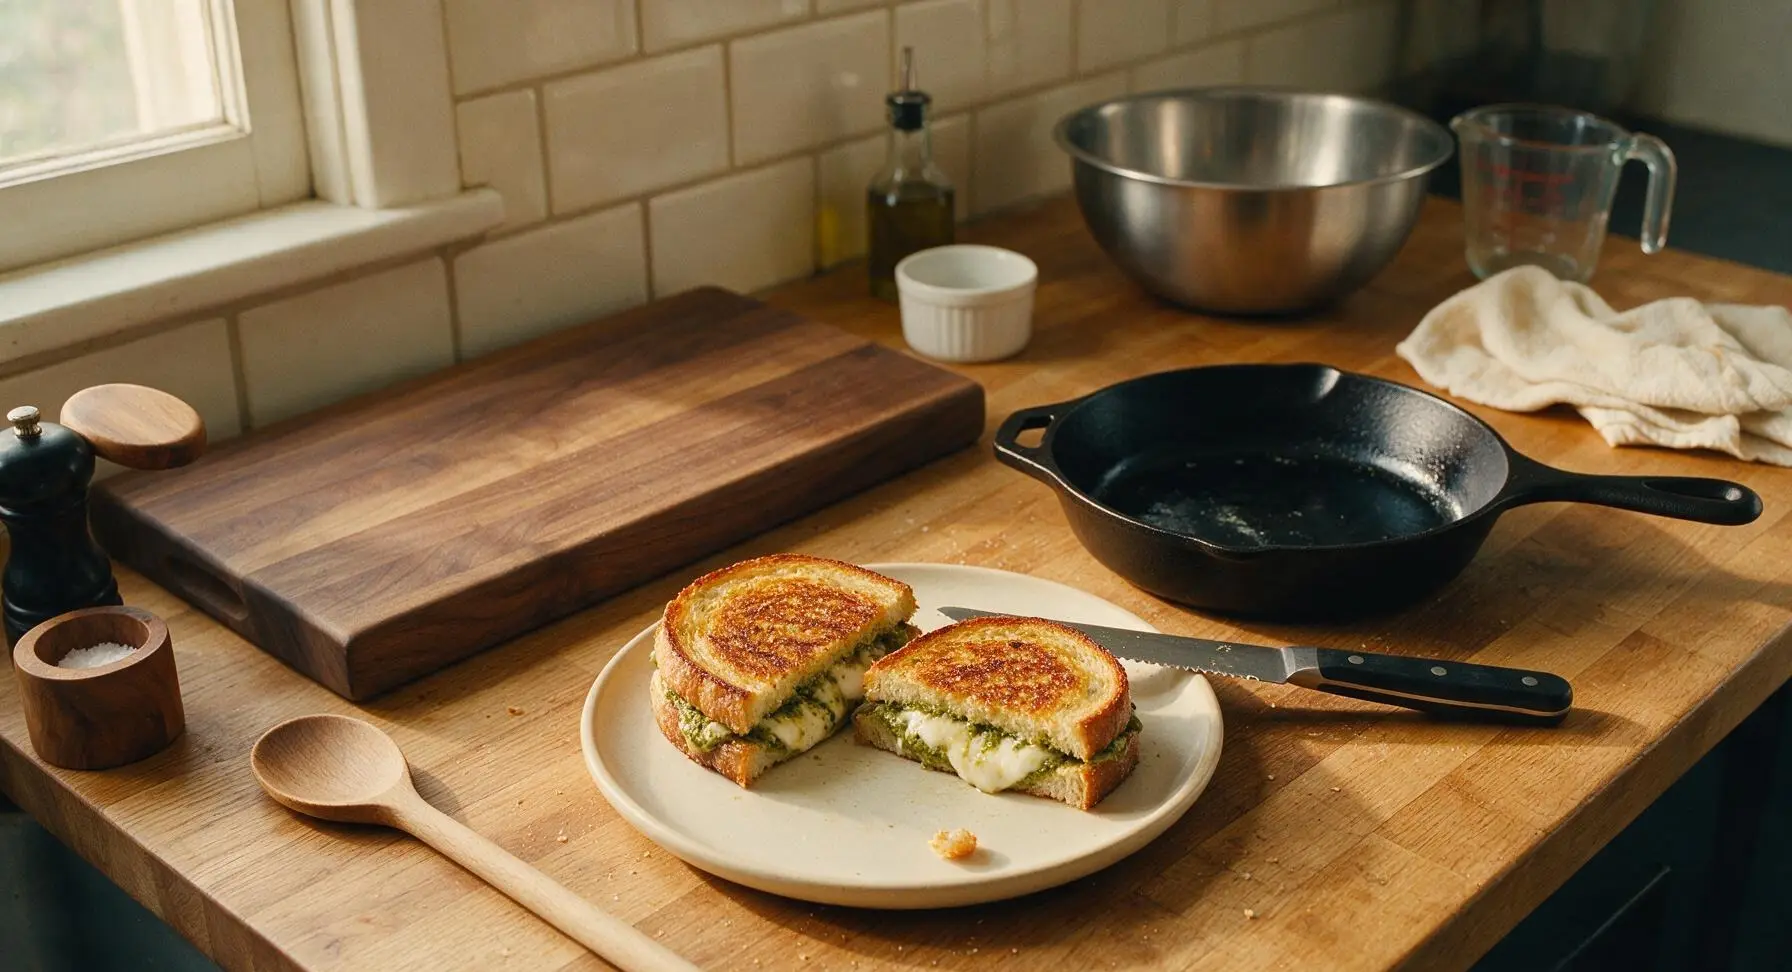
Transfer the cooked sandwiches from the skillet to the matte cream ceramic lunch plates. Let rest for 1 minute to allow the cheese to set slightly (this prevents all filling from sliding out when cut), then cut each sandwich diagonally into two triangles with the serrated bread knife. Garnish with a single small fresh basil leaf if desired, and serve immediately.
Tips
2.Cook over medium-low heat, not high: high heat will burn the butter and bread exterior before the cheese has time to fully melt, leading to bitter, charred bread surrounding firm, unmelted cheese.
3.Let the cooked sandwich rest for 1 full minute before slicing: this short rest allows the melted cheese to thicken slightly, so it stays between the bread slices instead of oozing out onto the plate, and creates the perfect stretchy cheese pull when you take a bite.






OMG this is such a game changer! I was so sick of regular plain grilled cheese for the kids’ school lunches, threw this together in literally 8 minutes like the recipe said and BOTH my kids asked for seconds! I used store-bought basil pesto and fresh mozz from the deli counter, came out perfectly crispy and oozing. 10/10 will be adding this to our weekly meal rotation!
SO good! I made this last minute for a quick dinner last night when I forgot to thaw chicken, and my husband thought I spent way longer on it than 8 minutes, lol. I added a little sprinkle of red pepper flakes on mine for a tiny kick, would highly recommend that hack. Super easy even for someone who burns toast half the time (read: me).
Brought these cut into little bite-sized squares to my neighborhood potluck on Saturday and they were gone in 10 minutes flat! Multiple people asked me for the recipe, I just sent them the link. Perfect easy finger food, didn’t have to keep them warm or anything, they tasted great even at room temp. Pro tip: brush the outside of the bread with a little garlic butter before grilling, thank me later.
Wait has anyone tried this with gluten free bread? I made this last week with regular sourdough and it was incredible, but I need to make it for my celiac sister when she visits next weekend. I’ve had bad luck with GF grilled cheeses getting too soggy or not crisping up right, and I don’t want to mess this up for her!
Bro this is the easiest best thing I’ve made in my dorm all semester. I don’t even have a real grill, just used a cheap nonstick pan on my hot plate, used jarred pesto and pre-shredded mozz because that’s all the corner market had, and it still slapped. Way better than the dining hall grilled cheese that’s always half burnt and has no flavor.
Made a batch of these for my weekly meal prep, wrapped them individually in parchment paper, and they reheated perfectly in the toaster oven at work all week! I swapped regular mozz for low-moisture part skim to cut down on sogginess when reheating, and the pesto flavor still held up so well. Way better than sad desk salad for lunch.
I made this for my boyfriend’s birthday lunch yesterday and he said it’s better than the grilled cheese we got at that fancy Italian spot downtown last month?? I used homemade pesto from the basil plant on my windowsill and fresh burrata instead of regular mozz because that’s what I had on hand, and it was *chef’s kiss*. Only complaint is I ate half of it before I could get a photo for Instagram, oops.
This was good but I found that my pesto oozed out the sides a lot when I flipped it, made a mess on my pan. Did I put too much pesto? Flavor was 10/10 but the mess was a little annoying, I had to scrub my pan for like 5 minutes after.