
philadelphia cream cheese
intro
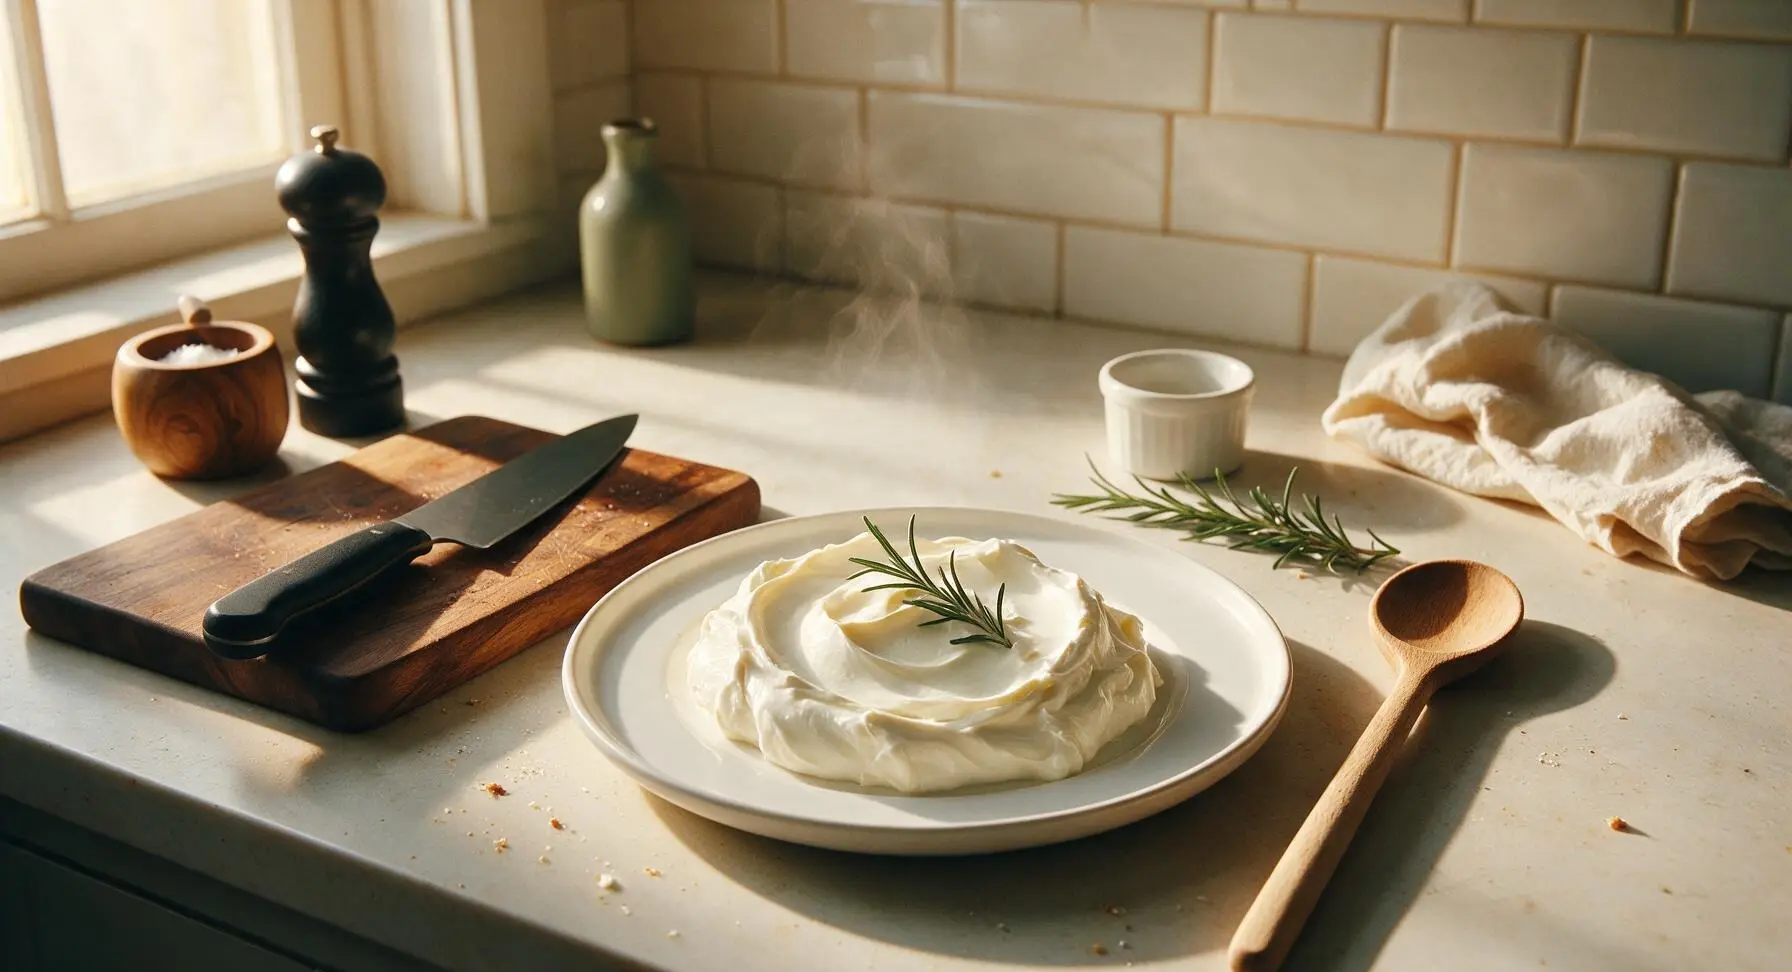
Silky, tangy, luxuriously thick homemade Philadelphia-style cream cheese, free of stabilizers, perfect for spreading on bagels, baking cheesecakes, or whipping into frostings.
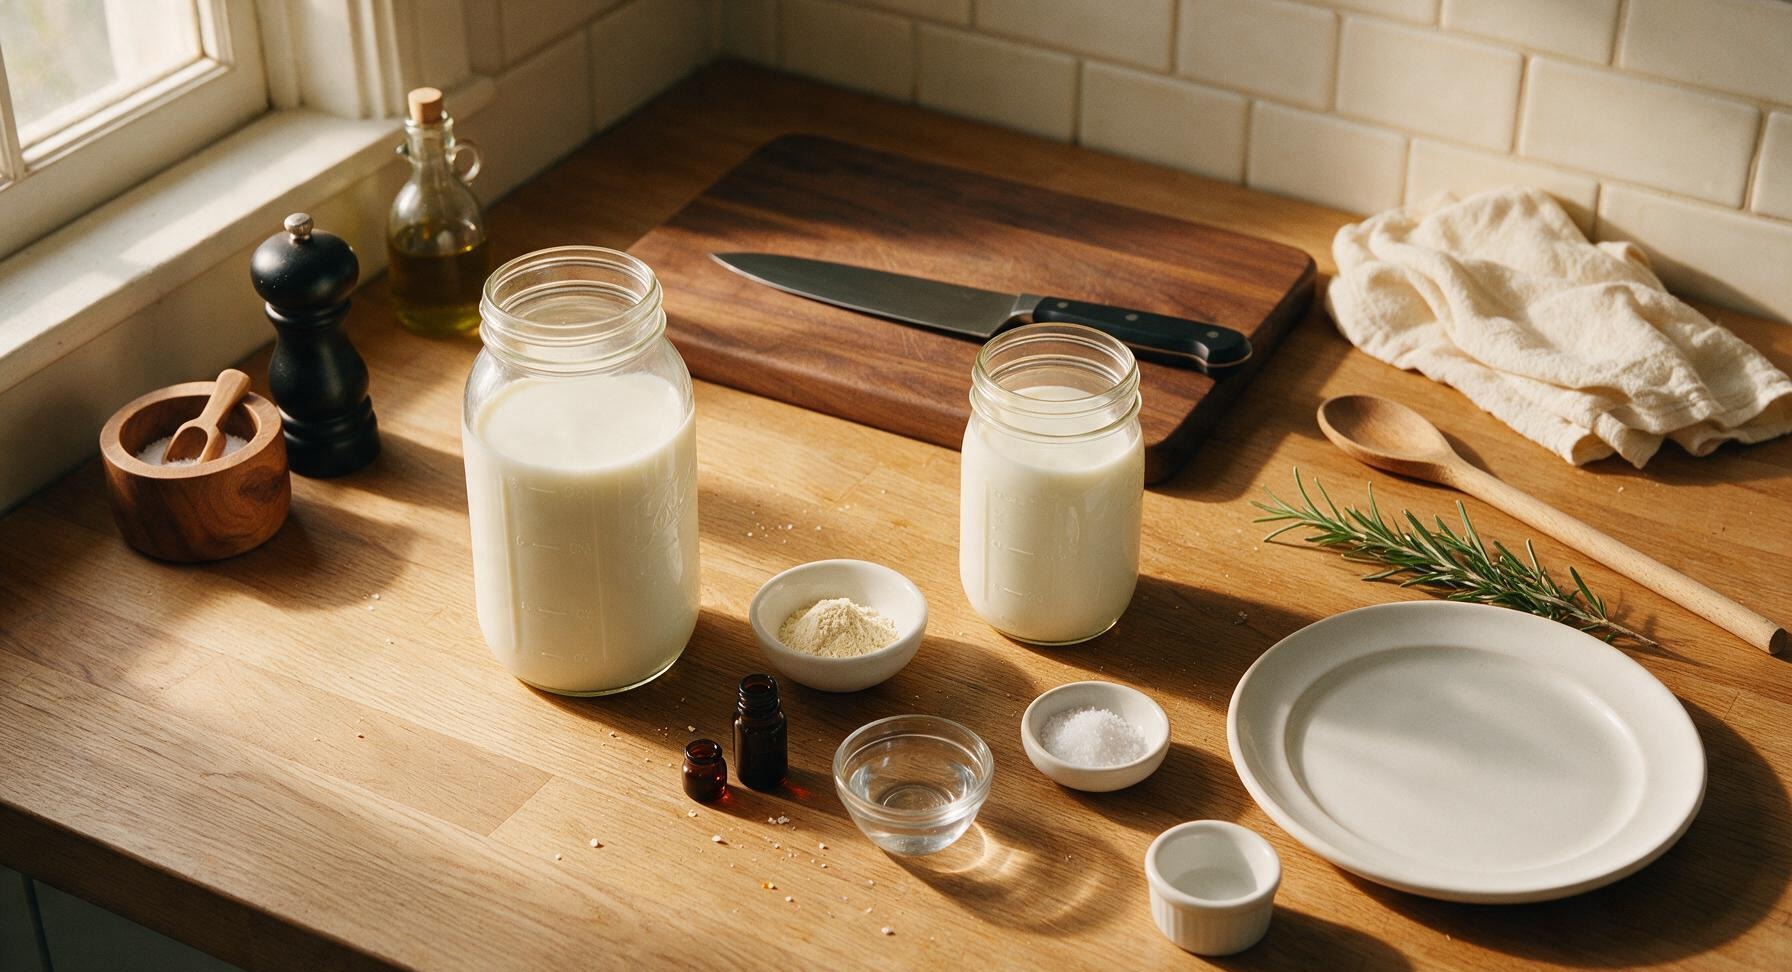
Ingredients
Steps
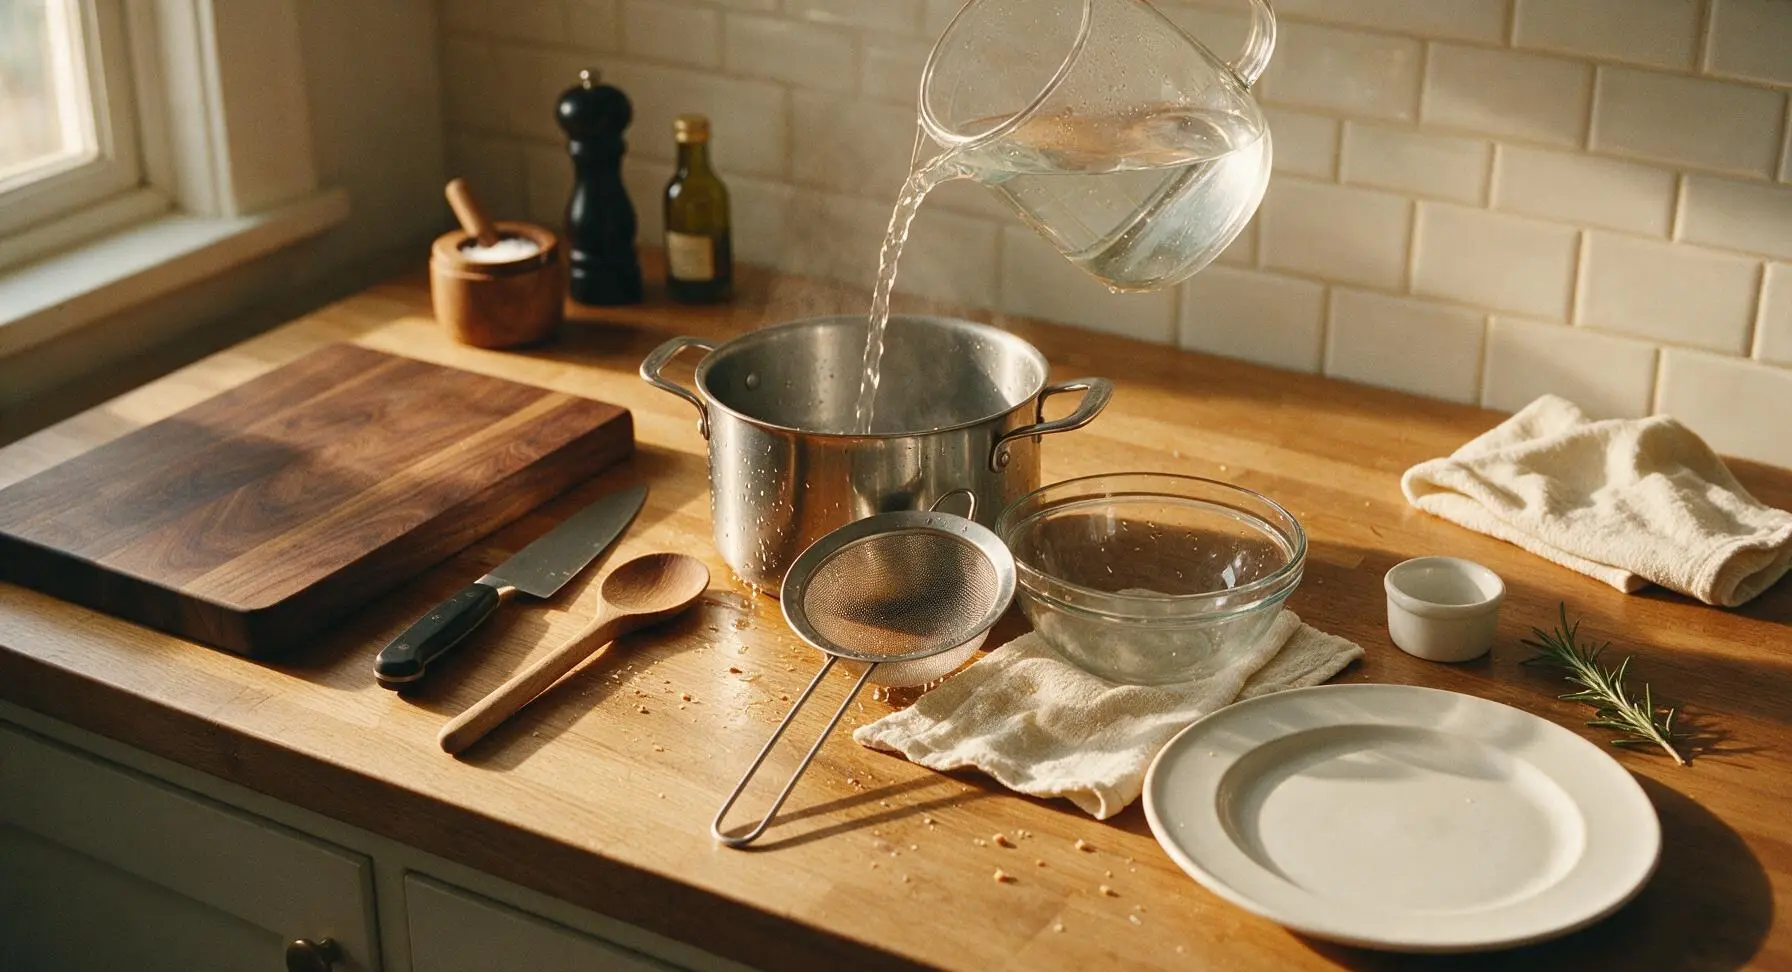
Sanitize All Equipment
Wash the 5-quart stainless steel stock pot, slotted spoon, fine-mesh strainer, glass mixing bowl, paring knife, silicone spatula, and immersion blender blending head in hot soapy water, then rinse all surfaces with boiling water to eliminate unwanted bacteria that can cause off-flavors or spoilage. Dry tools thoroughly with the linen towel before returning them to their fixed counter positions. Avoid using scented soap, as residual fragrance can transfer to the cheese.
Warm Milk and Cream
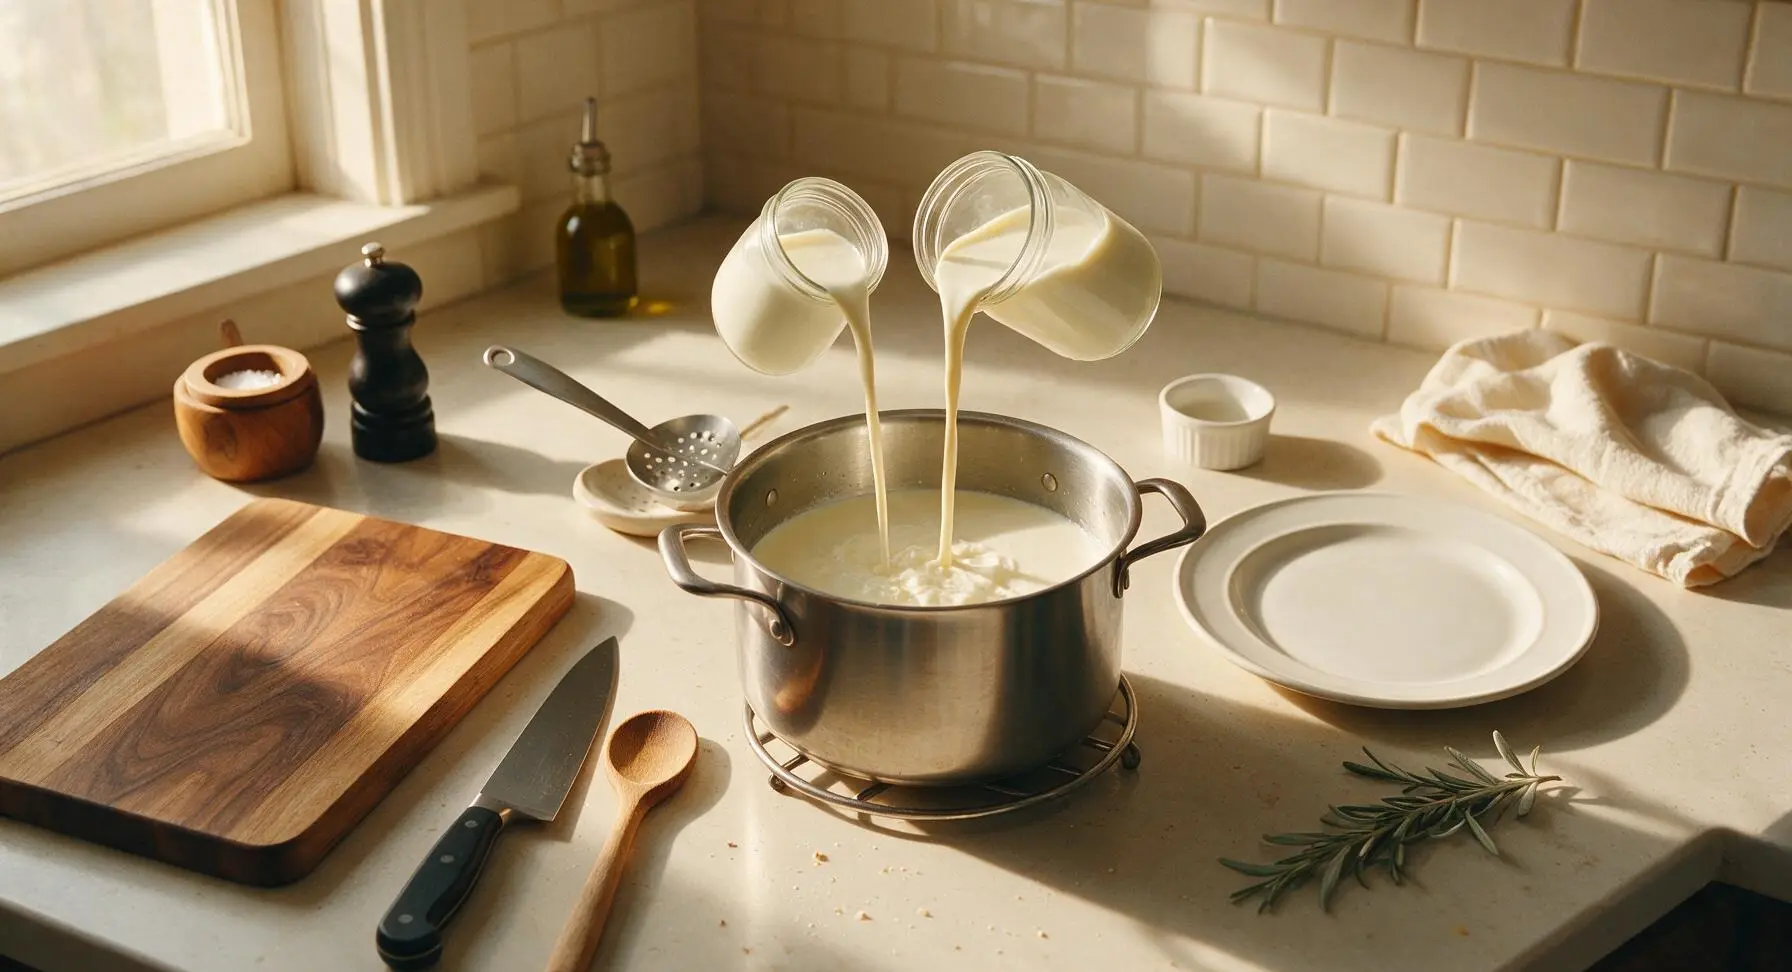
Pour the whole milk and heavy cream into the sanitized stock pot. Set over the lowest stovetop heat, stirring slowly and consistently with the slotted spoon, until the dairy mixture reaches exactly 86°F (30°C) as measured with the instant-read thermometer. Do not heat above 90°F (32°C), as excess heat will kill the active cheese culture. The mixture will feel lukewarm, not hot, to the touch.
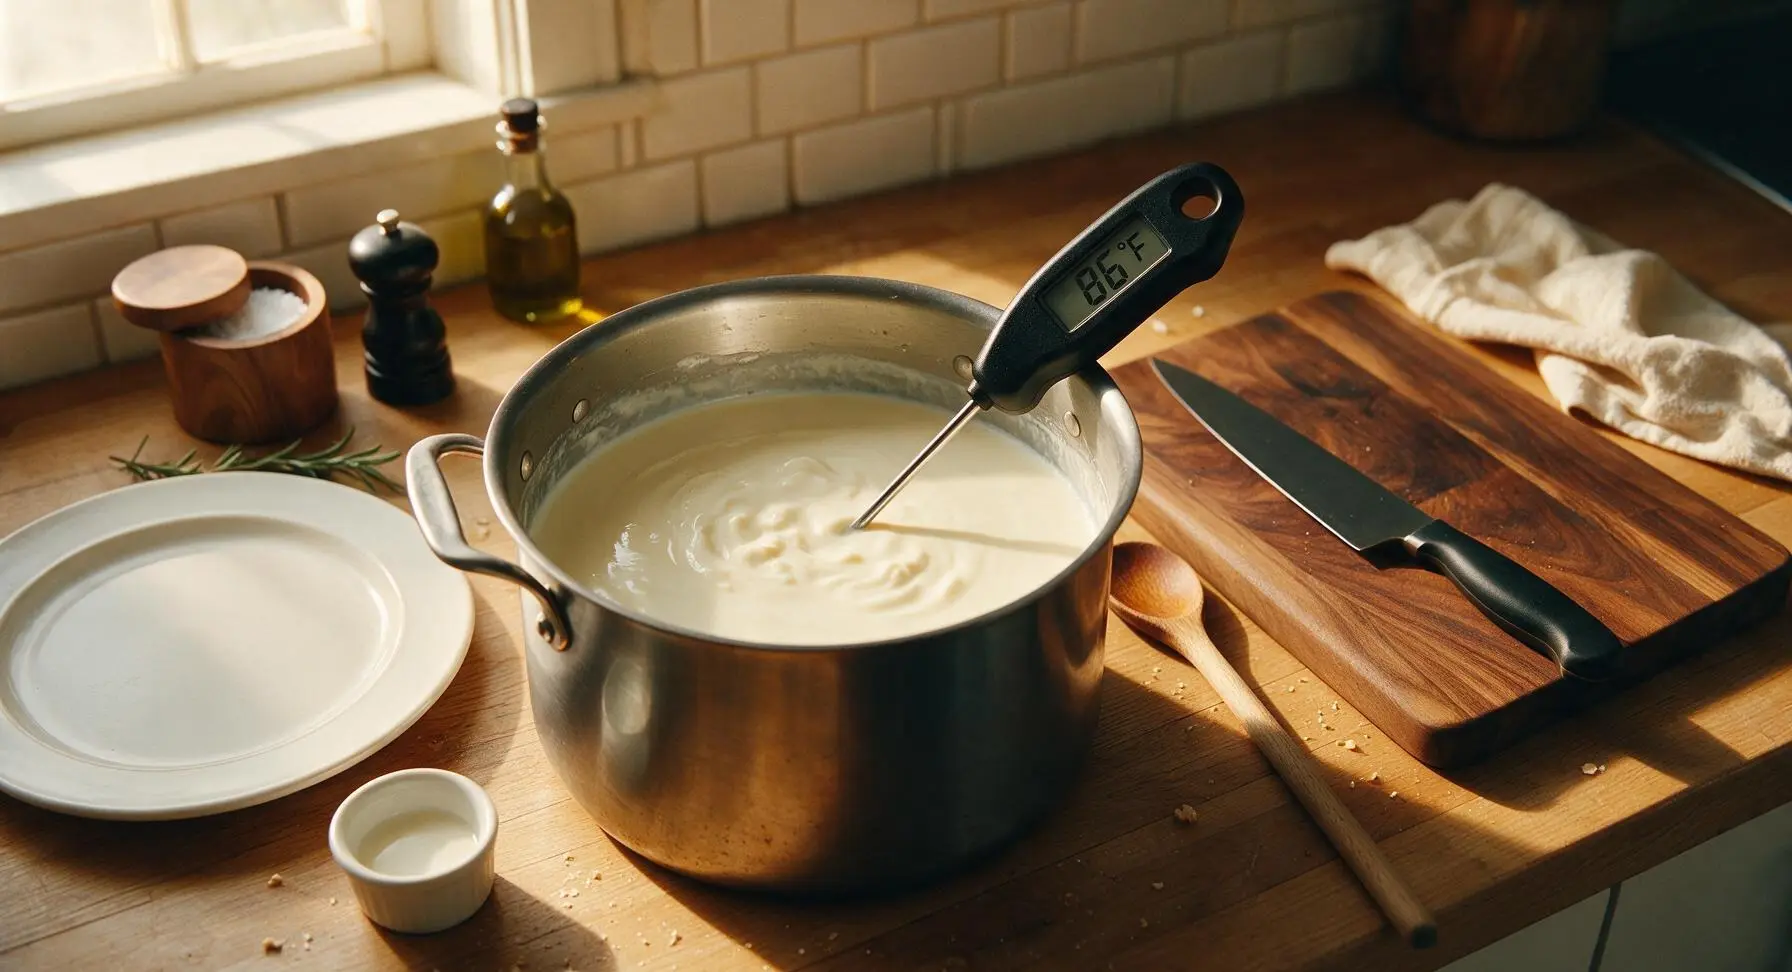
Add Mesophilic Culture
Sprinkle the 1/8 teaspoon of mesophilic cheese culture evenly across the surface of the warm milk and cream mixture. Let the culture sit undisturbed for 5 minutes to rehydrate, then stir gently in slow up-and-down motions with the slotted spoon to fully incorporate the culture without incorporating air. Place the stainless steel lid on the pot.
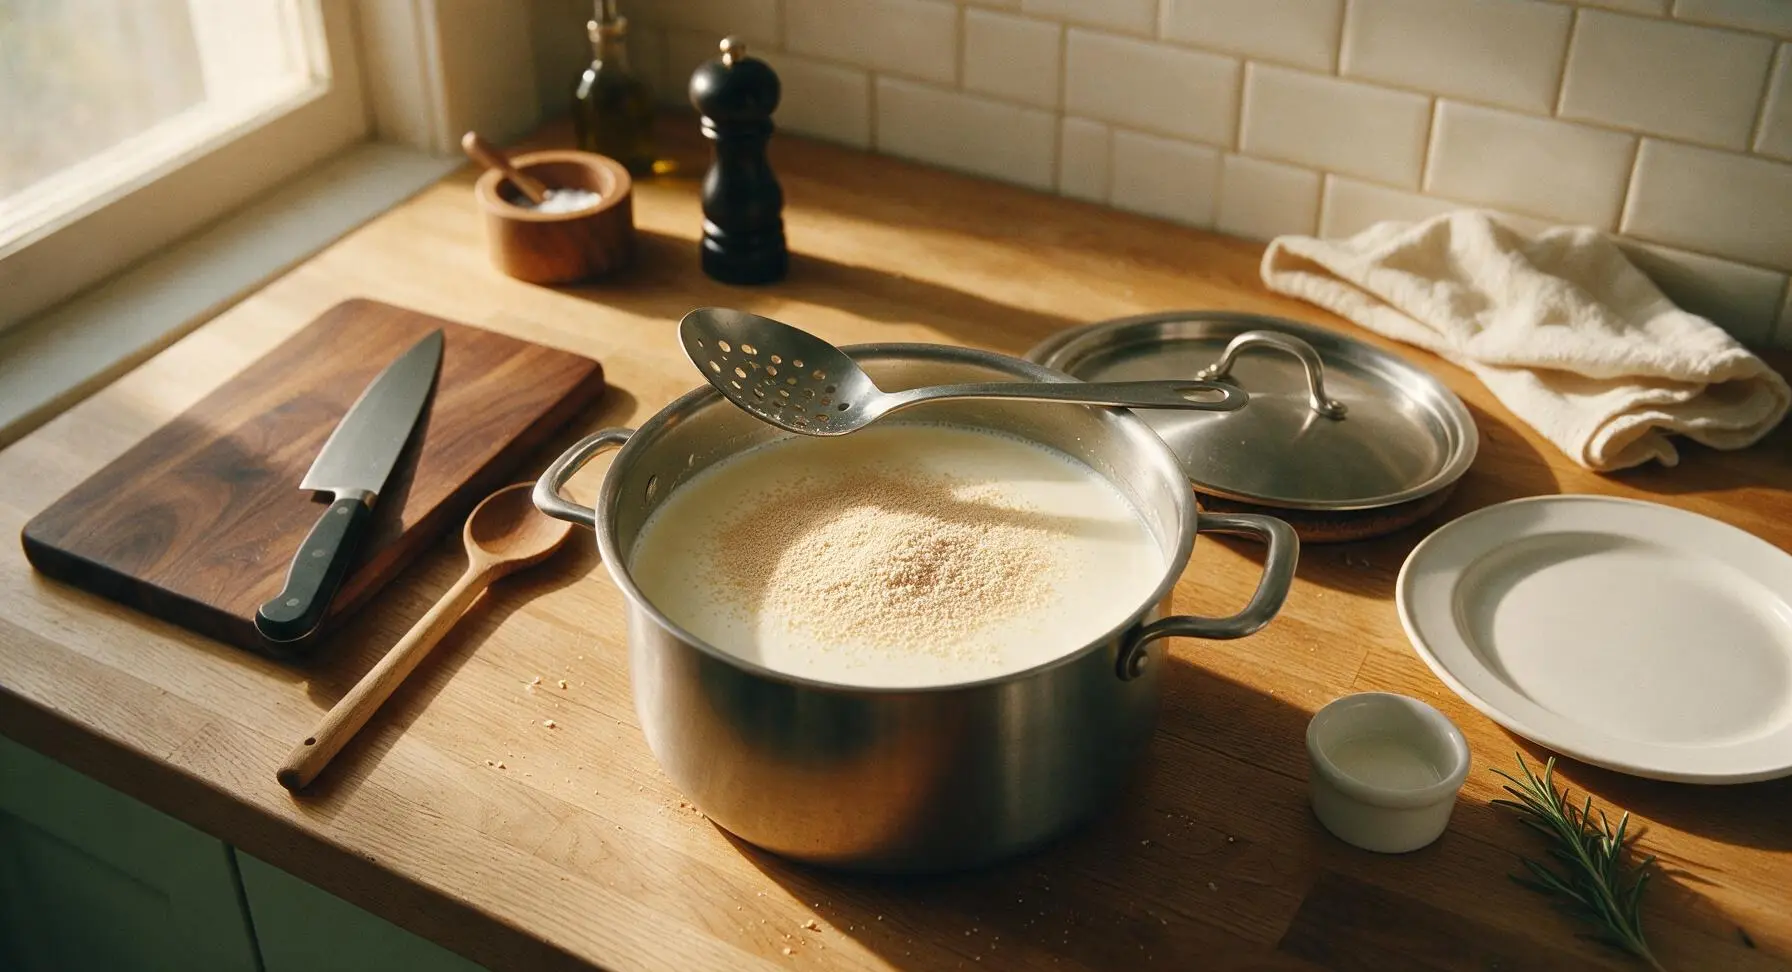
Let Mixture Ripen
Move the covered pot to a draft-free spot with a consistent temperature of 70-75°F (21-24°C). Let the mixture rest undisturbed for 12 hours, until it thickens to the consistency of loose set yogurt and has a clean, mildly tangy aroma. Do not stir, jostle, or uncover the pot unnecessarily during this ripening period, as temperature fluctuations can disrupt culture growth.
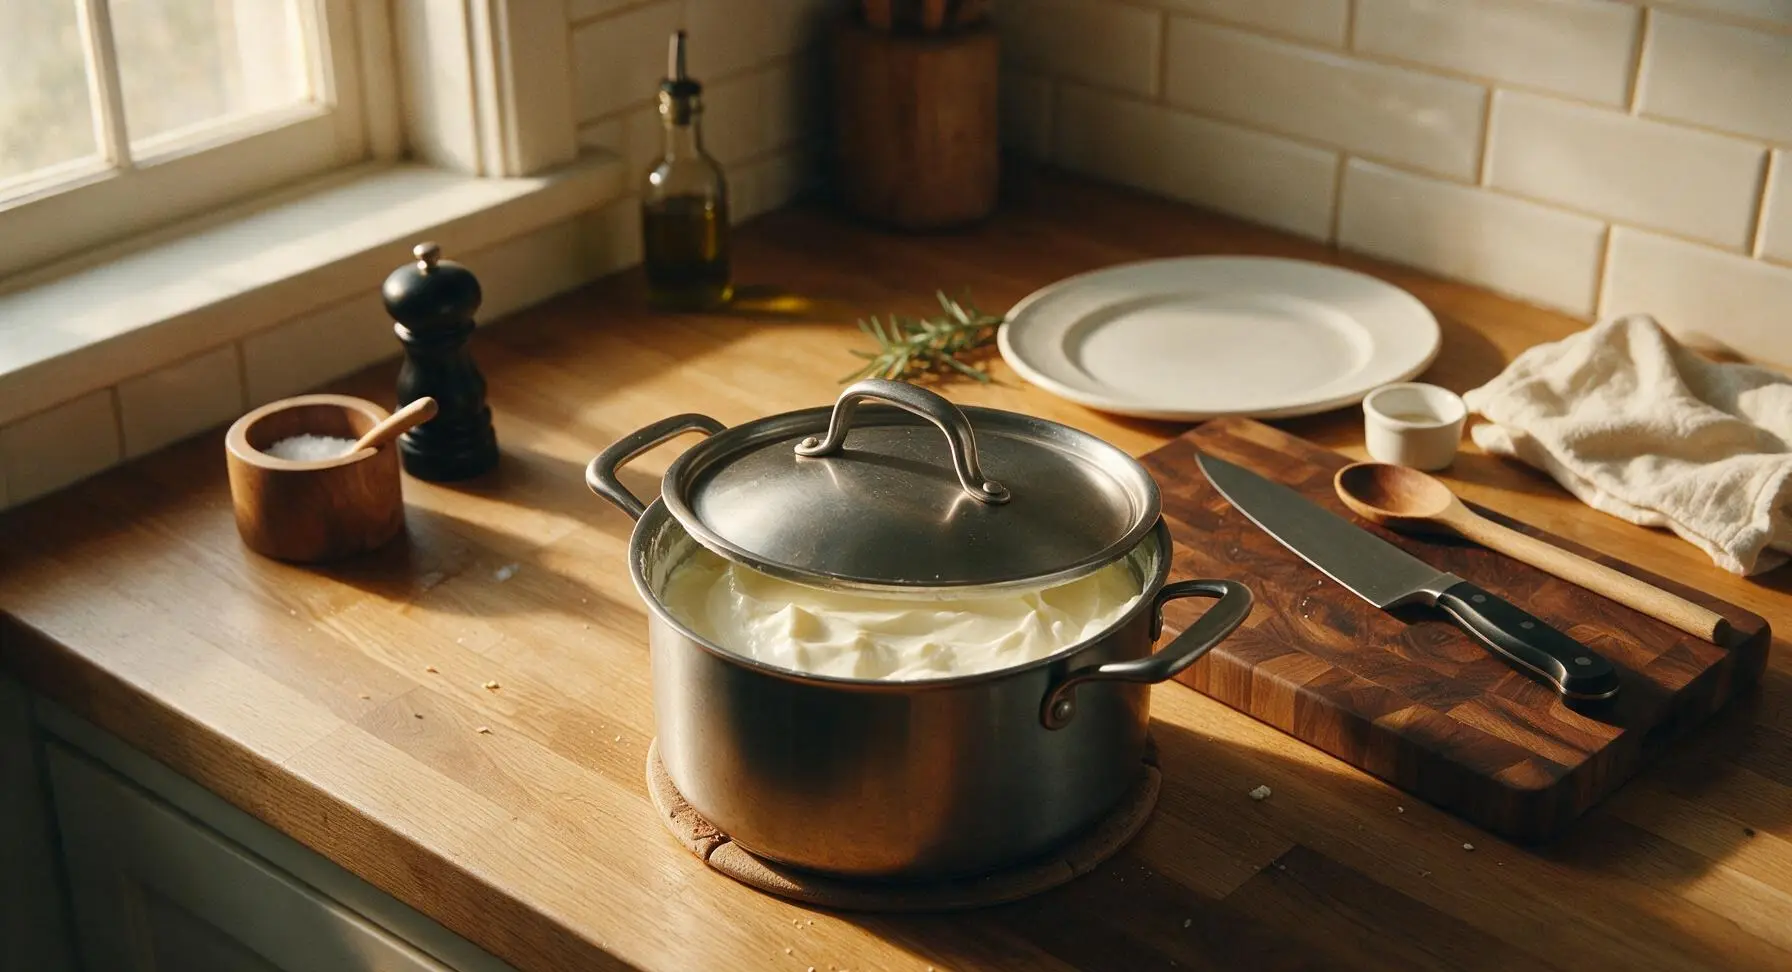
Mix in Diluted Rennet
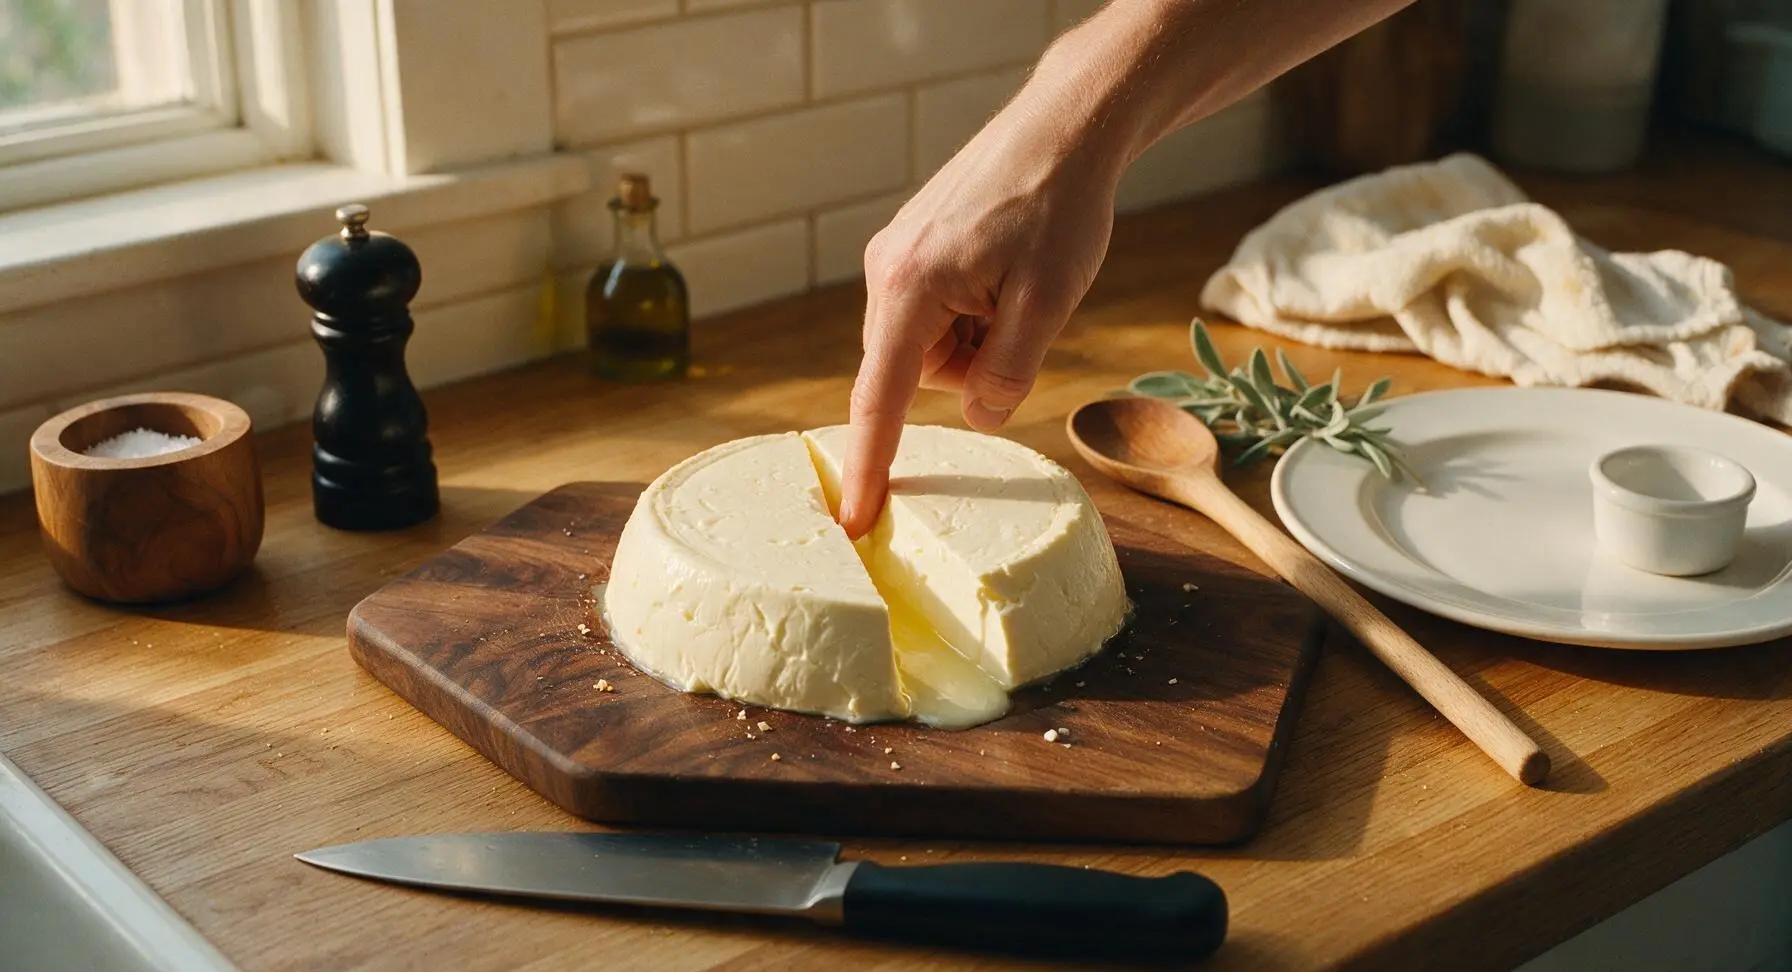
Stir the 2 drops of liquid vegetable rennet into the 2 tablespoons of cool filtered water in the small clear glass condiment cup to dilute it (undiluted rennet will create uneven curd set). Pour the diluted rennet evenly over the surface of the ripened curd, then stir very gently with the slotted spoon for 30 seconds to distribute. Cover the pot again and let rest undisturbed for 1 hour, until a clean break forms: a clean finger inserted into the curd will split it cleanly, with clear pale whey filling the gap instead of curd flowing back.
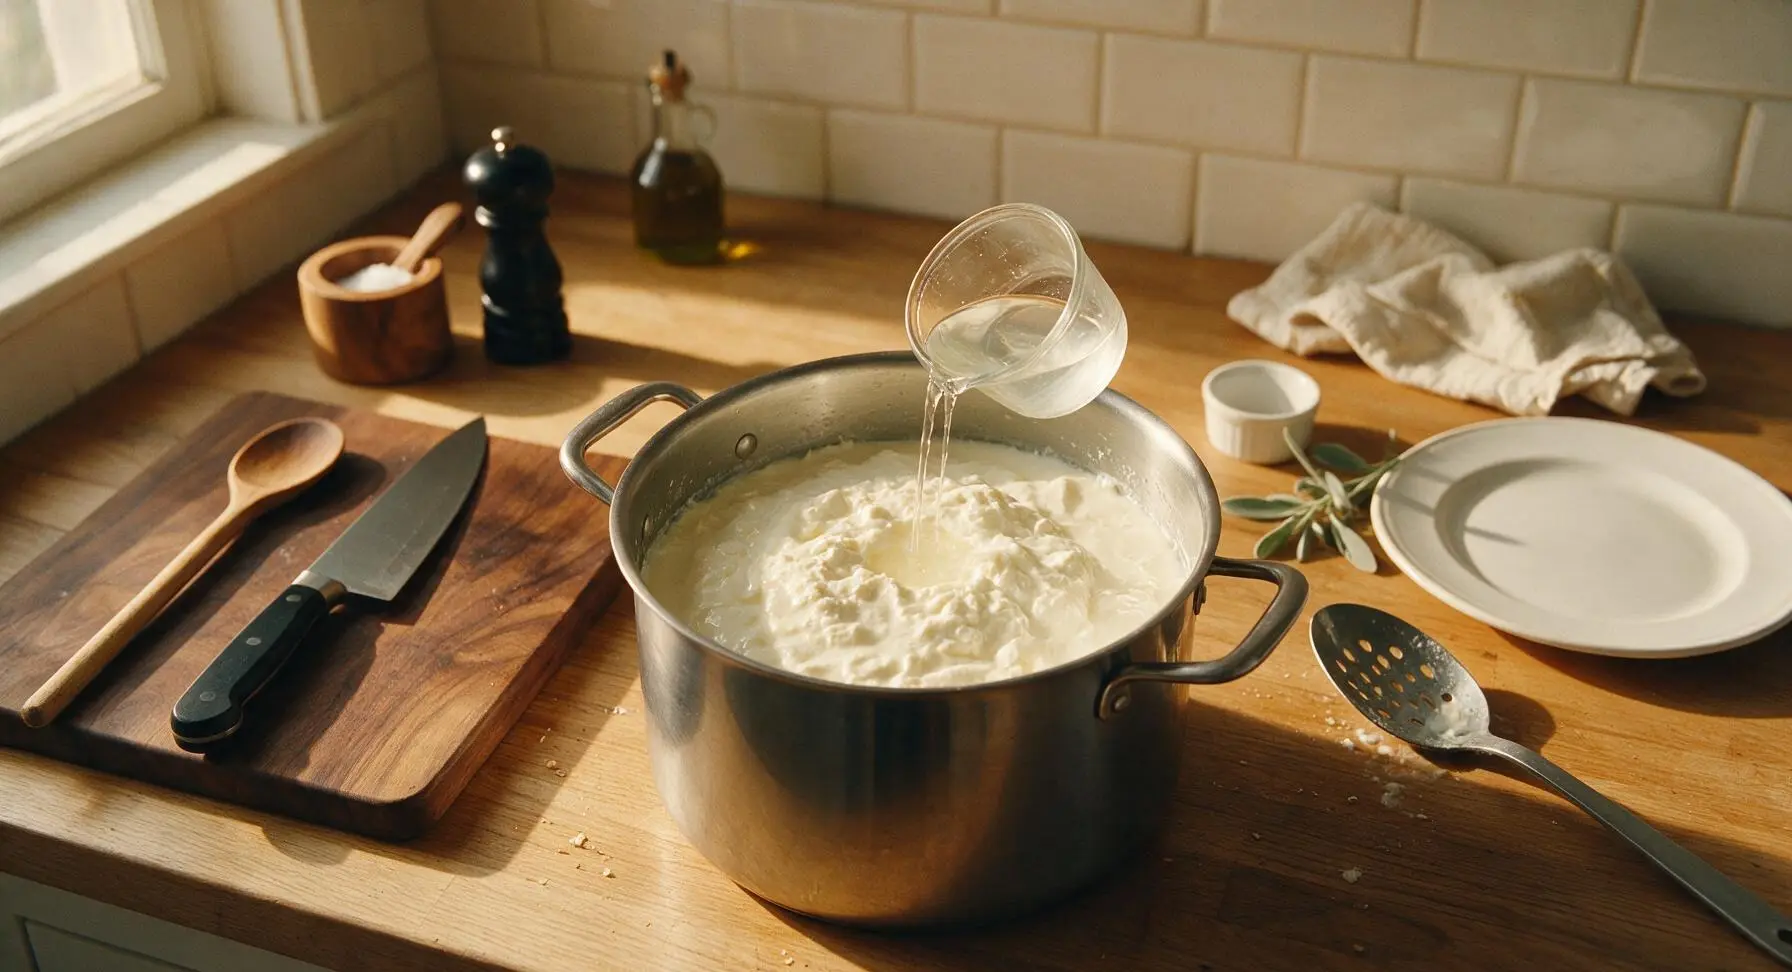
Cut Set Curds
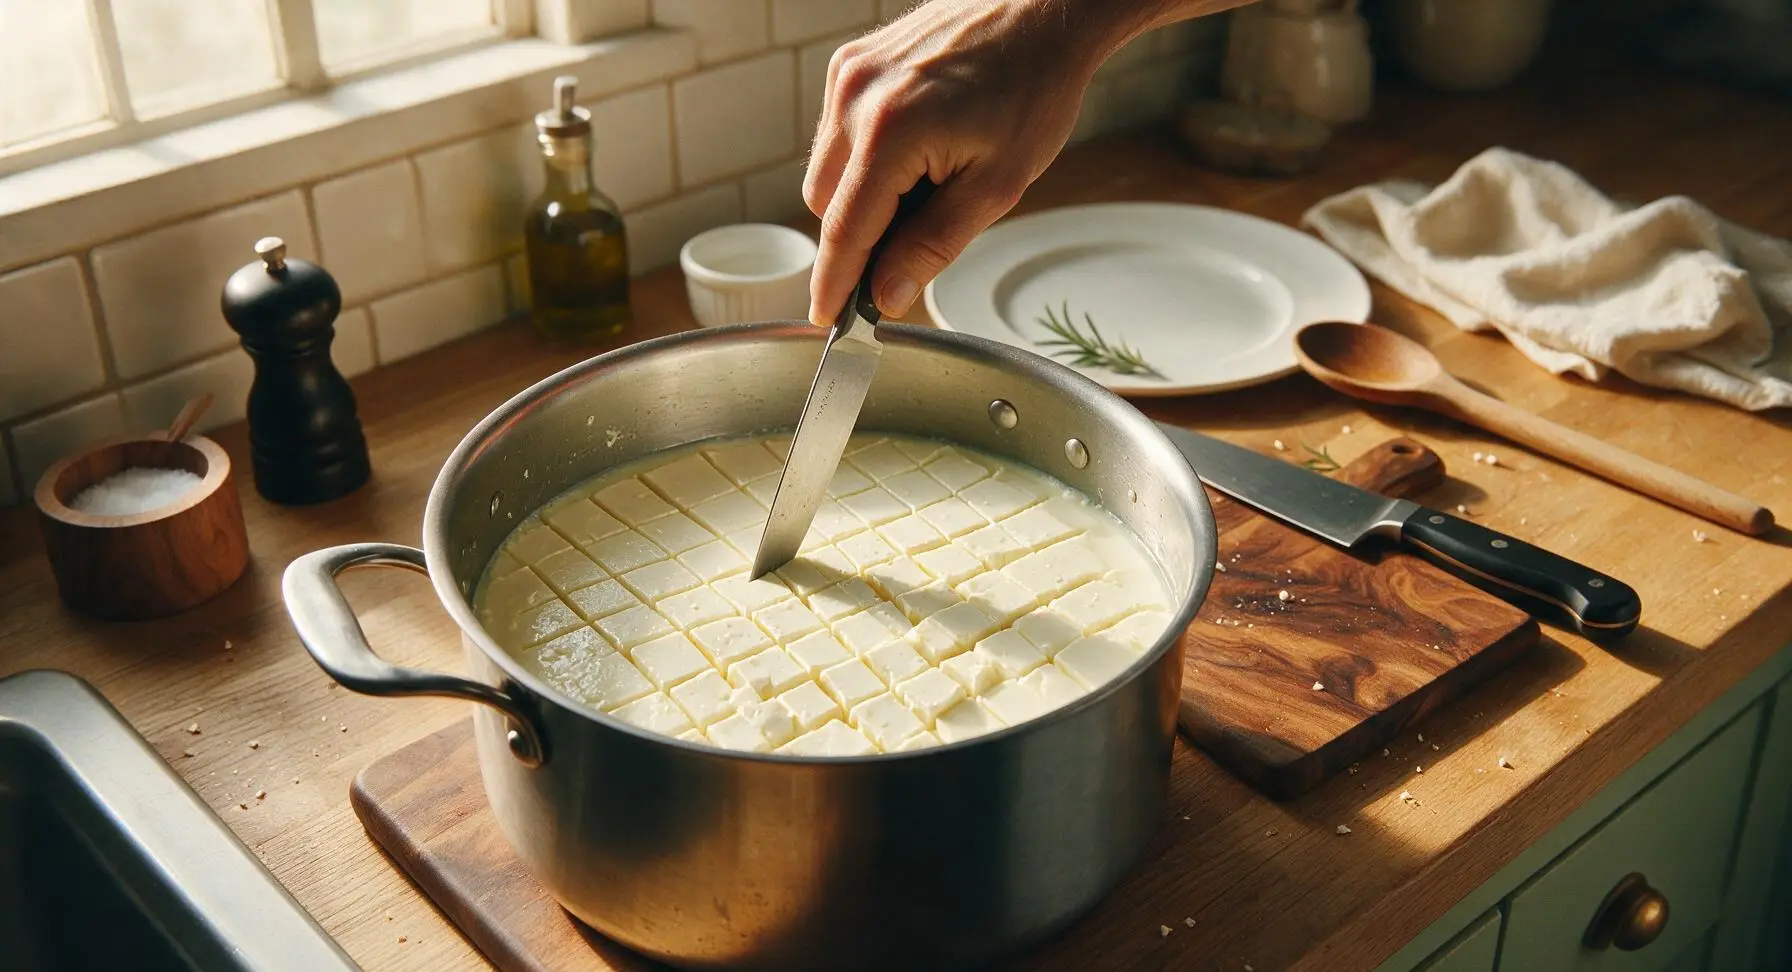
Use the sanitized 6-inch paring knife to cut the firm curd into uniform 1/2-inch cubes: first make straight vertical cuts across the entire pot in a grid pattern, then cut diagonally at a 45-degree angle to reach curds at the bottom of the pot. Let the cut curds rest for 10 minutes to release initial whey, then stir very gently once with the slotted spoon to separate any stuck curd pieces. Curds will shrink slightly as whey seeps out around them.
Drain Whey from Curds
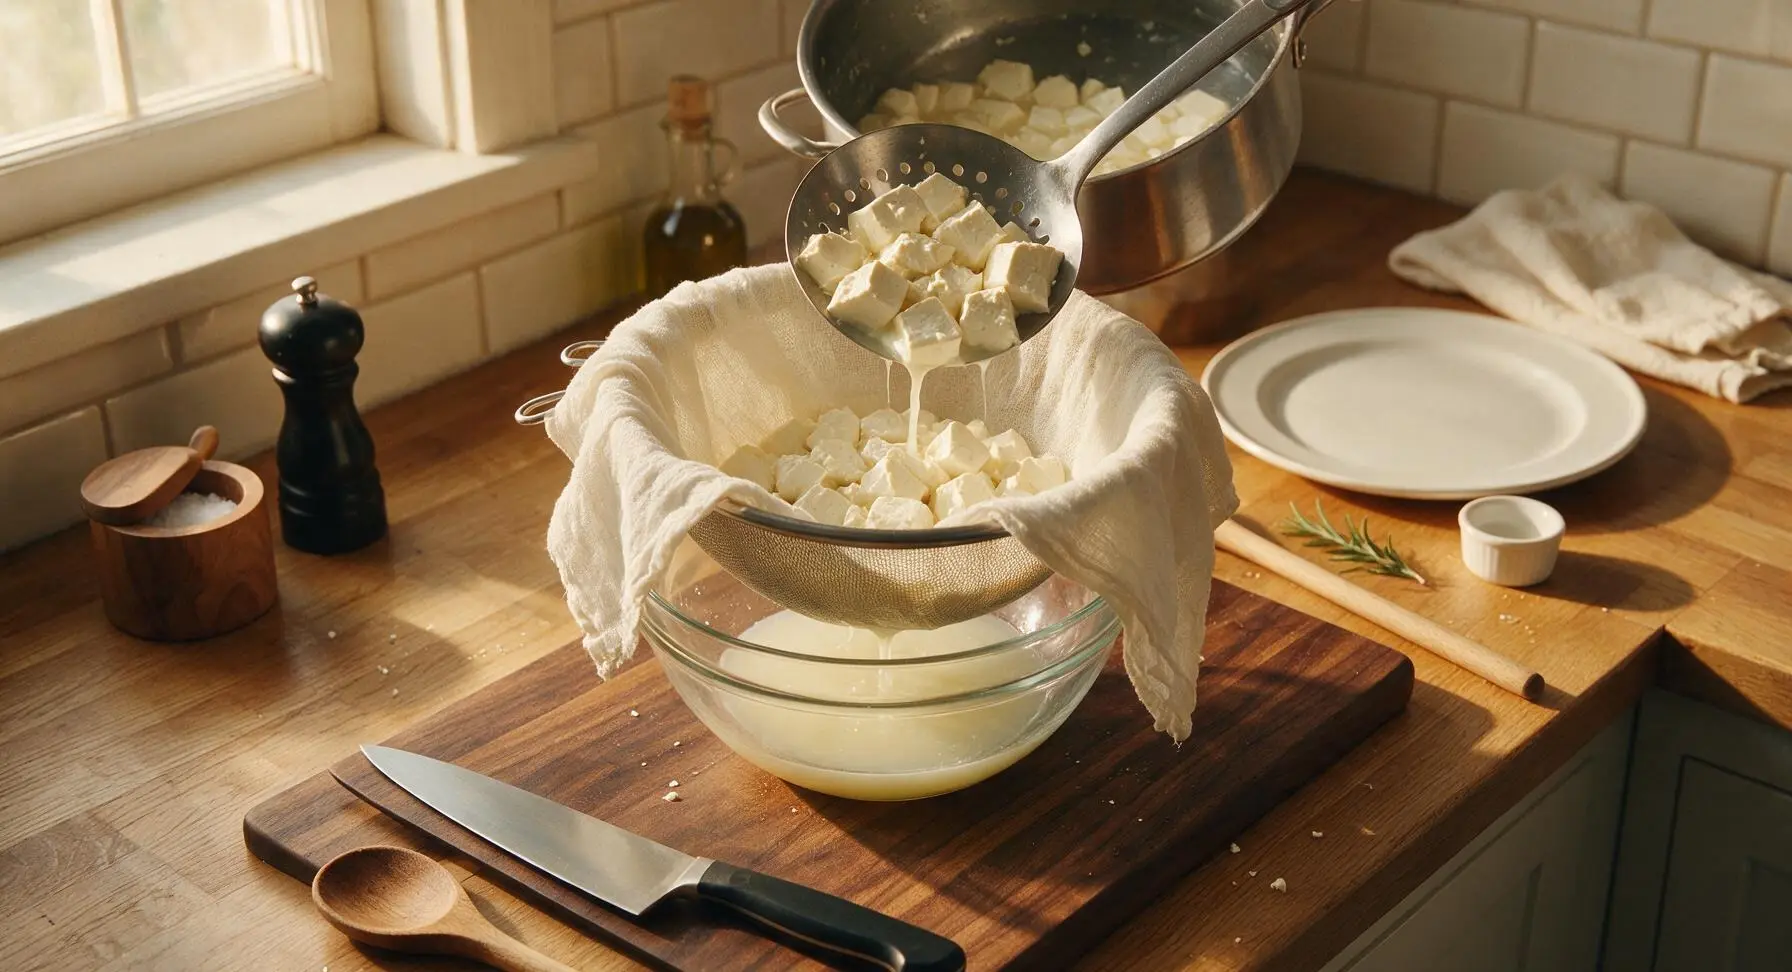
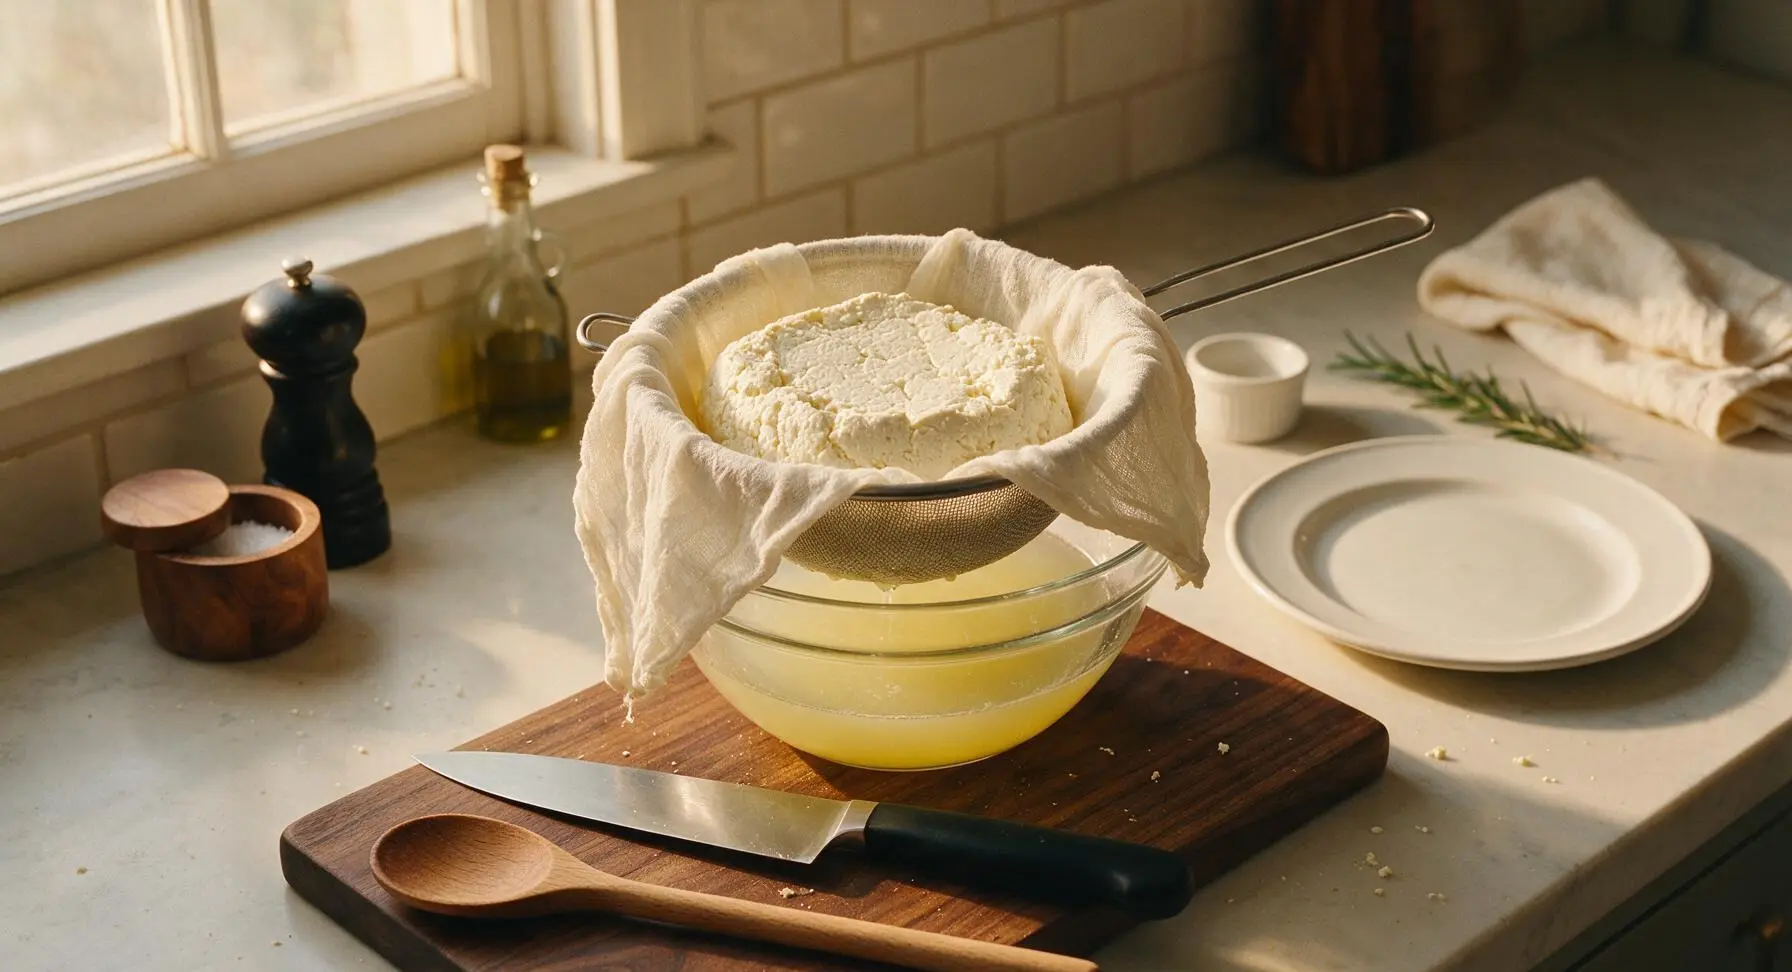
Line the fine-mesh strainer with 2 layers of dampened cheesecloth, then set the strainer over the glass mixing bowl. Use the slotted spoon to gently ladle cut curds into the lined strainer, taking care not to break curds into too-small pieces. Let curds drain at room temperature for 4-6 hours, until no more whey drips into the bowl below and curds are dense, crumbly, and hold together when squeezed gently. Gather cheesecloth corners and squeeze very gently halfway through draining to remove excess whey, but do not press hard enough to force curds through the cloth.
Blend Curds with Salt
Transfer the fully drained curds to the clean glass mixing bowl, add the 1/2 teaspoon of fine sea salt. Use the immersion blender to process curds on high speed for 1-2 minutes, scraping down the bowl sides with the silicone spatula as needed, until the mixture is completely smooth, silky, and free of any grainy lumps. Do not over-blend, as excess mixing can break down the fat and create a runny final texture.
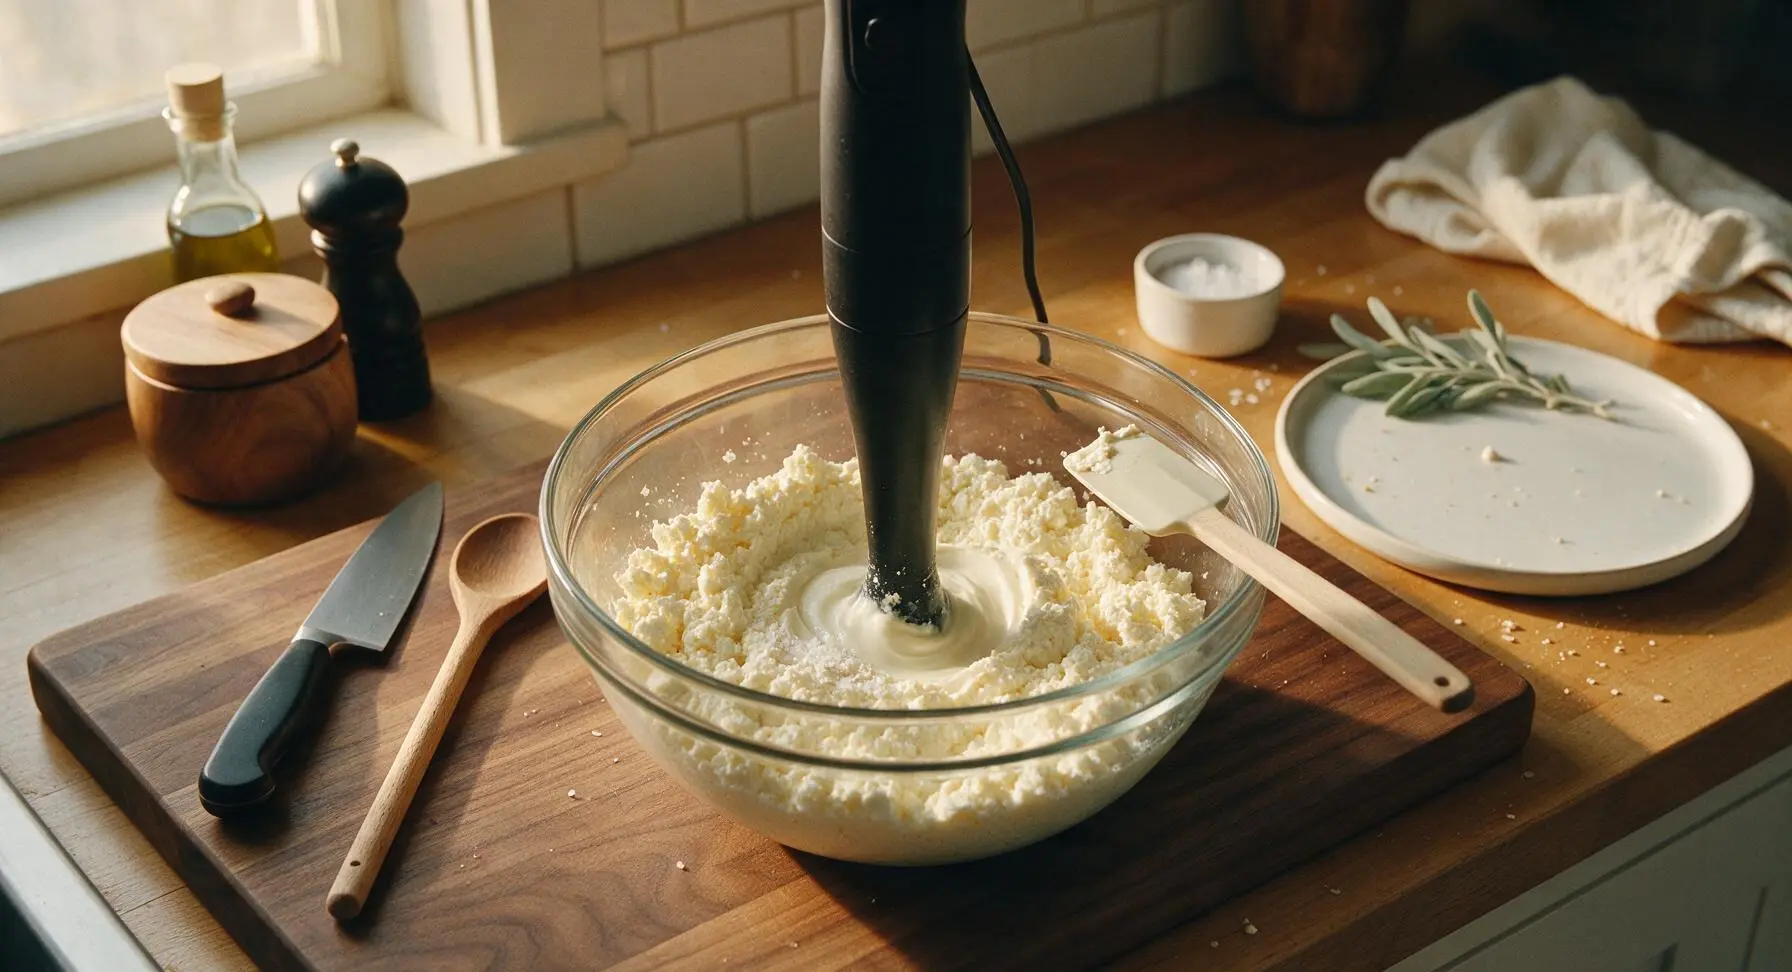
Plate and Chill Cheese
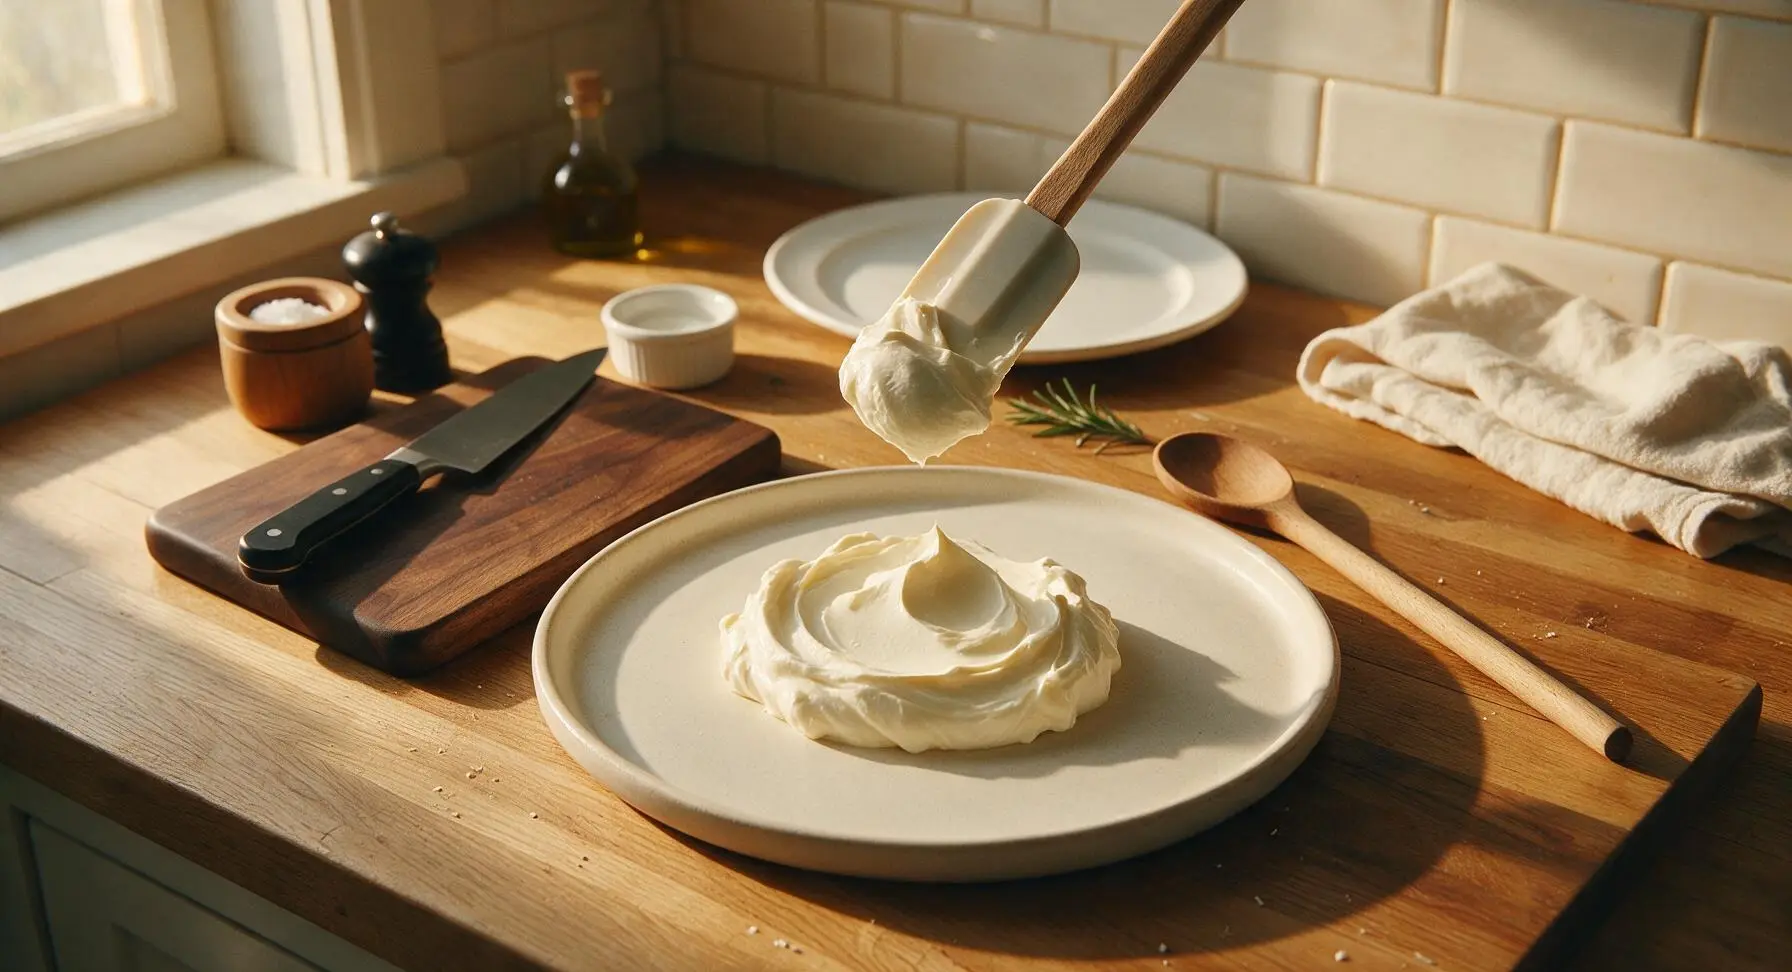
Use the silicone spatula to scoop the smooth, freshly blended cream cheese onto the center of the matte cream ceramic serving platter, mounding it into a soft rounded shape. Cover loosely with parchment paper, and refrigerate for 2 hours until firm enough to hold its shape, reaching the classic thick, spreadable Philadelphia cream cheese consistency. Store leftover cheese in an airtight container in the refrigerator for up to 2 weeks.
Tips
2.Keep ripening temperatures consistent between 70-75°F: if the space is too cold, the mesophilic culture will not activate properly leading to bland, watery cheese; if too warm, the culture will overgrow and create bitter, overly sour off-flavors.
3.Resist the urge to press curds hard during draining: squeezing too firmly will force small curd particles through the cheesecloth, resulting in grainy cream cheese, and will remove too much moisture leading to a dry, crumbly final texture instead of the signature smooth, spreadable consistency.






OMG I cannot believe how much better this tastes than the store bought stuff! I was so nervous about the long cook time but 99% of it is just letting it sit, no work at all. Slathered it on everything bagels for Sunday brunch with my roommates and everyone begged for the recipe. SO creamy, no weird gummy texture like the grocery store blocks. Total game changer.
Super solid cream cheese base! I used this for my classic New York style cheesecake for a potluck last weekend and it came out so rich and silky, no weird tang that overpowered the rest of the flavors. Only knocked a star because I messed up the draining step the first time and it was a little runnier than I wanted, totally my bad though. Will definitely be making this again for future bakes.
Meal prep win for the week! I made a big batch on Sunday, divided it up into small containers, and mixed in chives and everything bagel seasoning for quick breakfast spreads all week. My kids go crazy for it, they won’t even touch the store bought stuff now. Way cheaper than buying the fancy artisanal cream cheese at the farmers market too!
Taste was great but I ended up with a grainy texture? I followed the directions exactly as written, used whole milk and heavy cream like it said, but it had little curd bits throughout that wouldn’t smooth out no matter how much I mixed. Did I do something wrong with the heating step?
Wait a second—this tastes EXACTLY like the name brand Philly cream cheese I grew up eating! I was skeptical homemade could nail that exact mild, creamy tang but wow, you nailed it. I used this to make jalapeño popper dip for our family football watch party and it was gone in 10 minutes flat.
First time making any kind of cheese at home and this was way less scary than I thought! The long total time had me putting this off for months but like the recipe says, almost all of it is inactive waiting time. Only issue was I didn’t have cheesecloth so I used a few layers of paper towels and it took way longer to drain, oops.
Made this for my monthly girls’ brunch and everyone thought I bought the fancy expensive cream cheese from the specialty shop! I added a little honey and vanilla to half the batch for a sweet spread for cinnamon raisin bagels, and garlic and herb to the other half for savory. 10/10, will be a staple in my fridge from now on.
I’ve been making homemade cheese for years and this is the most foolproof Philly-style recipe I’ve ever tried! Most recipes are either too tangy or too firm, but this hits that perfect spreadable, mild balance exactly. I’ve already made this three times in the last month, it’s that good.
Taste is unreal, but fair warning—if you don’t drain it long enough it’s super runny! I cut the draining time short because I was in a hurry to get to a potluck and ended up with cream cheese that dripped right off the bagels. Still tasted amazing, just was not the right texture. Learned my lesson for next time!
Game. Changer. I’ve been paying a fortune for the low-additive cream cheese at the health food store because I hate all the weird stabilizers in the regular grocery store blocks, and this is so much better! Just three simple ingredients, no weird gums or preservatives, and it spreads like a dream. I put it on my morning toast, in my scrambled eggs, even mixed a little into my protein frosting for protein brownies. Obsessed.
Used this for my annual Christmas cookie bake off to make cream cheese frosting for my red velvet cookies, and I won first place! The judges kept saying the frosting was so much smoother and more flavorful than any other entry. I will never go back to store bought cream cheese for baking again, this is worth every minute of wait time.