
philadelphia cream cheese pudding
intro
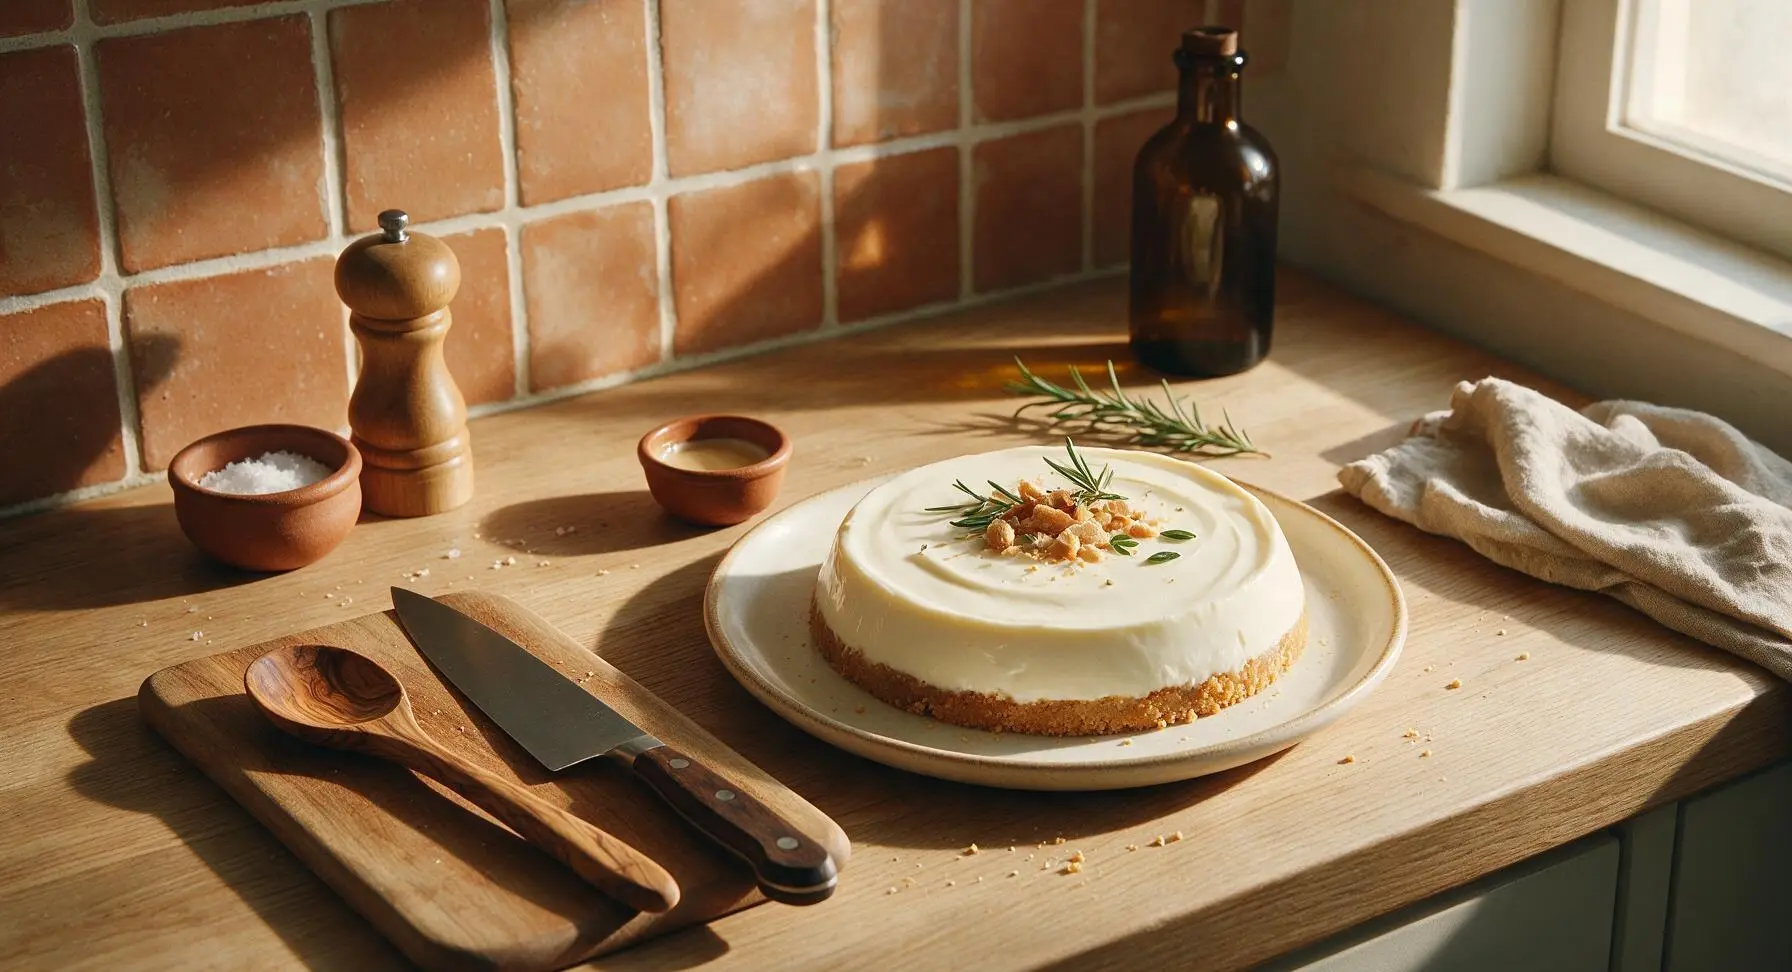
Silky, tangy no-bake Philadelphia cream cheese pudding with a buttery graham cracker crust, chilled to soft, luxe perfection—an easy, crowd-pleasing summer dessert.
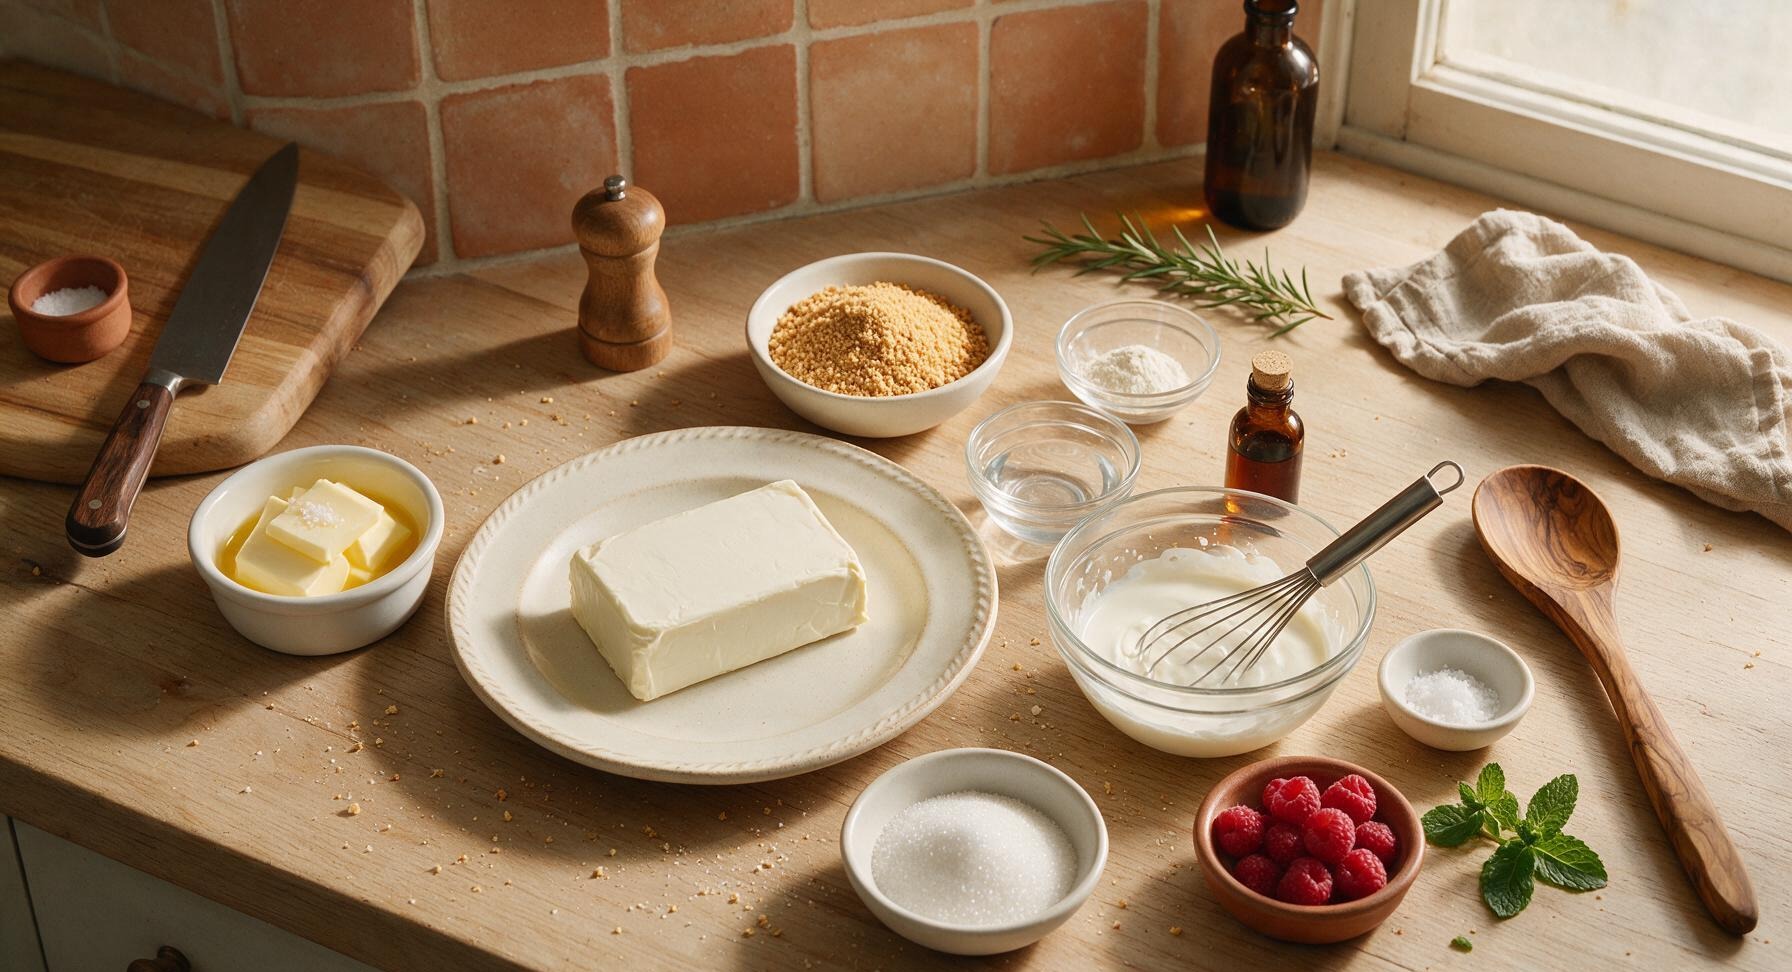
Ingredients
Steps
Bloom the Gelatin
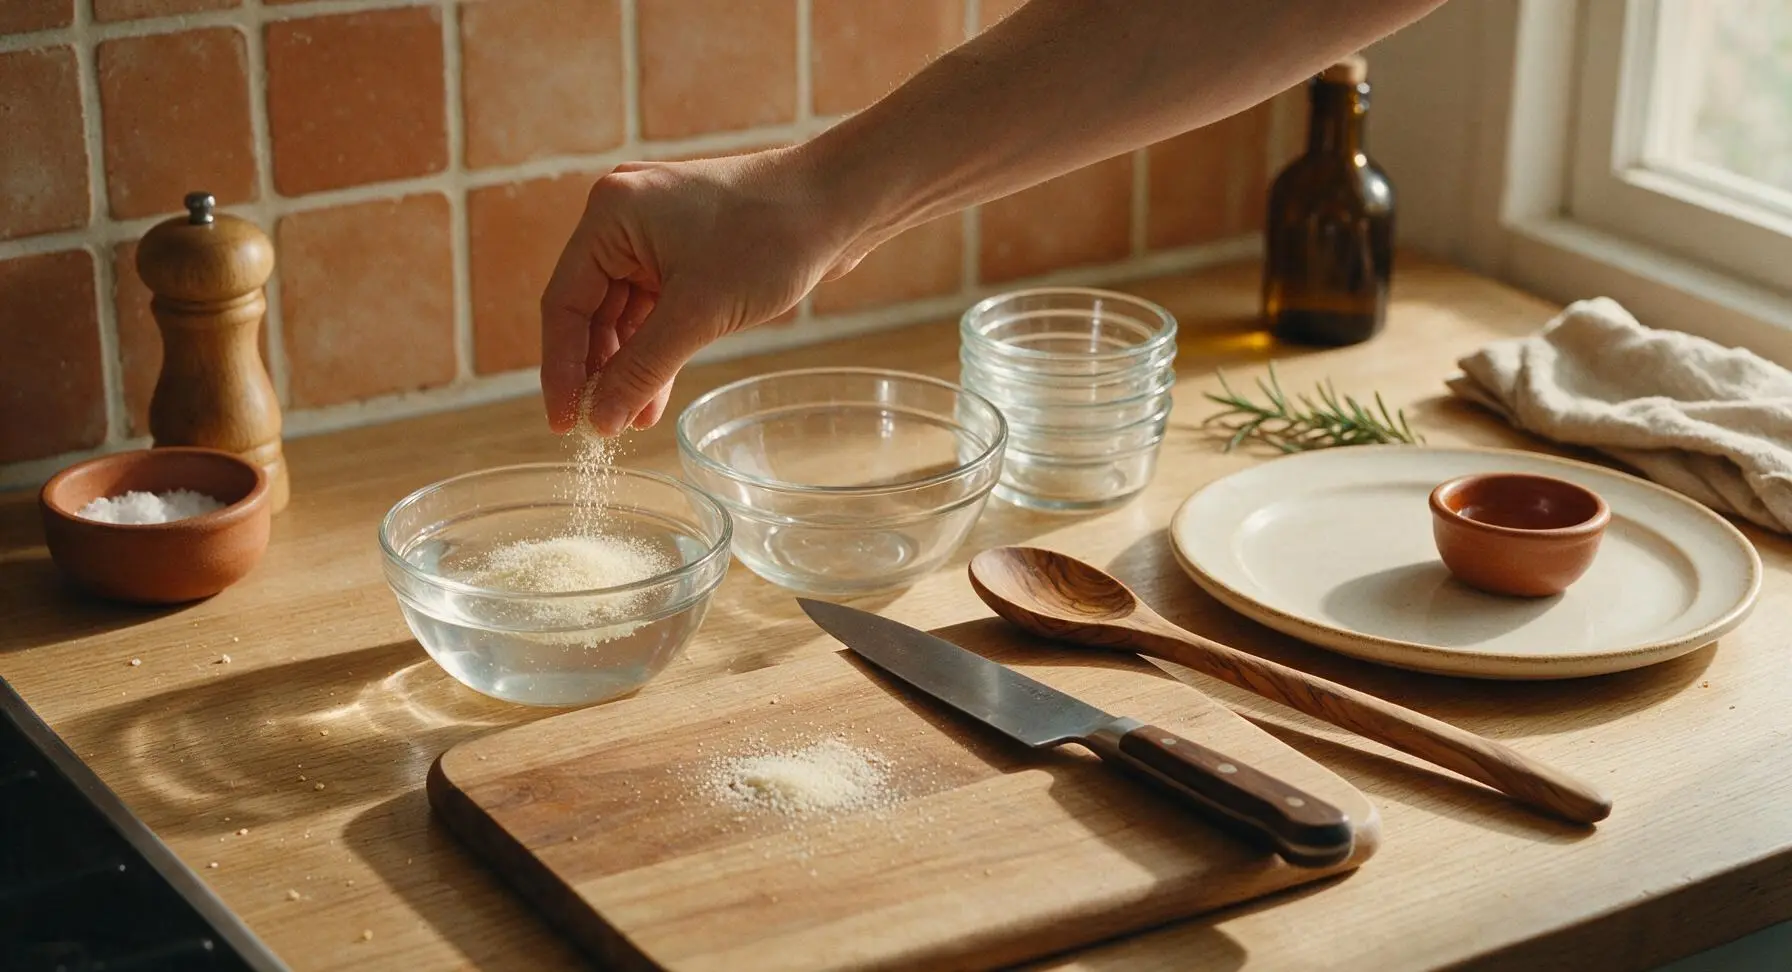
Pour 1/4 cup cold water into the small clear glass prep bowl. Sprinkle 1 tbsp unflavored gelatin powder evenly over the water surface, do not stir. Let sit for 5 minutes at room temperature until the gelatin absorbs all water and swells into a thick, spongy, opaque mass; this blooming step prevents grainy lumps in the finished pudding.
Press Crumb Crust
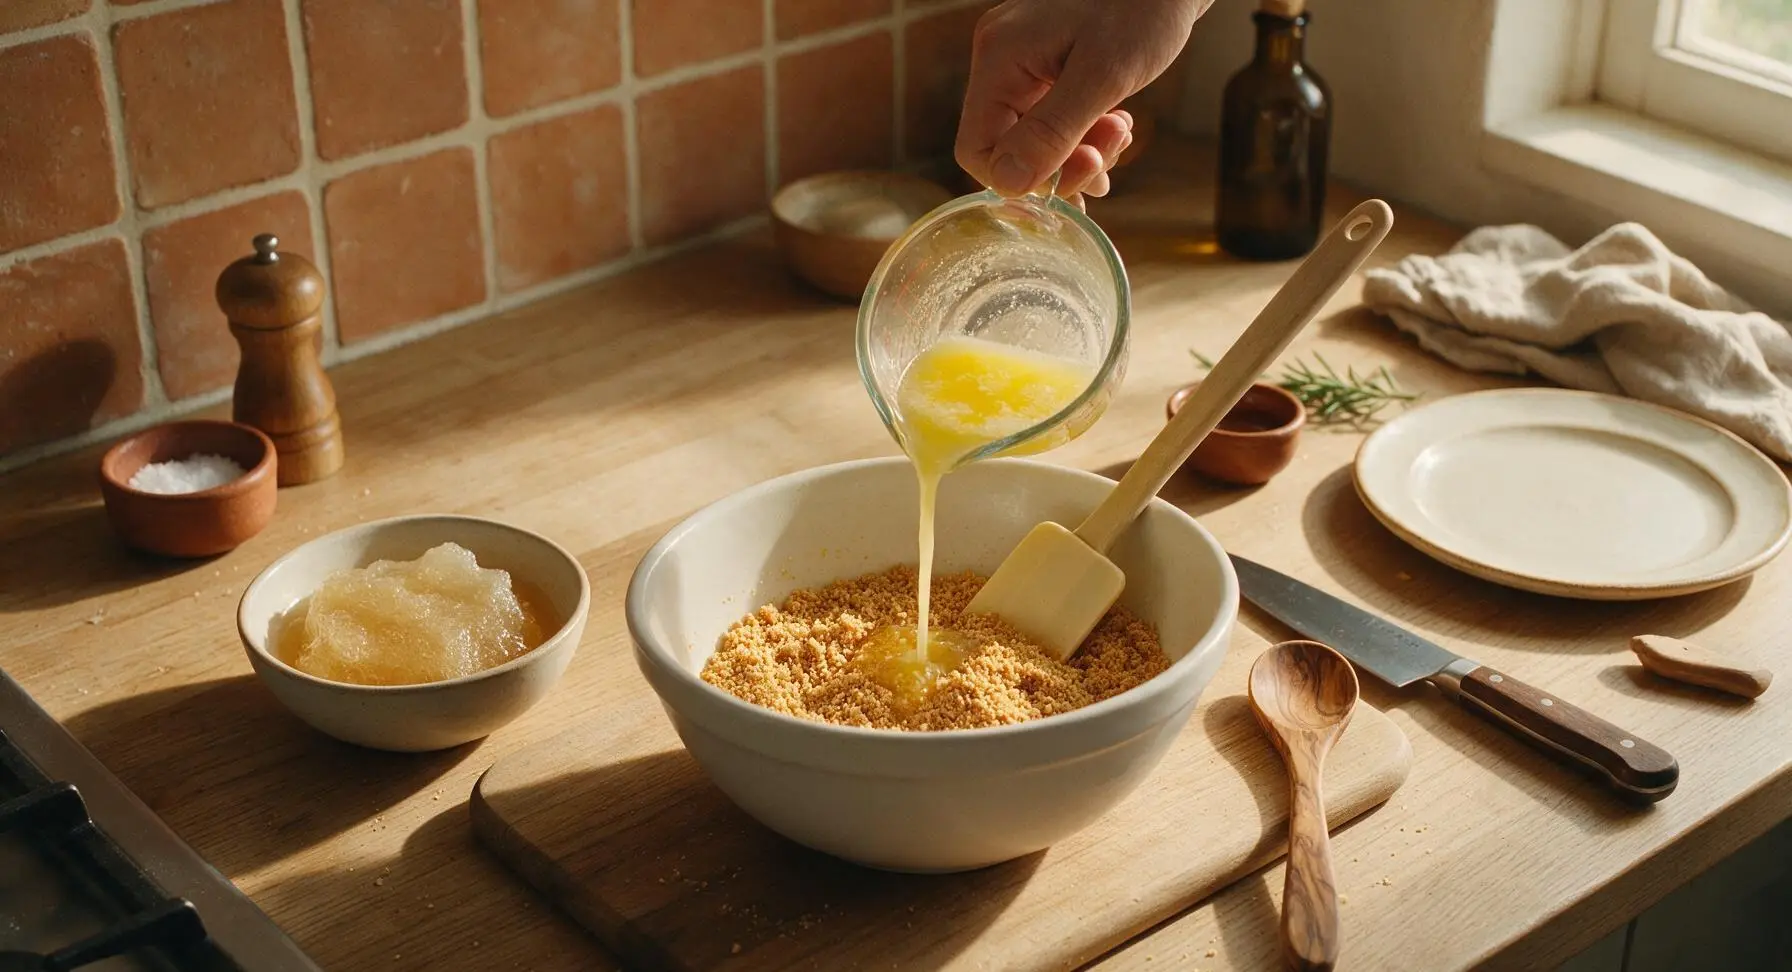
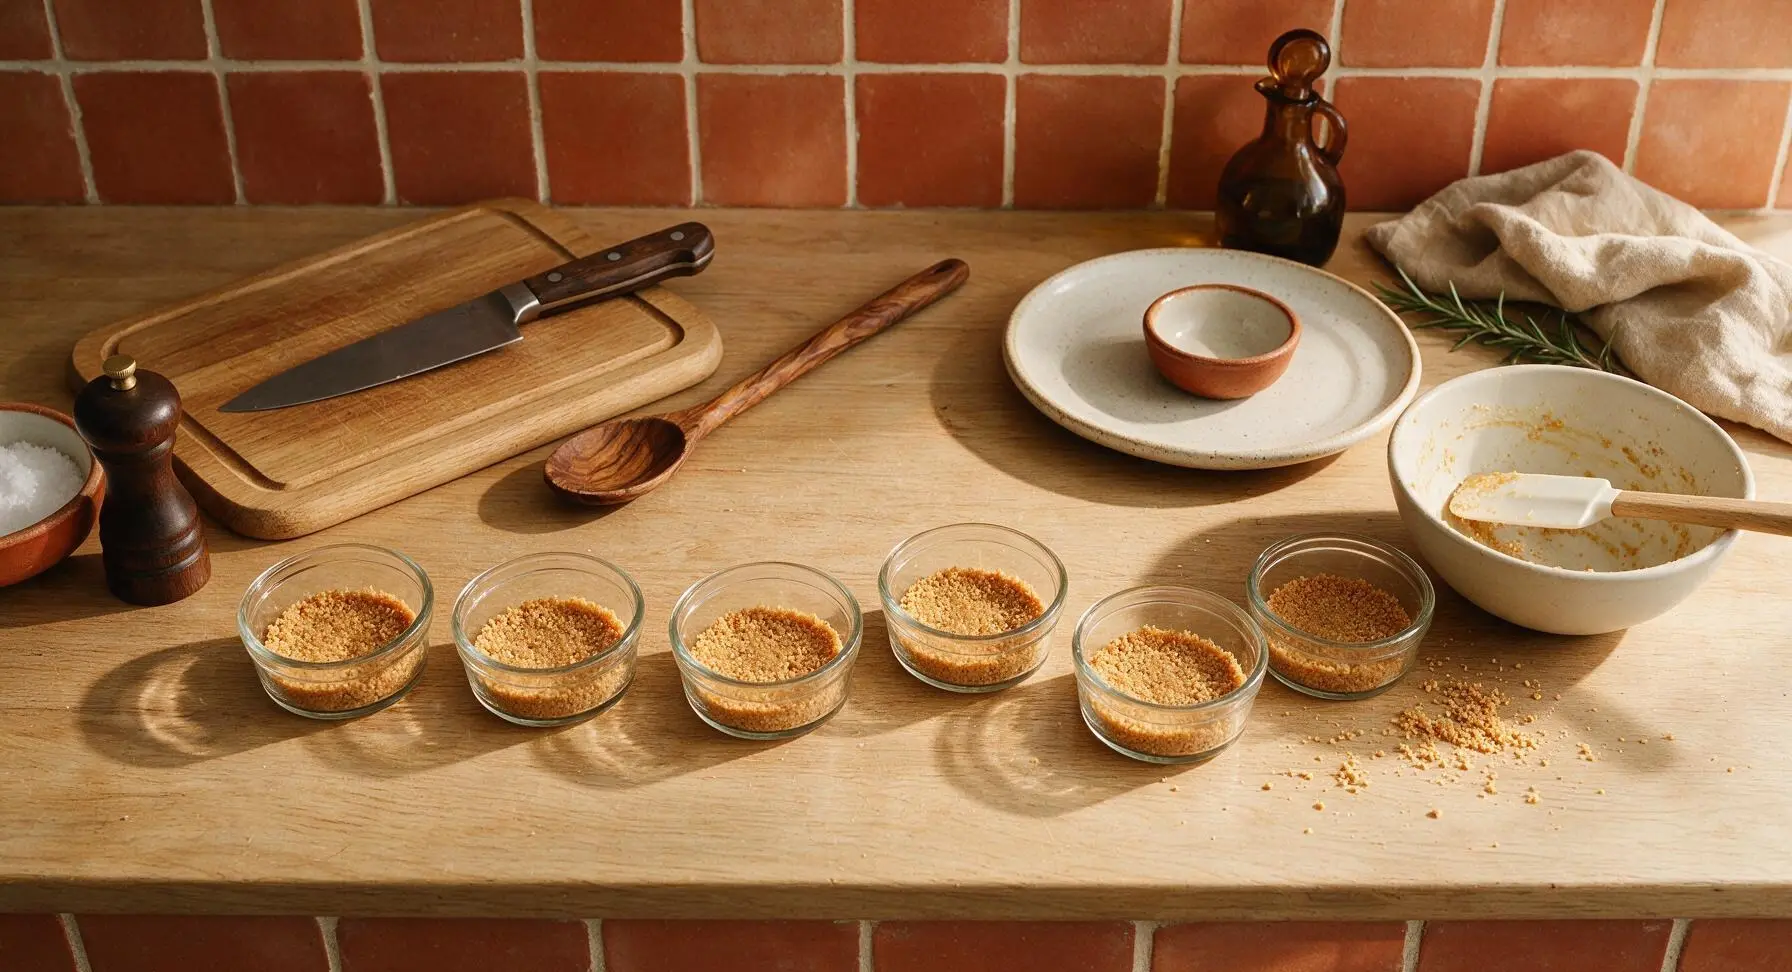
Place 100g graham cracker crumbs in the medium matte white mixing bowl, pour in 57g melted unsalted butter, and stir with the silicone spatula until all crumbs are evenly coated and hold together when squeezed, resembling damp sand. Divide the crumb mixture evenly between the 6 clear glass ramekins (about 2 tbsp per ramekin), and press firmly into a compact, even layer across the bottom of each ramekin with the back of the spatula. Set lined ramekins aside.
Beat Cream Cheese Smooth
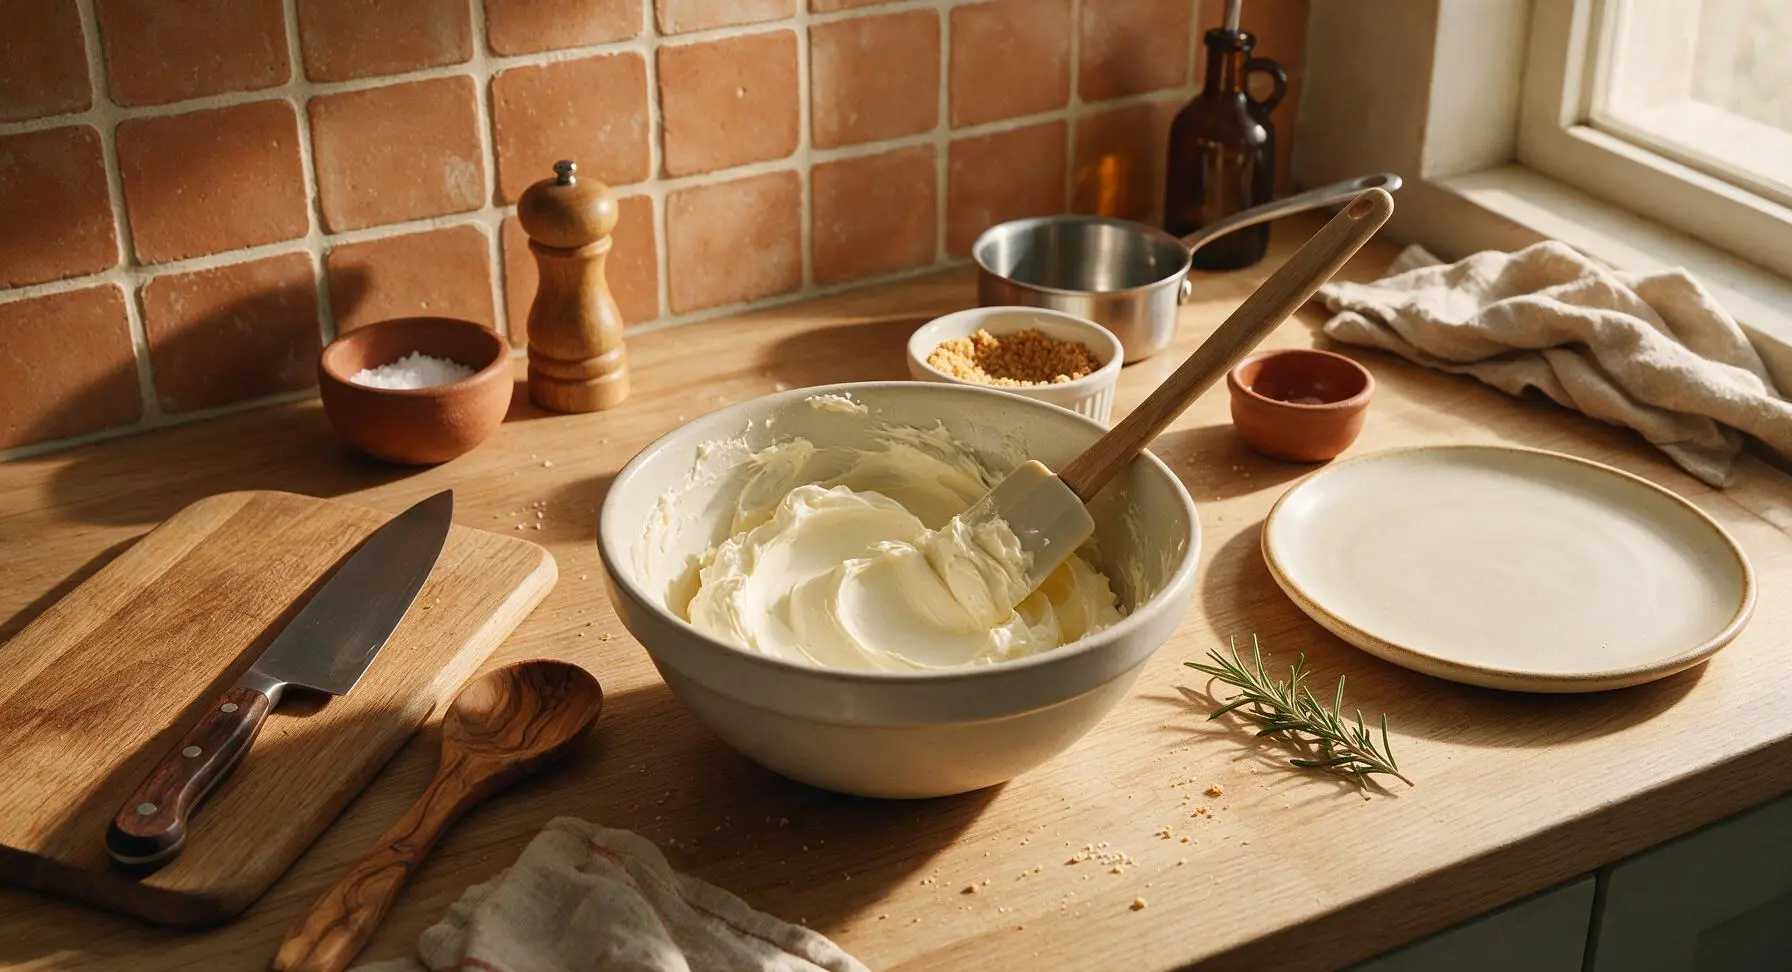
Place the softened 226g block of Philadelphia cream cheese, 100g granulated sugar, and 1/8 tsp fine sea salt in the clean medium mixing bowl. Use the silicone spatula to beat the mixture vigorously for 3-4 minutes until completely smooth, with no visible lumps of cream cheese remaining. Scrape down the sides of the bowl halfway through to ensure even mixing; the finished base will be pale ivory, thick, and spreadable.
Dissolve Gelatin Mixture
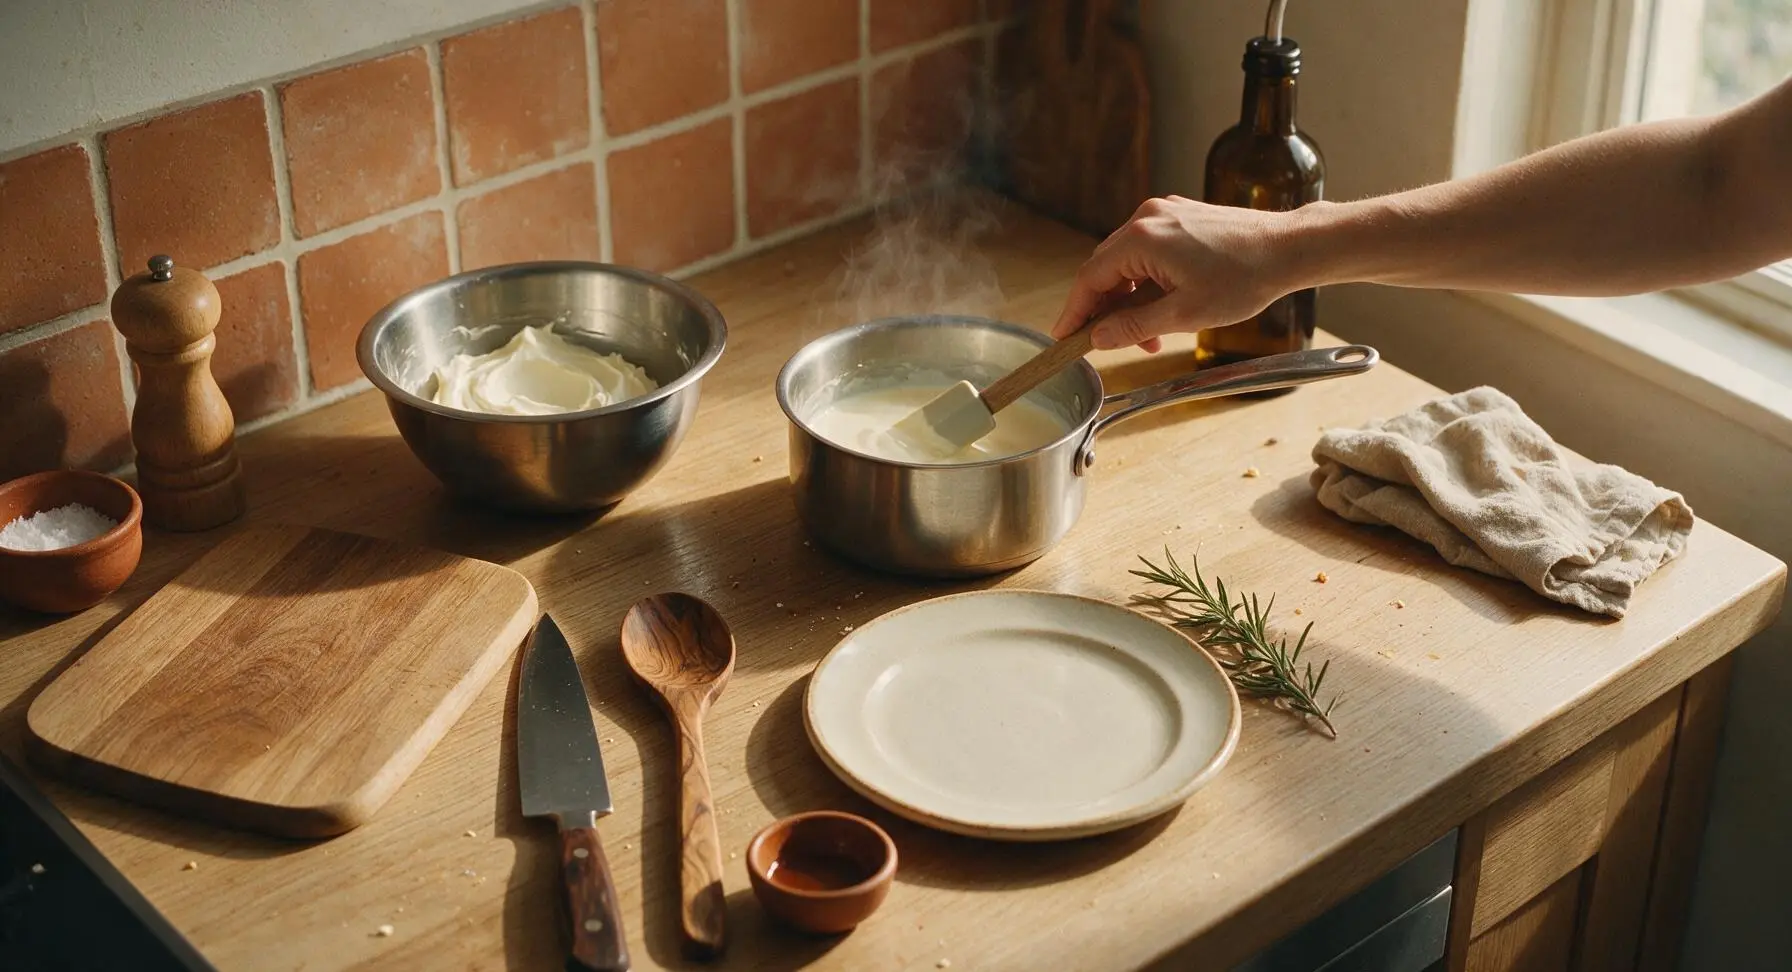
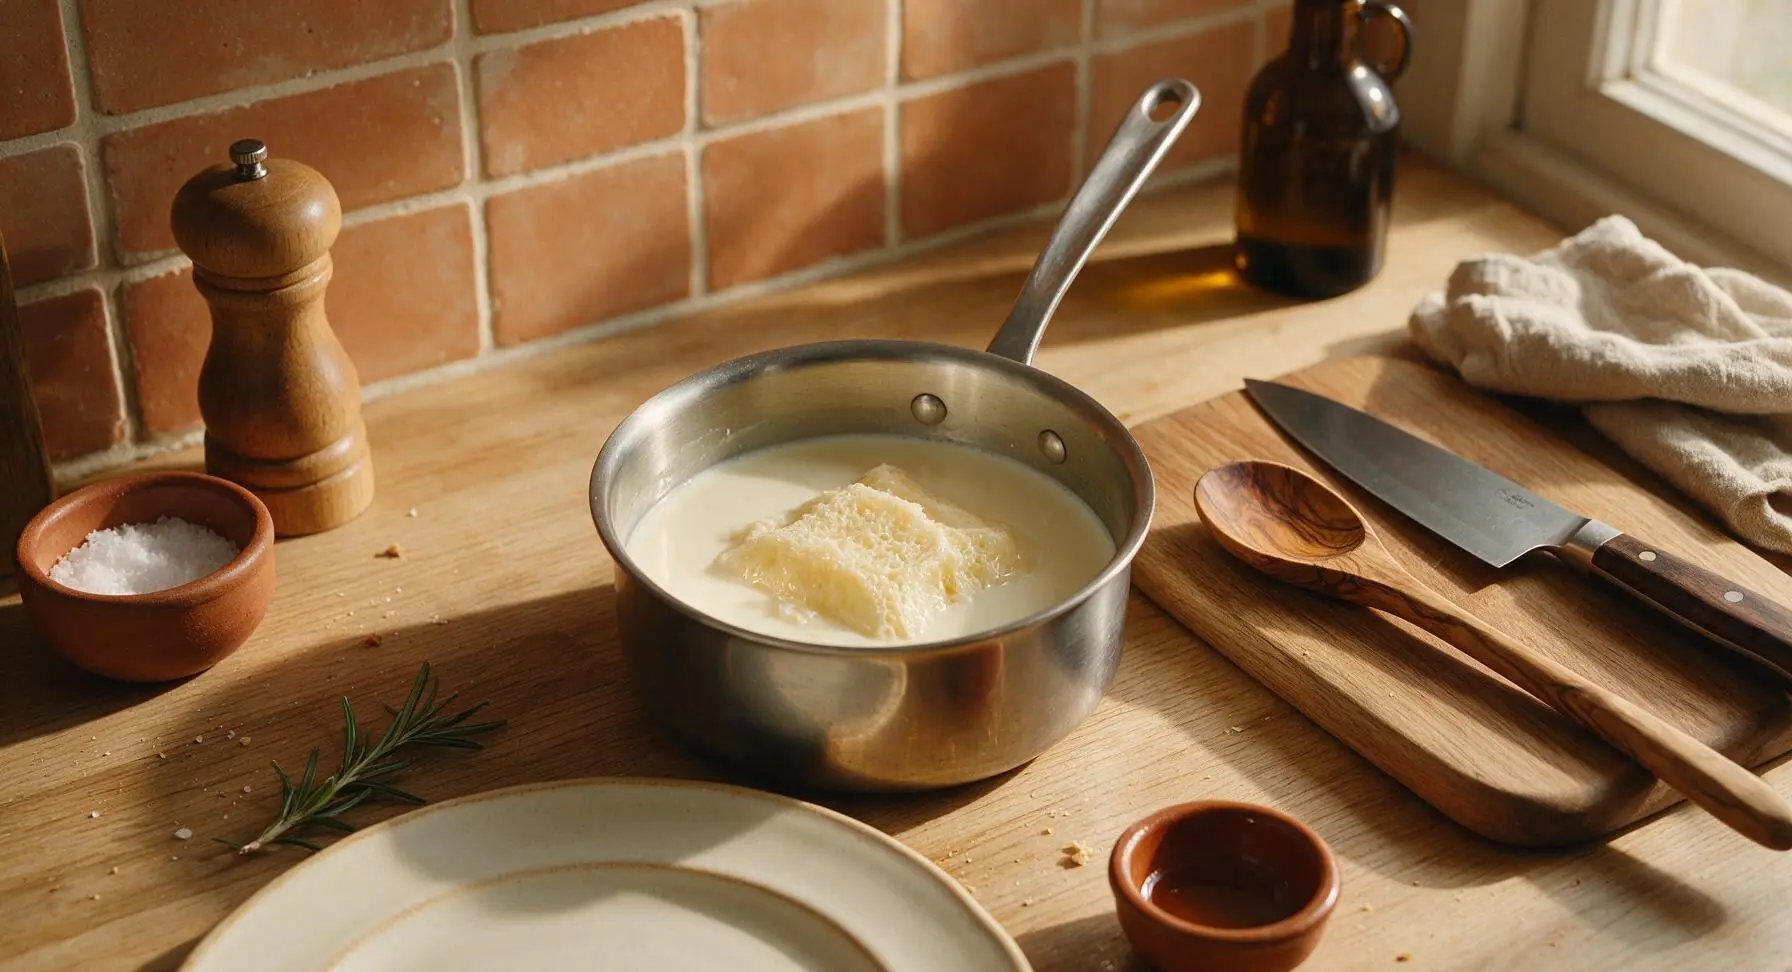
Pour 1/2 cup of the heavy whipping cream into the small stainless steel saucepan, and heat over low heat for 2-3 minutes until just steaming (around 160°F/71°C, do not boil). Remove the pan from heat, add the fully bloomed spongy gelatin, and stir gently with the spatula for 30 seconds until the gelatin is completely dissolved into a smooth, clear liquid with no visible granules.
Mix Pudding Filling
Slowly pour the warm cream and gelatin mixture into the smooth cream cheese base, stirring constantly with the silicone spatula to combine. Add the remaining 1/2 cup cold heavy cream and 1 tsp vanilla extract, and stir for 1 minute until the entire mixture is completely uniform, silky, and free of streaks, with a thin, pourable consistency.
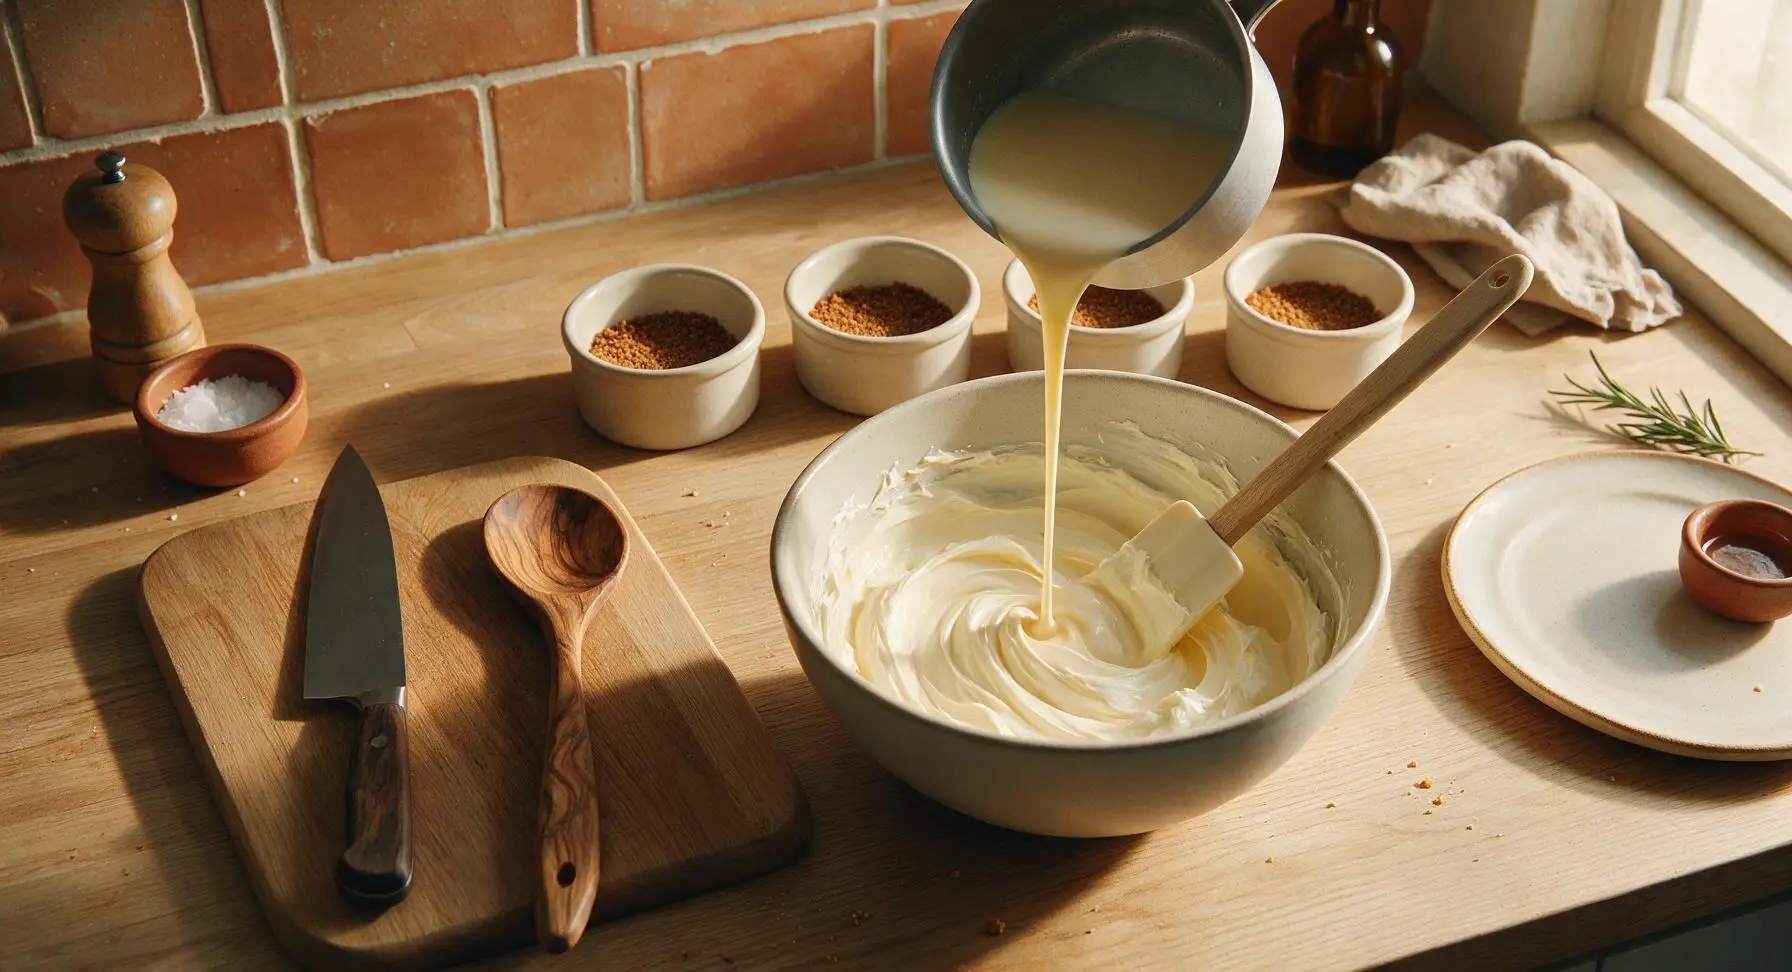
Pour Filling Into Ramekins
Carefully pour the smooth pudding filling evenly between the 6 crumb-lined ramekins, leaving a 3mm gap at the top of each ramekin to leave space for garnish. Tap each ramekin gently on the counter 2-3 times to pop any air bubbles on the surface, ensuring a perfectly smooth, even top.
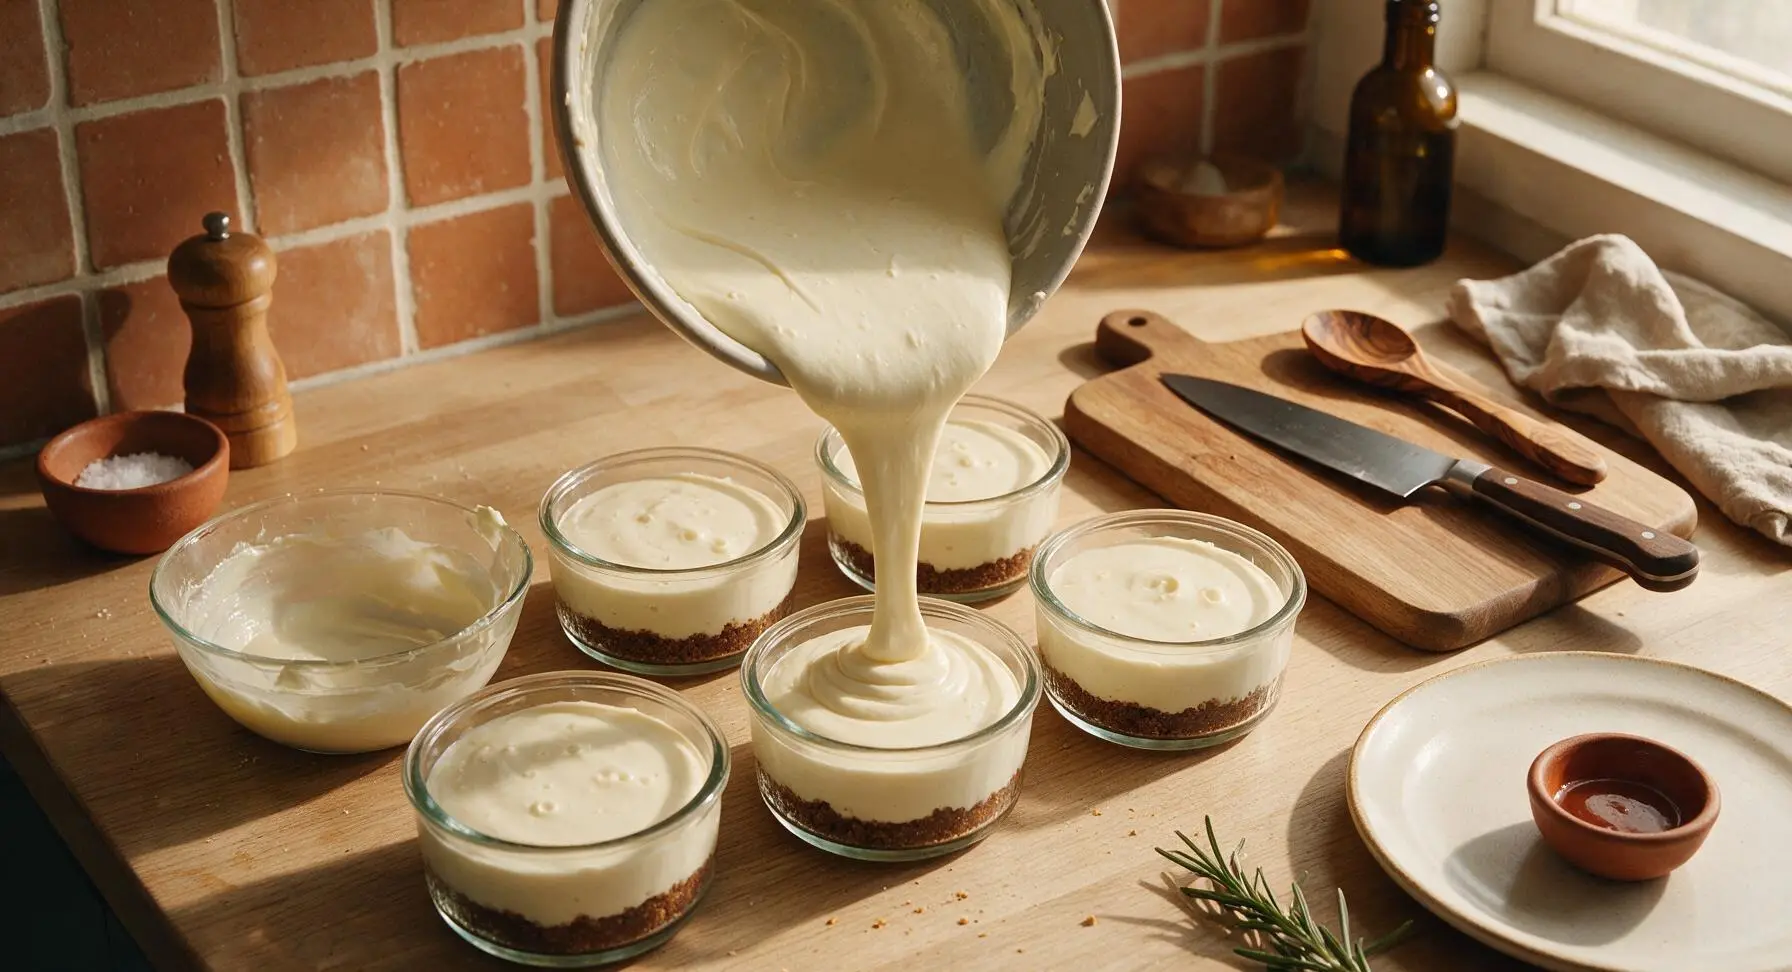
Chill Until Firm
Cover each ramekin loosely with a small square of plastic wrap, and transfer to the refrigerator to chill for a minimum of 4 hours (or up to 24 hours for make-ahead prep) until the pudding is fully set: it will hold its shape when jiggled slightly, with no liquid sloshing, and have a soft, silky firmness similar to panna cotta.
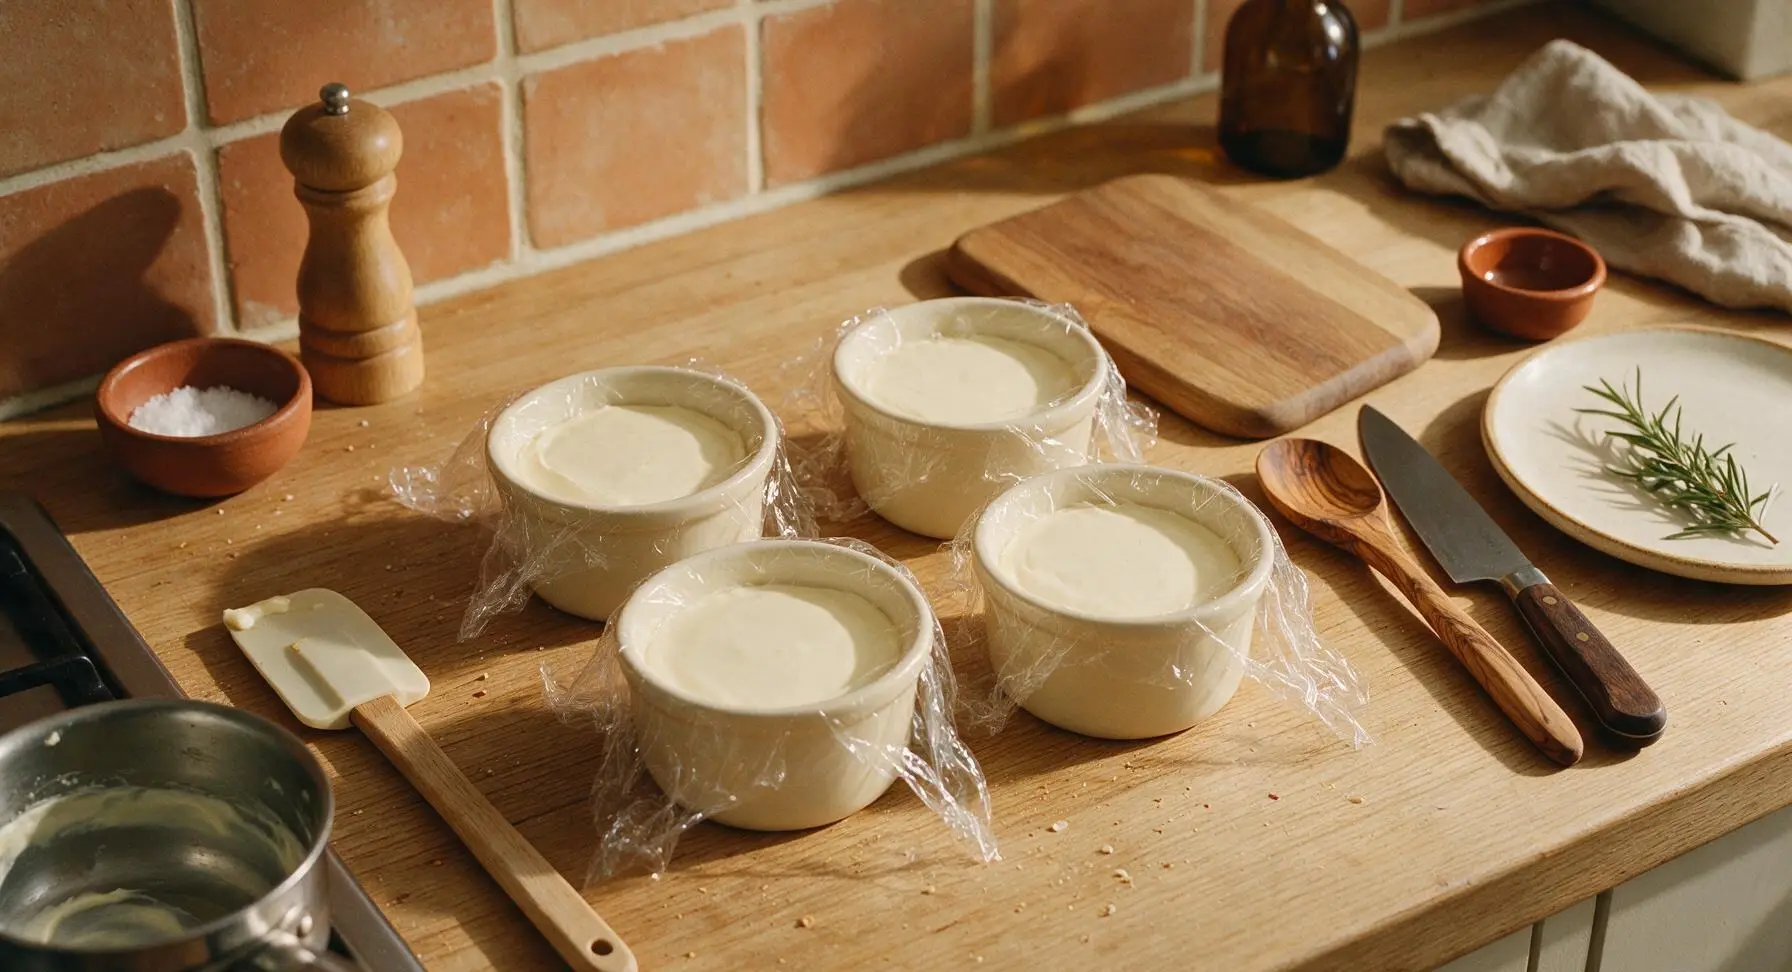
Garnish Before Serving
Remove the set pudding ramekins from the refrigerator, discard the plastic wrap. Top each ramekin with one fresh raspberry and a tiny sprig of fresh mint just before serving, for a bright pop of color and fresh, tart flavor contrast to the rich, tangy cream cheese.
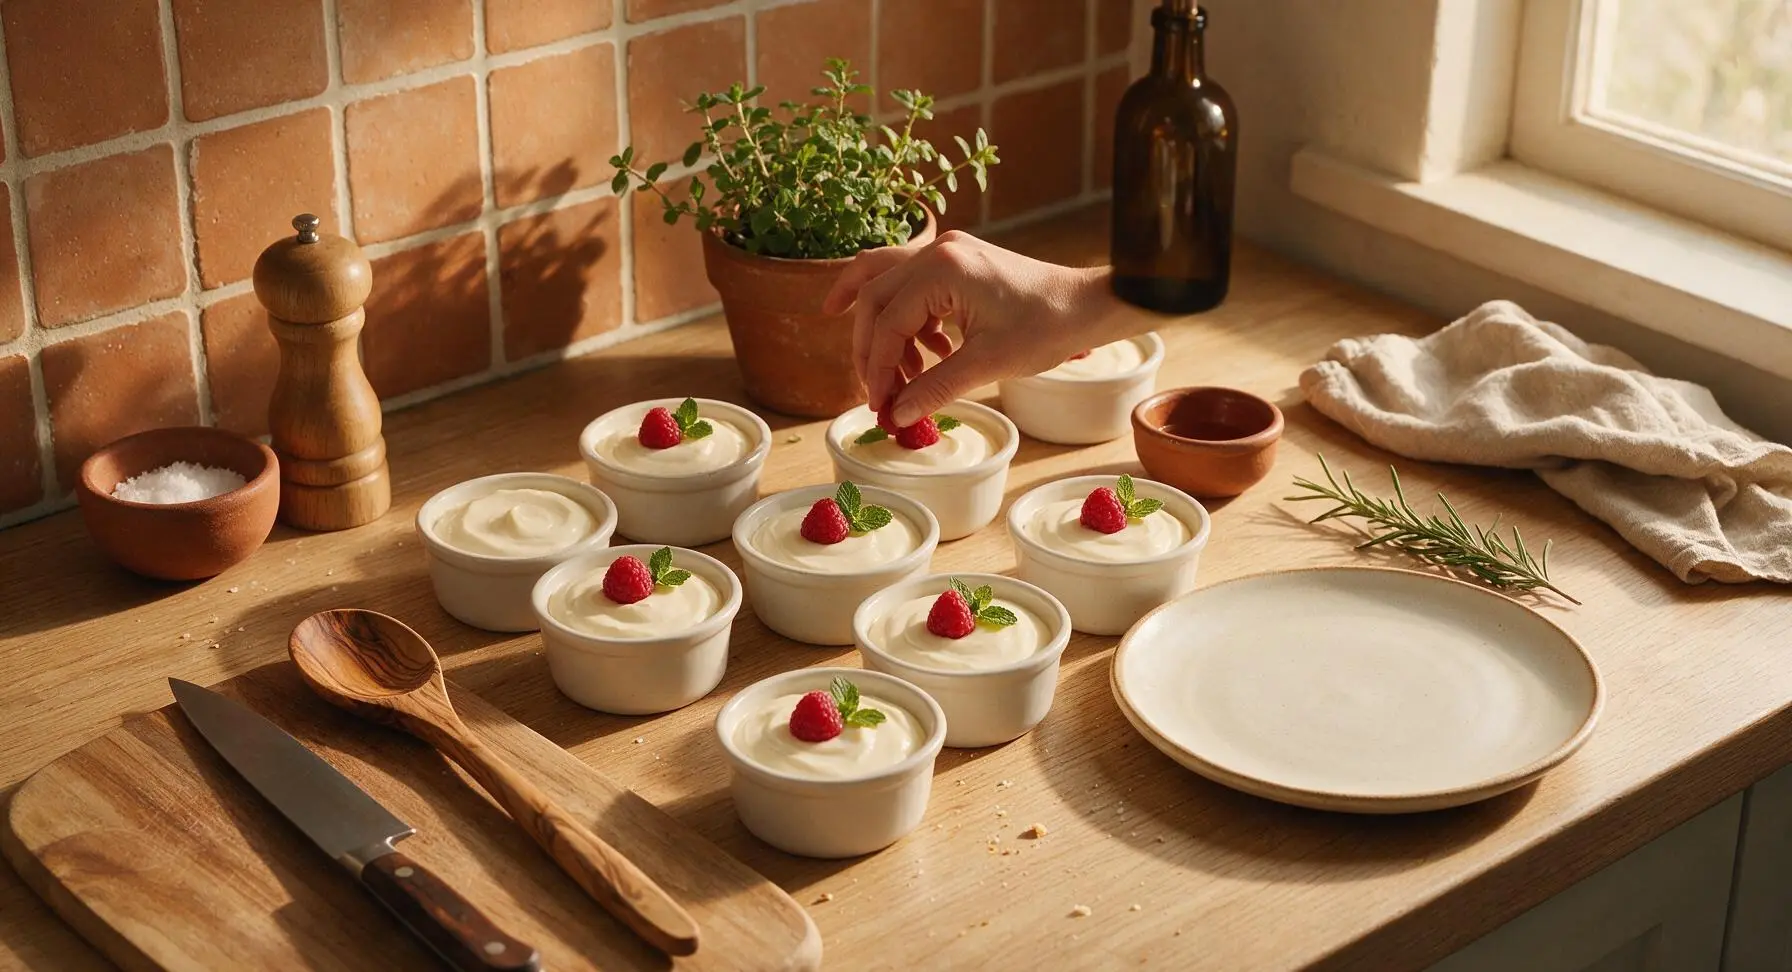
Tips
2.Do not boil the heavy cream when dissolving gelatin, as sustained high heat breaks down gelatin’s setting proteins and will result in a soft, runny pudding that never fully firms; heat only until small bubbles form around the pan edge and gentle steam rises.
3.Let the chilled pudding rest at room temperature for 5 minutes before serving to take the sharp chill off; this allows the bright, tangy cream cheese flavor to come through fully, rather than being muted by extreme cold.






OMG this no-bake Philadelphia cream cheese pudding was a total game changer for our neighborhood potluck last night! I threw it together in literally 5 minutes before running out the door, and every single person came up to ask me for the recipe. It’s so rich and creamy, not cloyingly sweet, and it pairs perfectly with a handful of fresh strawberries or graham cracker crumbs on top. My kids already begged me to make a double batch this weekend for our Sunday family dinner.
As someone who hates complicated desserts that take forever to set and leave a million dirty dishes, this is my new go-to. 5 minutes of prep, no oven, uses basic ingredients I almost always have in the fridge anyway? Chef’s kiss. I made individual servings for my meal prep this week and it held up perfectly in the fridge for 4 days, no weird texture changes at all. SO good.
Wait, quick question before I make this for my book club tomorrow — can I use low-fat Philadelphia cream cheese instead of the full fat stuff? I grabbed the wrong block at the grocery store earlier and don’t have time to run back out. Don’t want it to turn out watery or weird!
This is such a perfect easy gluten-free dessert option! I served it at my sister’s birthday party last weekend for the guests who can’t have wheat, and even the people who usually skip gluten-free treats went back for seconds. I topped mine with a little lemon zest to cut the richness, and it was chef’s kiss.
Super easy to make in my tiny dorm with no oven, which is a huge win! The only thing I’d change is maybe adding a little more vanilla next time, because it felt a little plain to me on its own. Otherwise, it’s cheap, fast, and way better than the instant pudding cups from the campus convenience store.
Y’all, I made this for my office potluck today and people were literally scraping the serving dish clean. I added a layer of crushed Oreos at the bottom and a dollop of whipped cream on each serving, and it tasted like a fancy restaurant dessert for a fraction of the effort. 10/10, will be making this on repeat all summer.
Wait, how long does this keep in the fridge? I want to make it a day ahead for my kid’s soccer team end-of-season party, but I’m worried it will get runny or spoil if I make it the night before. Also, does it travel okay in a cooler packed with ice packs?