
Philly Cheesesteak Burnt Ends

title 1
Philly Cheesesteak Burnt Ends
⏱️ cook time 3 hours 15 minutes
🍽️ servings 6
⚡ Difficulty medium

intro

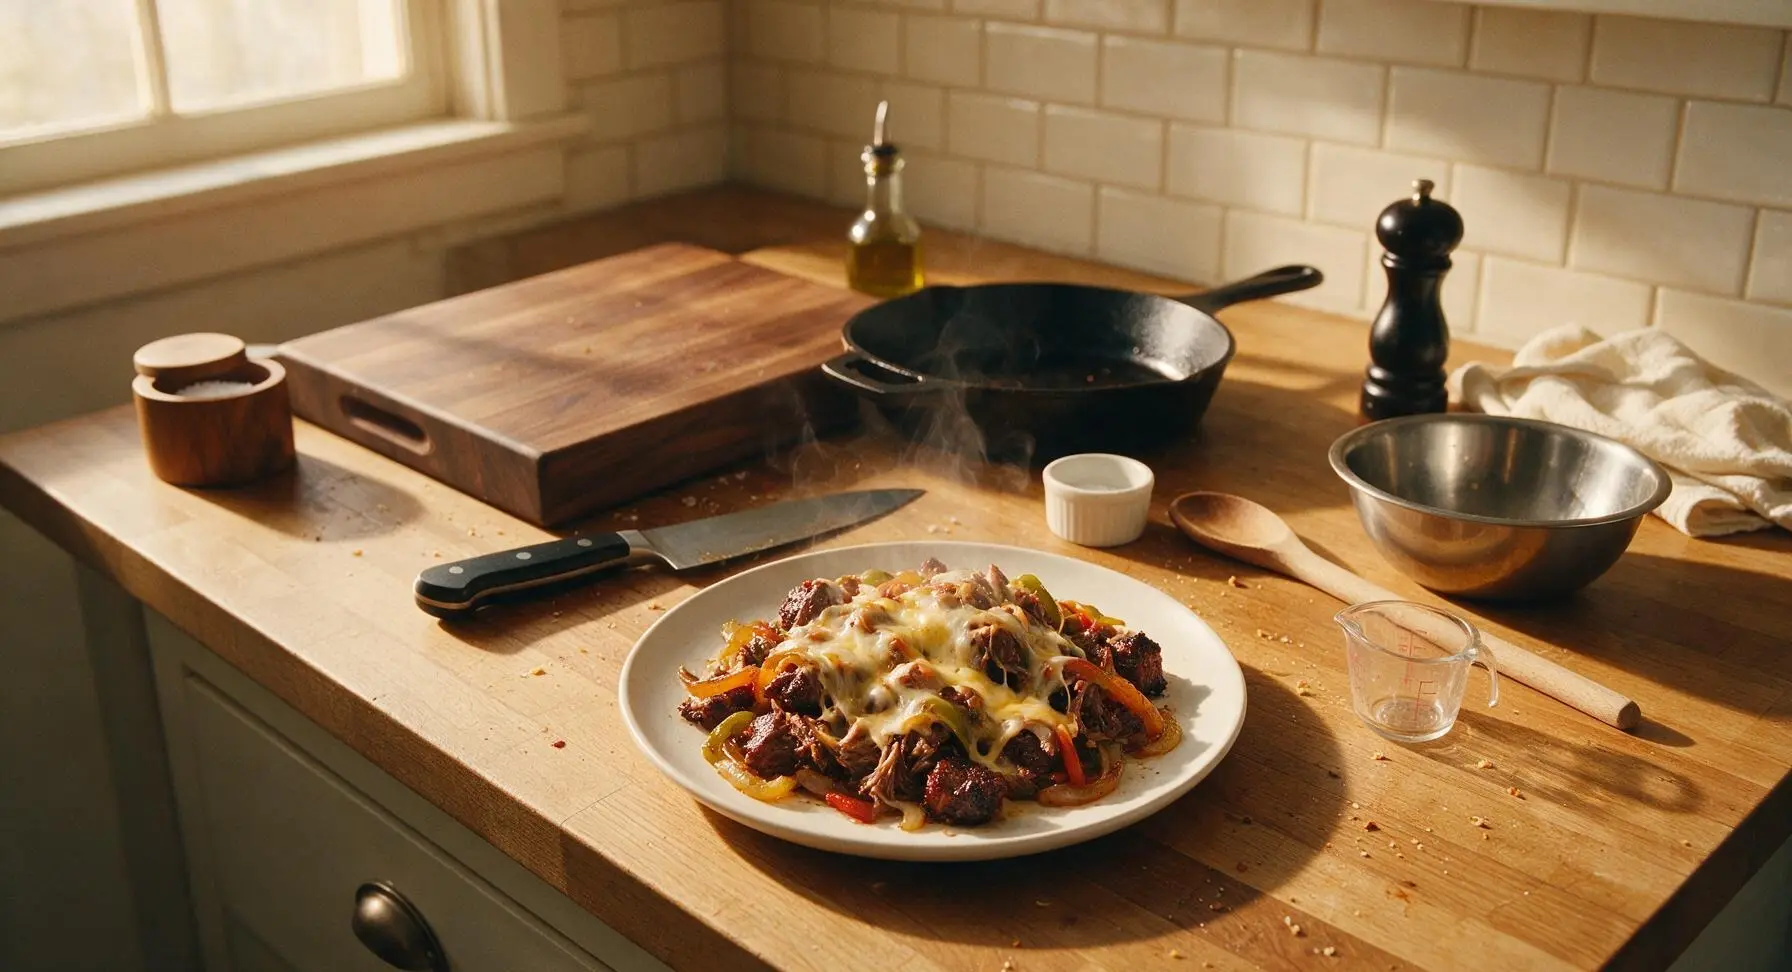
Smoky, fall-apart beef burnt ends tossed with sautéed peppers and onions, draped in stretchy melted cheese for the ultimate fusion of KC BBQ and classic Philly cheesesteak.

Ingredients
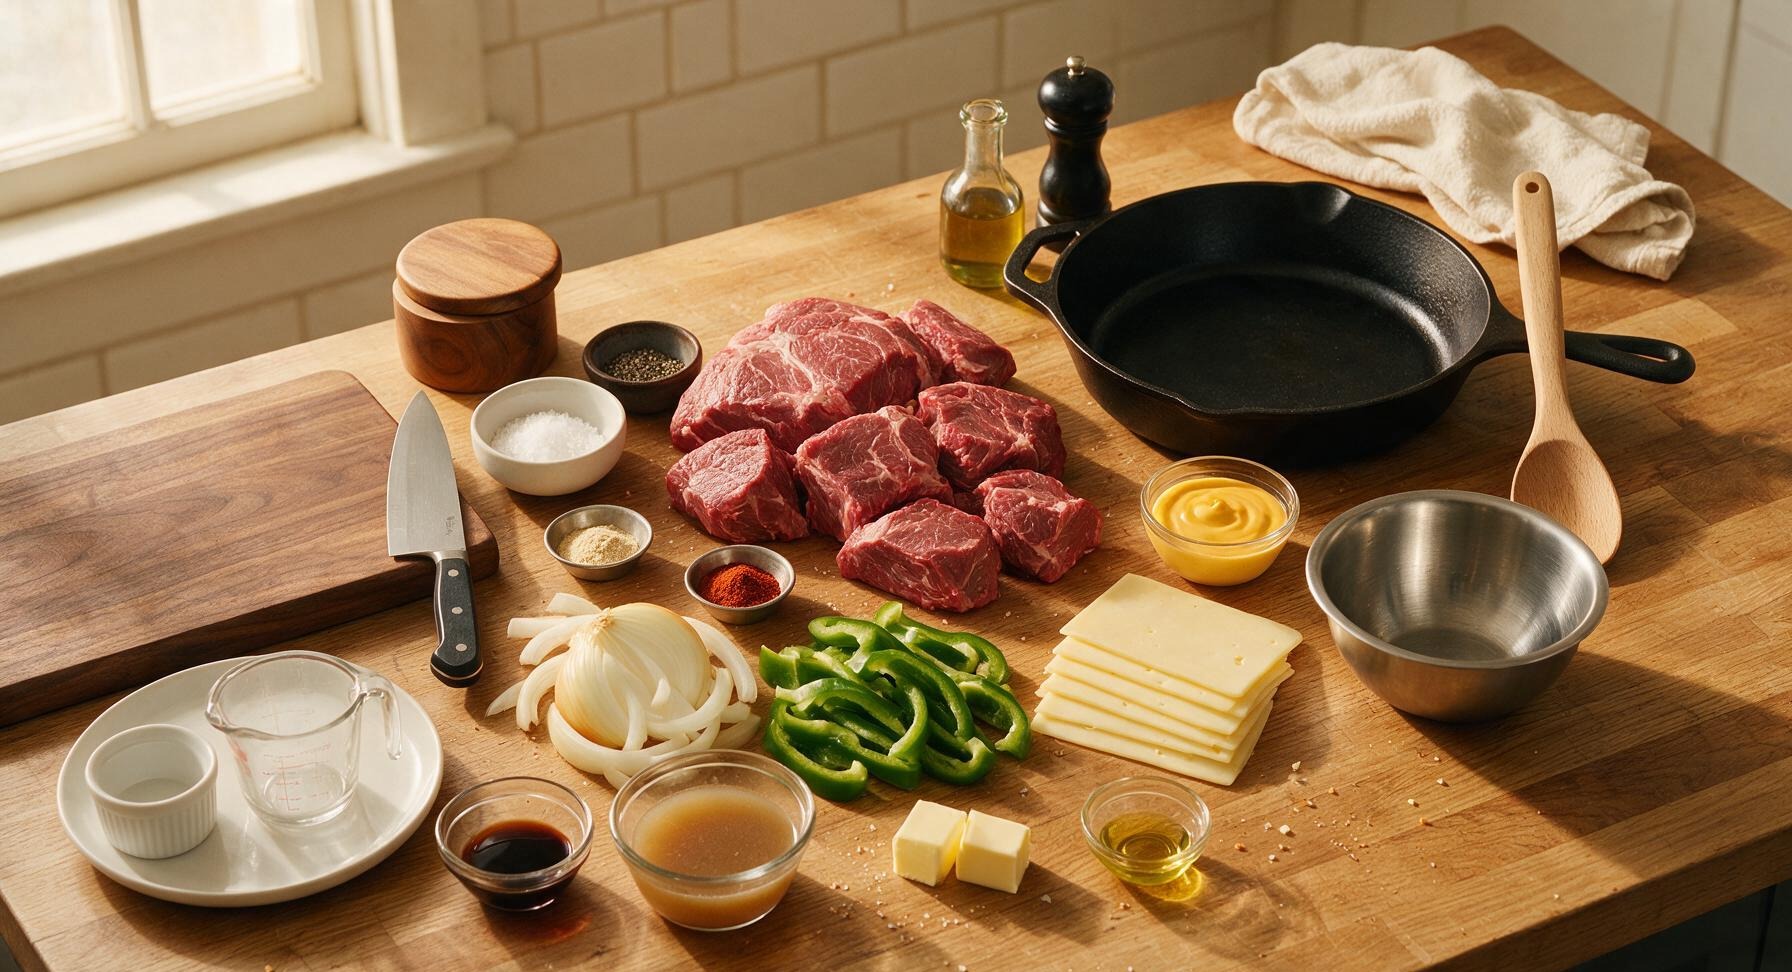
Boneless beef chuck roast 3lb (1.3kg)
Kosher salt 2 tbsp plus 1 pinch
Coarse black pepper 1 tbsp plus 1 pinch
Garlic powder 1 tsp
Smoked paprika 1 tsp
Large yellow onion 1, sliced into 1/2-inch strips
Large green bell pepper 1, seeded, sliced into 1/2-inch strips
Sliced provolone cheese 8 slices
Cheez Whiz 1/2 cup
Worcestershire sauce 2 tbsp
Low-sodium beef broth 1/4 cup
Unsalted butter 2 tbsp
Avocado oil 1 tbsp

Steps

1

Trim and Cube Beef

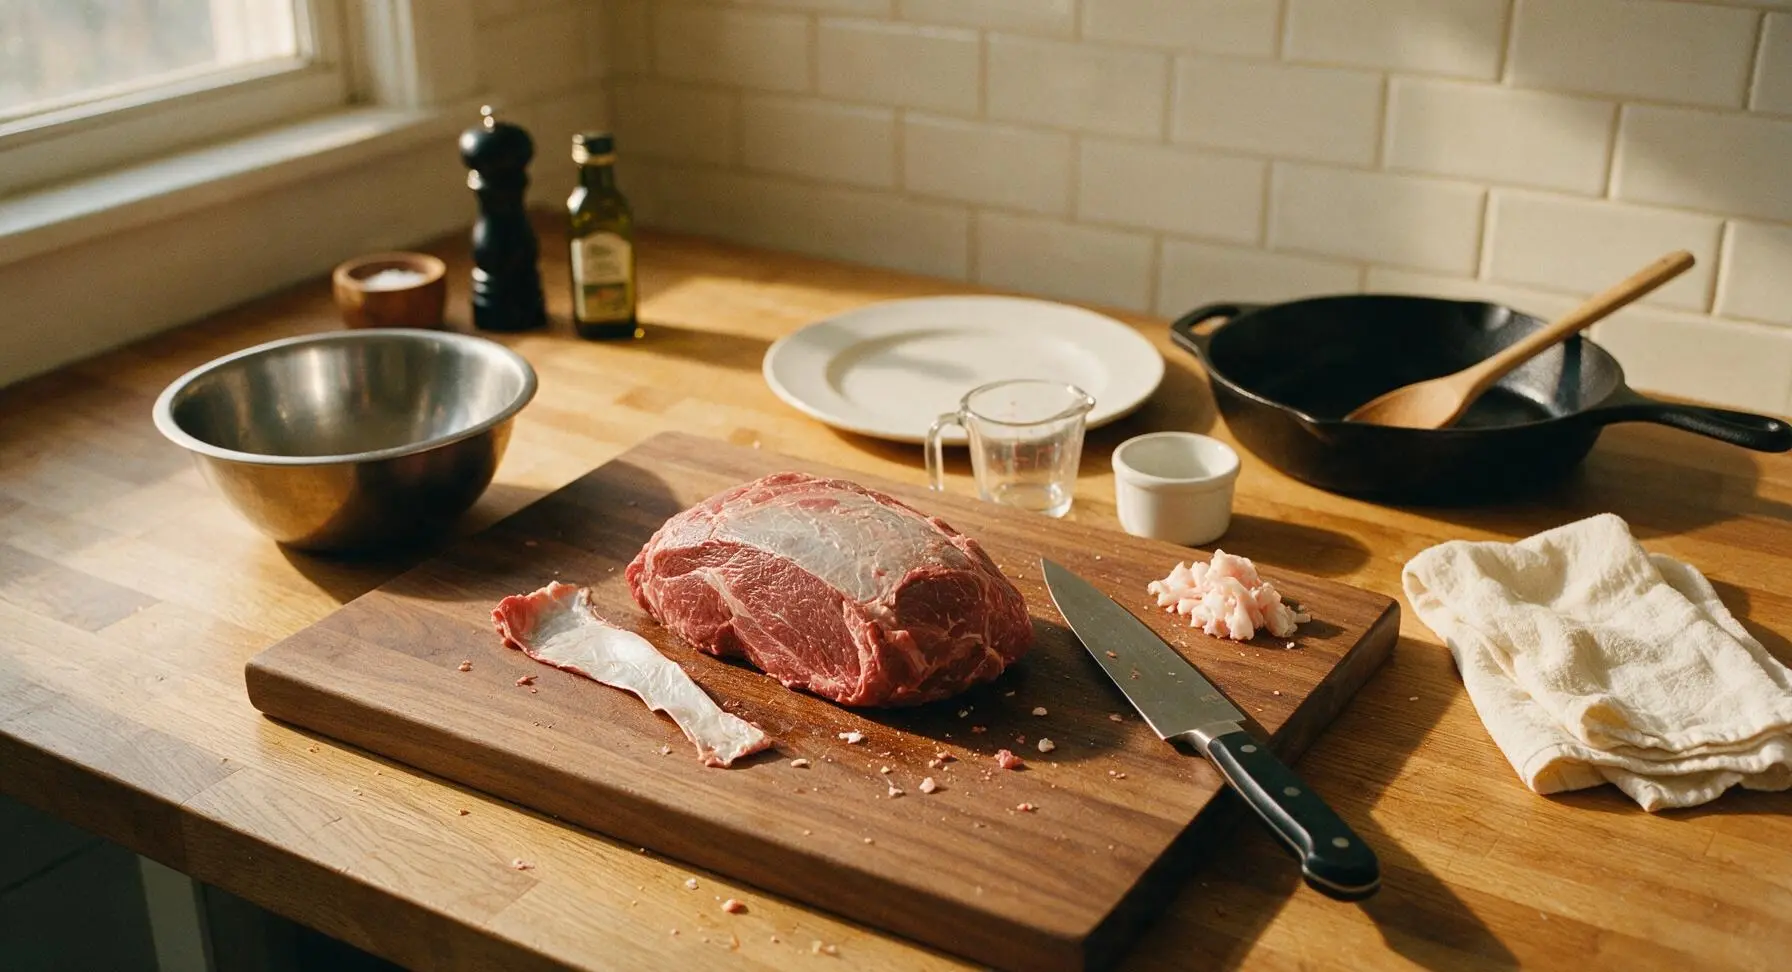
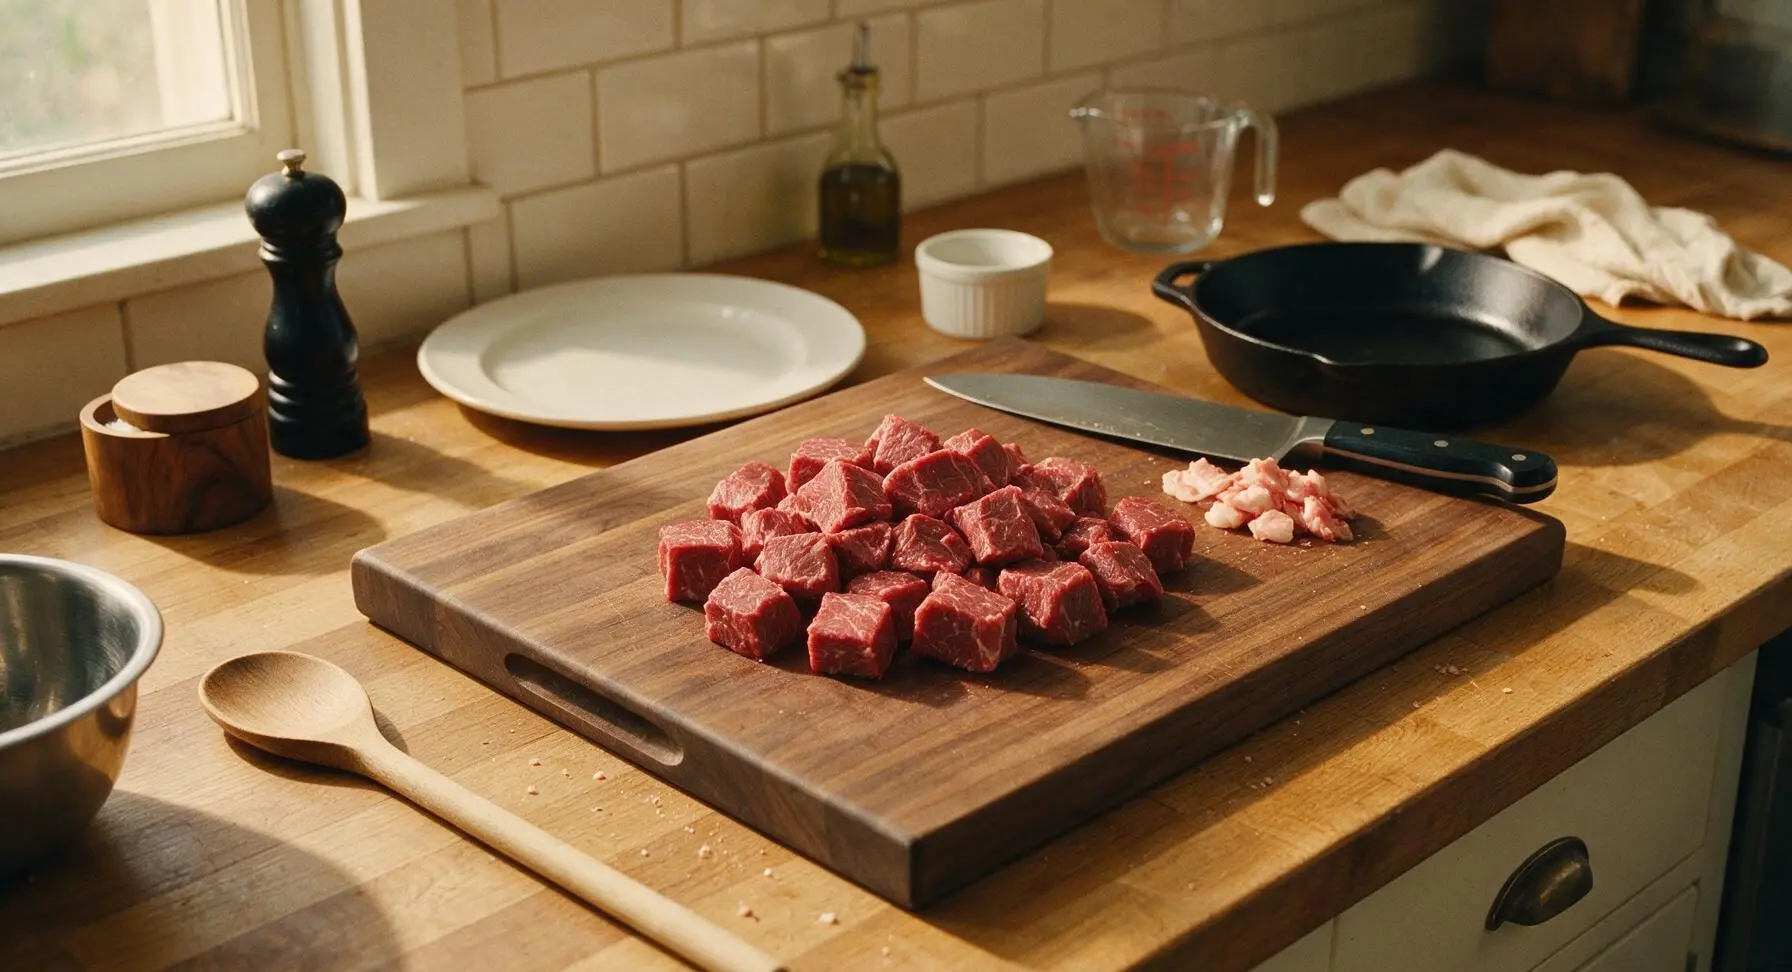
Set the 3lb boneless beef chuck roast on the maple cutting board. Use the 8-inch chef knife to trim away tough silver skin and hard, waxy fat deposits, leaving a thin 1/4-inch layer of soft fat on the meat to render during smoking. Cut the roast into uniform 1.5-inch cubes, then pat every cube completely dry with the edge of the cotton kitchen towel. Evenly sized cubes guarantee consistent smoke penetration and caramelized edges.
Step 1
step1:Trim and Cube Beef
Step 1
step1:Trim and Cube Beef
2

Coat Cubes in Dry Rub

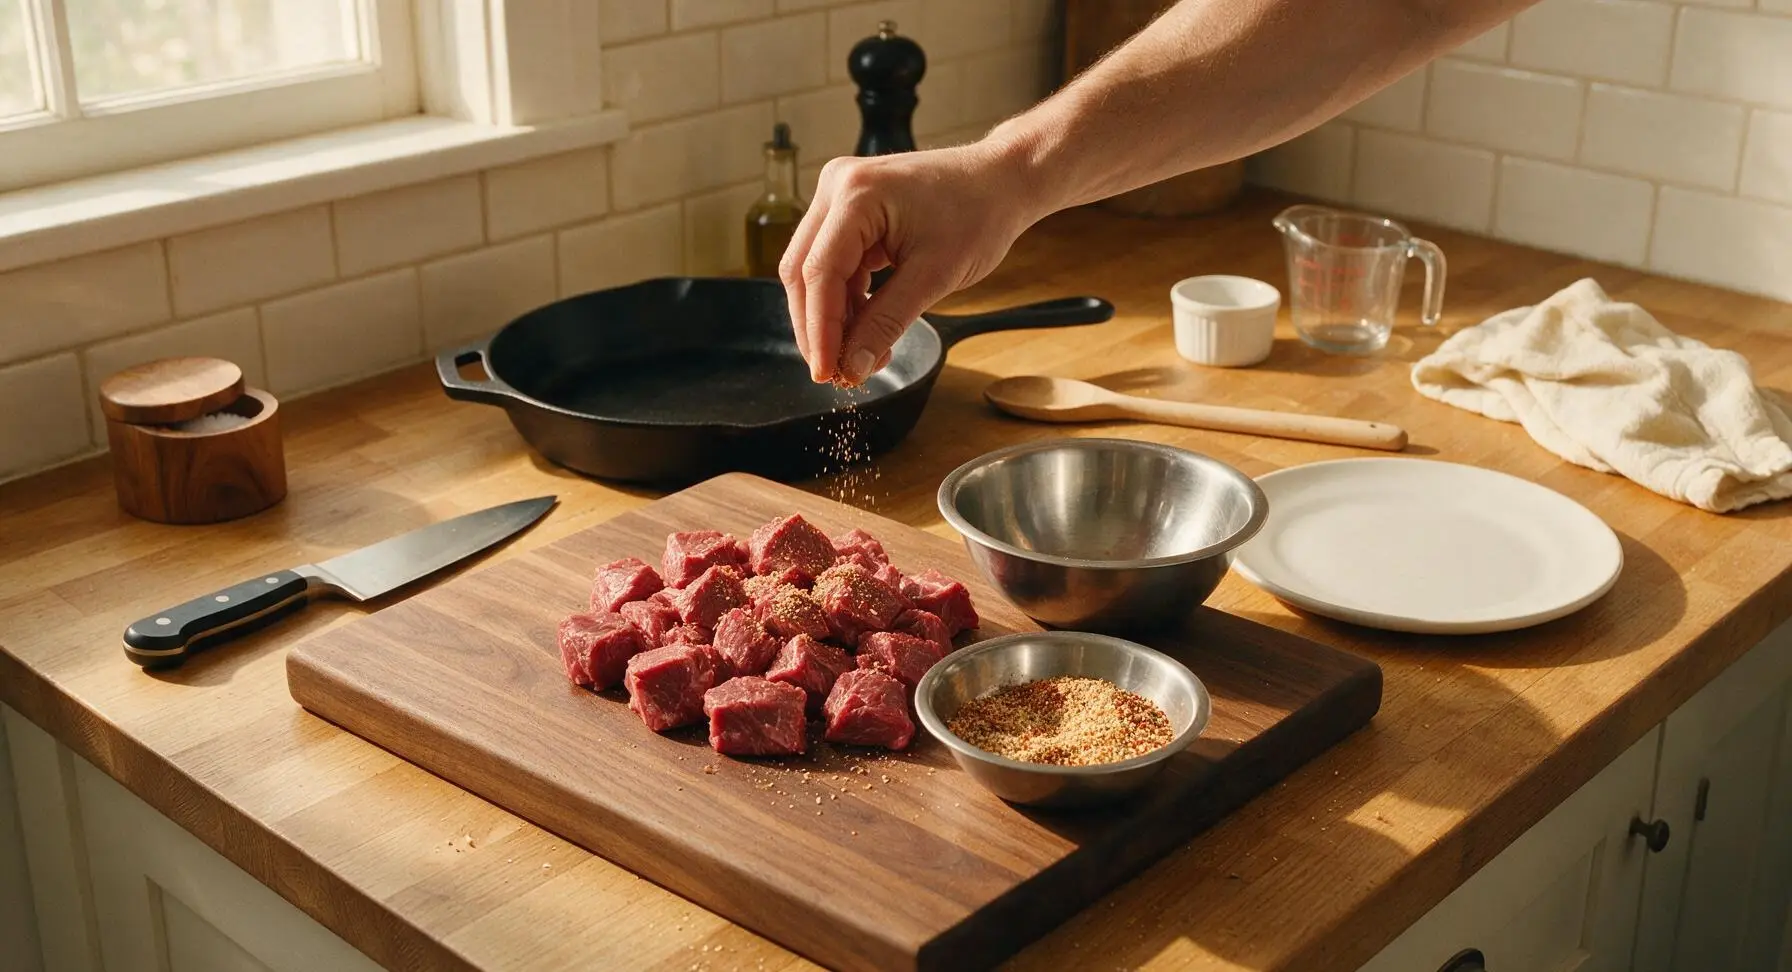
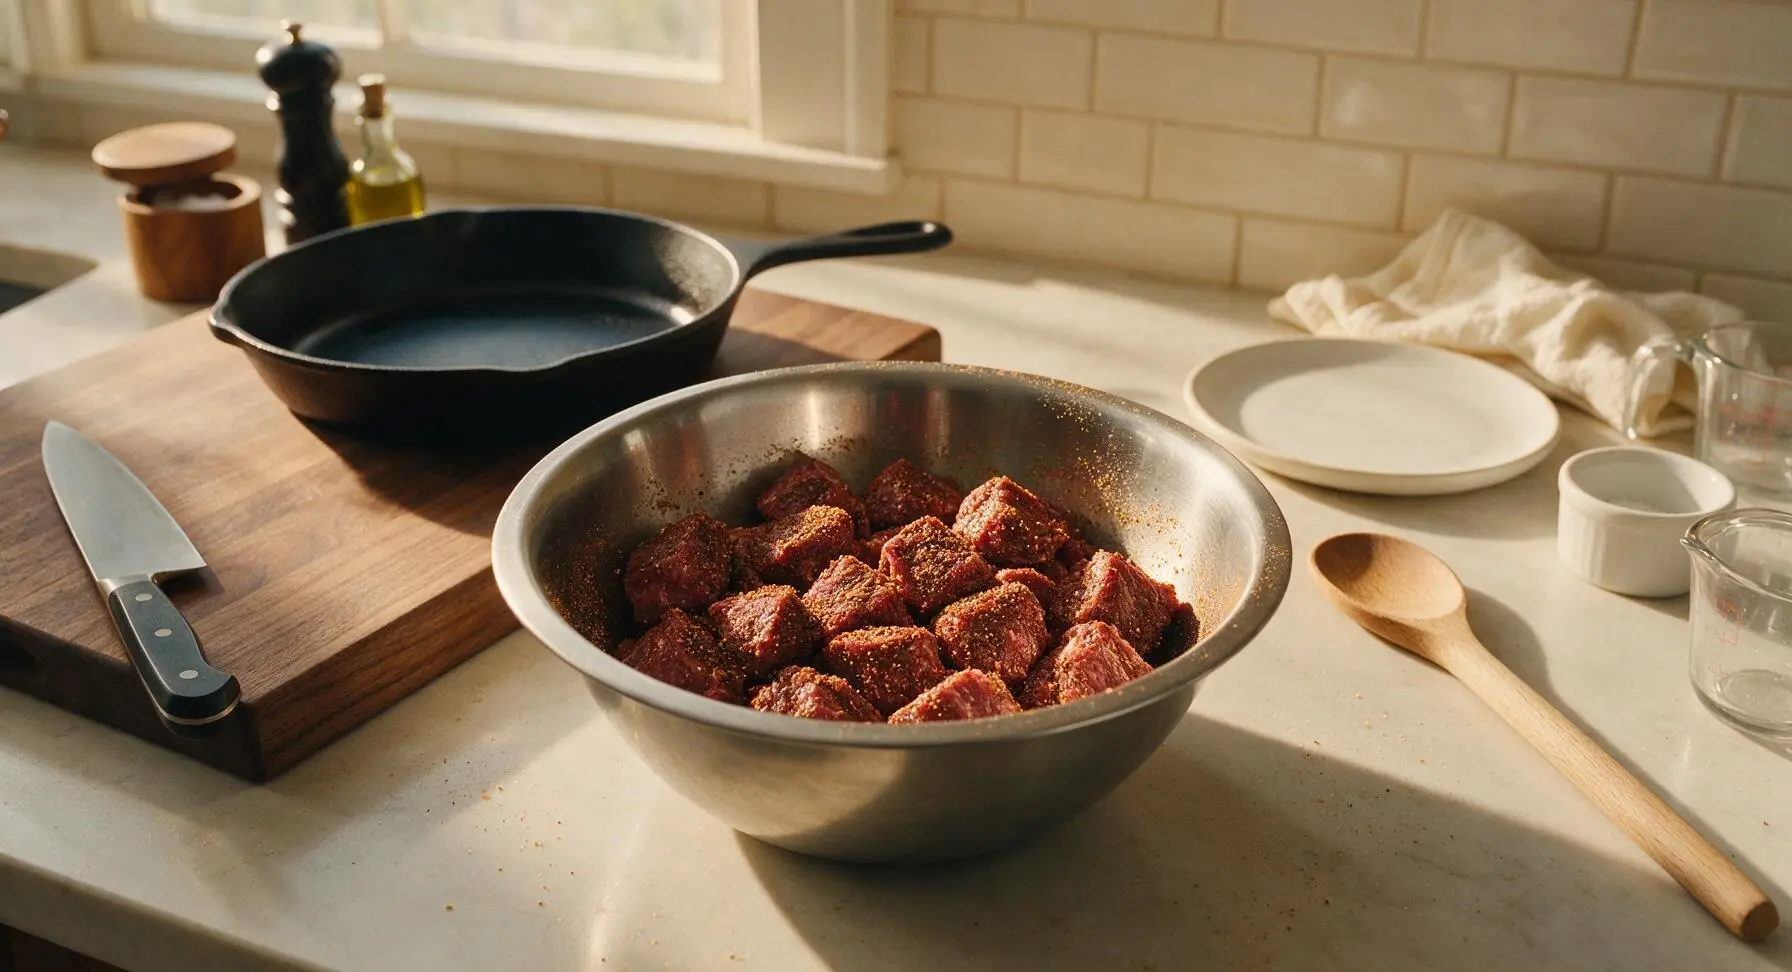
In the small stainless steel mixing bowl, combine 2 tbsp kosher salt, 1 tbsp coarse black pepper, 1 tsp garlic powder, and 1 tsp smoked paprika, stirring to mix evenly. Add the dried beef cubes to the medium stainless steel mixing bowl, sprinkle the spice mix over top, and toss with the stainless steel tongs until every cube is evenly coated on all sides with a thin layer of rub. Let the cubes rest for 15 minutes at room temperature to allow the salt to penetrate the meat surface.
Step 2
step2:Coat Cubes in Dry Rub
Step 2
step2:Coat Cubes in Dry Rub
3

Smoke the Beef Cubes

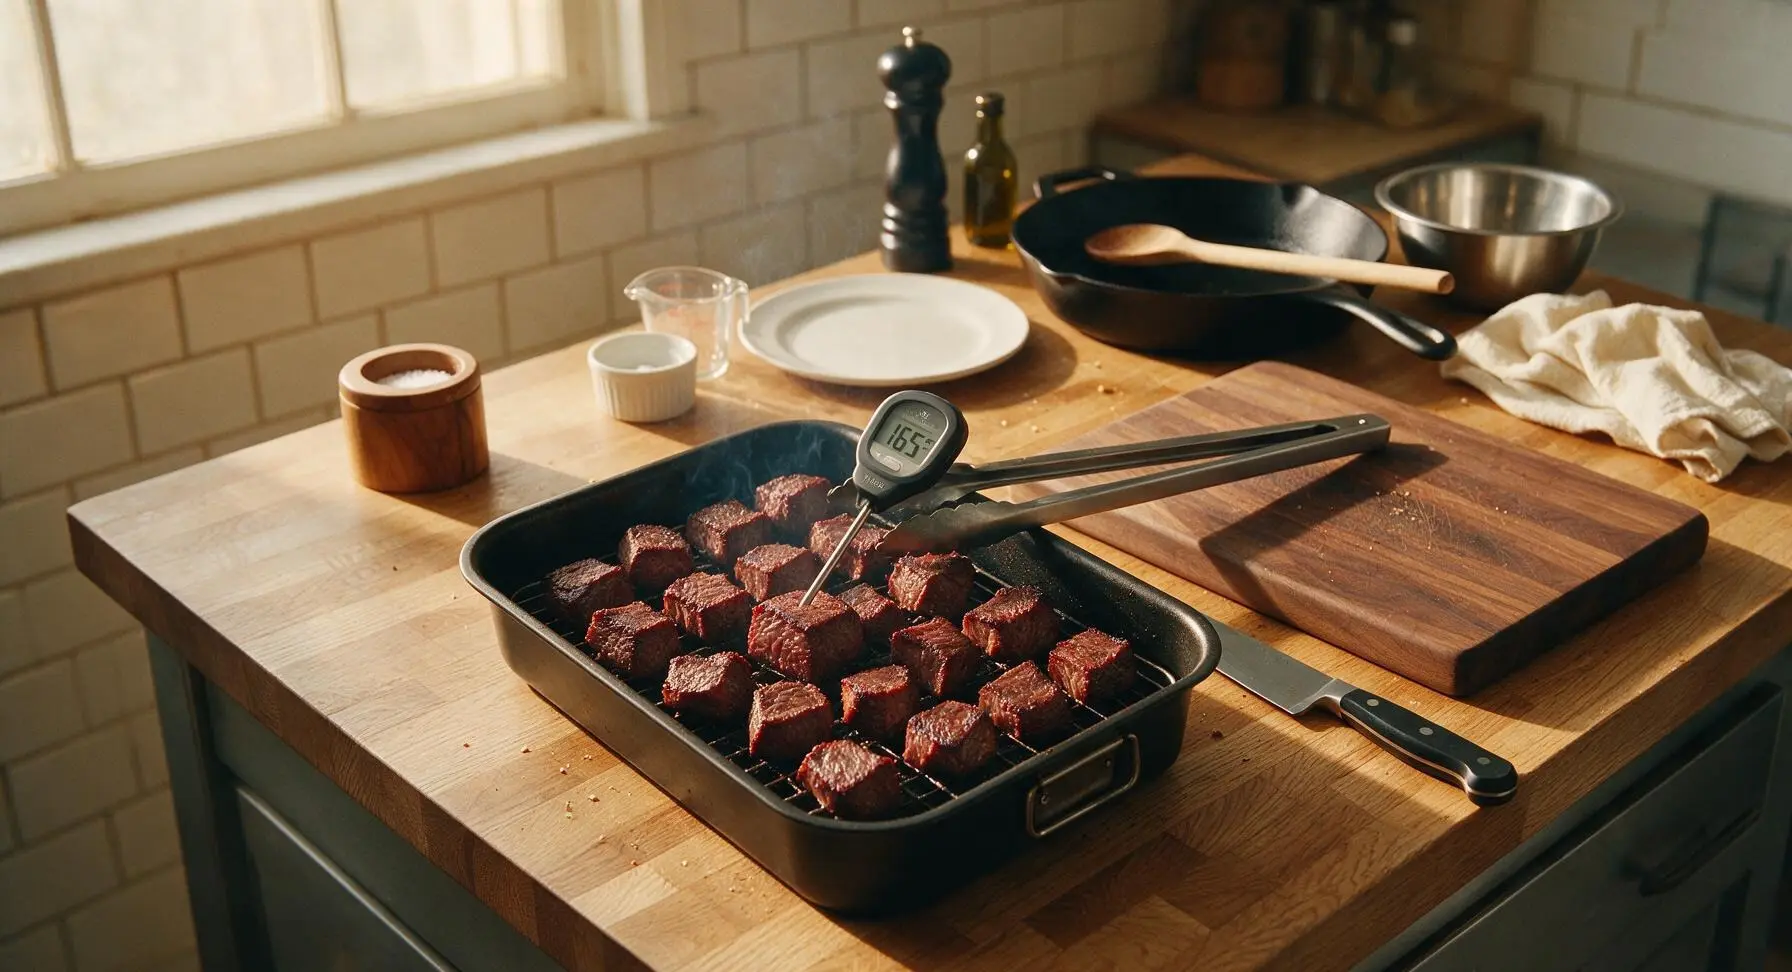
Preheat your smoker to 250°F (121°C) using hickory wood for classic smoky flavor. Arrange the seasoned beef cubes in a single layer on the smoker grate, leaving 1/2 inch of space between each cube for air flow. Close the smoker lid and smoke for 2 hours, until cubes reach an internal temperature of 165°F (74°C) when checked with the digital instant-read thermometer. The cubes will develop a deep reddish-brown outer bark at this stage.
Step 3
step3:Smoke the Beef Cubes
4

Braise Cubes in Sauce

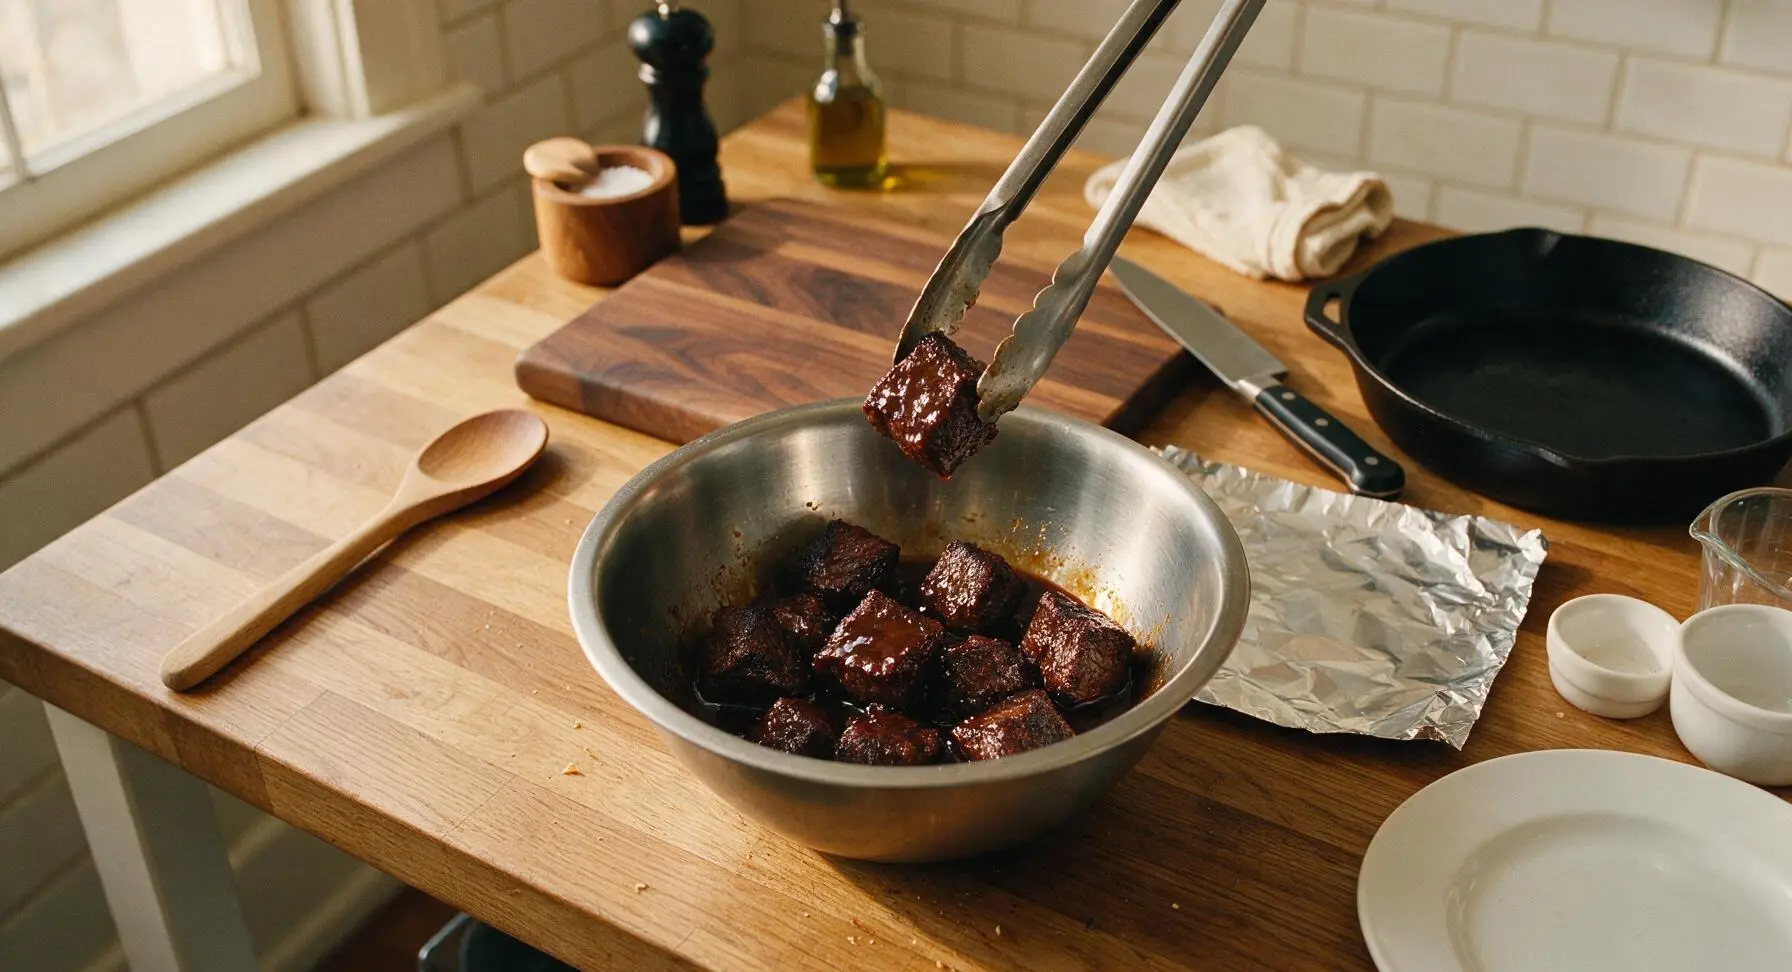
Transfer the smoked beef cubes back to the medium stainless steel mixing bowl. Add 2 tbsp Worcestershire sauce and 1/4 cup beef broth, tossing to coat every cube with the tongs. Return the cubes to the aluminum smoker pan, cover tightly with aluminum foil, and place back in the 250°F smoker for 45 minutes, until cubes are probe-tender (the thermometer slides in with no resistance, like pushing into soft butter). This braising step breaks down connective tissue for signature melt-in-your-mouth burnt end texture.
Step 4
step4:Braise Cubes in Sauce
5

Caramelize Cube Edges

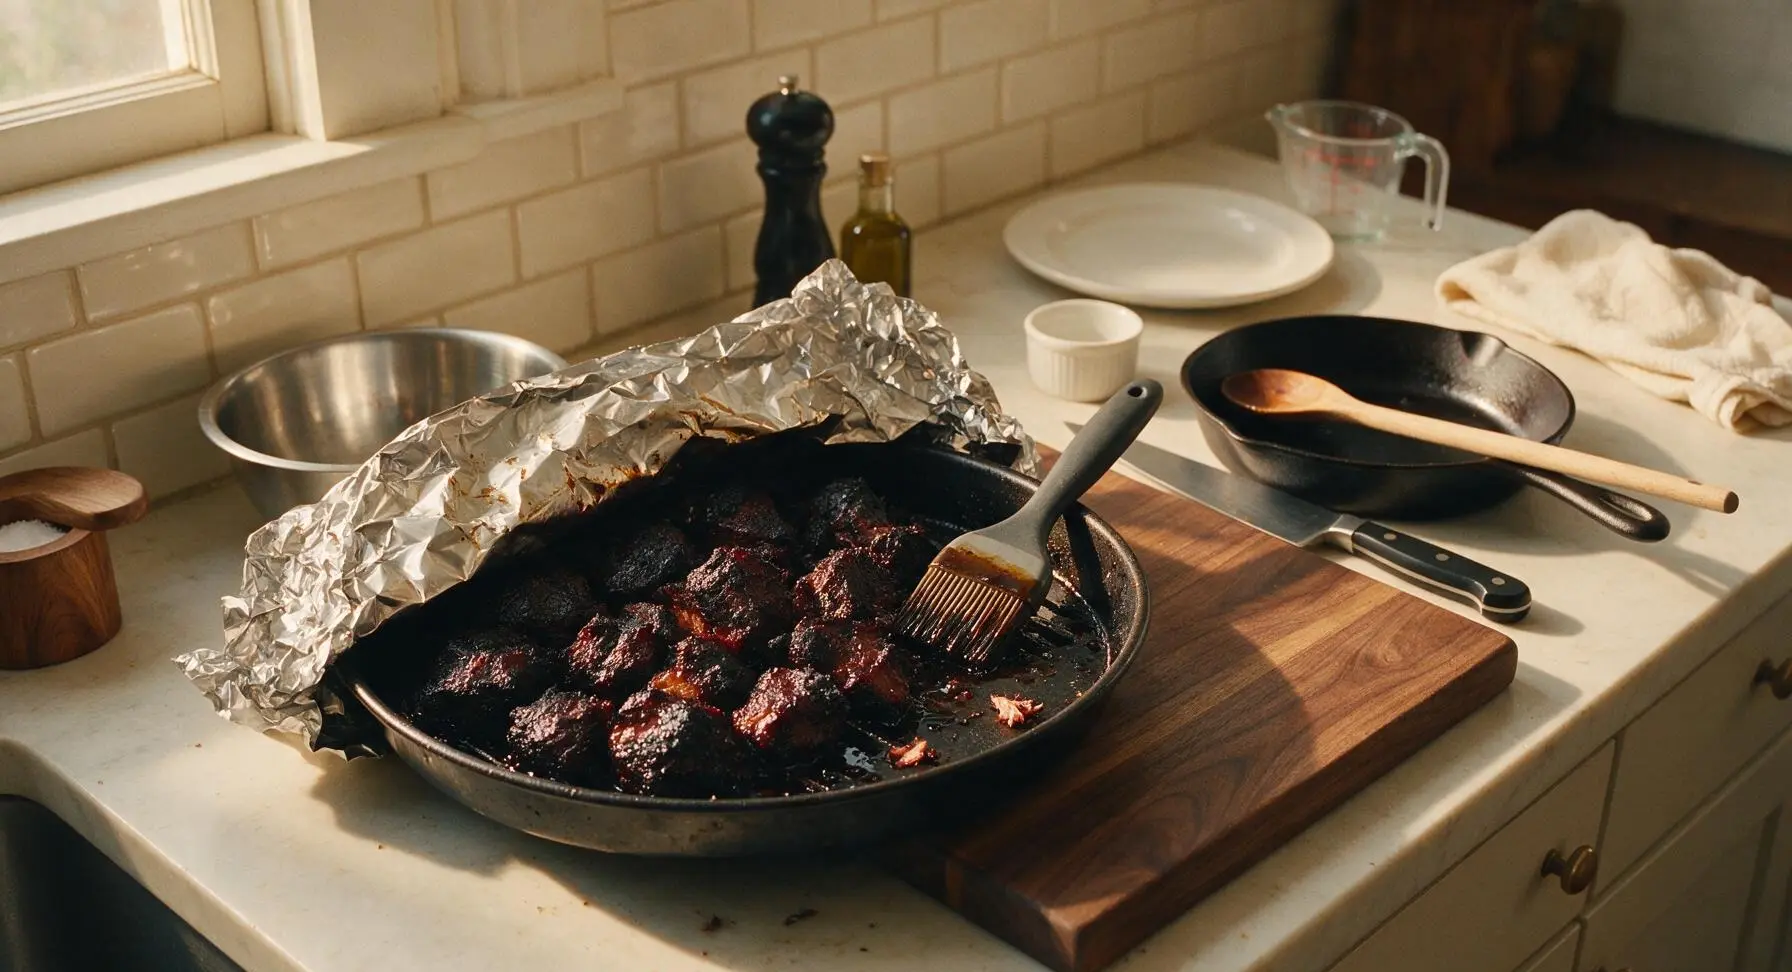
Remove the foil cover from the smoker pan. Increase the smoker temperature to 400°F (204°C). Cook the uncovered cubes for 15 more minutes, basting once with the pan juices using the silicone basting brush, until edges are dark, sticky, and caramelized with a glossy bark. Remove the pan from the smoker and set on the counter to rest for 10 minutes.
Step 5
step5:Caramelize Cube Edges
6

Sauté Peppers and Onions

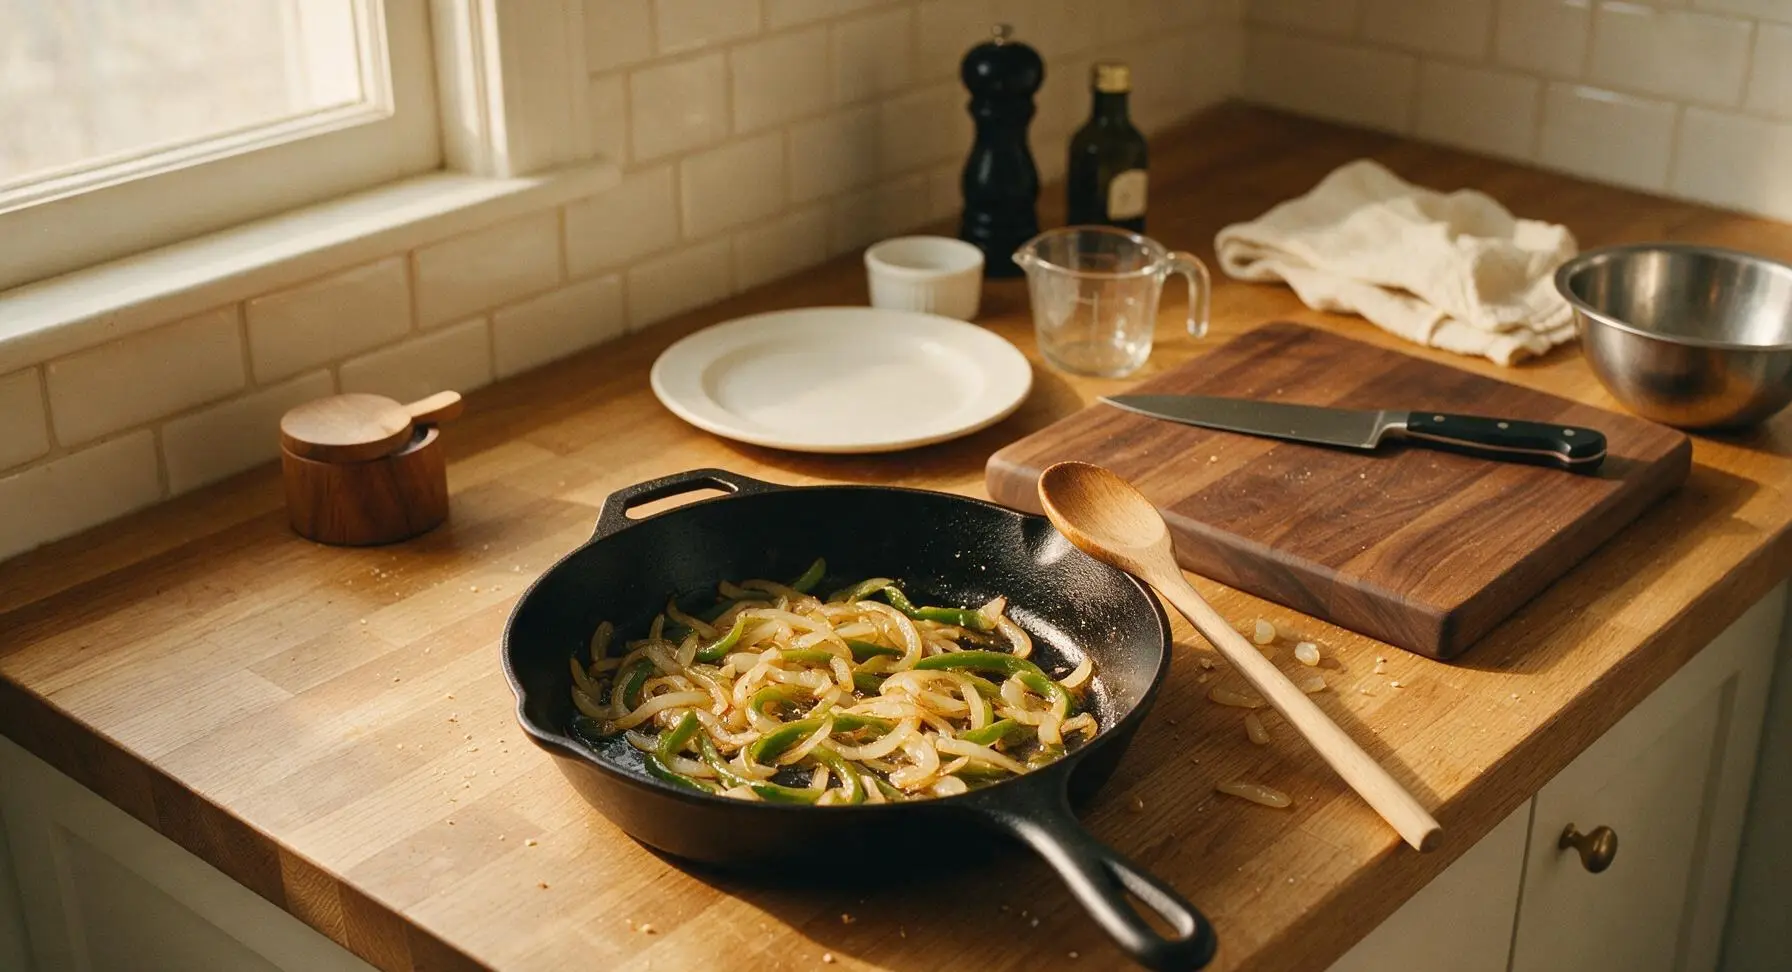
While the burnt ends rest, place the 10-inch matte black carbon steel skillet on the patio side burner set to medium heat. Add 2 tbsp unsalted butter and 1 tbsp avocado oil to the skillet. Once butter is melted and foaming subsides, add the sliced yellow onion and green bell pepper strips. Sauté for 8-10 minutes, stirring with the beech wood spatula, until vegetables are soft and golden at the edges with a slight crunch remaining. Season lightly with a pinch of salt and pepper.
Step 6
step6:Sauté Peppers and Onions
7

Toss and Melt Cheese

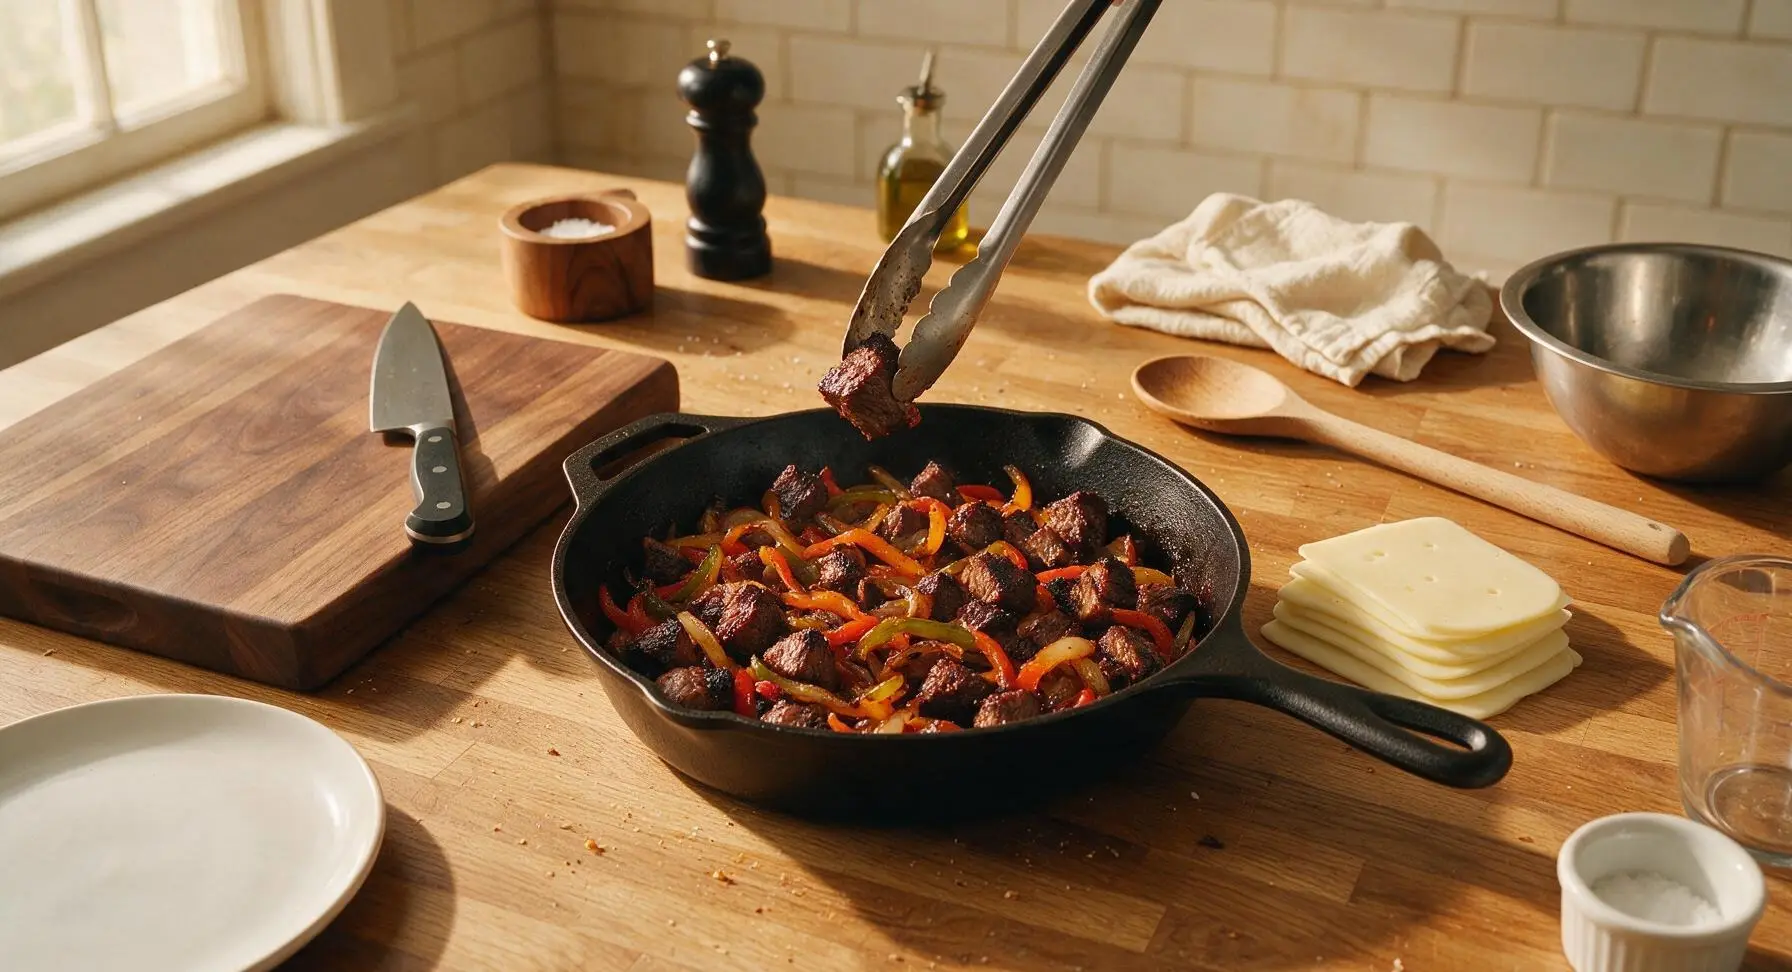
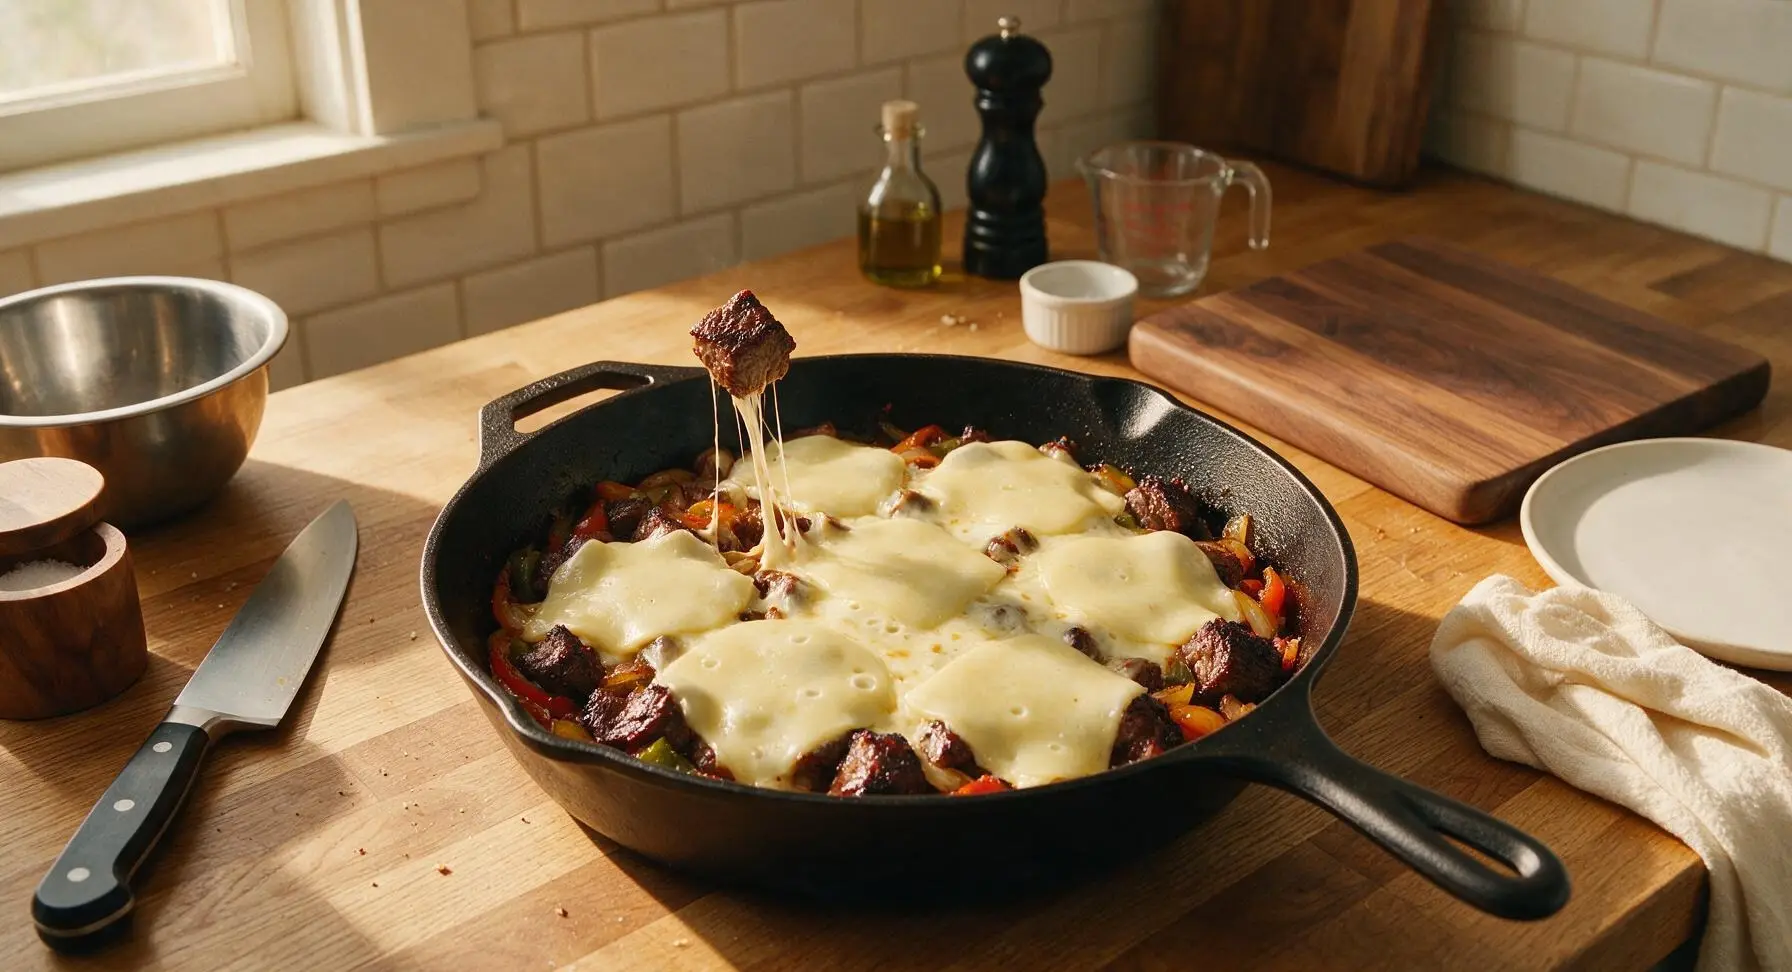
Add the caramelized burnt ends to the skillet with the sautéed peppers and onions, using the tongs to toss everything together gently for 1 minute over low heat so the meat absorbs some of the buttery vegetable flavor. Turn off the heat, then arrange 8 slices of provolone cheese over the top of the mixture, overlapping slices slightly to cover the entire surface. Let residual heat melt the cheese for 2 minutes, until fully melted and stretchy.
Step 7
step7:Toss and Melt Cheese
Step 7
step7:Toss and Melt Cheese
8

Plate and Drizzle Cheese

Transfer the cheesy burnt end and pepper-onion mixture to the matte off-white oval serving platter, piling it loosely in the center. Warm 1/2 cup Cheez Whiz in the clear glass measuring cup for 30 seconds until pourable, then drizzle it in a zig-zag pattern over the top of the pile. Tuck one small fresh basil leaf from the windowsill plant into the side of the pile as a garnish. Serve immediately while hot and stretchy.
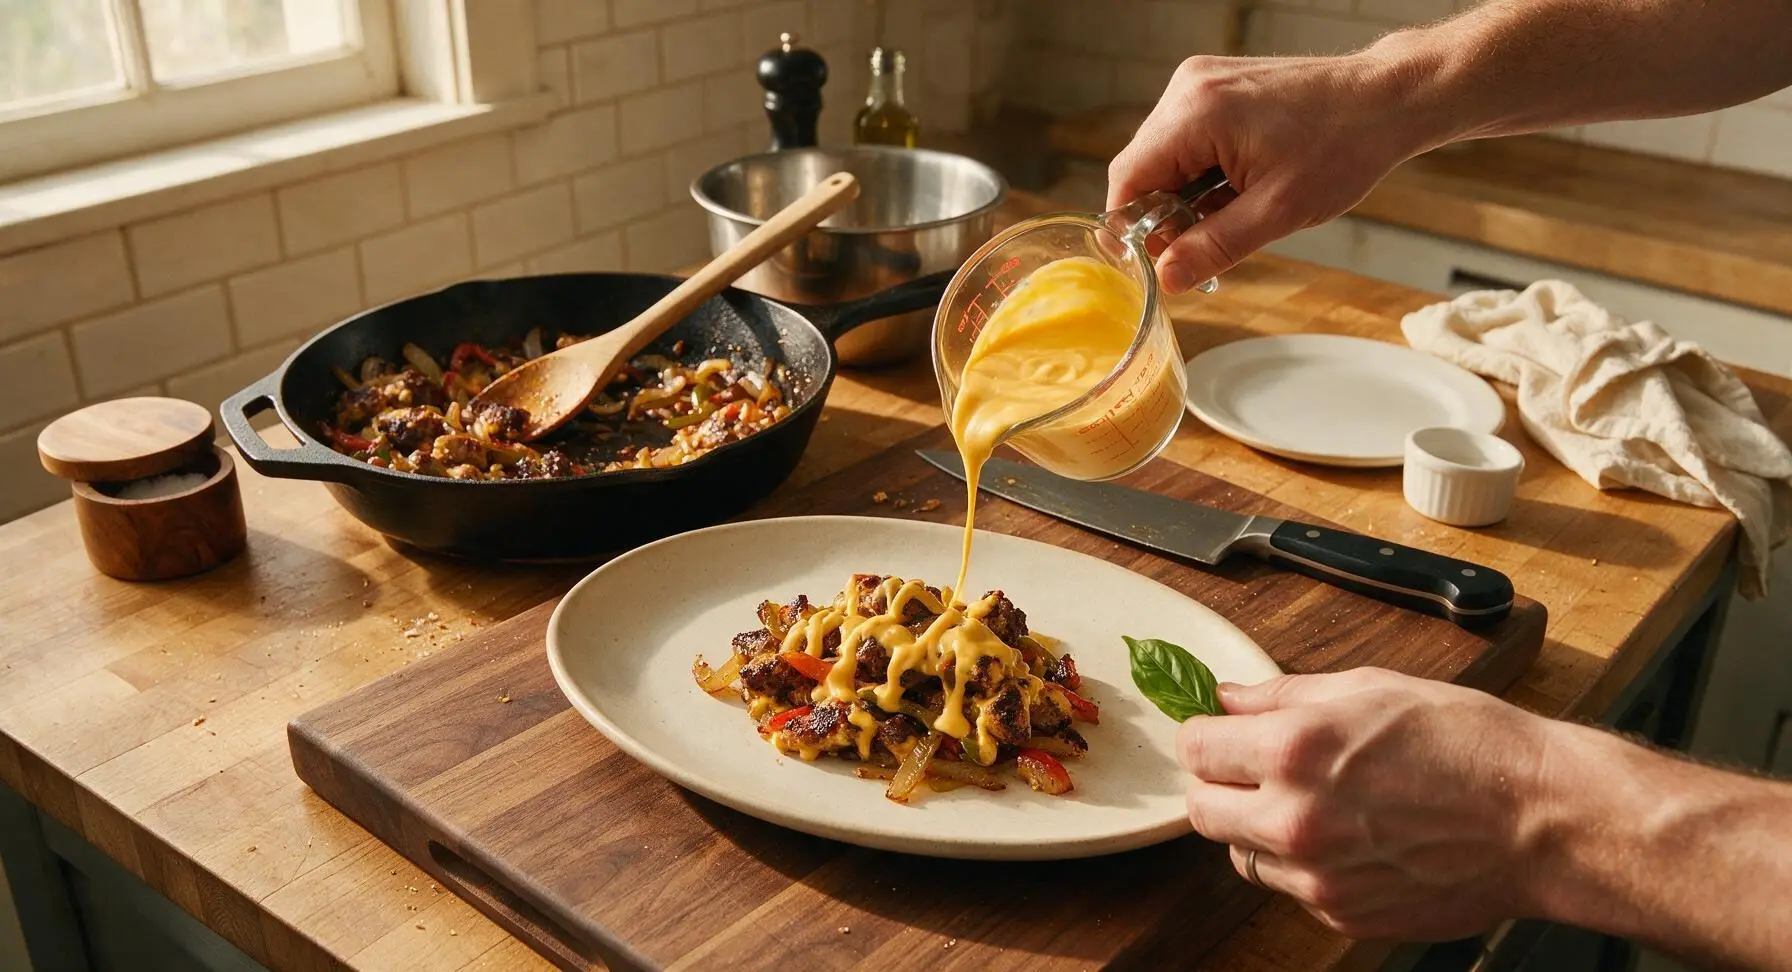
Step 8
step8:Plate and Drizzle Cheese

Tips

1.Pat beef cubes completely dry before applying rub: Dry meat surfaces allow the spice rub to adhere evenly and form a crisp, smoky bark, rather than steaming and developing a soggy outer layer during the first hour of smoking.
2.Cut beef into uniform 1.5-inch cubes: Cubes smaller than 1.5 inches will dry out quickly during smoking, while larger cubes will not fully tenderize before their edges burn, leading to inconsistent texture across the batch.
3.Melt provolone using residual pan heat, not direct high heat: High heat causes provolone to separate and release greasy oil, while gentle residual heat creates a smooth, stretchy cheese layer that clings evenly to every burnt end and vegetable strip.


✨ You May Also Like

BBQ & Grilling
🍜 United States

Tender, melt-in-your-mouth beef brisket with a crisp, spiced bark, slow-smoked to deep smoky perfection, the iconic centerpiece of Texas backyard barbecue.

⏱️ 12 hours BBQ & Grilling ★ 4.4
BBQ & Grilling
🍜 Korea

Tender, sweet-savory marinated beef short ribs, a beloved Korean BBQ staple with caramelized, slightly charred edges and deep umami flavor, perfect for outdoor summer gatherings.

⏱️ 4 hours 2BBQ & Grilling ★ 4.8
BBQ & Grilling
🍜 United States

Juicy grilled beef patties topped with smoky homemade chili, melted cheddar, and tangy pickles on toasted brioche buns for a hearty, flavor-packed handheld meal.

⏱️ 40 minuteBBQ & Grilling ★ 4.7
BBQ & Grilling
🍜 United States

A sweet, smoky, tangy BBQ sauce brightened with peak-season dark cherries, ideal for glazing grilled ribs, chicken, pork, or summer roasted veggies.

⏱️ 35 minuteBBQ & Grilling ★ 4.7
BBQ & Grilling
🍜 United States

Rich, smoky, slightly sweet homemade bourbon BBQ sauce with deep caramel notes, ideal for glazing grilled ribs, chicken, and burgers at cookouts.

⏱️ 25 minuteBBQ & Grilling ★ 4.7
BBQ & Grilling
🍜 United States

Iconic Alabama-style BBQ featuring tender hickory-smoked chicken slathered in tangy creamy white sauce, a beloved regional Southern cookout staple.

⏱️ 3 hoursBBQ & Grilling ★ 5

Philly Cheesesteak Burnt Ends:Frequently Asked Questions

1.What cut of beef works best for Philly cheesesteak burnt ends? ▾
Boneless beef chuck roast is the ideal pick here, with no equal for that signature fall-apart texture. Its evenly distributed intramuscular marbling melts during low-and-slow smoking to keep bites juicy, while tough connective tissue breaks down fully over the cook. Skip ultra-lean cuts like sirloin or eye of round—they’ll turn tough and dry long before you build a good crust.
2.Can I make these if I don’t own a dedicated offset smoker? ▾
Absolutely! You don’t need fancy competition BBQ gear to nail that signature smoky flavor. Use a charcoal grill set up for indirect heat with a couple oak or hickory wood chunks, a gas grill fitted with a small smoker box, or even your oven with an extra pinch of smoked paprika to amp up smoky notes when outdoor cooking isn’t an option.
3.What cheese gives that classic stretchy Philly cheesesteak melt? ▾
For that iconic pull-apart stretch and mild, savory flavor that doesn’t overpower smoky beef, go for thinly sliced provolone or traditional Cheez Whiz, the classic Philly pick. If you love a creamier bite, mix in a small amount of shredded white American. Skip hard aged cheeses like sharp cheddar or parmesan, as they won’t melt into that smooth, draped coating we want.
4.How long do these need to cook to get that fall-apart tender texture? ▾
Plan for roughly 4 to 5 hours total cook time at 225°F to 250°F. First, smoke the whole chuck roast until it hits 165°F internal, cube it, then finish cooking the cubed pieces until they hit 200°F to 205°F internal. That temp range is the sweet spot where connective tissue fully dissolves for melt-in-your-mouth bites without turning mushy.
5.Do I need a complicated specialty rub for these burnt ends? ▾
Nope, you don’t need an overpriced store-bought rub with a dozen hard-to-find ingredients. The simple blend of kosher salt, coarse black pepper, garlic powder, and smoked paprika in the recipe is all you need. It lets deep smoky beef flavor shine, adds just enough savoriness, and builds a beautiful, crusty bark on the outside of every cube.
6.When do I add peppers and onions so they don’t turn mushy? ▾
Sauté your peppers and onions separately while the burnt ends finish their final cook, so they stay tender-crisp with slight caramelized edges instead of turning soggy. Toss them in with the cubed beef during the last 10 minutes of cooking, right before you add the cheese, so they meld with smoky beef flavor without over-softening.
7.What type of wood pairs best for that authentic KC BBQ smoke flavor? ▾
Stick to mild, balanced hardwoods that won’t overpower the Philly cheesesteak flavor profile. Oak is the traditional KC BBQ pick for its earthy, approachable smoke; hickory works too if you like a slightly bolder, bacon-like smoke note. Skip strong, resinous woods like mesquite or pine, as they’ll leave a bitter aftertaste that clashes with sweet peppers and creamy cheese.
8.Can I prep these burnt ends ahead of time for a game day party? ▾
You can absolutely prep components ahead to cut down on day-of work! Smoke the whole chuck roast up to the cubing step up to 2 days in advance, store it tightly wrapped in the fridge, then cube, finish cooking, and toss with peppers, onions, and cheese right before serving. I don’t recommend fully assembling them ahead, as the cheese will get rubbery and veggies will soften as they sit.
9.How big should I cut the beef cubes for the perfect burnt end bite? ▾
Aim for uniform 1.5-inch cubes when you cut the partially smoked chuck roast. This size is big enough to develop a nice, crusty bark on every side without drying out during the final cook, and it’s the ideal single-bite size for toothpick appetizers or mini sliders. Cut them smaller and they’ll dry out; bigger and they won’t cook evenly.
10.Should I wrap the burnt ends in foil during the final cook? ▾
You don’t need to wrap these burnt ends the way you would a full brisket, because the smaller cube size lets fat render and connective tissue break down quickly without trapping too much steam. If you notice the bark getting too dark before the beef hits 205°F, tent the pan loosely with foil for 20 minutes to prevent burning without making the bark soggy.
11.What are the best sides to serve with these fusion burnt ends? ▾
Stick to classic BBQ and Philly-inspired sides to complement the cross-cultural flavor. Crispy seasoned fries, tangy creamy coleslaw, dill pickle spears, or buttery garlic bread all work beautifully. If you’re serving them for game day, set out toasted hoagie slices so guests can pile burnt ends on top for quick, handheld mini cheesesteak sliders.
12.My burnt ends came out tough — what did I do wrong? ▾
Tough burnt ends almost always trace back to one of two common missteps: either you used too lean a cut of beef without enough marbling, or you pulled them off the heat before they hit that 200–205°F internal temp sweet spot. Connective tissue doesn’t fully break down into tender, juicy texture below that range, so always use a reliable meat thermometer instead of guessing by cook time alone.
13.Can I add other classic Philly cheesesteak toppings to this recipe? ▾
Absolutely! This fusion recipe is super customizable once you nail the base. Toss in sautéed mushrooms with the peppers and onions, add a drizzle of hot cherry pepper relish for a bright zing, or sprinkle on a pinch of dried oregano for that classic hoagie shop flavor. Just avoid adding wet toppings early in the cook, as they’ll turn the crispy bark soggy.
14.How do I store leftovers and reheat them without drying out the beef? ▾
Store leftover burnt ends in an airtight container in the fridge for up to 4 days. To reheat, spread them in a single layer on a baking sheet, cover loosely with foil, and warm in a 325°F oven for 10 to 12 minutes, adding a fresh sprinkle of cheese the last 2 minutes to bring back that stretchy melt. Skip the microwave—it will turn beef rubbery and cheese grainy.

Comments (11)

2 days ago

OMG these burnt ends were an absolute game changer for our weekend cookout! I was a little nervous about the 3+ hour cook time but every minute was worth it. The melty provolone mixed with the thinly sliced steak and crispy caramelized edges? *Chef’s kiss* My husband already asked me to make these again for his birthday party next month.

1 day ago

So stoked these were a hit at your cookout! Pro tip for next time: if you’re short on time day-of, you can prep the steak rub and cut the meat the night before to cut down on active cook time. Hope the birthday party turns out amazing!

1 week ago

Made these for Sunday family dinner and my kids literally fought over the last piece. I will say the difficulty felt a touch higher than medium for me because I’ve never made burnt ends before, but the instructions were super clear so I didn’t mess it up! The only swap I made was using white American cheese instead of provolone because that’s what we had in the fridge, and it still turned out SO good.

5 days ago

Took these to my buddy’s football watch party last Sunday and they were gone in 10 minutes flat. People kept asking me where I got the recipe! Only downside is my apartment smelled like steak and cheese for 3 days, no regrets though. Would these work on a pellet grill instead of a regular oven?

4 days ago

I made mine on a Traeger last weekend! Set it to 225 for the first slow cook part then cranked it to 400 to crisp up the ends, turned out perfect.

3 days ago

Great question! They work fantastic on pellet grills, just like SmokeMasterJoe said. Just keep an eye on the internal temp of the steak so it doesn’t overcook during the slow roast phase!

2 weeks ago

Wait a second, philly cheesesteak AND burnt ends? I never knew I needed this combo in my life. Made a big batch on Sunday for meal prep and it held up all week for lunches. Even reheated great in the air fryer! 10/10 will be adding this to my regular rotation.

1 week ago

Oh thanks for the reheating tip! I was worried these wouldn’t keep well for meal prep, I’m definitely making a batch this weekend now.

3 days ago

Made these for my teen’s post-practice team dinner and the whole team went crazy. I was worried 3+ hours was too long for a weeknight, but I popped them in the oven right when I got home from work and they were done right as the kids showed up. The sweet onion and pepper mix takes it over the top, don’t skip that part! Only reason I’m not giving 5 stars is I wish there was a note about how much cheese to actually use, I overdid it on the first batch and it was a little greasy, but still delicious.

2 hours ago

First time trying to make anything fancier than ramen in my dorm oven and these actually turned out edible??? Wild. The cook time felt forever because I was so hungry, but my roommates all pitched in for ingredients and we ate almost the whole pan in one sitting. Do y’all think this would work with chicken instead of steak for my roommate who doesn’t eat red meat?

1 hour ago

I did chicken thighs last week when I made it! Cut them into the same size cubes, added a little extra Worcestershire to the rub, and it banged. No red meat needed.

30 minutes ago

That’s such a great swap! Chicken thighs work perfectly because they stay juicy through the long cook time, just make sure they hit 165°F internal before you add the cheese. So impressed you pulled this off in a dorm oven!

1 week ago

I’ve made regular brisket burnt ends a dozen times but this philly twist is next level. I added a little drizzle of cheese whiz on top of the provolone for that authentic cheesesteak vibe and it did not disappoint. One note: if you’re at a higher elevation, add about 15 minutes to the slow cook time so the steak gets tender enough.

6 days ago

Love the cheese whiz addition, that’s such a fun authentic touch! Thanks so much for the high elevation tip, I’m going to add that note to the recipe card for other folks at altitude.

yesterday

Brought these to the neighborhood potluck last weekend and I had 3 people stop by my house later in the week asking for the recipe. They’re the perfect handheld party food, no messy plates needed. I did add a sprinkle of fried onions on top for extra crunch, highly recommend that little upgrade.

30 minutes ago

As someone born and raised in Philly now living in Florida, I’m super picky about anything labeled ‘philly cheesesteak’ and I was fully ready to roast this recipe… but y’all got me. These burnt ends have all the classic flavors I love, just in that perfect crispy burnt end form. 10/10, even my Philly-native dad who was visiting approved. The only thing missing is a side of garlic aioli for dipping, which I made from another recipe on the site.

20 minutes ago

Fellow Philly expat in FL here! I’ve been looking for a good cheesesteak adjacent recipe that doesn’t require me to drive 2 hours for a decent sandwich, can’t wait to try these.

10 minutes ago

That is the highest compliment coming from a Philly native, thank you so much! The garlic aioli dip idea is genius, I’m going to test that out as a serving suggestion for the next time I make these.

5 minutes ago

Wait is there a way to make these a little faster? I love the sound of them but 3 hours 15 minutes is a big time commitment for weeknights, even if it’s mostly hands off. I have an air fryer, would that cut down on cook time at all?

just now

I did mine in the air fryer! Cut the steak into slightly smaller cubes, did 350 for 45 minutes then tossed with cheese and onions and broiled for 2 minutes to crisp. Total time was under an hour, still tasted amazing!

3 days ago

Made these for my annual Fourth of July cookout and they were the star of the spread, beating out my usual ribs and pulled pork! I used ribeye for the steak like the recipe said and that marbling made all the difference, so don’t skimp on the cut of meat if you can help it. My only question: can I freeze these after cooking to save for later?

2 days ago

I froze half a batch last month! Let them cool completely, store in an airtight container for up to 3 months, then reheat in the oven at 375 for 15 minutes. They’re almost as good as fresh!

1 day ago

So glad these beat out your usual cookout spread, that’s a huge win! The freezer tip is spot on, just make sure to add a little extra cheese when you reheat if you want that fresh melty texture. Thanks for sharing!



