
pioneer woman ice cream sandwich cake
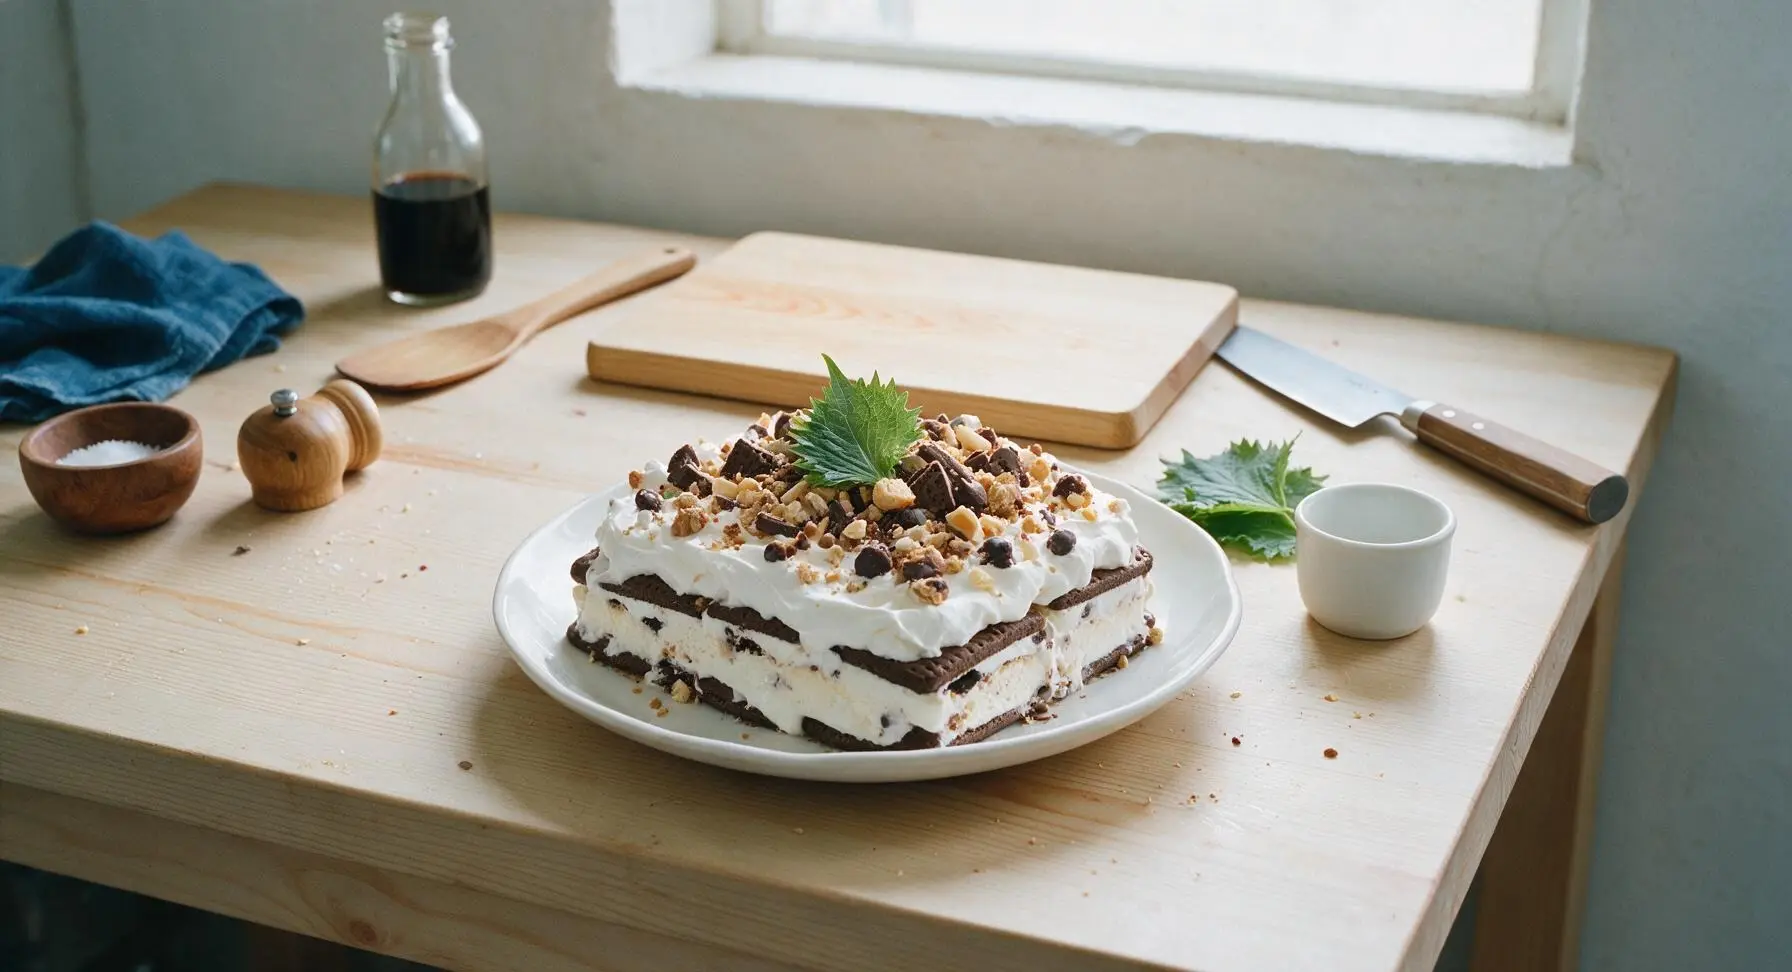
intro
No-bake, ultra-creamy frozen layered cake made with classic ice cream sandwiches, fluffy whipped topping, and crunchy sweet mix-ins: a nostalgic, zero-oven crowd favorite.
Ingredients
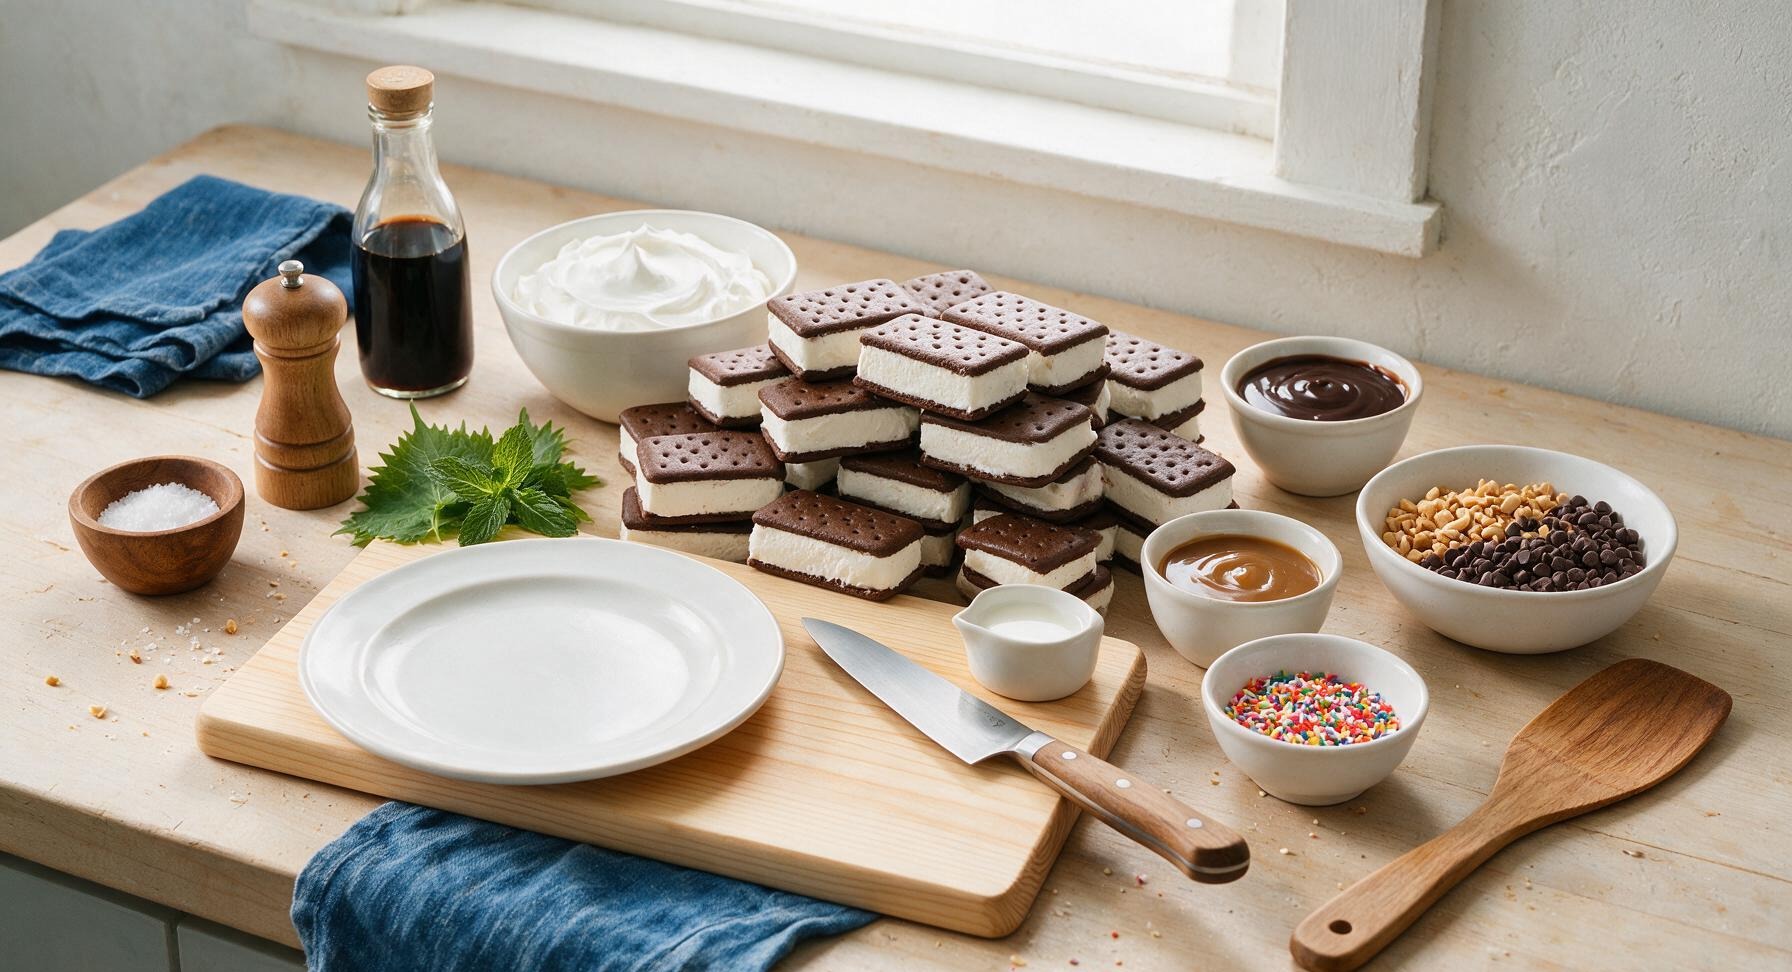
Steps
Prep First Ice Cream Layer
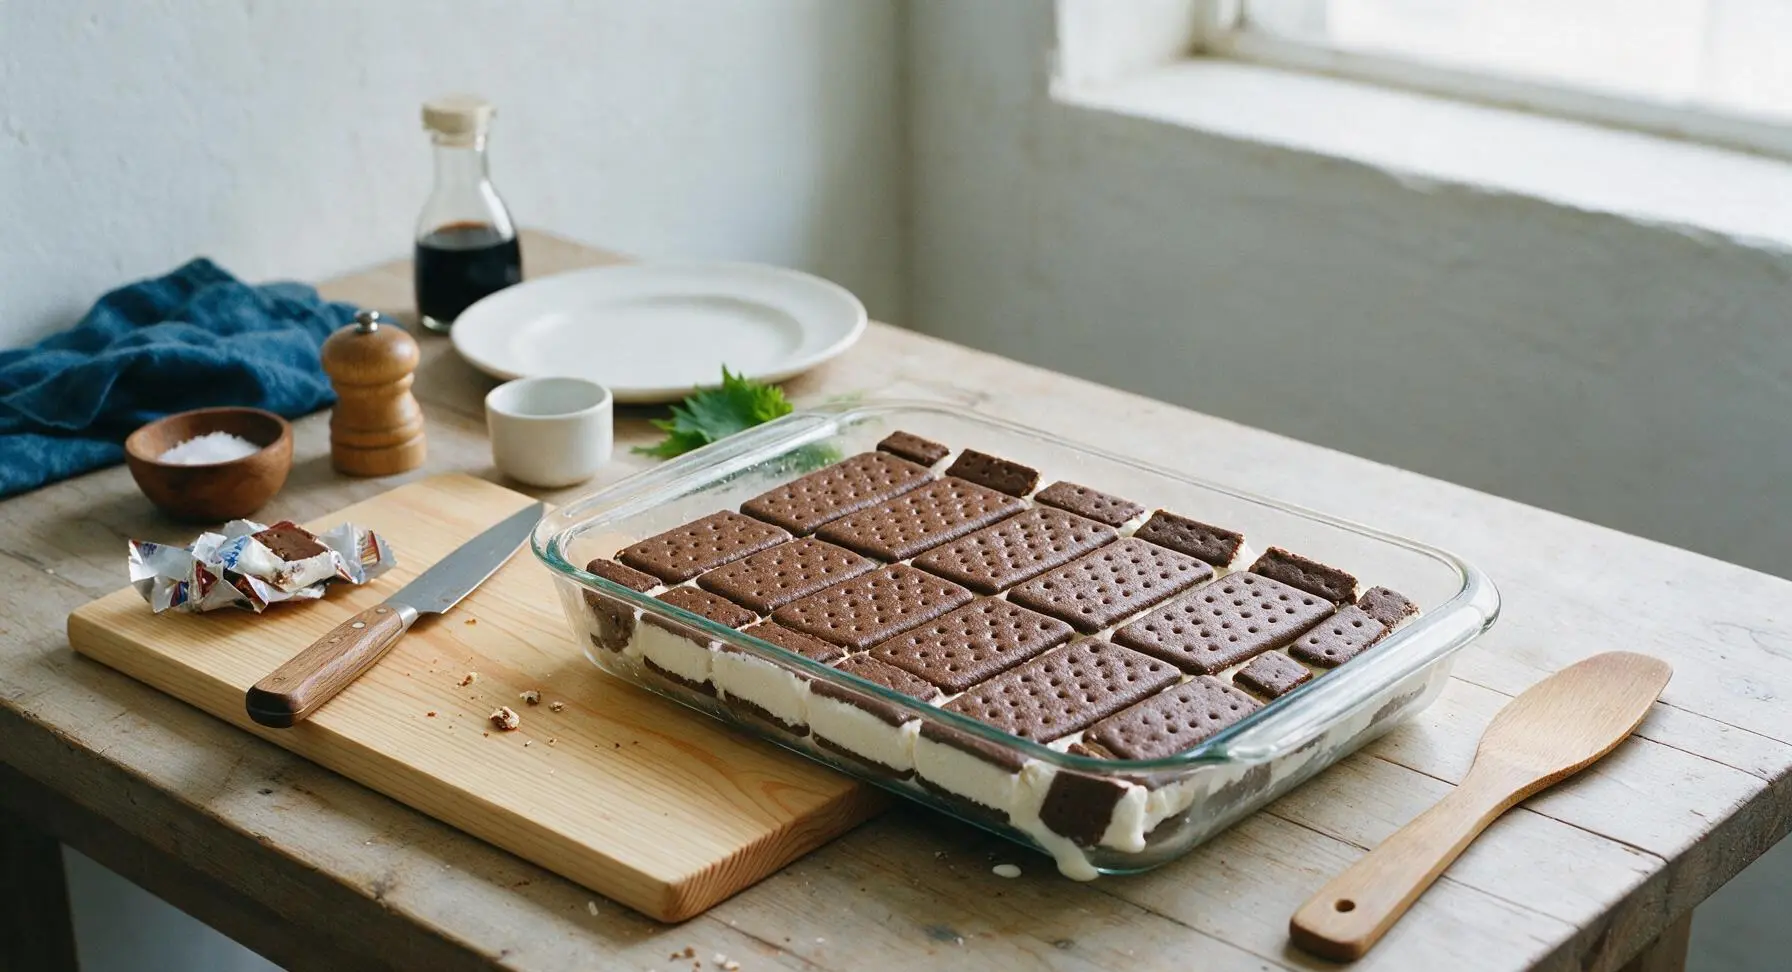
Working quickly to avoid ice cream melt, unwrap 12 of the vanilla ice cream sandwiches. Arrange them in a single tight, even layer across the bottom of the 9x13 clear glass baking dish, using the paring knife to cut 1-2 sandwiches as needed to fill any small gaps along the dish edges. Position sandwiches so their chocolate cookie sides face up and down, creating a solid, flat base layer with no exposed dish bottom.
Spread First Whipped Topping
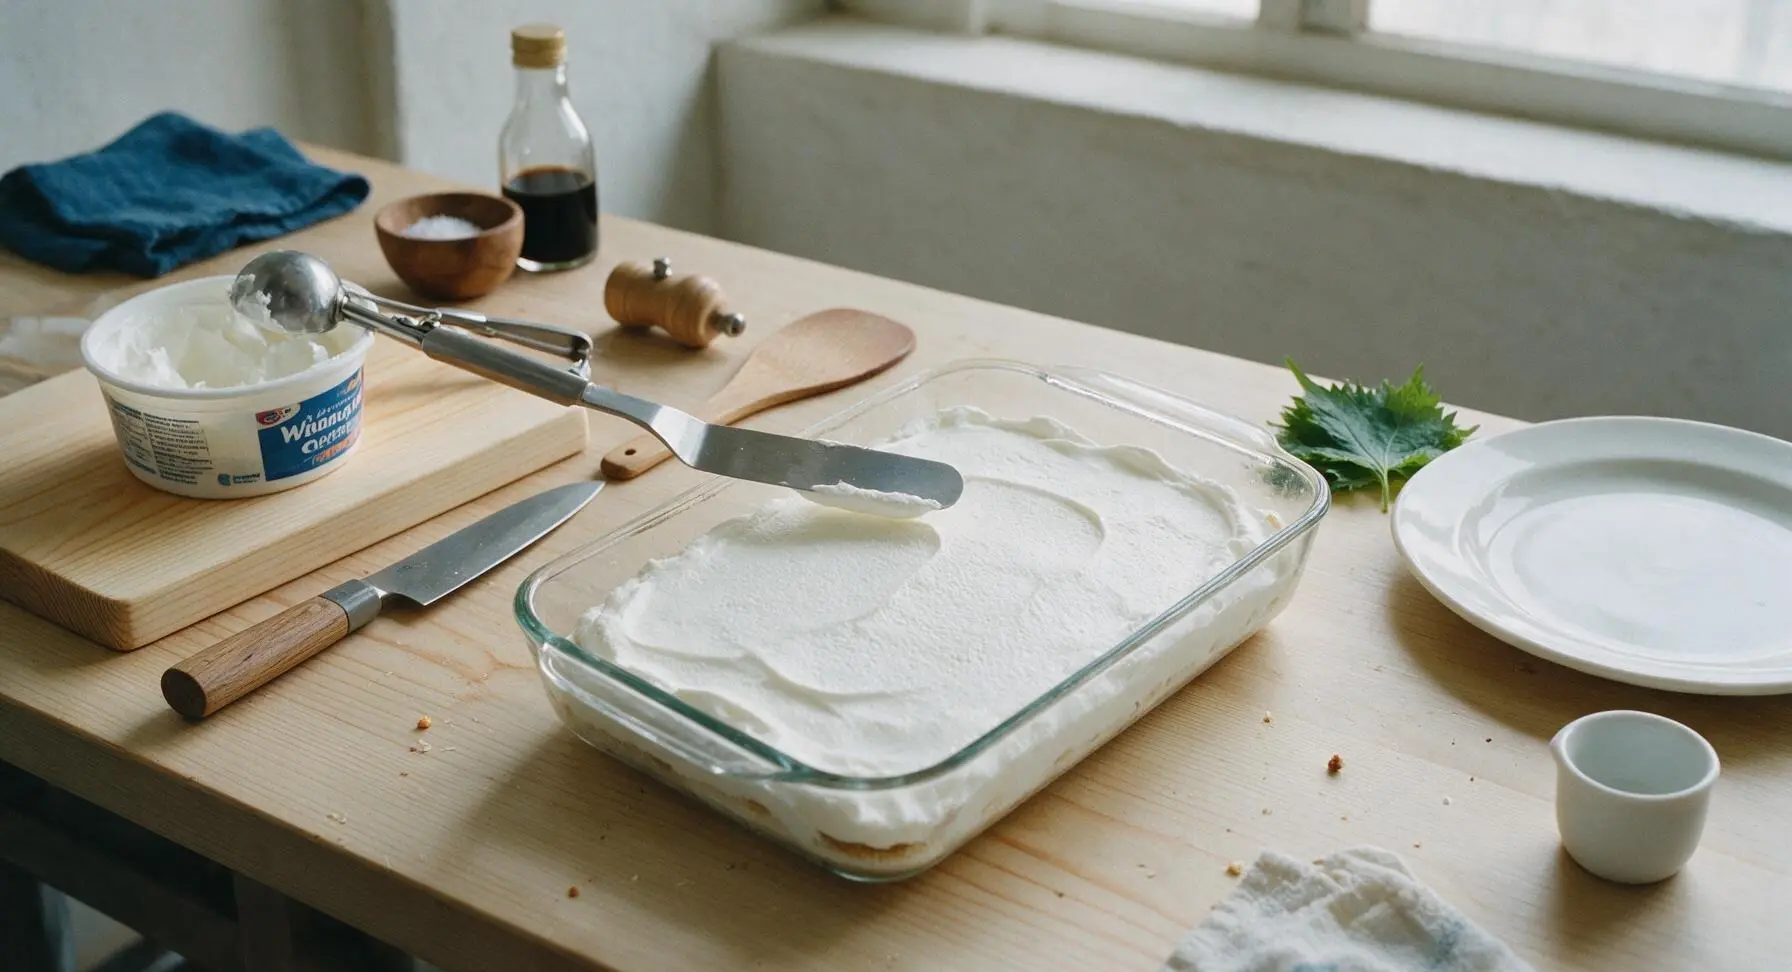
Use the metal ice cream scoop to transfer half (8 oz) of the thawed whipped topping onto the ice cream sandwich base. Hold the offset spatula at a low angle to spread the topping into a smooth, uniform 1/4-inch thick layer across the entire surface, taking care not to shift or lift the ice cream sandwiches underneath. No ice cream sandwich should be visible through the whipped layer.
Add Sauces and Crunch
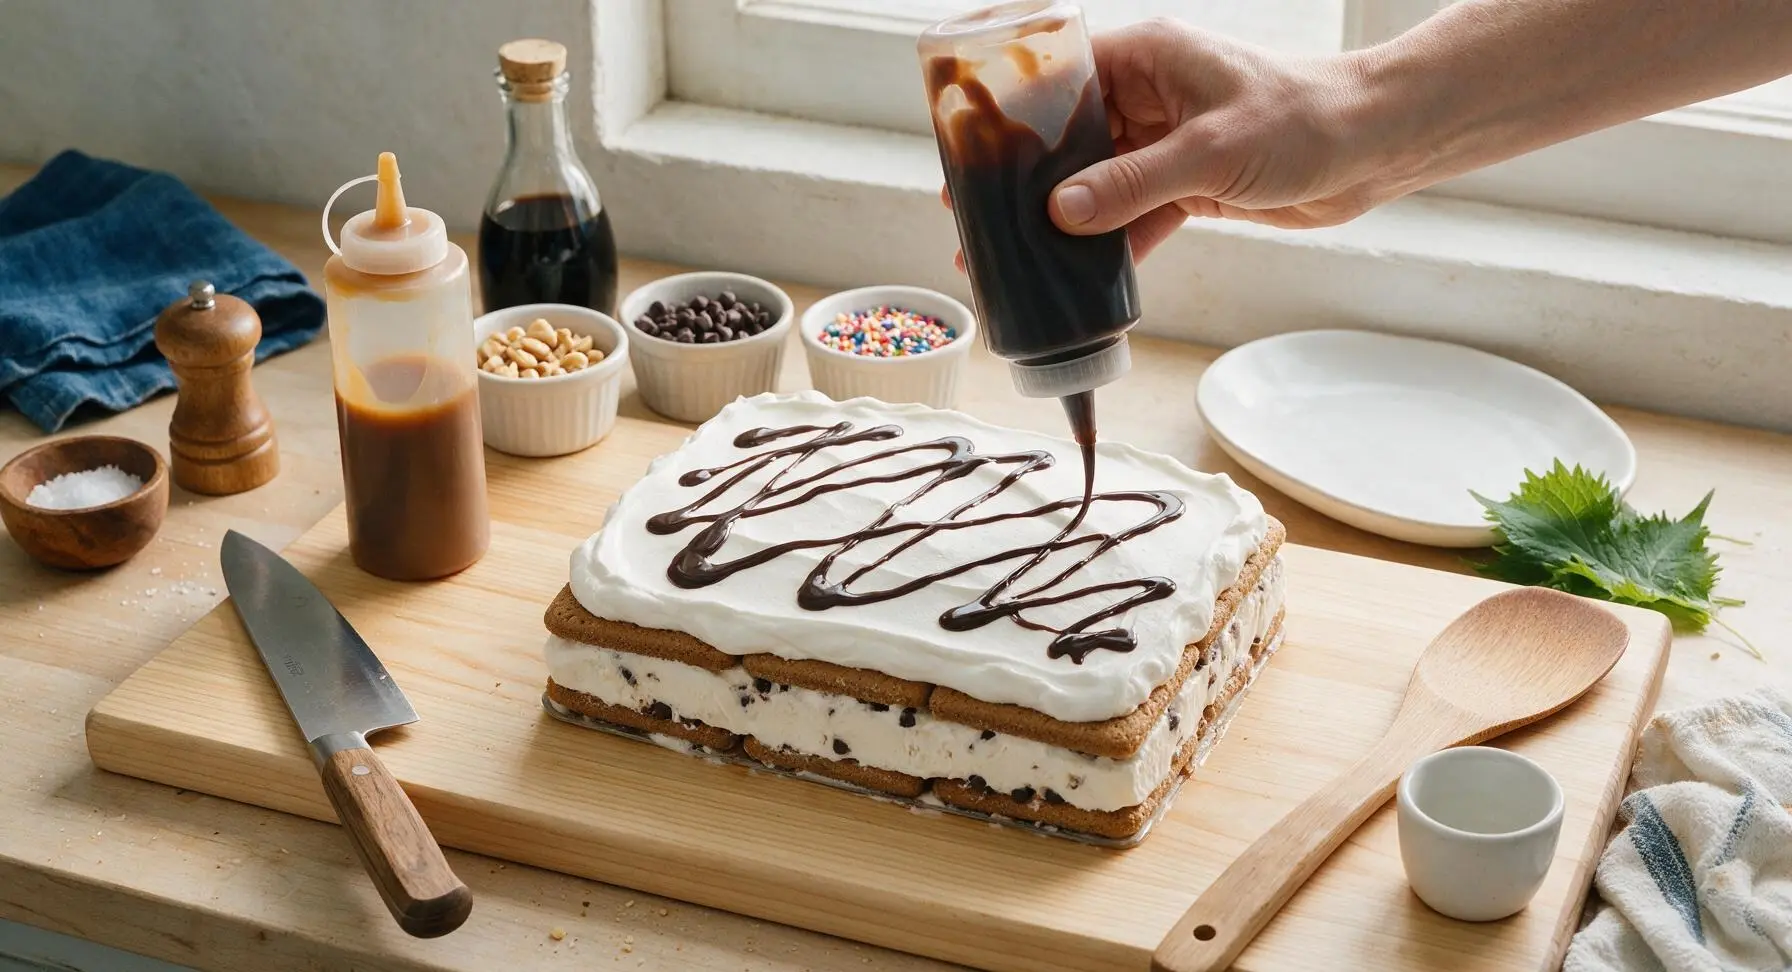
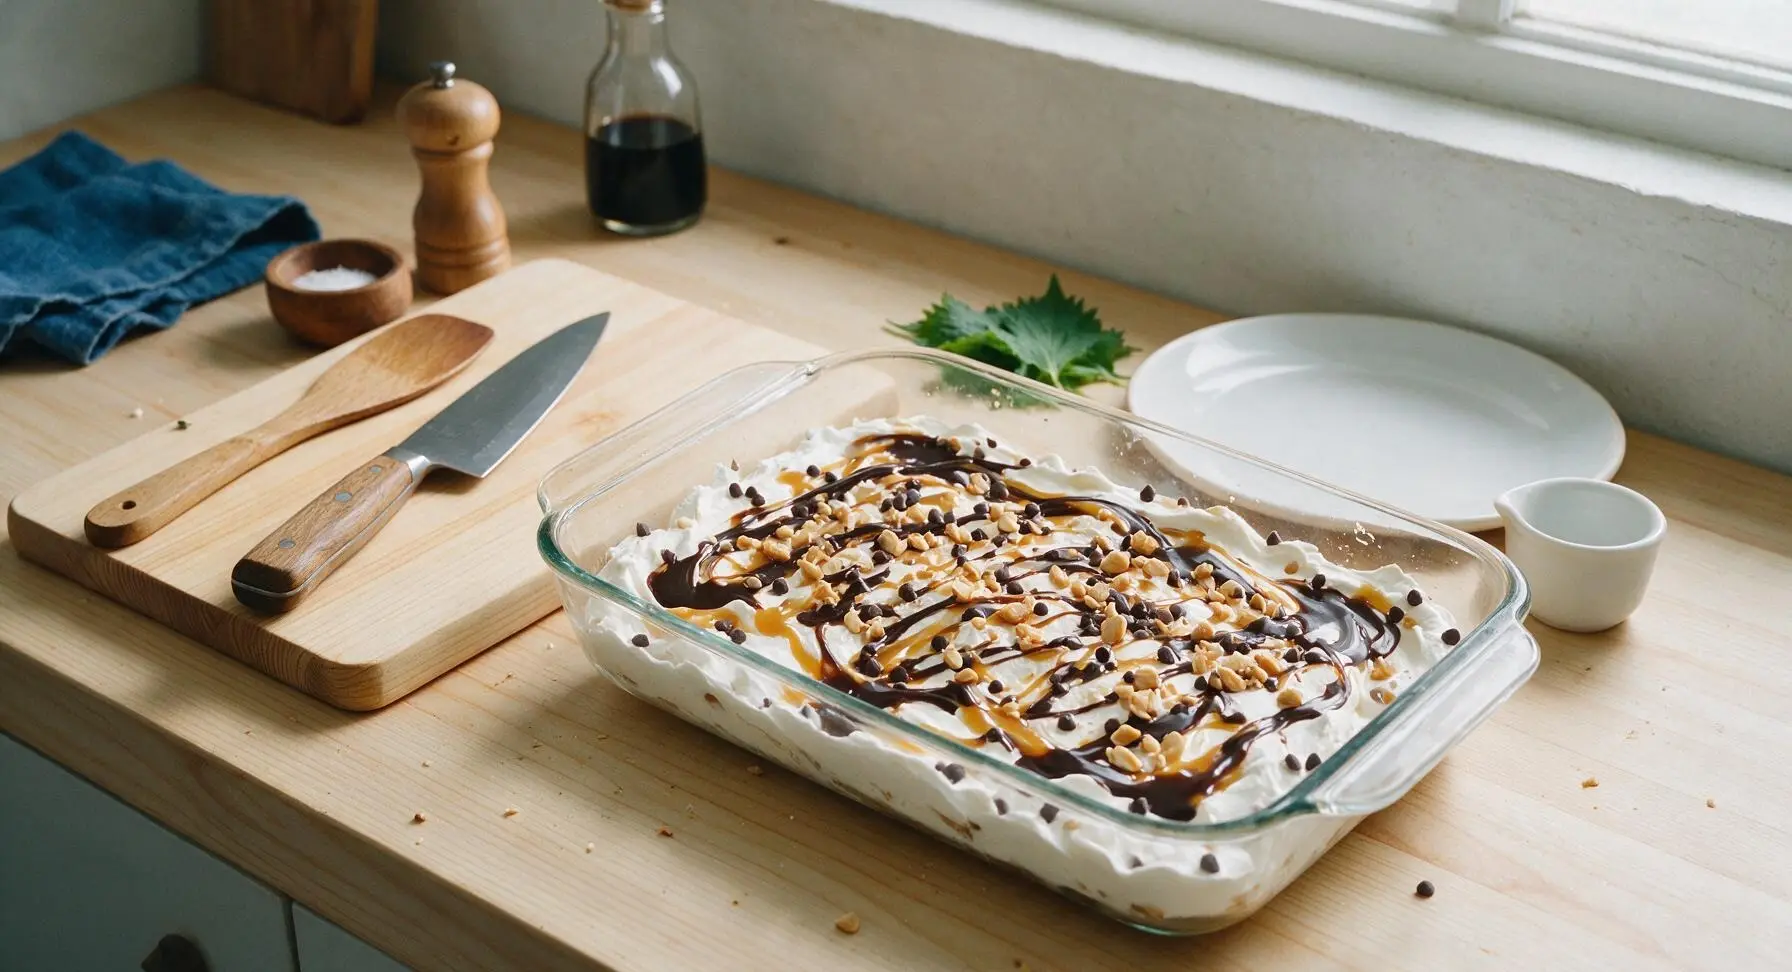
Warm the hot fudge and caramel sauces for 10 seconds in the microwave until easily pourable (do not heat above room temperature, as hot sauce will melt ice cream). Drizzle half of each sauce in loose, random zig-zag patterns across the first whipped layer. Sprinkle half of the chopped salted peanuts and half of the mini chocolate chips evenly over the sauces, pressing very gently to help the bits adhere without smushing the whipped topping.
Add Second Ice Cream Layer
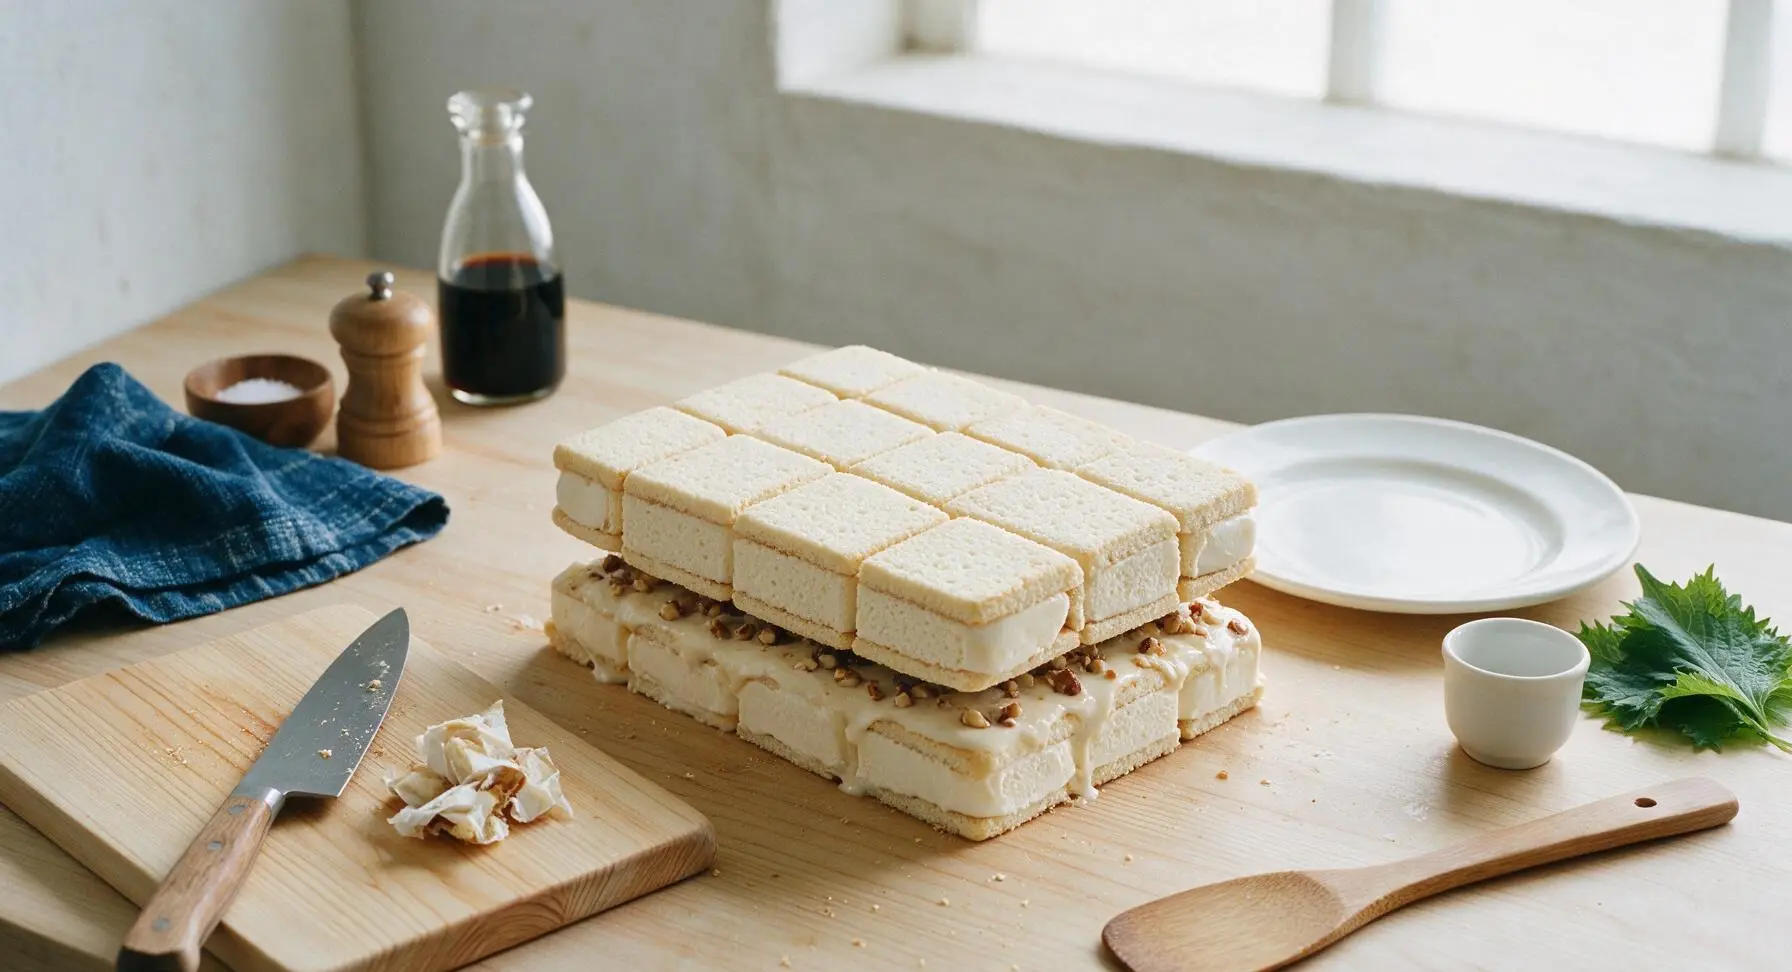
Working quickly again, unwrap the remaining 12 ice cream sandwiches. Arrange them in a second tight, even layer directly over the sauce and nut layer, using the paring knife to cut pieces as needed to fill gaps and create a perfectly level surface. Press down very gently on the top of the sandwiches to secure them to the layer below without squeezing out filling.
Spread Top Whipped Layer
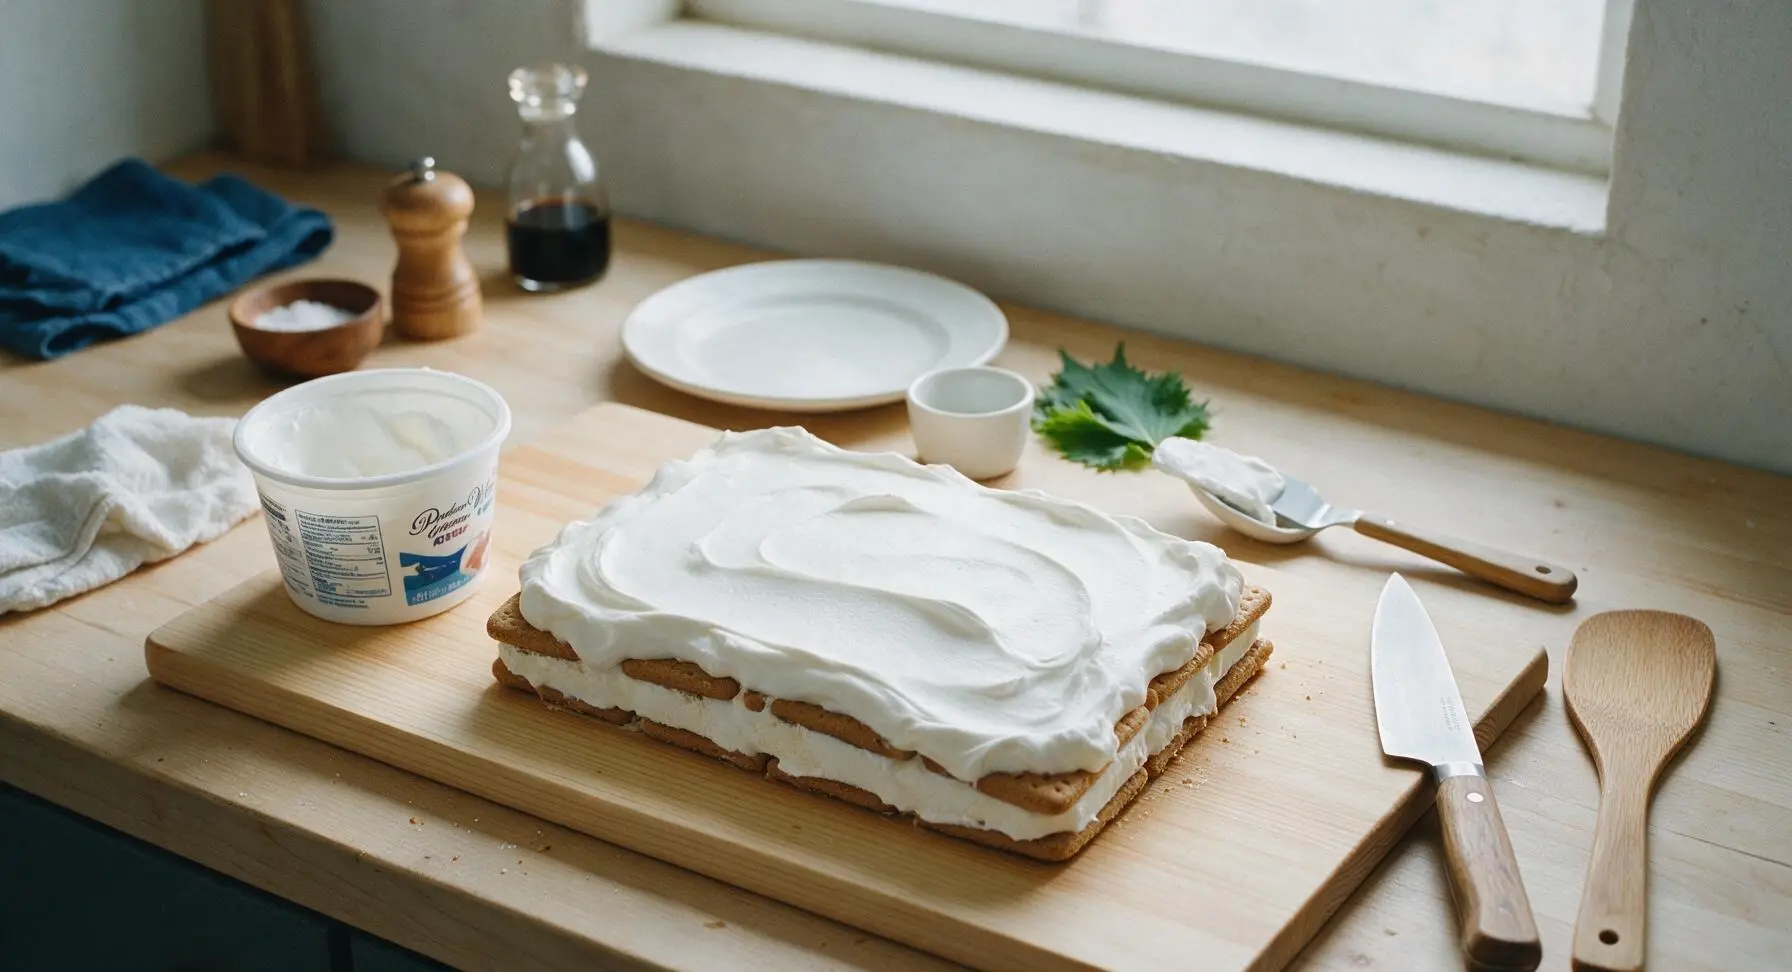
Use the ice cream scoop to transfer the remaining 8 oz of thawed whipped topping over the second ice cream sandwich layer. Use the offset spatula to spread the topping into a smooth, slightly swirled top layer that fully covers all edges of the ice cream sandwiches, creating a flat, even surface for final toppings.
Decorate Top Layer
Drizzle the remaining hot fudge and caramel sauces over the top whipped layer in loose decorative zig-zags. Sprinkle the remaining chopped salted peanuts, remaining mini chocolate chips, and all of the rainbow sprinkles evenly across the top, distributing toppings so every future slice will get a mix of crunch and color. Do not press toppings into the whipped cream, so they stay bright and textured.
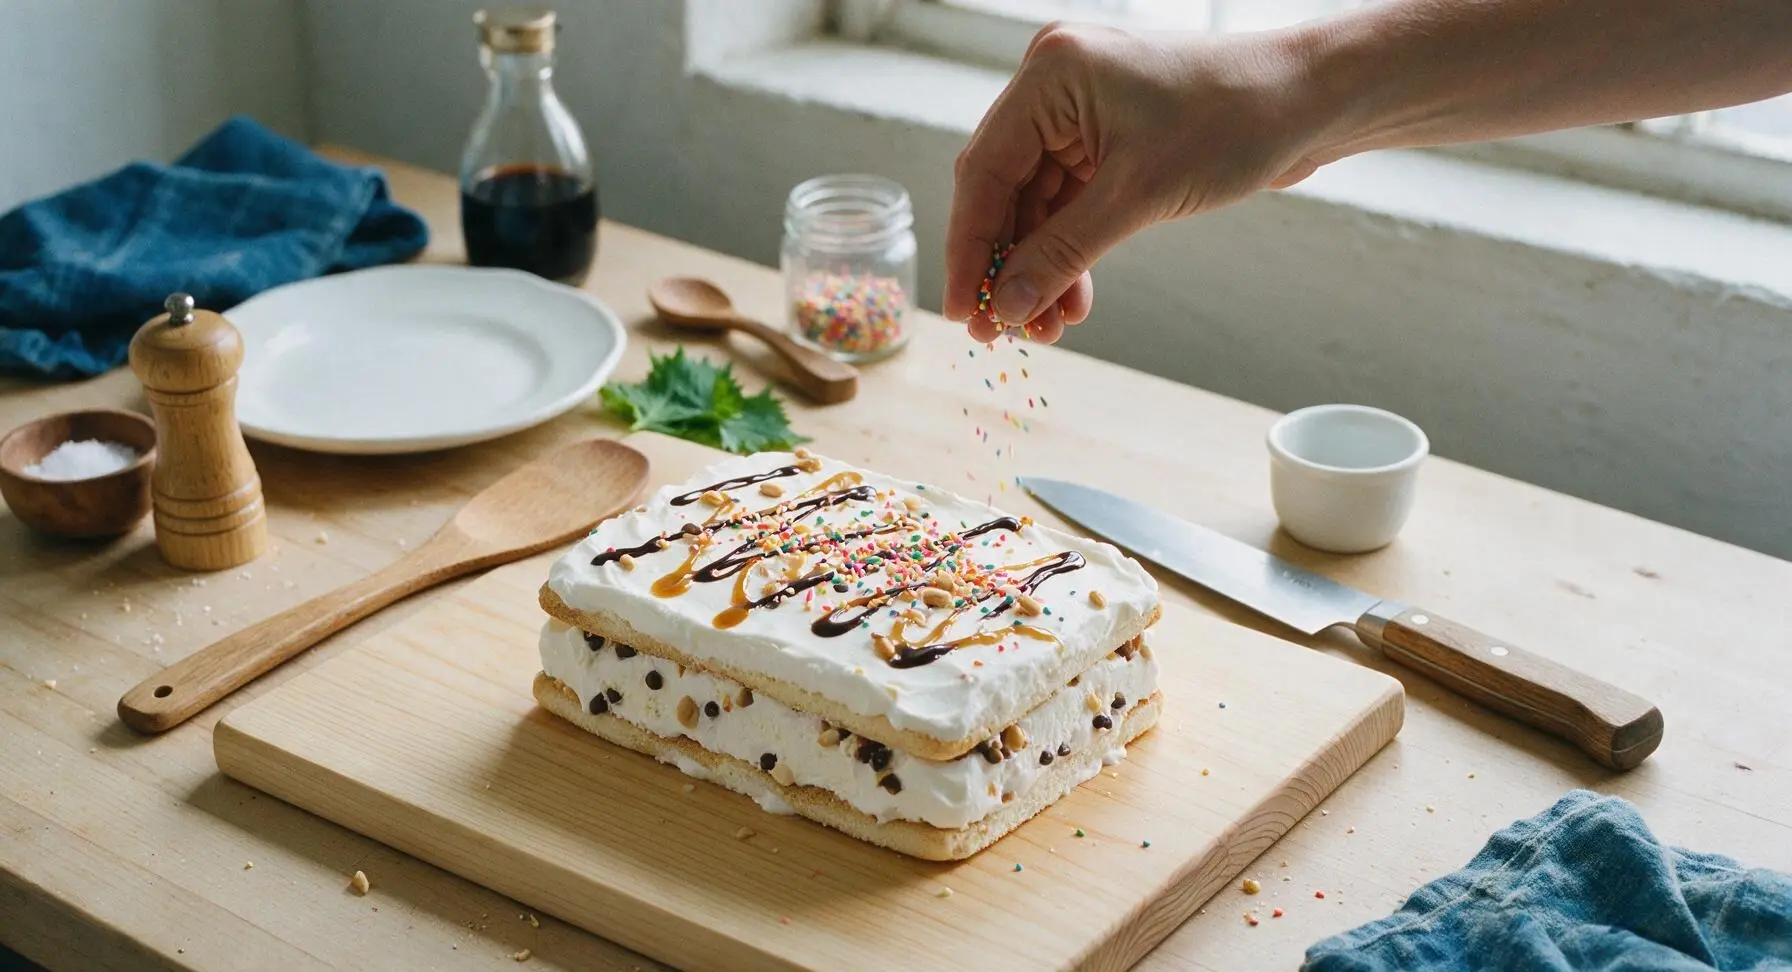
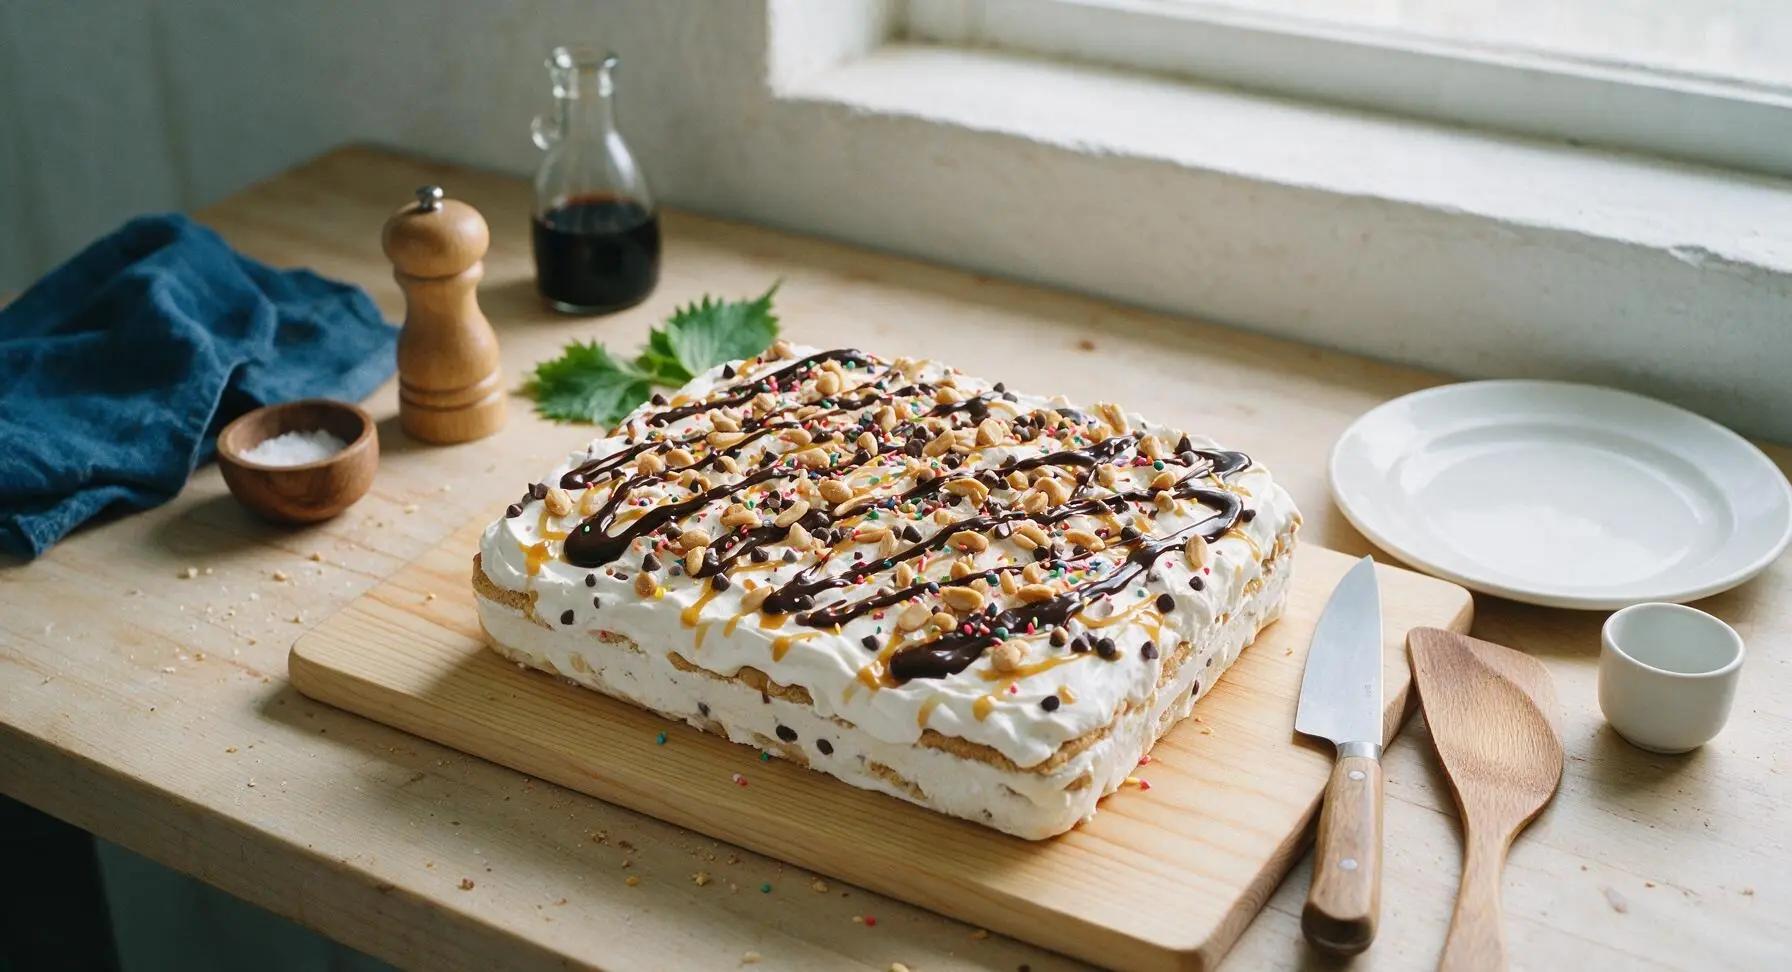
Freeze to Set Firm
Cover the baking dish tightly with a layer of clear plastic wrap, pressing the wrap gently to the surface of the cake to prevent air exposure (which causes grainy ice crystals). Place the dish on a flat middle shelf in the freezer for a minimum of 4 hours, or up to 3 days, until the cake is completely solid and sliceable. Avoid storing the cake on the freezer door, where temperature fluctuations will cause partial melting and icy texture.
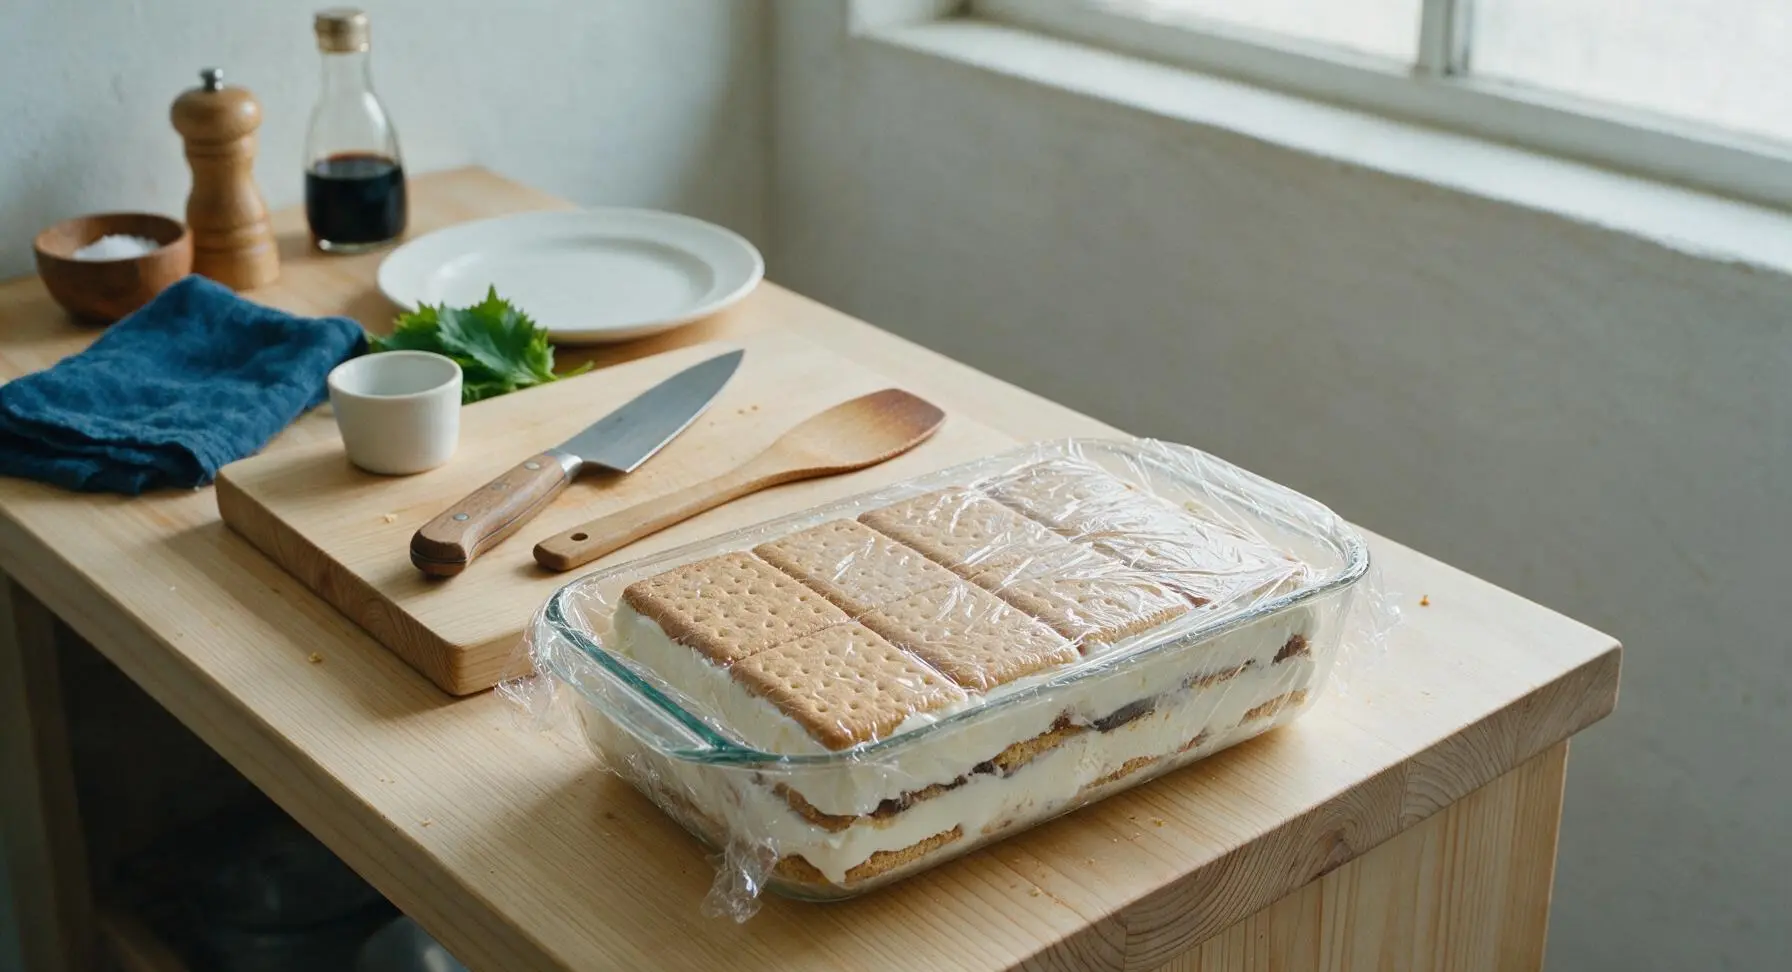
Slice and Serve
Remove the cake from the freezer 5 minutes before serving to soften slightly for clean cuts. Peel off the plastic wrap, then use a sharp knife dipped in hot water (wiped completely dry between cuts) to slice the cake into 12 even square pieces. Slide the pie server under each slice to lift it cleanly, and place on a dessert plate, garnishing with a small mint sprig if desired.
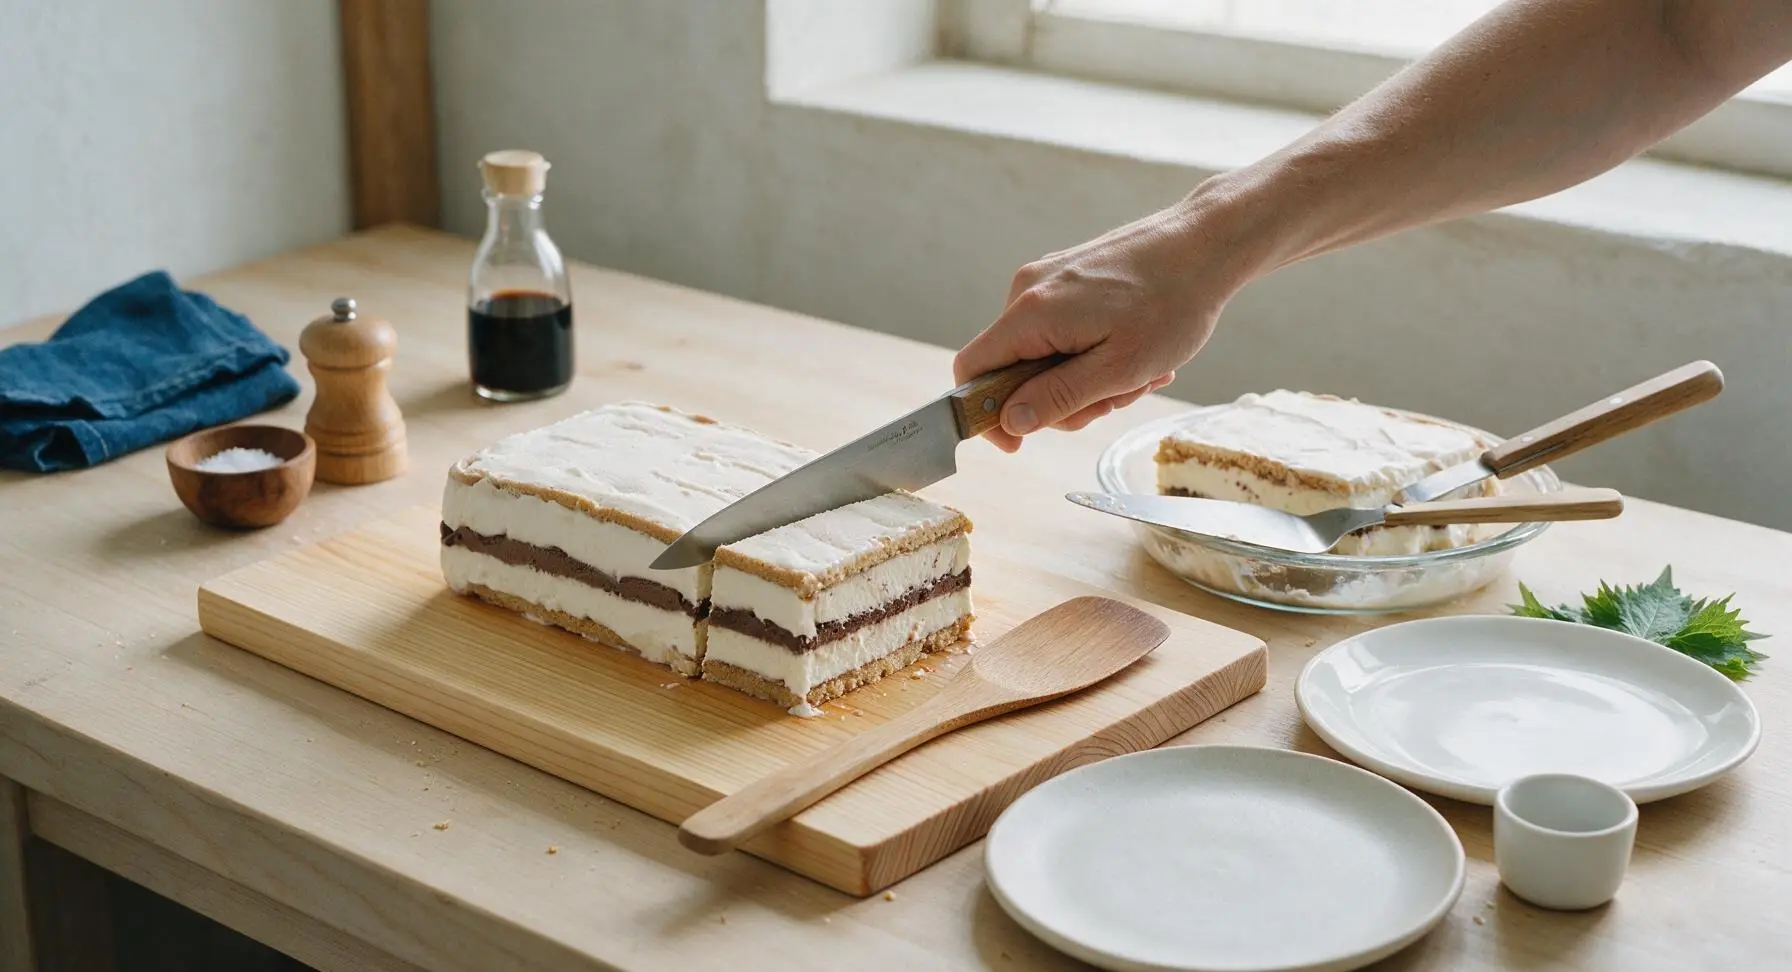
Tips
2.Always dip your slicing knife in hot water and wipe it completely dry between every cut when serving. This prevents the knife from sticking to the frozen layers and creates clean, sharp cuts that show off the distinct cake layers instead of smushing ice cream and whipped topping.
3.Never use hot (above room temperature) fudge or caramel sauce during assembly. Warm sauce will melt the adjacent ice cream, which refreezes into grainy, icy pockets that ruin the smooth, creamy texture of the finished cake.






OMG this cake was an absolute home run for my son’s end-of-season soccer team potluck! I was running late and remembered how easy this was—no actual cooking, just layer and freeze? Total game changer. I added a drizzle of extra caramel on top and all the kids (and parents!) were begging for the recipe. Even my super picky 8 year old went back for seconds. 10/10 will be making this all summer long.
As someone who burns toast 90% of the time, I was shocked how well this turned out! No baking, zero fancy equipment, just a quick layer session and into the freezer. My roommate and I ate half the pan in one sitting last night. SO good, I don’t think I’ll ever buy a regular birthday cake again.
Really solid recipe! Only note is that I’d recommend letting it sit out for 5 minutes after taking it out of the freezer before slicing, otherwise the ice cream sandwiches are a little too hard to cut through cleanly. Otherwise super tasty, my roommates loved it.
Made this for our annual pool party last weekend and it was the perfect hot weather treat! I layered in some crushed salted pretzels between the ice cream sandwiches for a salty-sweet kick and it *chef’s kiss*. Didn’t last 20 minutes once we set it out on the dessert table.
I’ve been making this recipe for my grandkids every summer since I first saw Ree Drummond make it years ago, and this version is spot on! I always add a layer of sliced strawberries between the cool whip and hot fudge for a little fresh fruit, and the kids go wild for it. Easy enough for even the youngest helpers to help assemble too!
Just pulled this out of the freezer to serve for our taco Tuesday family dinner and it looks perfect! Snuck a tiny bite while I was slicing and it tastes exactly like the store bought ice cream cakes I used to beg my parents for as a kid, but way cheaper to make. Can’t wait for everyone to dig in!
Taste was great, but I ran into a little issue when I made it—my cool whip layer got all runny when I was spreading it? Not sure if I left it out too long before assembling or what. Ended up still tasting fine, just didn’t look as pretty as the photos.
Total game changer for busy weeknights when I need a quick dessert for last minute guests! I keep a box of ice cream sandwiches in the deep freeze specifically for this recipe now. Last week I threw in some crushed Oreos on top and my husband said it was better than any dessert we’ve gotten at a fancy restaurant. Win win!
Brought this to my office potluck last week and I swear people were talking about it for days. So easy to transport, no messy frosting to smudge on the drive in, and it slices up perfectly into individual servings. 10/10 will be adding this to my permanent potluck rotation.
Just finished assembling this and popped it in the freezer for the 4 hour chill! The layers look so good already, I added extra hot fudge because my family is obsessed with all things chocolate. Will update once we try it after dinner tonight, but already know it’s gonna be a hit.
Super easy and cheap to make on a college budget! Only thing I’d change is I used the generic store brand ice cream sandwiches and they were a little icier than the name brand ones. Still tasted great though, definitely worth the $10 total I spent on ingredients.
Made this for our 4th of July cookout yesterday and it was a SMASH. I used the tip from earlier in the comments to add red white and blue sprinkles, did a layer of crushed peanuts too, and everyone was raving. Even my brother in law who swears he ‘doesn’t like sweet food’ had two slices. Absolute win for summer cookouts!