
pioneer woman waffles

title 1
pioneer woman waffles
⏱️ cook time 15 minutes
🍽️ servings 4
⚡ Difficulty easy

intro

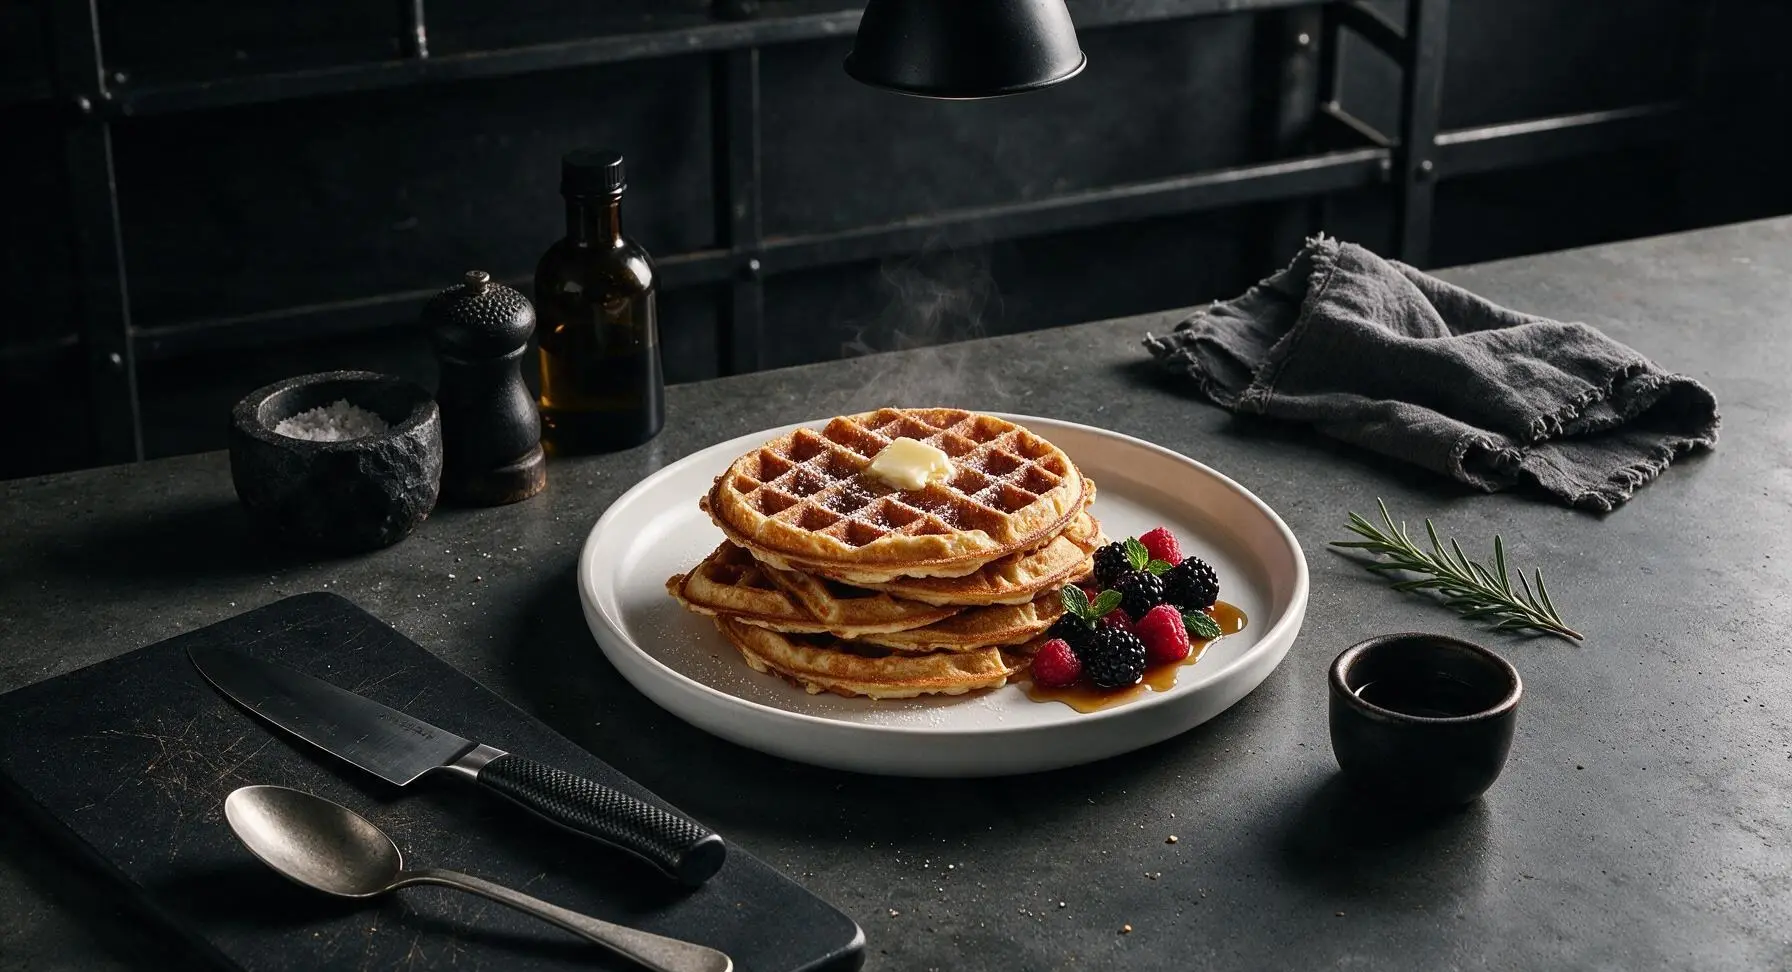
Fluffy, crisp-edged, buttery buttermilk waffles in the classic Pioneer Woman ranch style—perfect for piling high with syrup and berries for a cozy, crowd-pleasing family meal.

Ingredients
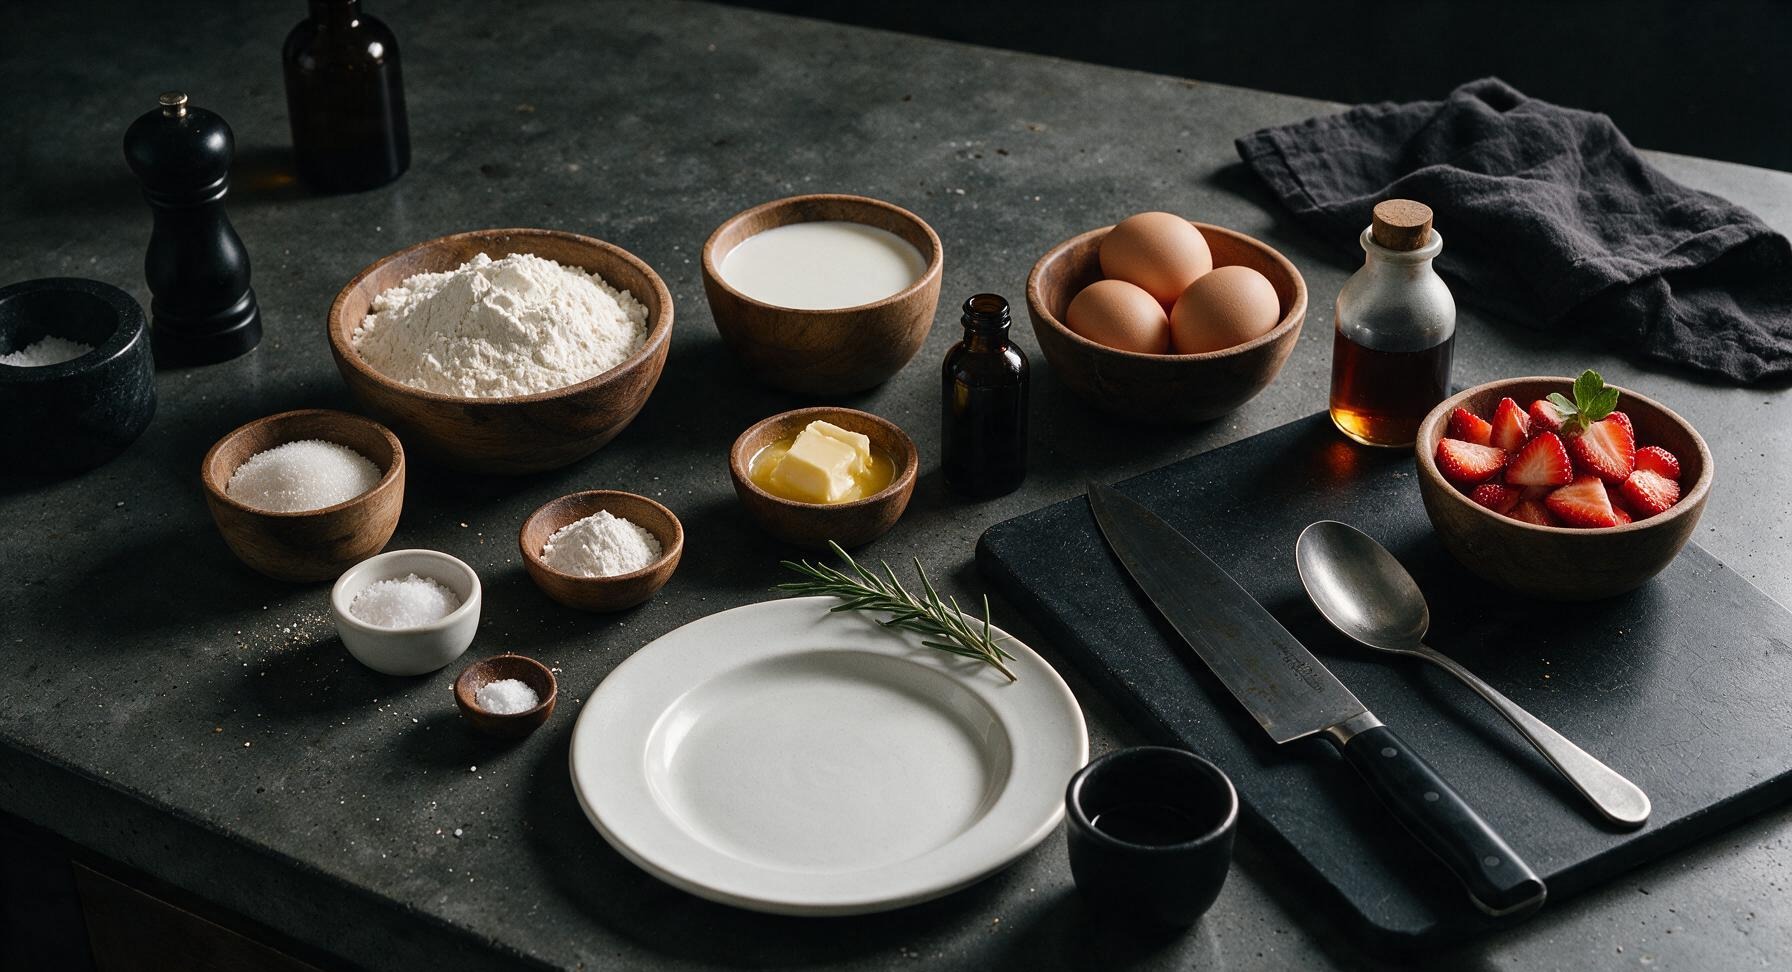
All-purpose flour 2 cups (240g)
Granulated sugar 2 tbsp (25g)
Baking powder 1 tbsp (12g)
Baking soda 1/2 tsp (2.5g)
Kosher salt 1 tsp (5g)
Buttermilk 2 cups (480ml)
Large eggs 3 whole
Unsalted butter 6 tbsp (85g), melted and cooled
Pure vanilla extract 1 tsp (5ml)
Maple syrup 4 tbsp (60ml), for serving
Fresh strawberries 1 cup (150g), sliced

Steps

1

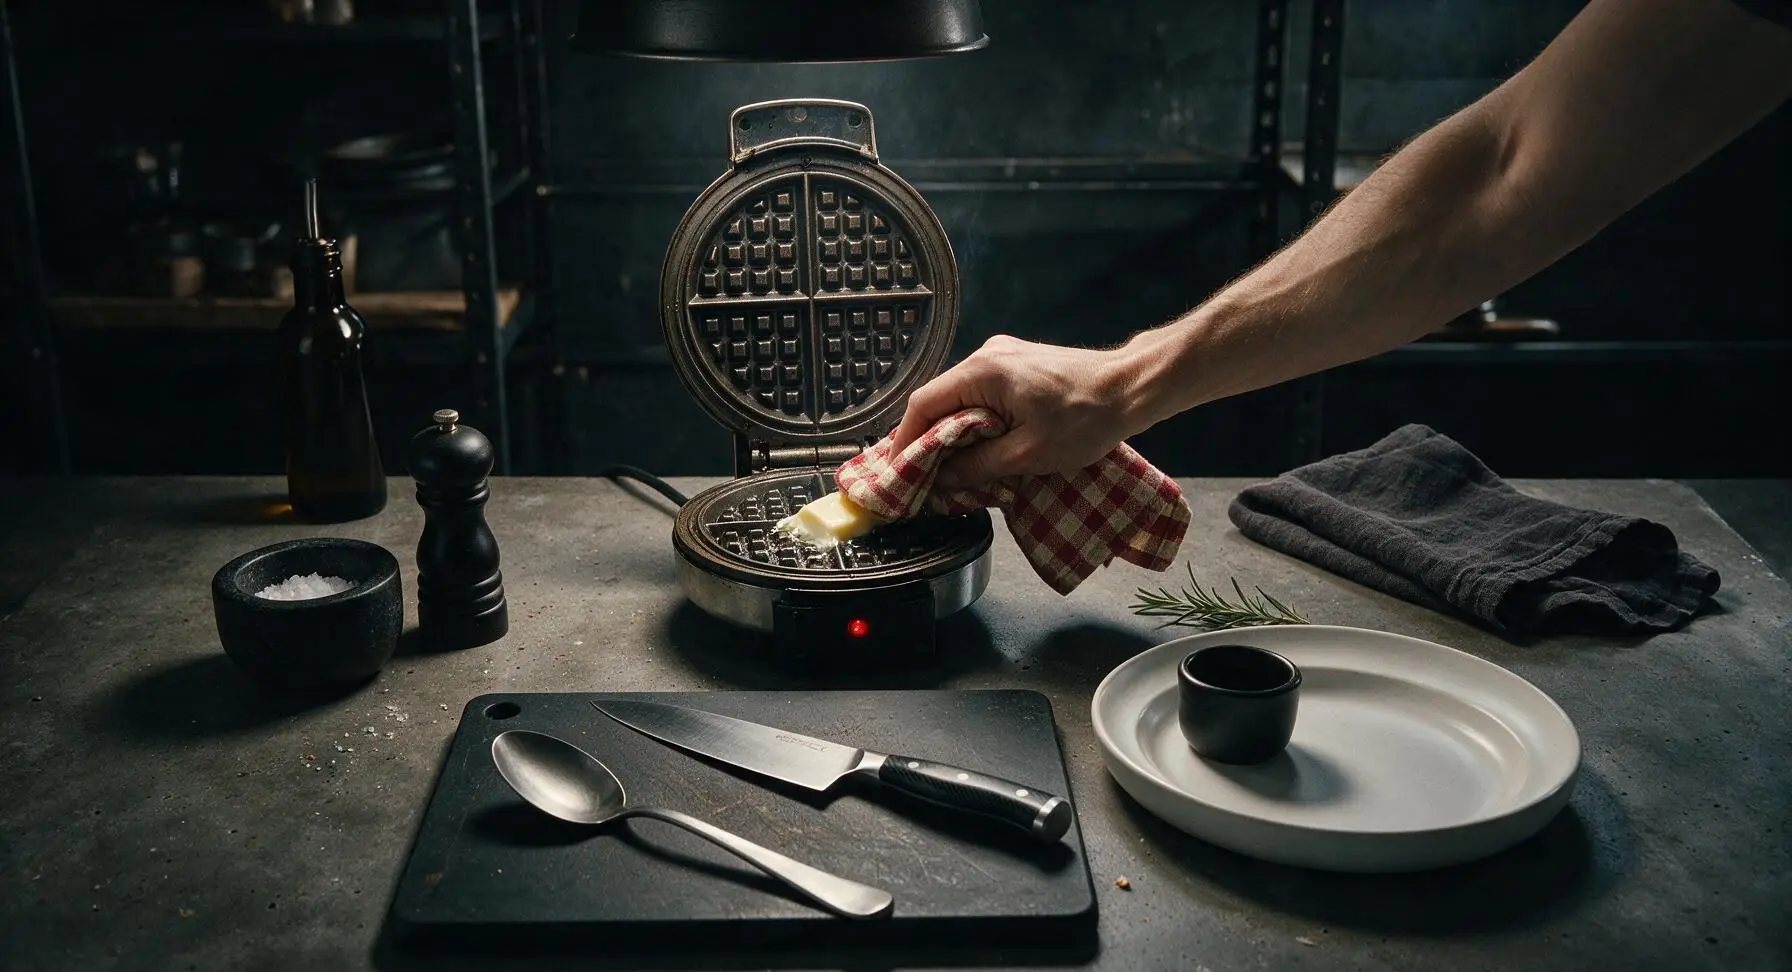
Preheat Waffle Iron

Plug in the fixed 7-inch vintage electric waffle maker at back center, and set it to medium-high heat (375°F/190°C). Allow it to preheat fully for 5 minutes, until a single drop of water flicked onto the grids sizzles and dances across the surface. Use a small corner of the fixed red-and-cream gingham tea towel to dab 1 tsp of melted butter across the grids to prevent sticking, taking care not to touch the hot metal.
Step 1
step1:Preheat Waffle Iron
2

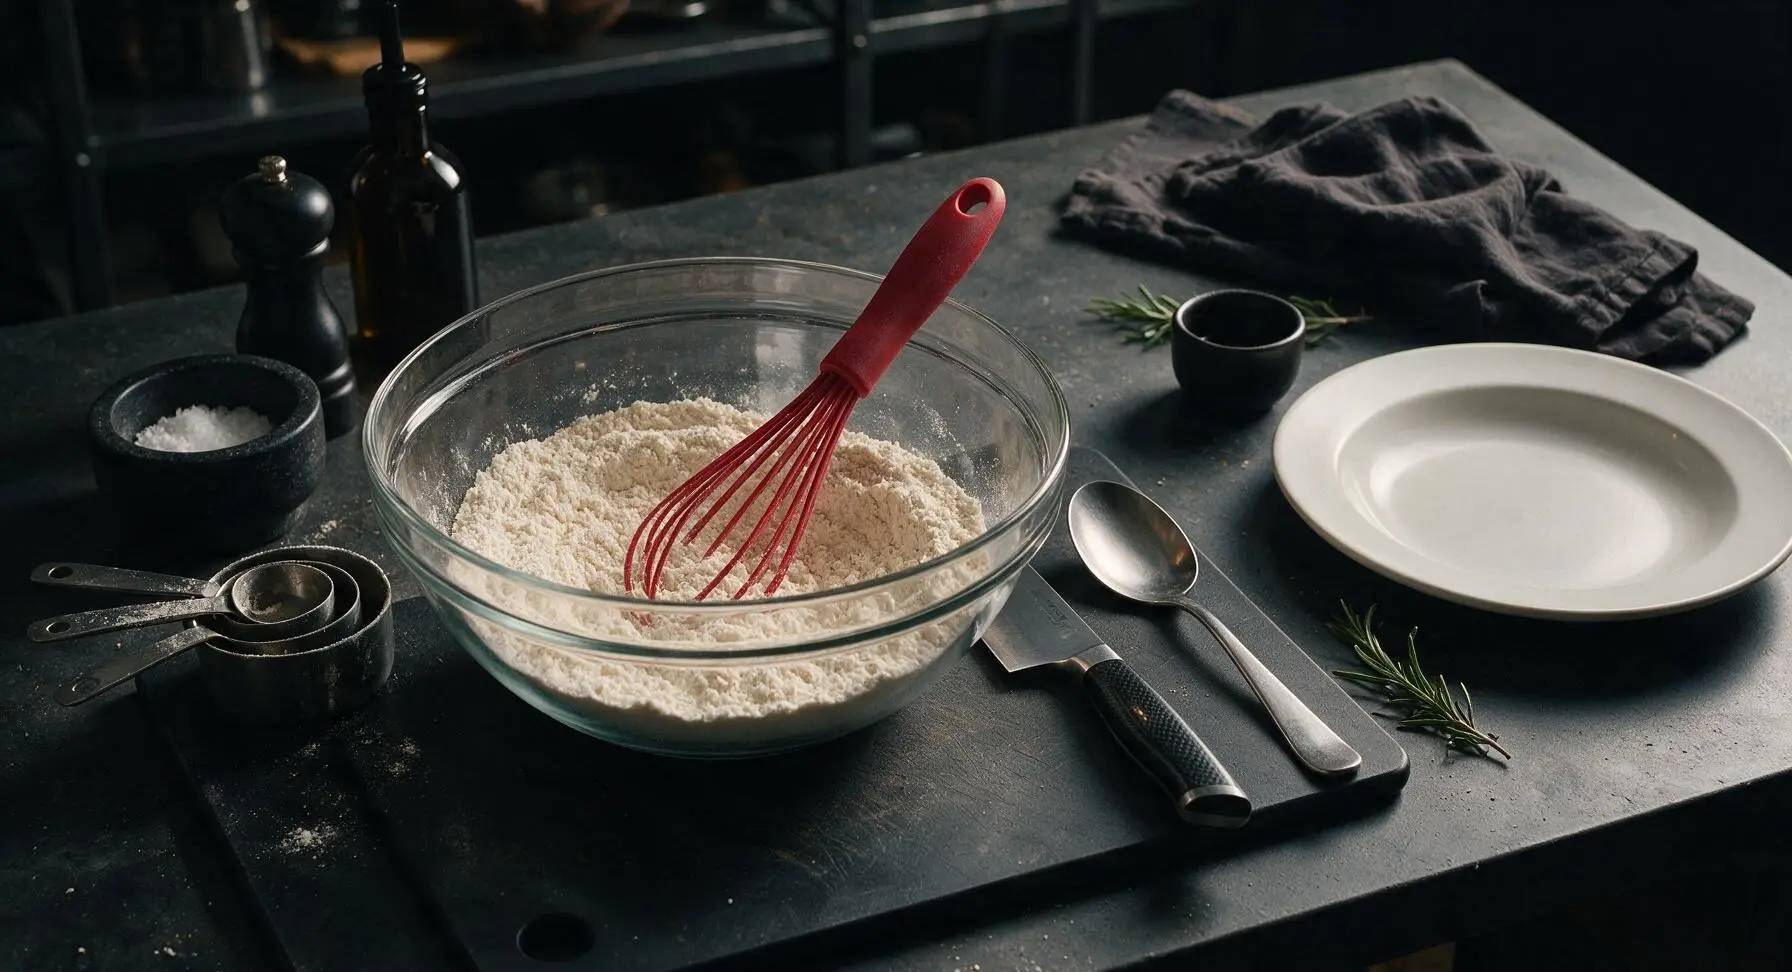
Whisk Dry Ingredients

In the large 26cm clear glass mixing bowl at center-left, combine the measured all-purpose flour, granulated sugar, baking powder, baking soda, and kosher salt. Use the matte red silicone whisk to stir the dry ingredients for 30 seconds, until fully combined with no visible clumps of leavening, creating a uniform pale off-white mixture.
Step 2
step2:Whisk Dry Ingredients
3

Mix Wet Ingredients

In the smaller 18cm clear glass mixing bowl to the right of the large bowl, combine the measured buttermilk, 3 lightly beaten large eggs, 5 tbsp of the cooled melted butter (reserving 1 tbsp for greasing the waffle iron), and pure vanilla extract. Whisk for 20 seconds with the red silicone whisk (moved from the dry ingredient bowl) until eggs are fully incorporated, with no streaks of clear egg white visible in the pale golden liquid.
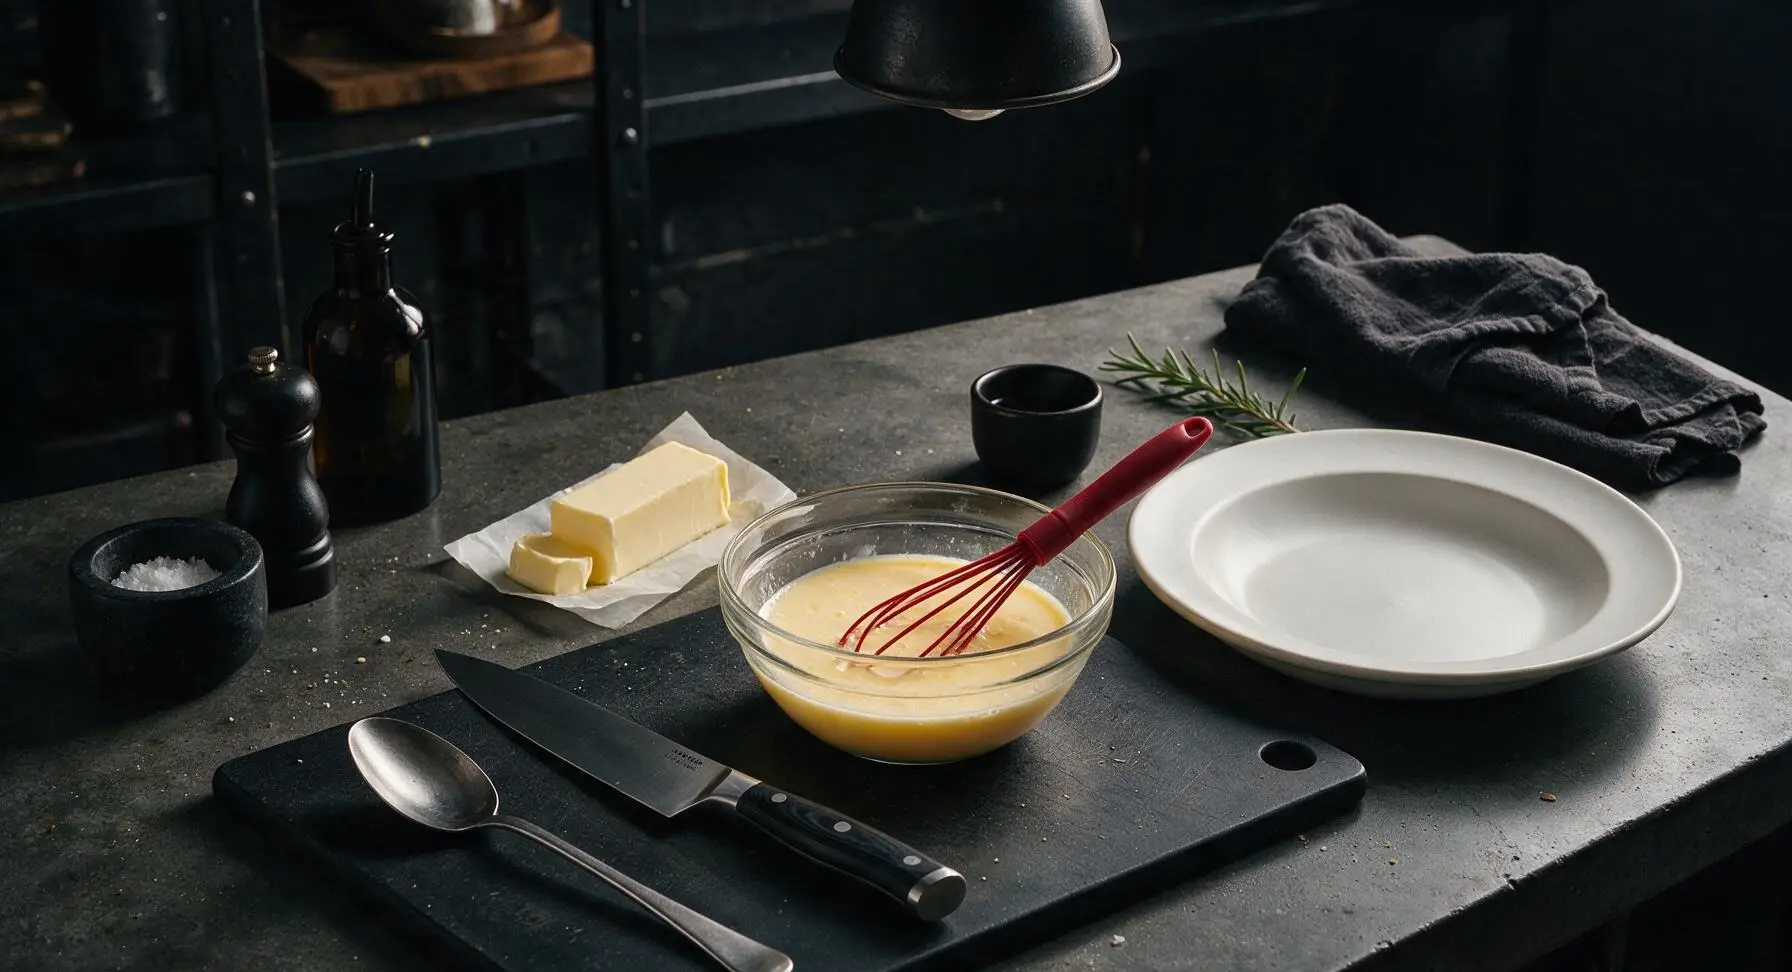
Step 3
step3:Mix Wet Ingredients
4

Fold Waffle Batter

Pour the entire wet ingredient mixture from the small bowl into the large bowl of dry ingredients. Use the hand-carved maple spatula to gently fold the mixtures together, stirring only just until no large streaks of dry flour remain. Stop mixing immediately once the batter comes together; the batter will be thick and visibly lumpy, with small flecks of dry flour remaining. Do not overmix, as this develops gluten and creates tough, dense waffles.
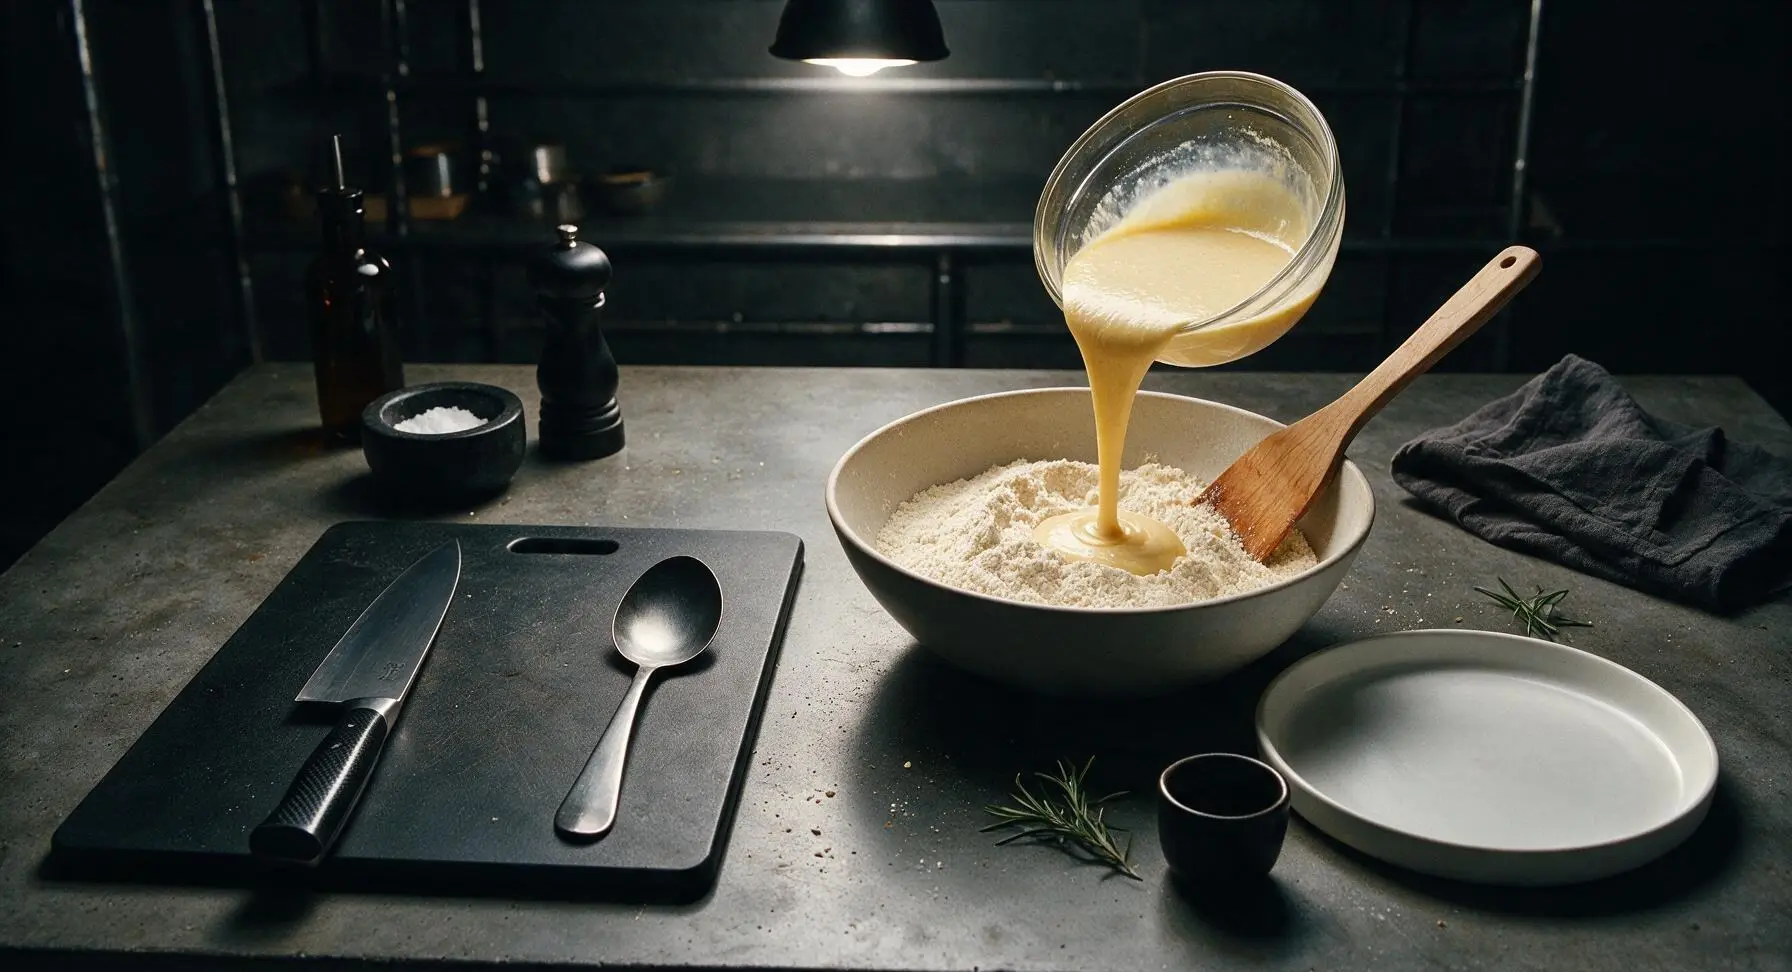
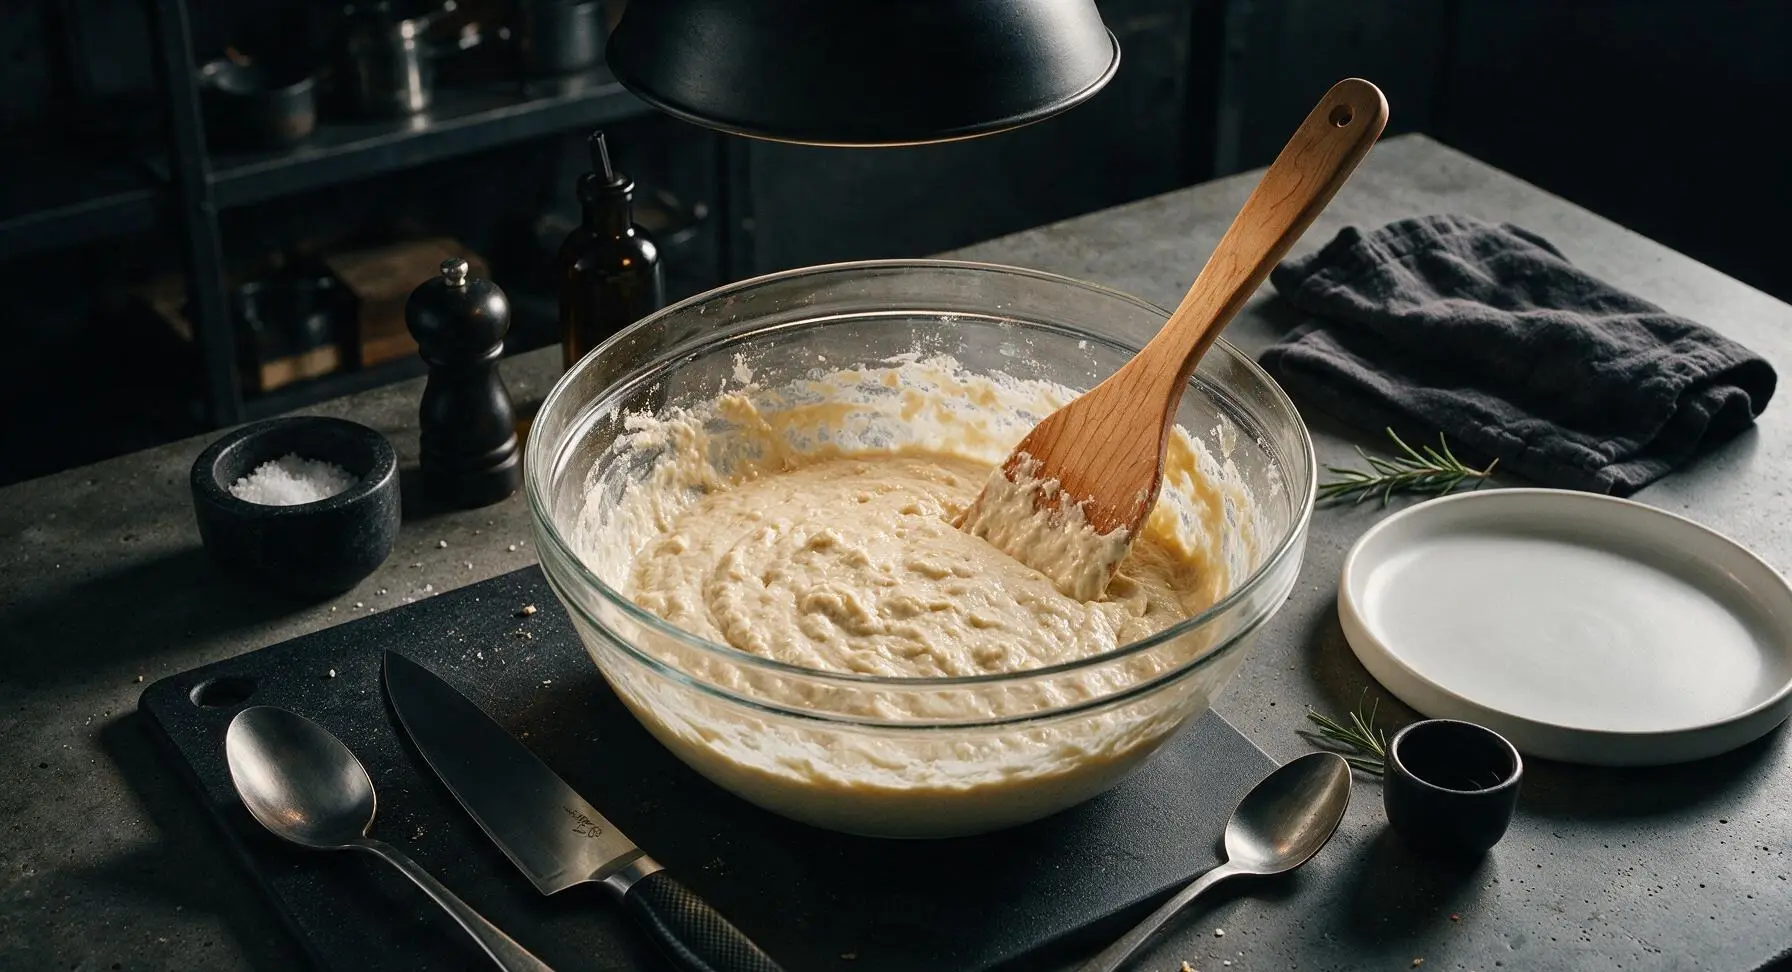
Step 4
step4:Fold Waffle Batter
Step 4
step4:Fold Waffle Batter
5

Rest Mixed Batter

Let the mixed batter rest at room temperature for 5 full minutes. During this time, the baking powder will activate and the flour will absorb moisture, creating lighter, taller, fluffier waffles. You will see tiny air bubbles start to pop up across the surface of the batter when it is ready to cook.
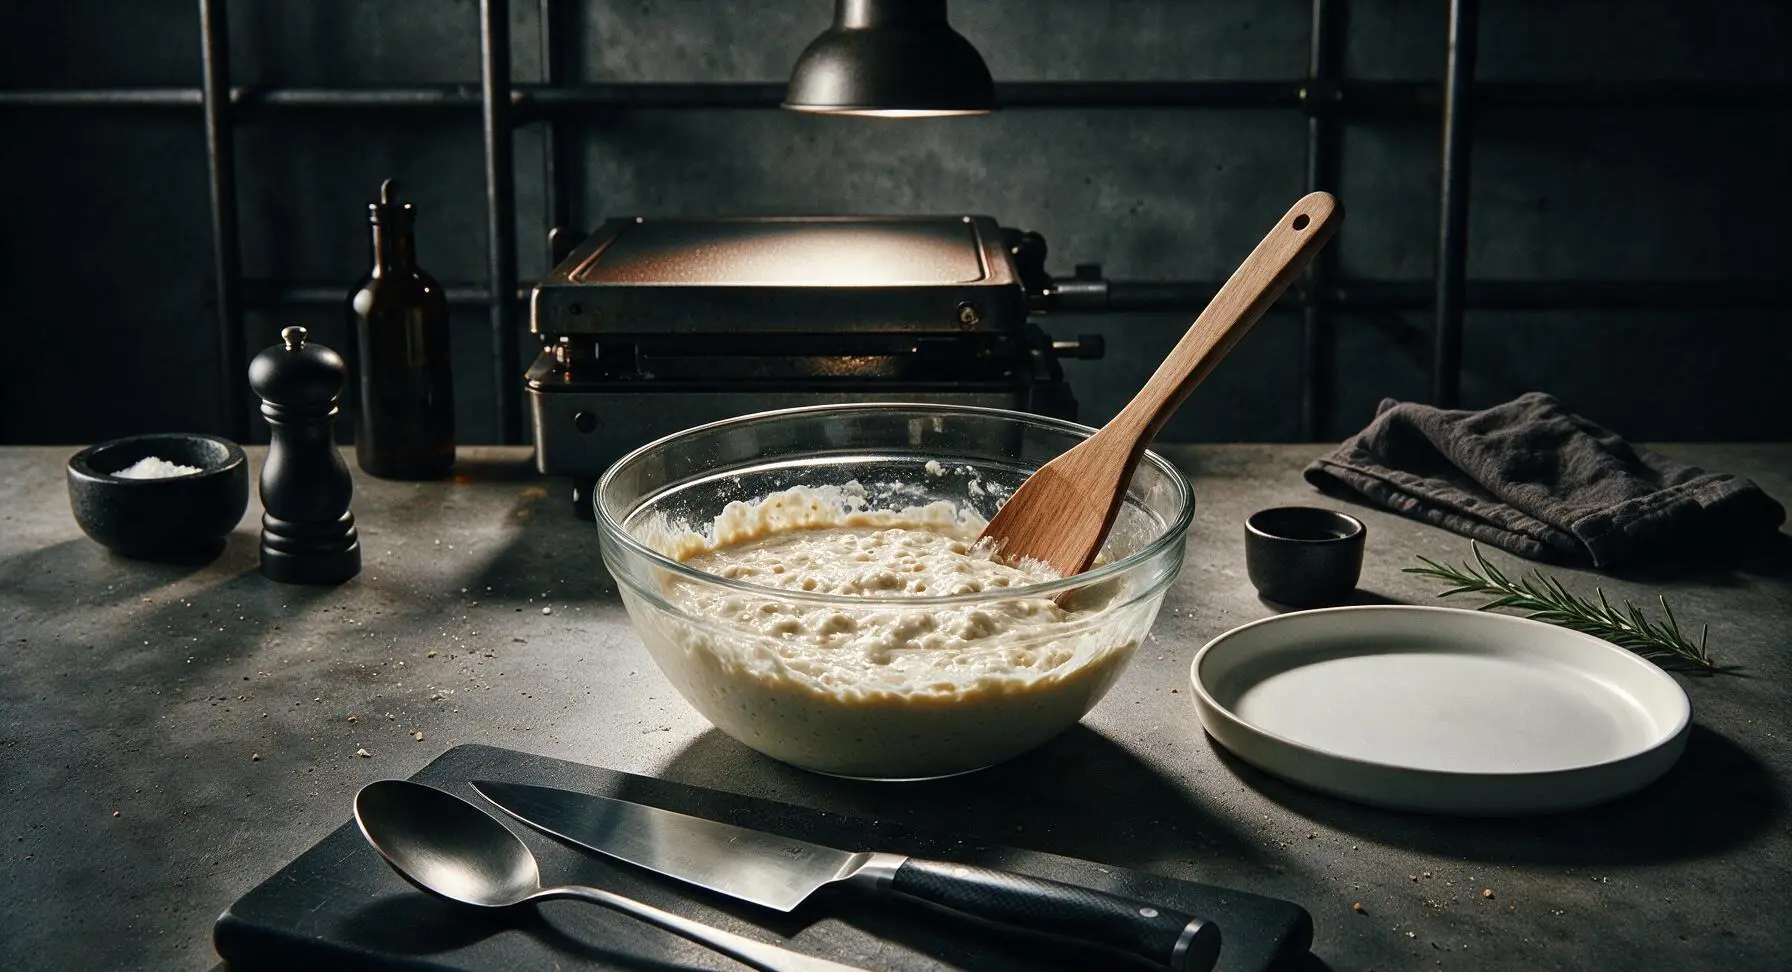
Step 5
step5:Rest Mixed Batter
6

Cook Waffles in Batches

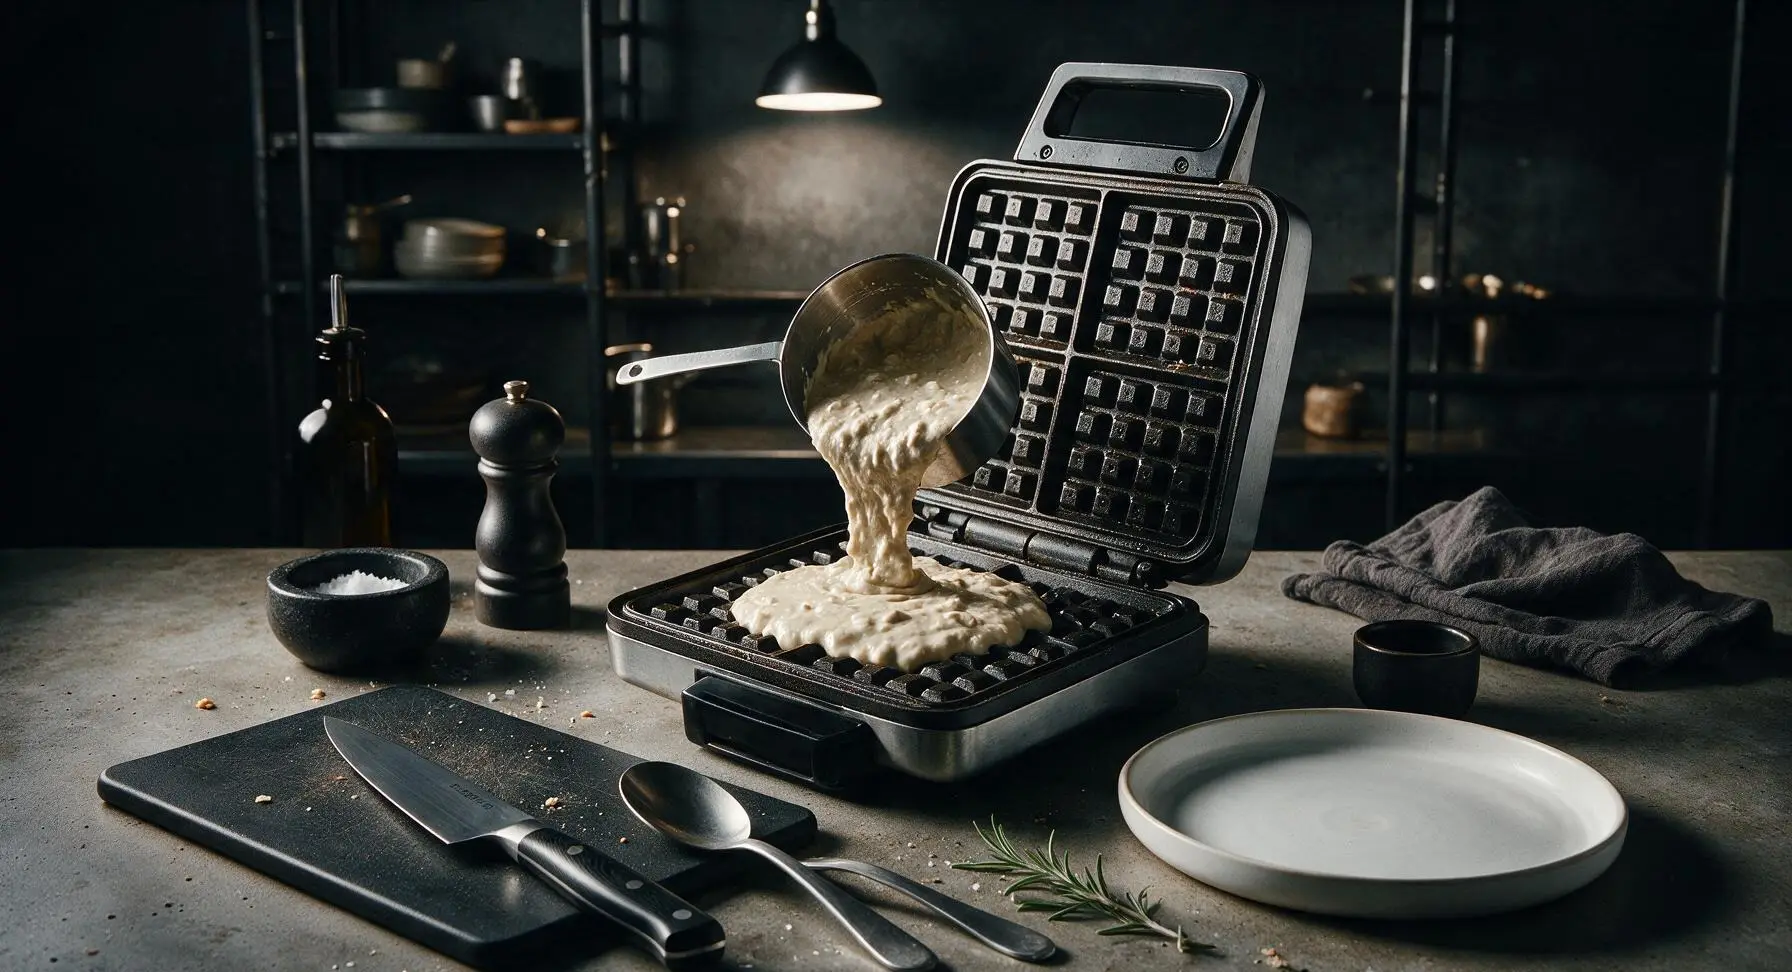
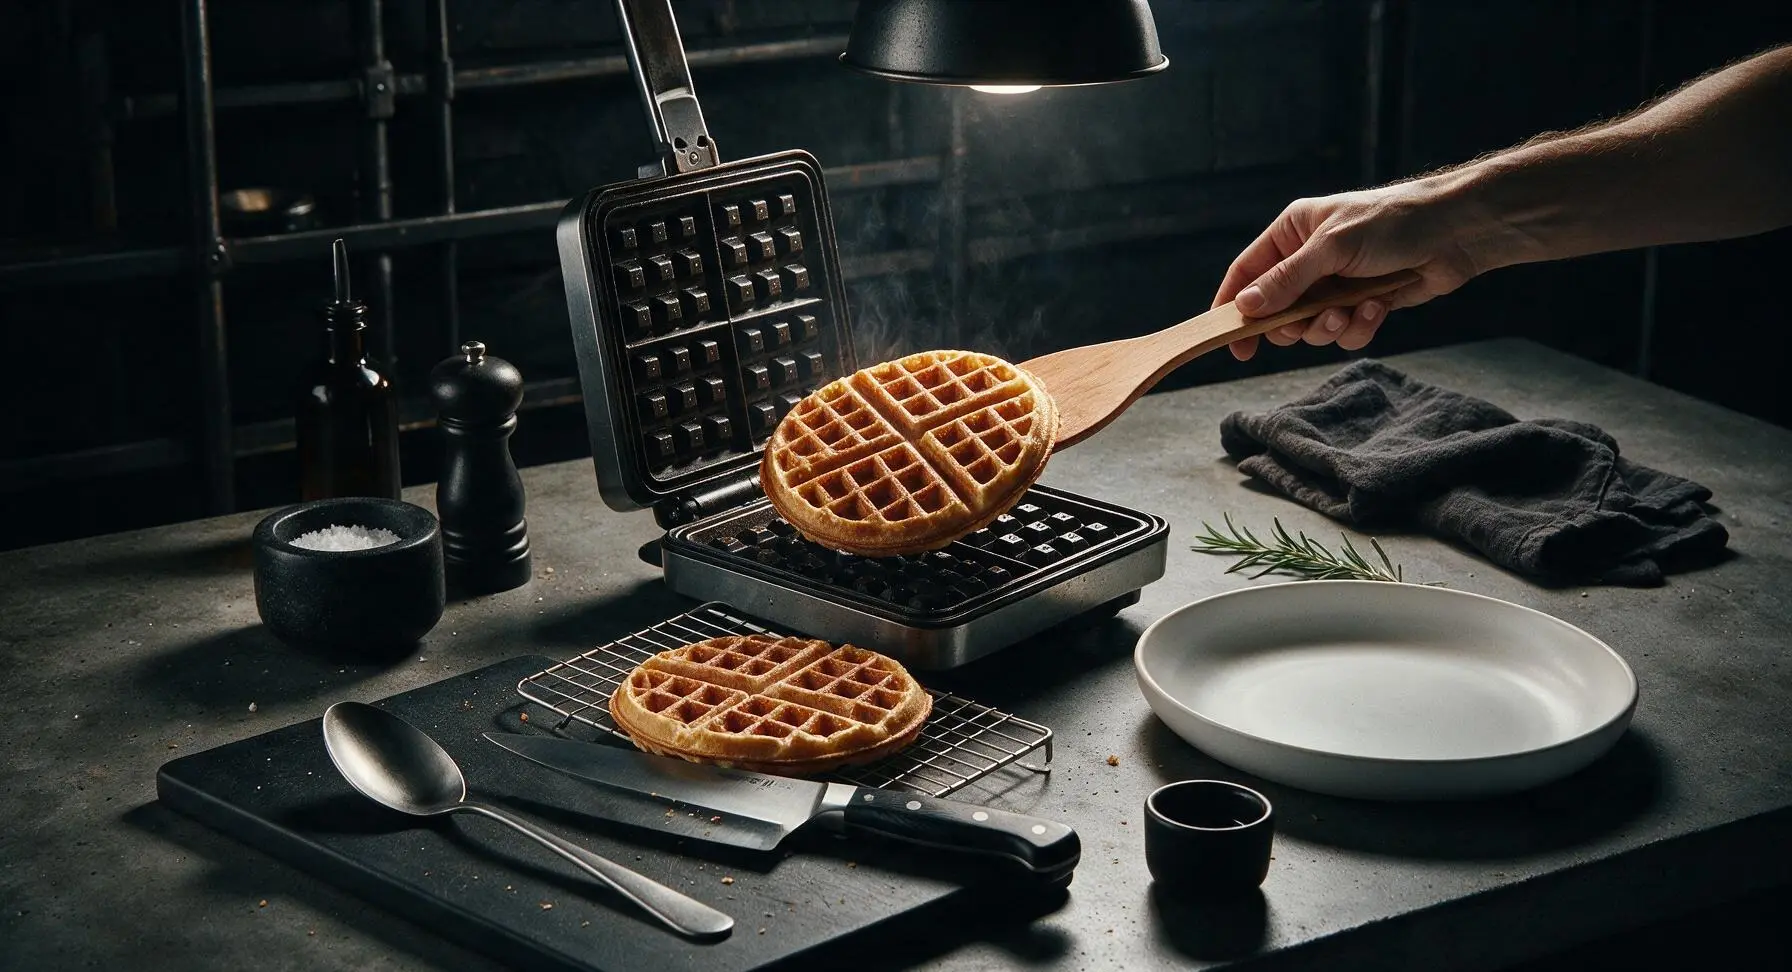
Ladle 1/2 cup of rested batter onto the center of the preheated, greased waffle iron grid. Close the lid and cook for 3 to 4 minutes per waffle, until deep golden brown, crisp around the edges, and no more steam escapes from the sides of the iron. Use the maple spatula to carefully lift the finished waffle out, transferring it to the fixed stainless steel wire cooling rack to keep edges crisp while you cook the remaining 3 waffles. Do not press down on the waffle iron lid while cooking, as this squeezes out batter and creates dense, flat waffles.
Step 6
step6:Cook Waffles in Batches
Step 6
step6:Cook Waffles in Batches
7

Plate and Garnish

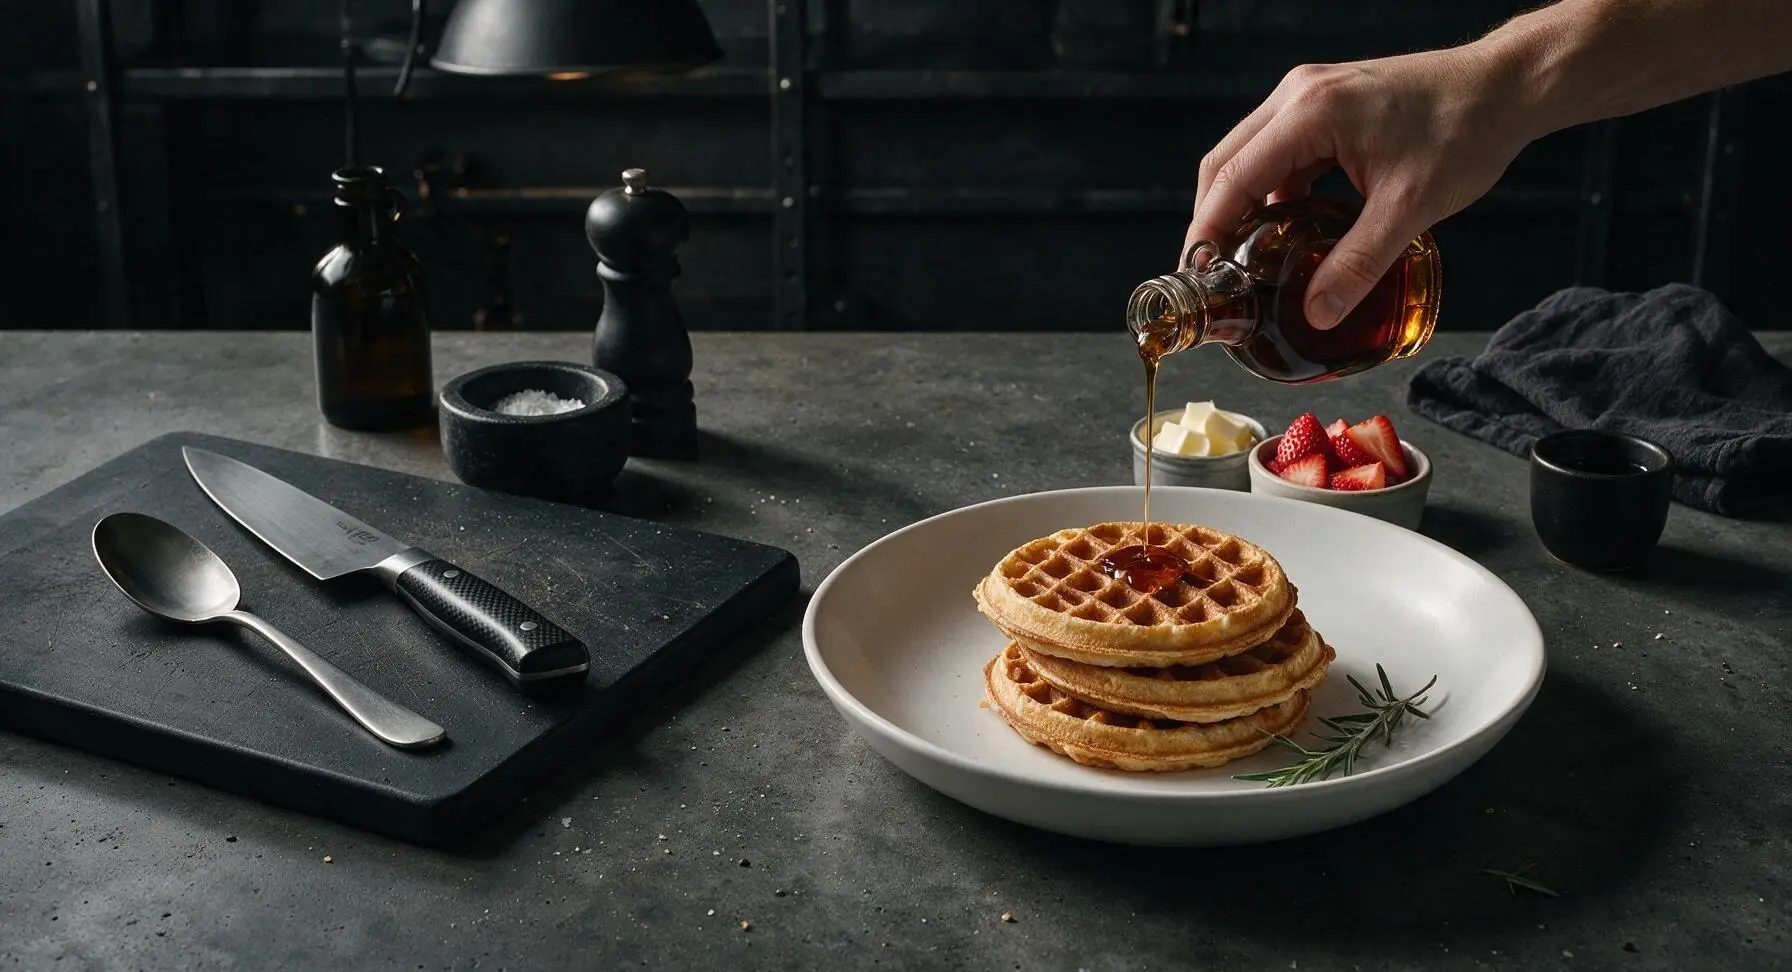
Stack three warm waffles centered on the fixed 26cm cream speckled stoneware plate at front right. Drizzle with warm maple syrup, top with a small pat of the remaining melted butter, fan sliced fresh strawberries at the side of the stack, and add a light dusting of powdered sugar just before serving.
Step 7
step7:Plate and Garnish

Tips

1.Resist the urge to overmix the batter: small lumps are not a flaw! Overmixing develops gluten in the flour, which leads to tough, chewy waffles instead of the light, fluffy, crisp-edged results this recipe is known for.
2.Always rest the batter for 5 minutes before cooking: this short pause lets the leavening agents activate and the flour hydrate evenly, which creates taller, airier waffles that won’t deflate the second you lift the waffle iron lid.
3.Skip stacking cooked waffles directly on a plate between batches: stacking traps hot steam against the waffle surfaces, turning crisp edges soft and soggy in seconds. Resting waffles on the wire rack (and holding them in a 200°F/95°C oven if cooking for a crowd) keeps edges perfectly crisp until serving.


✨ You May Also Like

Breakfast
🍜 United States

Crisp-edged, fluffy lard griddle cakes are a nostalgic homestyle staple, with rich savoriness from rendered lard, perfect topped with maple syrup or savory gravy.

⏱️ 25 minuteBreakfast ★ 4.8
Breakfast
🍜 United States

Flaky, buttery homemade buttermilk biscuits smothered in creamy, peppery pork sausage gravy: a beloved, hearty Southern American comfort food classic.

⏱️ 35 minuteBreakfast ★ 4.8
Breakfast
🍜 United States

Golden, custardy brioche stuffed with sweet cream cheese and fresh berries, pan-fried to crisp perfection. An indulgent, cozy breakfast perfect for slow weekend mornings.

⏱️ 30 minuteBreakfast ★ 4.7
Breakfast
🍜 United States

Flaky, buttery Southern-style biscuits stuffed with savory salty country ham, a portable, satisfying classic perfect for casual on-the-go meals.

⏱️ 25 minuteBreakfast ★ 4.8
Breakfast
🍜 United States

Iconic puffy baked pancake popularized in Seattle, with crisp golden edges and soft custardy center, served warm with classic sweet toppings.

⏱️ 35 minuteBreakfast ★ 4.6
Breakfast
🍜 United States

Fluffy, golden pancakes studded with juicy peak-summer mixed berries, drizzled with maple syrup for a bright, comforting, crowd-pleasing family breakfast.

⏱️ 25 minuteBreakfast ★ 4.7

pioneer woman waffles:Frequently Asked Questions

1.Can I use low-fat or non-fat buttermilk instead of full-fat for this recipe? ▾
Absolutely, you’ll still get that signature tang and great leavening reaction, though full-fat buttermilk adds a richer, more tender crumb. If you only have non-fat buttermilk, stir in 1 tablespoon of melted, cooled unsalted butter per cup to make up for the missing fat, and you won’t notice a difference in texture or flavor.
2.Why do my waffles turn out dense and heavy instead of light and fluffy? ▾
The number one culprit is overmixing the batter! Stir just until dry ingredients are moistened—small lumps are totally fine, as overstirring develops gluten in the all-purpose flour that leads to tough, dense waffles. Also, confirm your baking powder and baking soda are less than 6 months old, so they deliver enough lift as waffles cook.
3.How do I stop waffles from sticking to my waffle iron? ▾
First, make sure your waffle iron is fully preheated before adding batter—if it’s too cool, batter will stick before it sets. Give the grids a light, even coat of nonstick spray or melted butter right before pouring, and don’t try to lift waffles too early. If it resists when you peek, let it cook 30 more seconds before checking again.
4.Can I make this waffle batter ahead of time for busy weekend mornings? ▾
You can pre-mix the dry ingredients in an airtight container and store combined wet ingredients in the fridge for up to 3 days ahead, but don’t mix wet and dry until right before cooking. Combining them too early lets the leavening fizz out, leading to flat, less fluffy waffles, so save the final stir for when your iron is hot.
5.What’s the best way to keep waffles warm and crisp when cooking for a crowd? ▾
Don’t stack cooked waffles on a plate—trapped steam makes them soggy fast! Set your oven to 200°F, place a wire rack over a baking sheet, and arrange waffles in a single layer on the rack as they come off the iron. This lets air circulate, keeping edges crisp and centers fluffy until you’re ready to serve everyone.
6.I don’t have buttermilk on hand—what’s a reliable substitute? ▾
For every cup of buttermilk needed, add 1 tablespoon of white vinegar or fresh lemon juice to a liquid measuring cup, then pour in regular whole milk to reach the 1-cup line. Let it sit 5 minutes at room temperature until it curdles slightly, then use it exactly as you would buttermilk for the same tang and light, tender texture.
7.Can I freeze leftover waffles for quick weekday breakfasts? ▾
Absolutely! Let cooked waffles cool completely to room temperature first, then arrange them in a single layer on a baking sheet and freeze for 2 hours until solid. Transfer to a labeled freezer bag with parchment paper between each waffle to prevent sticking, and they’ll keep for up to 3 months. Reheat straight from frozen in a toaster for crisp results.
8.How much batter should I pour per waffle to avoid messy overflow? ▾
It depends on your waffle iron size, but a good rule of thumb is to pour just enough batter to cover ¾ of the grid surface, spreading it gently with a spatula if needed. The batter will rise and spread as it cooks, so overpouring leads to burnt, oozed batter around edges. Start with ⅓ to ½ cup for standard 7-inch round irons, adjust as needed.
9.Why does this recipe use both baking powder and baking soda? ▾
The two leaveners work as a team for that perfect Pioneer Woman texture! Baking soda reacts immediately with acidic buttermilk to give an initial light lift, while baking powder adds extra rise as the waffle cooks on the hot iron, creating that tall, fluffy center and crisp, raised edge everyone loves. Leaving one out leads to flatter waffles.
10.Can I add mix-ins like chocolate chips, blueberries, or nuts to the batter? ▾
Definitely! Fold ½ to ¾ cup of your chosen mix-in into the batter right after you combine wet and dry ingredients, being careful not to overmix. For berries or chocolate chips, toss them in a tiny bit of all-purpose flour first to keep them from sinking, so you get even distribution of mix-ins in every bite.
11.How do I know when waffles are done cooking without peeking too early? ▾
Most modern waffle irons have a ready light, but the most reliable tell is when steam stops billowing out from the edges of the iron, usually 3 to 5 minutes per waffle. If you open the iron and the waffle pulls easily away from the grids without tearing, it’s done. If it sticks, close it and cook 30 to 60 seconds longer.
12.Do these waffles work for savory meals like fried chicken and waffles? ▾
They are absolutely perfect for savory servings, which fits that classic ranch-style Pioneer Woman vibe! The subtle buttermilk tang, hint of kosher salt, and light, not-too-sweet base pairs great with savory toppings. For savory meals, cut the granulated sugar in half, add a pinch of smoked paprika to the dry mix, and they’ll hold up to fried chicken or gravy beautifully.
13.Why do my waffles come out pale instead of deep golden brown, even when cooked through? ▾
Pale, lackluster waffles almost always trace back to an under-preheated waffle iron, or cutting back on the small amount of granulated sugar in the recipe. Let your iron preheat a full 5 minutes before adding batter, and keep the measured sugar in—it helps create that caramelized crisp crust without making waffles taste overly sweet.

Comments (10)

2 days ago

OMG these are SO good! I made them for Saturday brunch last weekend and my entire family went back for seconds, even my super picky 7 year old who turns his nose up at every breakfast I make. The buttermilk gives them that perfect tangy kick, and they get so crispy on the outside but fluffy in the middle? Total game changer. I added a handful of blueberries to half the batch and it was chef’s kiss.

yesterday

Wait did you use regular buttermilk or the low fat kind? I only have low fat in my fridge right now and don’t wanna make a run to the store if I don’t have to!

2 hours ago

Great question! Low-fat buttermilk works totally fine here, you won’t notice a difference in texture or flavor. If you want a little extra richness, you can stir in a tablespoon of melted butter to the batter to make up for the lower fat content, but it’s totally optional!

5 days ago

These waffles are solid! I made them for a guys’ camping trip breakfast last weekend, cooked ‘em up on our portable waffle iron over the camp stove. Only reason I’m not giving 5 stars is I thought the batter was a little thicker than I expected, so I had to splash in a little extra milk to get it to pour right. Tasted great with some maple syrup and crispy bacon on the side, though.

3 days ago

So glad these worked out for your camping trip! Thickness can vary a little depending on what brand of buttermilk you use, so adding a splash more milk to get to your preferred pouring consistency is absolutely the right call. Great tip for other readers too!

1 week ago

I make a double batch of these every Sunday for meal prep! They freeze so well — I just pop one in the toaster on busy weekday mornings and it tastes just as fresh as the day I made it. Way better than the frozen waffles from the grocery store that taste like cardboard. 10/10 will be making these on repeat from now on.

3 days ago

As someone who burns literally every breakfast food I try to make, these were shockingly easy! 15 minute cook time? No fancy ingredients? I was able to throw these together between study sessions for my midterms and they came out perfect. My roommate thought I ordered them from our favorite diner down the street lmao.

2 days ago

Wait pro tip for dorm life! You can make this batter the night before and keep it in a sealed mason jar in the mini fridge, it saves so much time when you’re running to 8am class. I do this every week!

2 weeks ago

I’ve been making buttermilk waffles for 30 years and this recipe is hands down the best one I’ve ever tried. I brought a whole platter of these to my church potluck last Sunday and people were asking me for the recipe before service even ended! The secret is definitely not skimping on the vanilla extract, y’all. Trust me.

1 week ago

How do you keep them warm when you’re bringing them to a potluck? Mine always get soggy by the time I drive across town to our neighborhood potlucks!

5 days ago

I lay them out in a single layer on a baking sheet and keep them in a 200 degree oven until I’m ready to leave, then pack them in an insulated casserole carrier lined with paper towels to soak up any extra moisture! Works like a charm.

30 minutes ago

Taste was great but mine stuck to my waffle iron really bad? I sprayed it with nonstick spray before pouring the batter but half the waffle stuck to the plates when I opened it, total mess. Did I do something wrong?

5 minutes ago

Oh no, sorry to hear they stuck! A couple common culprits: make sure your waffle iron is fully preheated before pouring the batter in — if it’s not hot enough, the waffles will stick every time. It also helps to brush the plates with a little melted butter instead of nonstick spray for extra non-stick power, especially if your iron is older. Give it another try, I promise it works!

yesterday

Made these for my three sons before their early morning football practice and they DEVOURED them. I topped theirs with chocolate chips and whipped cream, had mine with fresh strawberries and a drizzle of honey. So quick to throw together even when I’m half asleep at 6am. Will definitely be adding this to our regular breakfast rotation.

5 minutes ago

I swapped the all purpose flour for a 1:1 gluten free baking flour and used cultured oat milk buttermilk to make these gluten and dairy free for my daughter, and they turned out amazing! The texture was so fluffy I could barely tell they were GF. Only note is I had to add 2 extra minutes of cook time to get them crispy.

just now

Oh thank you so much for sharing this swap! My son has celiac and a dairy allergy and I’ve been searching for a waffle recipe that doesn’t turn out gummy, can’t wait to try your version!

2 hours ago

Game. Changer. I always thought diner-style waffles were impossible to make at home but these are legit better than the ones we get at our favorite breakfast spot. I topped mine with fried chicken and a little hot honey for a chicken and waffle night and my girlfriend said it’s the best meal I’ve ever made her. LFG.

30 minutes ago

Wait hot honey on chicken and waffles? Blasphemy, regular maple syrup is the only acceptable topping lmao. Good to know the waffles themselves hold up to savory toppings though, I’ve been looking for a sturdier waffle for chicken and waffles night.

5 minutes ago

So stoked these worked for your chicken and waffle night! These waffles are sturdy enough to hold up to all kinds of savory toppings — fried chicken, gravy, even pulled pork, they don’t get soggy at all. Love the hot honey twist, even if some purists disagree 😉

3 days ago

I’ve been using the Pioneer Woman’s recipes for years and this one does not disappoint. It’s simple, no fussy steps, and the flavor is exactly the classic buttermilk waffle I remember my grandma making when I was a kid. I served these to my grandkids over the weekend and they left with full bellies and big smiles, which is all you can ask for. Excellent recipe.



