
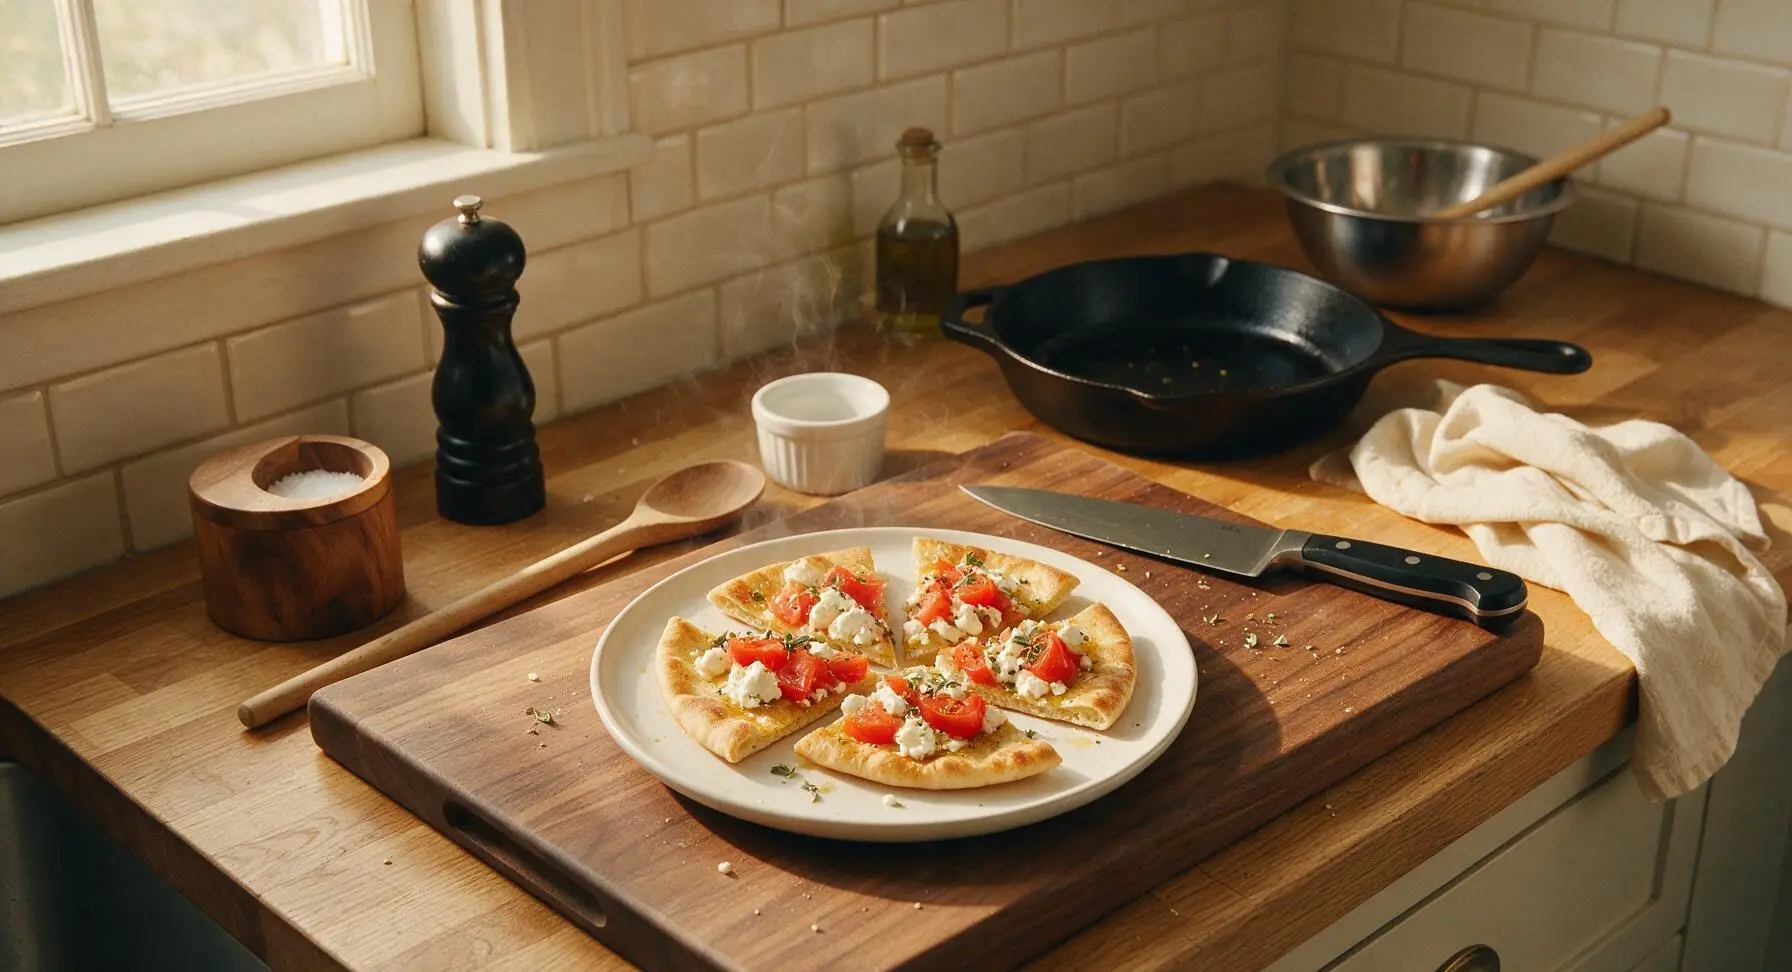
Pita Toast

title 1
Pita Toast
⏱️ cook time 8 minutes
🍽️ servings 4
⚡ Difficulty easy

intro

Crispy, golden olive oil-brushed pita wedges topped with briny feta, ripe summer tomato, and earthy oregano—bright, shattery, shareable bites ready in under 20 minutes.

Ingredients
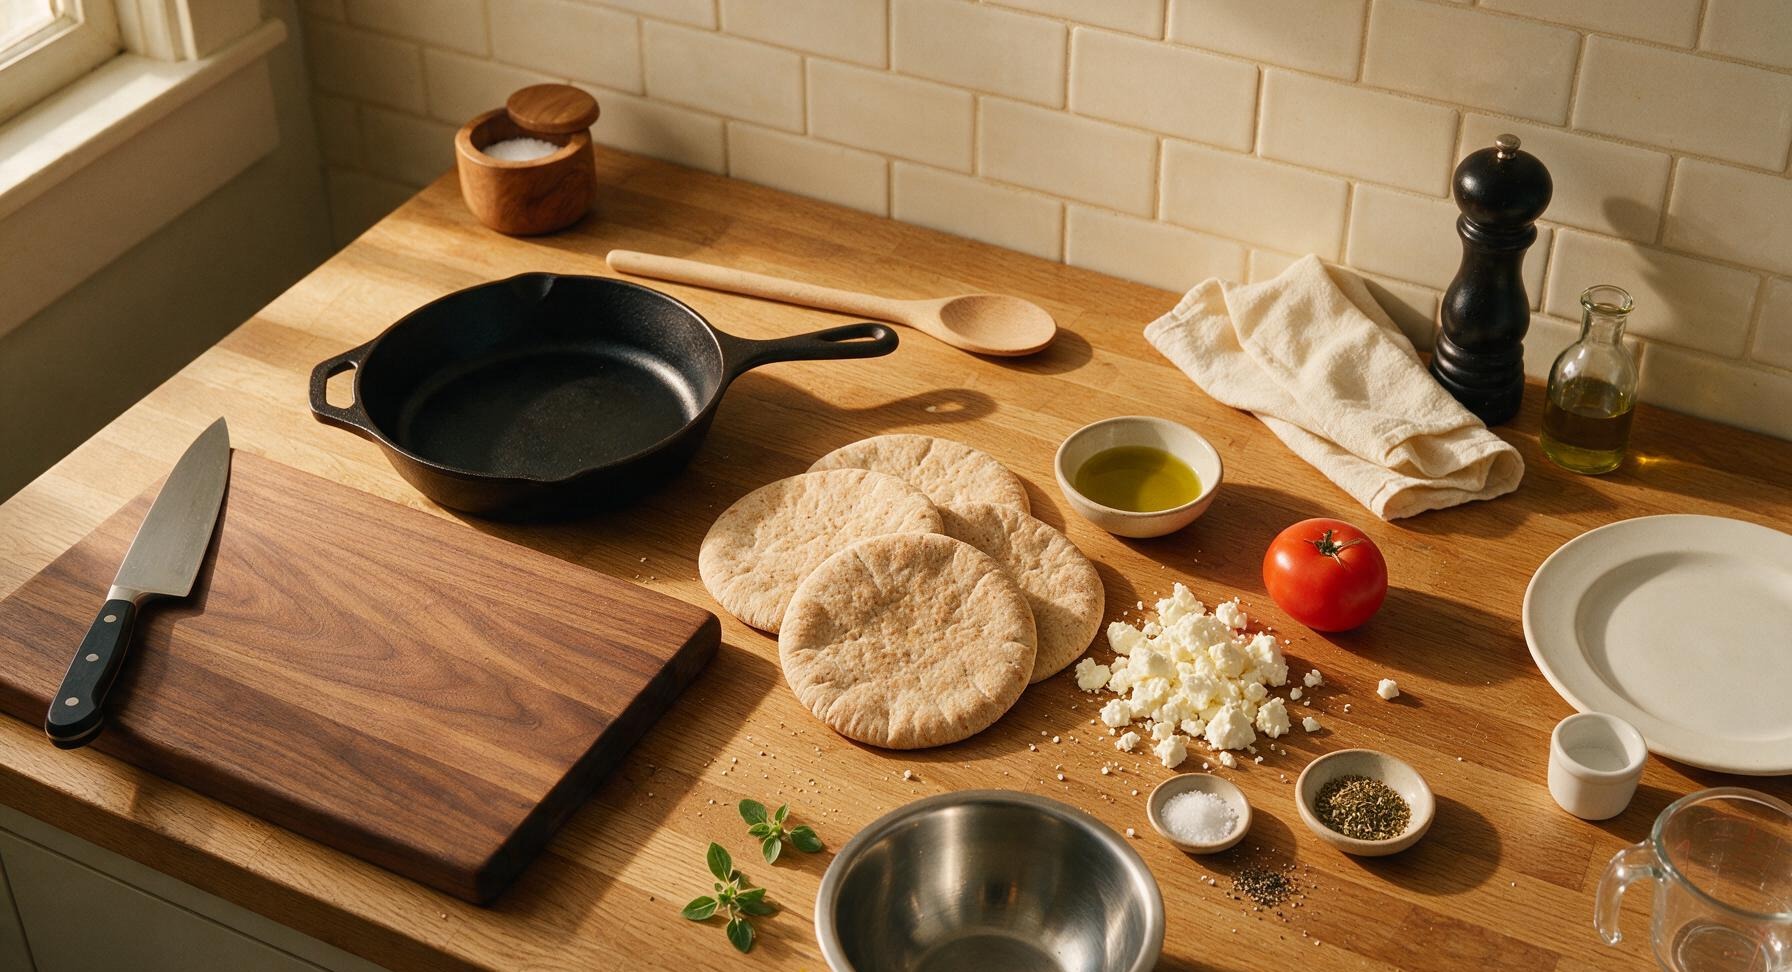
Whole-grain pita bread rounds 4 (16cm diameter each)
Extra-virgin olive oil 3 tablespoons
Crumbled feta cheese 120g
Roma tomato 1 medium (150g)
Dried Greek oregano 1 teaspoon
Kosher salt 1/2 teaspoon
Freshly ground black pepper 1/4 teaspoon
Fresh oregano sprigs 2 small

Steps

1

Preheat Oven and Prep Pan

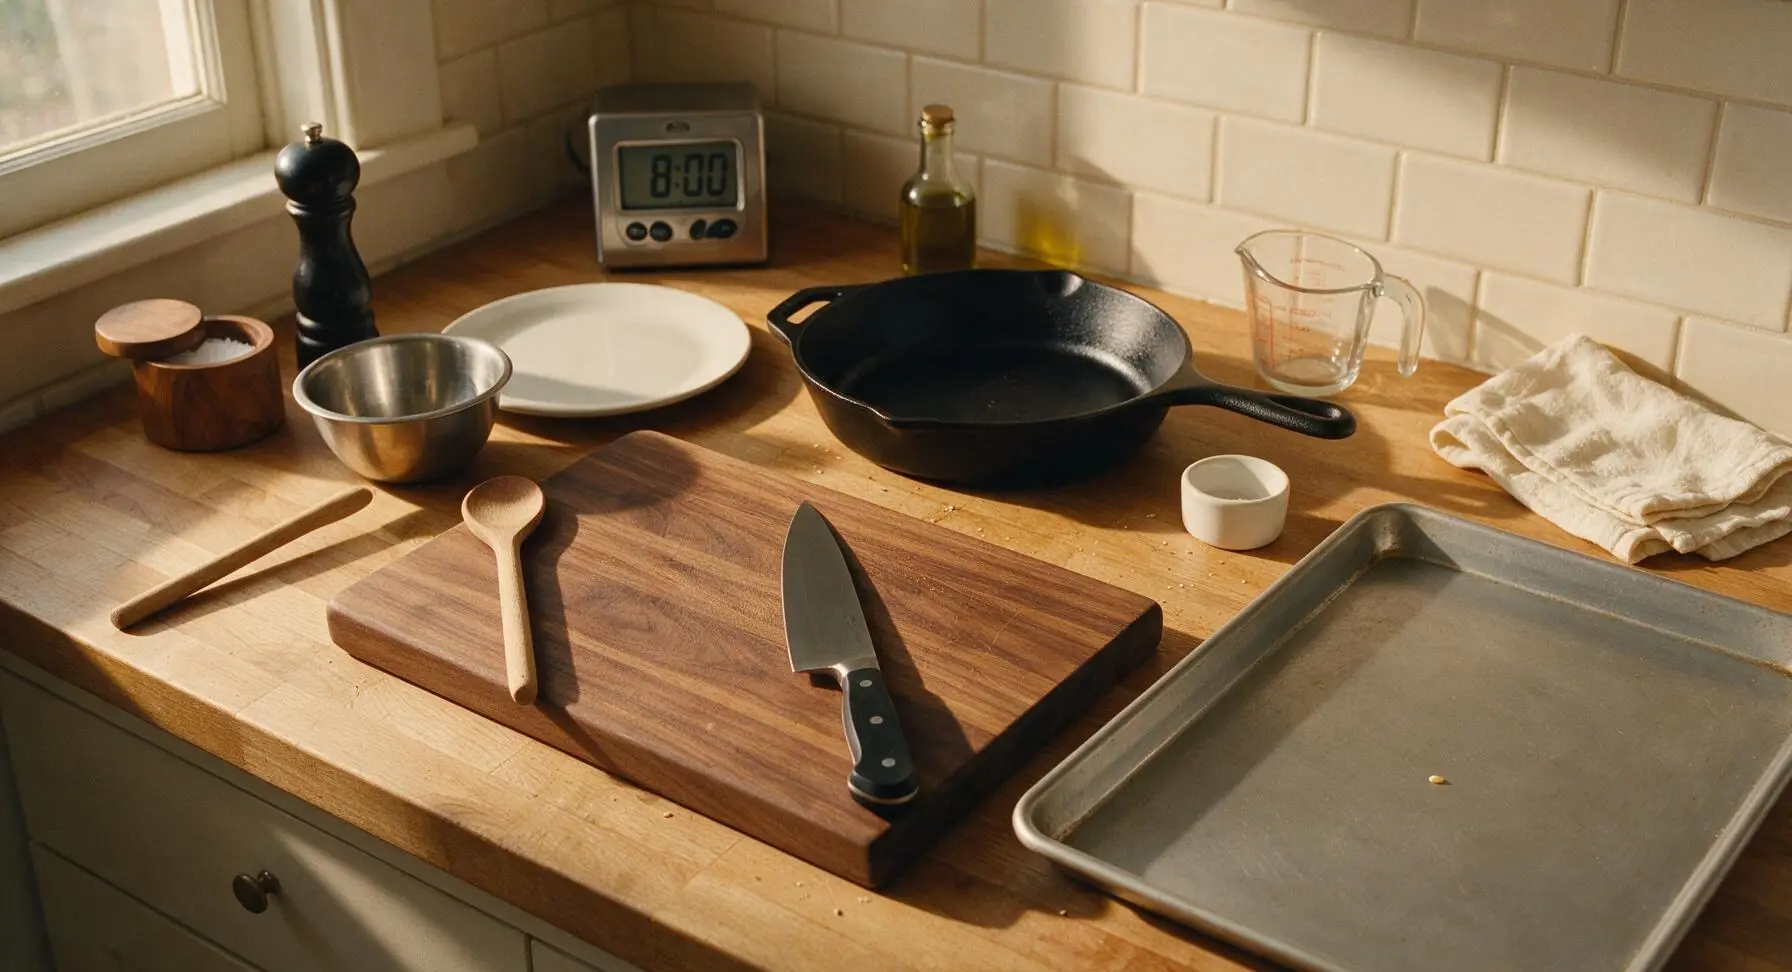
Adjust your oven rack to the middle position, then preheat the oven to 200°C / 400°F. Retrieve the rimmed half-sheet baking pan and set it on the counter to the right of the acacia cutting board; no parchment paper is needed, as direct contact with the metal pan creates extra-crispy pita edges. Set the stainless steel oven timer to 8 minutes as a reminder to check doneness.
Step 1
step1:Preheat Oven and Prep Pan
2

Cut Pita into Wedges

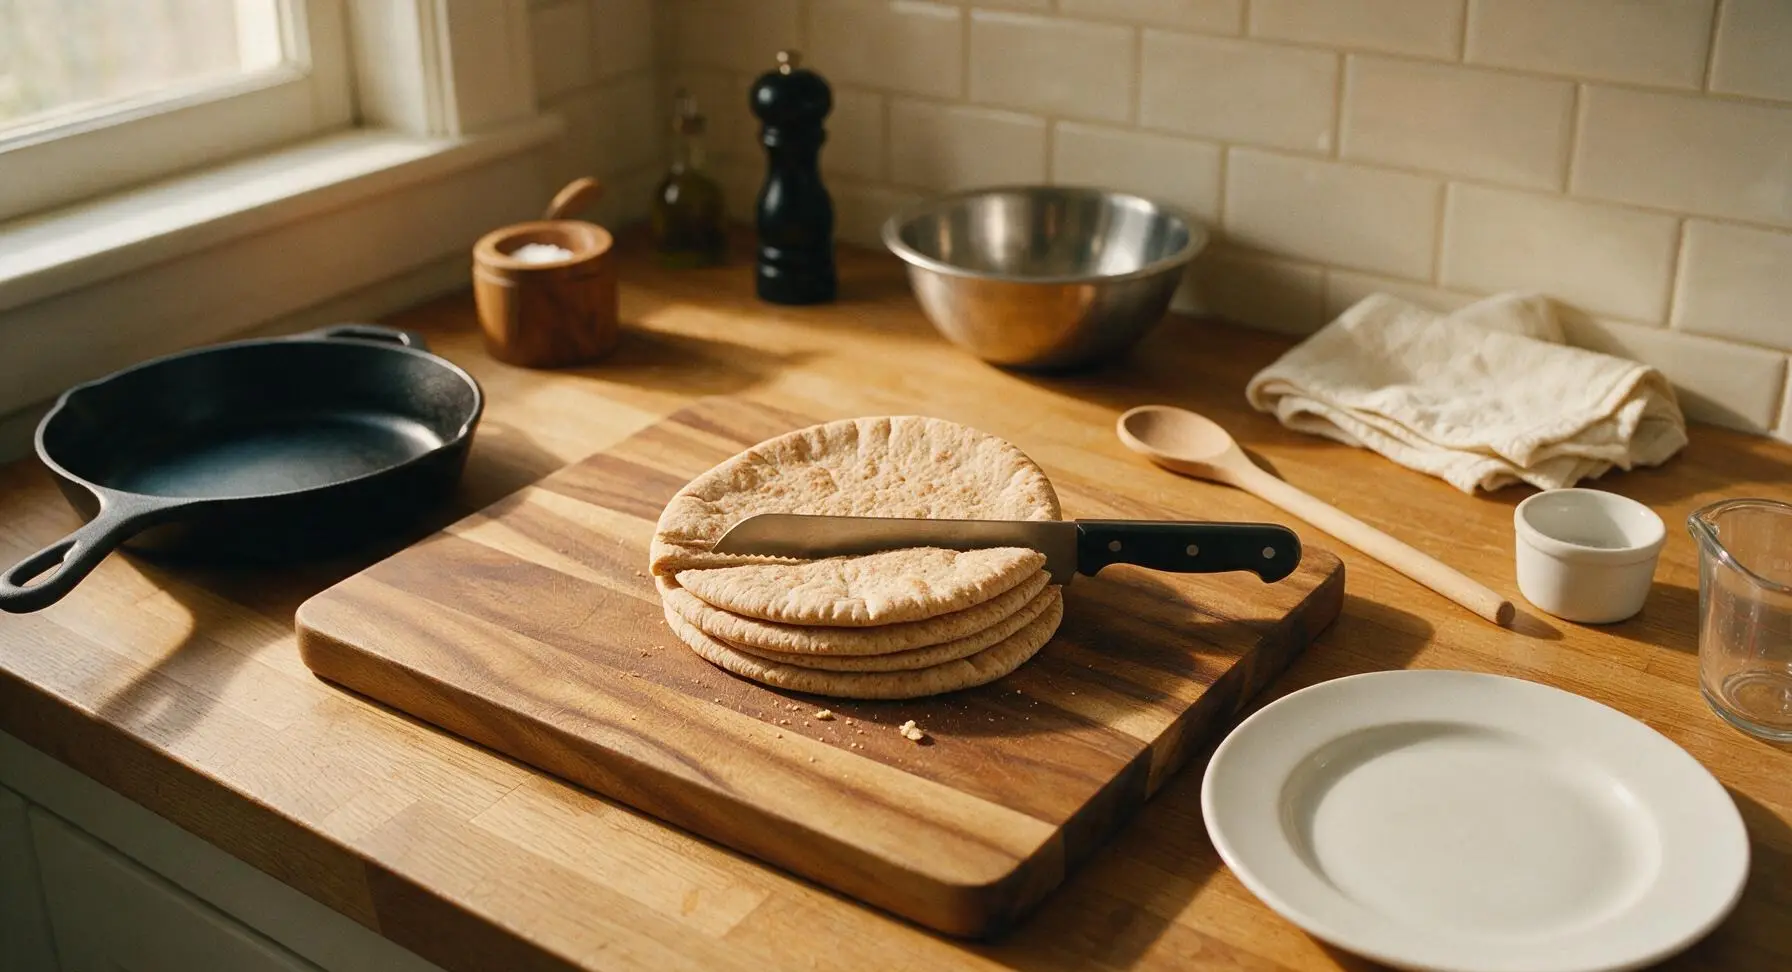
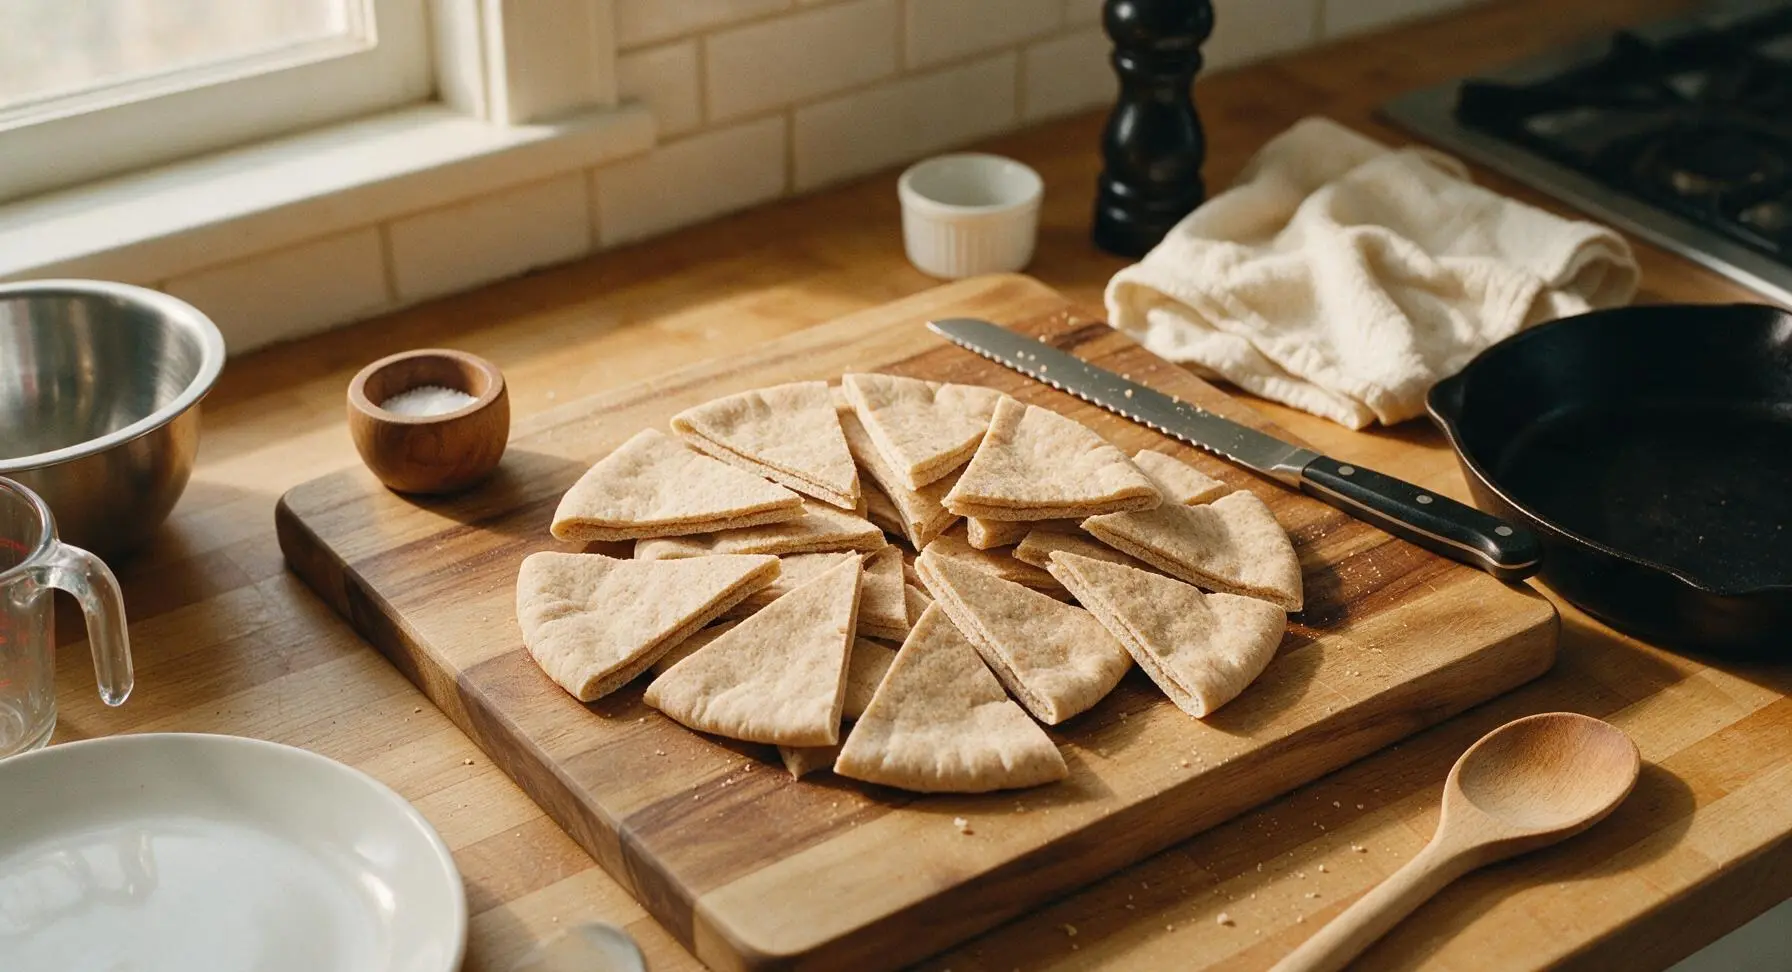
Place the 4 whole-grain pita rounds on the acacia wood cutting board. Using the 8-inch serrated bread knife, cut each pita straight across the middle to create 2 half-moon pieces per pita, then cut each half into 2 equal wedges, yielding 16 total wedges (4 per serving). Do not separate the two thin layers of each pita—keeping them bonded creates a sturdier toast base that holds toppings without breaking.
Step 2
step2:Cut Pita into Wedges
Step 2
step2:Cut Pita into Wedges
3

Brush Pita with Oil

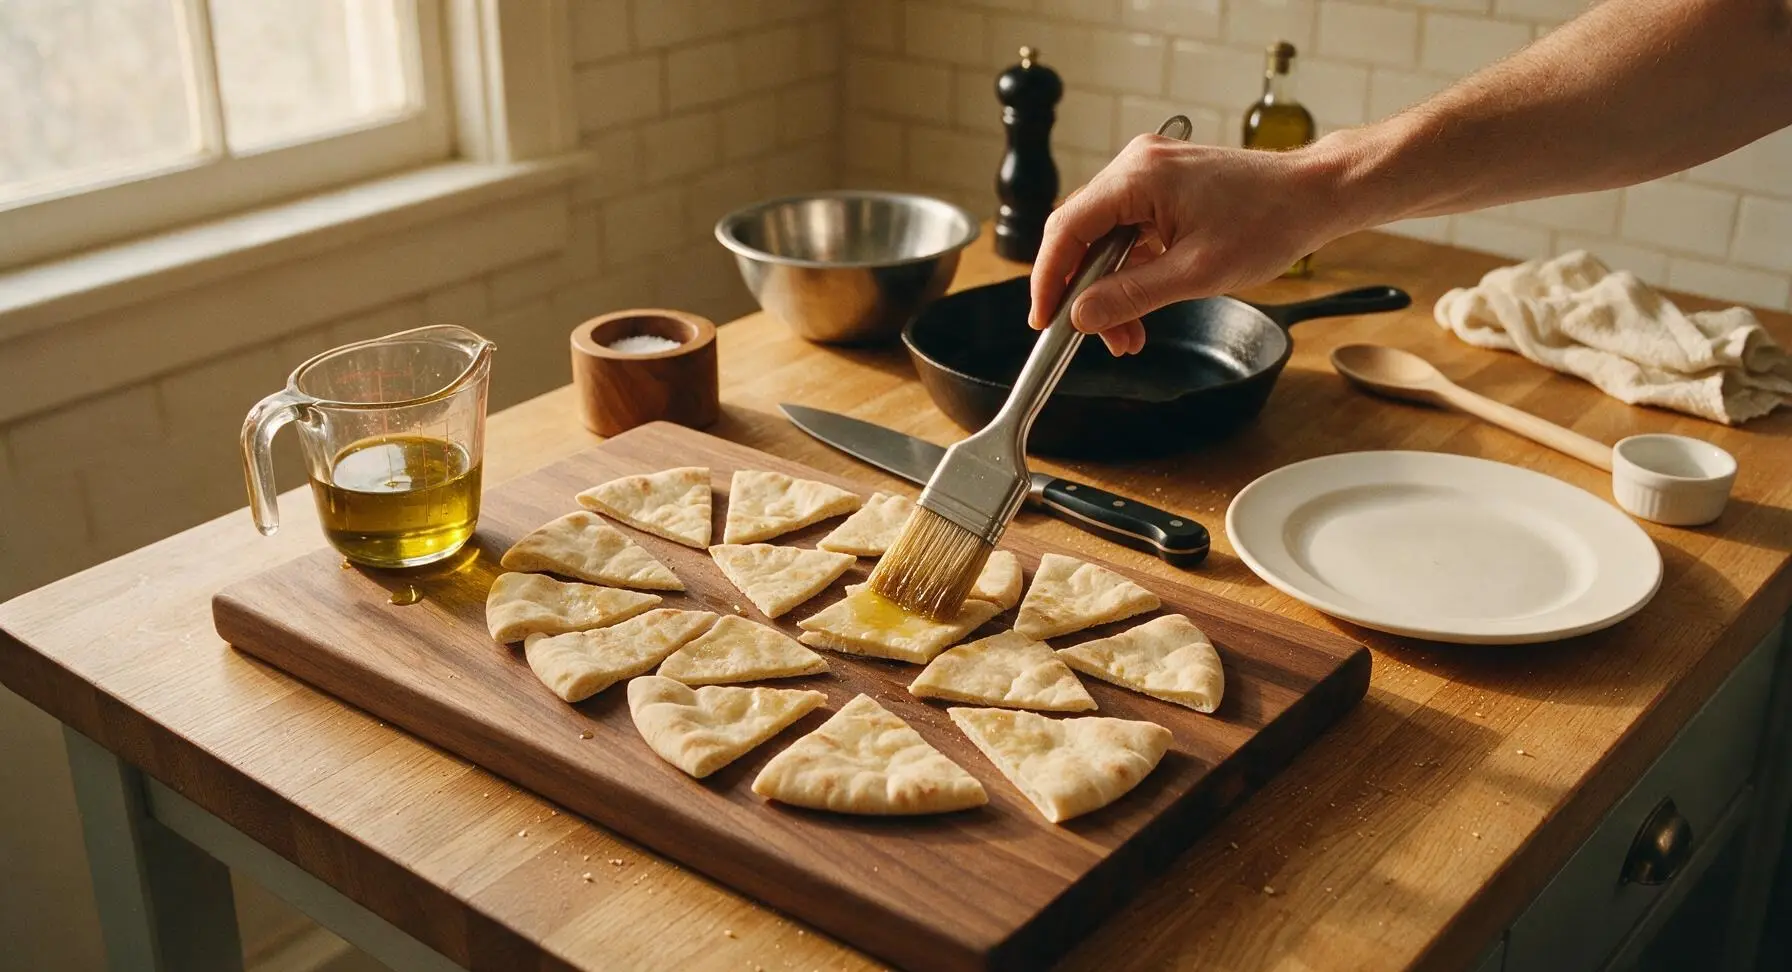
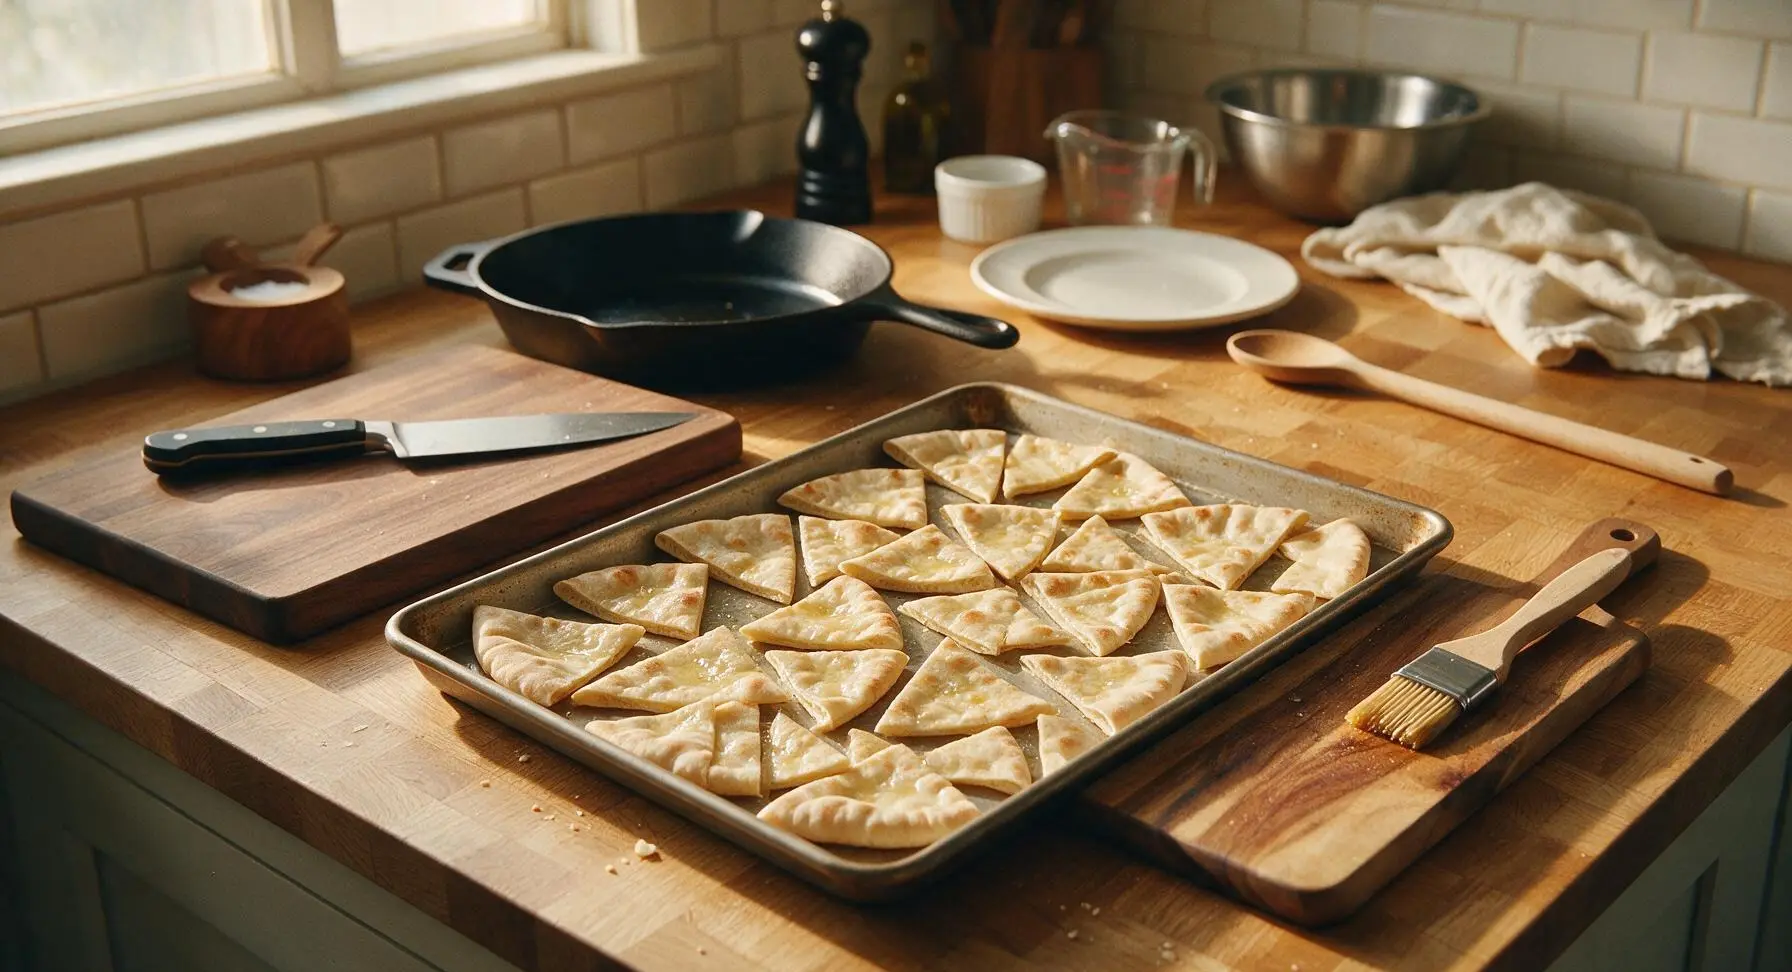
Pour the 3 tablespoons of extra-virgin olive oil into the clear glass measuring cup. Use the silicone-bristle stainless steel pastry brush to lightly coat both sides of each pita wedge with oil, then arrange the wedges in a single even layer on the rimmed baking sheet, leaving 5mm gaps between each piece to allow hot air to circulate for even crisping.
Step 3
step3:Brush Pita with Oil
Step 3
step3:Brush Pita with Oil
4

Season Pita Wedges

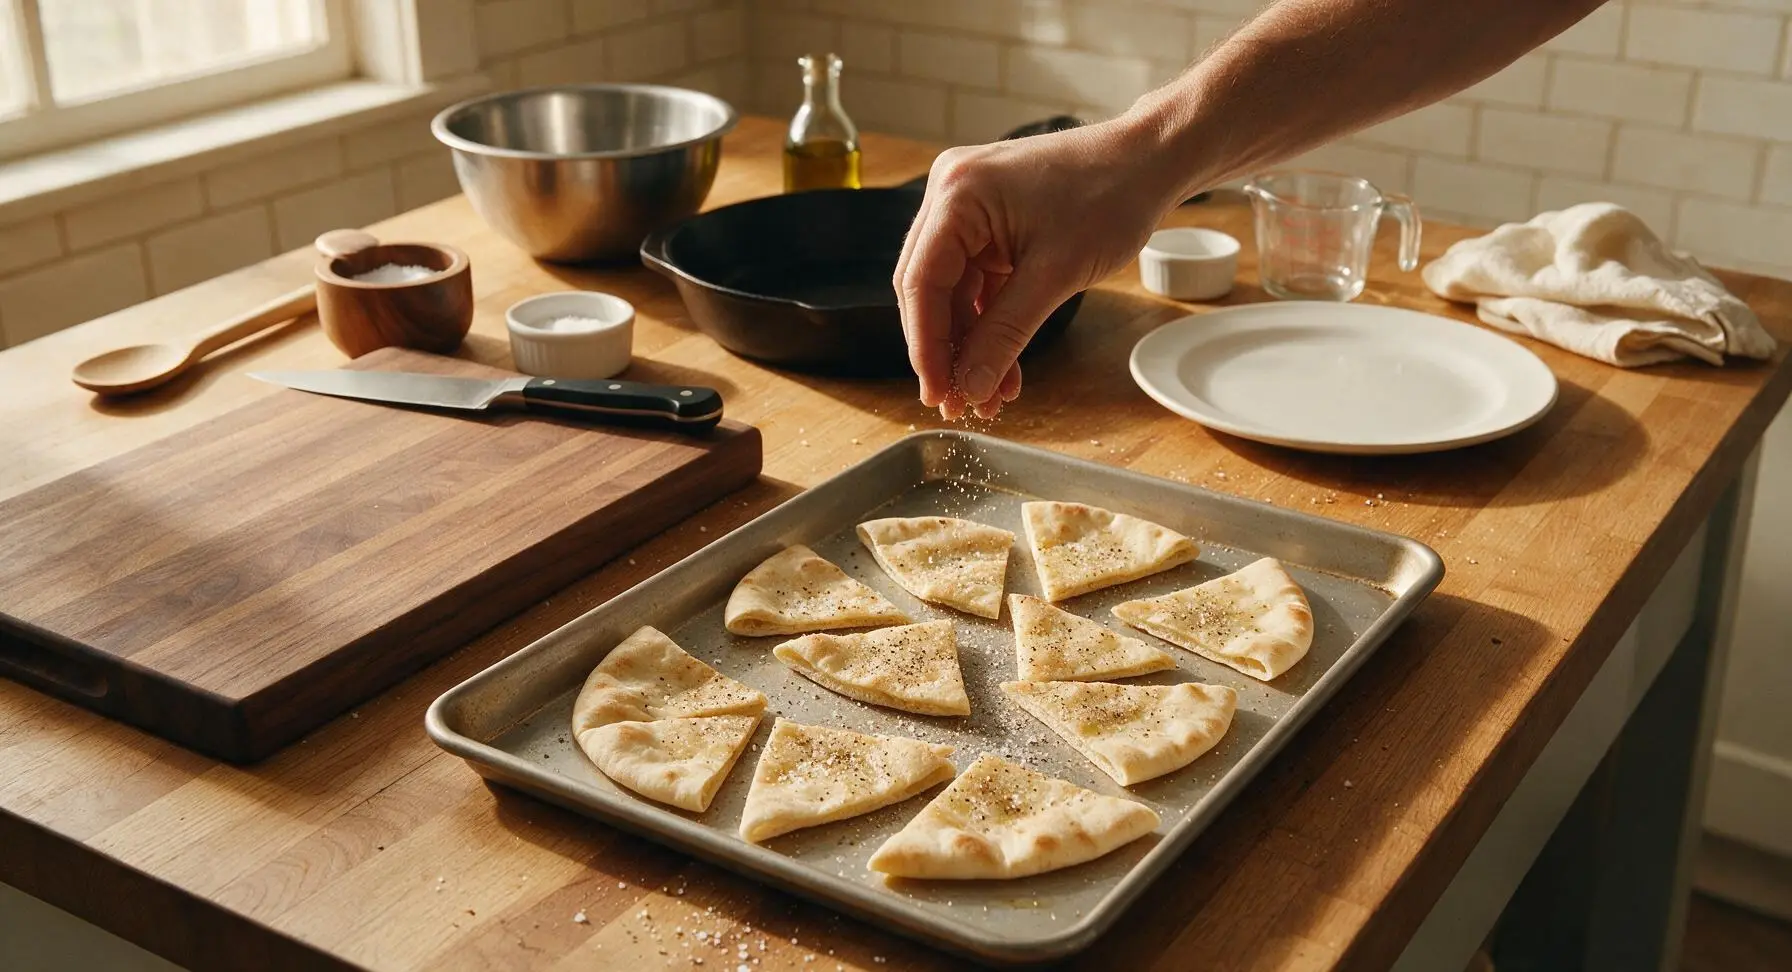
Sprinkle the oiled pita wedges evenly with 1/4 teaspoon of kosher salt and all of the freshly ground black pepper. Reserve the remaining 1/4 teaspoon of kosher salt for the tomato topping, as feta is naturally high in sodium and over-salting will overpower the other flavors.
Step 4
step4:Season Pita Wedges
5

Toast Pita Until Crisp

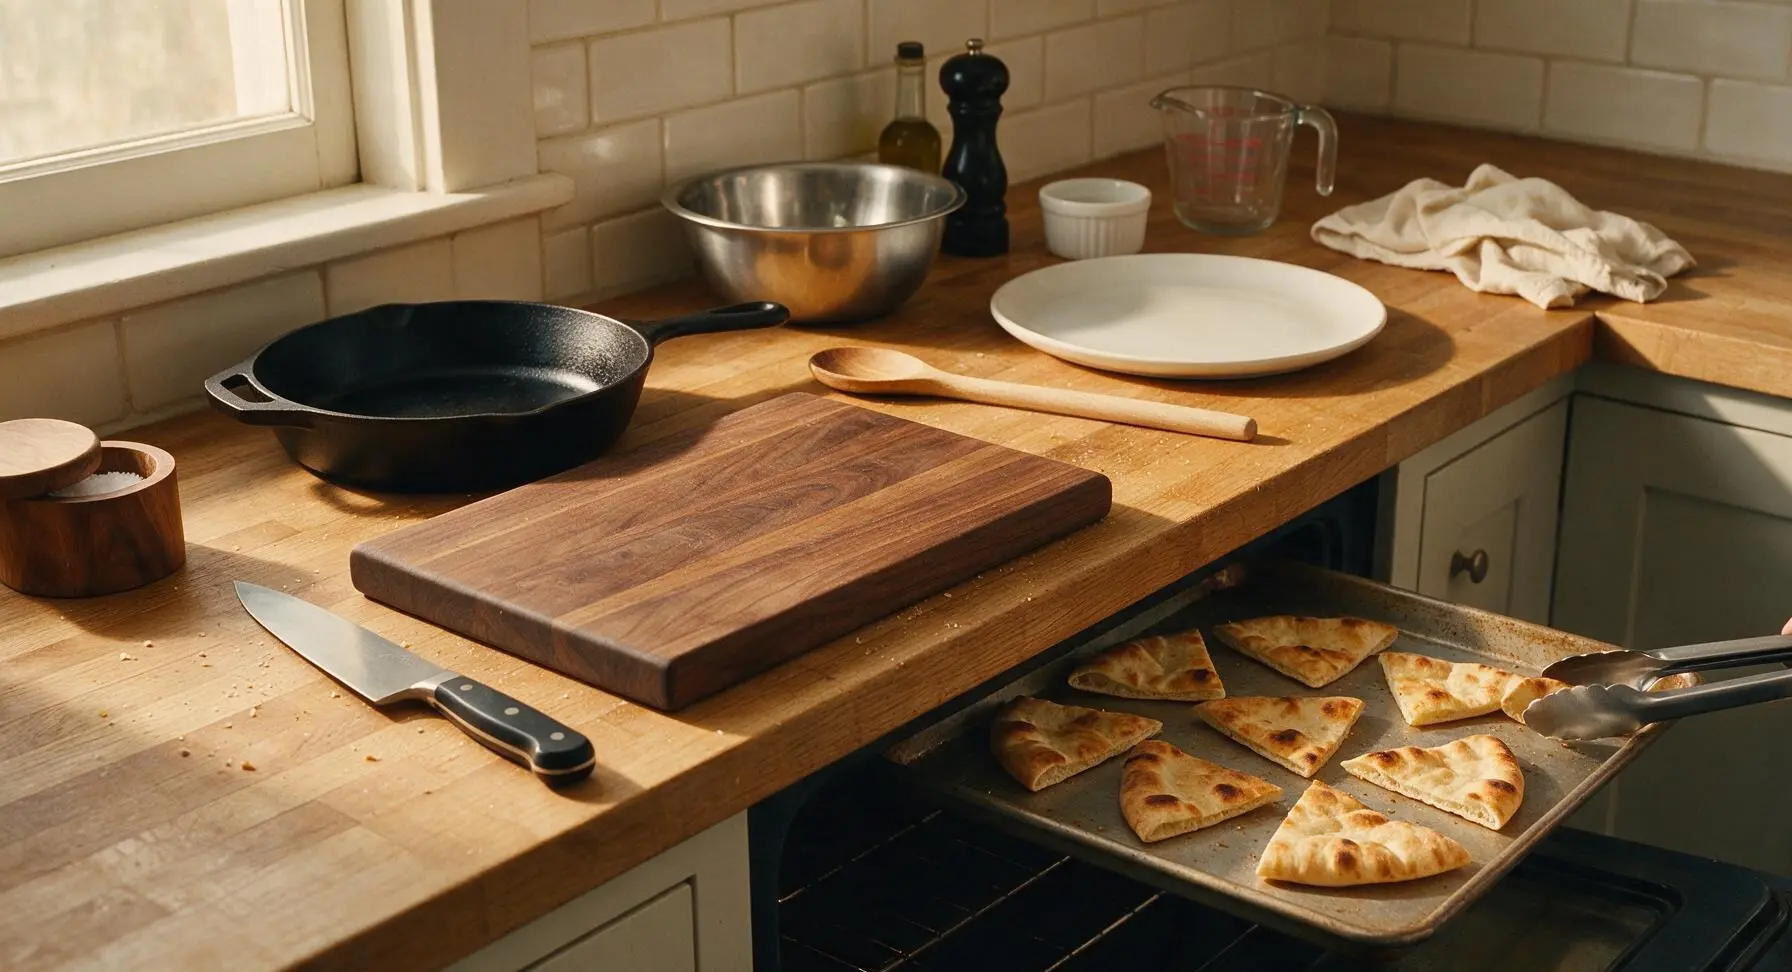
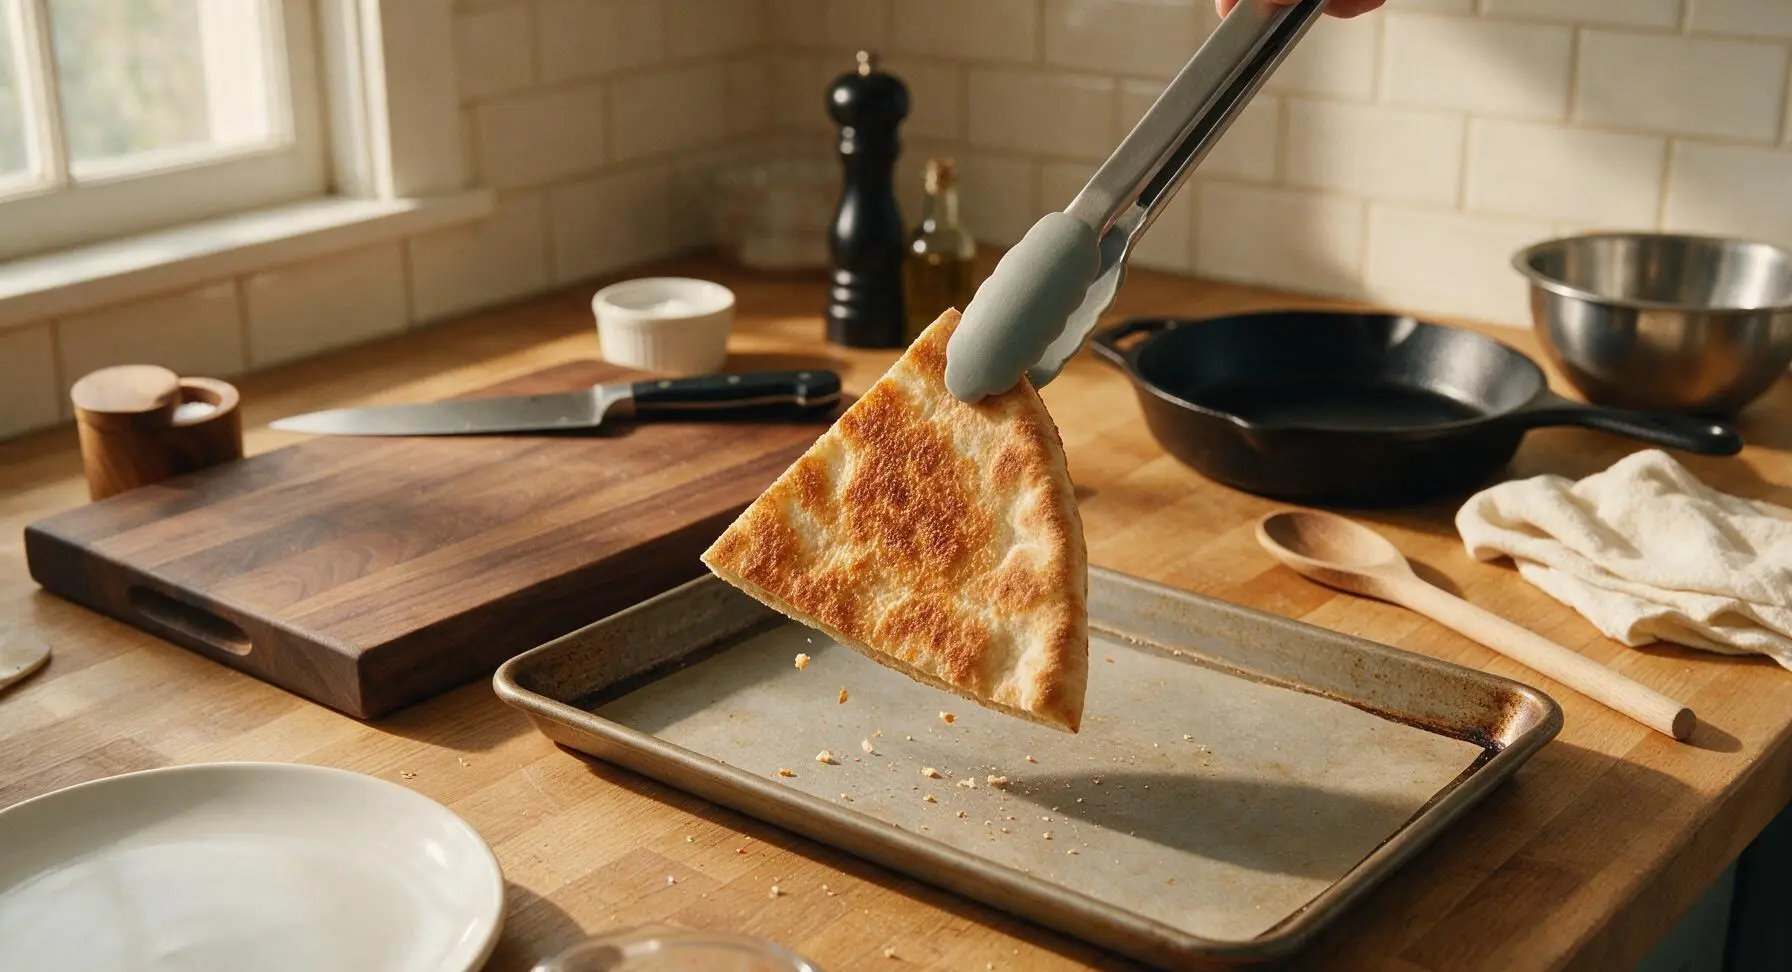
Carefully place the baking sheet on the middle oven rack. Bake for 6 to 8 minutes, checking closely after the 5-minute mark, until the pita edges are deep golden brown and crisp to the touch, with no soft, pale dough spots remaining. The pita will continue to crisp for 1 minute as it cools after being removed from the oven.
Step 5
step5:Toast Pita Until Crisp
Step 5
step5:Toast Pita Until Crisp
6

Prep Fresh Toppings

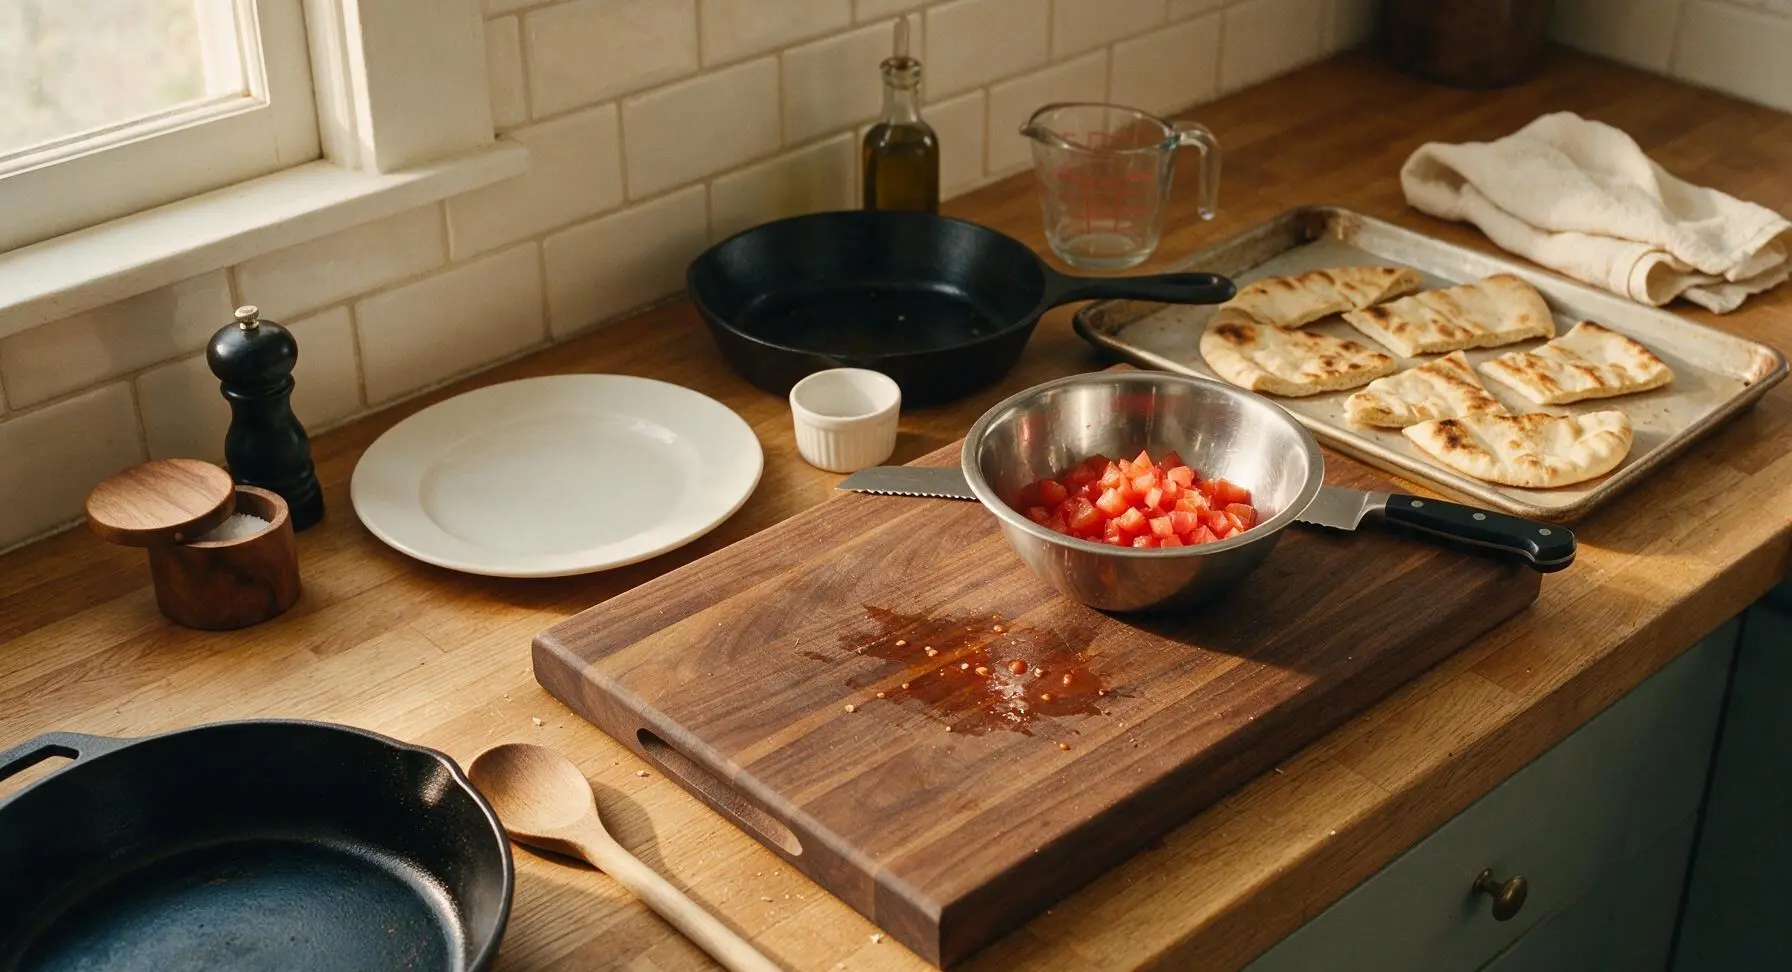
While the pita cools for 1 minute on the pan, dice the Roma tomato into 1cm cubes, discarding the seedy, juicy core to prevent soggy toast. Place the diced tomato in the small stainless steel mixing bowl, toss with the remaining 1/4 teaspoon kosher salt, then let sit for 30 seconds before draining off any accumulated released liquid.
Step 6
step6:Prep Fresh Toppings
7

Assemble Pita Toasts

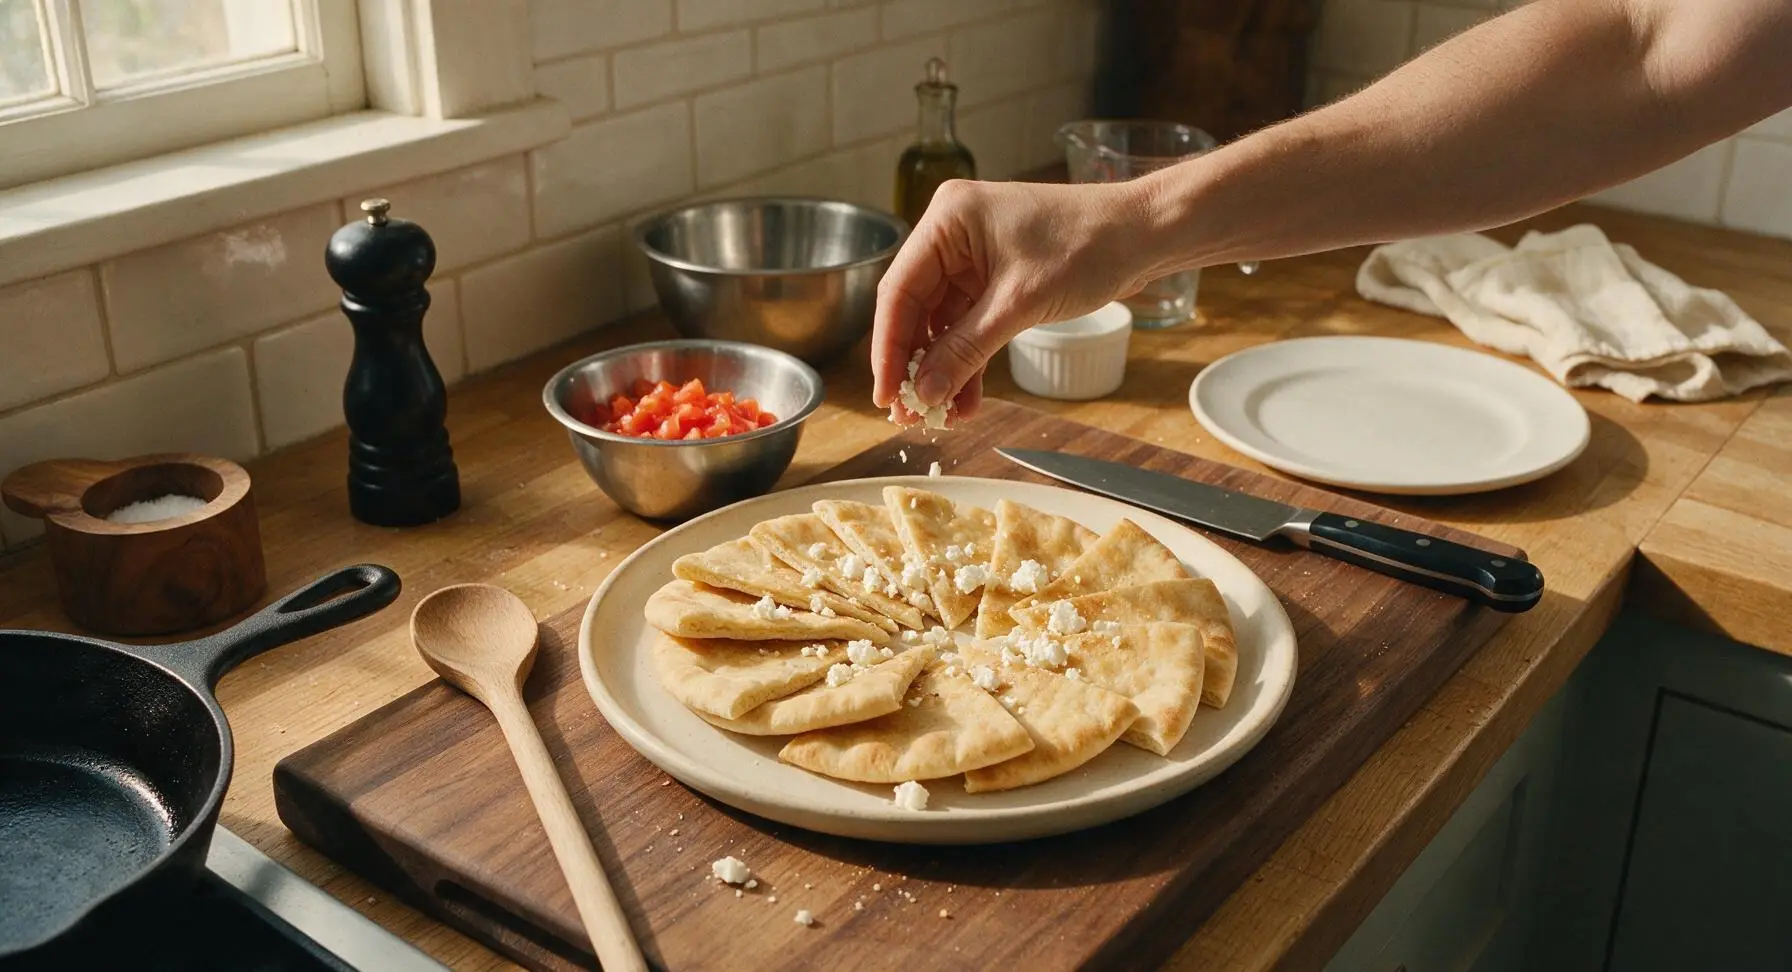
Transfer the warm toasted pita wedges to the matte cream ceramic serving platter, arranging them in a loose overlapping circle. Sprinkle the crumbled feta evenly over the top of the wedges, followed by the drained diced tomato. Dust the entire platter with the 1 teaspoon of dried oregano, then garnish with a few small fresh oregano leaves plucked from the potted plant on the counter.
Step 7
step7:Assemble Pita Toasts

Tips

1.Keep pita layers intact when cutting: Splitting pita into single thin layers causes it to toast too quickly, turn brittle, and shatter when topped; double-layered wedges hold their shape and have a perfect crisp-tender bite.
2.Salt and drain diced tomatoes before topping: The juicy seed core of tomatoes releases excess moisture that will turn crispy pita soggy in as little as 2 minutes; salting draws out extra liquid for a long-lasting crisp texture.
3.Avoid overcrowding the baking sheet: Leaving small gaps between pita wedges allows hot oven air to circulate around every piece; wedges that are touching will steam instead of toast, resulting in soft, chewy spots instead of uniform crunch.


✨ You May Also Like

Snacks & Appetizers
🍜 Mexico

Crispy thick-cut tortilla chips piled high with seasoned beef, melted cheese, and bright fresh toppings for a shareable, crowd-favorite bite.

⏱️ 25 minuteSnacks & Appetizers ★ 4.8
Snacks & Appetizers
🍜 United States

Crisp, sweet-tangy spiced pickled watermelon rind is a zero-waste summer staple, perfect with grilled meats, charcuterie, or eaten straight from the jar as a bright snack.

⏱️ 30 minuteSnacks & Appetizers ★ 4.6
Snacks & Appetizers
🍜 Germany

A tangy, jellied pork cold cut slow-simmered with aromatic spices, set into a firm sliceable loaf, served cold with mustard and crusty bread.

⏱️ 3 hours 4Snacks & Appetizers ★ 4.8
Snacks & Appetizers
🍜 United States

Creamy, tangy, perfectly seasoned hard-boiled egg halves filled with a rich, smooth yolk mixture, a timeless, crowd-pleasing bite for holiday and casual gatherings alike.

⏱️ 40 minuteSnacks & Appetizers ★ 4.8
Snacks & Appetizers
🍜 Russia

Silky, dill-forward no-smoke cured salmon, a Scandinavian classic with bright salty-sweet flavor, ideal for holiday starter platters and open-faced rye sandwiches.

⏱️ 48 hours Snacks & Appetizers ★ 4.7
Snacks & Appetizers
🍜 Japan

Crisp golden bottoms, juicy savory pork and vegetable filling, and tangy dipping sauce make these pan-fried gyoza a beloved shareable bite.

⏱️ 45 minuteSnacks & Appetizers ★ 4.8

Pita Toast:Frequently Asked Questions

1.Can I use regular white pita instead of whole-grain for this recipe? ▾
Absolutely! White pita works perfectly if that’s what you have on hand, though whole-grain adds a nuttier, heartier flavor and extra fiber. Just keep a close eye on it during toasting, as white pita crisps and browns 1–2 minutes faster than denser whole-grain rounds, so adjust bake time to avoid burning.
2.How do I cut pita into wedges without squishing the flatbread? ▾
Start by laying the pita round flat on a cutting board, and use a sharp serrated knife to make gentle, sawing cuts instead of pressing straight down with a smooth blade. Cut each round into 8 equal wedges like you’re slicing pizza, and separate any slightly pulled layers before brushing with oil for even toasting.
3.What temperature and cook time creates that shatteringly crisp pita texture the recipe mentions? ▾
Preheat your oven to 400°F (200°C), arrange oil-brushed wedges in a single layer on a sheet pan, and bake 7–9 minutes total, flipping halfway through. They’ll be deep golden around the edges and firm to the touch when done; they’ll crisp even more as they cool for 1–2 minutes out of the oven.
4.Can I make these pita toasts in a toaster or air fryer instead of the oven? ▾
You bet! For an air fryer, arrange oiled wedges in a single layer at 375°F and cook 3–5 minutes, shaking the basket halfway. A standard toaster works for whole pita halves too—toast on medium until golden, brush with oil, add toppings, and cut into wedges, watching closely to avoid burnt edges.
5.Do I need to peel Roma tomatoes before adding them as a topping? ▾
No peeling required! Roma tomatoes have thinner, less tough skin than larger slicing tomatoes, so a quick dice works perfectly. Just be sure to scoop out the seedy, watery core before dicing to keep your pita toasts from getting soggy—excess tomato moisture is the top cause of limp bites.
6.Is there a good substitute for feta cheese if I don’t eat dairy? ▾
For a dairy-free swap, use crumbled vegan feta made from a coconut or cashew base, which has a similar briny, tangy profile that pairs beautifully with tomato and oregano. If you prefer a non-cheesy topping, finely chopped oil-cured black olives add that same briny, salty kick with no dairy.
7.Why does the recipe specify dried Greek oregano instead of fresh oregano? ▾
Dried Greek oregano has a more concentrated, earthy, slightly piney flavor than fresh common oregano, which matches this dish’s classic Greek flavor profile. If you only have fresh oregano, use 3 times the measured amount (since dried herbs are more potent) and chop it finely before sprinkling over warm toasts.
8.How do I keep my pita toasts from getting soggy after adding toppings? ▾
Two easy tricks: First, make sure your pita wedges are fully crisped before adding any toppings—undercooked pita turns limp fast. Second, prep your tomato by draining excess juice and seeds, and add toppings right before serving, as even small amounts of moisture will soften the crust over time.
9.Can I prep components of this pita toast ahead for a party? ▾
Definitely! You can toast the pita wedges up to 2 days ahead, let them cool completely, and store in an airtight container at room temperature. Dice and drain your tomato, pre-crumble feta, and measure oregano the night before, then assemble toasts right before guests arrive to keep that perfect crisp texture.
10.How much olive oil should I brush on each pita wedge to get even browning? ▾
Aim for about 1 teaspoon of extra-virgin olive oil per full pita round, or roughly 1/8 teaspoon per wedge. Use a silicone pastry brush to spread oil evenly across both sides of each wedge, covering the edges, to help every bite crisp evenly without dry pale spots or greasy, soggy patches from too much oil.
11.My feta is really salty—should I rinse it before using? ▾
If your feta is packed in an extra-salty brine, a quick, gentle rinse under cool water and pat dry with paper towels will mellow out excess salt without washing away that signature briny flavor. Be sure to pat it completely dry before crumbling, as extra rinse water can soften crispy pita if you skip that step.
12.Can I add extra toppings to these pita toasts beyond the core ingredients? ▾
Absolutely! These toasts are a super versatile base. Try adding thin cucumber slices, a sprinkle of red pepper flakes for heat, a drizzle of tzatziki, chopped Kalamata olives, or a tiny pinch of lemon zest. Just stick to well-drained toppings and don’t overload wedges so they stay easy to pick up and eat.
13.Why does the recipe call for Roma tomatoes specifically instead of other tomato varieties? ▾
Roma tomatoes are ideal here because they have firmer flesh, fewer seeds, and less watery pulp than juicier heirloom or beefsteak tomatoes, which means they won’t make crispy pita soggy as quickly. If you only have other varieties, dice them, drain in a sieve 10 minutes, and pat dry before using.
14.How long do leftover assembled pita toasts stay fresh, and how should I store them? ▾
Assembled pita toasts are best eaten right away, as tomato and feta moisture will soften the crisp pita after about 2 hours at room temperature. If you have leftovers, store them in an airtight container in the fridge for up to 1 day, and re-crisp in a 350°F oven for 2–3 minutes before eating.
15.Do I need to split the pita into two thin layers before toasting for extra crispness? ▾
Splitting pita into two single-layer rounds is totally optional! If you love extra-thin, ultra-shattery toasts, gently pull pita apart along the natural pocket seam before cutting wedges, and reduce bake time by 2–3 minutes since thinner layers brown much faster. Leave pita whole for sturdier toasts that hold toppings well.
16.Can I use regular dried oregano that’s not labeled Greek for this recipe? ▾
You can, but note that standard dried oregano is often slightly more bitter and less aromatic than Greek oregano, which is grown in Mediterranean climates and has a sweeter, earthier note. If using regular dried oregano, use 25% less than the recipe calls for to avoid overpowering bitterness, and add a tiny pinch of lemon zest to brighten it.
17.Should I add the feta before or after toasting the pita? ▾
Add crumbled feta during the last 2 minutes of toasting! That lets the cheese soften slightly and get warm and a little melty around the edges without burning or turning rubbery. If you prefer cold, firm feta, you can sprinkle it on after the pita comes out of the oven, though warm feta pairs beautifully with cool tomato.
18.Are these pita toasts appropriate for gluten-free diets? ▾
The recipe as written uses whole-wheat pita which contains gluten, but you can easily swap in your favorite gluten-free pita brand to make it work. Just note that gluten-free pita is often more delicate, so reduce bake time by 2–3 minutes and check frequently for burning, as it crisps and browns faster than traditional wheat pita.

Comments (11)

2 days ago

OMG this pita toast is a total game changer for busy weekday mornings! I threw some avocado and everything bagel seasoning on top after toasting and my kids devoured it before the school bus even got here. SO easy, 8 minutes is no joke. 10/10 will be making this every week for meal prep!

yesterday

Wait the everything bagel seasoning add is genius! I’ve been doing plain butter this whole time, can’t wait to try that tomorrow.

yesterday

So glad your family loves it! The everything bagel seasoning twist is such a fun, easy upgrade—we love hearing how people customize the recipe!

1 week ago

Wow, who knew pita could get this crispy? I made these to go with our hummus platter for last weekend’s potluck and every single piece was gone in 10 minutes. Sprinkled a little za’atar on mine before toasting, chef’s kiss.

5 days ago

Za’atar is such a perfect pairing! So happy these were a hit at your potluck—they make the best shareable appetizer for sure.

30 minutes ago

Perfect lazy dinner for when I don’t want to cook a whole meal. I topped mine with melted mozzarella and marinara for a quick pizza vibe, no regrets. Took literally no time, way better than burning toast in my dorm toaster lol.

2 weeks ago

Added these to my weekly Sunday meal prep rotation! I make a big batch on Sunday and use them for egg breakfasts, tuna salad lunches, even as a quick dipper for soup at dinner. They stay crispy for 3 whole days if you store them in an airtight container, total game changer.

1 week ago

Wait how do you store them to keep them crispy? I tried last week and mine got soggy by day 2!

1 week ago

Great question! Make sure they cool completely before popping them in an airtight container, and throw a tiny paper towel in there to absorb any excess moisture—works like a charm!

2 hours ago

Wait, do you think this works with gluten free pita? I’ve been looking for easy crunchy snacks that don’t require a million ingredients, and this looks perfect!

30 minutes ago

Absolutely! We’ve tested this with gluten free pita and it crisps up just as well as regular pita—just keep an eye on it the first minute or two since some gluten free breads toast a little faster.

yesterday

Made these last night to go with our chicken gyro dinner and my partner said it’s the best side I’ve made in months. I brushed mine with a little olive oil and garlic powder before toasting, the whole house smelled amazing. So simple, so good.

3 days ago

Brought these to my neighborhood block party last weekend and people were asking me for the recipe left and right! I did a sweet version too with a little cinnamon and sugar after toasting for the people who don’t like savory snacks, both versions were a huge hit.

2 days ago

The cinnamon sugar version?! That sounds incredible, I never would have thought to make sweet pita toast. Doing that for my kid’s after school snack this week!

2 days ago

We love the sweet cinnamon sugar twist! It tastes just like a quick, lighter churro bite—perfect for kids and adults alike.

5 minutes ago

These are the perfect post-workout snack! I top mine with a little tzatziki and grilled chicken for a quick high protein bite, no heavy cooking required. Way better than reaching for a protein bar that’s full of weird additives.

just now

Omg tzatziki and grilled chicken? I’ve only been using these for dips, that’s such a filling meal idea! Stealing that for next week.

5 days ago

Super easy even for someone who burns water, honestly! I was nervous I’d overcook them but they came out perfectly golden and crispy at 8 minutes just like the recipe says. Great starter recipe for people who are just learning to cook.

3 days ago

That makes us so happy to hear! We love sharing easy, approachable recipes that work for all skill levels—can’t wait to hear what else you make!

1 week ago

Wait I tried these in my air fryer instead of the oven and they came out even crispier! 375 for 4 minutes, flip halfway. Perfect quick snack for movie night, we dipped ours in queso and it was chef’s kiss.

yesterday

My 7 year old is the pickiest kid on the planet and he asked for SECONDS of these! I brushed them with a little melted butter and parmesan before toasting, and he ate them alongside his tomato soup without complaining once. This recipe is going into our permanent weekly rotation, thank you so much!

2 hours ago

Oh my gosh that gives me hope! My twins refuse every crunchy side I make, I’m trying the parmesan butter version tomorrow for lunch.

30 minutes ago

We love hearing this! Getting a picky eater to enjoy a new food is the biggest win, and the parmesan butter twist sounds absolutely delicious. So glad it worked out for your family!



