
Pizzelle
intro
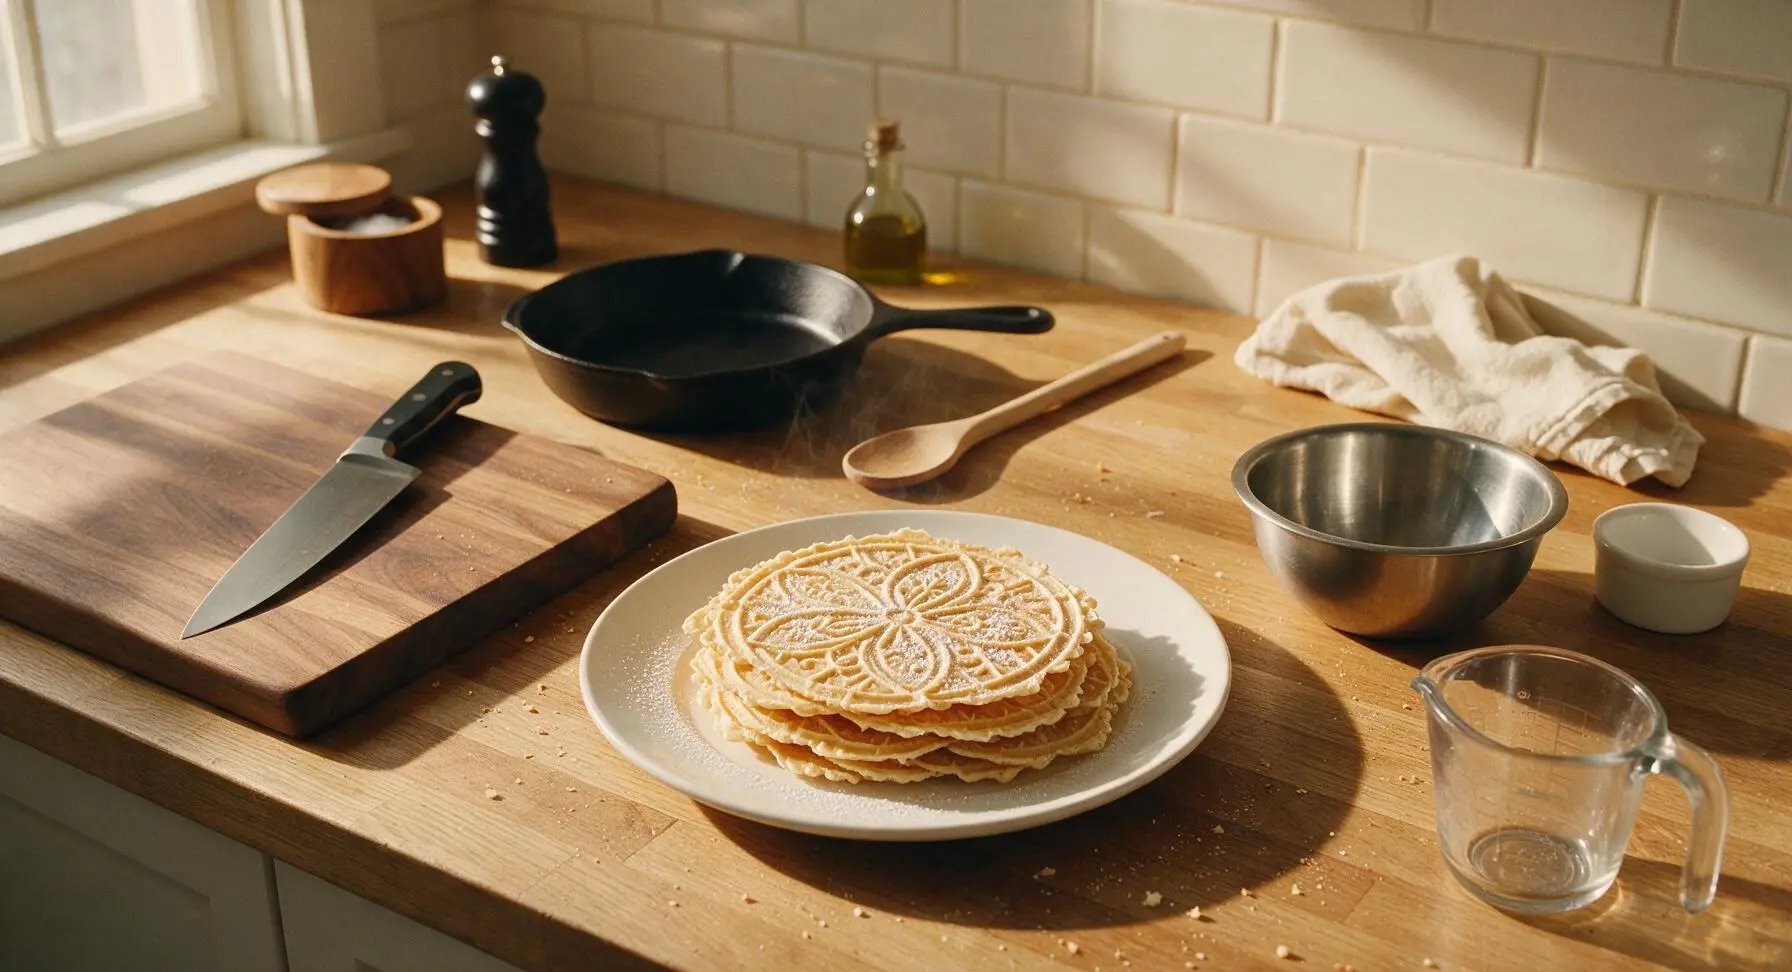
Delicate, crisp Italian waffle cookies scented with warm anise and vanilla, lightly dusted with powdered sugar — a classic holiday treat perfect for gifting or pairing with coffee.
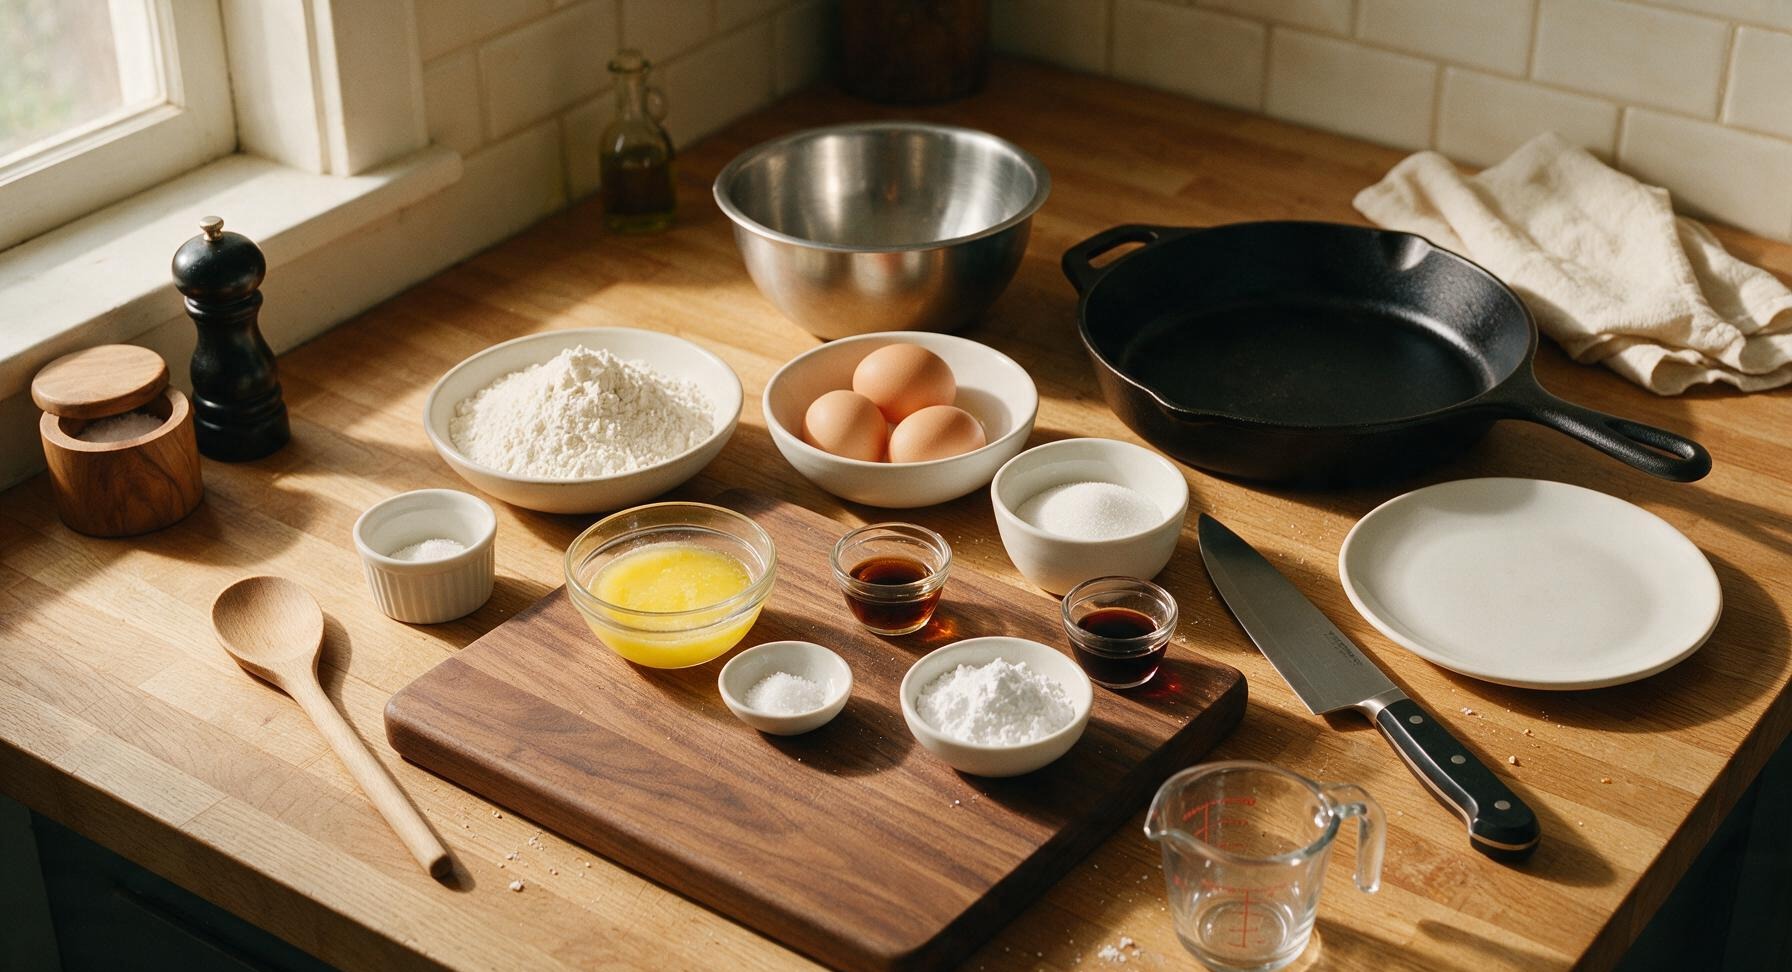
Ingredients
Steps
Sift Dry Ingredients
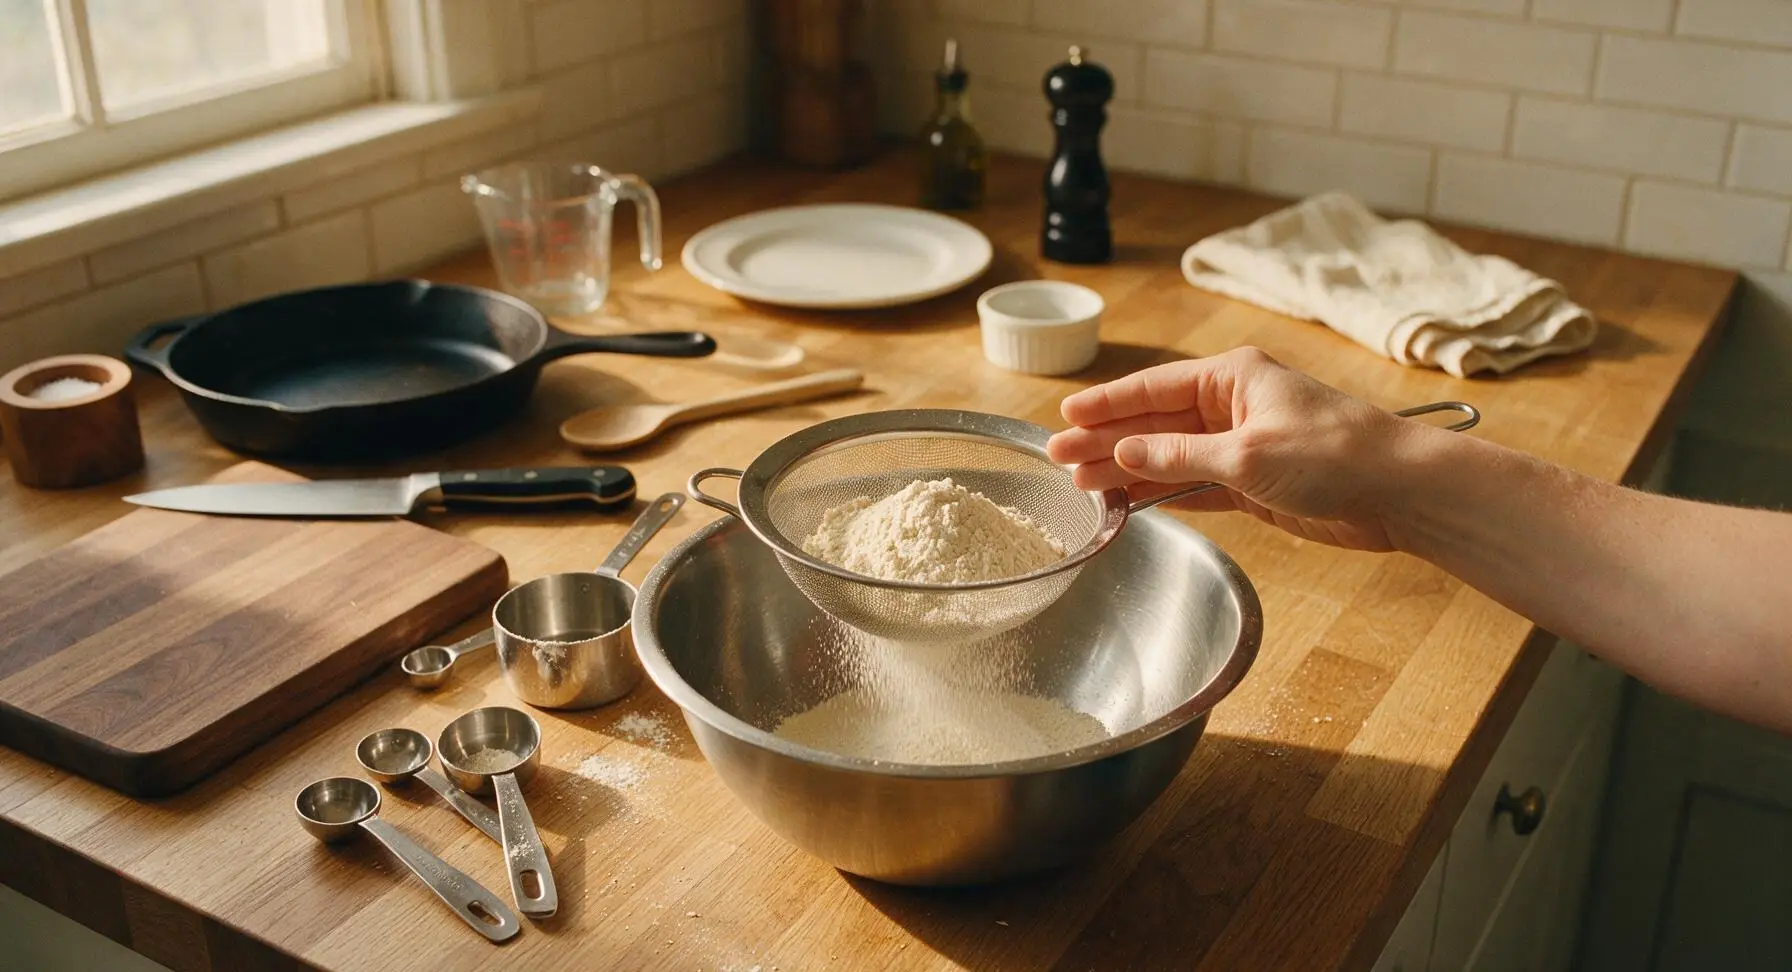
Place the medium brushed stainless steel mixing bowl on the center of the work area. Add the measured all-purpose flour, baking powder, and fine sea salt to the fine mesh stainless steel sieve held 5cm above the bowl’s rim. Tap the side of the sieve gently to sift all dry ingredients into the bowl, breaking up any small lumps of flour or baking powder. Whisk the sifted mixture for 10 seconds with the stainless steel whisk to evenly distribute the leavening and salt, then set the bowl aside. Do not pack the flour when measuring, as this will create dense, tough cookies.
Whisk Wet Ingredients
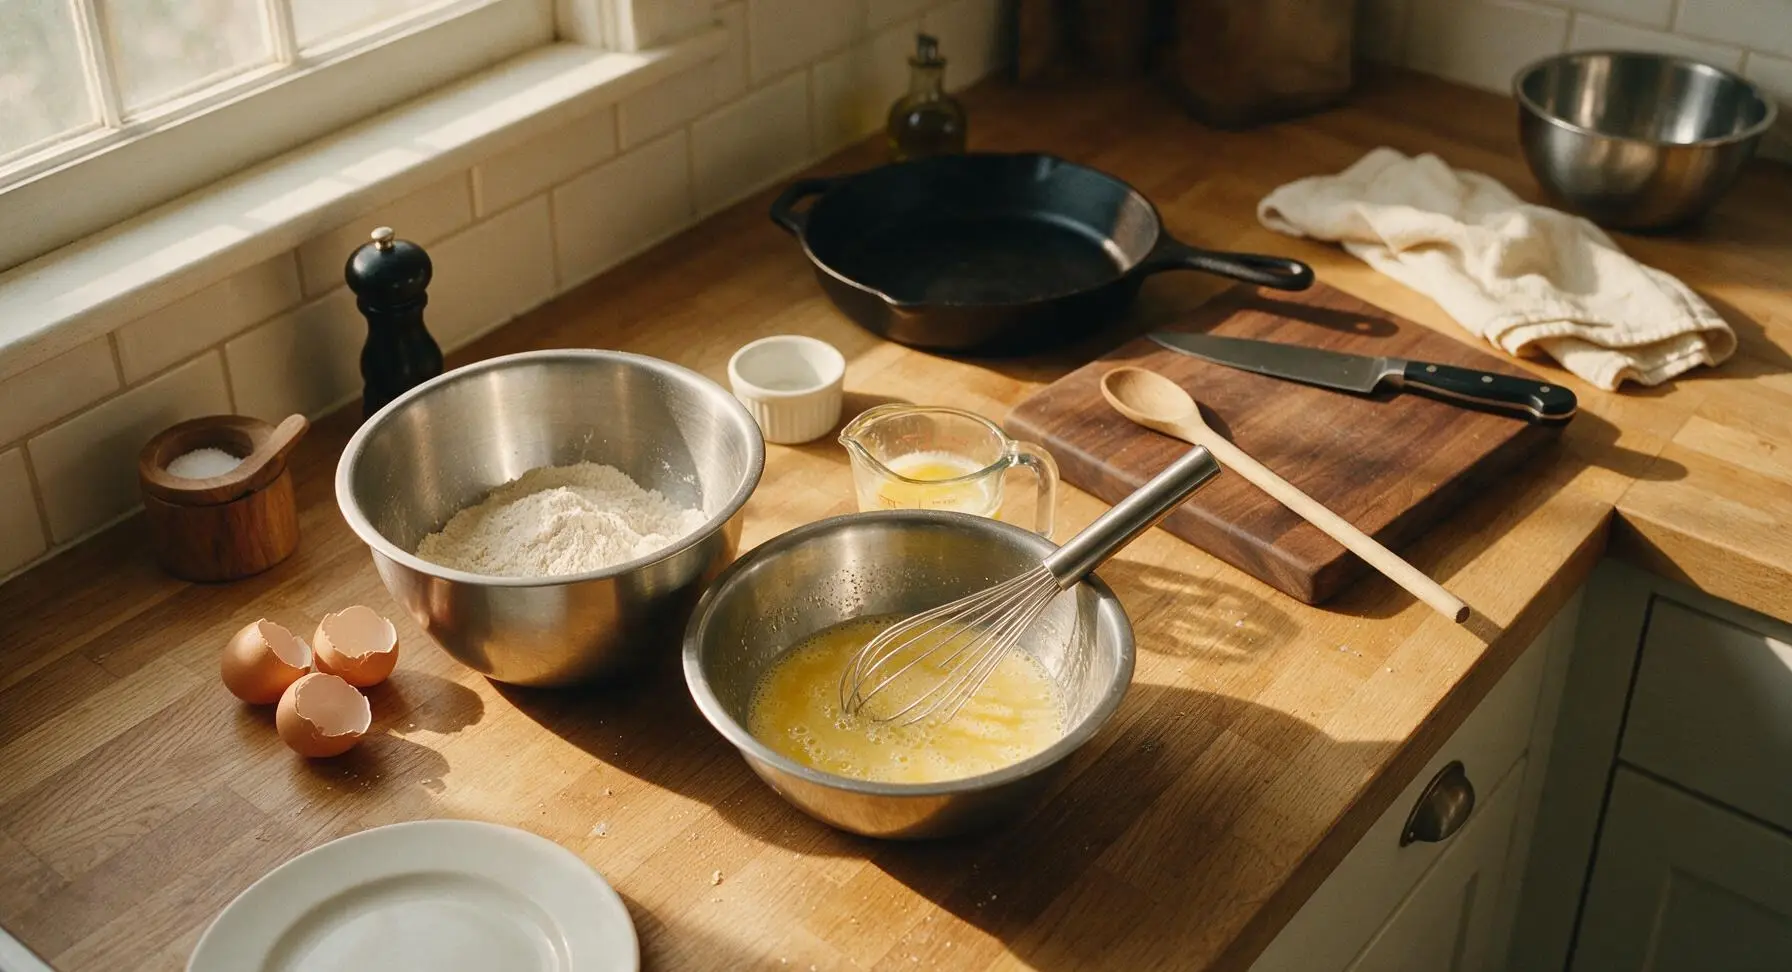
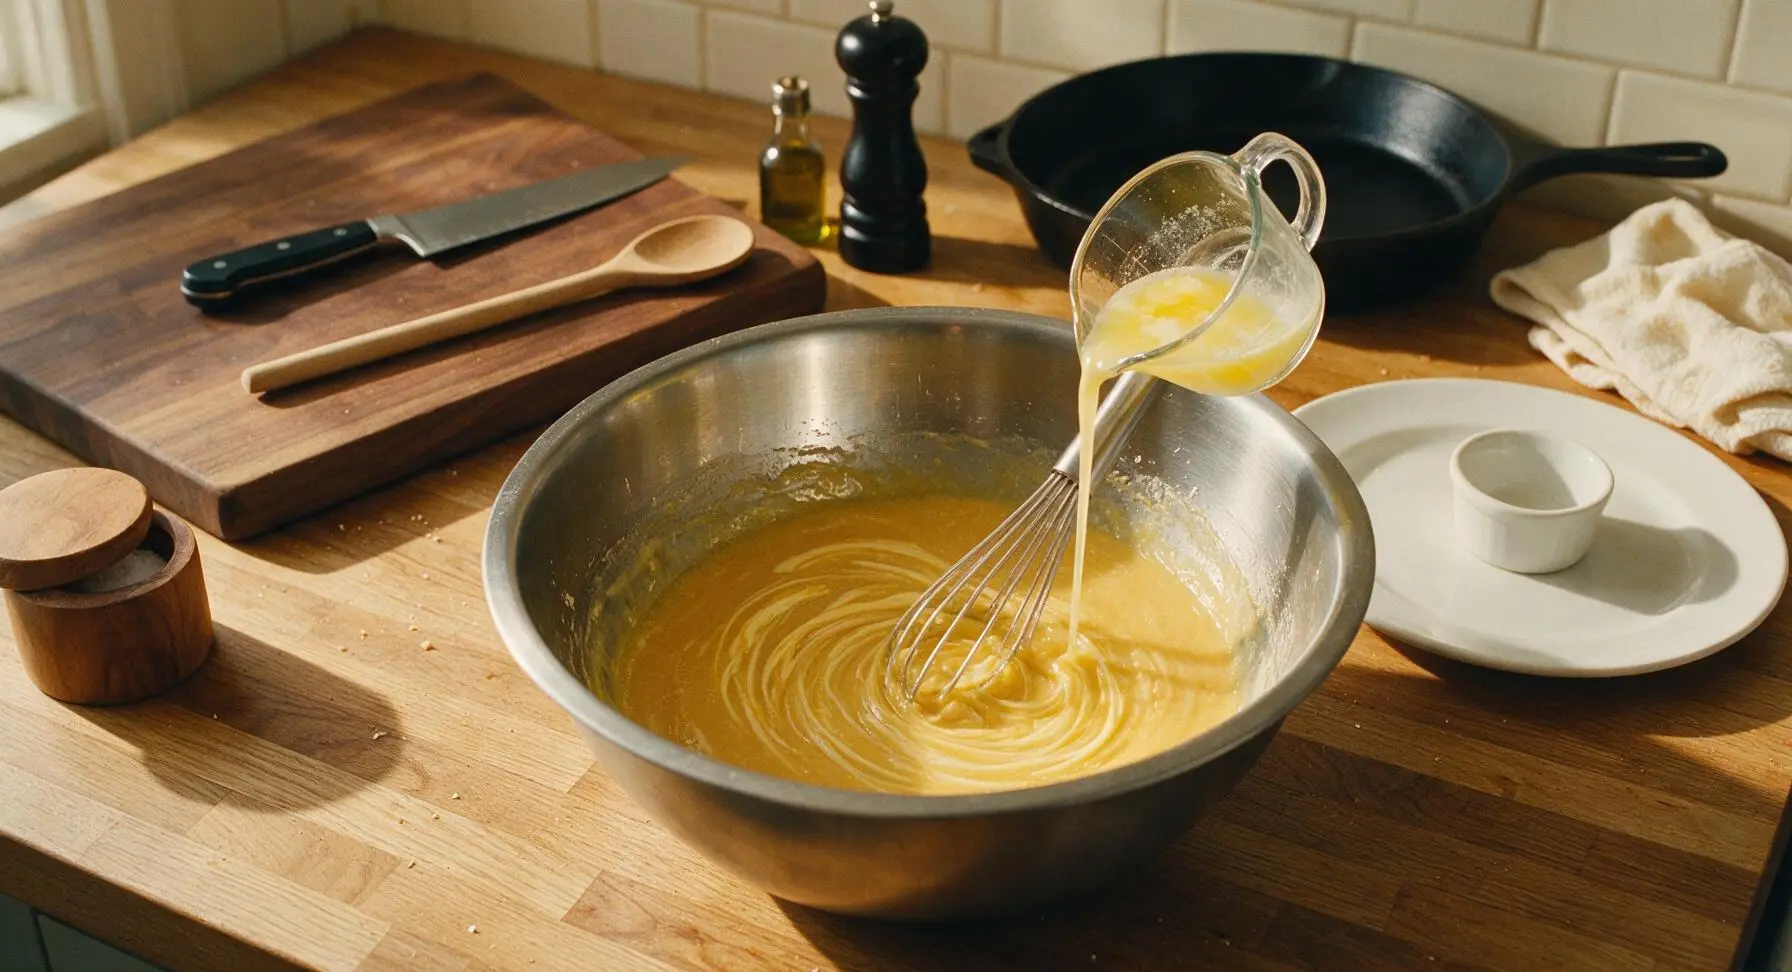
Place the large brushed stainless steel mixing bowl 5cm to the left of the dry ingredient bowl. Crack the 3 room-temperature eggs into the large bowl, then add the granulated sugar. Whisk vigorously by hand for 1 full minute, until the mixture turns pale lemon yellow, thickens slightly, and leaves a thin ribbon when the whisk is lifted from the bowl. Pour the cooled melted butter from the clear glass measuring cup into the egg mixture, then add the vanilla and anise extracts. Whisk for 30 more seconds until the mixture is completely smooth, with no streaks of melted butter visible on the surface.
Combine Batter Mixtures
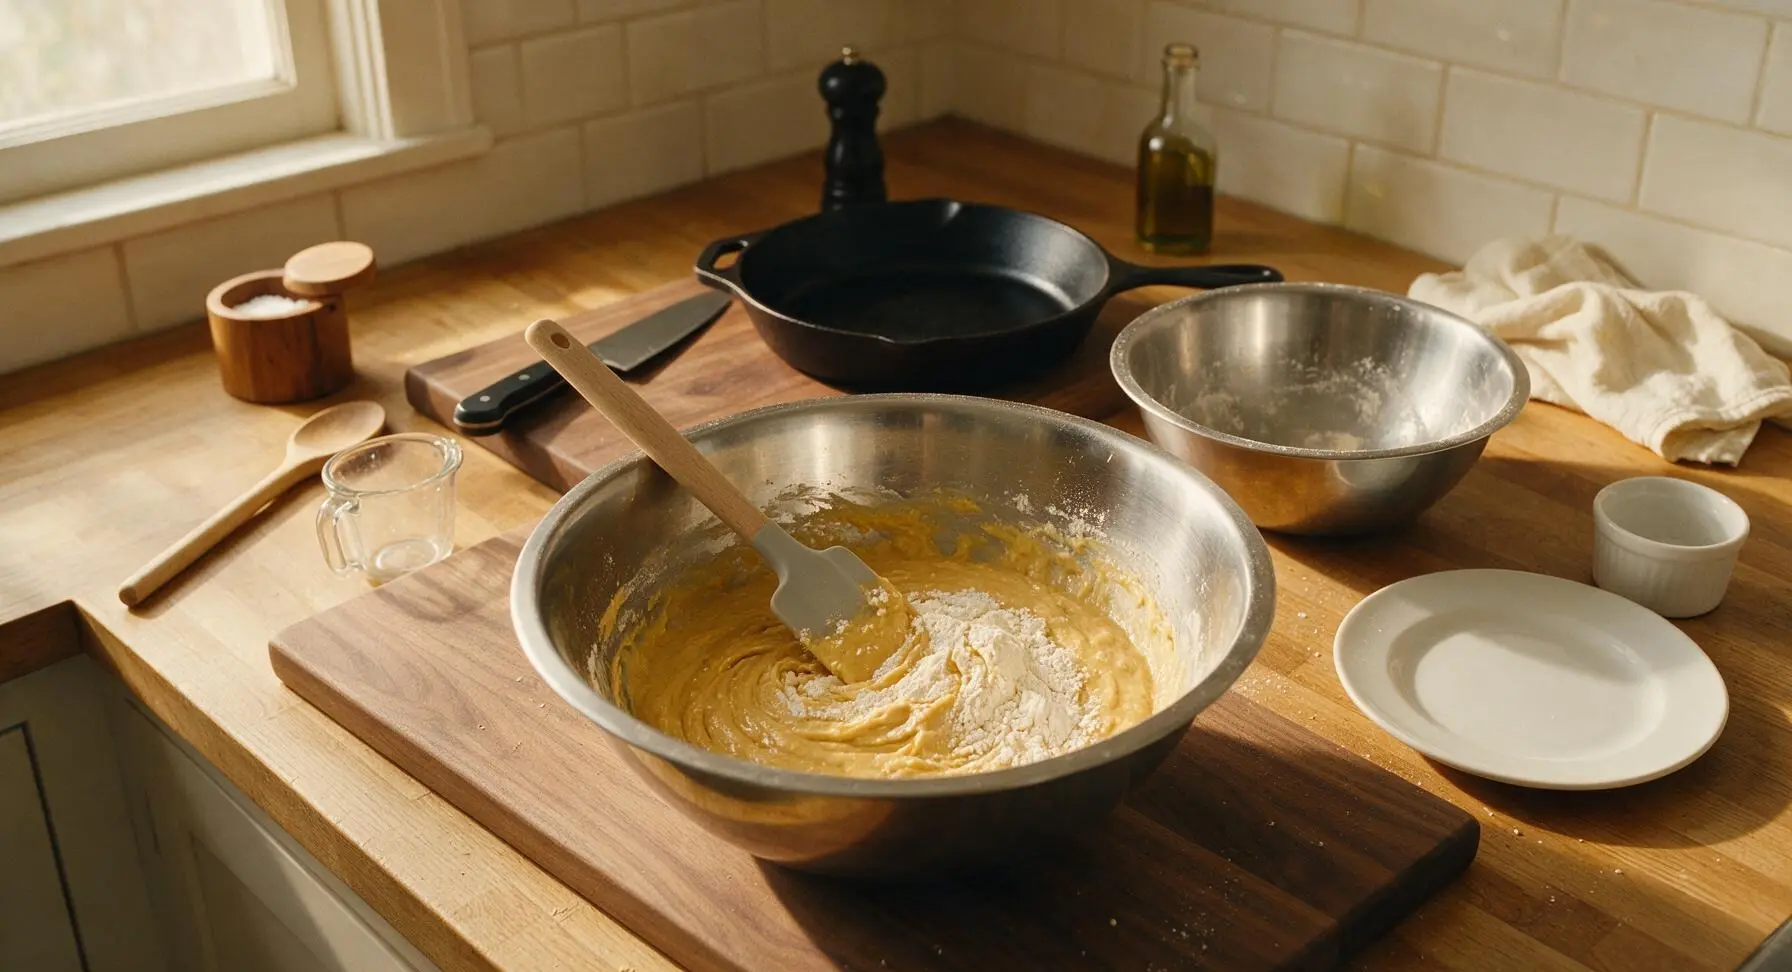
Add the sifted dry ingredient mixture to the large bowl of wet ingredients in 3 equal small additions, folding gently with the matte light grey silicone spatula after each addition. Scrape the sides and bottom of the bowl with the spatula to catch any hidden pockets of dry flour. Mix only until no dry white flour streaks remain; do not overmix, as this will develop gluten and create tough, chewy pizzelle instead of tender crisp ones. The finished batter will be thick, with a consistency similar to loose cake batter, with no large lumps.
Preheat Pizzelle Iron
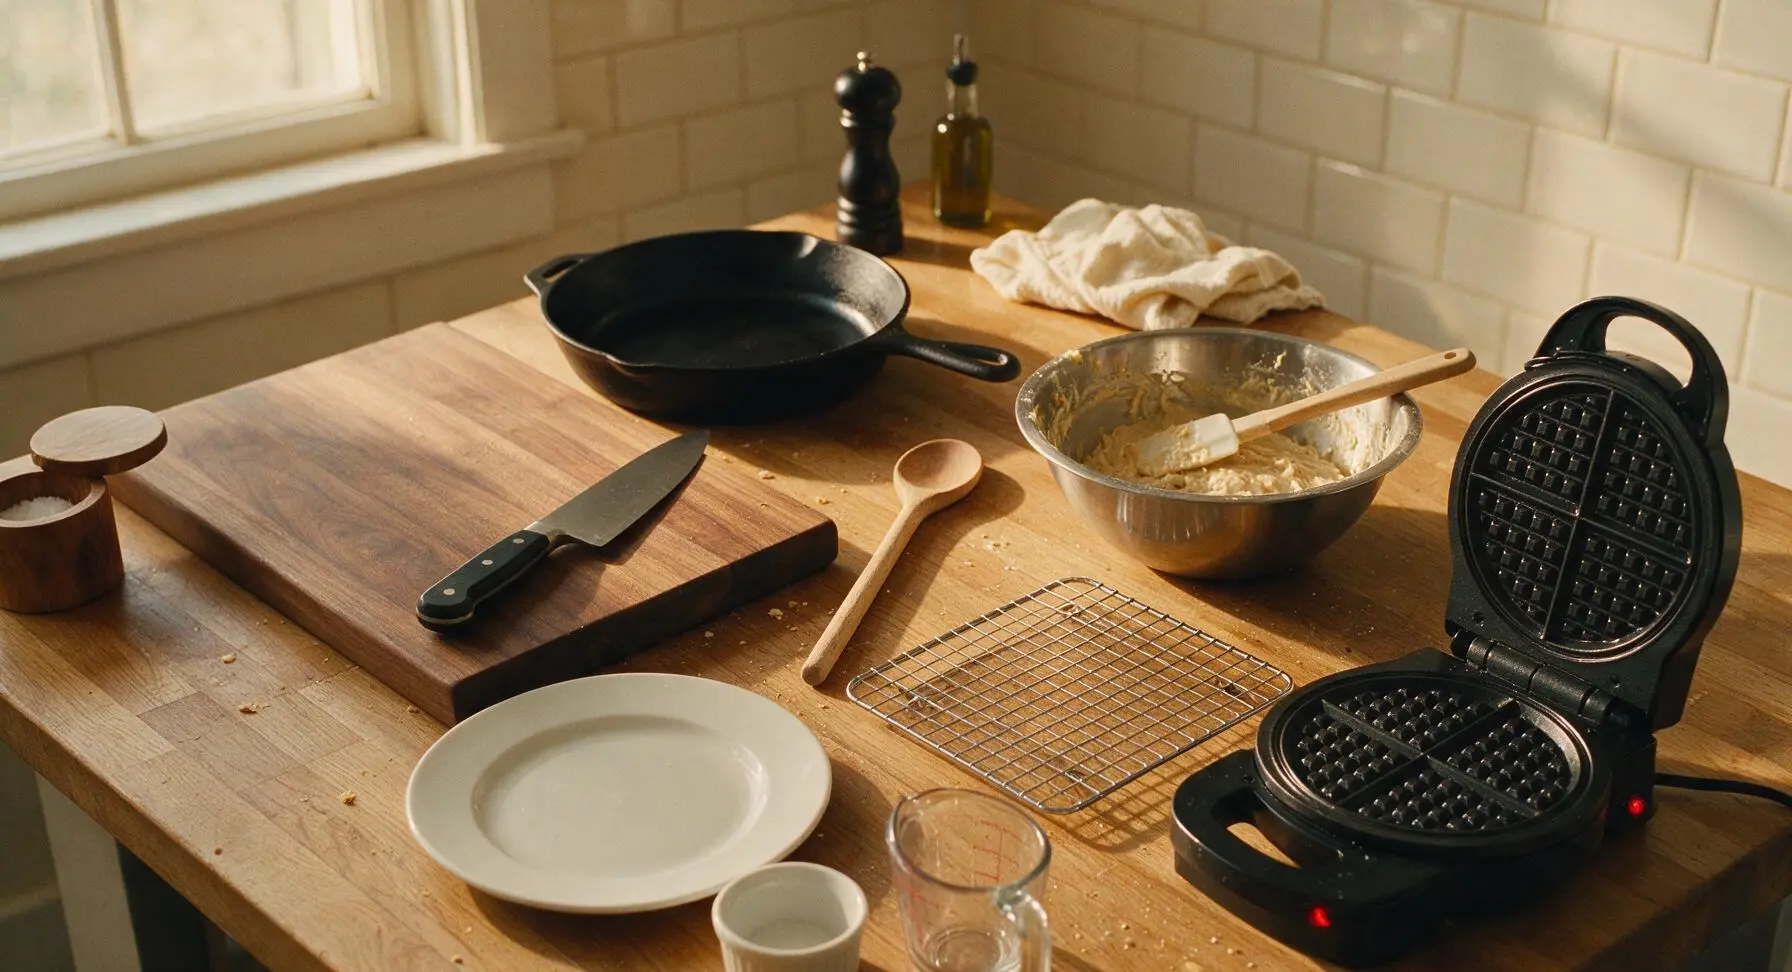
Retrieve the matte black non-stick electric pizzelle iron and place it on the right side of the counter, leaving 10cm of clear space between it and the large mixing bowl. Plug in the iron and preheat for 3-5 minutes, until the red power indicator light turns off (signaling it has reached 375°F / 190°C, the ideal cooking temperature). Set the chrome-plated wire cooling rack directly to the left of the iron, between the iron and the mixing bowl, to hold cooked cookies as they come off the heat. If your iron is not fully non-stick, lightly coat the plates with a thin layer of cooking spray only before the first batch; excess spray will burn and create a bitter residue.
Cook Pizzelle Batches
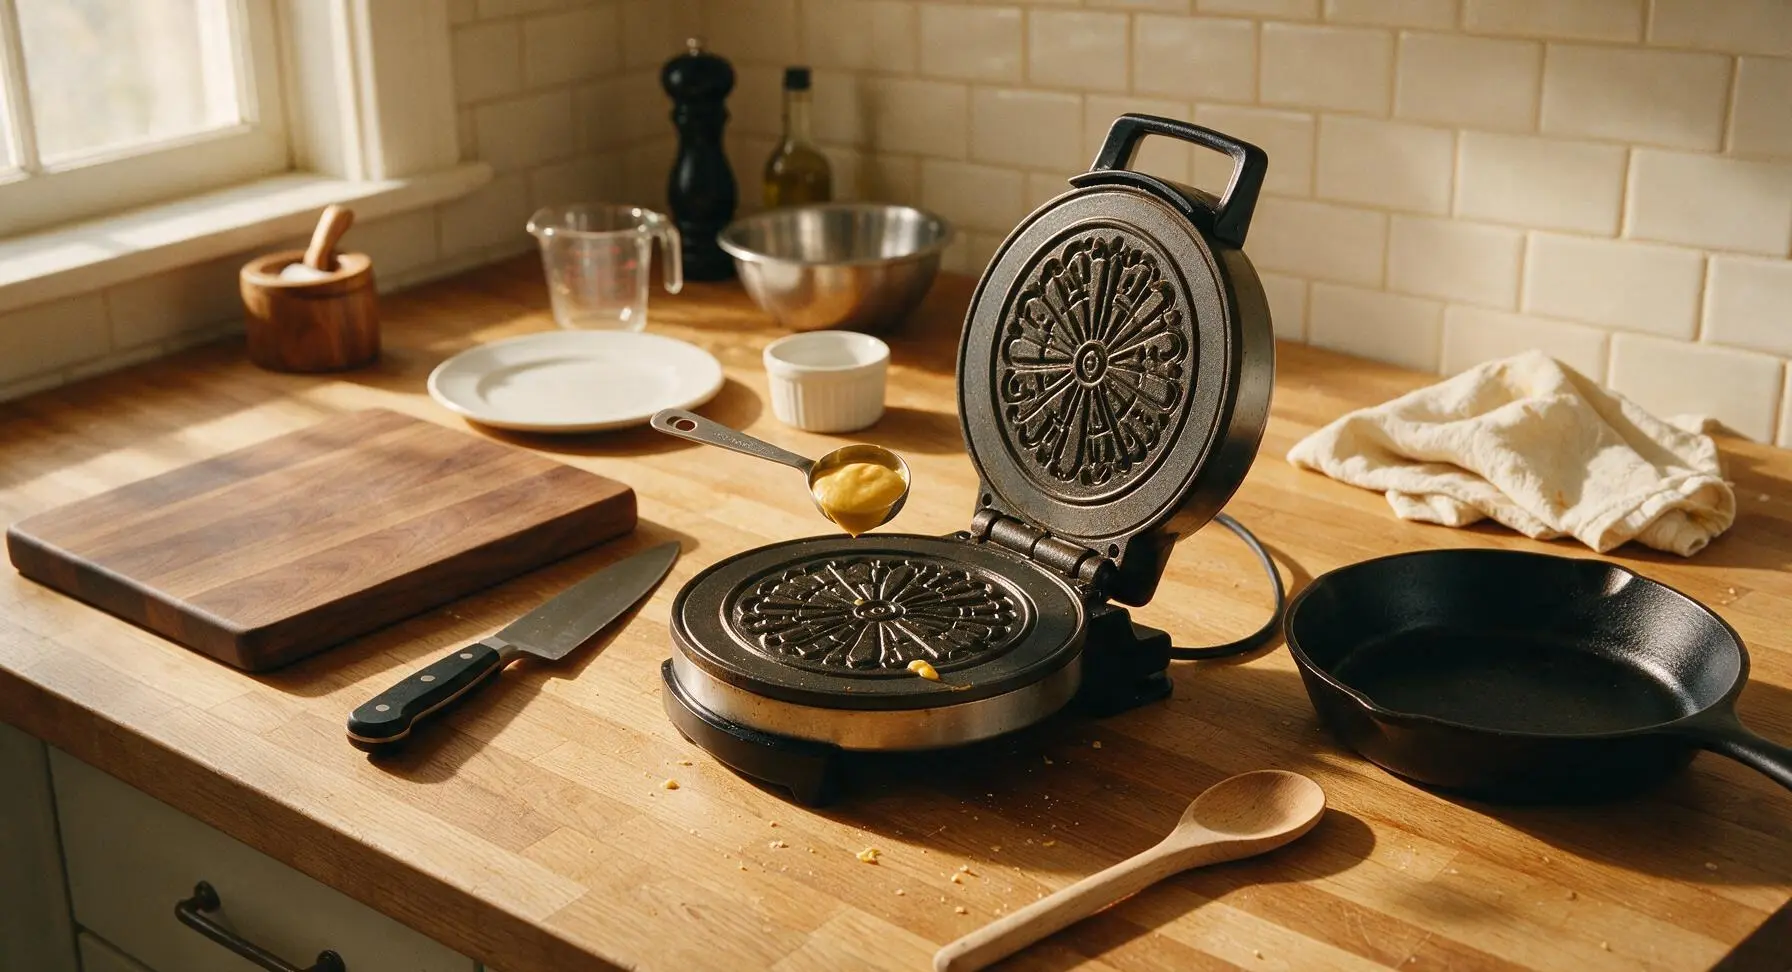
Scoop exactly 1 tablespoon of batter per cookie, dropping it directly onto the center of the preheated pizzelle iron’s bottom plate. Close the iron and clamp the handle shut gently (do not press hard, as this will squeeze batter out the sides). Cook each pizzelle for 30-45 seconds, until it is pale golden brown and no visible steam escapes from the edges of the iron. Open the iron and use the tip of the silicone spatula to gently lift the cooked pizzelle off the plate, taking care not to tear the thin cookie. Transfer it immediately to the wire cooling rack in a single layer. Repeat with the remaining batter, wiping any small batter drips off the iron edges as you go, until all batter is used (approximately 24 3-inch pizzelle total).
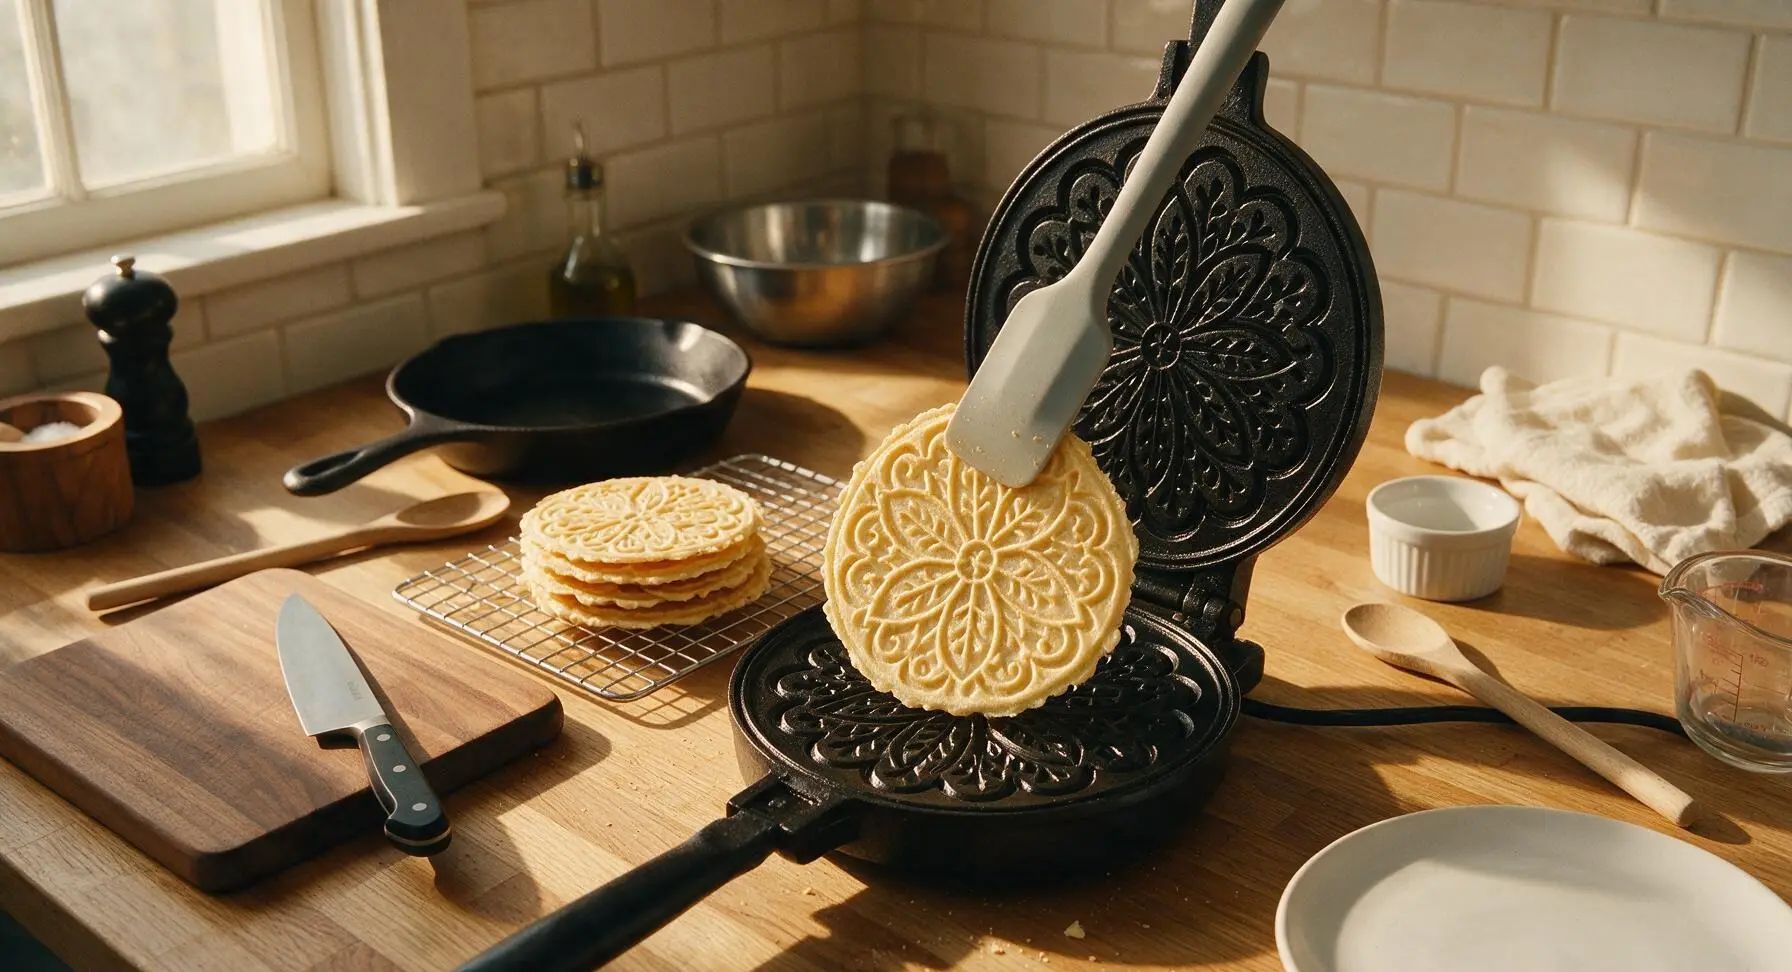
Cool Cookies Completely
Let the cooked pizzelle rest undisturbed on the wire cooling rack for 10 full minutes, until they are completely room temperature and crisp to the touch. Do not stack warm cookies, as trapped heat and moisture will make them soft and chewy instead of light and crisp. If you plan to shape pizzelle into ice cream cones or cannoli shells, do so within 10 seconds of removing them from the iron, before they harden; for classic flat pizzelle, leave them flat on the rack until fully cool.
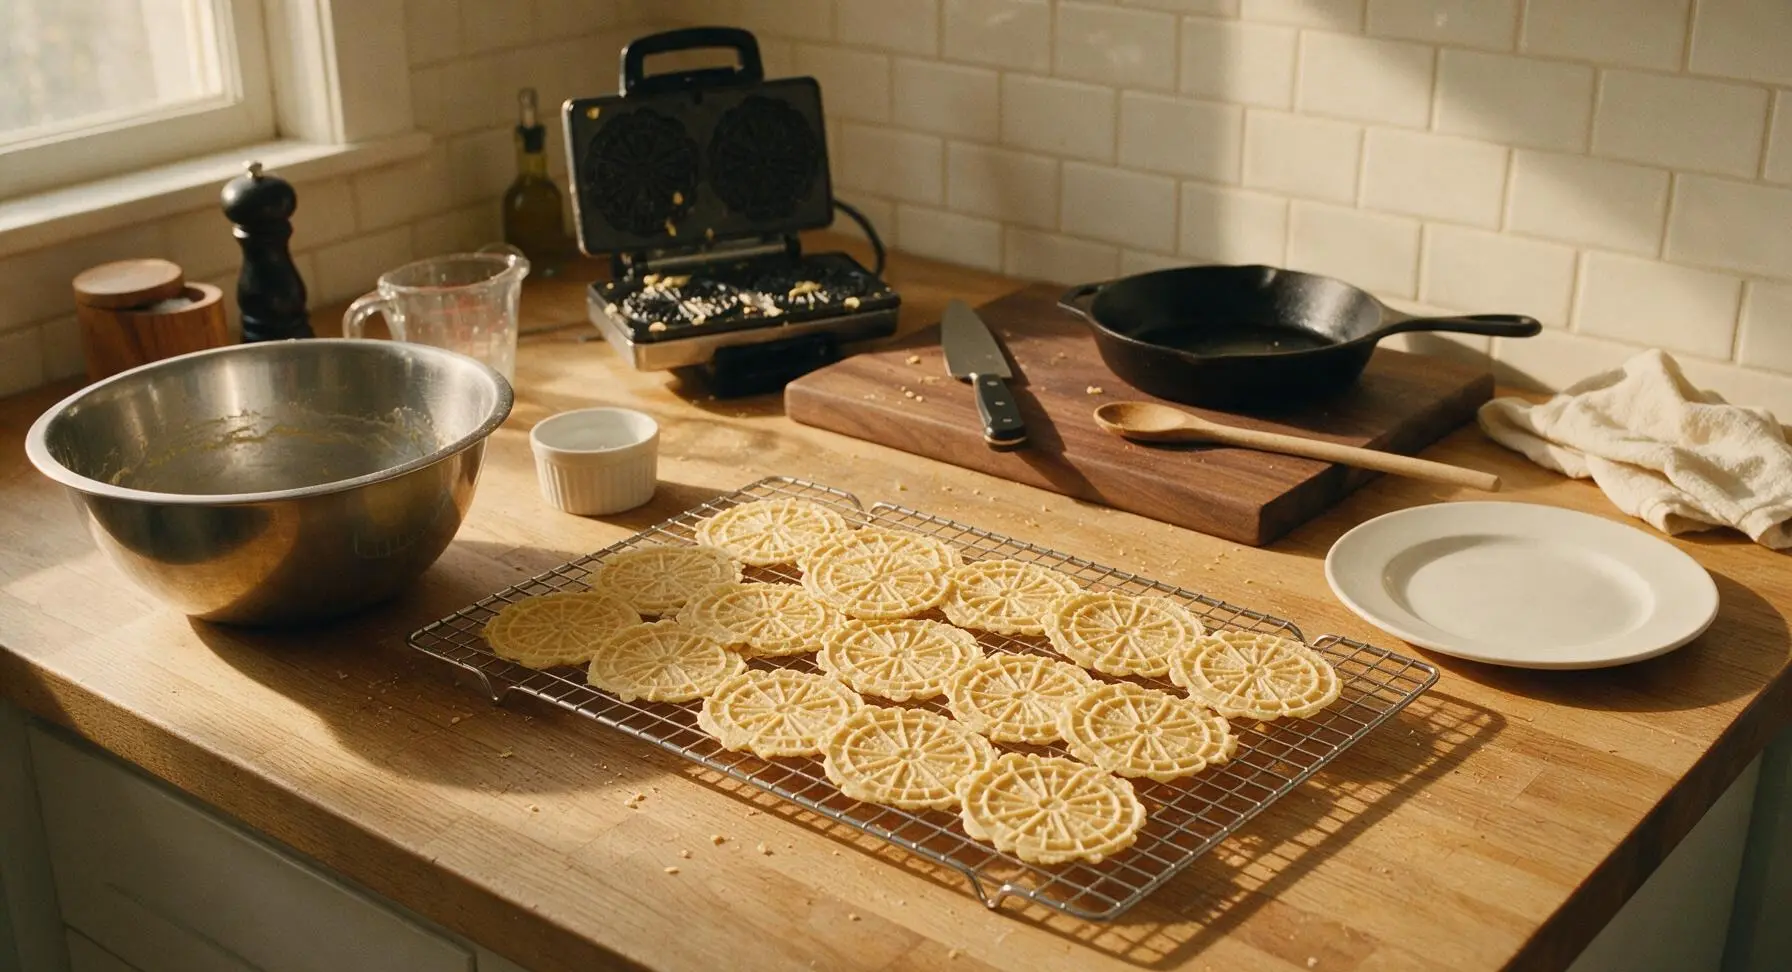
Dust with Powdered Sugar
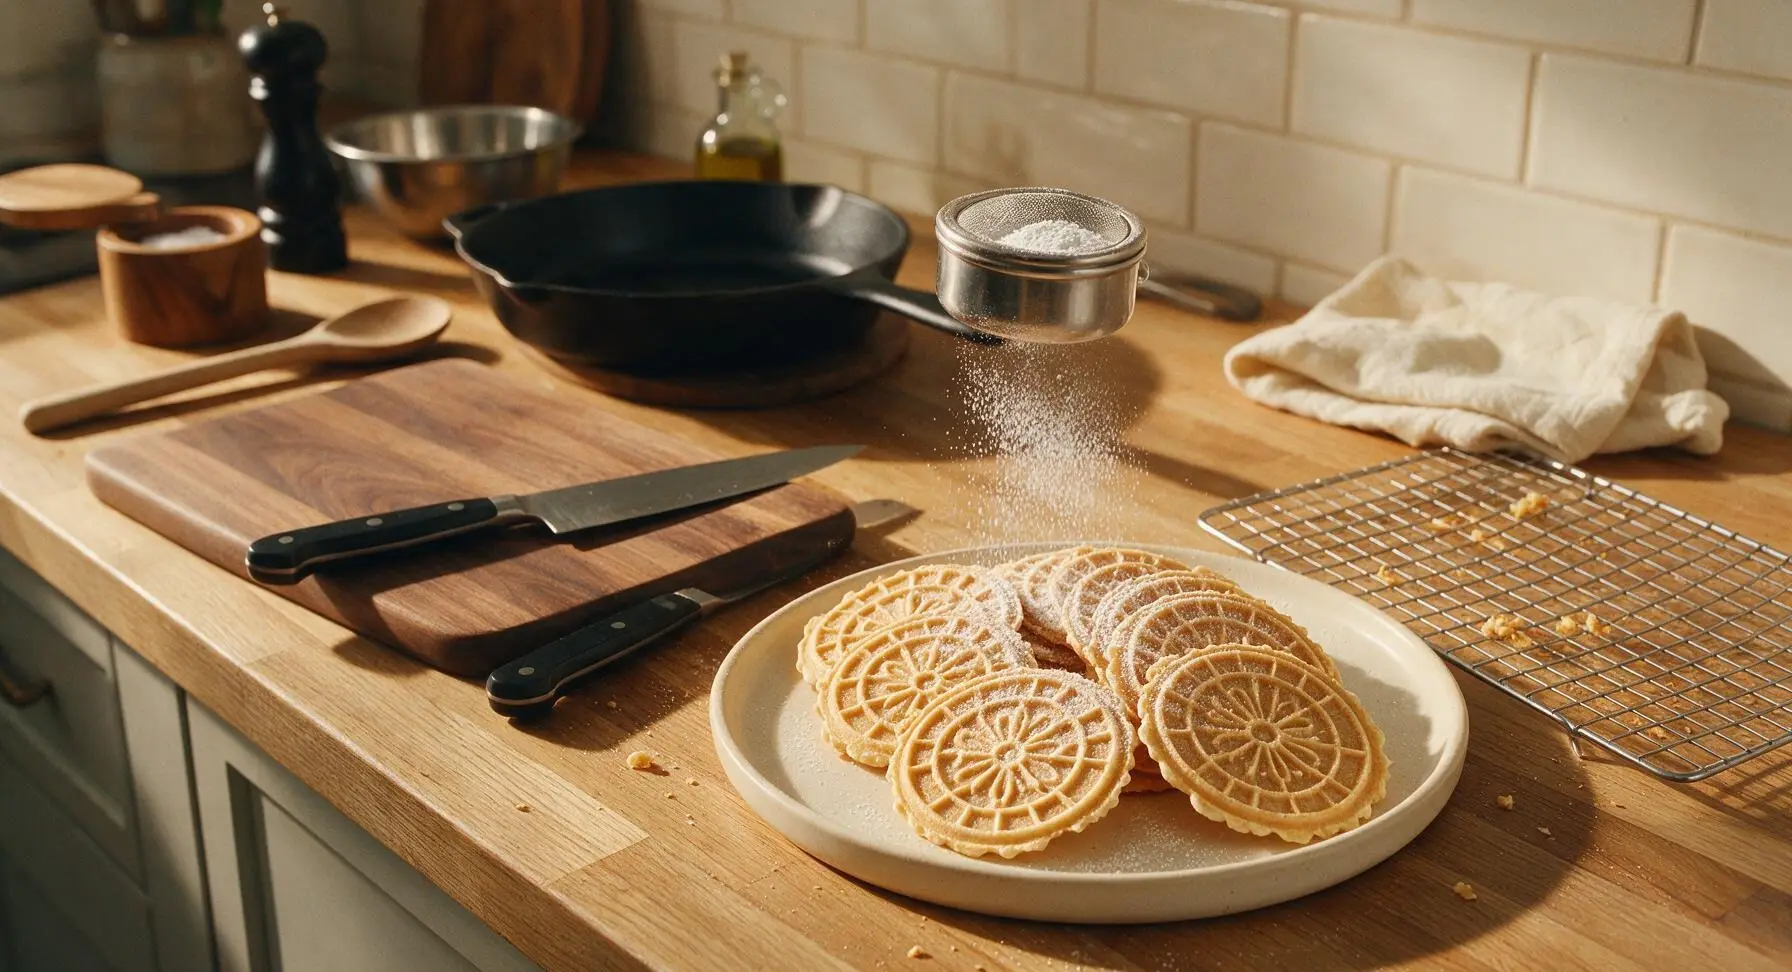
Once all pizzelle are fully cool, transfer 8 cookies to the round matte cream ceramic serving platter, arranging them in a slightly fanned stack with 2 loose cookies leaning against the base of the stack. Add the powdered sugar to the small stainless steel fine-mesh shaker. Hold the shaker 30cm above the platter, and tap it gently to dust a light, even coating of powdered sugar across the top of the cookies. Avoid applying too thick a layer of sugar, as it will overpower the delicate anise and vanilla flavor of the cookies.
Tips
2.Never overfill the pizzelle iron: Exactly 1 tablespoon of batter per plate is enough to spread to the edges when clamped; excess batter will ooze out the sides, burn on the iron housing, and create misshapen, unevenly thick cookies that are dark and bitter at the edges.
3.Cool cookies completely on a wire rack before storing: Trapped warmth from warm cookies creates condensation inside airtight storage tins, which turns crisp pizzelle soft and chewy. Stored in an airtight container at room temperature, they will stay crisp for up to 2 weeks, making them ideal for holiday gifting or coffee pairing.






OMG these turned out SO good! I pulled out my grandma’s old pizzelle iron for Christmas cookie plates this year and this recipe was perfect — light, crispy, just the right amount of anise flavor, not too sweet. My kids devoured half the batch before I even finished dusting them with powdered sugar. Total game changer for our annual holiday cookie swap!
Wait, I’ve never made pizzelle before — do I *have* to use anise extract? My wife hates black licorice flavor with a passion, would vanilla work as a swap?
Made these for our neighborhood block party potluck last weekend and people were begging for the recipe! I did half anise, half almond extract so there was something for everyone, and they held up perfectly in a tin for 3 days without getting soggy. 10/10, so easy even a beginner baker can nail these on the first try.
Wait the cook time says 20 minutes total? Is that including heating up the pizzelle iron? I’m in a tiny dorm and only have a cheap countertop model, worried it’ll take way longer.
Has anyone tried making these with a 1:1 gluten free flour blend? I’m hosting my Italian in-laws for Sunday dinner and want to make something that feels authentic that I can eat too, would love to know if it works before I waste a bunch of ingredients!
These taste exactly like the ones my nonna used to make when I was a kid growing up in Jersey! I was worried I’d never get the texture right without her handwritten recipe, but these are thin, perfectly crisp, not heavy at all. Pro tip: dip the edges in dark chocolate once they cool, *chef’s kiss*.
Wait can you freeze these? I’m trying to get a head start on holiday baking and don’t want to be stuck in the kitchen the whole week before Christmas. If they freeze well this would be perfect to add to all my treat tins for coworkers!
I was so nervous to make these for my boyfriend’s Italian family dinner, y’all — but this recipe was SO easy! The batter came together in like 5 minutes, no fancy equipment needed, and every single pizzelle came out perfectly golden with that classic waffle pattern. His nonna even asked for the recipe, I’m screaming.
SO good! I picked up a cheap pizzelle iron at a thrift store last week on a whim and had no clue what to make with it, this recipe was the first one I tried and I’m obsessed. I added a little lemon zest to half the batter and it pairs so perfectly with my morning espresso, will be making these every Sunday from now on.