
Pizzelle Cookies

title 1
Pizzelle Cookies
⏱️ cook time 20 minutes
🍽️ servings 15
⚡ Difficulty easy

intro

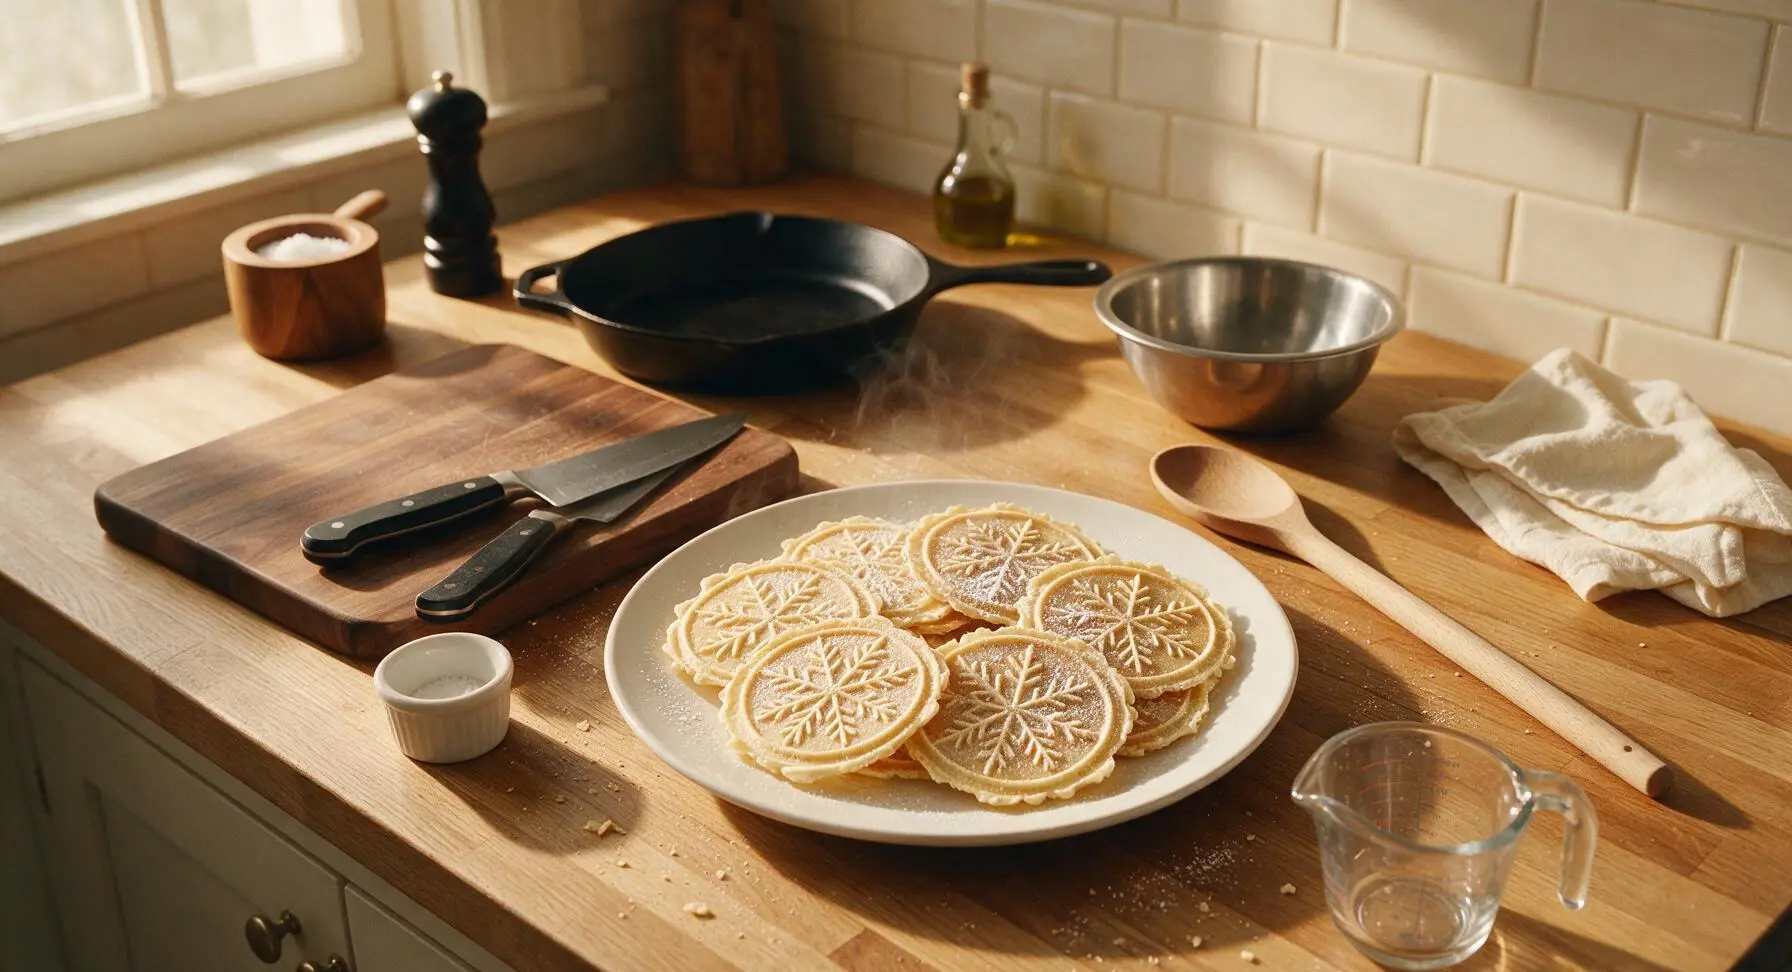
Thin, crisp, anise-kissed traditional Italian waffle cookies embossed with delicate snowflake patterns, lightly dusted with powdered sugar—perfect for holiday cookie tins and casual family sharing.

Ingredients
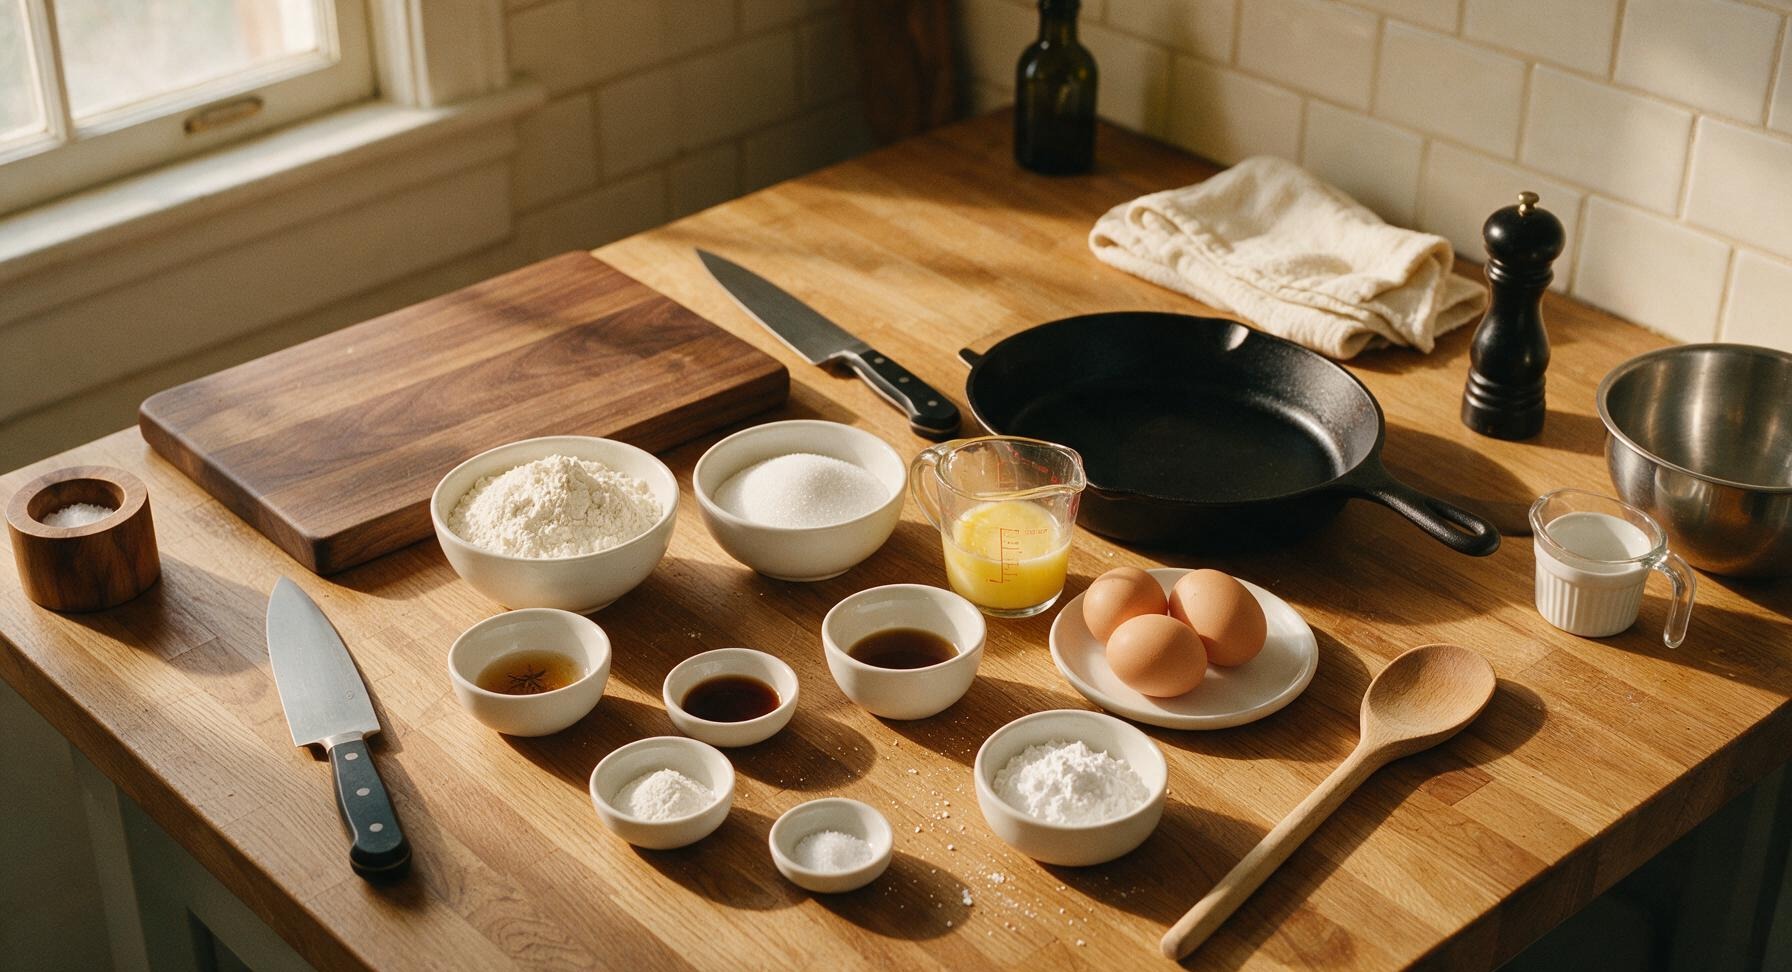
All-purpose flour 180g
Granulated sugar 100g
Unsalted butter, melted and cooled 80g
Large eggs, room temperature 3 each
Anise extract 1 tsp
Pure vanilla extract 1 tsp
Baking powder 1 tsp
Fine sea salt 1/4 tsp
Powdered sugar, for dusting 30g

Steps

1

Preheat Pizzelle Maker

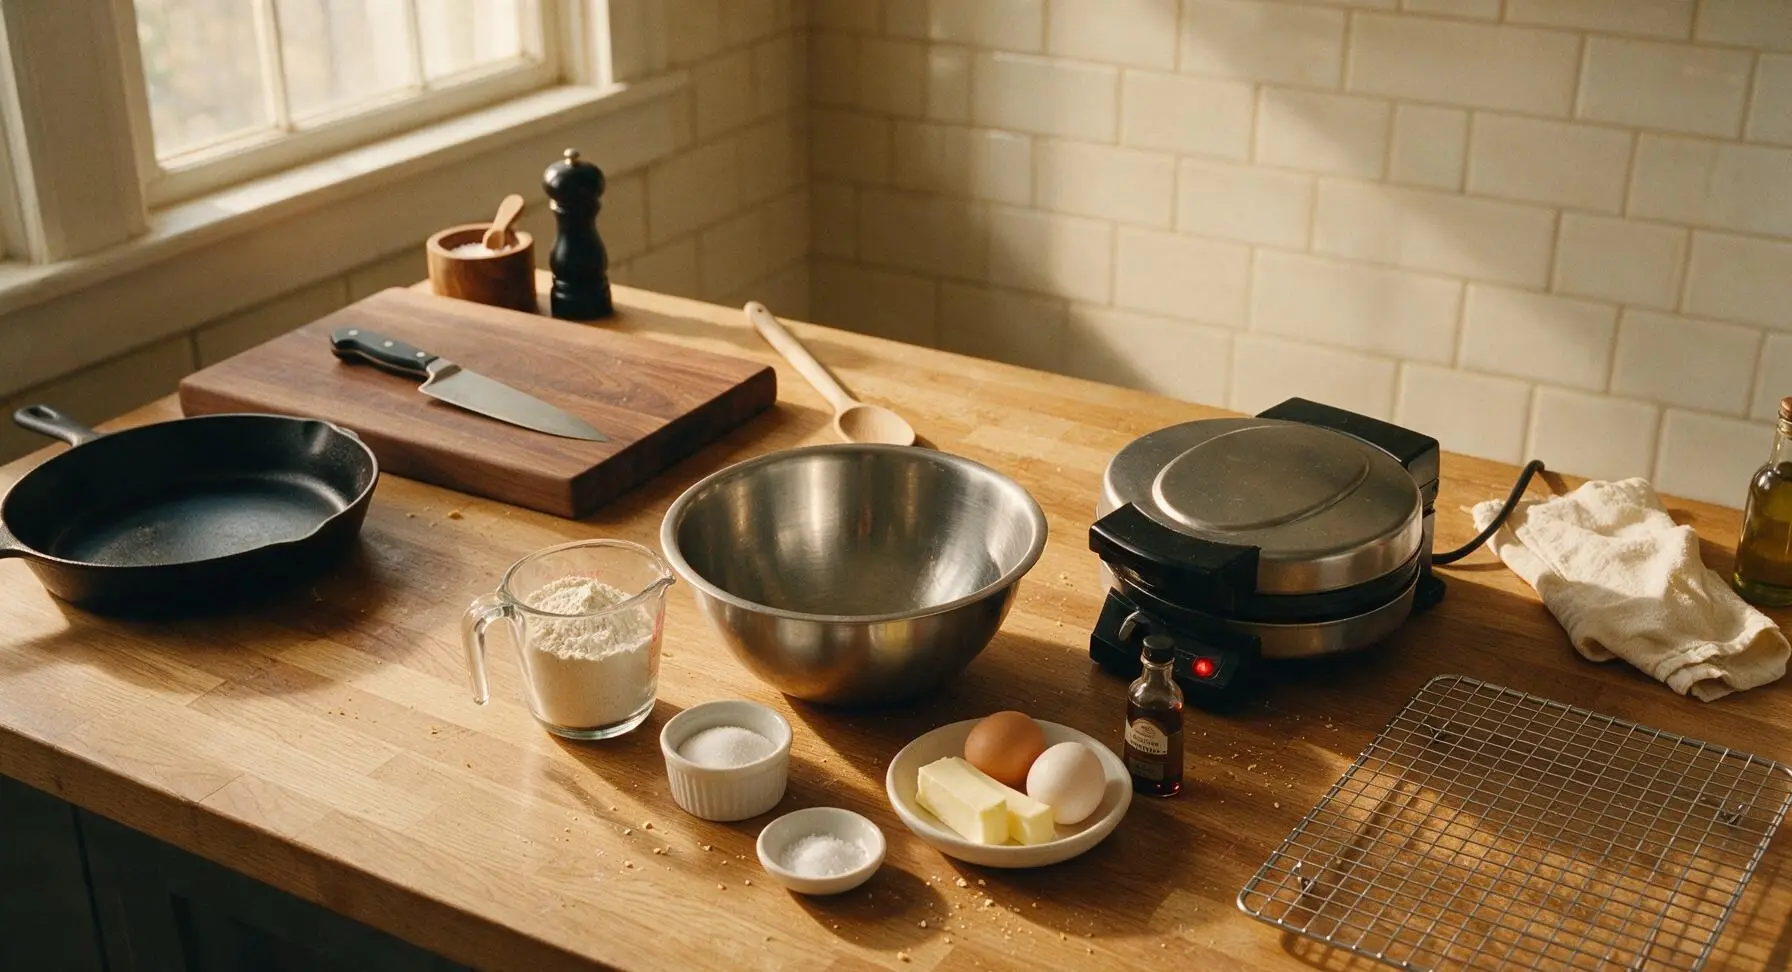
Plug in the electric pizzelle maker and close the lid to preheat for 3-5 minutes, until the green 'ready' indicator light illuminates. While the iron heats, arrange all measured ingredients within easy reach, and set the chrome wire cooling rack on the front right of the counter to receive hot cookies. Do not grease the non-stick plates unless your manufacturer explicitly recommends it, as excess grease will cause cookies to spread too thin and develop uneven, dark edges.
Step 1
step1:Preheat Pizzelle Maker
2

Whisk Eggs and Sugar

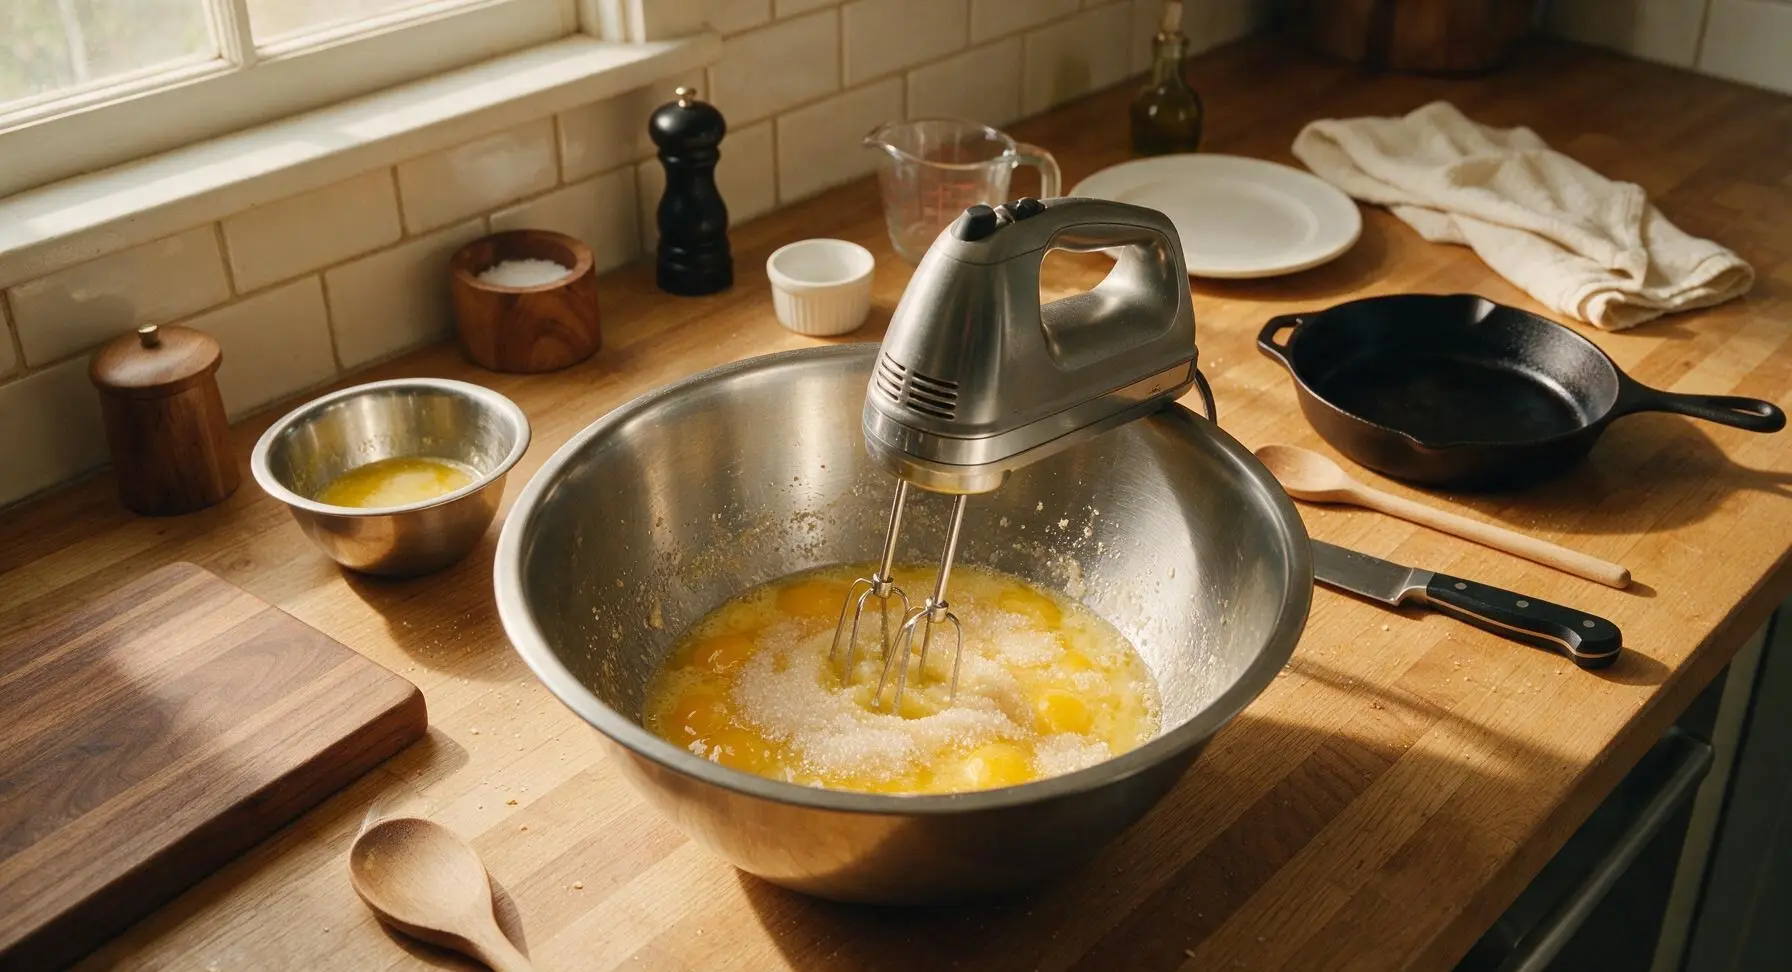
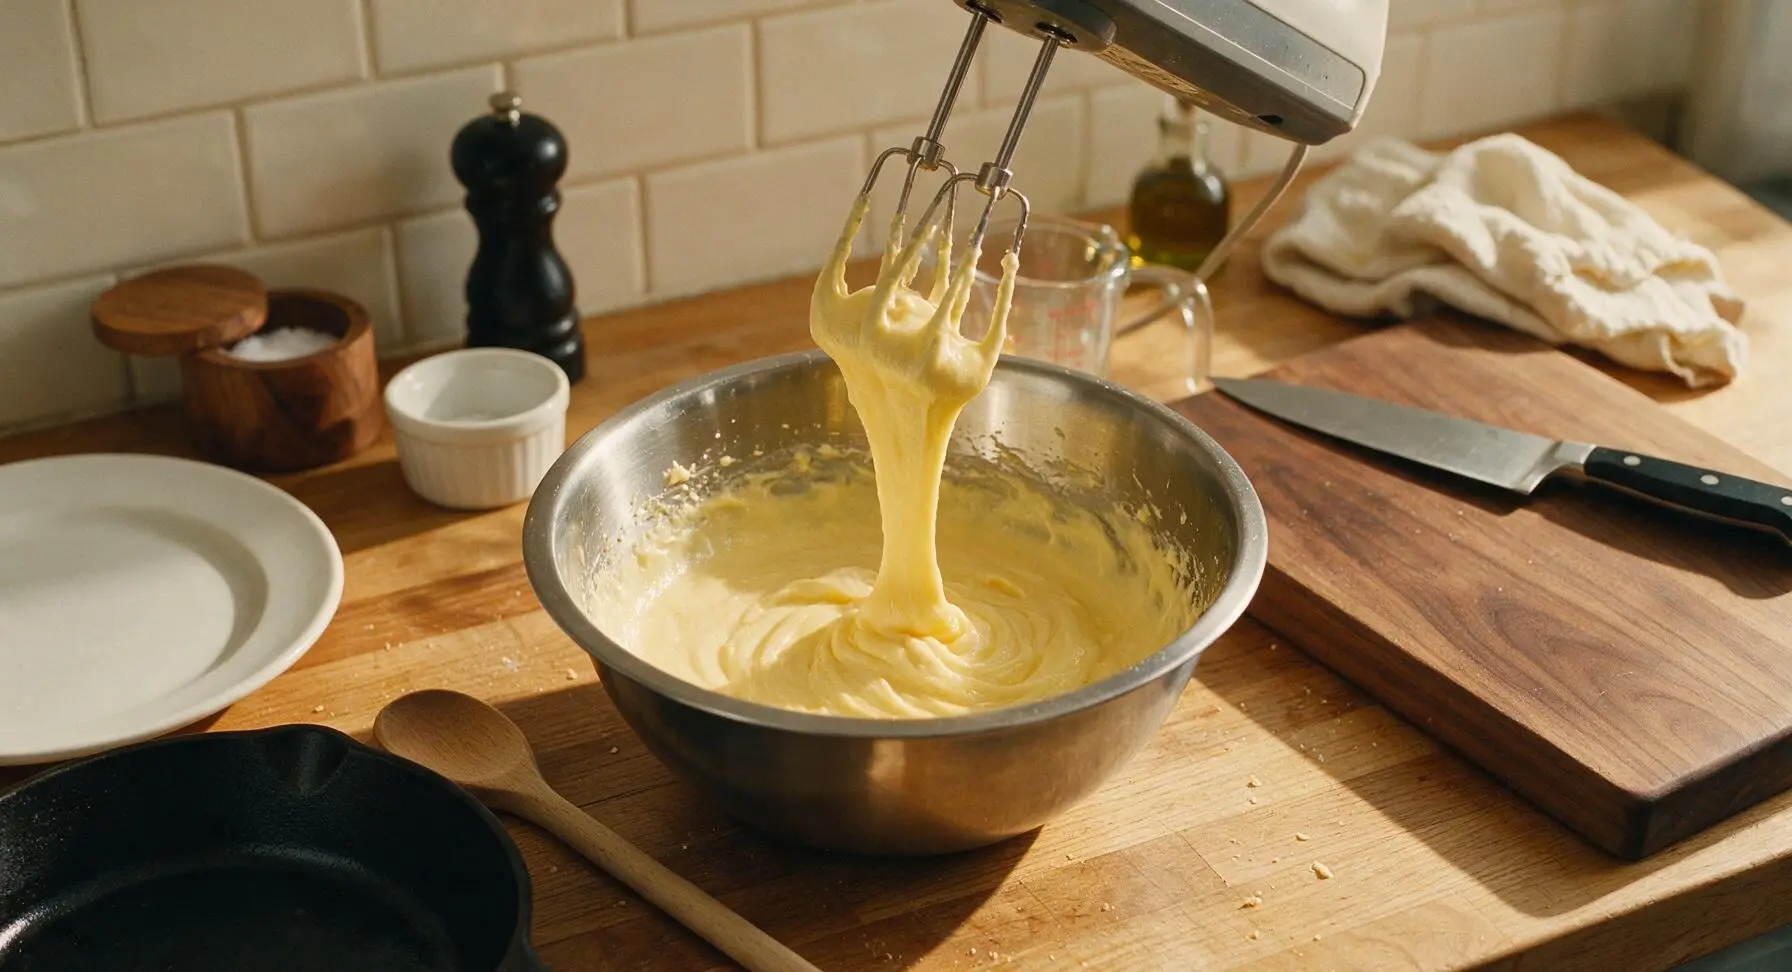
Crack the 3 room-temperature large eggs into the large stainless steel mixing bowl, then add 100g granulated sugar. Attach the beaters to the handheld electric mixer, set to medium speed, and beat the egg-sugar mixture for 2 full minutes until it turns pale lemon yellow, thickens noticeably, and leaves a slow, thick ribbon trail when the beaters are lifted 2 inches above the bowl surface.
Step 2
step2:Whisk Eggs and Sugar
Step 2
step2:Whisk Eggs and Sugar
3

Add Butter and Flavorings

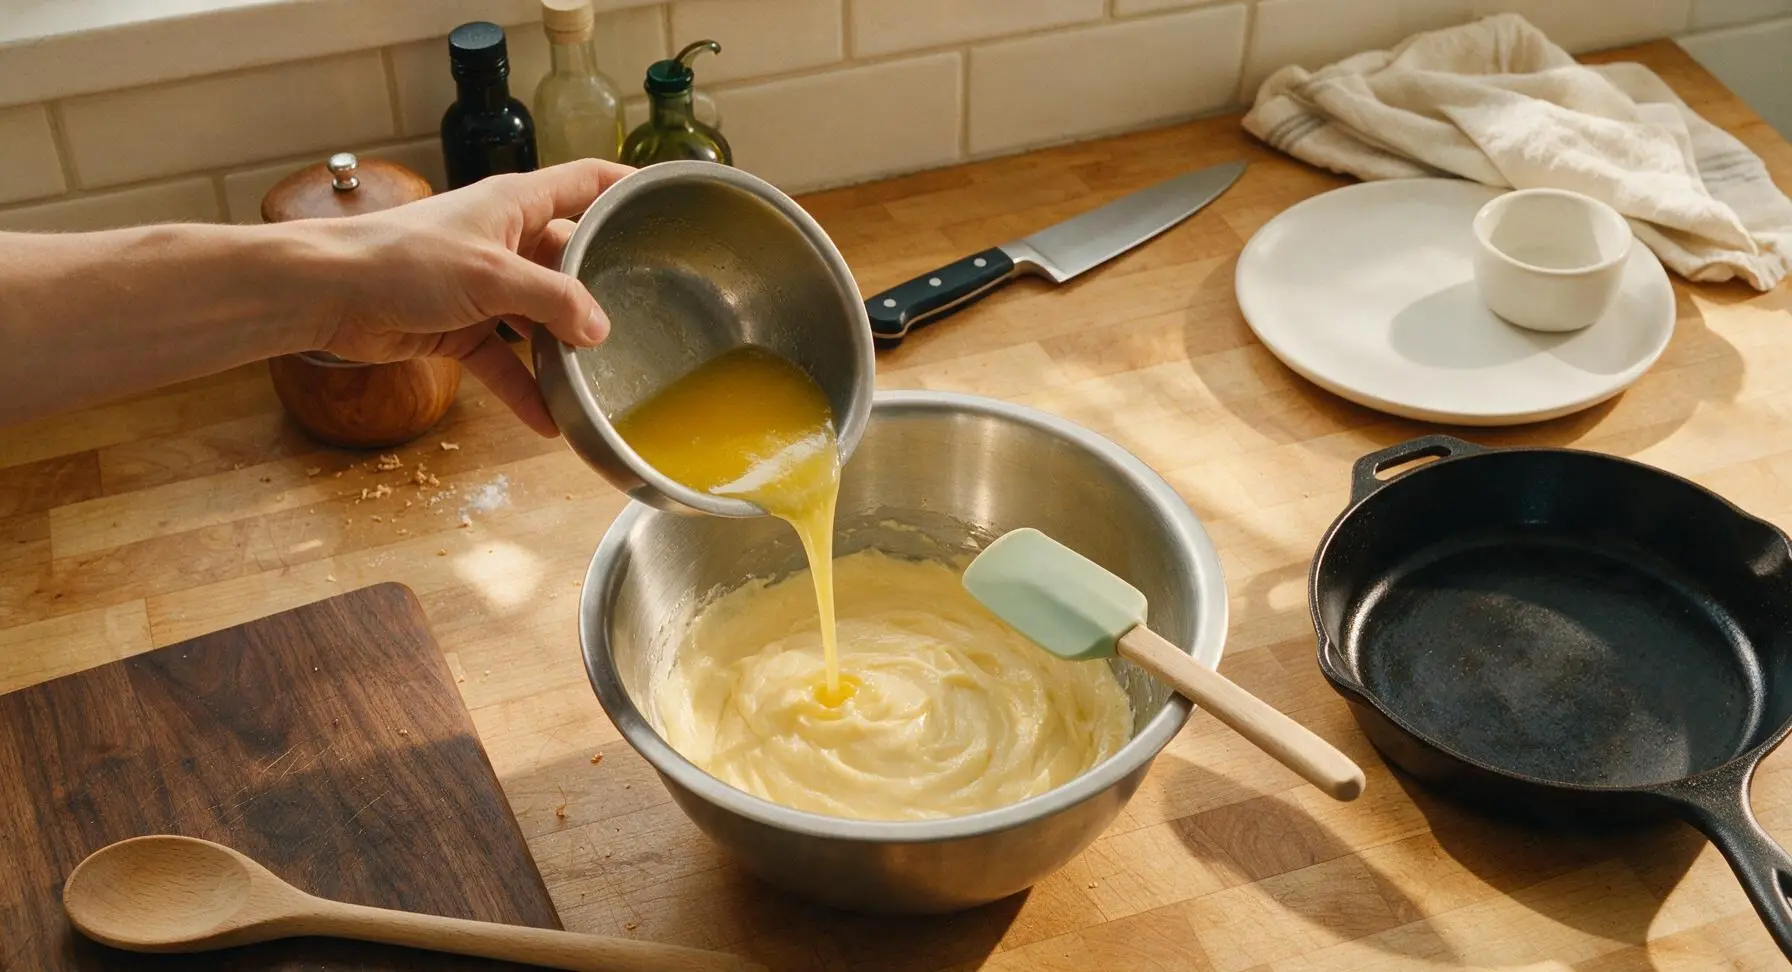
Reduce the mixer speed to low. Pour in the 80g melted, fully cooled unsalted butter, 1 tsp anise extract, and 1 tsp pure vanilla extract. Mix for 30 seconds only, just until the butter is fully incorporated and no greasy streaks remain on the batter surface. Take care not to overmix at this stage, as this will deflate the air bubbles trapped in the egg mixture, leading to dense cookies.
Step 3
step3:Add Butter and Flavorings
4

Fold in Dry Ingredients

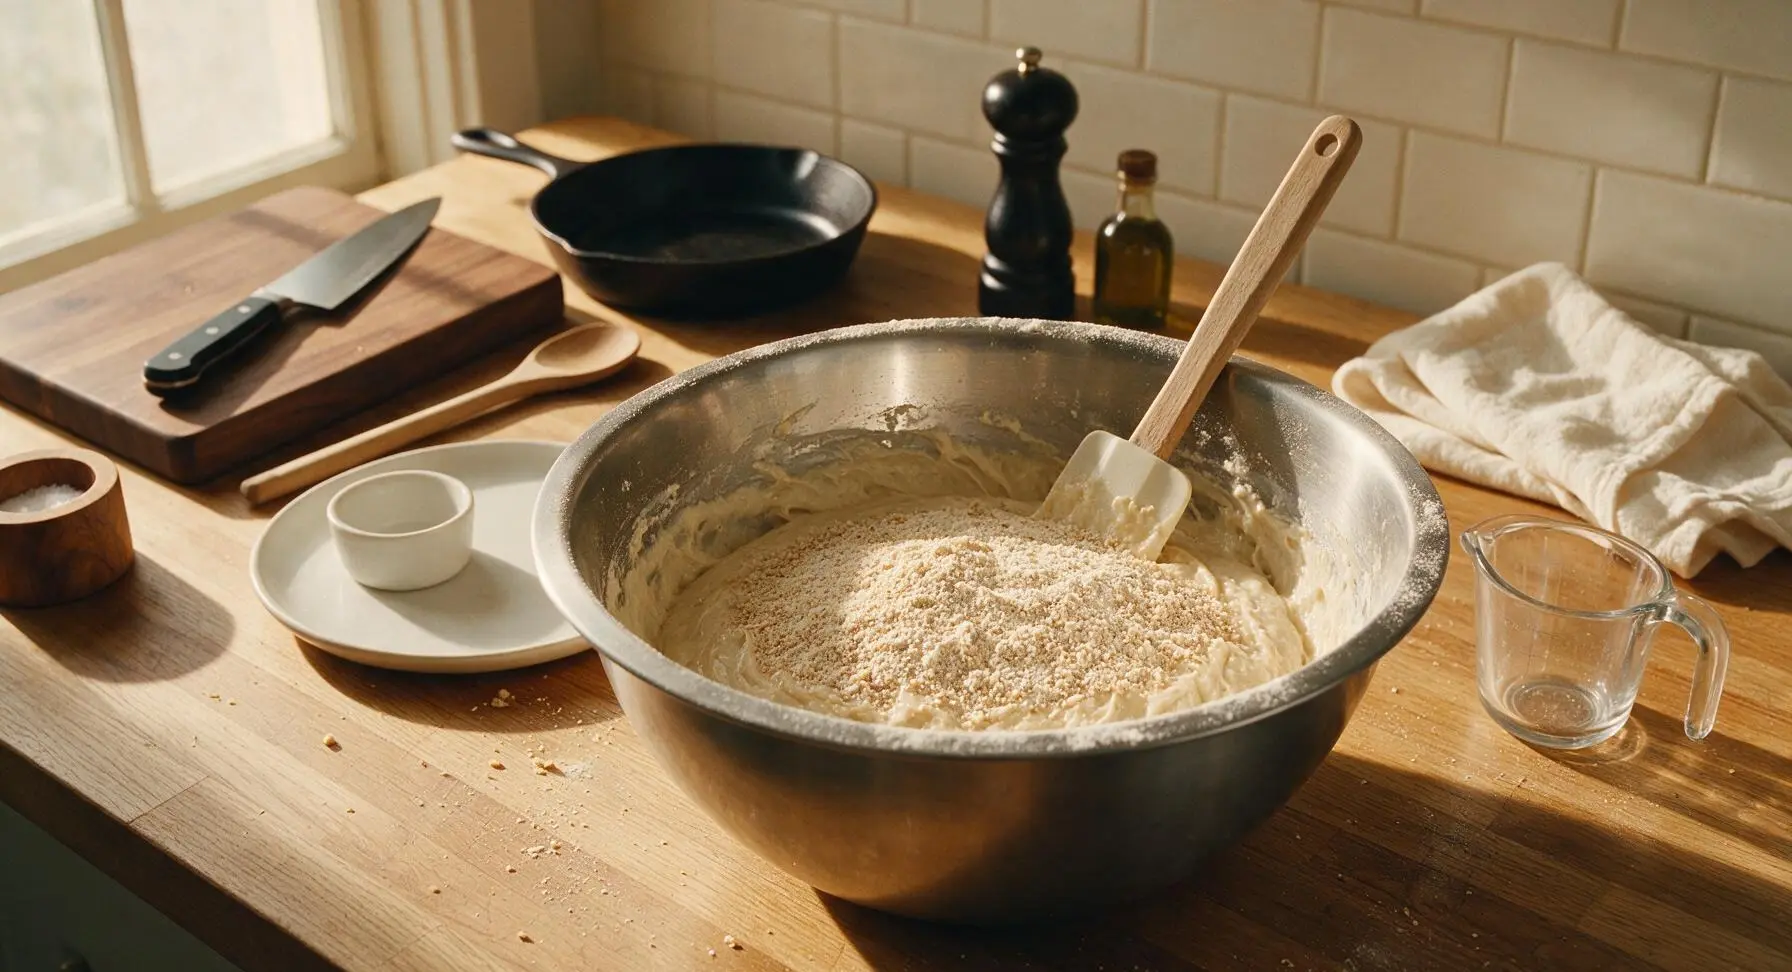
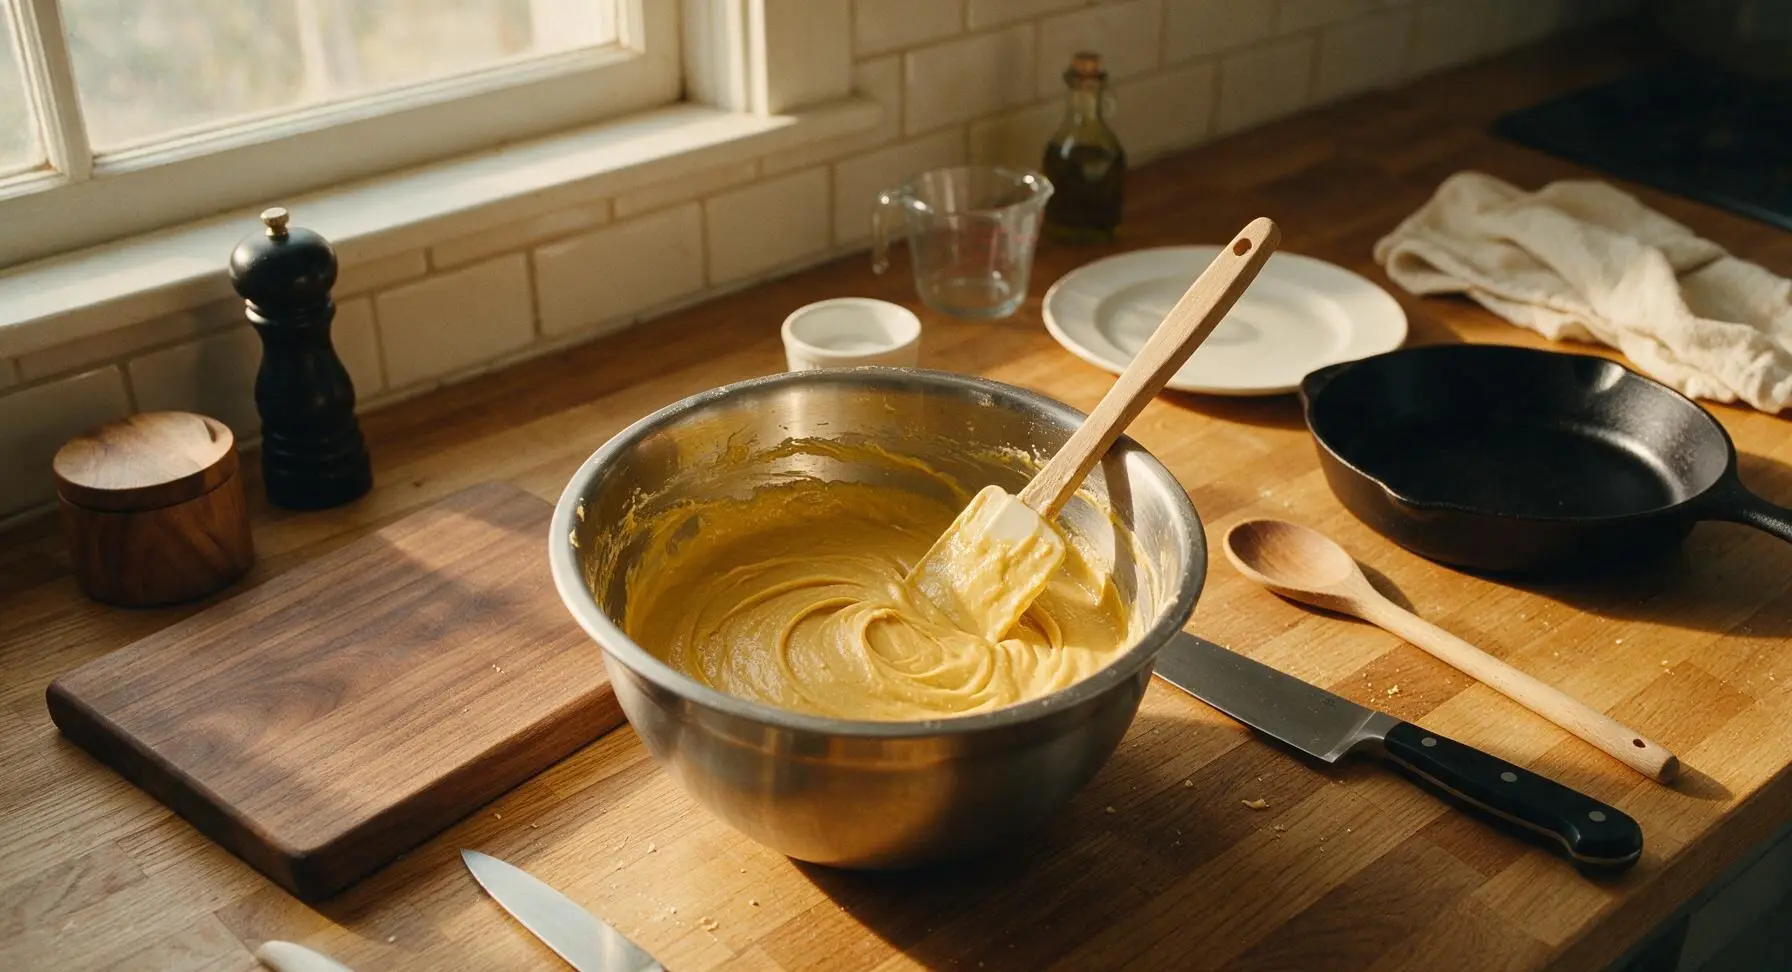
Combine 180g all-purpose flour, 1 tsp baking powder, and 1/4 tsp fine sea salt in a small pile, then sprinkle evenly over the top of the wet batter. Use the silicone spatula to gently fold the dry ingredients into the wet base, stirring only until no dry white flour streaks remain. The finished batter will be thick, similar to dropped pancake batter, with no lumps larger than a pea. Do not stir vigorously, as overmixing will develop gluten and create tough, chewy pizzelle instead of crisp ones.
Step 4
step4:Fold in Dry Ingredients
Step 4
step4:Fold in Dry Ingredients
5

Portion Batter onto Iron

Once the pizzelle maker's green ready light turns on, use the 1-tablespoon measuring spoon to drop exactly 1 tablespoon of batter directly onto the center of each of the two cookie imprints on the lower hot plate. Do not spread the batter manually — it will spread evenly across the plate when the lid is closed. Work carefully to avoid skin contact with the hot plates, which can cause burns.
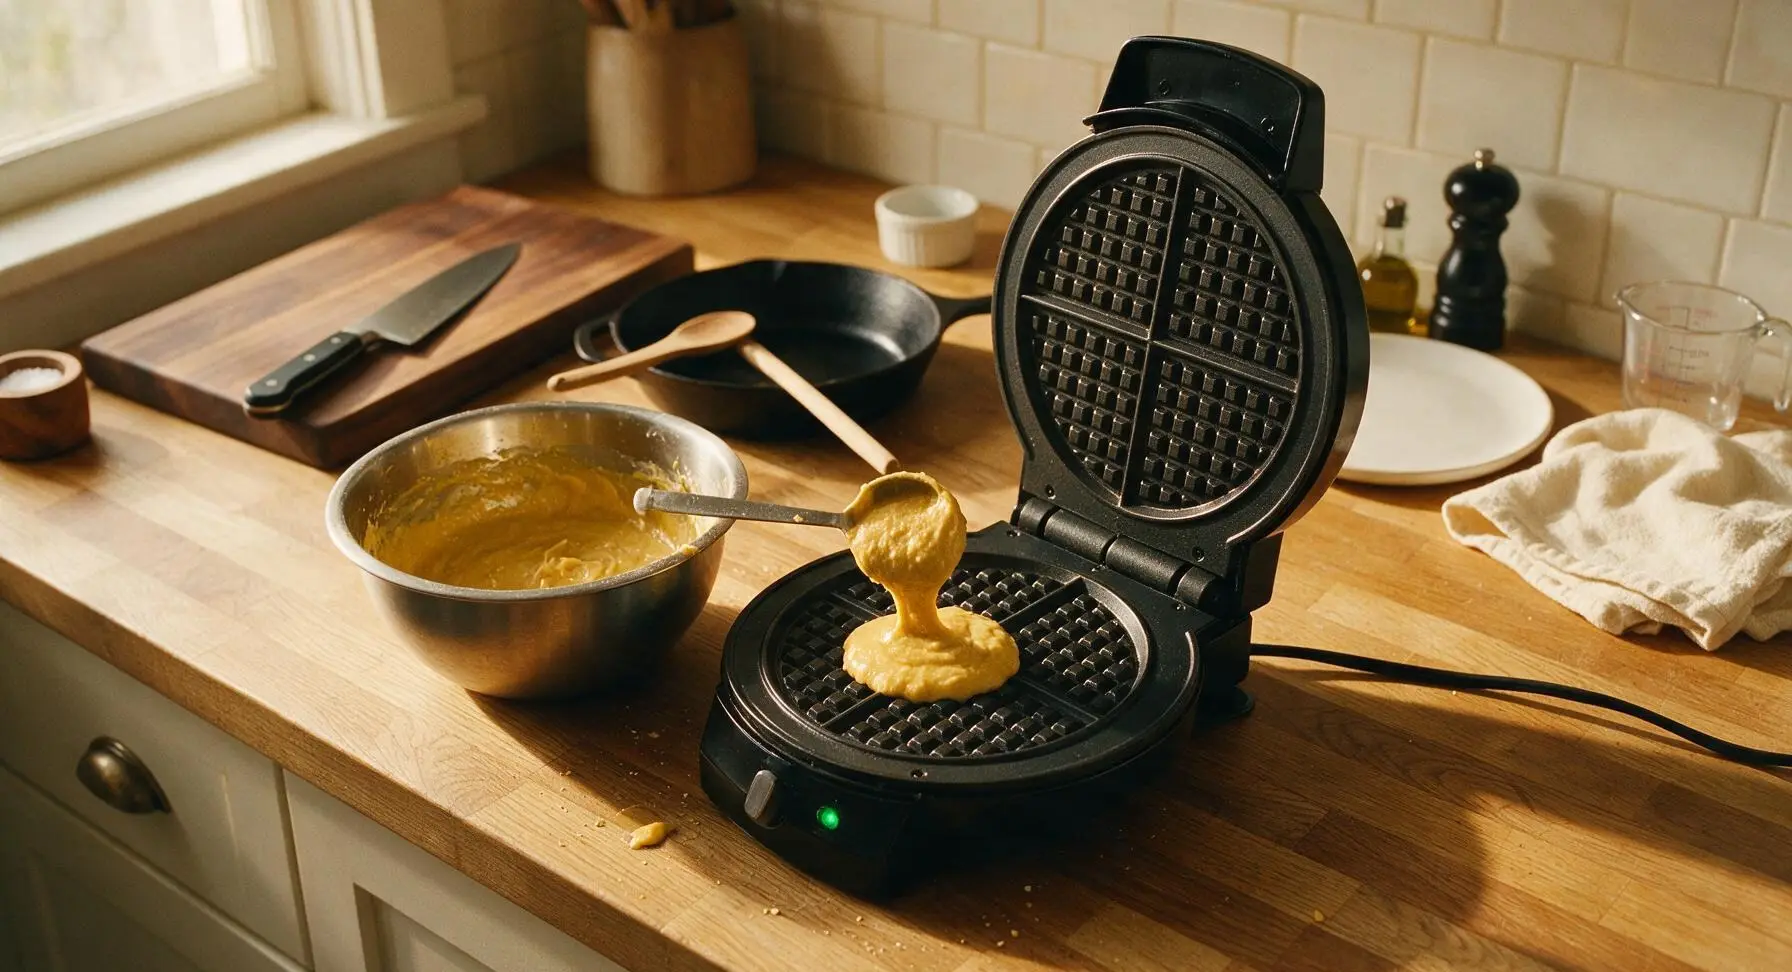
Step 5
step5:Portion Batter onto Iron
6

Cook Pizzelle Until Golden

Close the pizzelle maker lid and clamp gently to seal. Cook for 30-40 seconds, until cookies are pale golden brown with crisp defined edges, and no more steam escapes from the sides of the iron. Do not cook longer than 45 seconds, as the thin cookies will burn very quickly once they reach golden color. The traditional snowflake imprint should be sharp and clearly defined on the cookie surface when done.
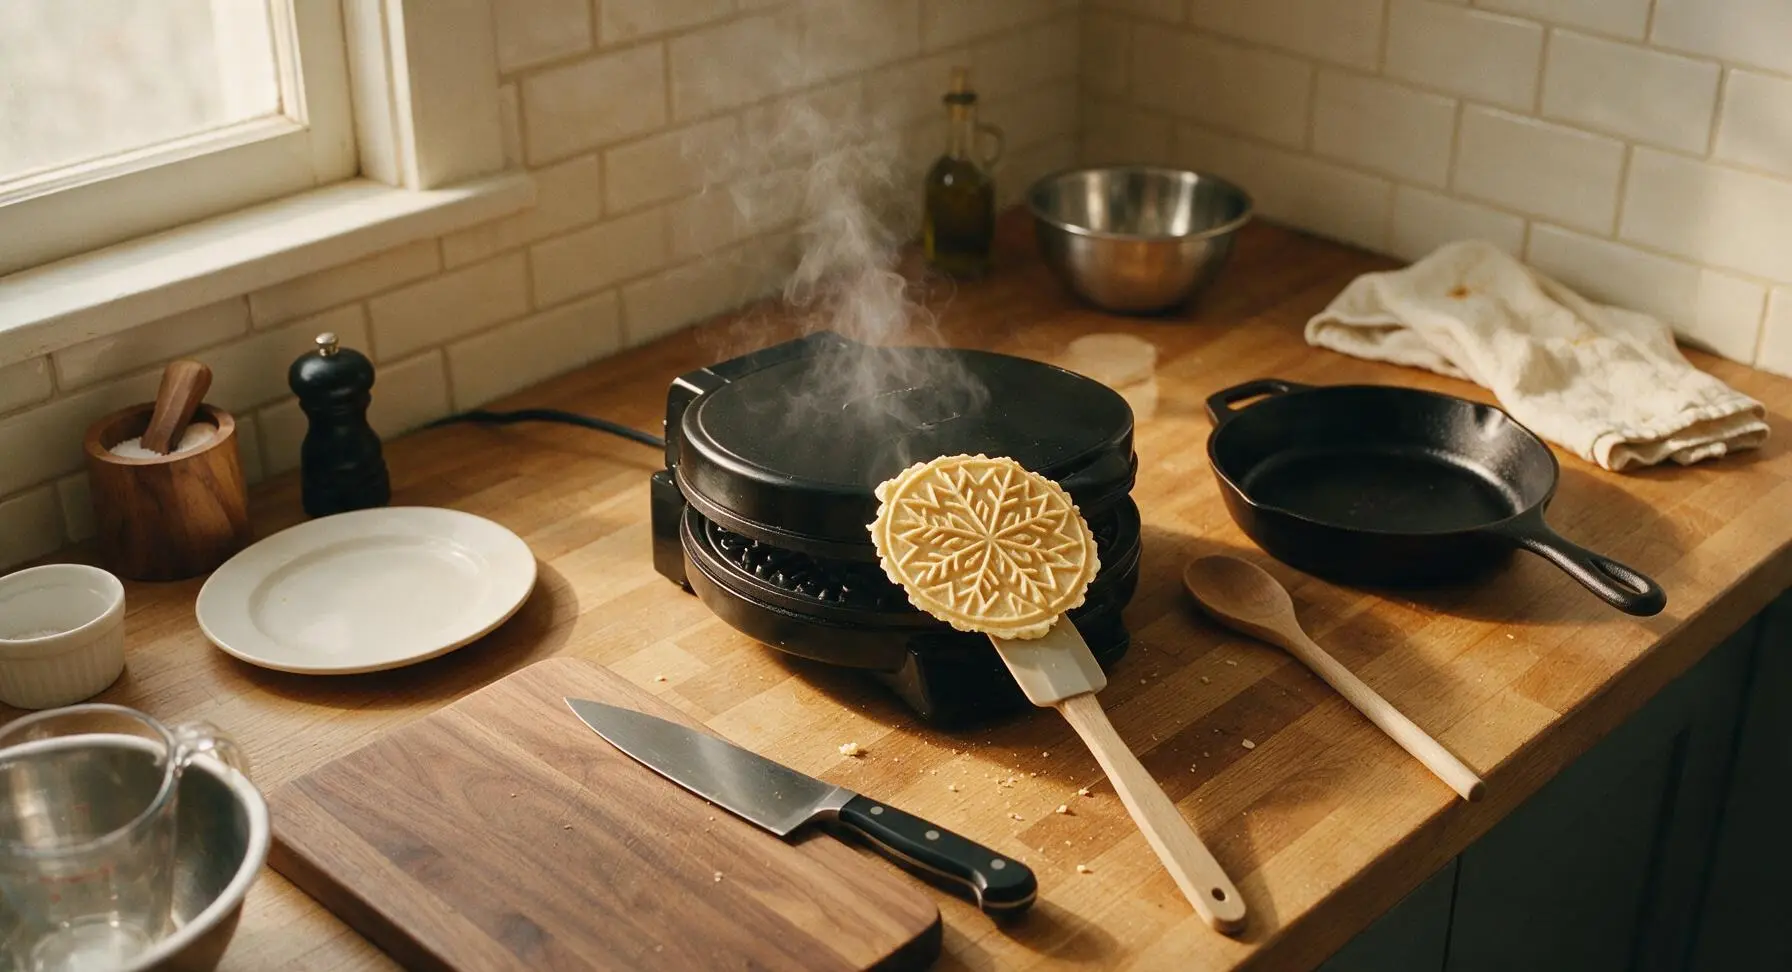
Step 6
step6:Cook Pizzelle Until Golden
7

Cool Cookies on Rack

Use the tip of the silicone spatula to gently lift each hot cookie from the iron, and transfer immediately to the chrome wire cooling rack in a single layer. Cookies will be very soft and pliable when hot, and will crisp fully as they cool for 2-3 minutes at room temperature. If you wish to shape pizzelle into cannoli shells or mini ice cream cones, mold them within 10 seconds of removing them from the iron, before they harden into their crisp flat shape. Repeat the portioning and cooking process with all remaining batter.
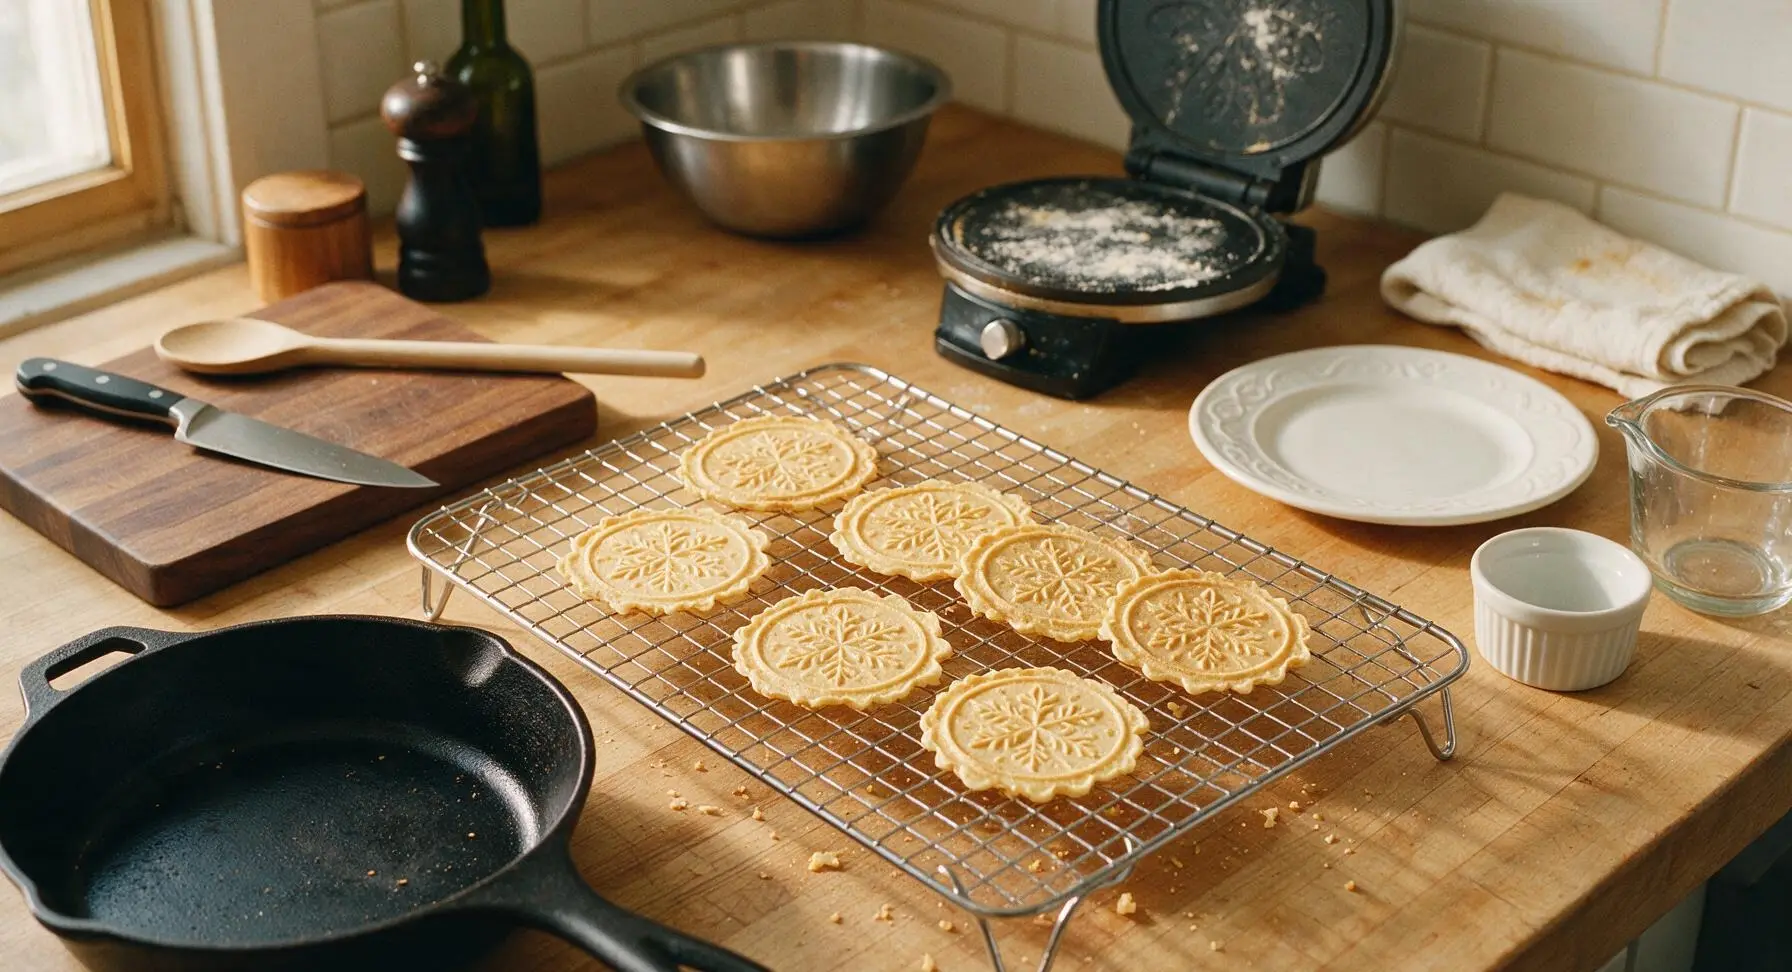
Step 7
step7:Cool Cookies on Rack
8

Dust with Powdered Sugar

Once all cookies are fully cooled and crisp to the touch, transfer them to the cream ceramic serving platter. Place 30g powdered sugar in the fine-mesh stainless steel sieve, hold the sieve 6 inches above the platter, and tap the side gently to dust a light, even coating of powdered sugar over the top of all cookies. Serve immediately, or layer between sheets of parchment paper in an airtight container at room temperature for up to 2 weeks.
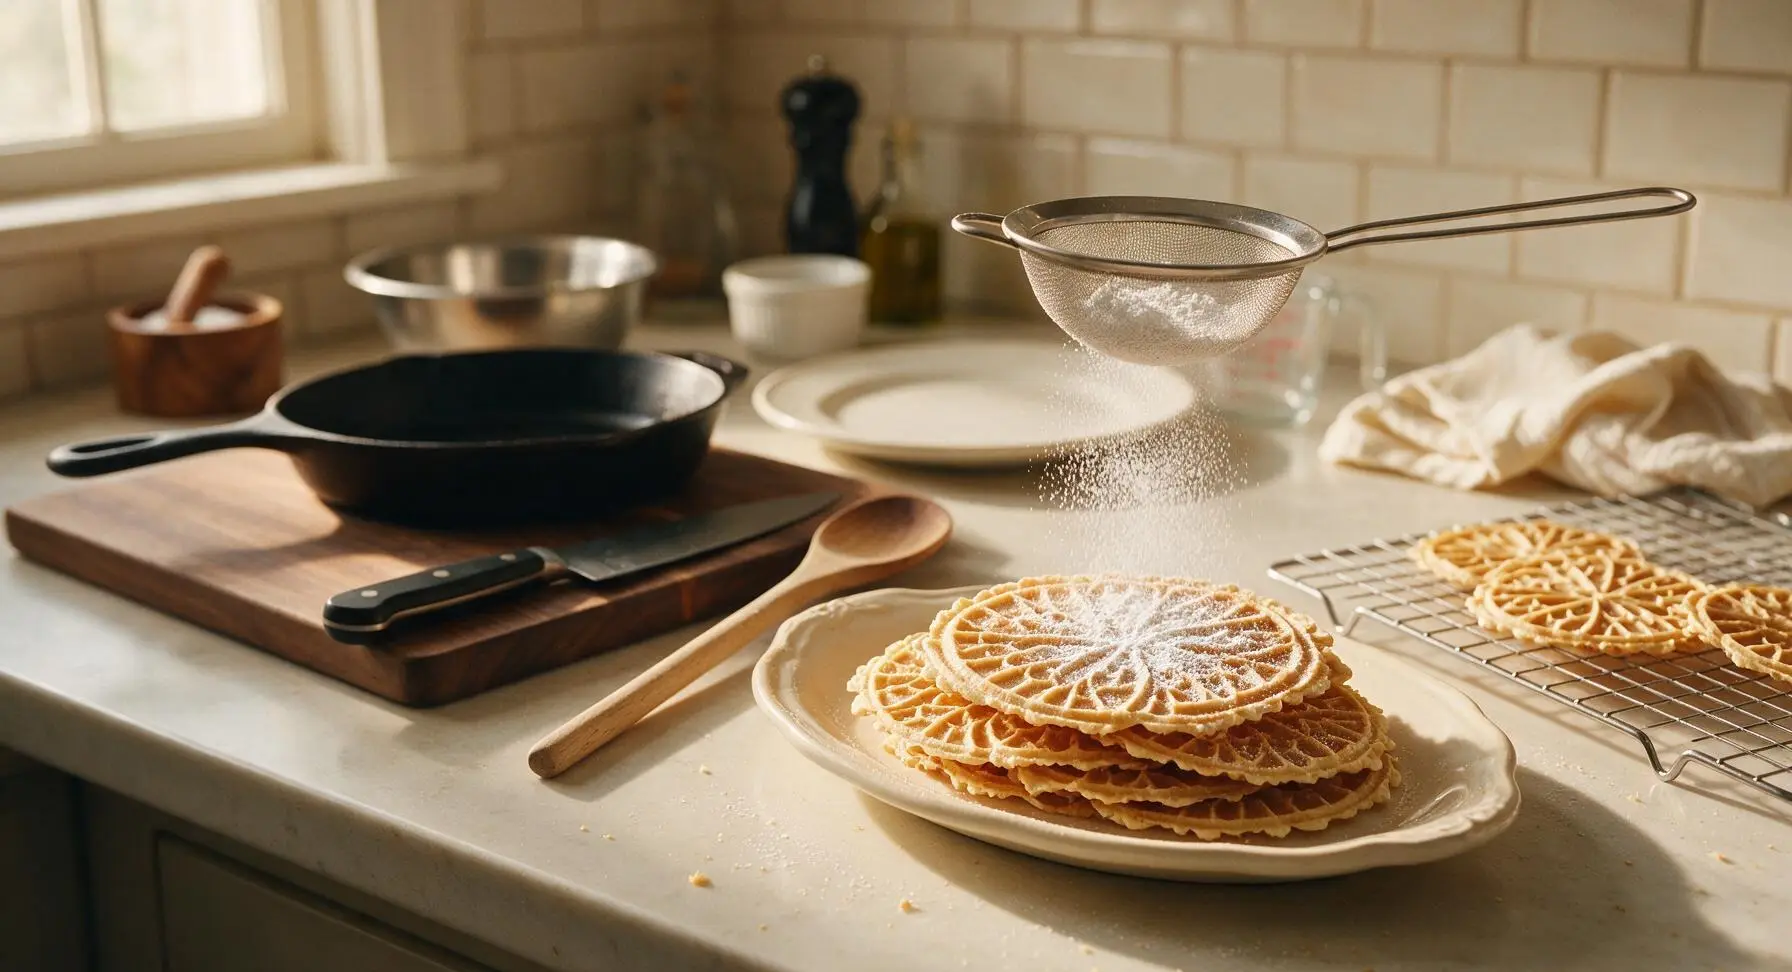
Step 8
step8:Dust with Powdered Sugar

Tips

1.Use room-temperature eggs for the lightest batter: cold eggs will not trap as much air when beaten, leading to dense, flat pizzelle instead of light, crisp ones.
2.Wait for the iron's green ready indicator light before adding batter: if the iron is too cool, cookies will stick to the non-stick plates and spread unevenly; if it is too hot, edges will burn before the center sets.
3.Let cookies cool completely on the rack before storing in an airtight container: any trapped residual warmth will create condensation inside the container, turning crisp pizzelle soft and chewy within a few hours.


✨ You May Also Like

Desserts & Baking
🍜 Italy

Creamy, coffee-kissed classic Northern Italian no-bake dessert, with layers of rum-spiked mascarpone cream, soft ladyfingers, and a rich cocoa dusting.

⏱️ 4 hours 3Desserts & Baking ★ 4.7
Desserts & Baking
🍜 France

Flaky, shatteringly crisp, buttery French croissants with golden exteriors and soft, airy layered interiors, perfect for pairing with coffee for a special morning treat.

⏱️ 12 hours Desserts & Baking ★ 4.5
Desserts & Baking
🍜 United States

Warm, spiced baked apples topped with a fluffy golden biscuit crust, this cozy dessert pairs perfectly with vanilla ice cream for cool-weather comfort.

⏱️ 55 minuteDesserts & Baking ★ 4.6
Desserts & Baking
🍜 United States

A star-spangled classic American blueberry pie with buttery flaky crust and bright sweet-tart filling, perfect for summer patriotic gatherings.

⏱️ 1 hour 25Desserts & Baking ★ 4.7
Desserts & Baking
🍜 United States

A beloved no-bake regional Maine candy with a chewy coconut-potato center coated in rich dark chocolate, a New England holiday staple since the 1870s.

⏱️ 2 hours 3Desserts & Baking ★ 4.8
Desserts & Baking
🍜 France

Luxuriously creamy, floral frozen custard made with aromatic Tahitian vanilla beans, boasting a smooth, rich texture that melts slowly on the tongue.

⏱️ 3 hours 3Desserts & Baking ★ 4.5

Pizzelle Cookies:Frequently Asked Questions

1.Do I need a special pizzelle iron to make these cookies, or can I use a regular waffle maker? ▾
A dedicated pizzelle iron is ideal for those paper-thin, crisp, evenly embossed traditional results, but a standard thin-profile waffle maker works in a pinch. Just note you won’t get the classic snowflake pattern, and you’ll need to adjust cook time by 10-15 seconds to hit that signature snappy, non-soggy texture.
2.I don’t like anise flavor—can I swap the anise extract for something else? ▾
Absolutely! Anise is the traditional flavor, but these delicate cookies are extremely versatile. Swap it 1:1 for pure vanilla, almond, lemon, or orange extract to match your taste. Skip artificial flavorings, though—they leave a harsh chemical aftertaste that overpowers the light, buttery cookie base.
3.Why are my pizzelle coming out soft and chewy instead of crisp? ▾
Soft, bendy pizzelle almost always trace back to two common issues: undercooking, or trapped excess moisture. Make sure your iron is fully preheated before adding batter, cook 5-10 seconds longer if cookies bend when lifted, and cool them completely on a wire rack instead of stacking immediately to let steam escape.
4.How long do these pizzelle stay fresh, and what’s the best way to store them? ▾
When stored correctly, these crisp cookies stay fresh for up to 2 weeks. Let them cool fully first, then tuck them into an airtight container with parchment between layers, kept at cool room temperature away from direct sunlight. Skip the fridge—it introduces excess moisture that will make them go soggy in a day or two.
5.Do my eggs and melted butter really need to be at the listed temperatures? ▾
They do, for the most consistent, even batter texture! Room temperature eggs mix smoothly without seizing, and cooled melted butter won’t partially cook raw eggs when stirred in, or create greasy, unevenly cooked spots. If you’re short on time, warm cold eggs in a bowl of tap water for 5 minutes to bring them up to temp fast.
6.Can I make this pizzelle batter ahead of time to save prep work on baking day? ▾
You absolutely can! Mix the batter fully, transfer it to an airtight container, and refrigerate it for up to 3 days. When you’re ready to bake, let the batter sit on the counter for 15 minutes to take the chill off, give it a quick stir, and cook as normal—you won’t notice any difference in texture or flavor.
7.How much batter should I add to the pizzelle iron to avoid messy overflow? ▾
For most standard 5-inch pizzelle irons, 1 heaping teaspoon of batter is the perfect amount. Drop it right in the center of each iron mold, close the lid, and let it spread naturally as it cooks. If you add too much and batter seeps out the sides, just trim those crispy edges off with a knife once cool for a neat finish.
8.Why do my pizzelle stick to the iron even after I season it? ▾
Sticking usually happens if your iron isn’t fully preheated, or if you’re prying cookies off too early. Most nonstick pizzelle irons don’t need extra grease after the first initial seasoning, but if you have persistent stick issues, lightly wipe plates with a paper towel dipped in a tiny bit of melted butter before your first batch, not between every cookie.
9.Can I freeze baked pizzelle to use later for holiday cookie tins? ▾
Freezing works beautifully for these cookies! Let them cool completely, then stack them between sheets of parchment in a freezer-safe airtight container, and freeze for up to 3 months. When you’re ready to serve, let them thaw at room temperature for 20 minutes, then add a light dusting of fresh powdered sugar right before tucking them into tins.
10.When is the best time to dust the pizzelle with powdered sugar? ▾
Wait until the cookies are fully cooled to room temperature to dust them for the best result. If you add powdered sugar while the cookies are still warm, the sugar will melt into the surface, disappear, and leave a sticky, splotchy finish instead of that light, snowy coating. Use a fine-mesh sieve for an even, delicate dusting.
11.Can I shape these pizzelle into cones or cannoli shells while they’re warm? ▾
You definitely can! Pizzelle are extremely malleable for the first 10-15 seconds after you pull them off the hot iron. Wrap them around a wooden cone form or metal cannoli tube right as you take them off the iron, hold for 10 seconds until they set, and they’ll hold their crisp shape once cool for filling.
12.What’s the best way to measure flour for this recipe to avoid tough, dense cookies? ▾
The most reliable home method is the spoon-and-level technique: fluff the flour in its canister first, spoon it lightly into your measuring cup, then scrape the top flat with the back of a knife. Don’t scoop the cup directly into the flour bag—that packs flour down, adds up to 30% extra, and leads to tough, heavy pizzelle.
13.I see tiny brown specks on my cooked pizzelle—did I do something wrong? ▾
Those little light brown specks are totally normal! They come from tiny bits of butter and sugar caramelizing quickly on the hot iron plates, and they don’t impact flavor or texture at all. If the specks are dark black, that means your iron is running too hot, so turn the temperature down a touch for your next batch to avoid burning.
14.Can I adapt this pizzelle recipe to be gluten-free for a friend with dietary restrictions? ▾
You can adapt this recipe easily for gluten-free baking! Swap the all-purpose flour 1:1 for a high-quality gluten-free all-purpose baking blend that includes xanthan gum, which helps hold the delicate cookie structure together. You may need to add 5-10 seconds of cook time to get that same crisp, snappy texture as the traditional version.

Comments (9)

2 hours ago

OMG these pizzelle are SO good! I’ve been intimidated to make them for years because I thought you needed fancy skills, but this recipe is so easy! Pulled out my old pizzelle iron I got at a garage sale and they came out perfectly crisp, just like my grandma used to make. Brought a batch to our family dinner last night and everyone was begging for the recipe. Total game changer for holiday cookie plates this year!

3 days ago

Made these for our neighborhood potluck last weekend and they were gone in 10 minutes flat! I added a little anise extract like my mom used to and they tasted exactly like the ones we had at every church bake sale growing up. Cook time was actually even faster than 20 minutes for me once my iron was fully heated, super straightforward even for a guy who mostly grills meat. Will absolutely be making these again!

1 week ago

Really great base recipe! I didn’t have anise so I used vanilla and a little lemon zest, and they turned out light and crispy. My only note is that my first two cookies stuck a little to the iron until I gave it a quick extra spritz of nonstick spray. My roommates devoured half the batch before I even finished cooking all of them, so 10/10 would recommend for a quick study break snack.

5 days ago

Thanks for the tip about the nonstick spray! I’m making these in my dorm this weekend with my tiny countertop pizzelle maker and I definitely would’ve forgotten to spray between the first few batches, that would’ve been such a mess. Lemon zest sounds so good too, I’m gonna steal that idea!

yesterday

Wait a second — can I make these without a pizzelle press? I’ve been dying to try them but I don’t have the special iron, and I don’t want to buy one if I can MacGyver something at home lol. The cookies look so good I’m this close to ordering a press off Amazon right now.

2 hours ago

Hi there! Unfortunately pizzelle get their signature crisp texture and patterned shape from the high, even heat of a pizzelle iron — a waffle iron won’t give you the same thin, delicate result! That said, entry-level presses are super affordable and last for years, it’s 100% worth the small investment if you love these cookies!

5 days ago

My kids loved it! I let them sprinkle a little powdered sugar on top once the cookies cooled, and they thought it was the most fun baking project ever. They kept calling them ‘snowflake cookies’ because of the pretty pattern! Way less messy than rolling out sugar cookies, and way faster too. Already added this to our weekly rotation.

3 days ago

Oh the powdered sugar idea is genius! My kids love helping in the kitchen too, I’m definitely going to let them do that next time I make a batch — I usually dip half in dark chocolate, but the sugar sprinkle sounds way more fun for little hands.

2 weeks ago

This recipe is so easy and the regular version came out perfect when I made it last week! Has anyone tried making these with a 1:1 gluten free flour blend? I have celiac and have been missing my grandma’s pizzelle something fierce since I went gluten free, so I’d love to adapt this for my diet. Just curious if anyone has tweaks before I waste a batch of ingredients.

1 week ago

Great question! We’ve tested this recipe with a few popular 1:1 gluten free all purpose flour blends (the ones with xanthan gum already added) and it works almost identically! Just make sure your batter is the same thick, spoonable consistency as the regular version, and you may need to add 5-10 extra seconds of cook time to get that perfect crisp.

2 days ago

Made these for my annual cookie swap and they were the standout! I made a few different flavor variations: classic anise, vanilla almond, and even a chocolate version by swapping 2 tbsp of flour for cocoa powder. All of them were chef’s kiss. So much easier than the complicated rolled cookie recipes I usually stress over.

yesterday

Wait the chocolate variation sounds insane! Do you add any extra sugar when you do the cocoa swap? I want to make these for my boyfriend’s birthday and chocolate is his all time favorite, I’d love to nail it on the first try.

2 hours ago

I didn’t add any extra sugar! The cocoa is rich enough that the regular amount of sugar in the recipe works perfectly, I did add a tiny splash of vanilla extract to amp up the chocolate flavor though. They came out so good, your boyfriend is gonna love them!

3 days ago

I’ve been making pizzelle for 60 years and let me tell you, this recipe is spot on! No weird extra ingredients, just the simple butter, eggs, flour, sugar combo that makes them perfect. I usually make a double batch around Christmas and give tins out to all the neighbors, and this recipe cuts my prep time in half. 10/10, no notes.

2 days ago

Wow, coming from someone who’s been making them that long this is the highest compliment possible! I’ve been messing up pizzelle for years trying random online recipes, so this makes me way more confident giving this one a go for our Sunday family dinner.

yesterday

Thank you so much for the kind words! It means the world to get a stamp of approval from someone who’s been making these for decades — that’s exactly the simple, no-fuss result we were going for with this recipe. Hope your neighbors love their tins this holiday season!

30 minutes ago

I tested a small batch of these last night and they are SO good! Quick question — how long do these stay fresh for? I do my big meal prep and baking session on Sundays for the week, and I’d love to add these to the rotation for quick kid snacks and lunch box treats. Do they stay crispy if you store them in an airtight container, or do they get soggy after a day or two?

5 minutes ago

I stored mine in a metal tin with parchment paper between layers and they stayed perfectly crisp for a full week! I packed them in my kid’s lunch every day and they never got soggy, just don’t put them in a plastic container they trap too much moisture.

just now

Great question! As mentioned above, these stay fresh for up to a week when stored in an airtight metal tin at room temperature with layers separated by parchment. They also freeze really well for up to 3 months if you want to make a big batch ahead of time — just thaw them at room temperature for 10 minutes and they’re good to go!



