
Poi Mochi
intro
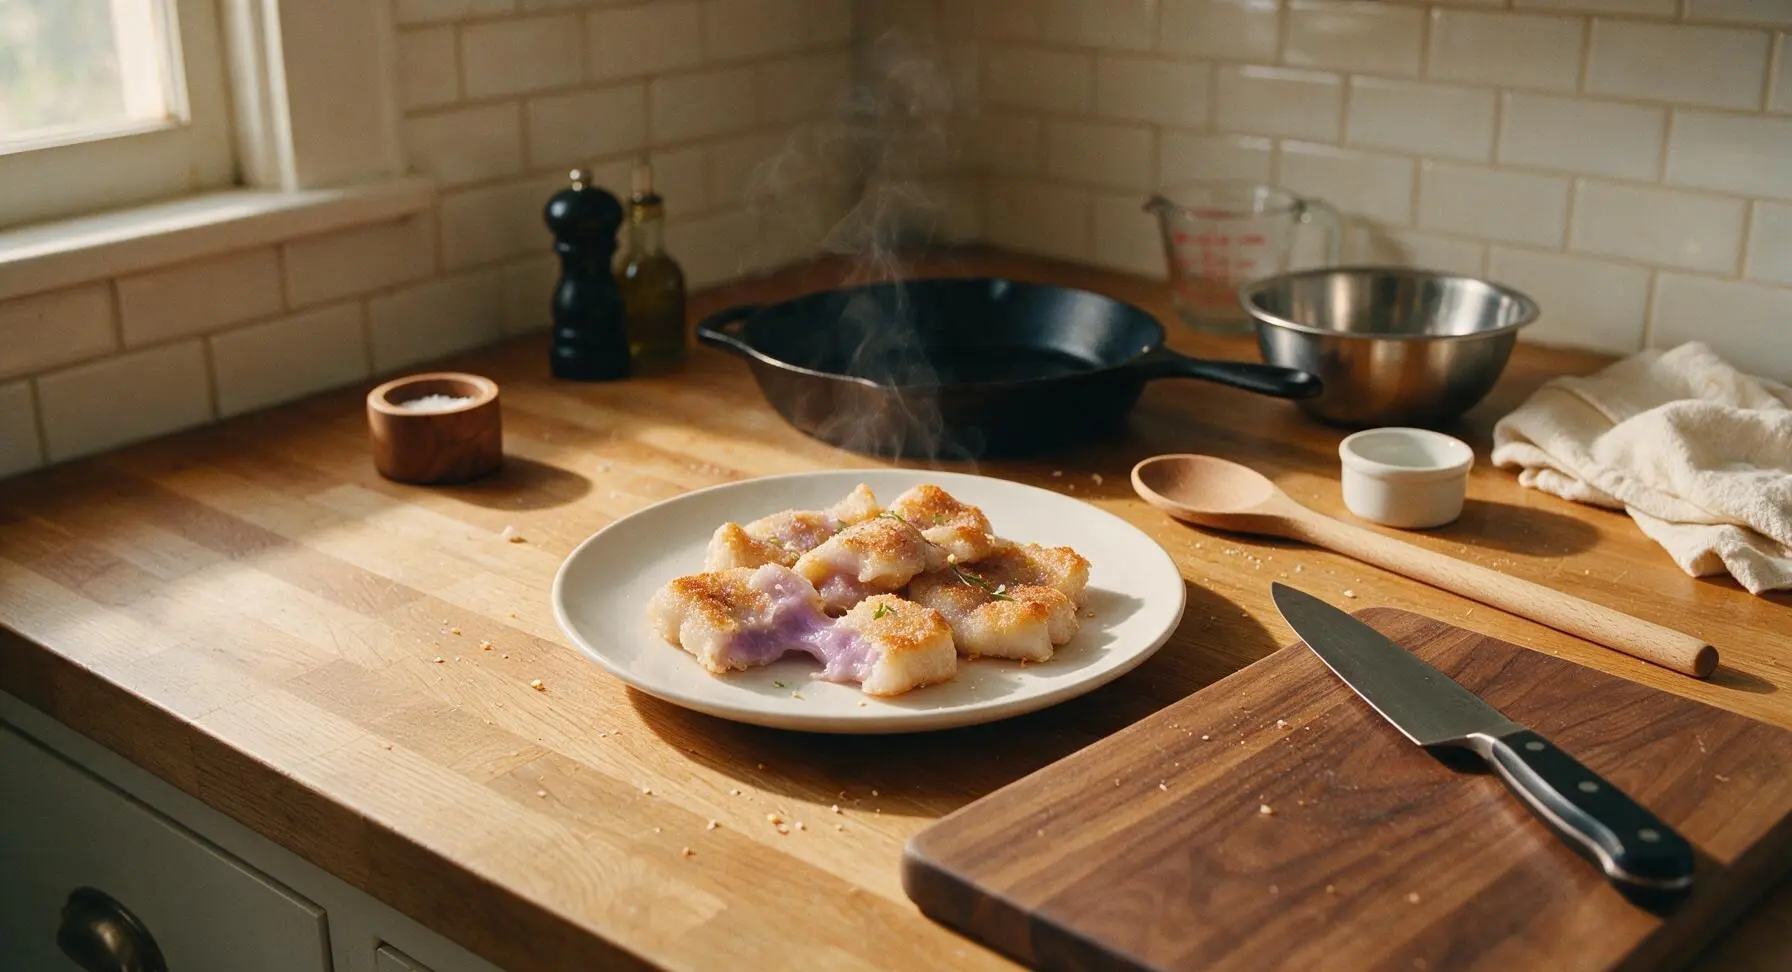
Chewy, subtly earthy-sweet Hawaiian poi mochi, with crisp golden edges and a soft, stretchy taro-kissed center. This beloved local potluck treat is simple to make and impossible to resist.
Ingredients
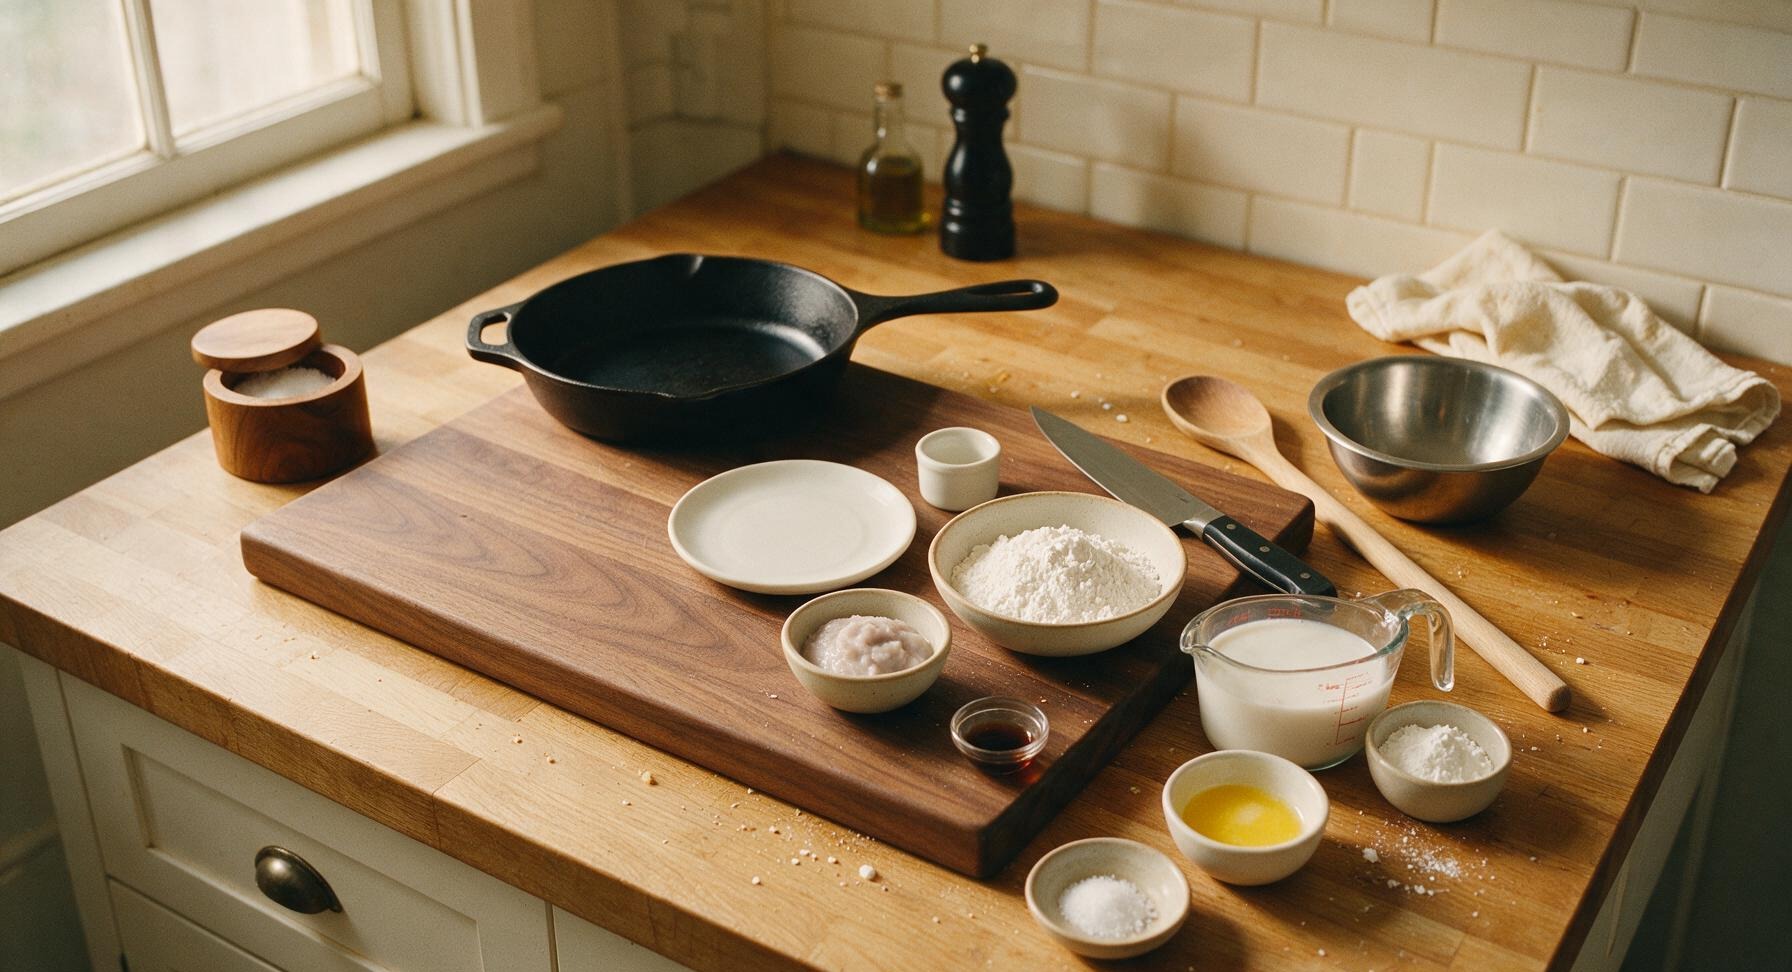
Steps
Prep Pan and Oven
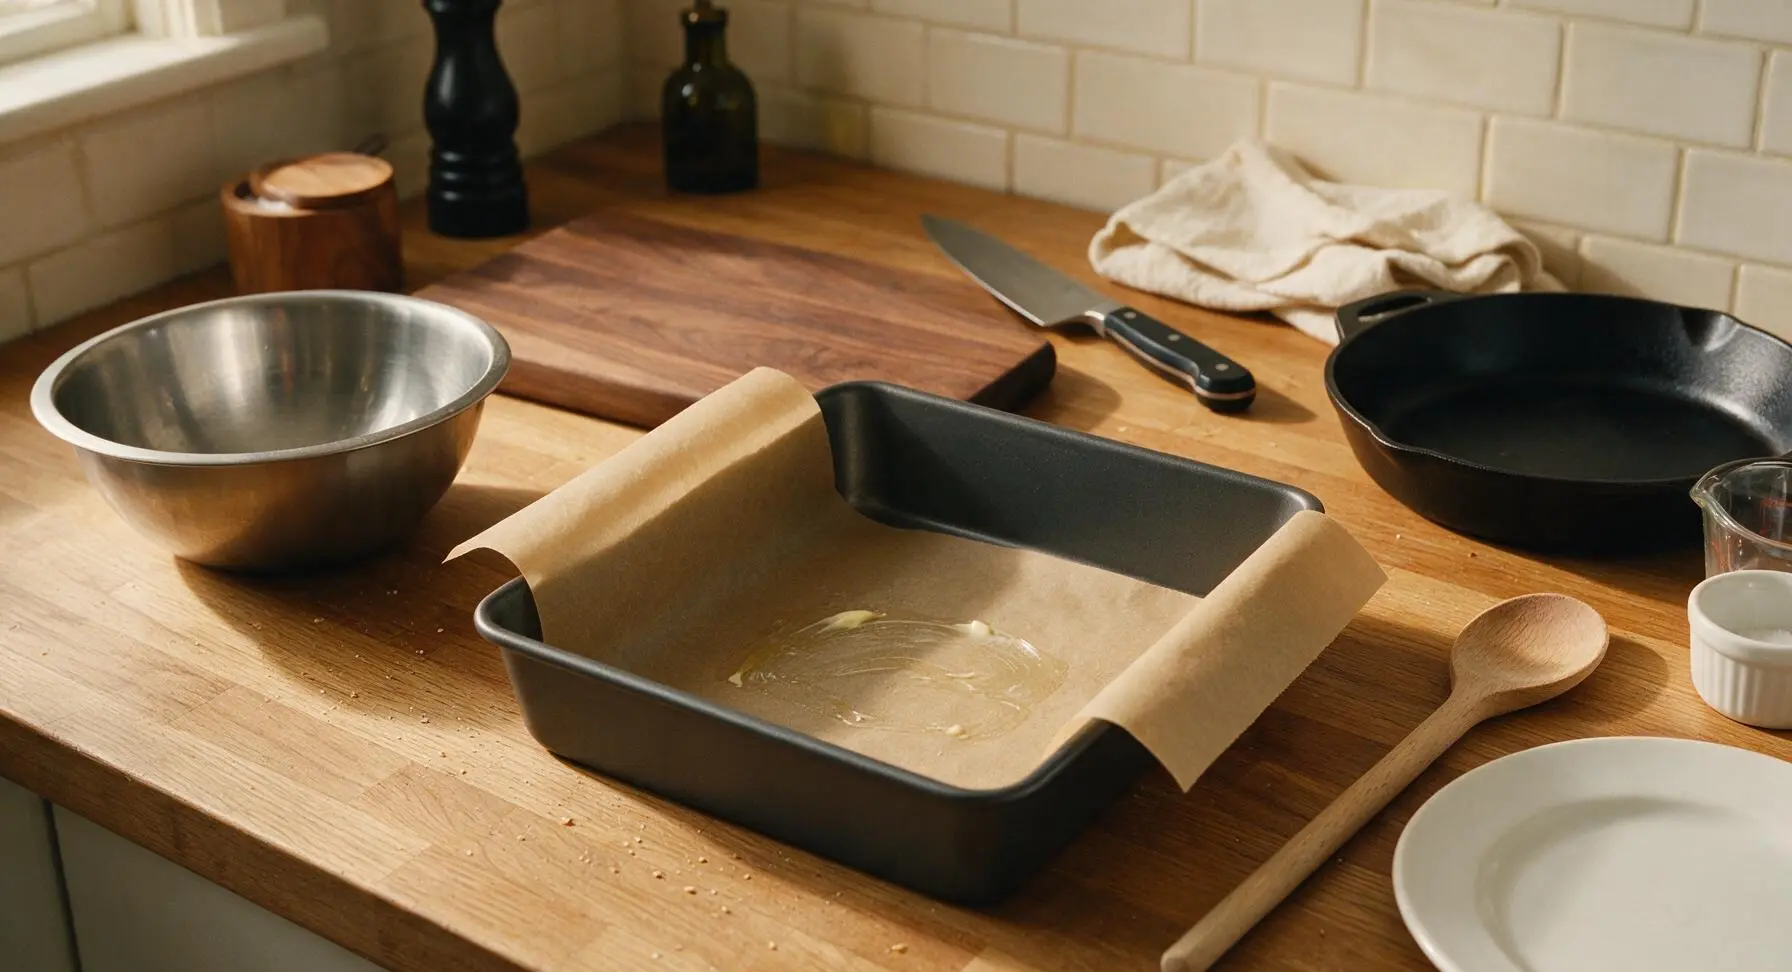
Preheat your oven to 350°F (175°C). Line the 20cm square matte charcoal baking pan with unbleached parchment paper, leaving 5cm overhang on two opposite sides to act as handles for lifting the finished mochi out later. Lightly coat the exposed parchment edges with a thin swipe of melted butter to prevent sticking.
Mix Wet Ingredients
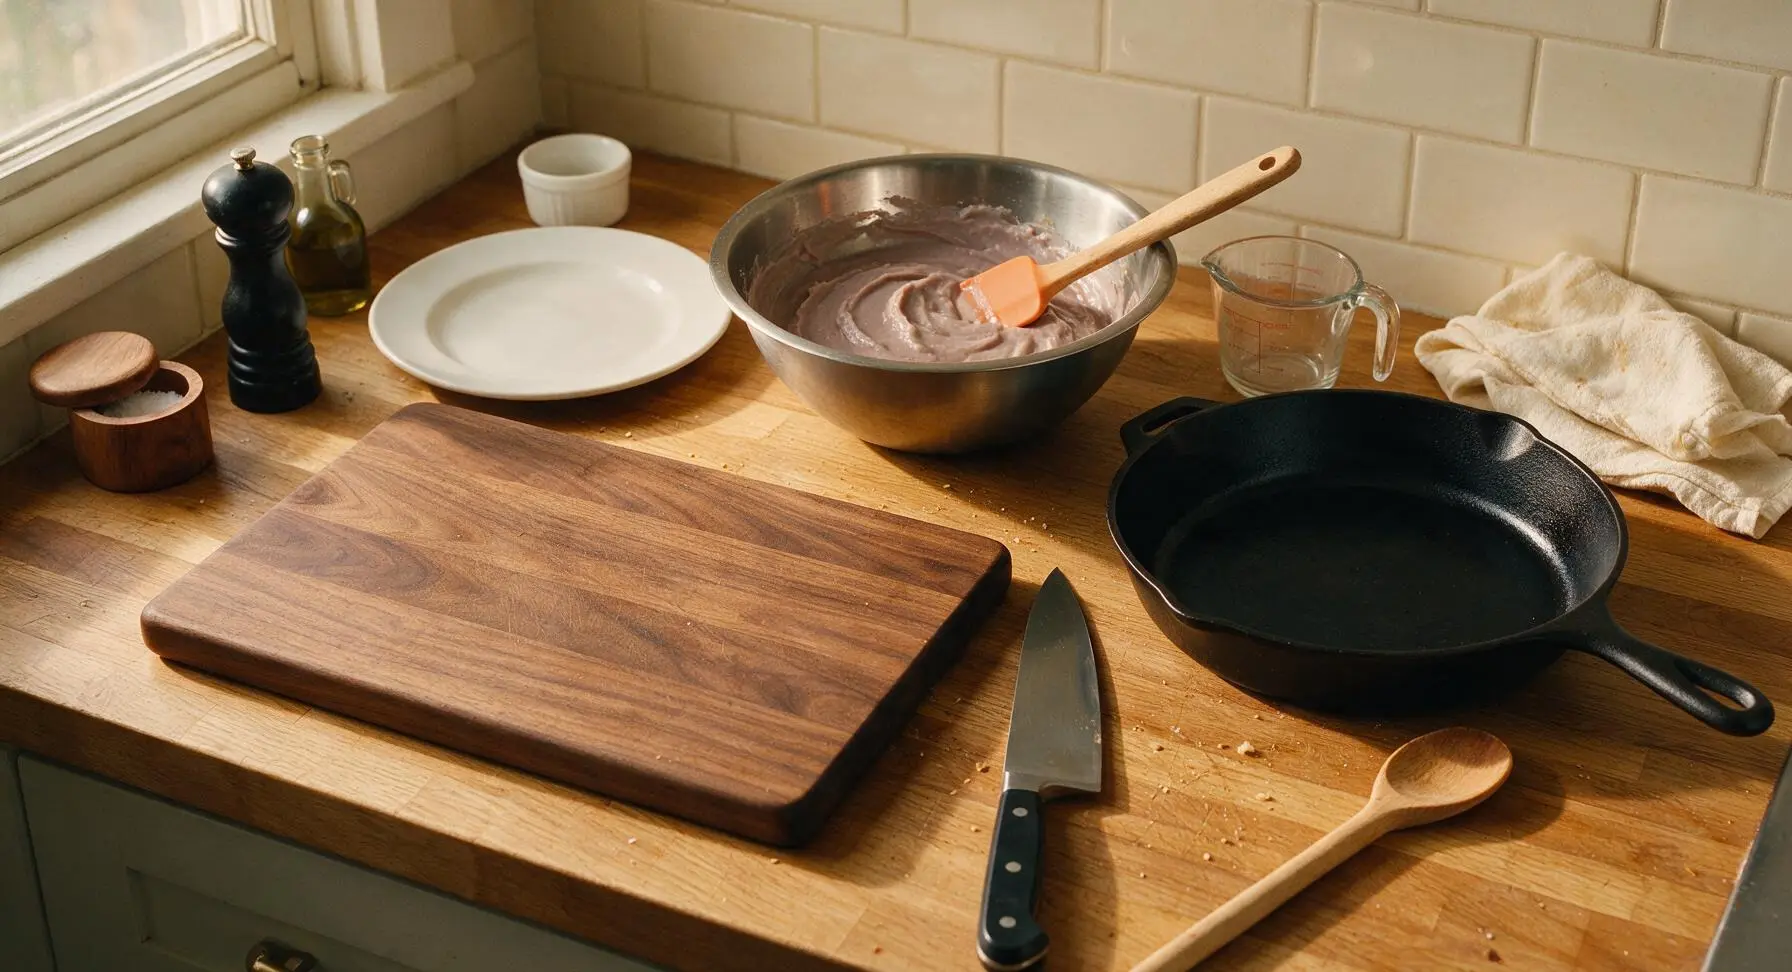
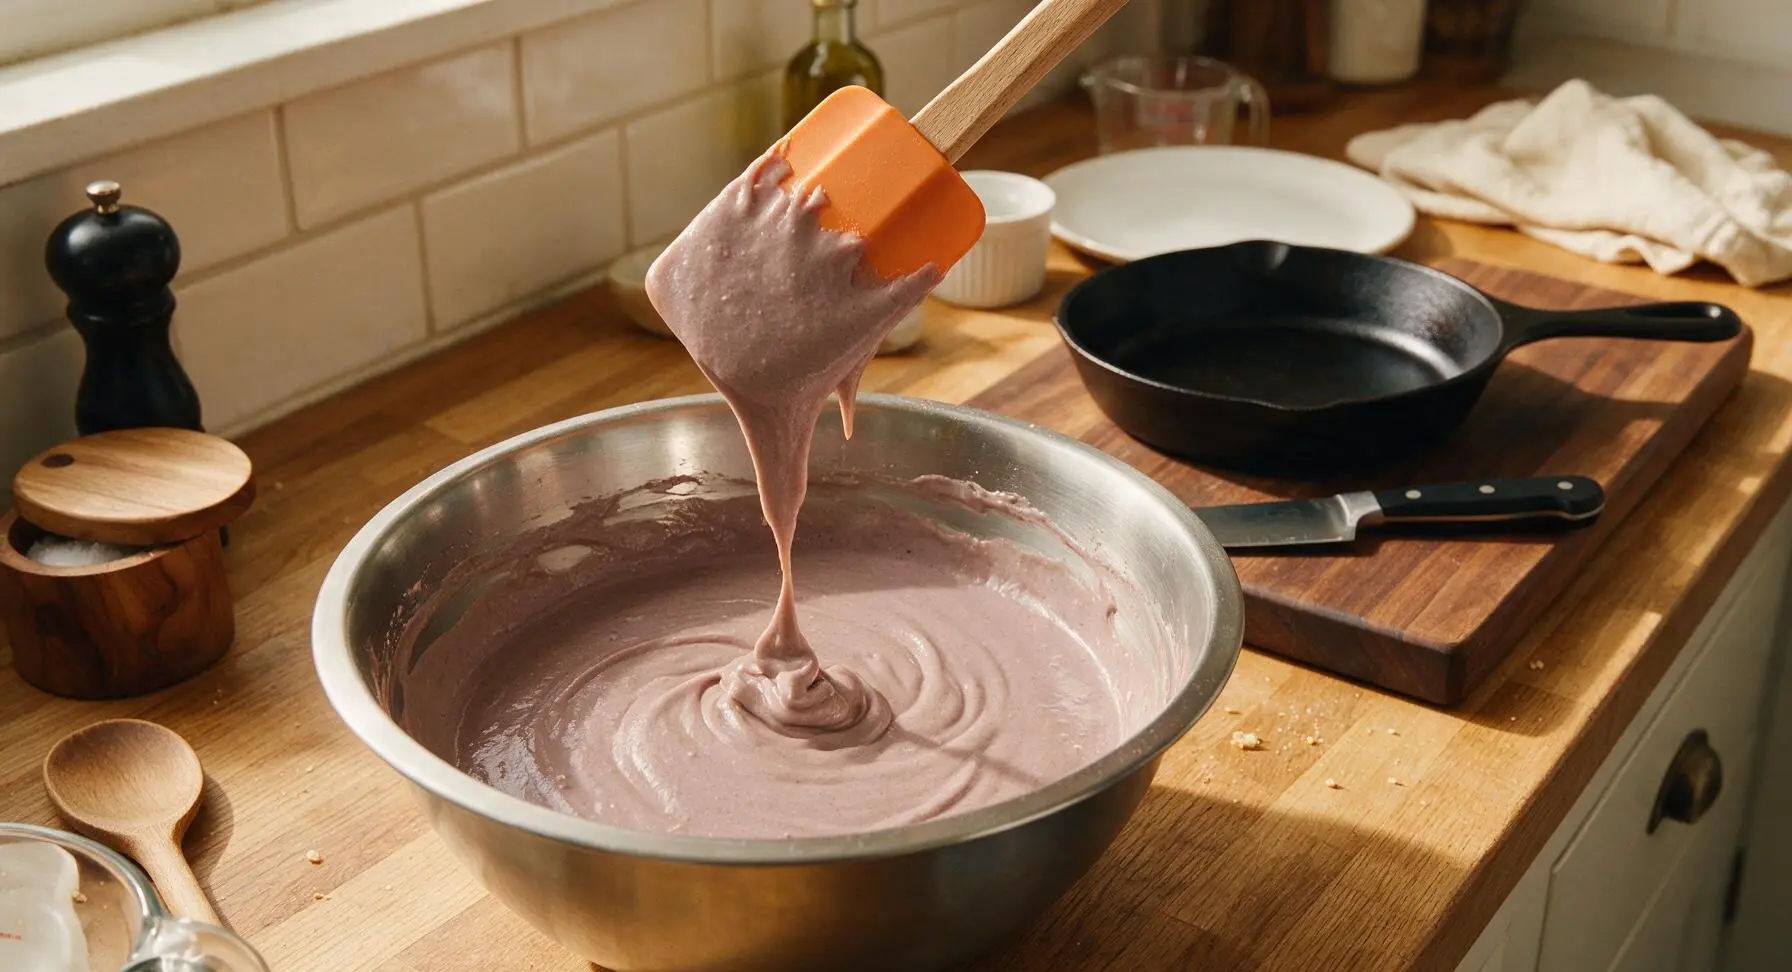
In the medium brushed stainless steel mixing bowl, combine 1 cup thawed poi, 1 1/4 cups full-fat coconut milk, 3 tbsp cooled melted butter, and 1 tsp vanilla extract. Use the matte tangerine silicone spatula to stir until completely smooth, with no lumps of poi remaining; the mixture will be a uniform muted lavender-brown color.
Whisk Dry Ingredients
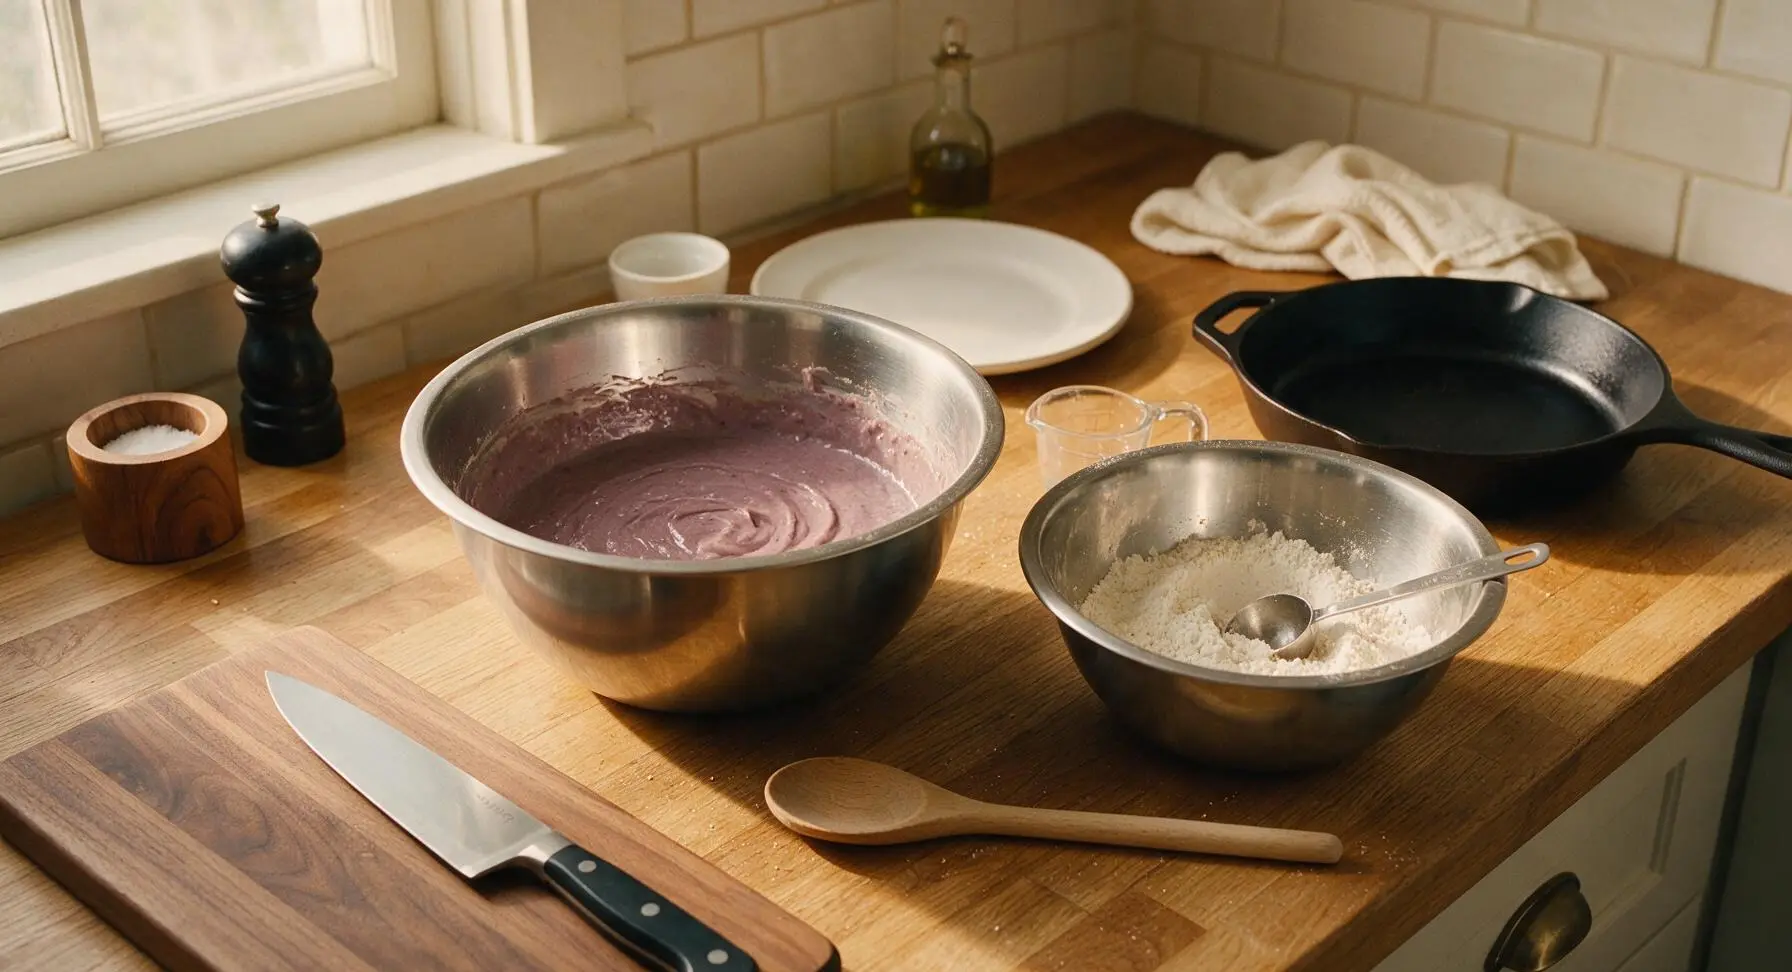
In the small brushed stainless steel mixing bowl, whisk together 2 cups glutinous rice flour, 1/3 cup granulated sugar, 1 tsp baking powder, and 1/4 tsp fine sea salt until fully combined, with no clumps of baking powder visible.
Combine to Form Batter
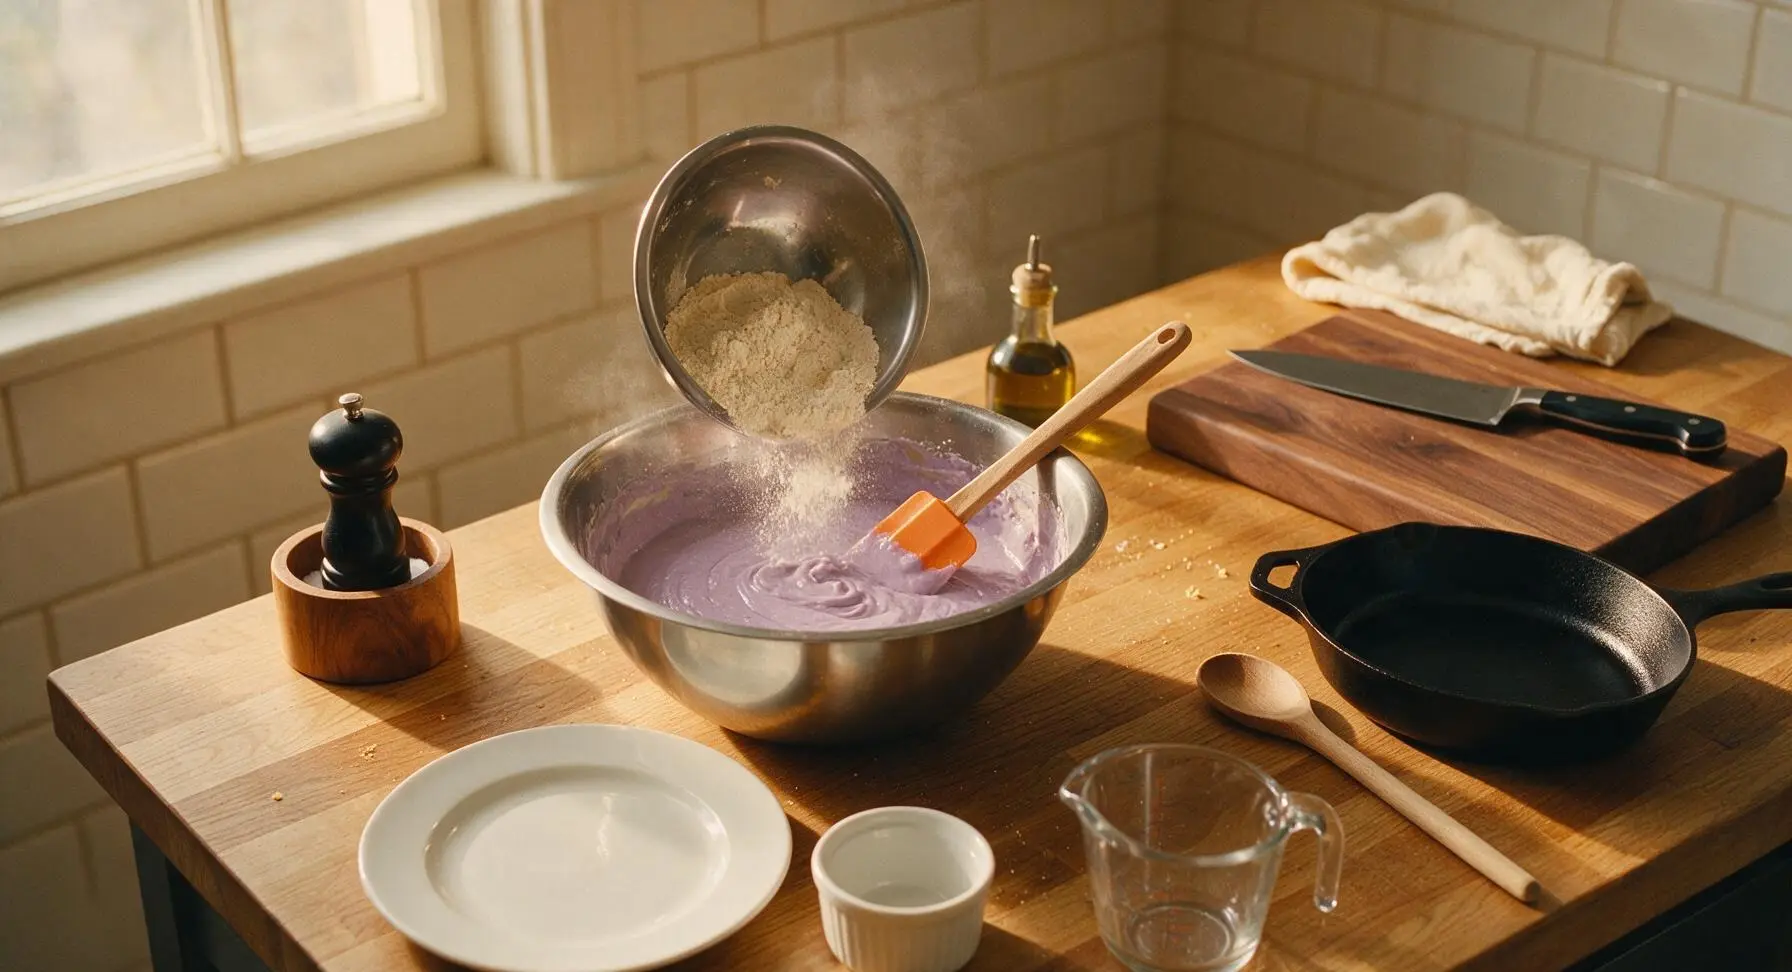
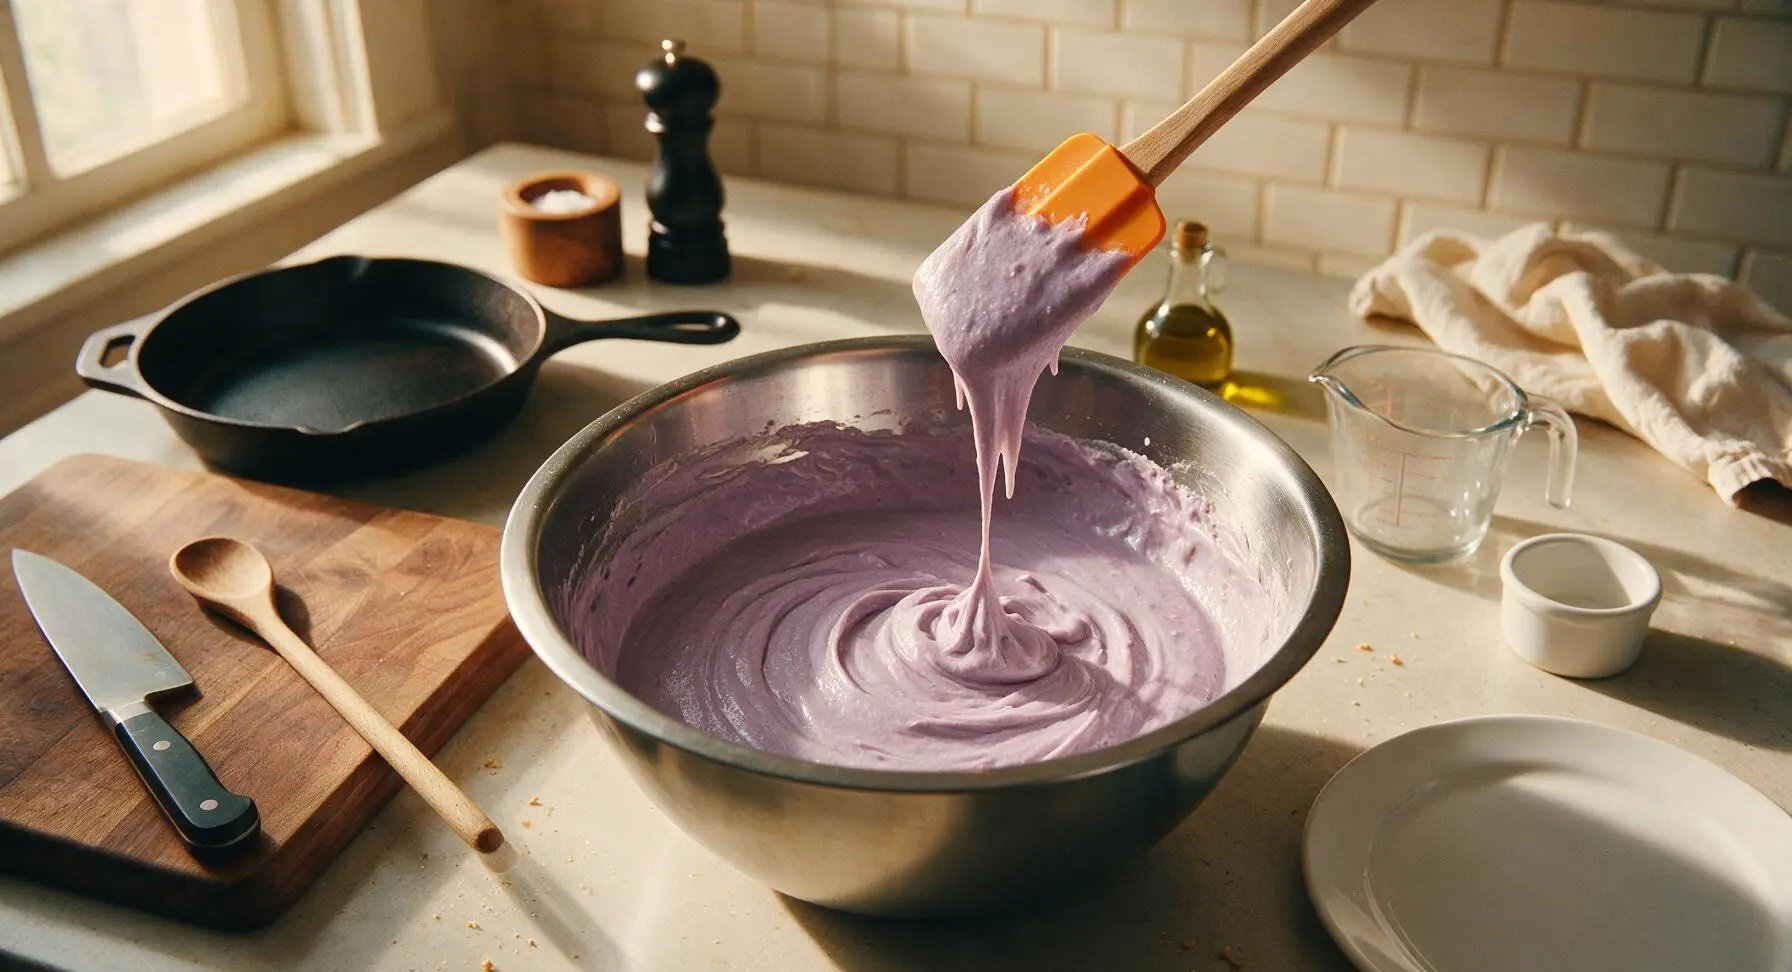
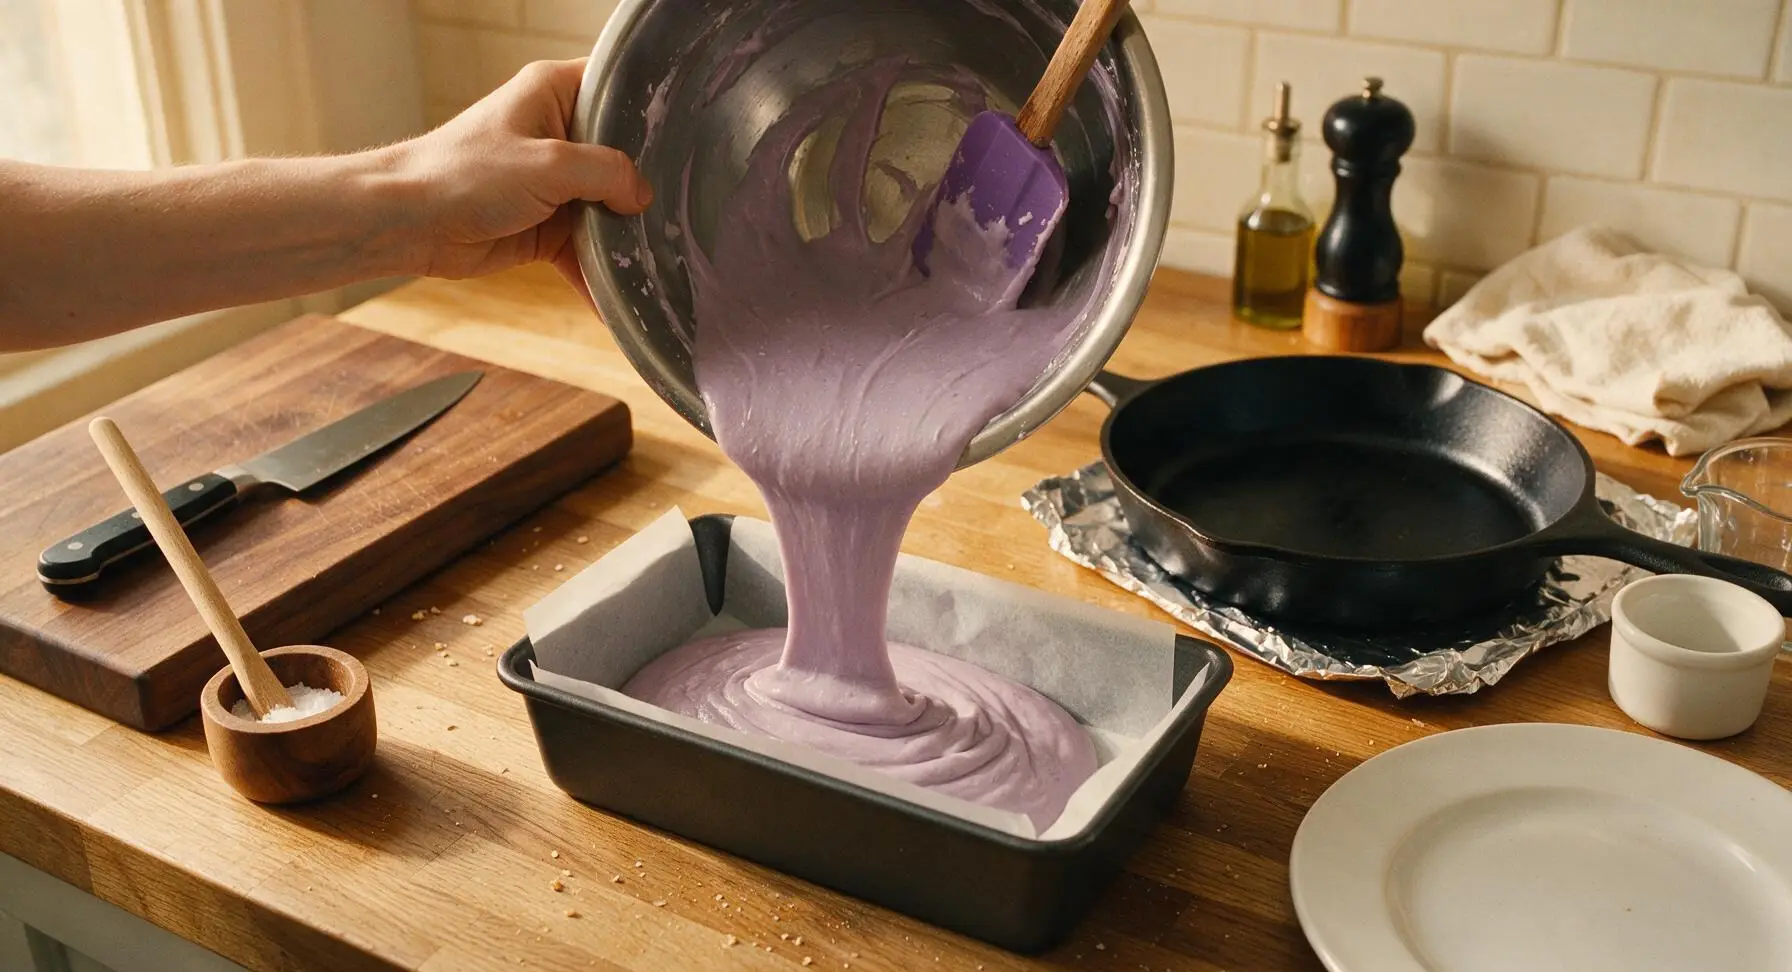
Gradually pour the dry ingredient mixture into the large bowl of wet ingredients, stirring constantly with the tangerine silicone spatula. Scrape the sides and bottom of the bowl frequently to ensure no dry flour pockets remain. The finished batter will be thick, pourable, and completely smooth, with a consistent light purple hue, similar in thickness to pancake batter.
Bake the Mochi
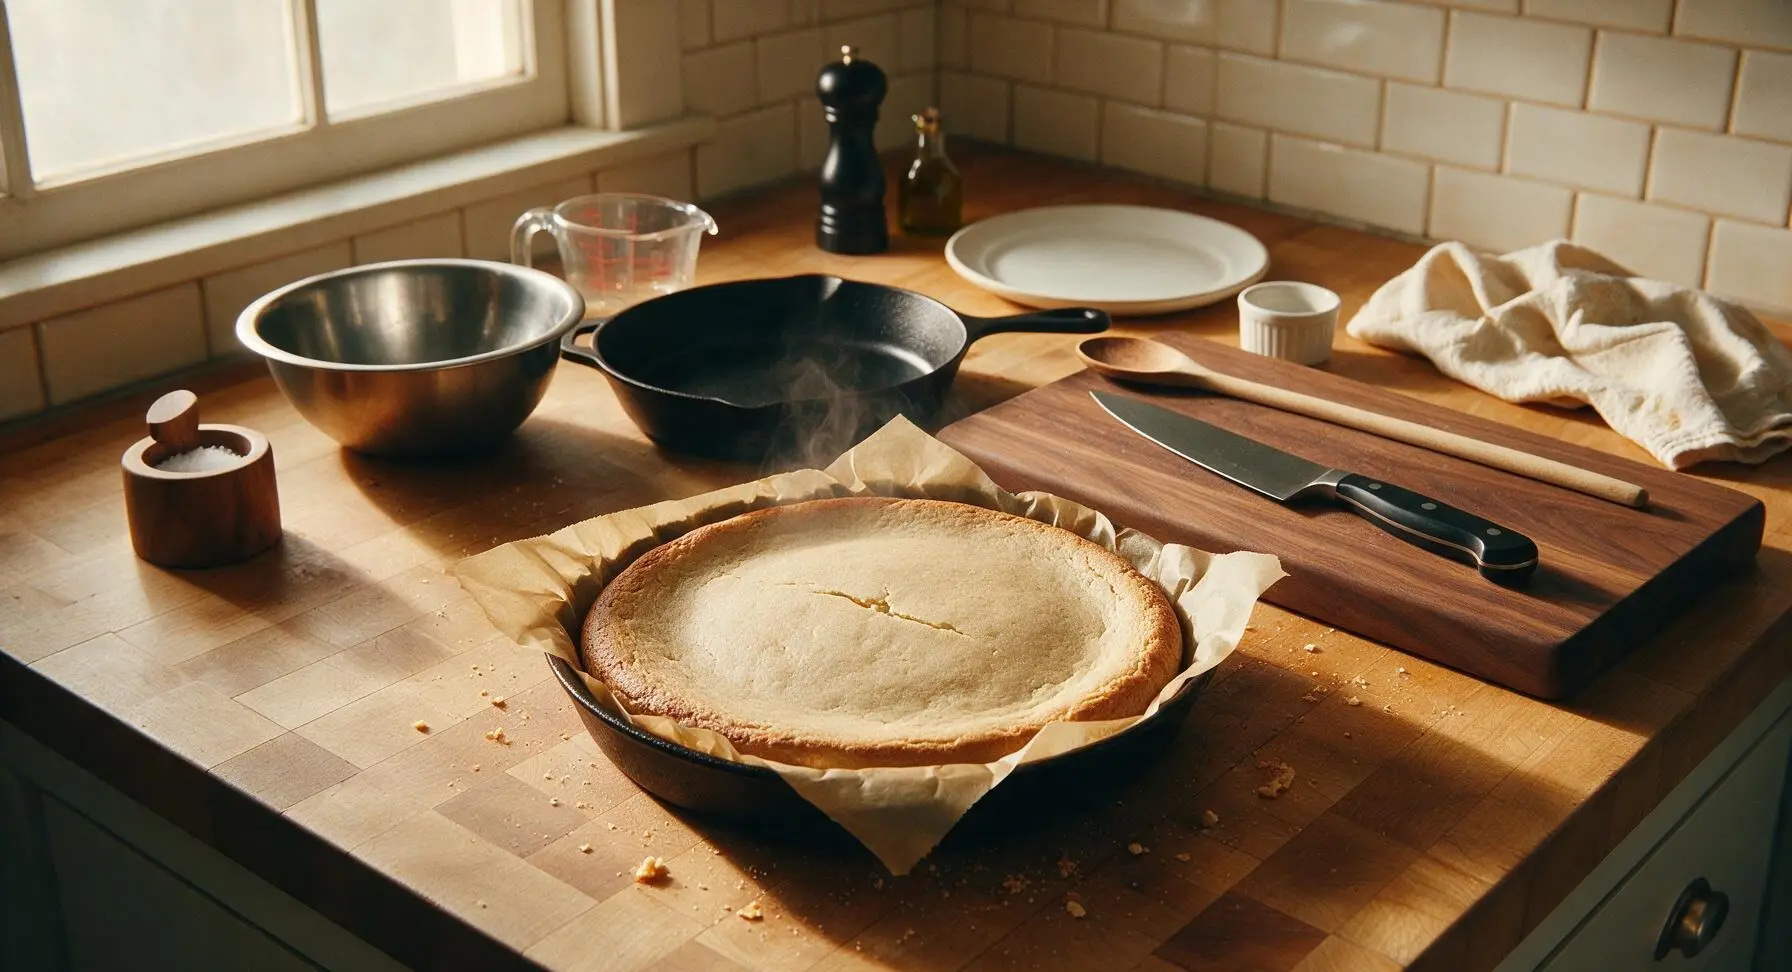
Pour the finished batter evenly into the parchment-lined charcoal baking pan, smoothing the top with the silicone spatula to create a level surface. Place the pan on the middle rack of the preheated 350°F (175°C) oven. Bake for 35 minutes, until the top is matte, slightly golden at the edges, and the center is set (a toothpick inserted into the middle will come out with a few sticky, stretchy crumbs attached, not wet batter).
Cool Mochi Fully
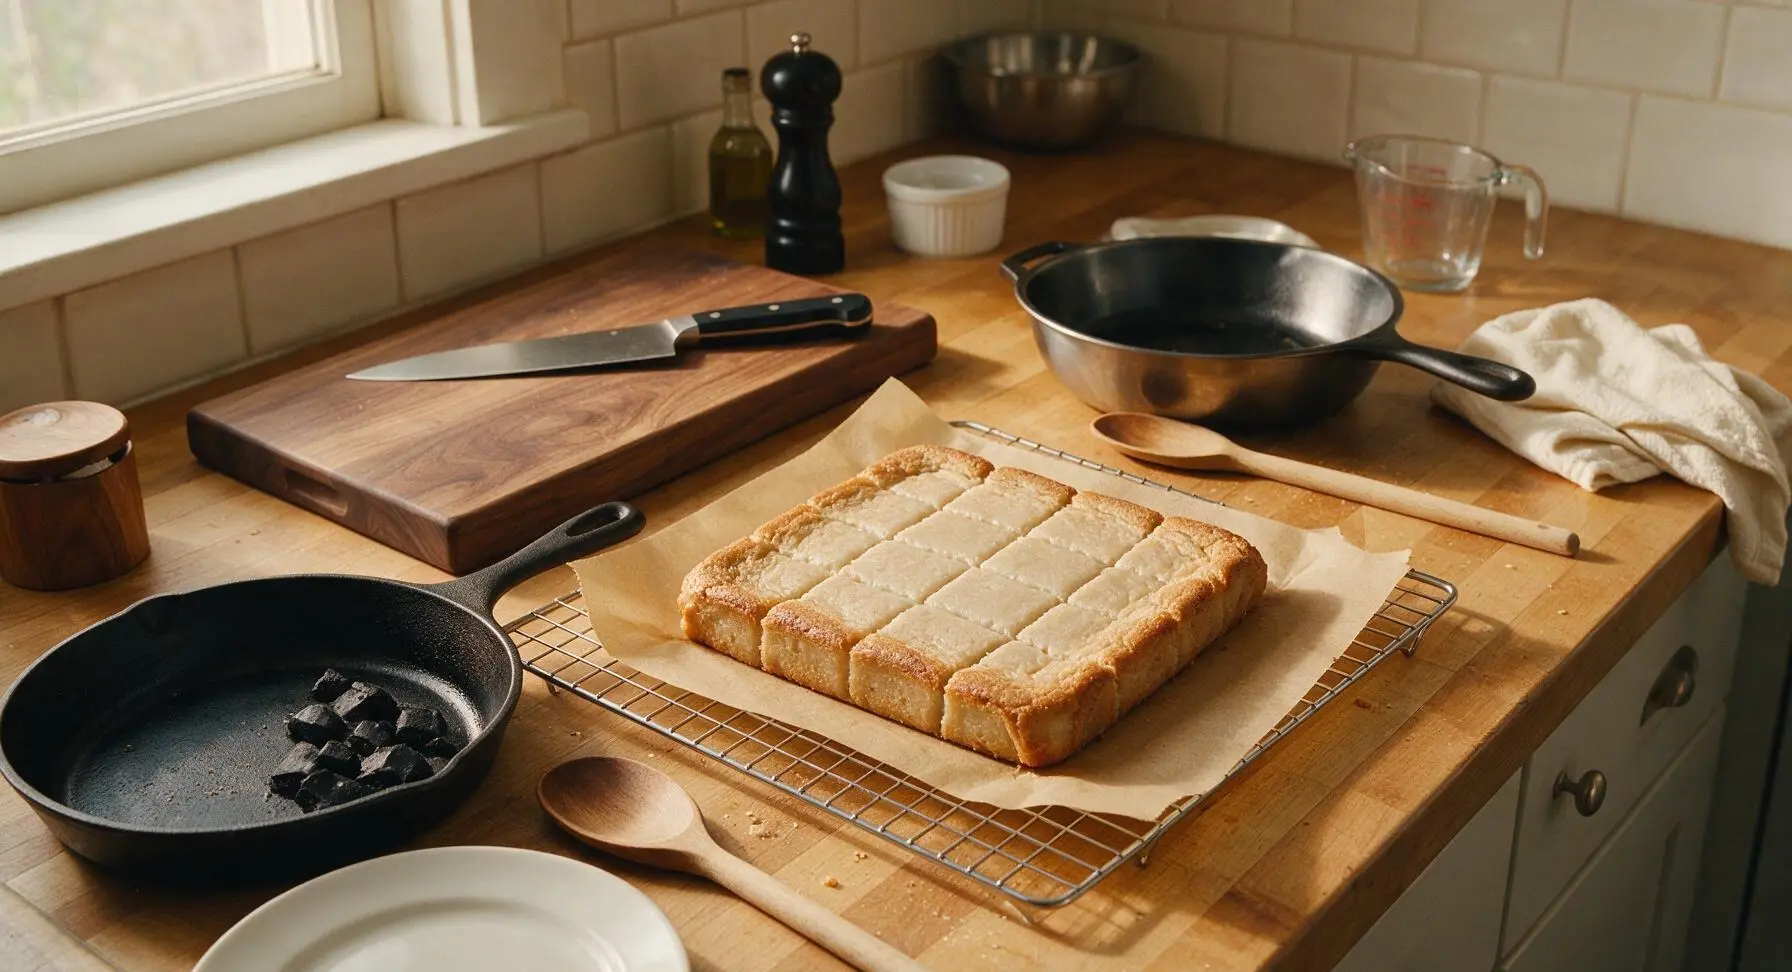
Use the parchment paper overhangs to lift the warm mochi block straight out of the baking pan, and transfer it directly to the chrome wire cooling rack. Let it cool completely at room temperature for 45 minutes—do not cut it while warm, as it will be sticky and lose its clean shape. The mochi will firm up slightly as it cools, but remain soft and chewy inside.
Cut and Dust Mochi
Once fully cool, transfer the mochi block from the cooling rack to the medium acacia wood cutting board, peeling away the parchment paper from the sides. Lightly dust the sharp serrated oak-handled knife with potato starch to prevent sticking, then cut the mochi into 4cm (1.5 inch) even cubes. Toss the cut cubes lightly in the remaining potato starch to coat all cut sides, which prevents them from sticking together during storage.
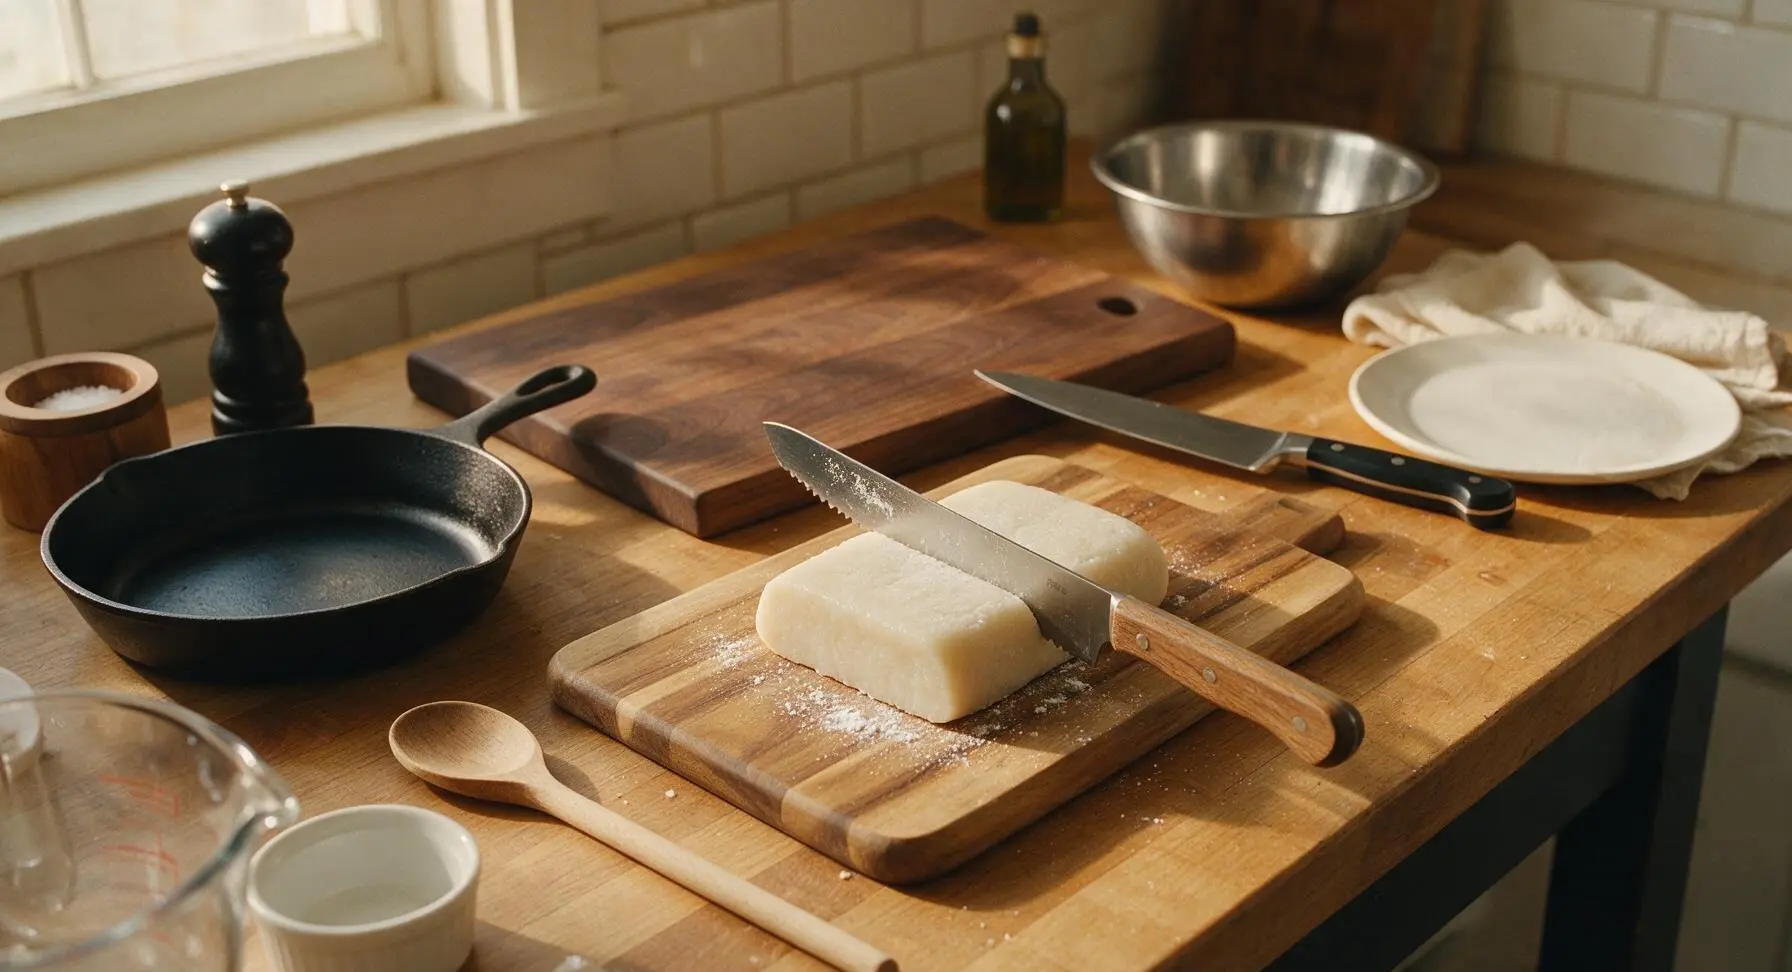
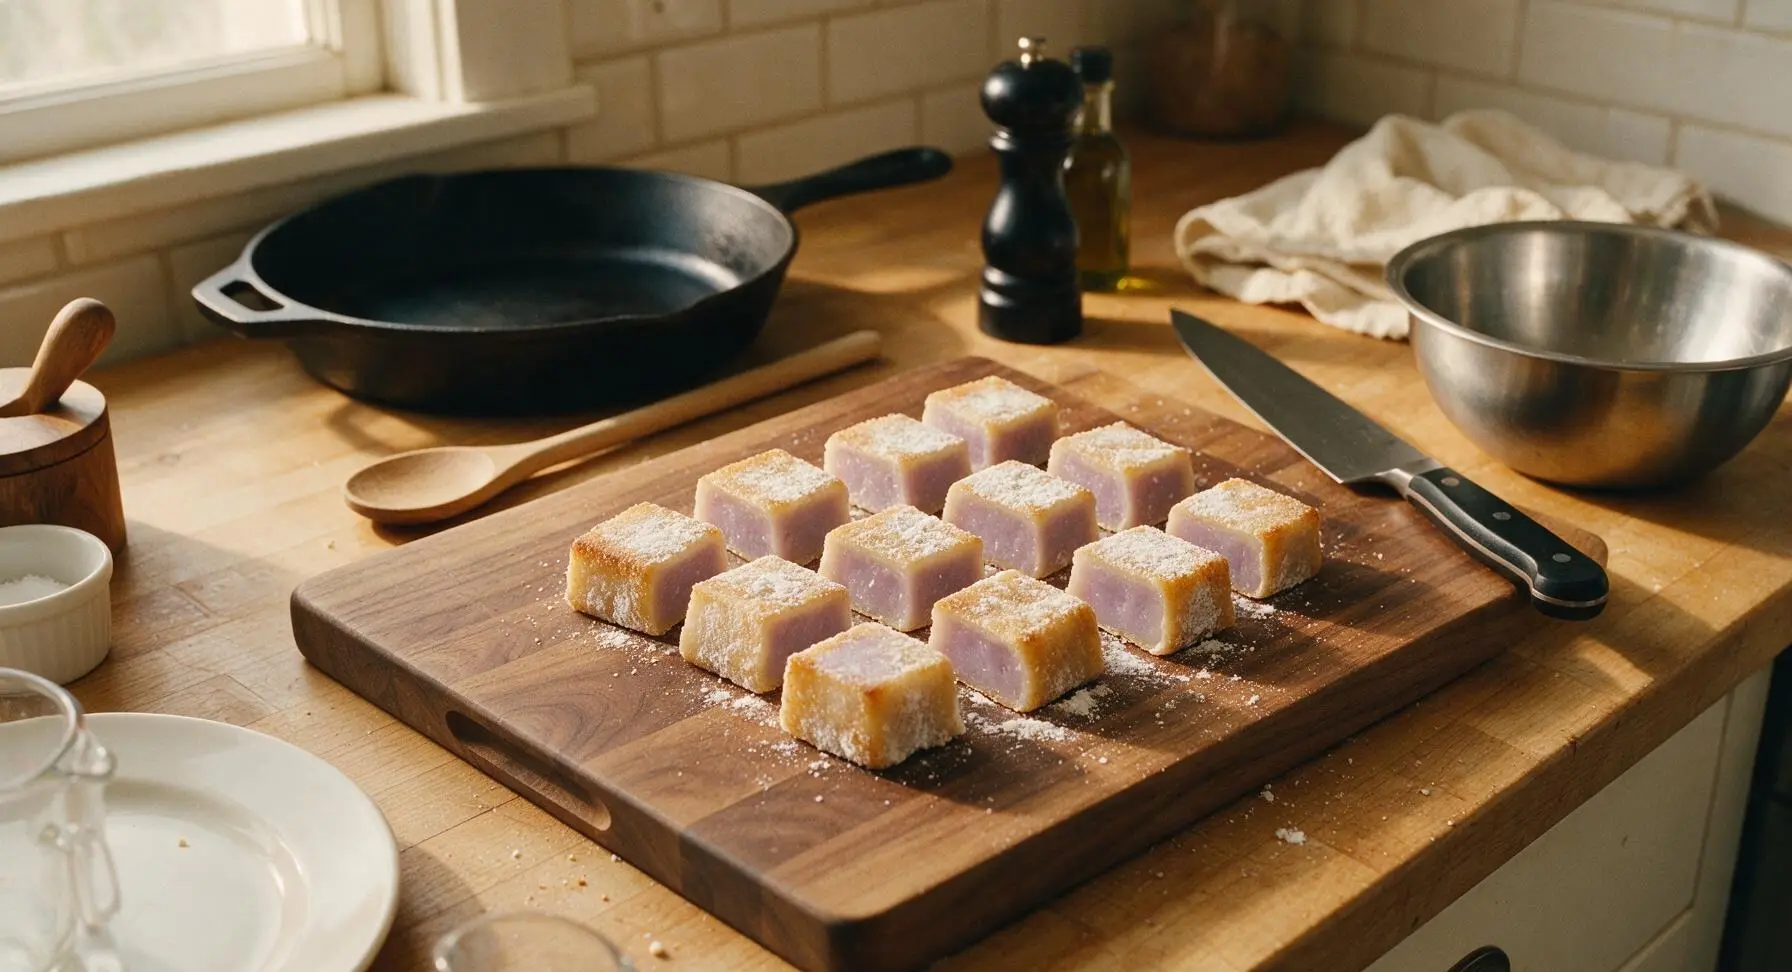
Plate and Serve
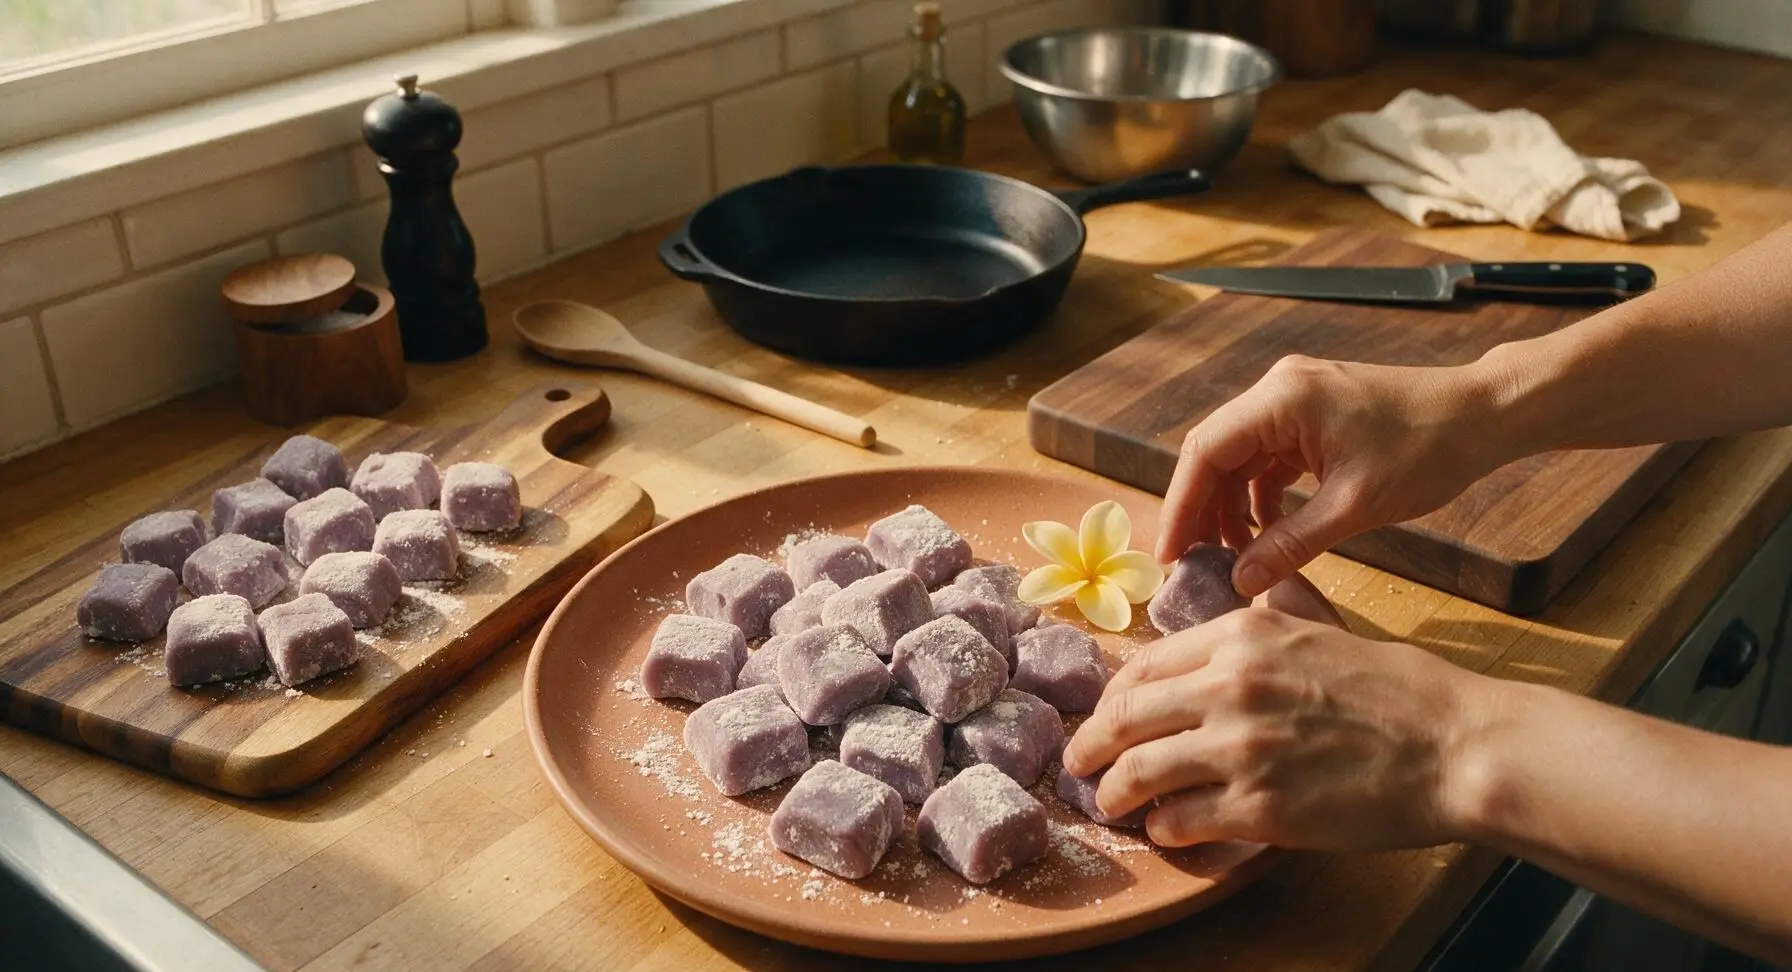
Arrange the dusted poi mochi cubes loosely on the matte terracotta serving platter, tucking the pale yellow plumeria bloom at the rim for a subtle tropical garnish. Serve at room temperature for the best chewy texture; leftovers can be stored in an airtight container at room temperature for up to 3 days.
Tips
2.Always let mochi cool completely for 45 minutes before cutting: warm mochi is extremely sticky and will tear when sliced, leading to ragged edges and misshapen pieces. Use potato starch (not cornstarch) to dust your knife and cut surfaces, as cornstarch will create a gummy texture when stored, while potato starch stays dry and prevents sticking without altering flavor.
3.For a crisp, indulgent variation, pan-fry cut mochi cubes in 1 tsp of coconut oil for 1 minute per side until the exterior is golden and slightly crisp. Serve immediately for a warm, gooey center, optionally dusted with kinako (roasted soybean flour) for extra nutty flavor.






OMG this poi mochi is SO good!!! I grew up eating this at family lūʻaus on Maui and I’ve been chasing that flavor for years since moving to the mainland. The texture is perfectly chewy, not too gummy, and the poi flavor comes through so nicely without being overpowering. Brought a batch to my office potluck last week and people were begging for the recipe before I even left. Total game changer for my weekly meal prep too, I keep a few in the fridge for quick snacks!
My kids loved it!!! I’ve been trying to find easy, fun snacks to make for my son’s soccer team snack time and this was a total hit. It was so simple to throw together even on a busy weeknight, only took me 35 minutes total which is perfect between practice runs and homework help. I added a tiny bit of extra coconut flakes on top per my daughter’s request and it was chef’s kiss. Will absolutely be making this again for our next family dinner night!
So happy I found this recipe! As someone who’s strictly gluten free, I struggle to find mochi recipes that don’t have random hidden gluten additives, and this is perfectly safe. The easy difficulty rating is no joke — I’m a terrible baker and I still pulled this off on the first try. Only note is I think I overbaked mine by 3 minutes so the edges were a little crispier than I wanted, but the center was still perfect.
Y’all, I brought this poi mochi to our neighborhood block party over the weekend and it was the first dish gone. People kept coming up to me asking if I bought it from a fancy local bakery! I will say I swapped the regular sugar for light brown sugar because I love that deeper, nuttier flavor and it paired so well with the poi. 10/10, will be making this for every potluck from now on.
I was so skeptical about making poi mochi at home because I thought it’d be super fussy, but this recipe is foolproof! The chew is exactly what I remember from my grandma’s house, not too sweet, which I love. I served it with a side of lilikoi butter for our Sunday brunch and my whole family raved. So easy even my teen helped mix the batter and didn’t mess it up!
Made this in my tiny dorm kitchen last night with my roommates and we were all blown away. No fancy equipment needed, just a bowl and a baking pan, and it came out perfect. We didn’t even have poi at first so we grabbed some from the local Hawaiian food spot down the street, and it worked like a charm. Super cheap to make too, way better than buying overpriced mochi from the campus snack shop.
Tried this for our weekly ʻohana dinner night and it was a huge hit. I’ve made a lot of mochi recipes over the years that turn out either rock hard the next day or way too sticky to handle, but this one had the perfect texture even 2 days later. My only feedback is I wish the recipe noted what size pan to use! I used an 8x8 and it worked, but I almost grabbed a 9x13 which would’ve made them way too thin.
Wait a second, this is way easier than the butter mochi I usually make! I love that the poi adds that subtle earthy flavor that cuts the sweetness so it doesn’t feel like you’re eating straight sugar. I made a batch last night to bring to my book club and everyone was asking for the recipe before we even started discussing the book. SO good, 10/10.
I’ll be honest, I had no idea what poi was before I saw this recipe but I saw it was easy and decided to give it a shot. Picked up some poi from the grocery store on a whim and wow, this is so good! Chewy, slightly sweet, totally unique from any other dessert I’ve made lately. My partner said it tastes like something we’d get at a fancy Hawaiian restaurant, which is a huge win considering I can barely cook toast without burning it half the time. Will be experimenting with adding matcha to the next batch!