
pork back ribs in oven
intro
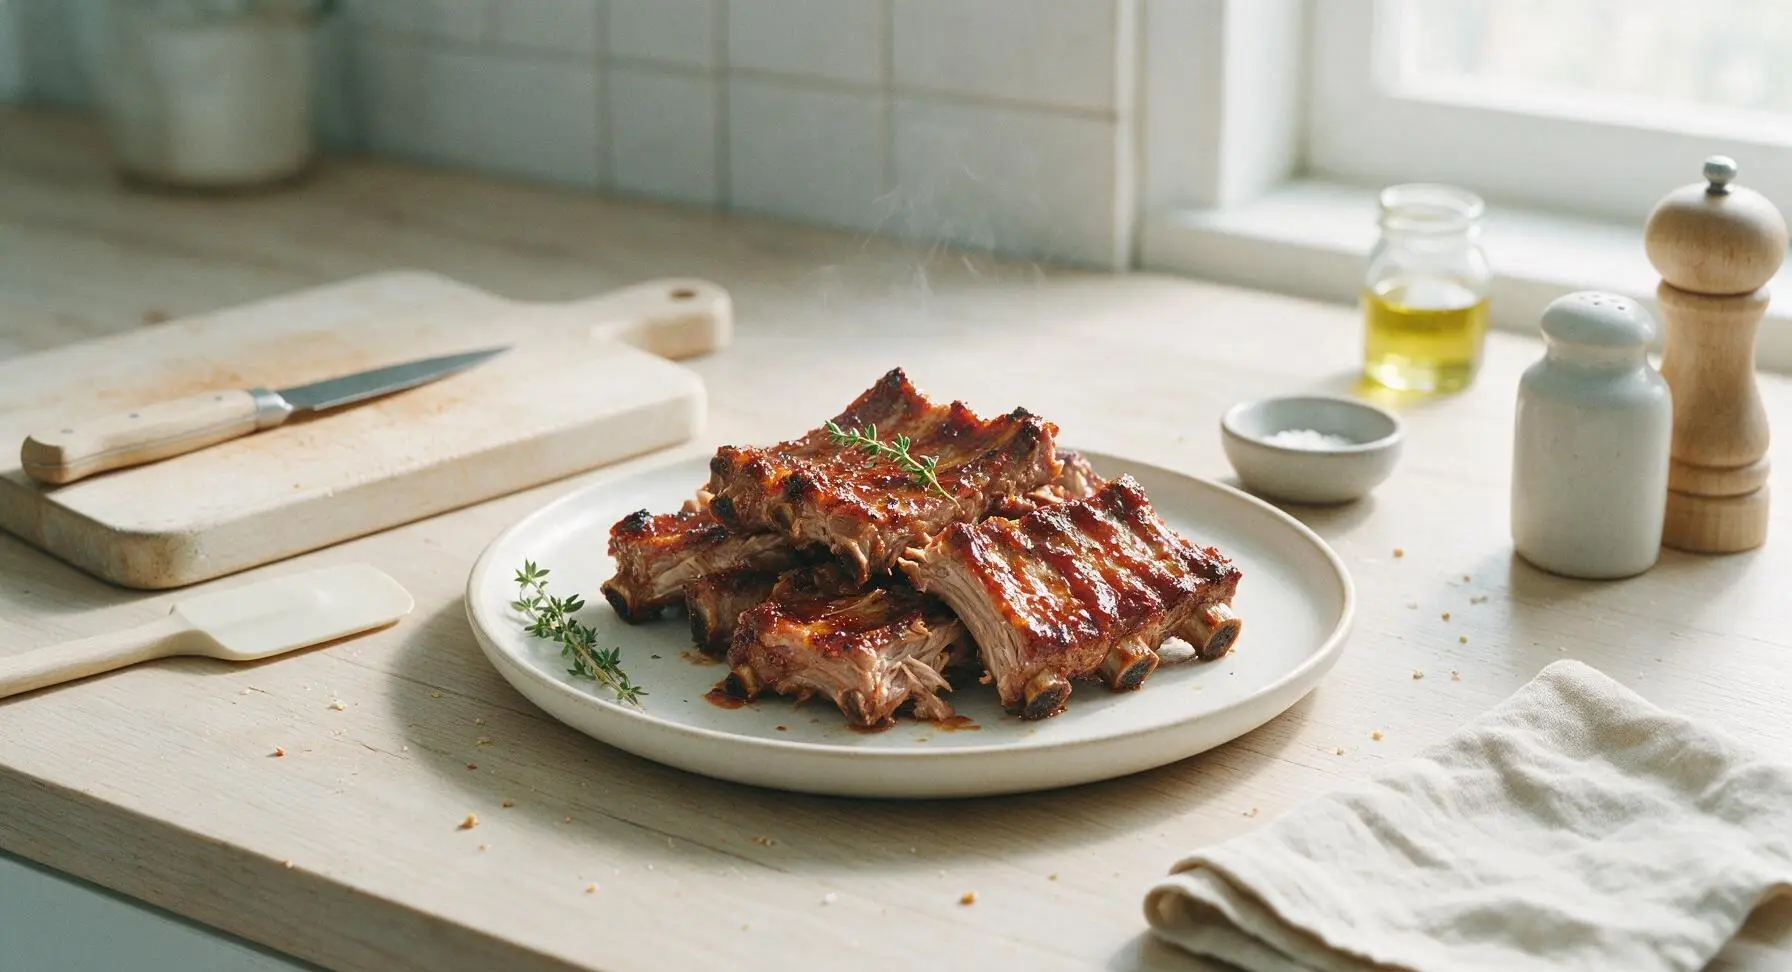
Tender, fall-off-the-bone oven-baked pork back ribs coated in smoky sweet rub and glossy caramelized BBQ sauce, delivering classic cookout flavor with no smoker required.
Ingredients
Steps
Remove Rib Membrane
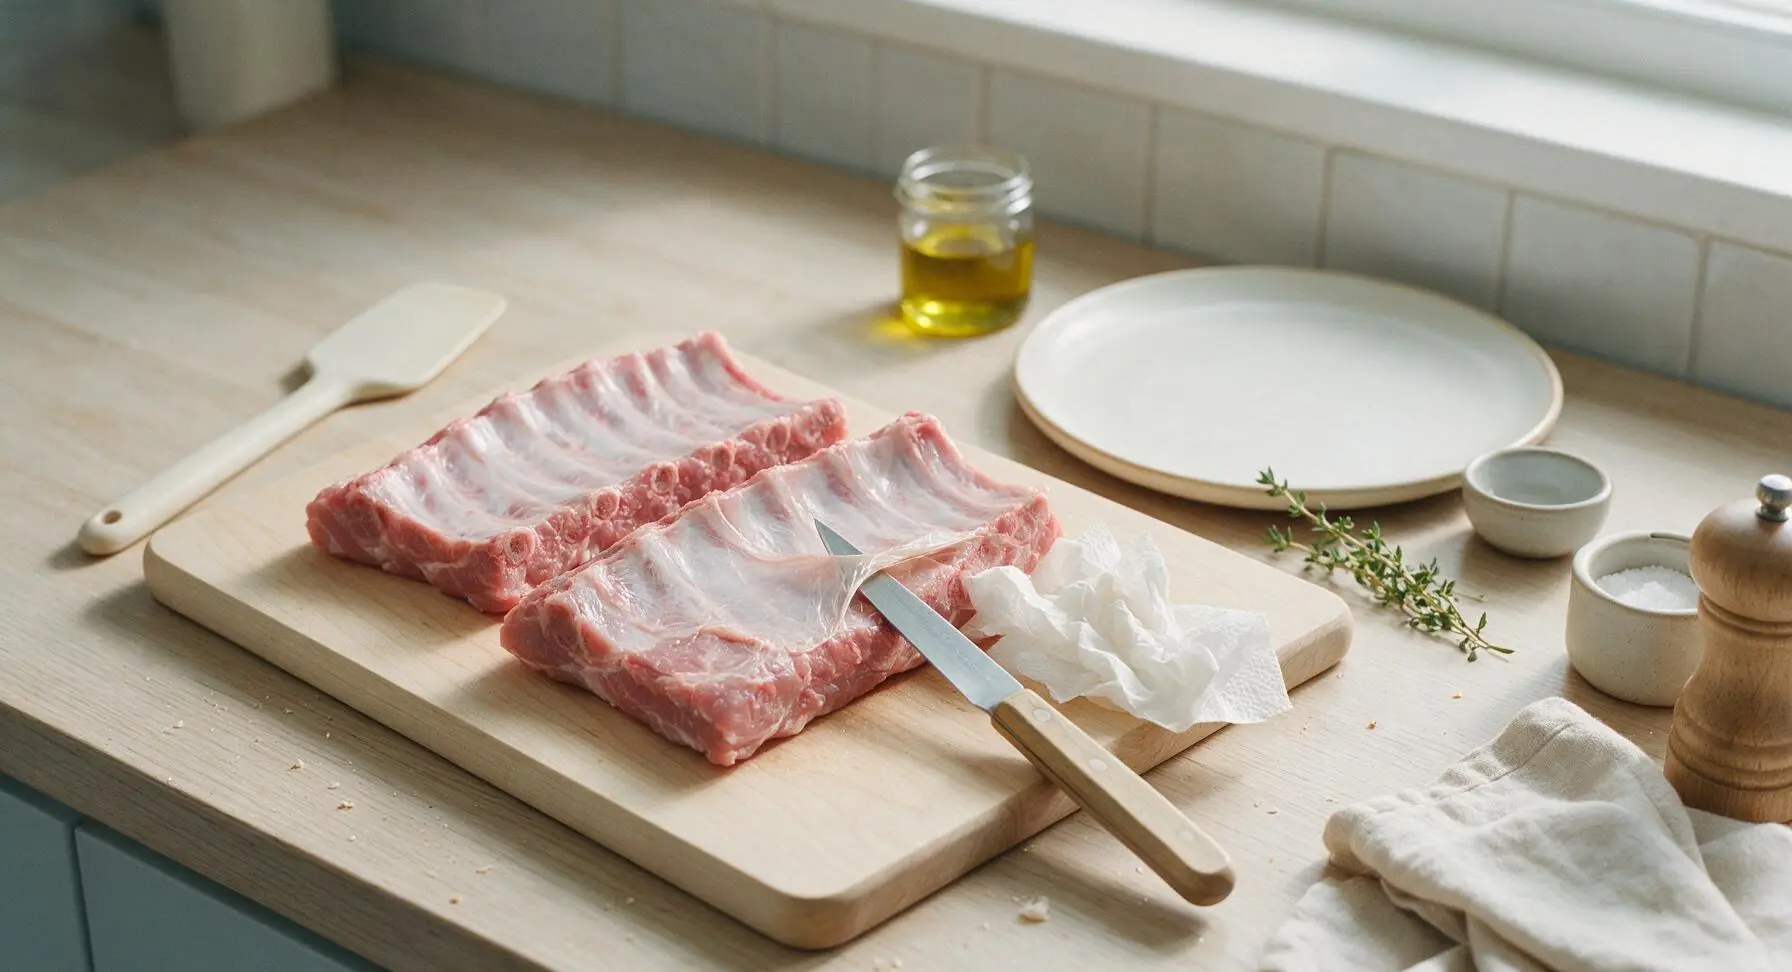
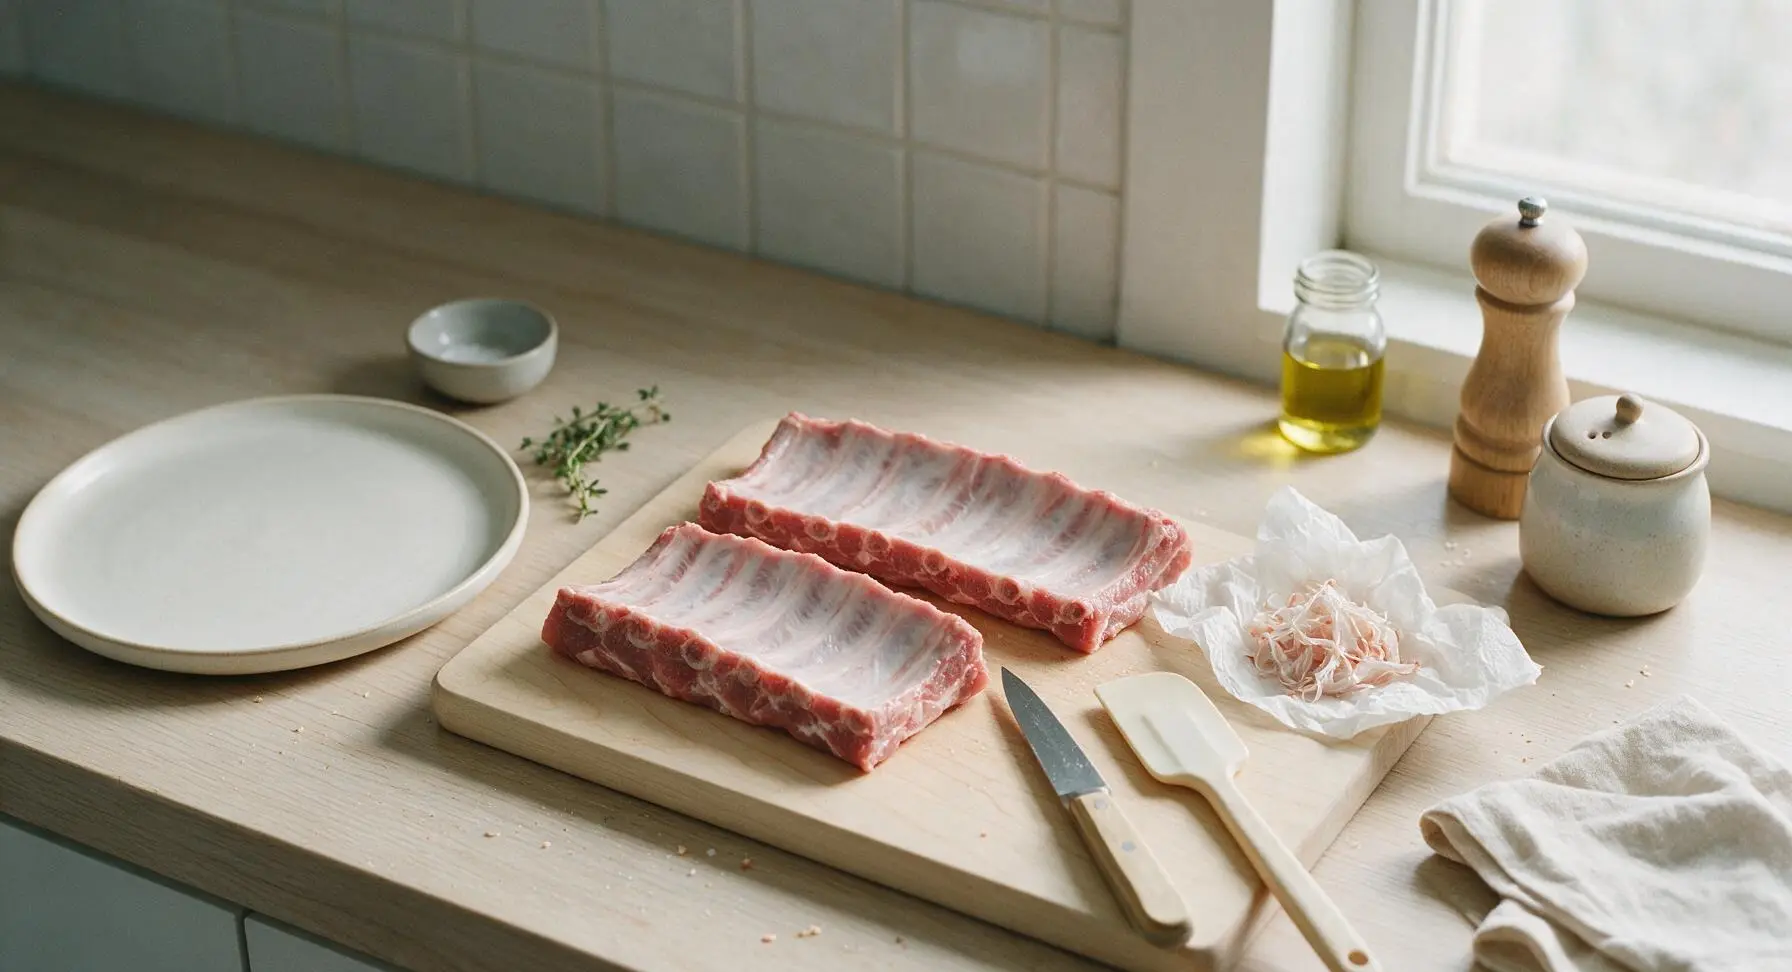
Remove the 2 racks of pork back ribs from packaging, pat completely dry with paper towels. Flip the ribs bone-side up on the light grey cutting board. Use the tip of the chef knife to pry up the thin, papery silver membrane covering the bone side, grip the loose edge with a crumpled paper towel for extra traction, and pull it off in one full sheet. Discard the removed membrane. Skipping this step will result in chewy, tough ribs even with long cooking.
Mix Dry Rub
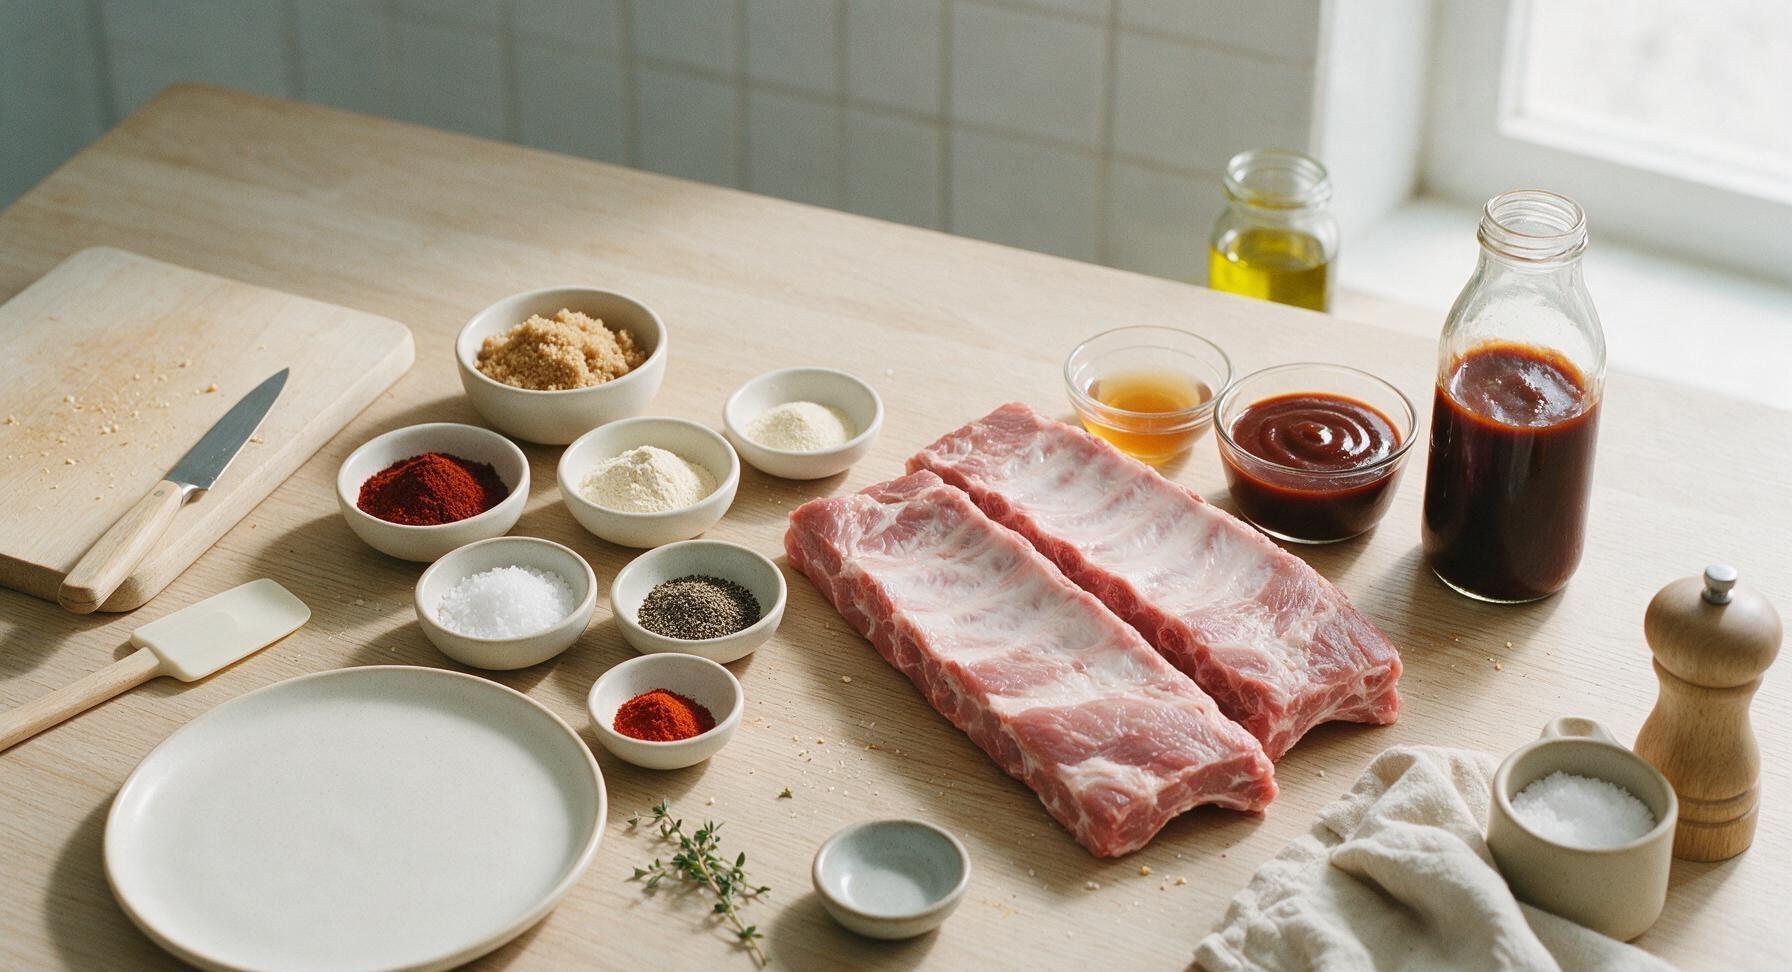
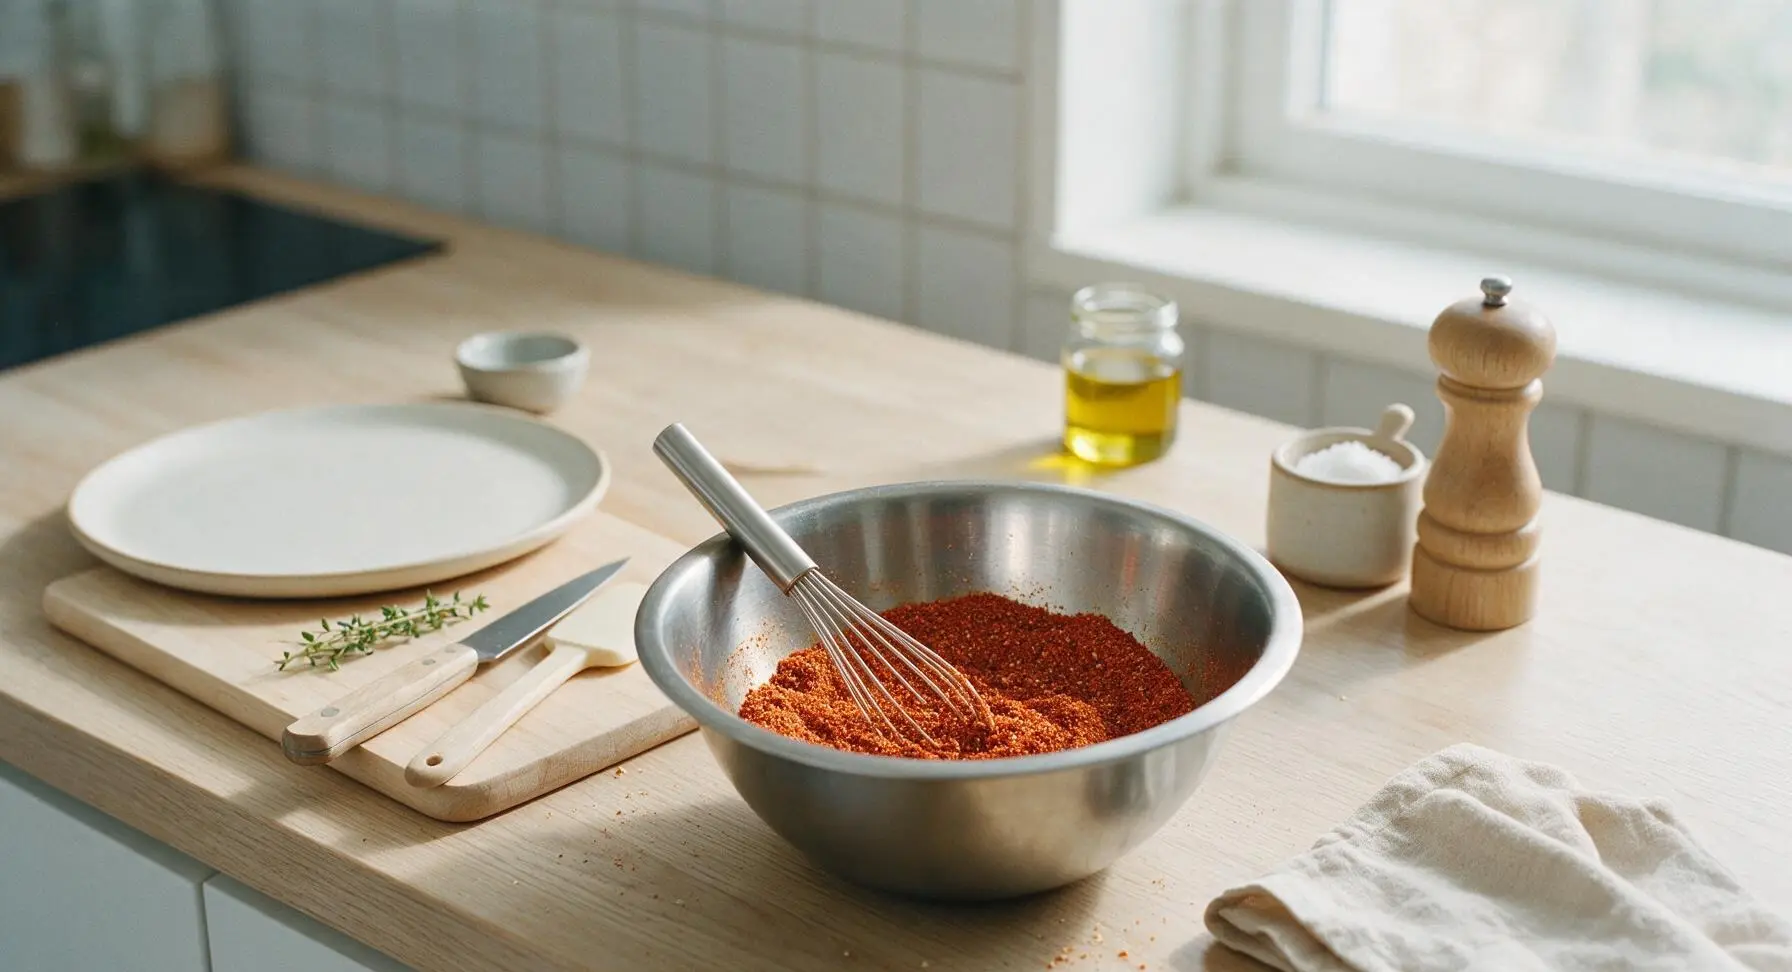
In the brushed stainless steel mixing bowl, combine 3 tbsp light brown sugar, 2 tbsp smoked paprika, 1 tbsp garlic powder, 1 tsp onion powder, 1.5 tsp coarse kosher salt, 1 tsp black pepper, and 1/4 tsp cayenne pepper. Use the small stainless steel whisk to stir the spices until fully combined, breaking up any hard clumps of brown sugar as you mix. The finished rub should be a uniform rust-red color with no streaks of individual spices visible.
Coat Ribs With Rub
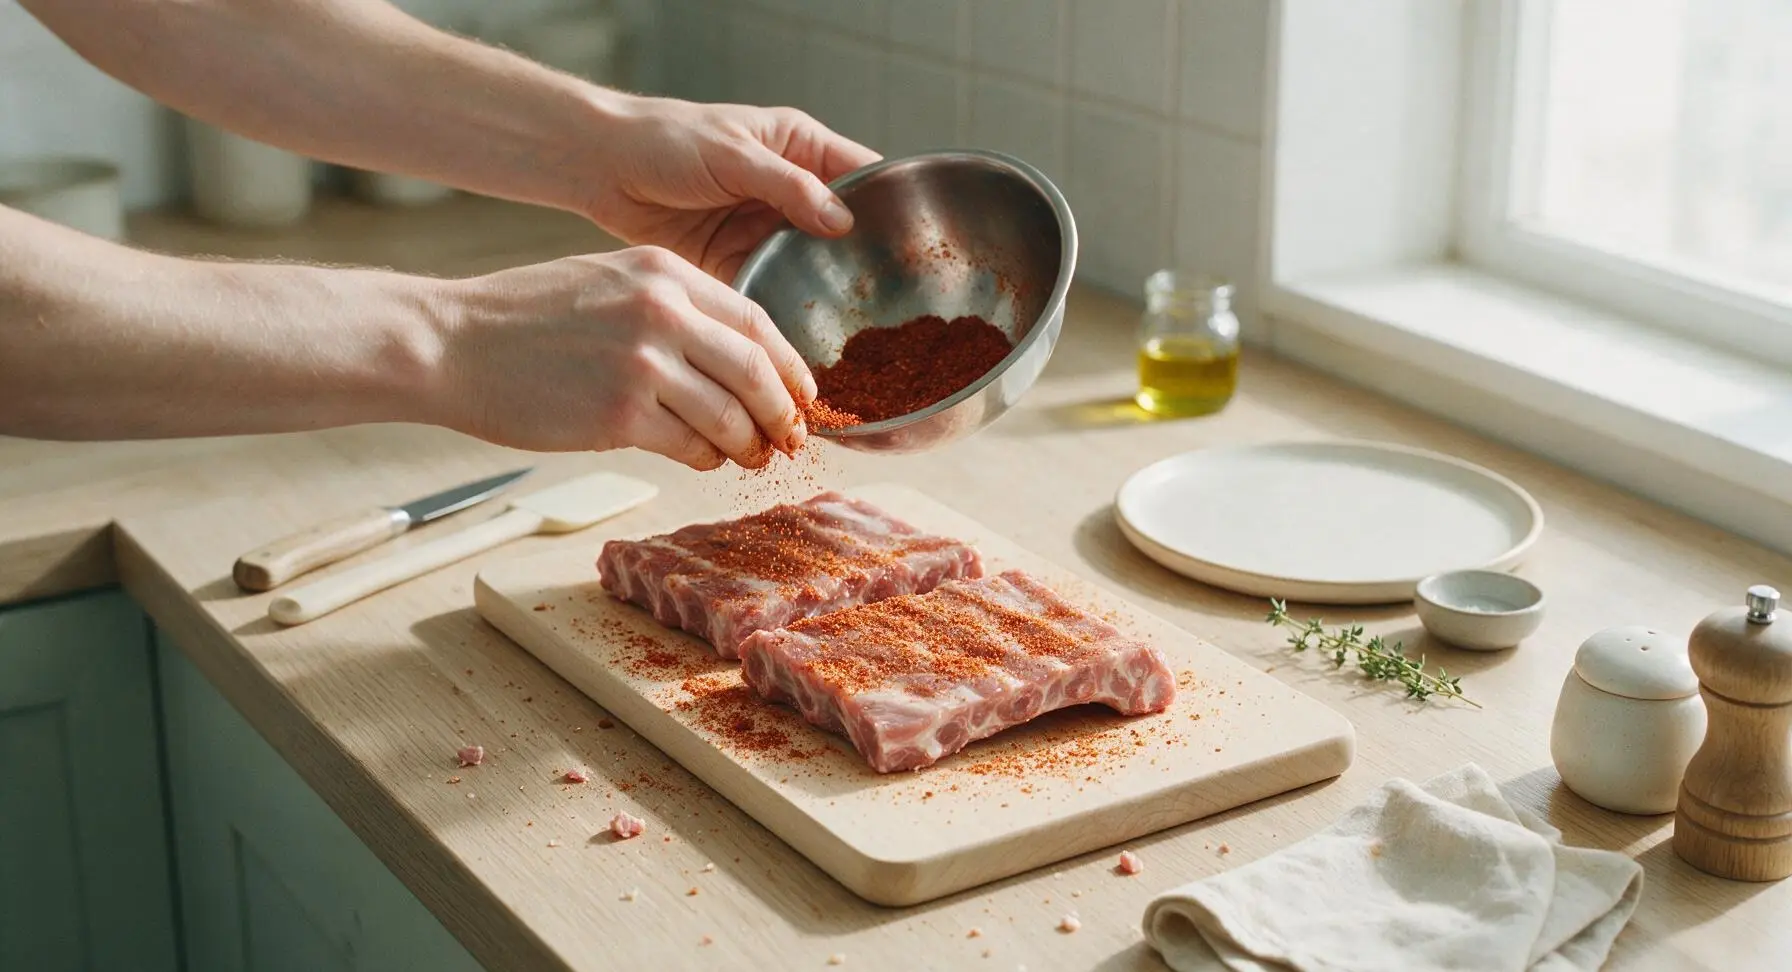
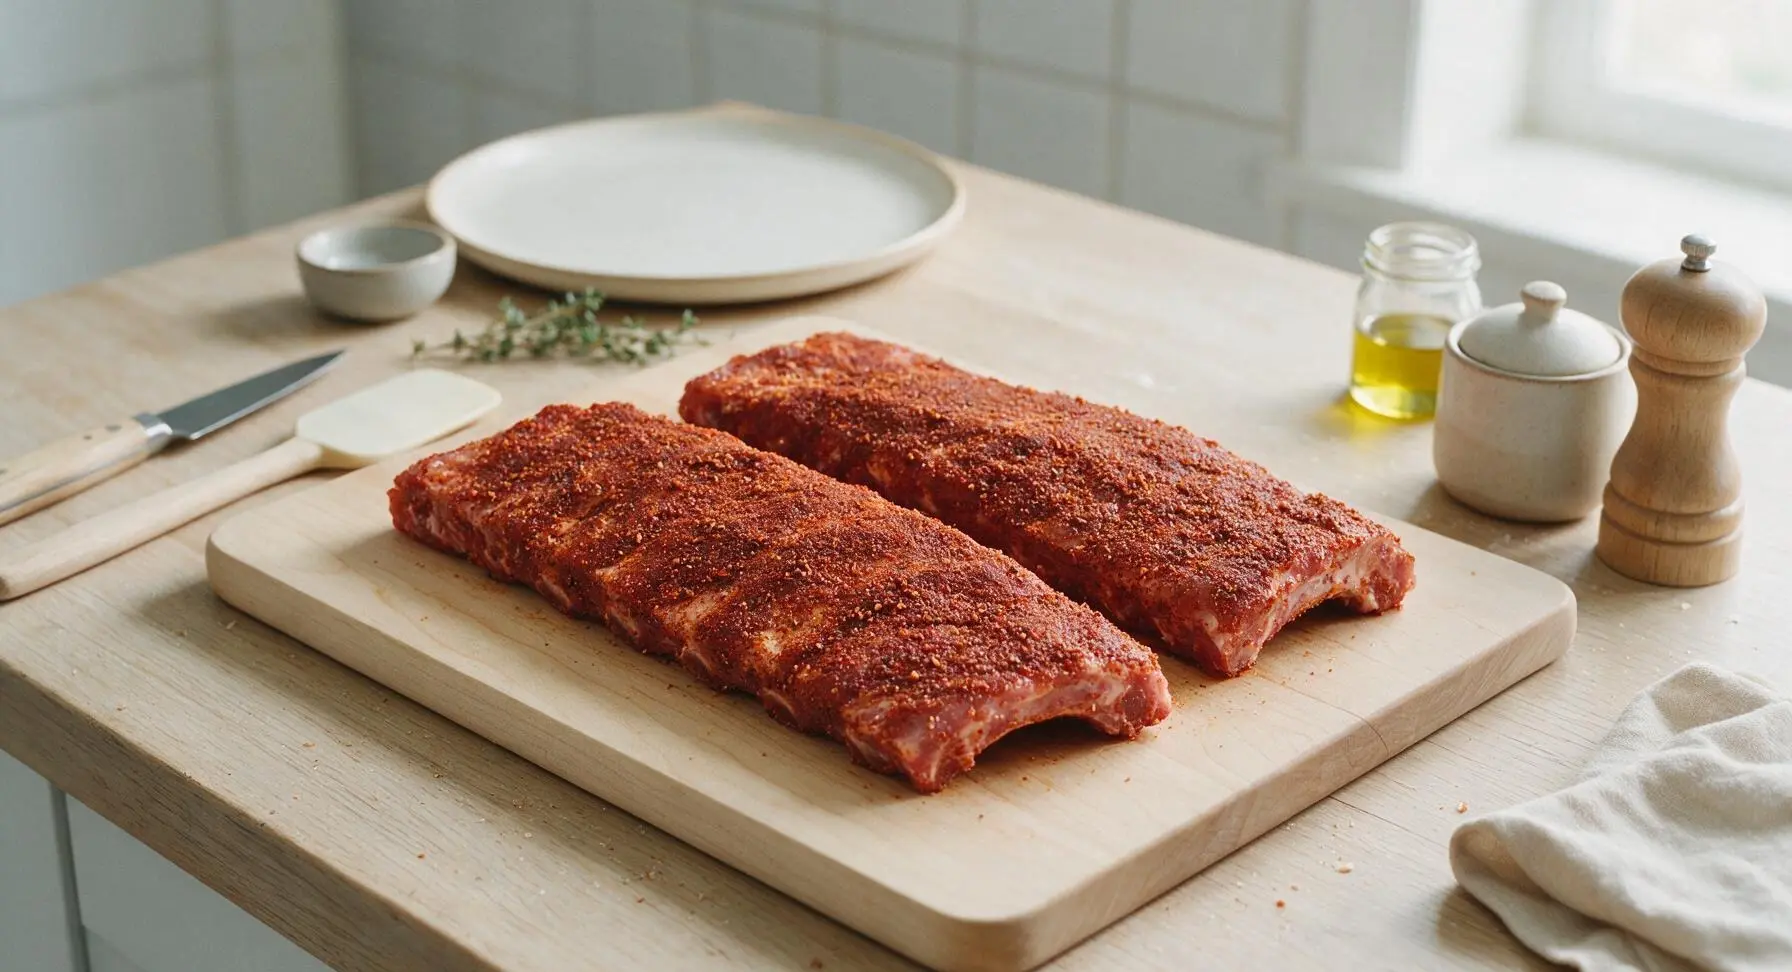
Drizzle 2 tbsp apple cider vinegar over both sides of the rib racks, rubbing lightly with your fingertips to create a damp surface that helps the spice mix adhere. Sprinkle the dry rub evenly over every surface of the ribs—top, bottom, and narrow edges—pressing gently to create a firm, even coating. Do not press so hard that the rub clumps into thick patches. Let the seasoned ribs rest at room temperature for 15 minutes while you preheat the oven to 300°F (150°C).
Arrange Ribs For Baking
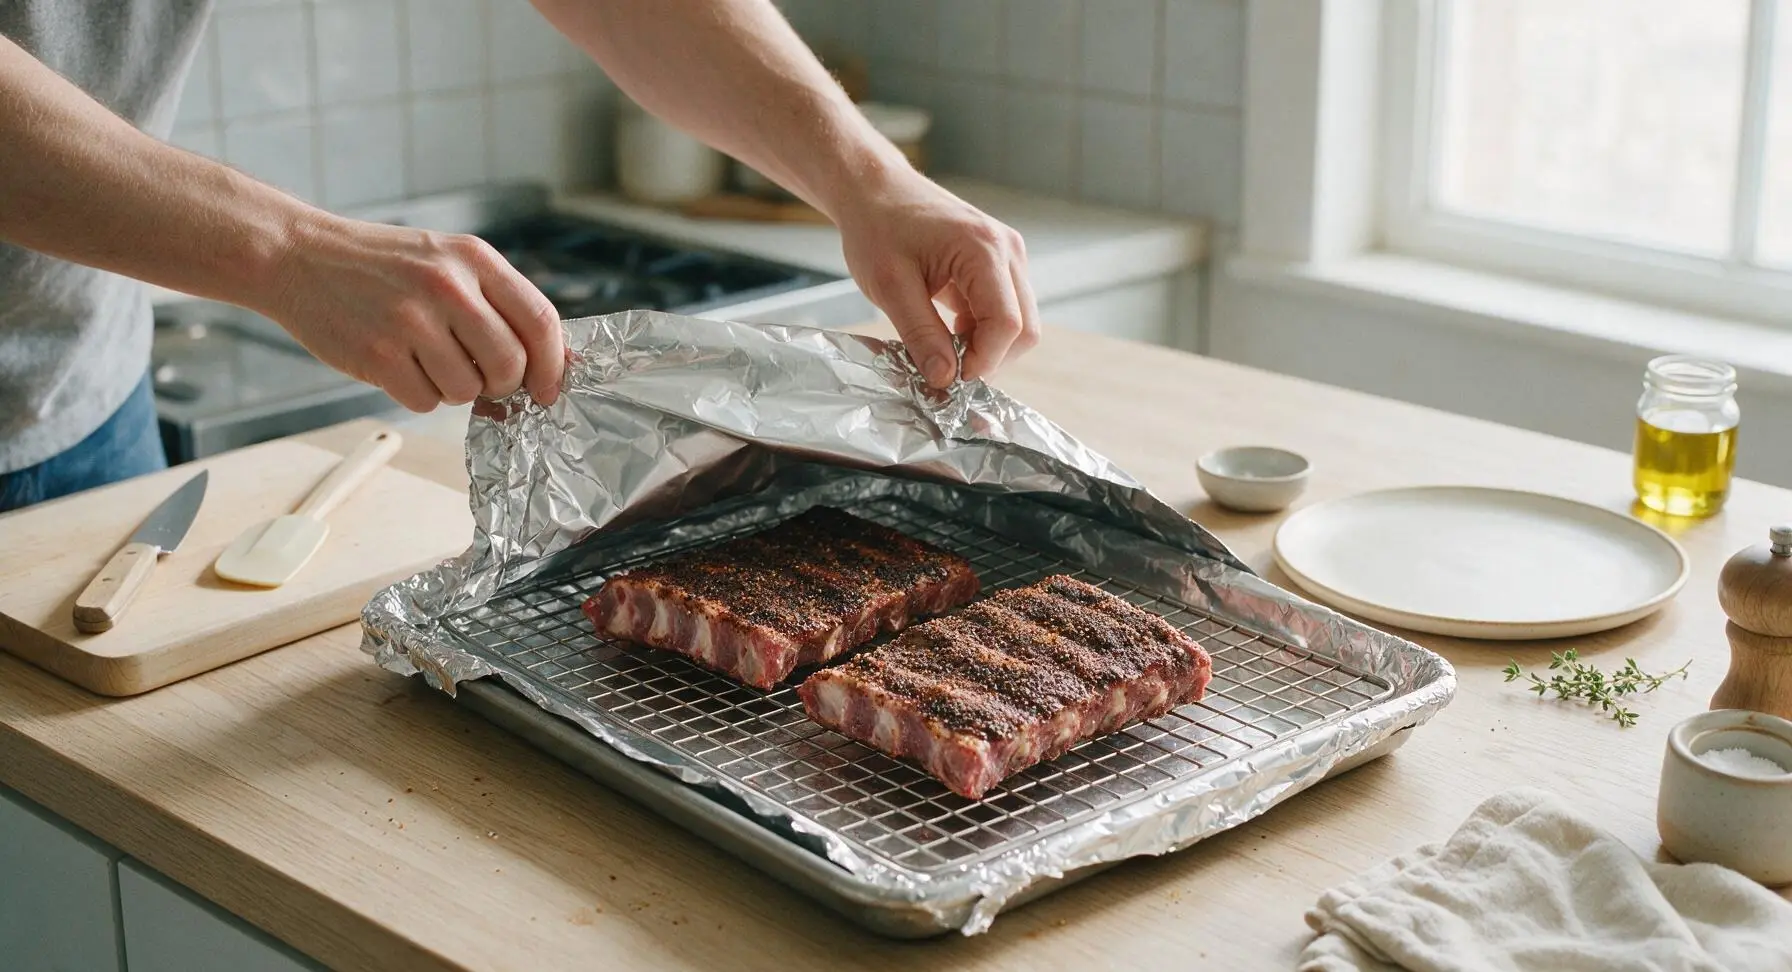
Line the heavy-gauge aluminum rimmed baking sheet with a sheet of heavy-duty aluminum foil for easy cleanup, then set the stainless steel wire rack inside the lined sheet. Arrange the rub-coated rib racks bone-side down on the wire rack, leaving 1 inch of open space between the two racks to allow even air flow. Tear a second large sheet of foil and tent it tightly over the top of the baking sheet, crimping the edges firmly to the pan rim to create a sealed, steamy cooking environment.
Slow Bake Until Tender
Place the sealed baking sheet on the middle rack of the preheated 300°F (150°C) oven. Bake for 2 hours, until the meat pulls back from the cut ends of the bones by about 1/2 inch, and a fork inserted into the thickest part of the rib twists easily with no resistance. Avoid opening the oven door for the first 90 minutes to keep trapped heat and steam from escaping, which slows cooking and can dry out ribs.
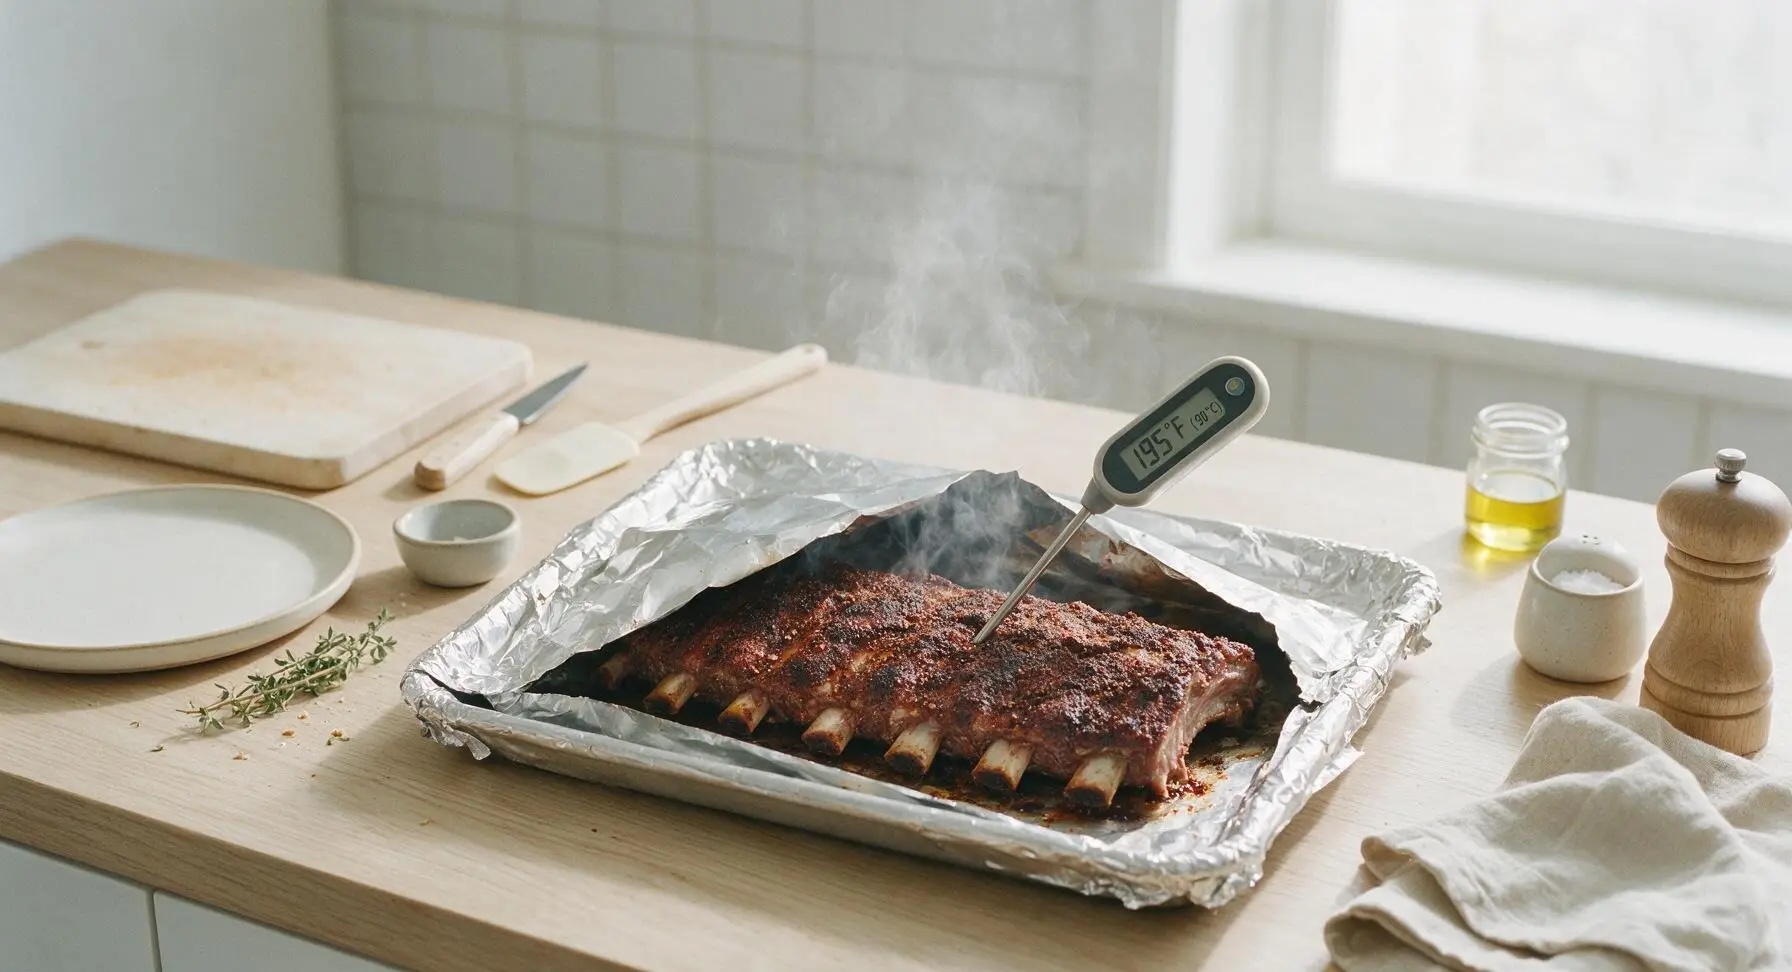
Brush On Barbecue Sauce
Remove the baking sheet from the oven, carefully peel off the top foil tent (tilt the foil away from your face to avoid burns from escaping hot steam). Turn the oven temperature up to 425°F (220°C). Use the silicone basting brush to slather a thick, even layer of barbecue sauce over the top and sides of the rib racks, making sure to get sauce into every crevice between the bones. Leave the bone side un-sauced to prevent sticking to the wire rack.
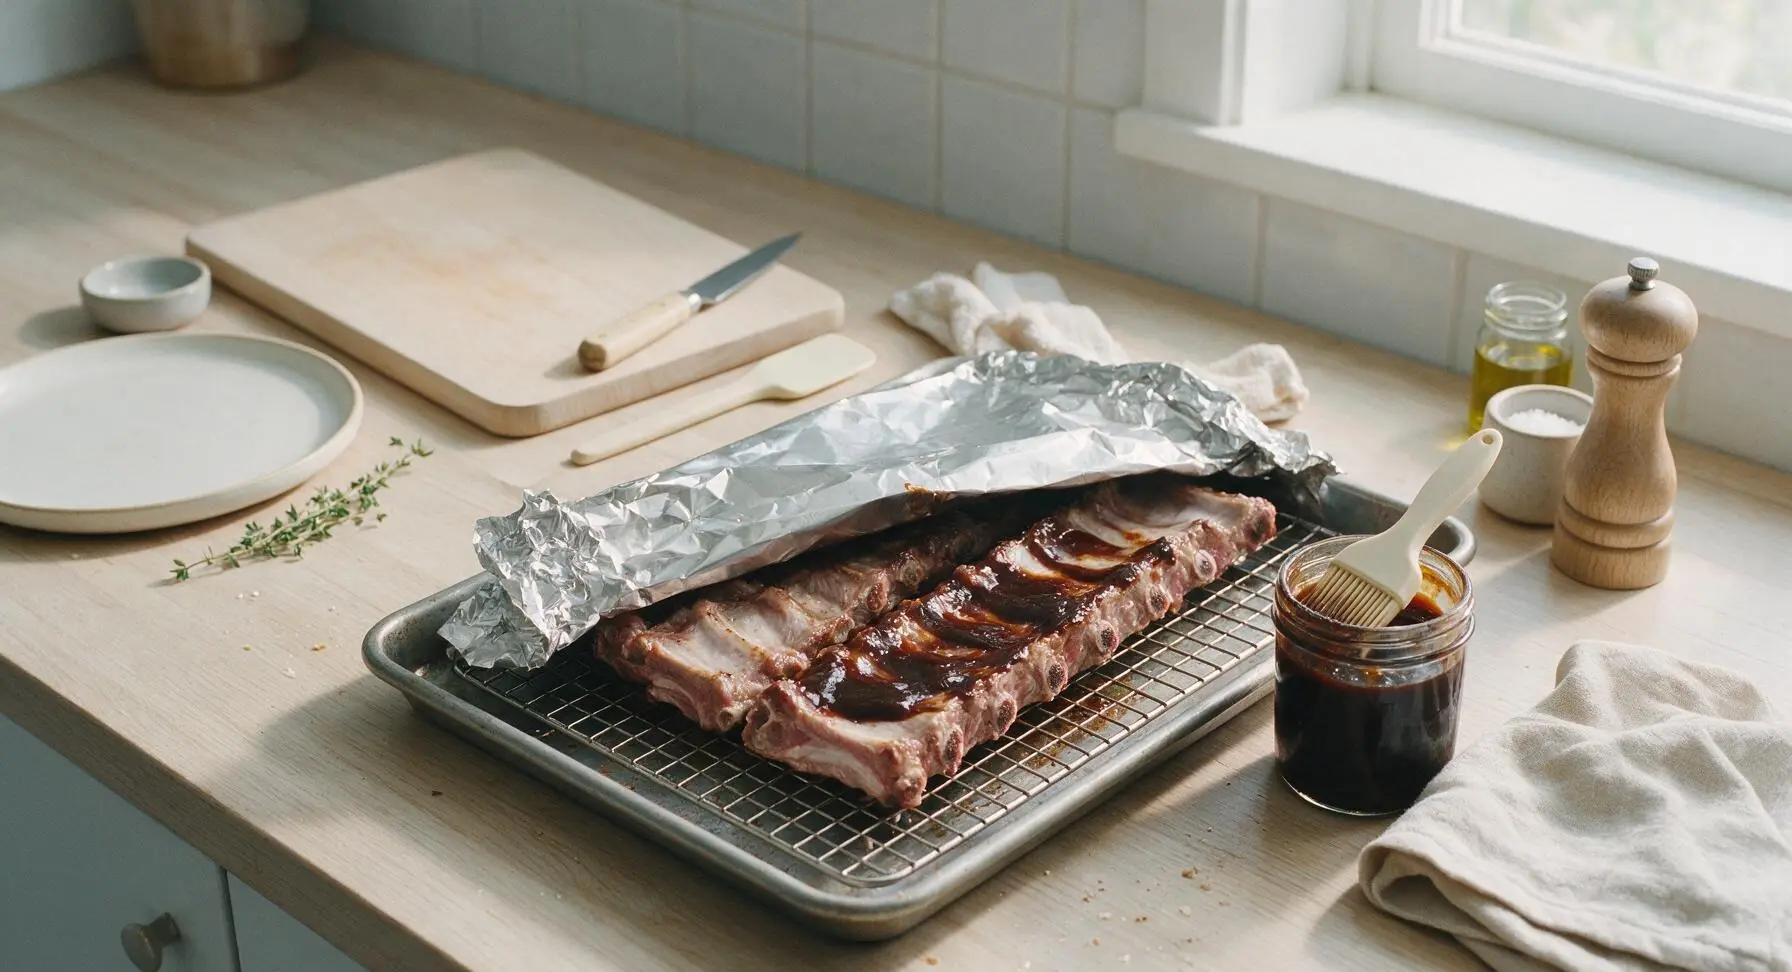
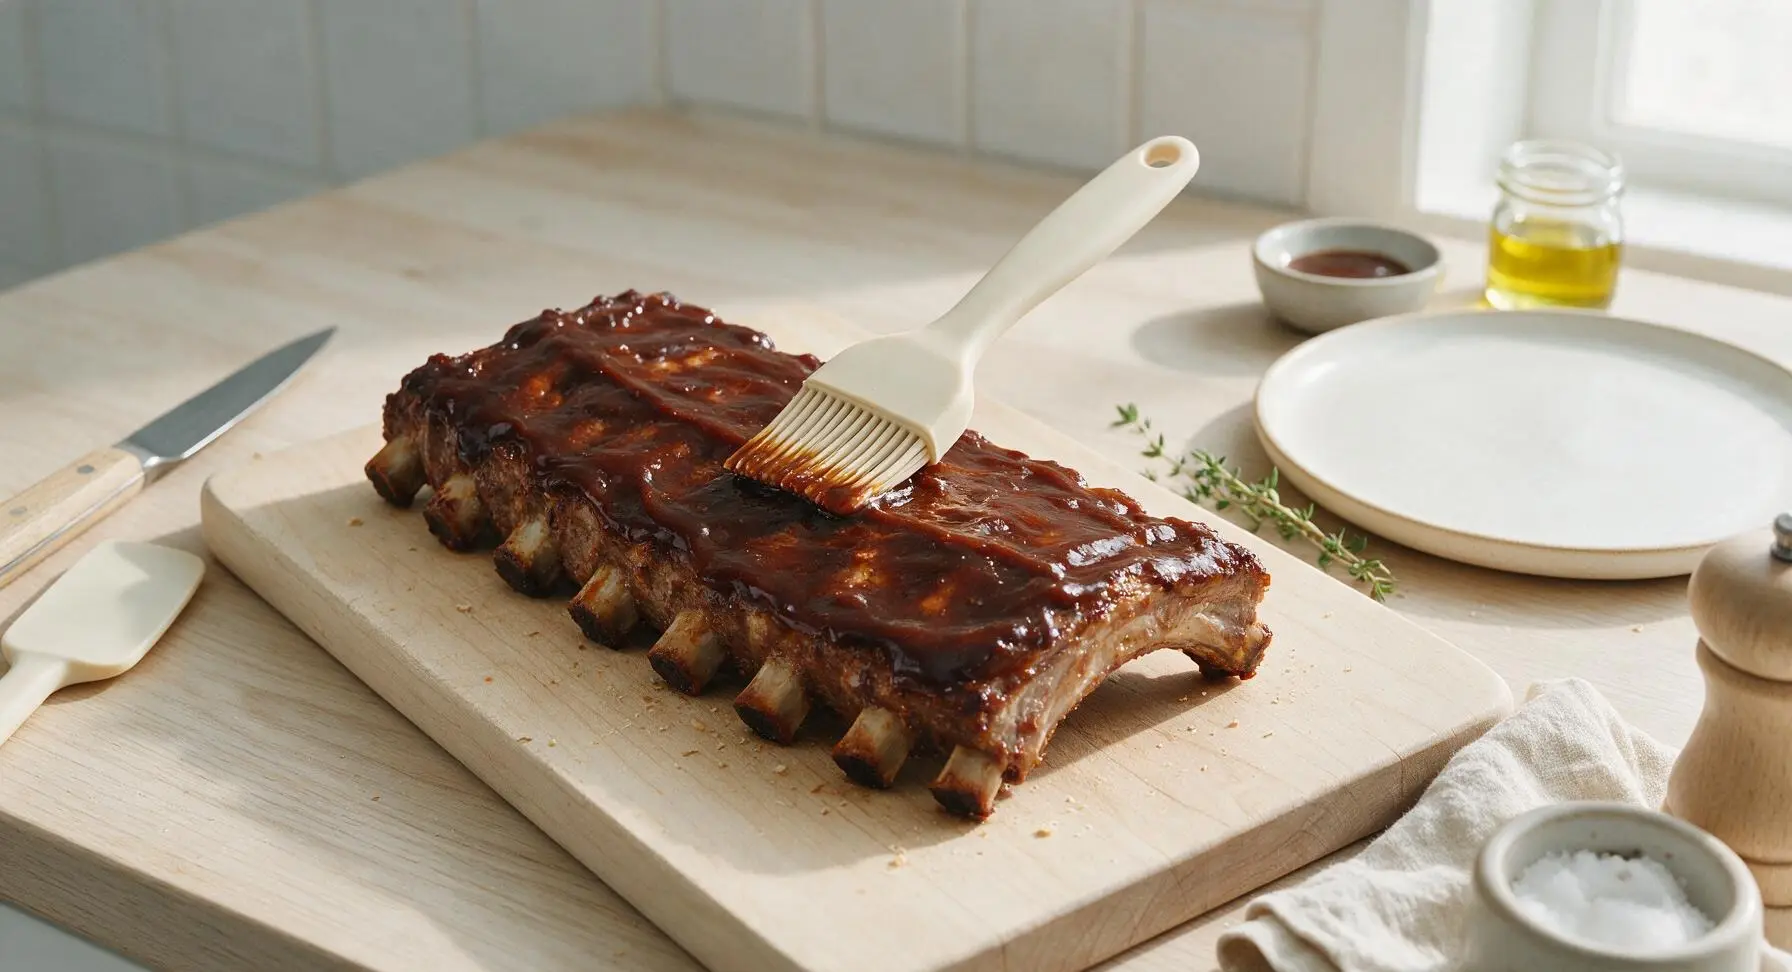
Caramelize Sauce Glaze
Return the uncovered baking sheet to the 425°F (220°C) oven. Bake for 10-12 minutes, until the barbecue sauce is bubbly, sticky, and slightly caramelized at the edges, with no runny wet sauce left on the rib surface. Watch closely during the last 3 minutes of cooking to avoid burning the sugar in the sauce, which turns bitter quickly. Once done, remove the ribs from the oven and let them rest for 10 minutes, tented loosely with a small piece of foil, to let juices redistribute.
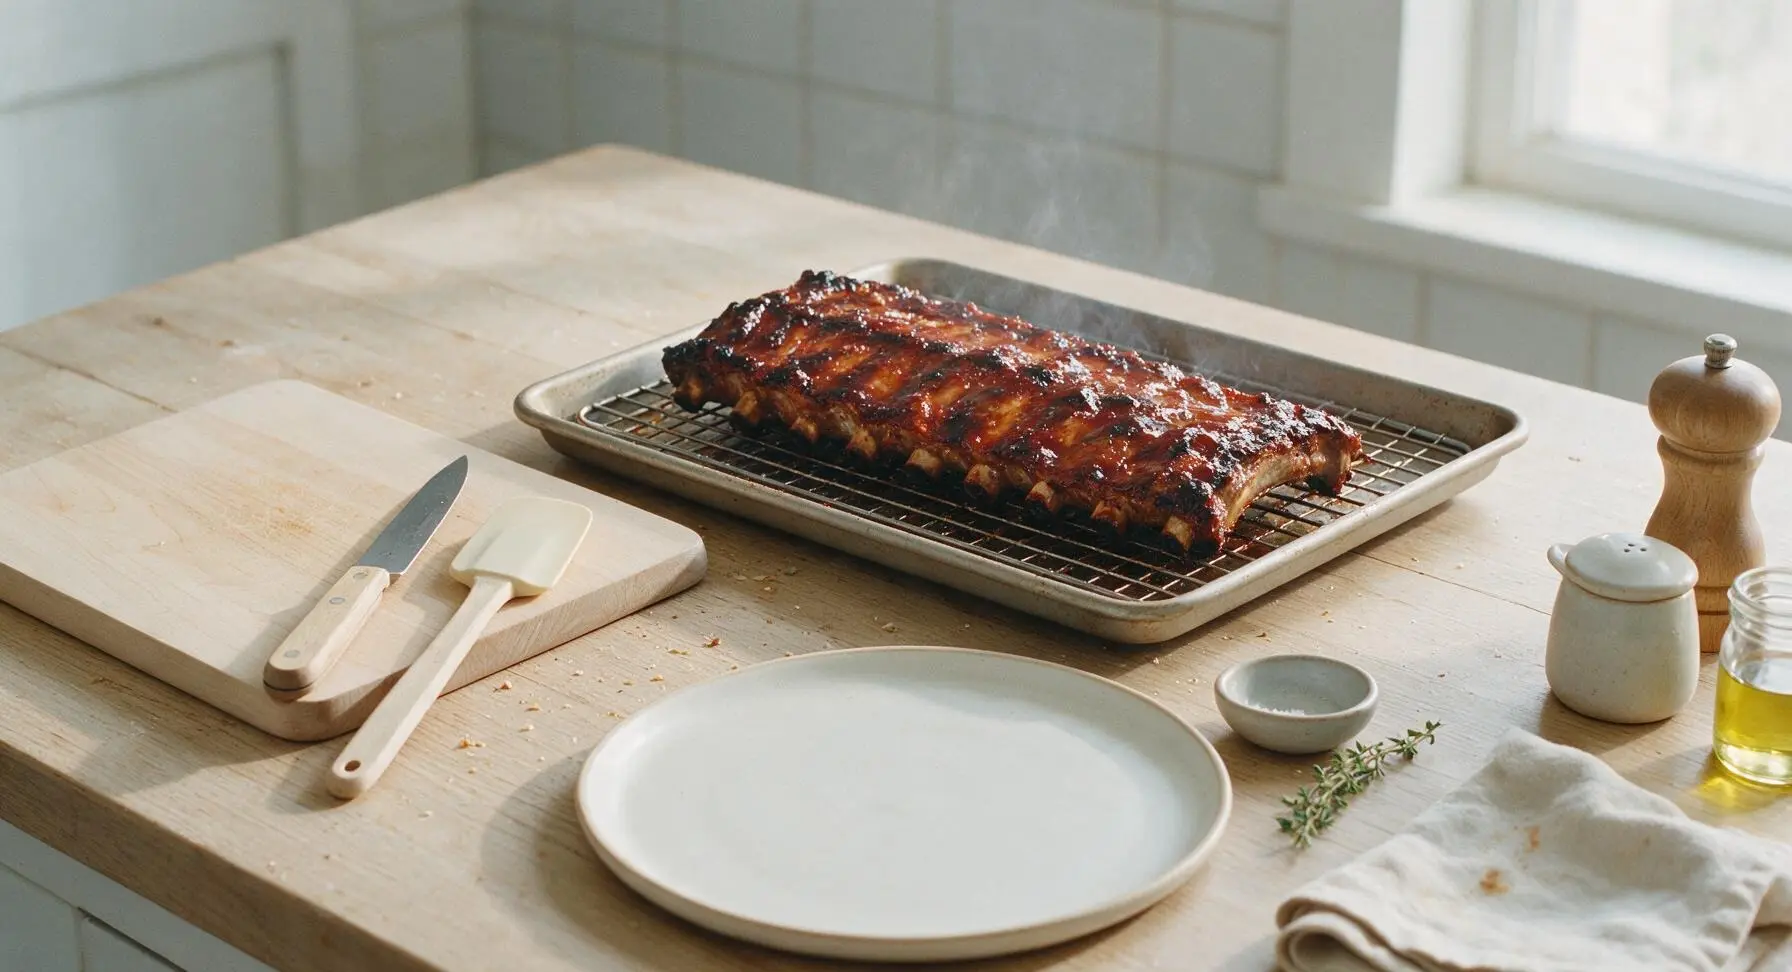
Slice And Plate Ribs
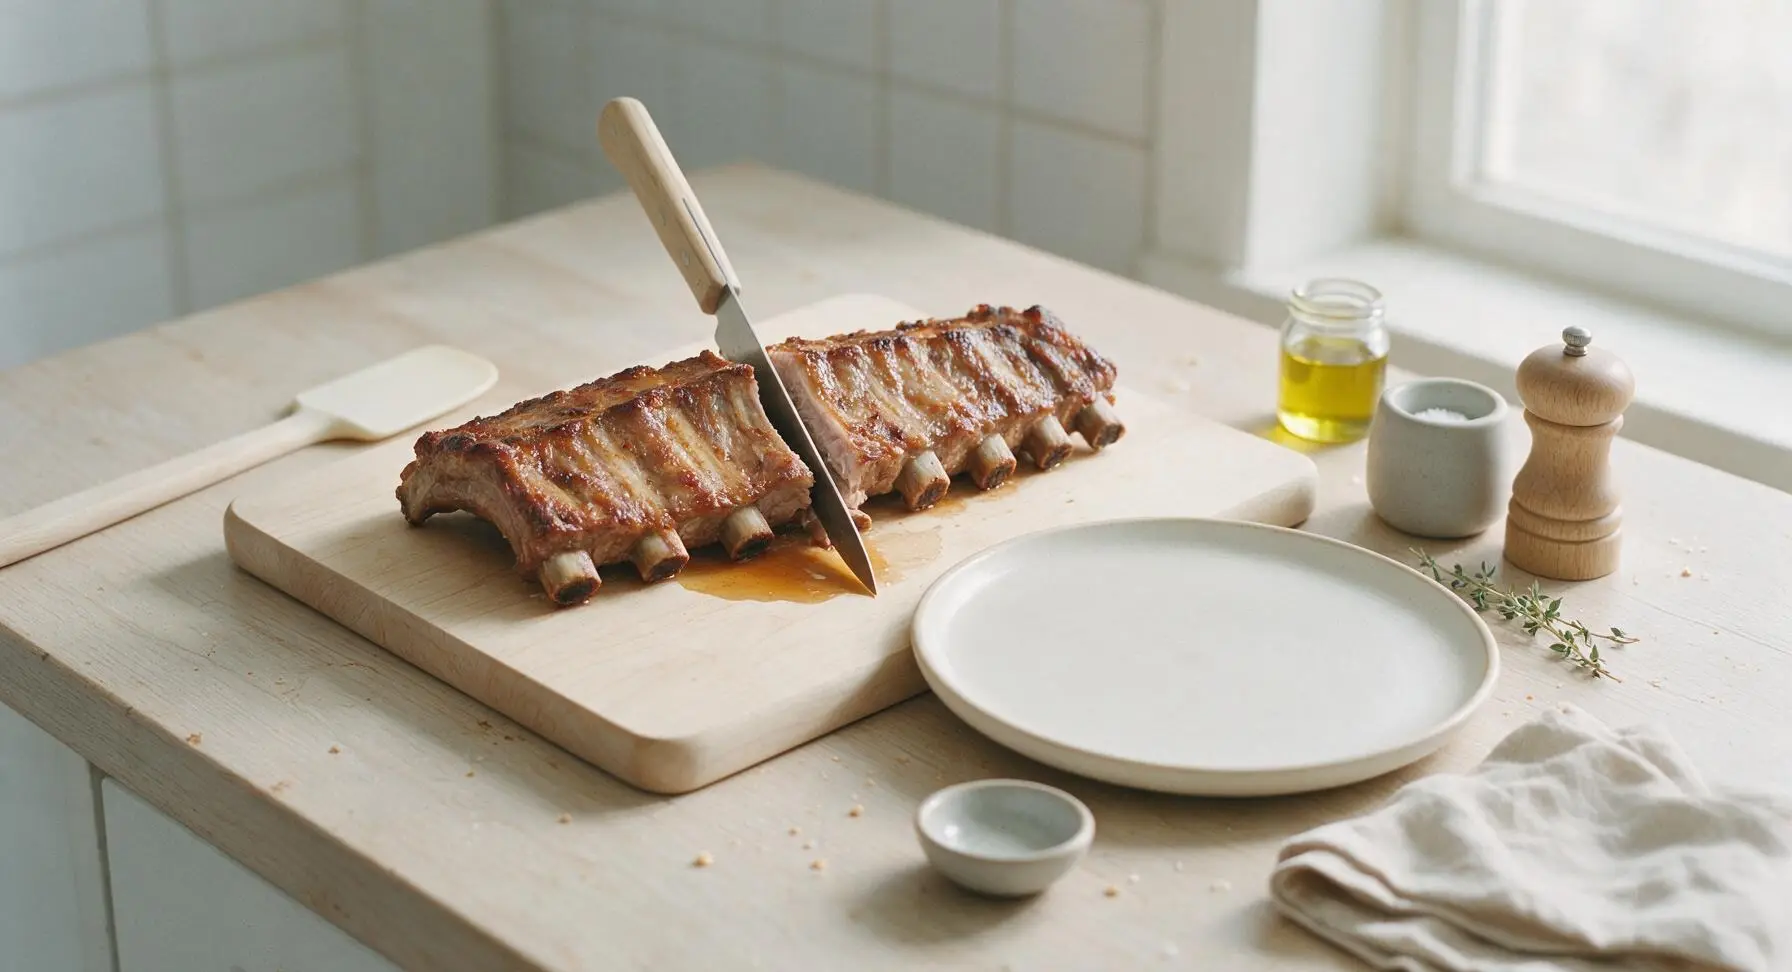
Transfer the rested whole rib racks to the light grey cutting board. Use the chef knife to slice cleanly between the bones into individual 1-2 bone portions, cutting straight down through the tender meat without sawing. Arrange the sliced ribs on the matte cream ceramic dinner plate, drizzle any collected pan sauce over the top, and garnish with a few fresh thyme sprigs before serving.
Tips
2.Don’t skip the sealed foil tent for the low-temperature bake: trapping steam around the ribs slowly melts tough connective tissue into rich, juicy gelatin without drying out the meat, creating tender ribs in less time than open-air low-and-slow cooking.
3.Let ribs rest for 10 minutes after glazing: slicing ribs immediately after coming out of the oven causes hot, runny meat juices to pour out onto the plate, leaving the meat dry. Resting lets juices set back into the muscle for every bite to be moist and flavorful.






OMG these were SO good! I made them for our Sunday family dinner last weekend and everyone went back for seconds. The meat literally slid right off the bone like the recipe says, I didn’t even have to fight to pull it off. I used my go-to dry rub and a little splash of apple cider vinegar in the foil packet and it was chef’s kiss. 10/10 will be making these for our fall potluck next month too!
Total game changer for my weekly meal prep! I was so tired of tough, dried out ribs from my old recipe, and this was so easy even on a busy weeknight. I portioned them out with roasted broccoli and mac and cheese for my lunches all week, and they reheated perfectly without getting rubbery. Who knew oven ribs could be this good?
As someone who can barely make mac and cheese without burning it, I was shocked how easy these turned out. No fancy smoker needed, just my regular apartment oven? Insane. My roommates thought I ordered them from a BBQ spot down the street lmao. Definitely adding this to my tiny kitchen rotation.
My kids loved it!!! I’ve tried so many rib recipes over the years that end up too chewy or too salty, and these were perfect. The cook time was totally doable even with soccer practice drop offs and homework — I popped them in the oven right after getting home and they were done by dinner time. Even my pickiest eater ate two full ribs without complaining, that’s a miracle in my house.
Great base recipe! I added a little smoked paprika and brown sugar to my rub, and basted with hickory BBQ sauce the last 15 minutes like I usually do, and the texture was spot on. The low and slow temp in the oven is exactly what I was missing with my old attempts. Only reason it’s not 5 stars is I wish the recipe noted you can remove the membrane easier with a paper towel, but that’s a tiny thing.
Brought these to my neighborhood block party last Saturday and people were asking me for the recipe before I even set the platter down! They stayed tender even sitting out for a couple hours, and I didn’t have to man a grill the whole time like I usually do for ribs. 10/10, will be making these for every gathering from now on.
I made these for my husband’s birthday dinner since ribs are his favorite, and I was so nervous I’d mess them up! The instructions were super straightforward, no confusing steps, and they came out perfectly tender. He said they were better than the ribs we got at that fancy BBQ place on our honeymoon. Win for wife status unlocked fr.
SO good, and way cheaper than buying takeout ribs! Pork back ribs were on sale at my grocery store this week so I grabbed a couple racks, followed the recipe exactly, and it cost me less than $15 total to make enough for four people. Takeout would’ve been $50 easy. The texture was insane, I still can’t believe they came out of my regular oven.
I was a little skeptical about oven ribs since I’m a diehard smoked rib fan, but these absolutely delivered. I added a little liquid smoke to my foil packet to get that smoky flavor I love, and you couldn’t even tell they weren’t done on a smoker. The fall-off-the-bone texture was 100% there, no chewy bits at all. Great recipe for when it’s too rainy to fire up the smoker outside.
Pro tip from someone who made a double batch: these make insane leftover rib sliders the next day. Just shred the meat, toss it with a little extra BBQ sauce, pile it on a toasted Hawaiian roll with some coleslaw, and *chef’s kiss*. I ate like three of them for lunch today, no regrets. The recipe is perfect as is, don’t change a thing.
So happy this recipe is super easy to adapt for gluten free! I just used my favorite GF BBQ sauce, kept the dry rub all GF (no weird hidden fillers), and it worked perfectly. It’s so hard to find takeout ribs that don’t have gluten in the sauce, so being able to make these at home safely is a total game changer for me. No tummy aches, just amazing ribs.
Y’all. I have burned every single meat dish I’ve attempted for the last year. I followed this recipe step by step, set my timer like the instructions said, didn’t peek in the oven too much, and these actually came out perfect??? My partner made fun of me for even trying to make ribs but they ate half the rack and said I need to make these every Sunday. I feel like a real cook now lmao.
These are the exact fall comfort food I’ve been craving! I paired them with roasted sweet potato wedges and garlic green beans, and it was the coziest Sunday night dinner as the weather starts to cool down. The house smelled amazing the whole time they were cooking, better than any fall candle I’ve ever bought. Will be on repeat all season long.