
pork loin back ribs
intro
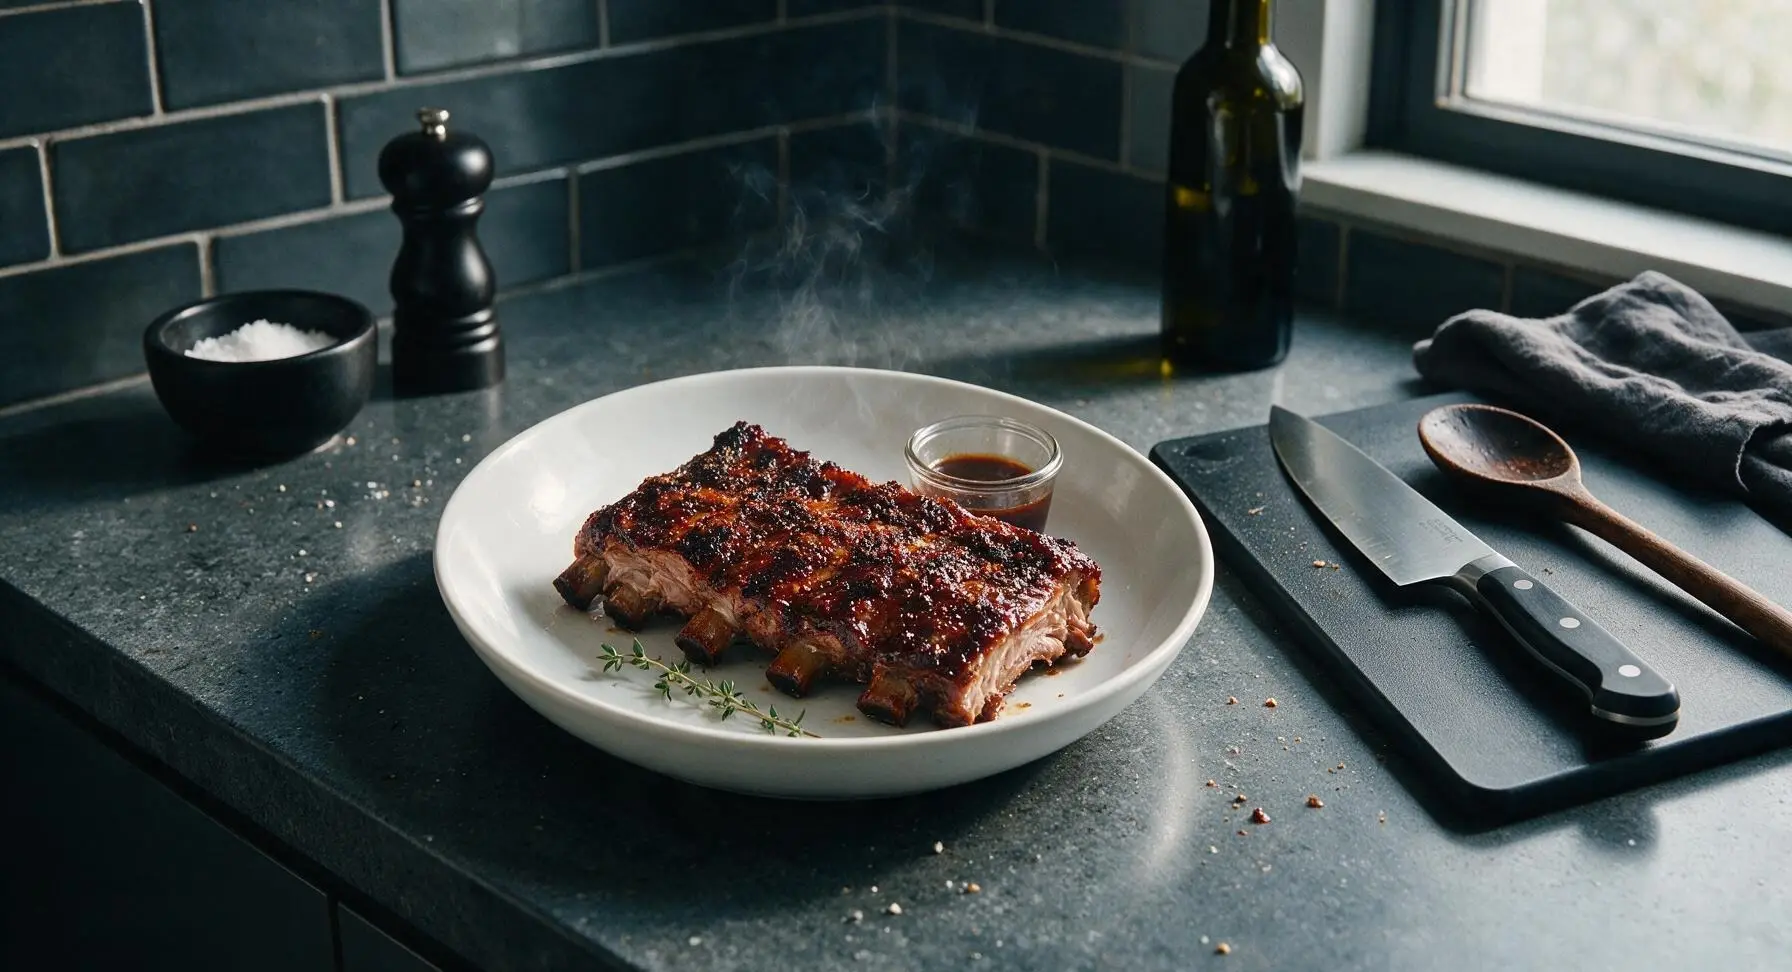
Fall-off-the-bone tender pork loin back ribs with a smoky dry rub and sticky caramelized BBQ glaze, a classic summer cookout staple perfect for gathering with friends.
Ingredients
Steps
Remove Rib Membrane
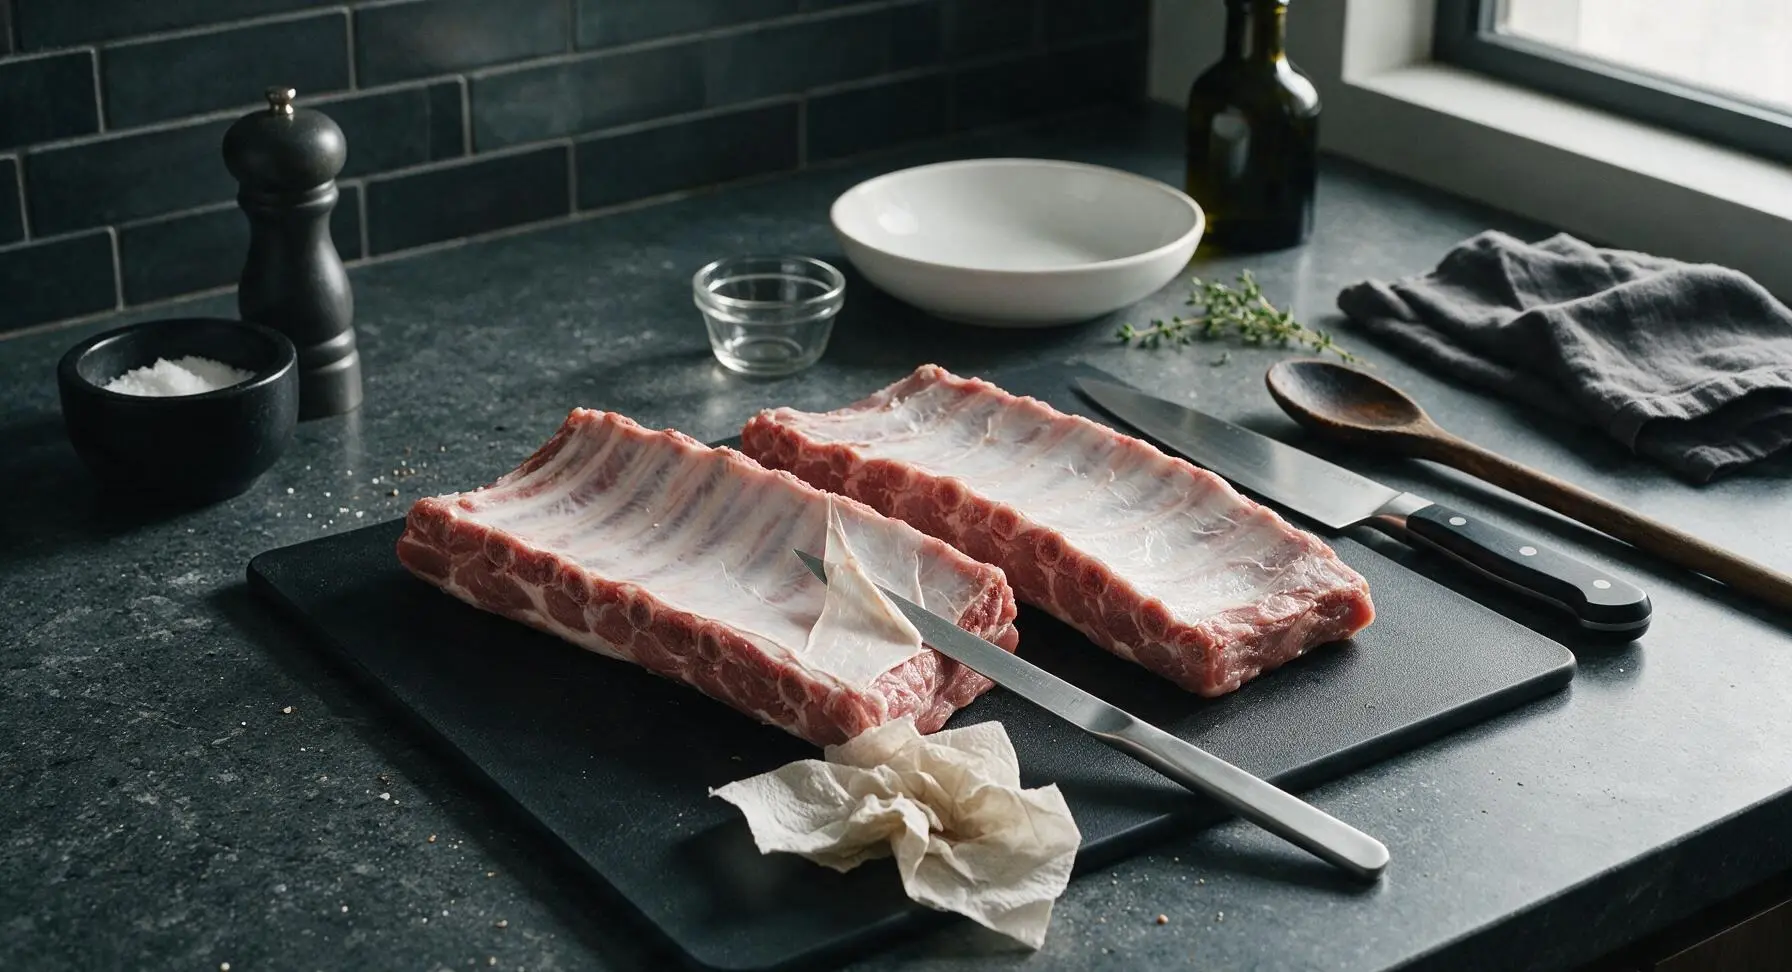
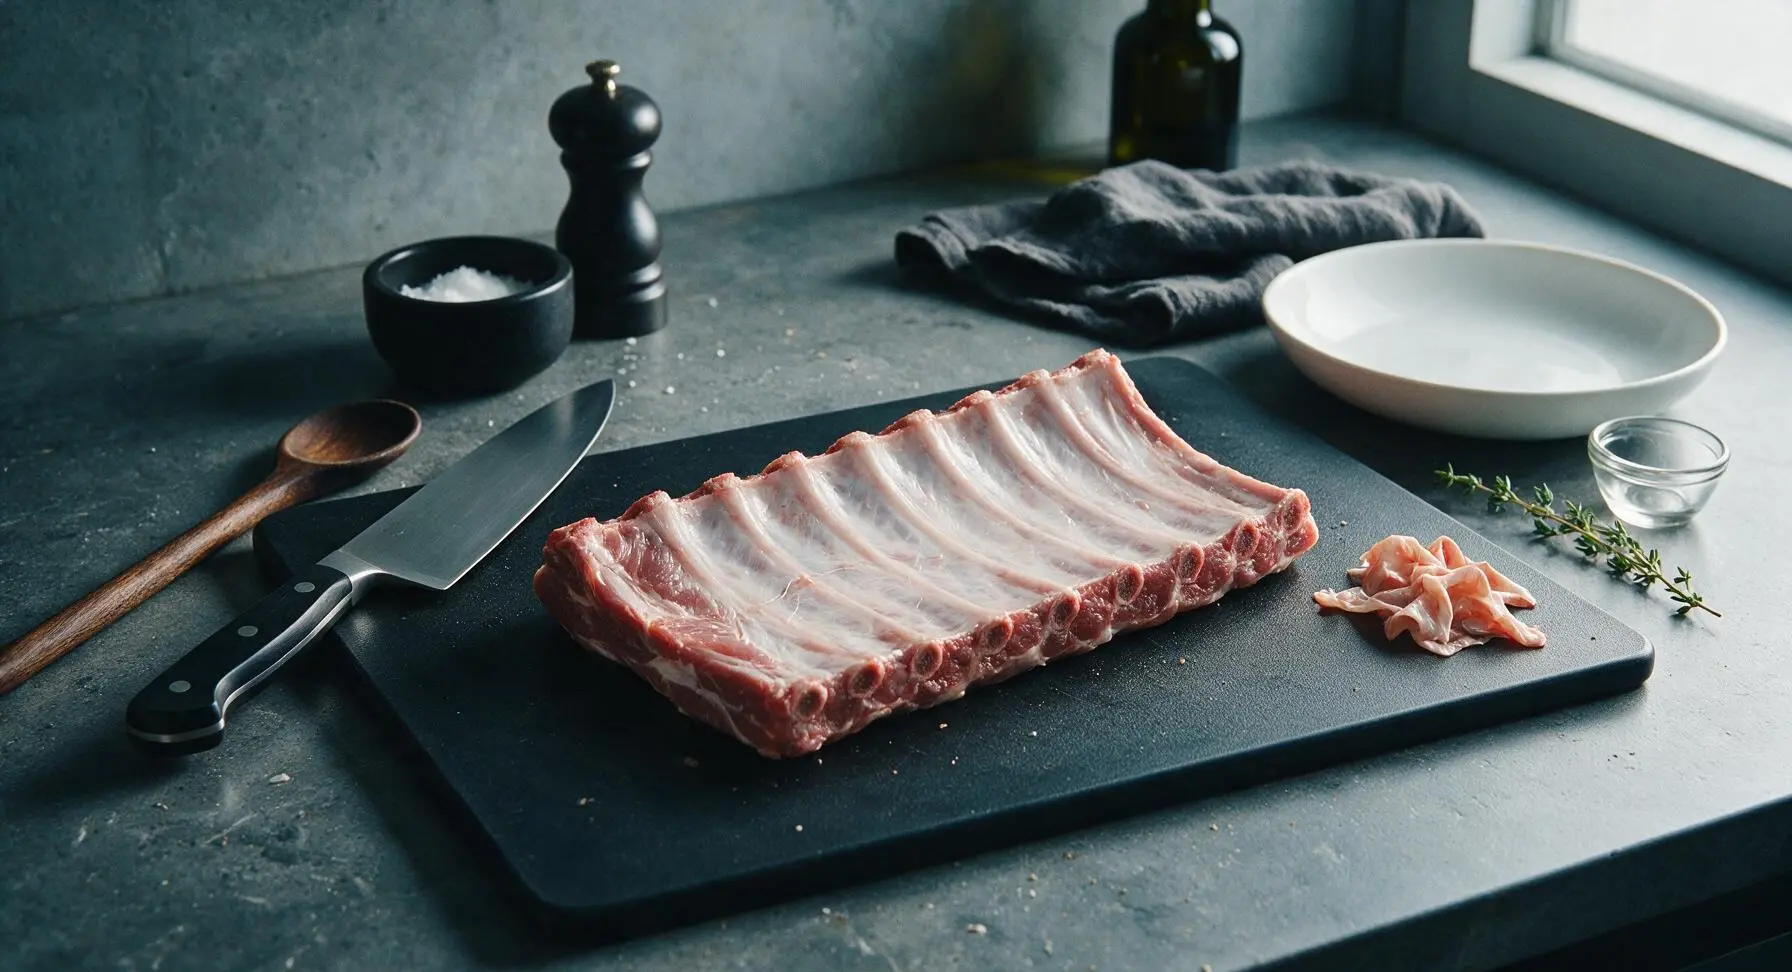
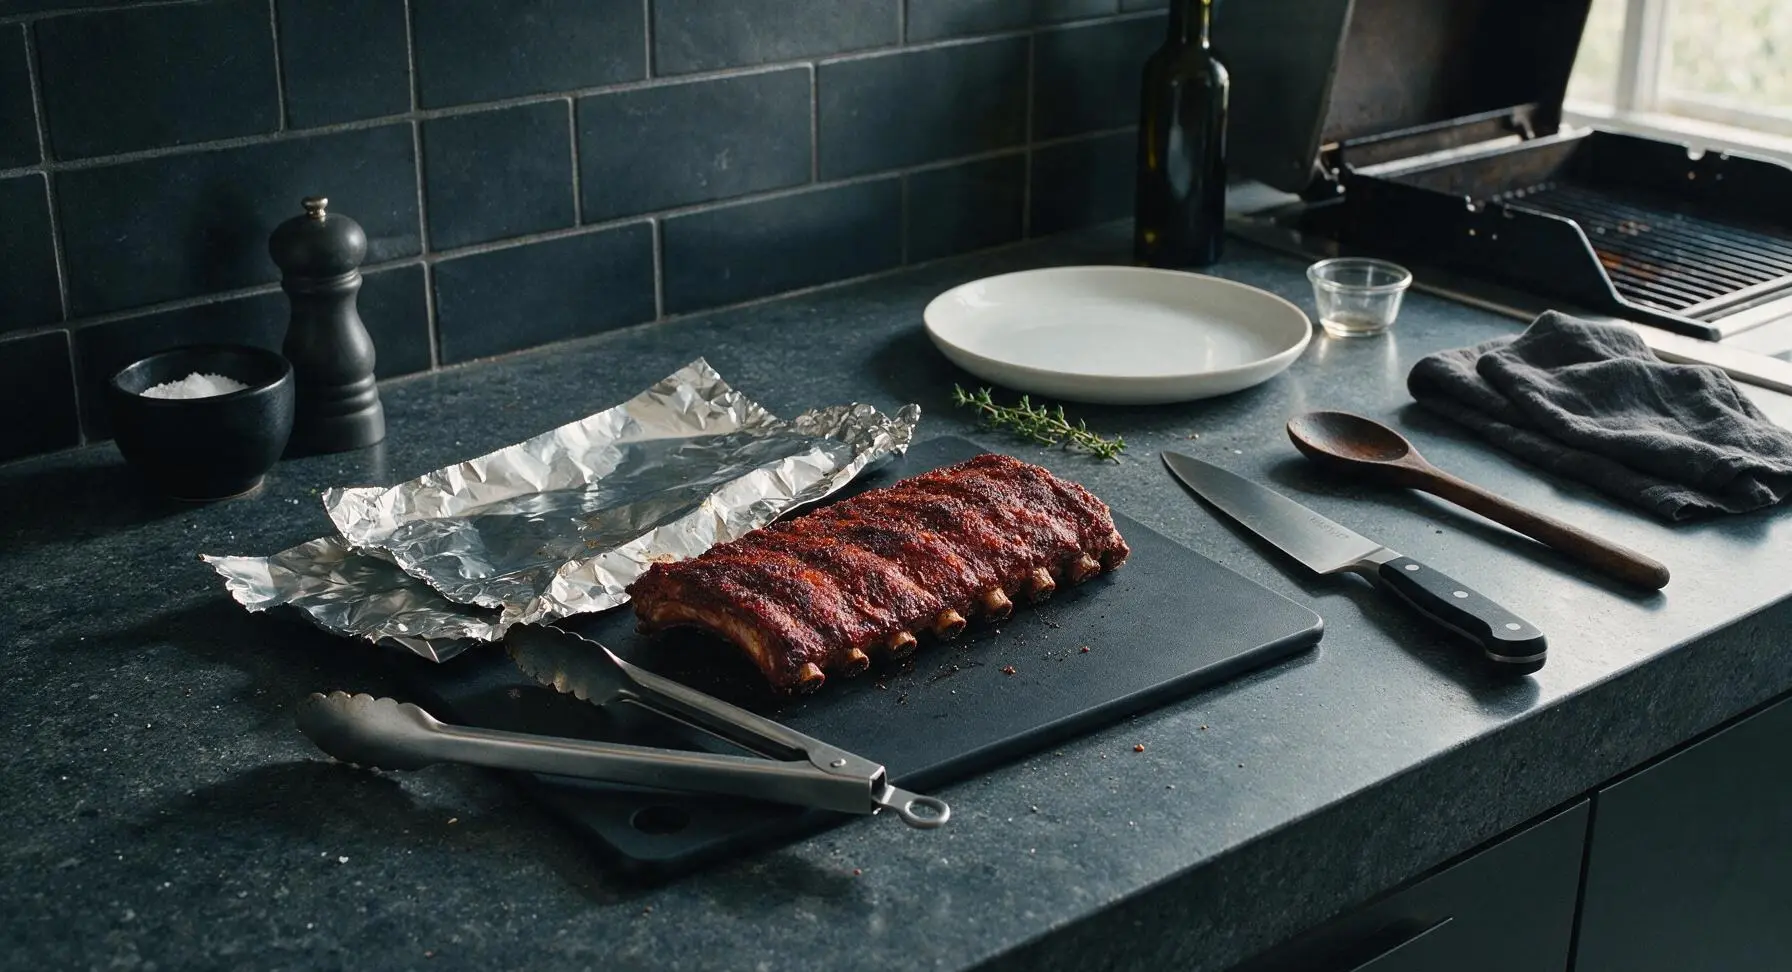
Remove the two racks of pork loin back ribs from packaging, pat dry with unbleached paper towels, and set on the acacia wood cutting board. Flip the ribs bone-side up, use the tip of the 6-inch boning knife to lift the thin white silverskin membrane from the back of each rib rack, grip the loose membrane edge with a paper towel for traction, and pull it off in one full sheet. Discard the removed membrane. The bone side of the ribs should feel completely smooth, with no tough papery layer remaining.
Mix Dry Rub
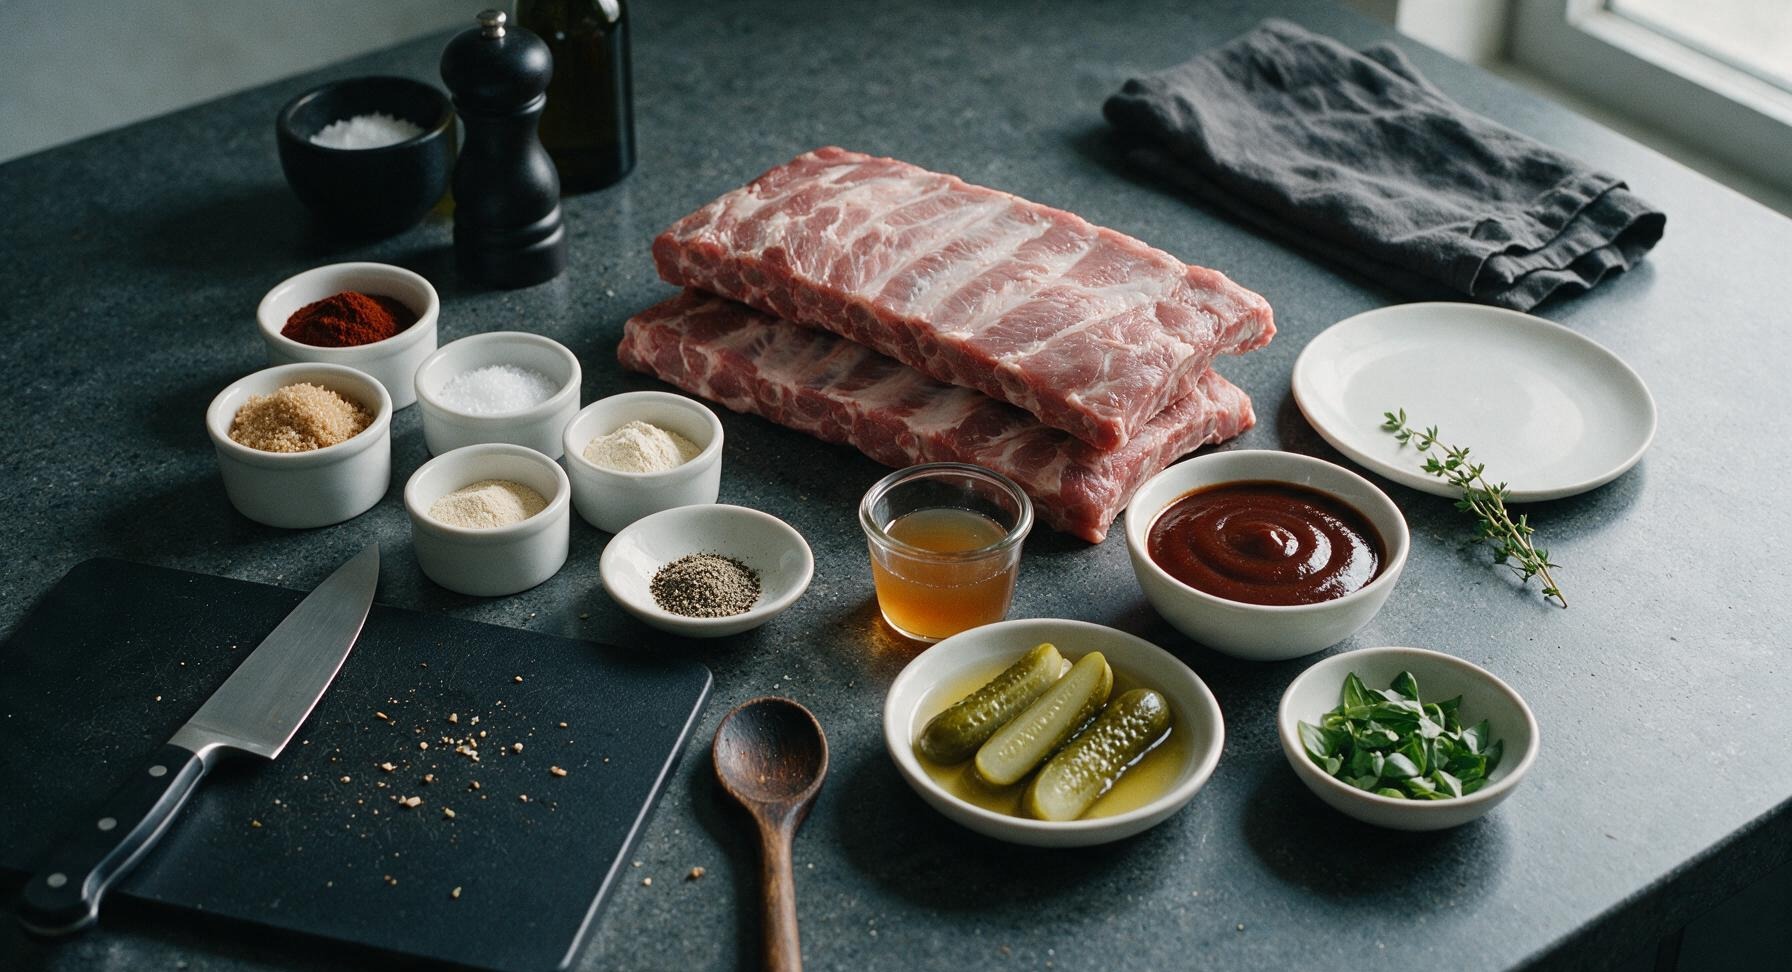
Add 3 tablespoons light brown sugar, 2 tablespoons smoked paprika, 1 tablespoon kosher salt, 1 teaspoon garlic powder, 1 teaspoon onion powder, and 1 teaspoon freshly ground black pepper to the stainless steel mixing bowl. Stir with the handle end of the basting brush until all spices are fully combined, breaking up any clumps of brown sugar until the mixture is uniform in color and texture. Pour half the mixed rub into the matte cream ceramic ramekin for later touch-ups.
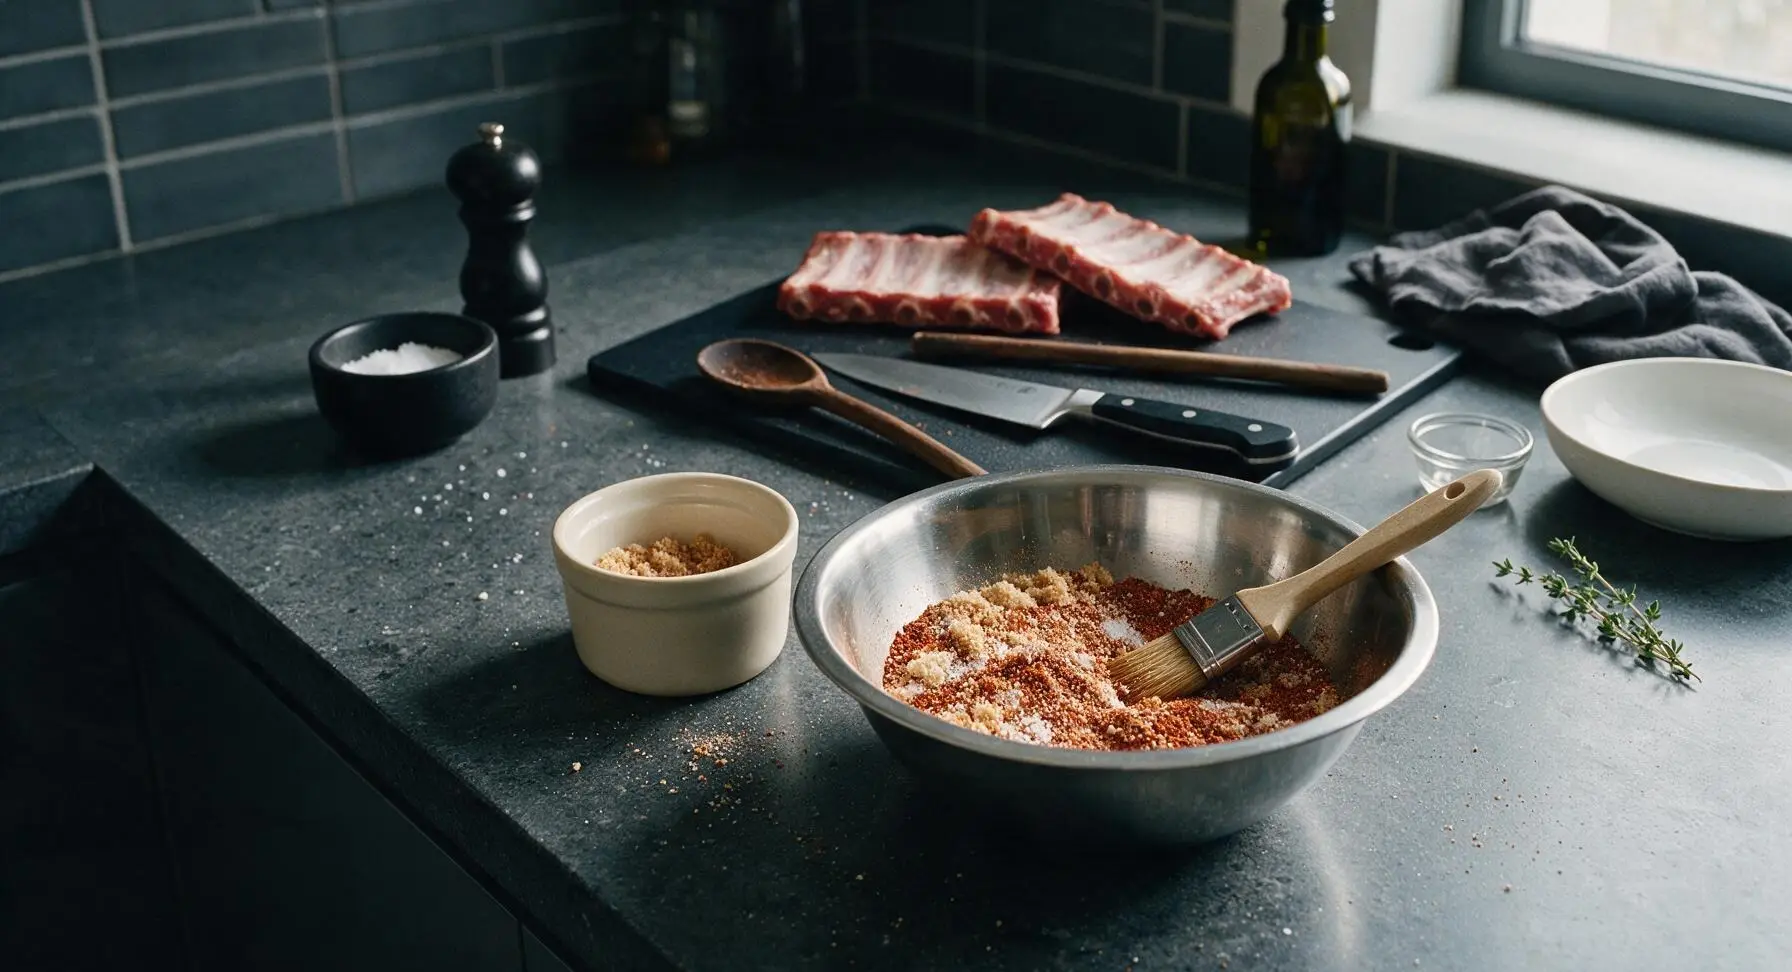
Coat Ribs with Rub
Sprinkle the remaining dry rub from the mixing bowl evenly over every surface of both rib racks: meat side, bone side, and edges. Use clean hands to press the rub firmly into the meat so it adheres, creating a thin, even coating across the entire surface. Do not cake the rub on thicker than 1/8 inch, as thick spice layers will burn during cooking. Let the rubbed ribs rest at room temperature for 20 minutes while you preheat the built-in grill to 275°F (135°C) set up for indirect heat.
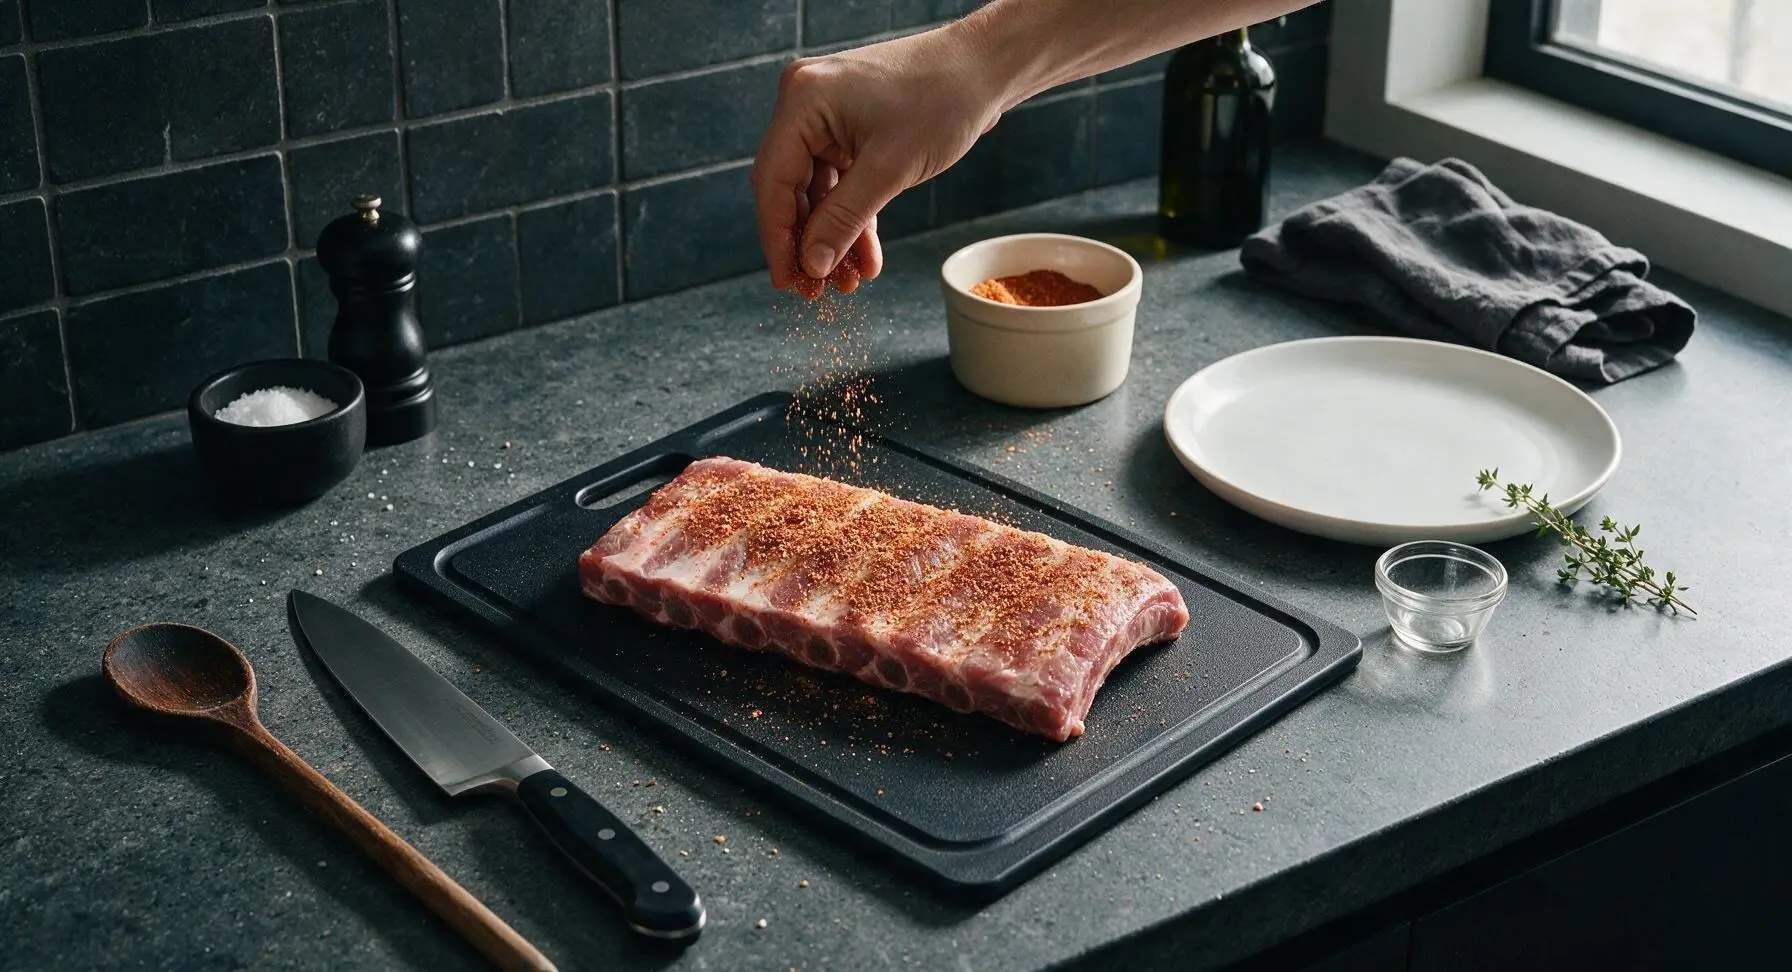
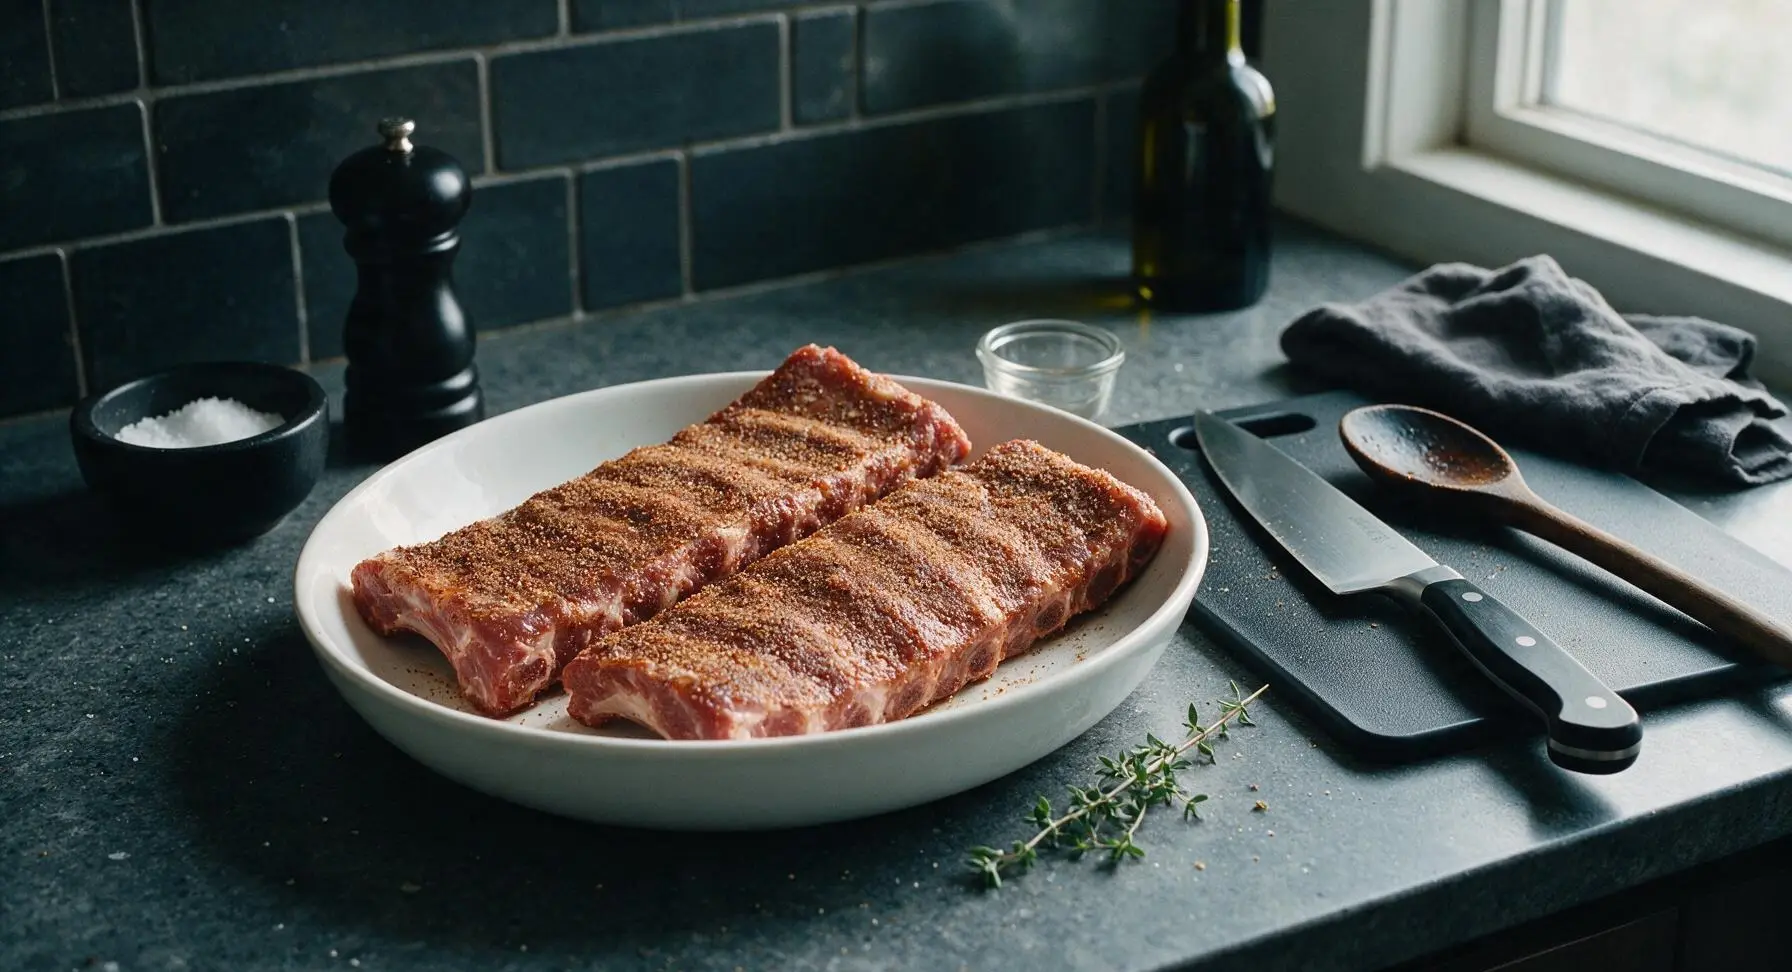
Grill Low and Slow
Place the rubbed ribs bone-side down on the indirect heat zone of the preheated grill. Close the grill lid and cook for 2 hours, spritzing the ribs with 2 tablespoons apple cider vinegar every 30 minutes using the basting brush to keep the surface moist and encourage crust formation. Avoid opening the lid more than necessary to spritz, as this drops grill temperature and extends cook time. The ribs will develop a deep reddish-brown outer crust as they cook, with no raw pink meat visible on exposed surfaces.
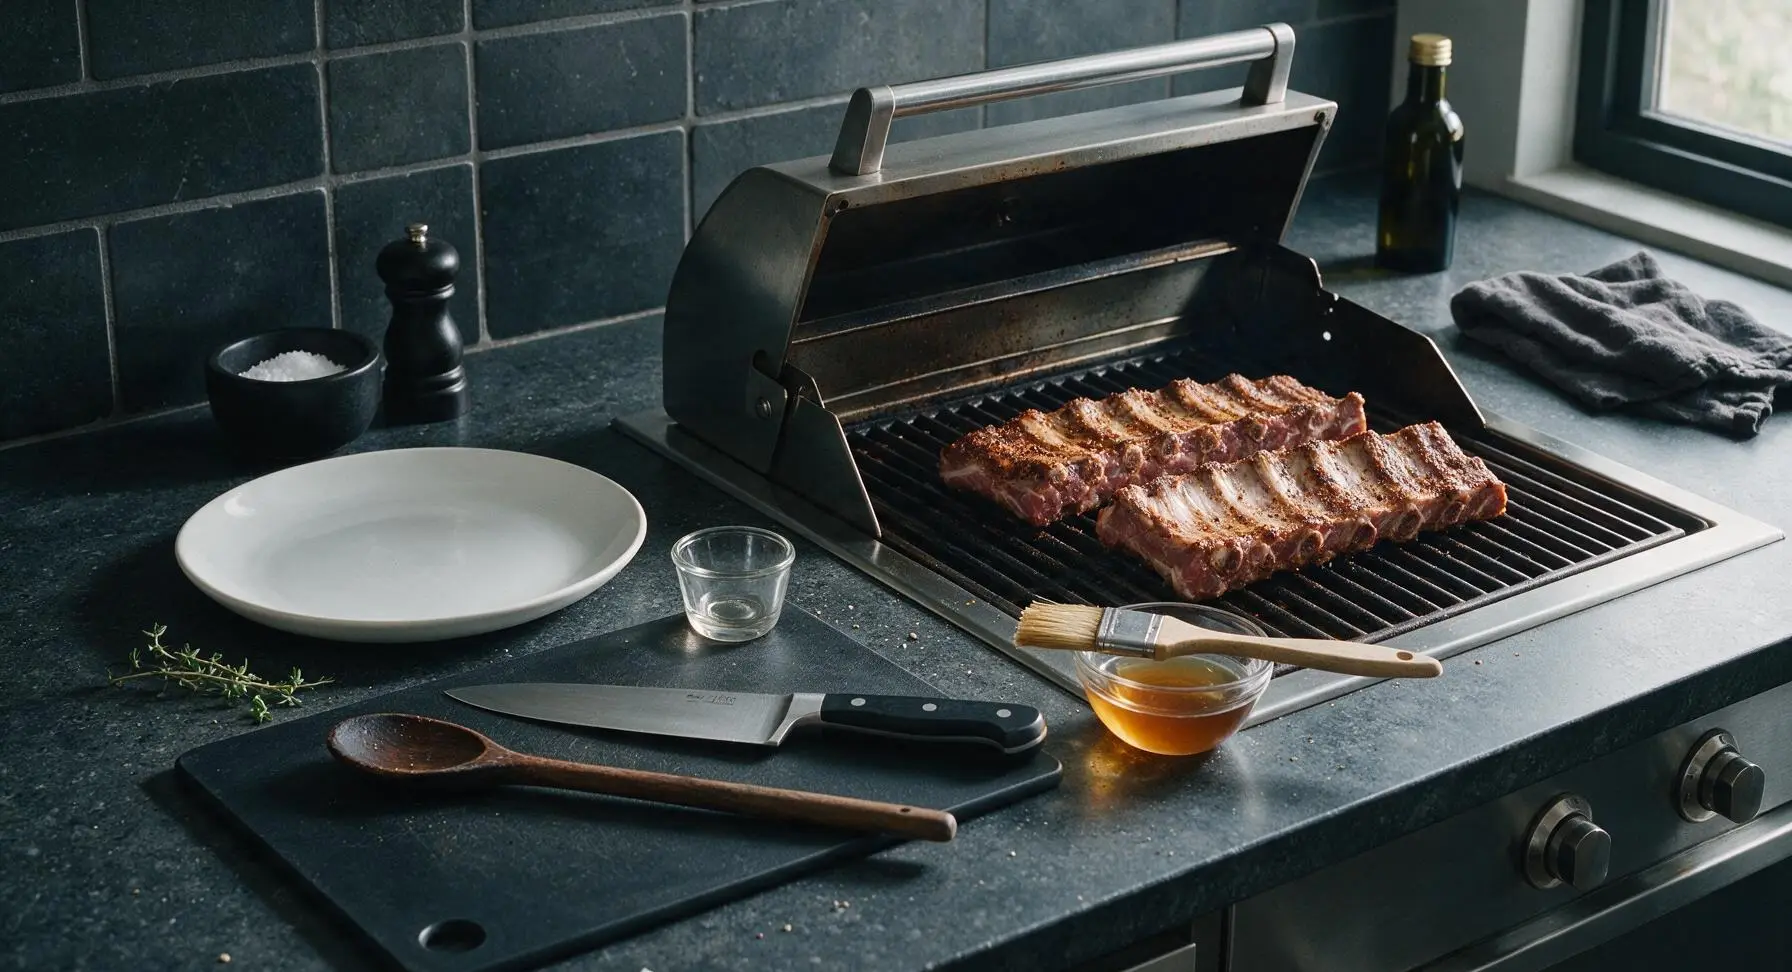
Wrap Ribs in Foil
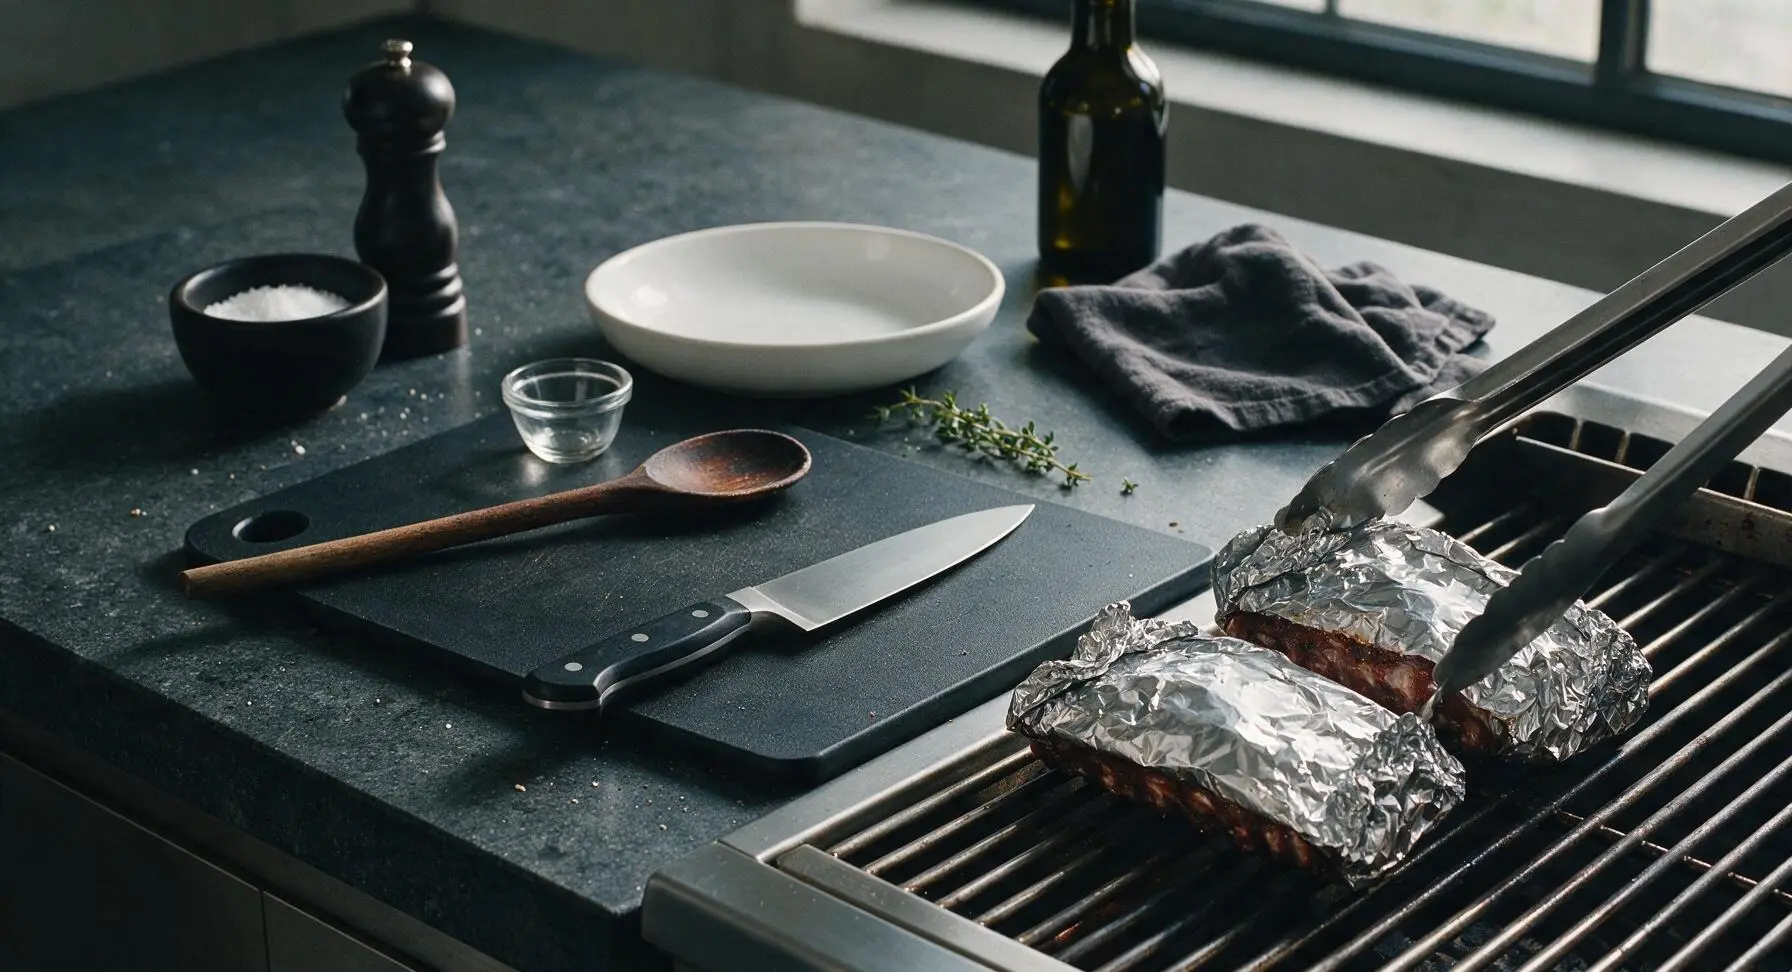
After 2 hours of open grilling, use the stainless steel tongs to carefully lift the ribs from the grill and set them back on the acacia wood cutting board. Tear two 45cm sheets of heavy-duty aluminum foil from the roll, wrap each rib rack tightly in a double layer of foil, crimping the edges fully to seal in steam. Return the foil-wrapped ribs to the indirect grill zone, close the lid, and cook for 1 more hour at 275°F. Test for tenderness by sliding a toothpick or the meat thermometer probe through the meat between two bones—it should slide in with no resistance, like pushing into soft butter.
Glaze Ribs with Sauce
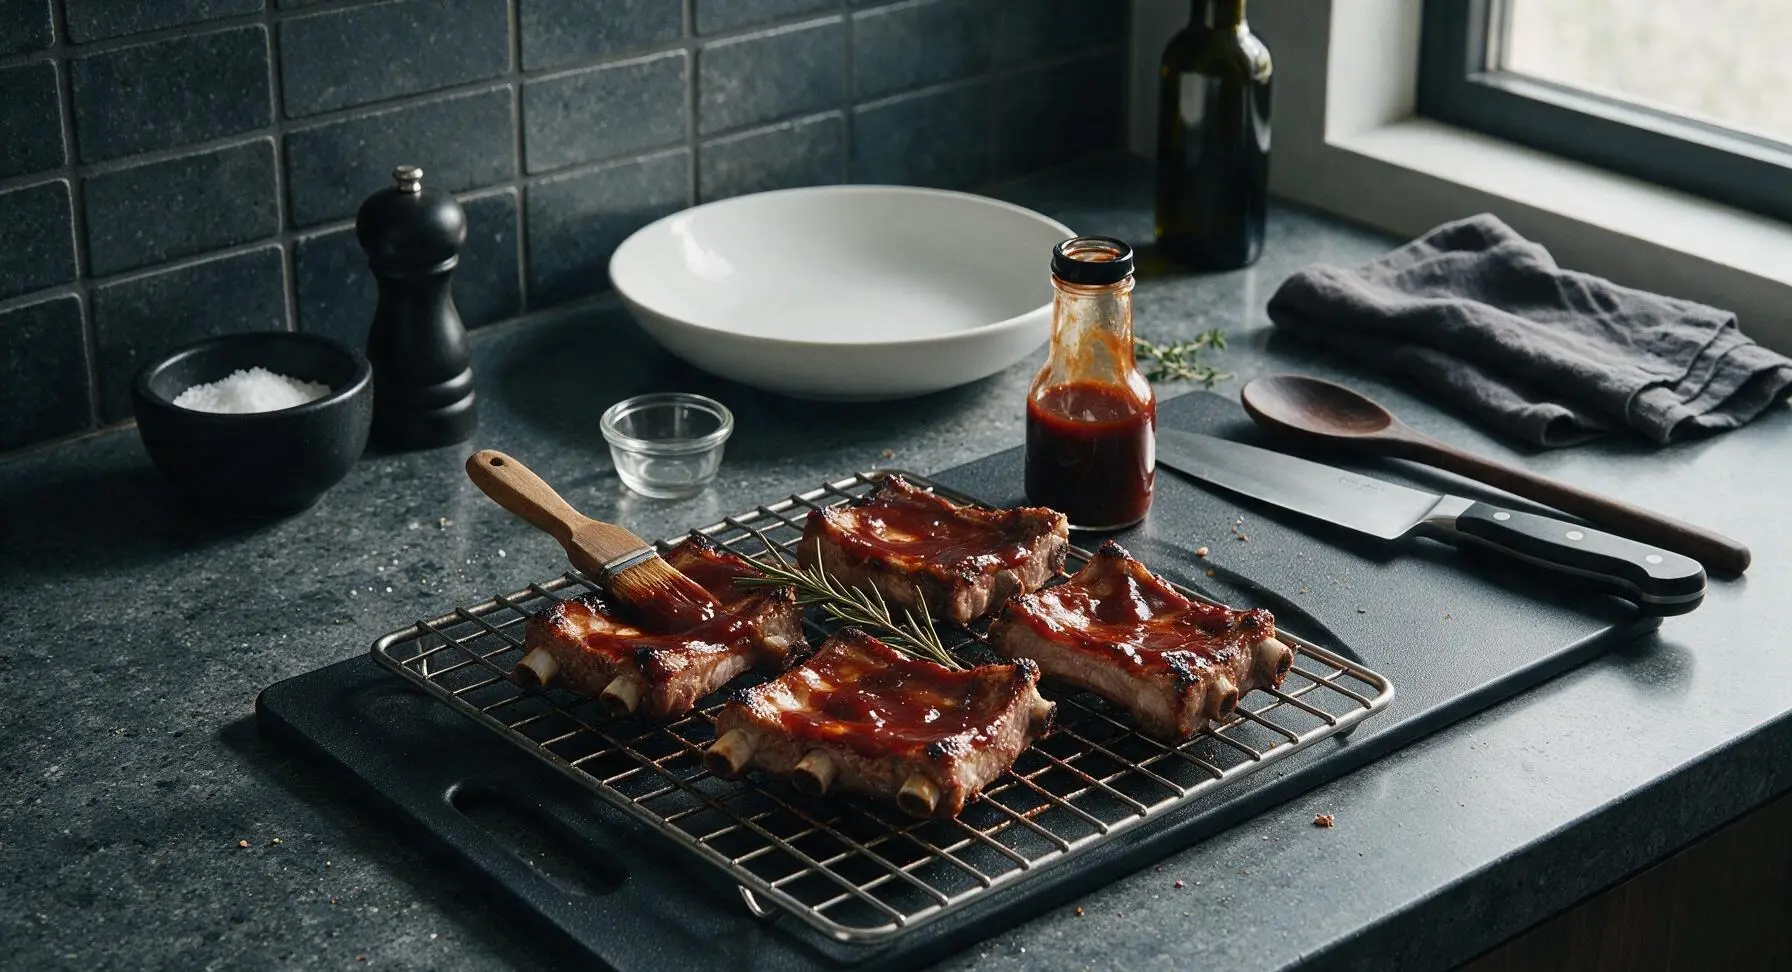
After 1 hour of foil-wrapped cooking, use tongs to remove the foil packets from the grill, carefully open the foil (tilt the packet away from your face to avoid escaping hot steam) and return the unwrapped ribs to the grill grates, bone-side down. Brush the top and sides of the ribs generously with 180ml of smoky BBQ sauce using the basting brush, close the lid, and cook for 15 final minutes to set the glaze. The sauce will caramelize into a sticky, shiny coating, with dark slightly charred edges in spots, but will not turn black or burn.
Rest and Plate Ribs
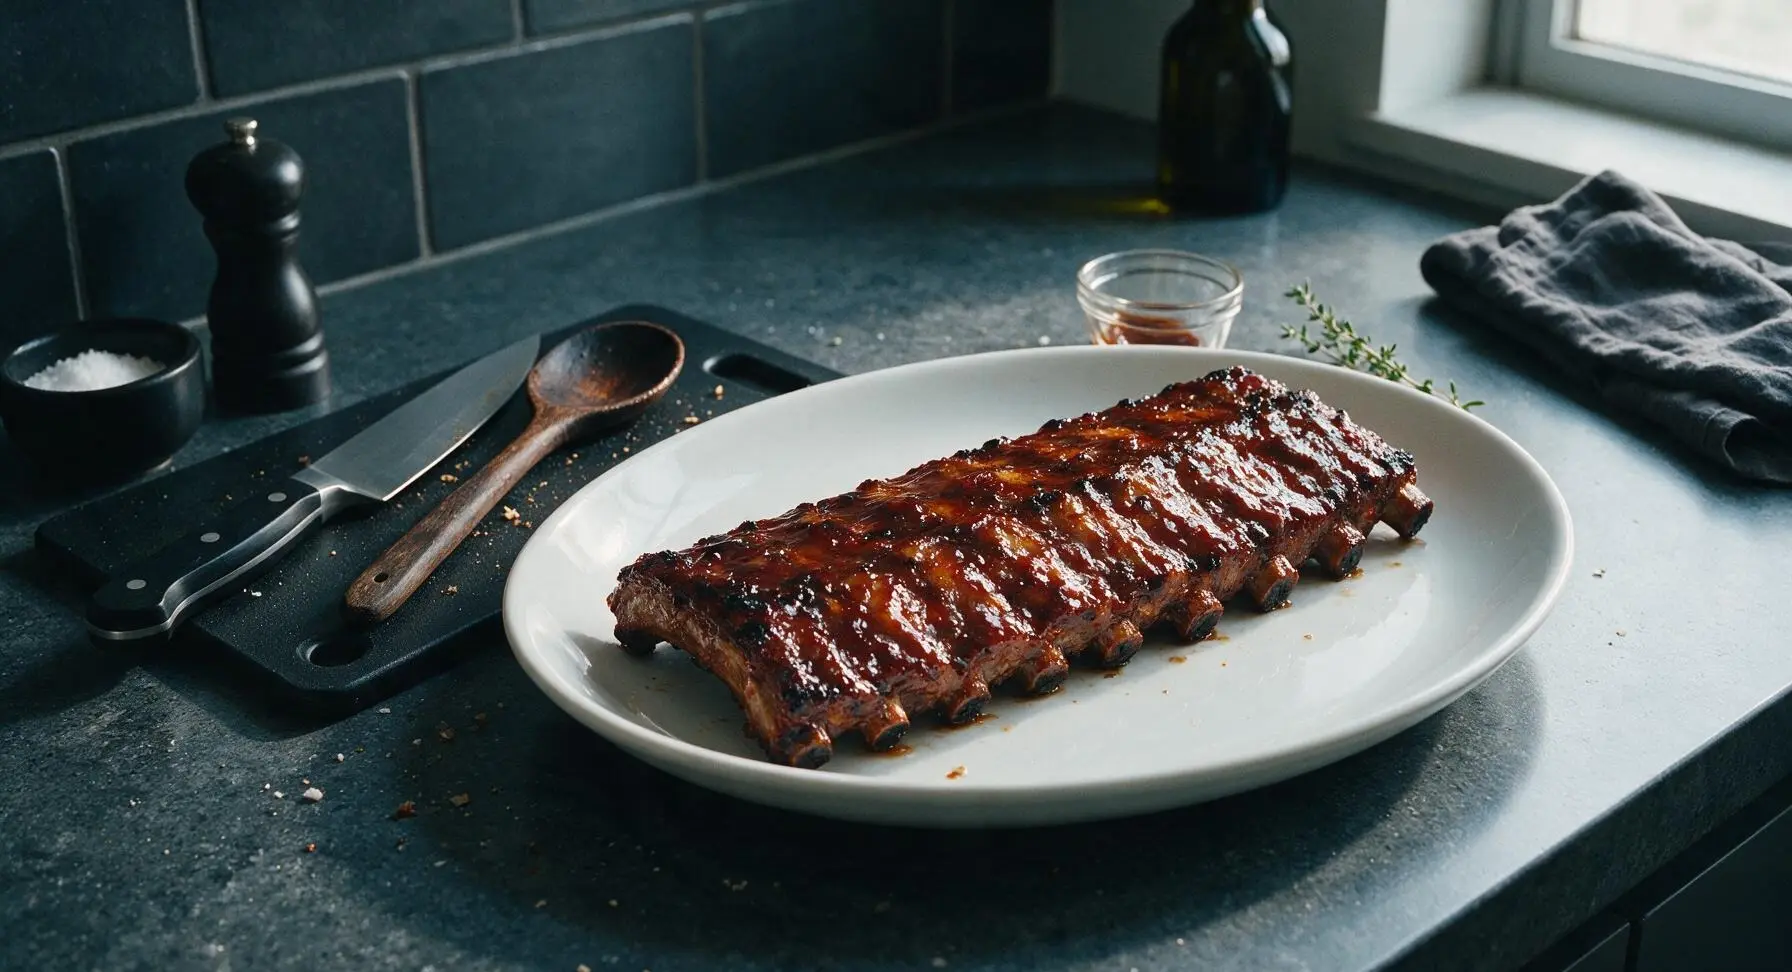
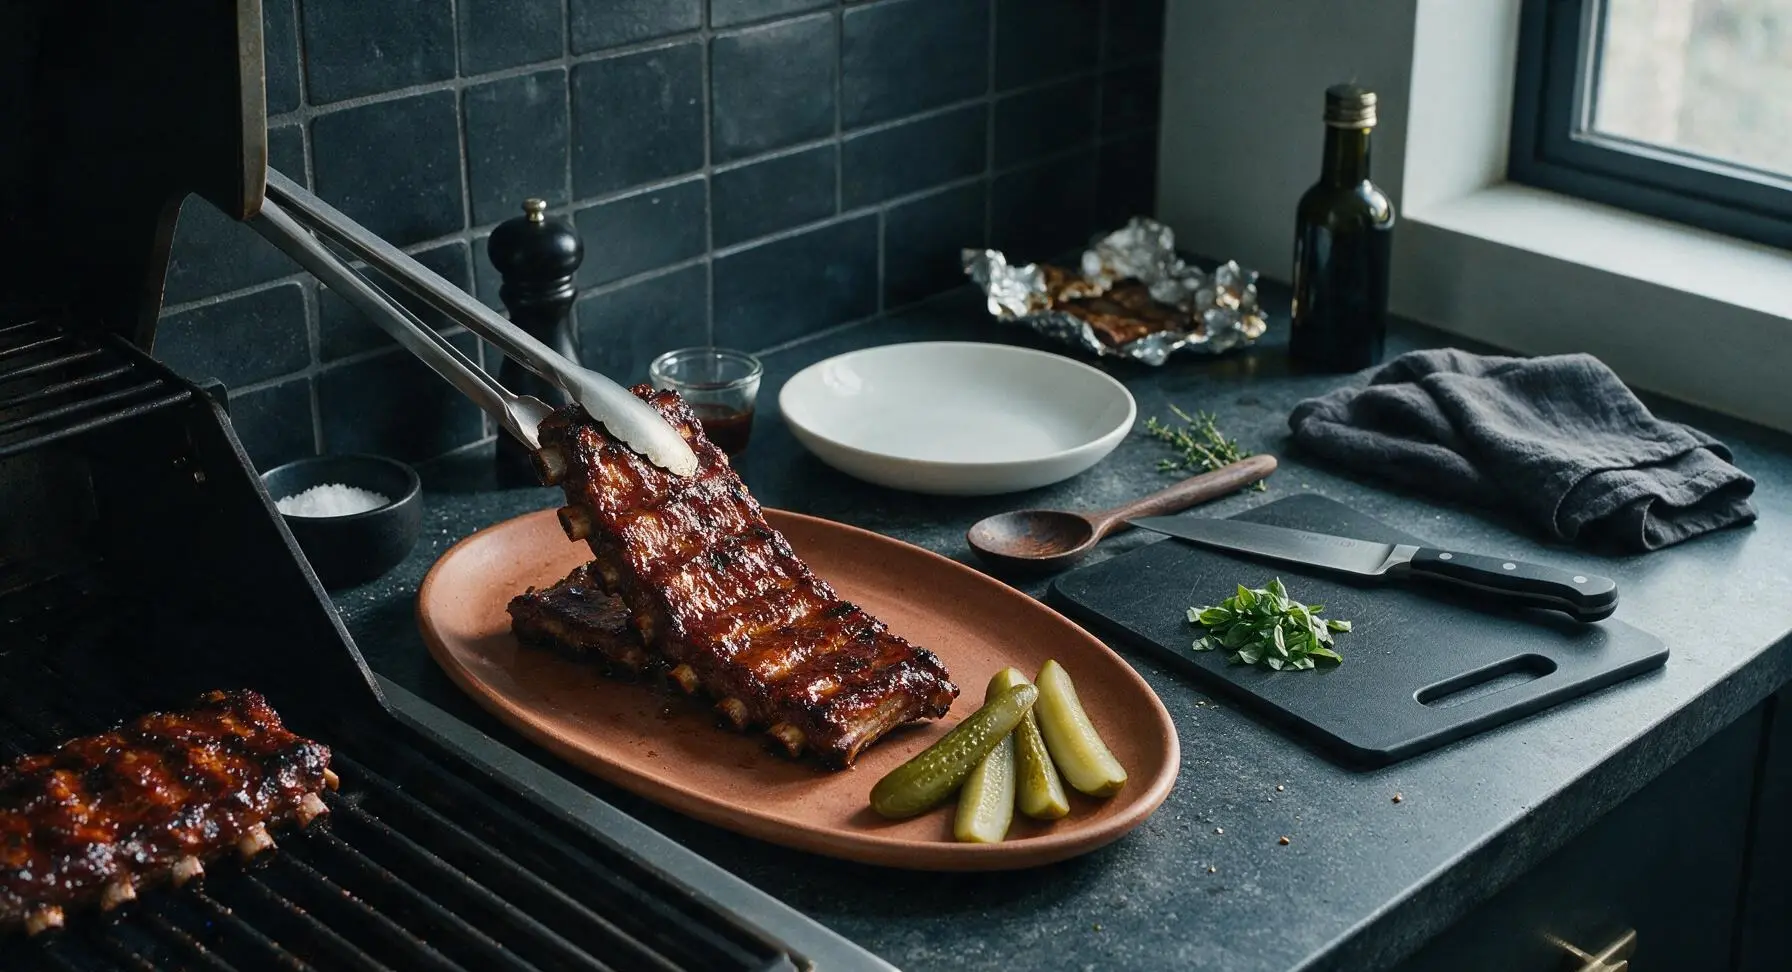
Use tongs to transfer the finished glazed ribs from the grill to the oval matte terracotta stoneware serving platter. Let the ribs rest for 10 minutes to allow juices to redistribute back into the meat, then sprinkle with 2 tablespoons of chopped fresh basil for garnish. Add 4 dill pickle spears to the platter edge for serving. The meat will pull cleanly from the bone with a gentle tug, but will not fall completely off the bone (a sign of perfectly cooked, not mushy, ribs).
Tips
2.Maintain a consistent 275°F (135°C) grill temperature for the entire cook—temperatures over 300°F will cause the rib meat to seize up and become tough, while temperatures below 250°F will extend cook time and prevent a flavorful outer crust from forming.
3.Wait to apply BBQ sauce until the final 15 minutes of cooking—most commercial and homemade BBQ sauces contain high amounts of sugar, which burns quickly at grilling temperatures, leading to a bitter, blackened coating if applied too early in the cook.






OMG these ribs were the star of our Sunday family dinner! I was worried 3+ hours cook time would be too much for a weekend meal but it was so worth it. The smoky glaze is sticky, perfectly sweet with a tiny kick, and the meat fell right off the bone. My husband already asked me to make these for our next neighborhood potluck next month. 10/10 no notes!
Game changer for my weekly meal prep! I made a full rack on Sunday, portioned it out with roasted broccoli and mac and cheese, and it reheated beautifully all week. The glaze didn’t get soggy at all, which I was worried about. Only thing I adjusted was adding a tiny extra splash of apple cider vinegar to cut the sweetness a little, chef’s kiss.
Tried these for my first ever rib cook for my roommates and I was shocked how well they turned out! The instructions were super clear even for a medium difficulty recipe, I didn’t mess up the glaze at all. My roomie said they were better than the ribs we get at our local BBQ joint, which is the highest compliment possible lmao.
My kids LOVED it! I was worried the smoky flavor would be too intense for my picky 7 year old but he ate two full servings and asked for seconds the next night. I did have to cook them about 10 minutes longer than the recipe said to get them as tender as we like, but that’s just my oven being weird probably.
Made these for our post-hike cookout with friends last weekend and they were gone in 10 minutes flat. The smoky glaze is SO good, I even dipped my fries in the leftover glaze that pooled on the platter, no shame. Only heads up is that if you’re making these for a big group, definitely make two racks, people will be coming back for thirds.
So happy this recipe is naturally gluten free if you use the right soy sauce substitute! I swapped regular soy for tamari and you couldn’t even tell the difference. Perfect for our family game night spread, no one even noticed it was a GF modification. Will be making these again for sure.
Okay full transparency, I’ve never made ribs before in my life and I was so intimidated by the 3 hour cook time, but these turned out INSANE. The only issue I had was my glaze got a little too thick and burned a tiny bit on the edges of the pan, but that was totally my fault for walking away for too long during the last step.
Brought these to our office potluck yesterday and I had three people stop by my desk today to ask for the recipe. I followed the recipe exactly, no tweaks, and it came out perfect. The smoke level is just right, not overpowering, the glaze is sticky and sweet without being cloying. Absolute home run.
Added a 1/4 tsp of cayenne to the glaze for an extra kick and wow, that was the move. The heat hits right at the end and pairs so well with the smoky sweet flavor. If you love a little spice on your ribs, do not sleep on that addition. 10/10 will make again, probably next weekend honestly.
These are going into our regular Sunday dinner rotation for sure! My dad is a total rib snob who swears by his own 20 year old recipe, and even he went back for a second serving and said the glaze was incredible. High praise coming from the guy who never likes anyone else’s cooking.
I was worried ribs would be too expensive for our weekly grocery budget but pork loin back ribs were on sale last week so I grabbed a rack and tried this. So worth every penny, way cheaper than ordering BBQ takeout for our family of four and tastes just as good if not better. The cook time feels long but most of it is hands off so I was able to get chores done while they cooked.
I don’t have a grill at all (apartment life, ugh) so I made these entirely in the oven per the recipe notes and they still came out so smoky and delicious! I was convinced I needed a fancy smoker to make good ribs but this recipe proved me so wrong. The glaze caramelized perfectly under the broiler at the end, just like the recipe said.
Made these for the football watch party last Sunday and they were an absolute touchdown. I served them with coleslaw, cornbread, and potato salad and it felt like a proper BBQ spread even though we were just in my living room screaming at the TV. The smoky glaze paired so well with cold beer, 10/10 will be making these for every game day for the rest of the season.