
pork rib
intro
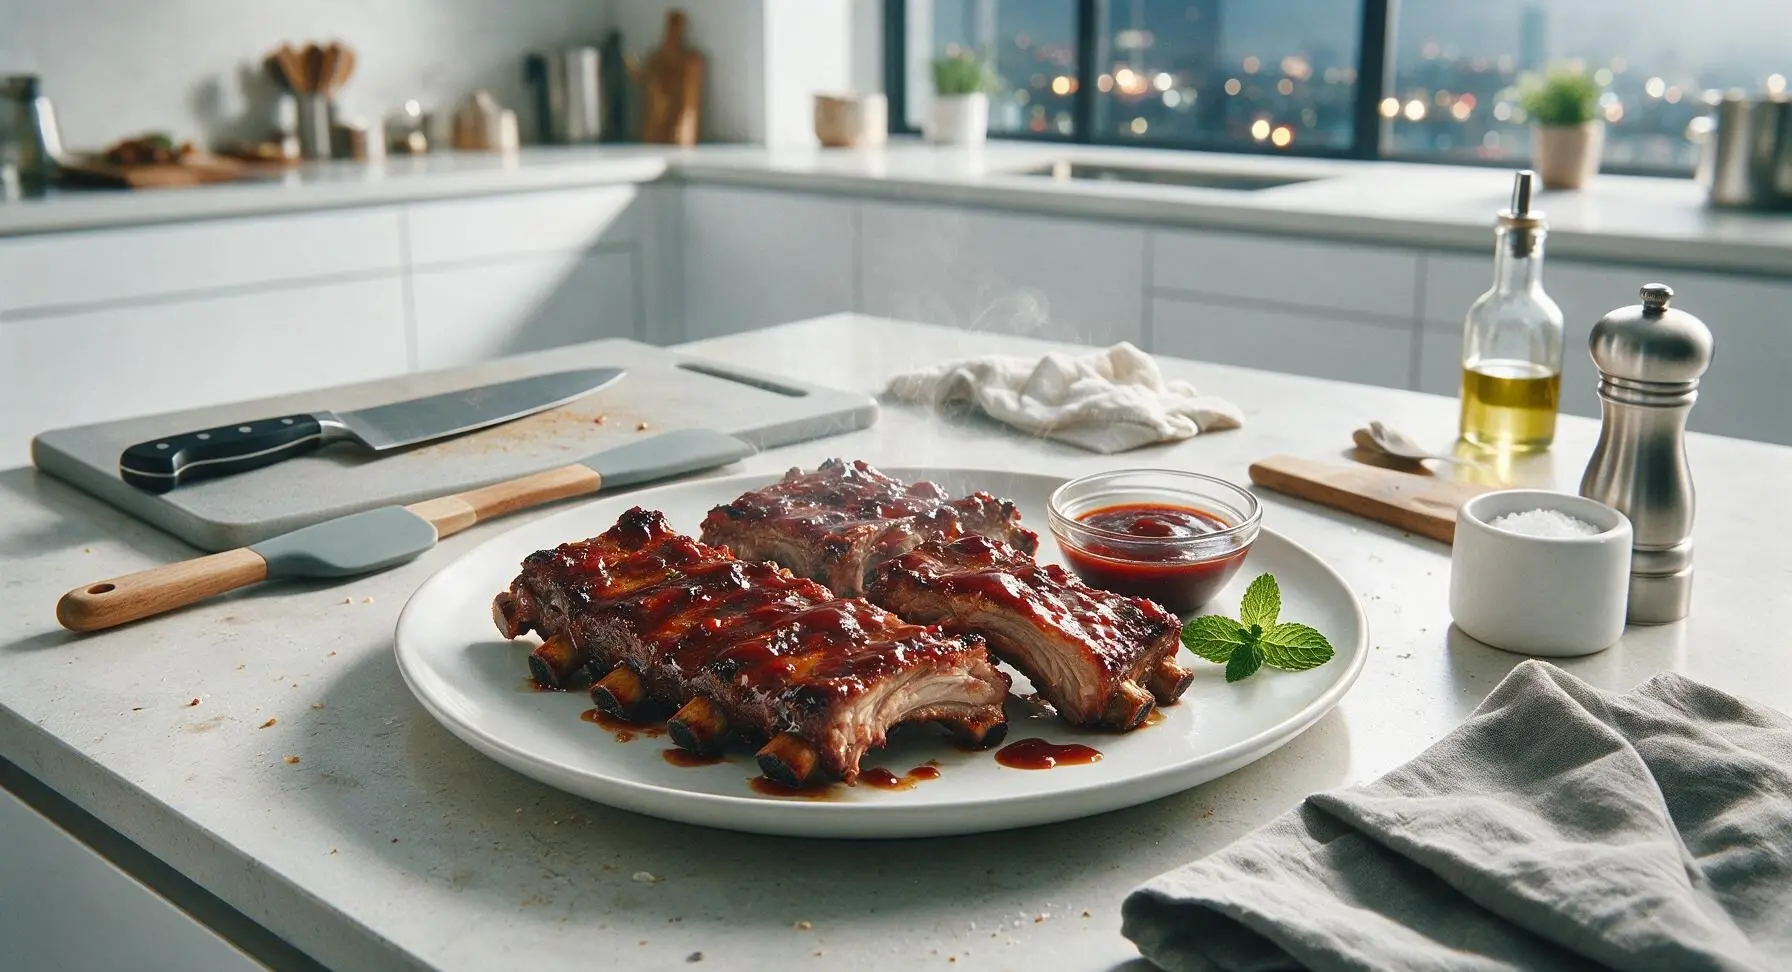
Tender, smoky fall-off-the-bone pork ribs coated in sticky tangy BBQ sauce, slow-cooked to juicy perfection for casual summer gatherings.
Ingredients
Steps
Prep the Rib Racks
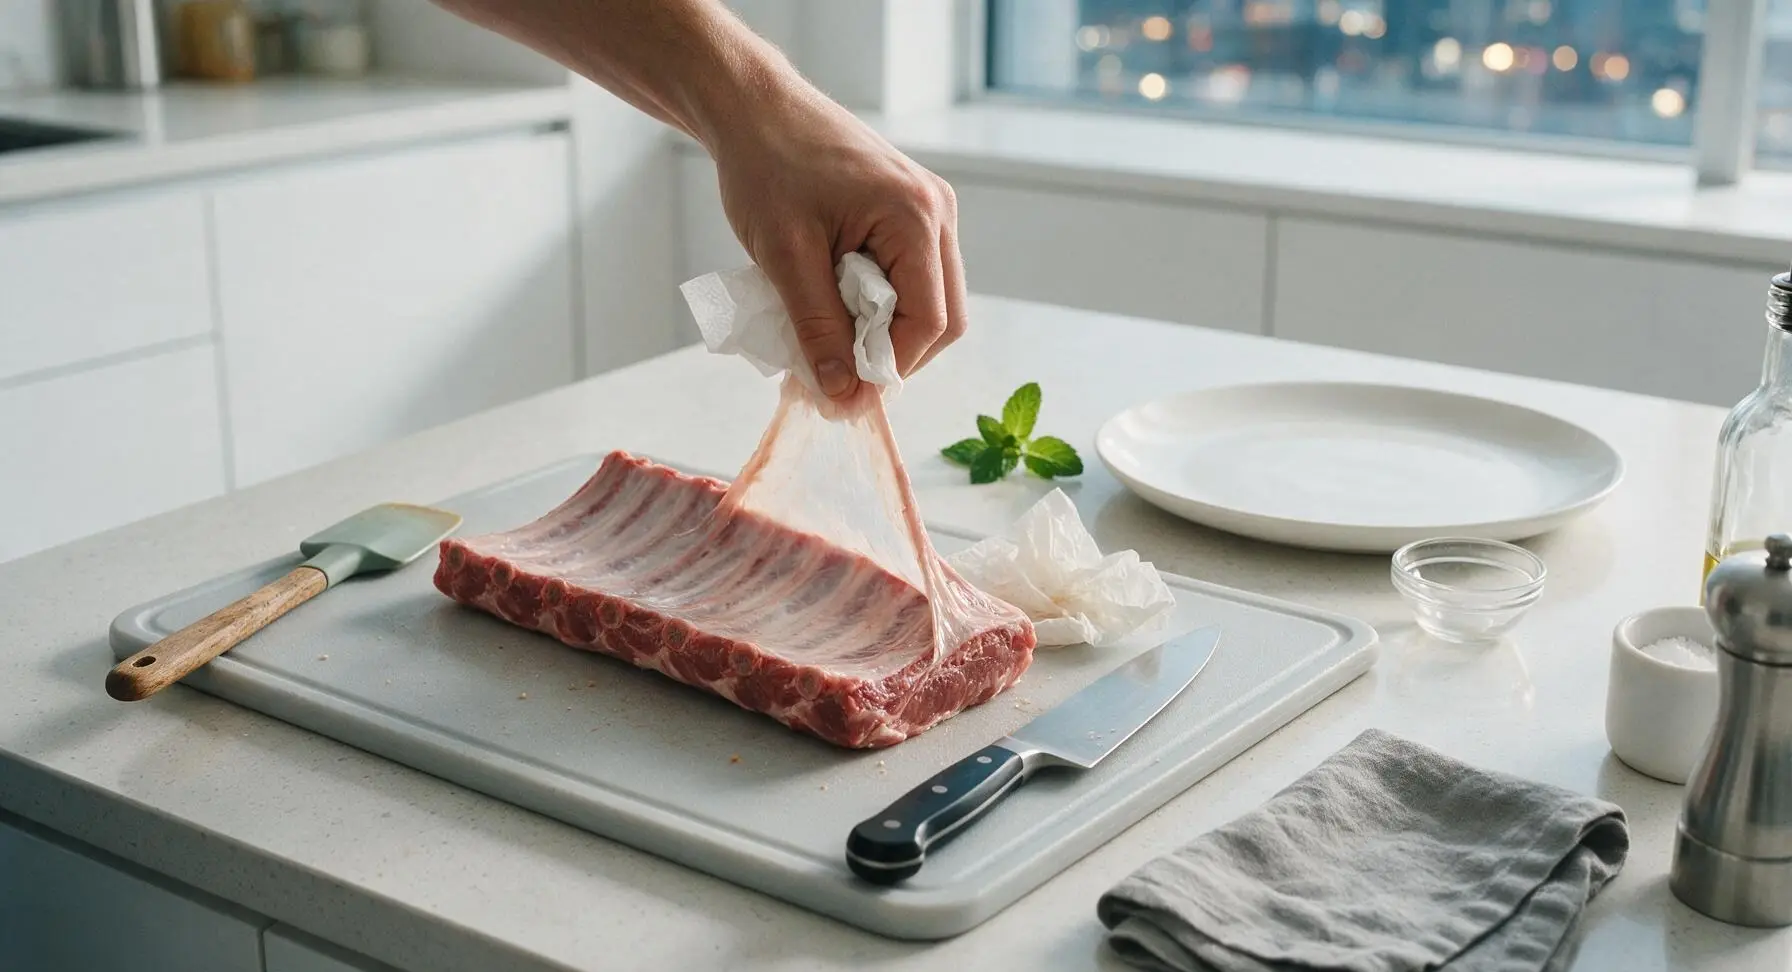
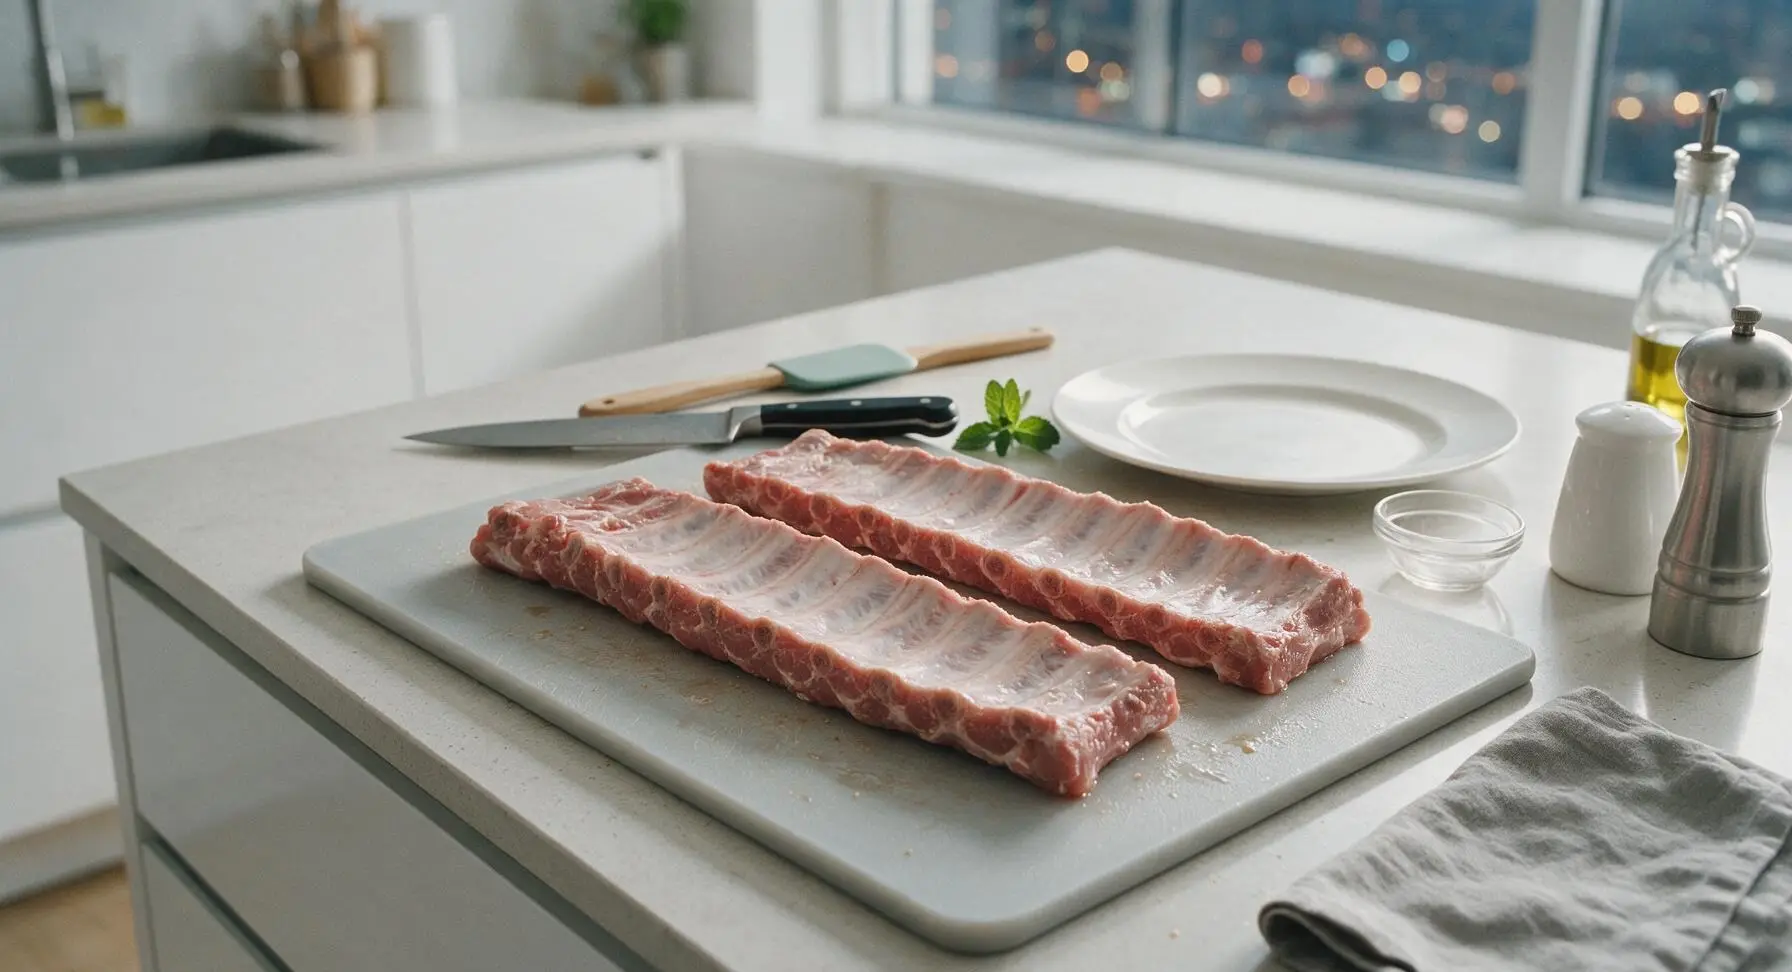
Remove the thin, tough silverskin membrane from the bone side of each rib rack: slide the tip of the 8-inch chef knife under the membrane at the narrow end of the rack, grip the loose edge with a paper towel for traction, and pull firmly to remove the membrane in one full sheet. Pat both rib racks completely dry on all sides using the corner of the indigo cotton kitchen towel, then set them flat on the dark walnut cutting board. Inspect the bone side to ensure no shiny, translucent membrane patches remain, as these will turn chewy and tough during cooking.
Mix the Dry Rub
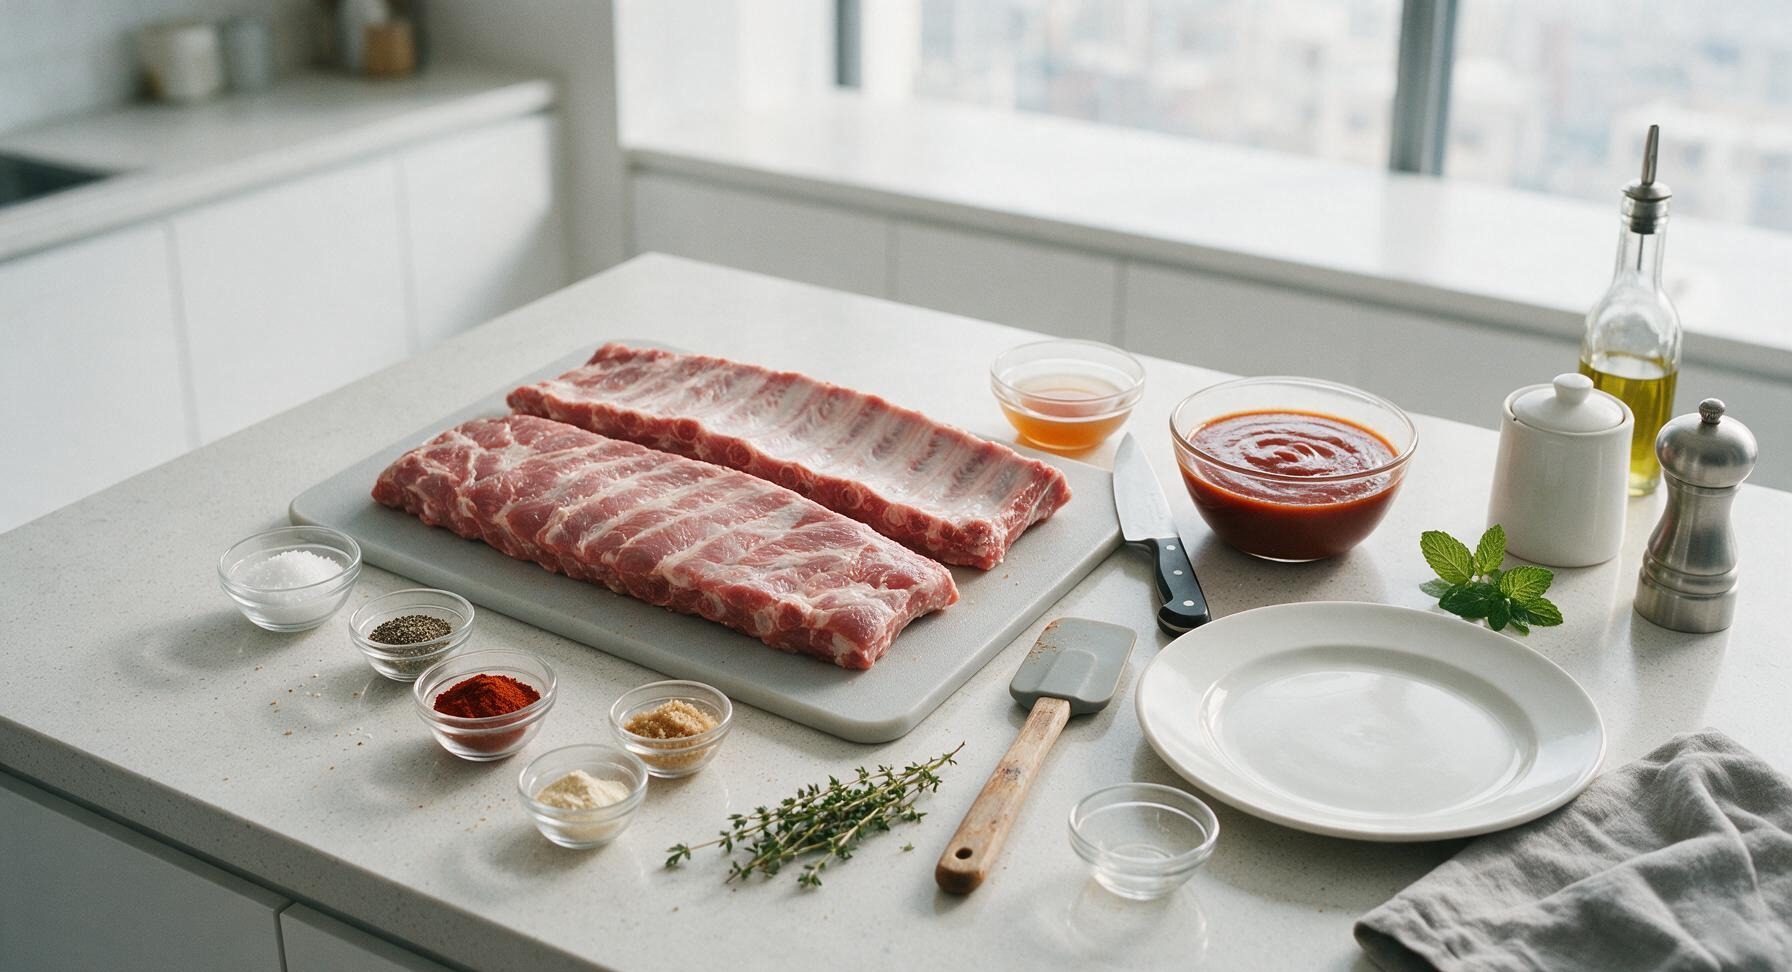
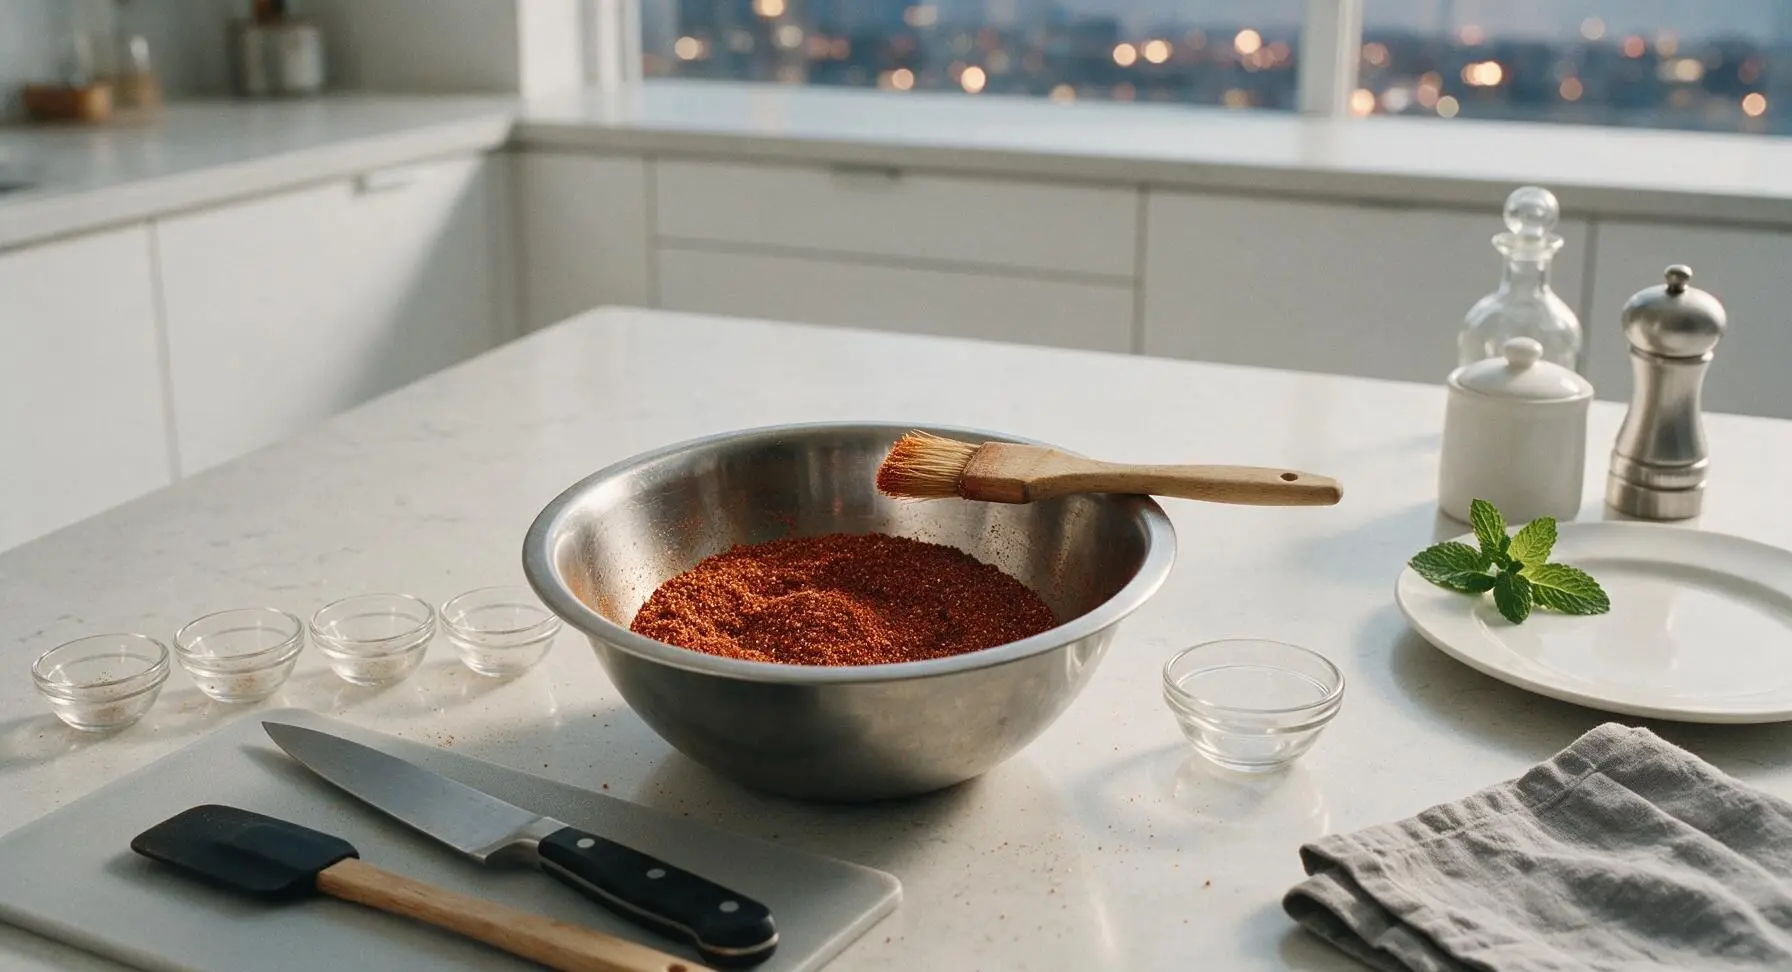
In the stainless steel mixing bowl, combine 1 tbsp kosher salt, 1 tsp black pepper, 2 tbsp smoked paprika, 1 tbsp garlic powder, 1 tsp onion powder, and 3 tbsp light brown sugar. Stir the mixture with the handle of the basting brush until fully combined, breaking up any clumps of brown sugar against the side of the bowl. The finished rub should be a uniform deep reddish-brown color with no visible separate spice patches.
Coat Ribs with Rub
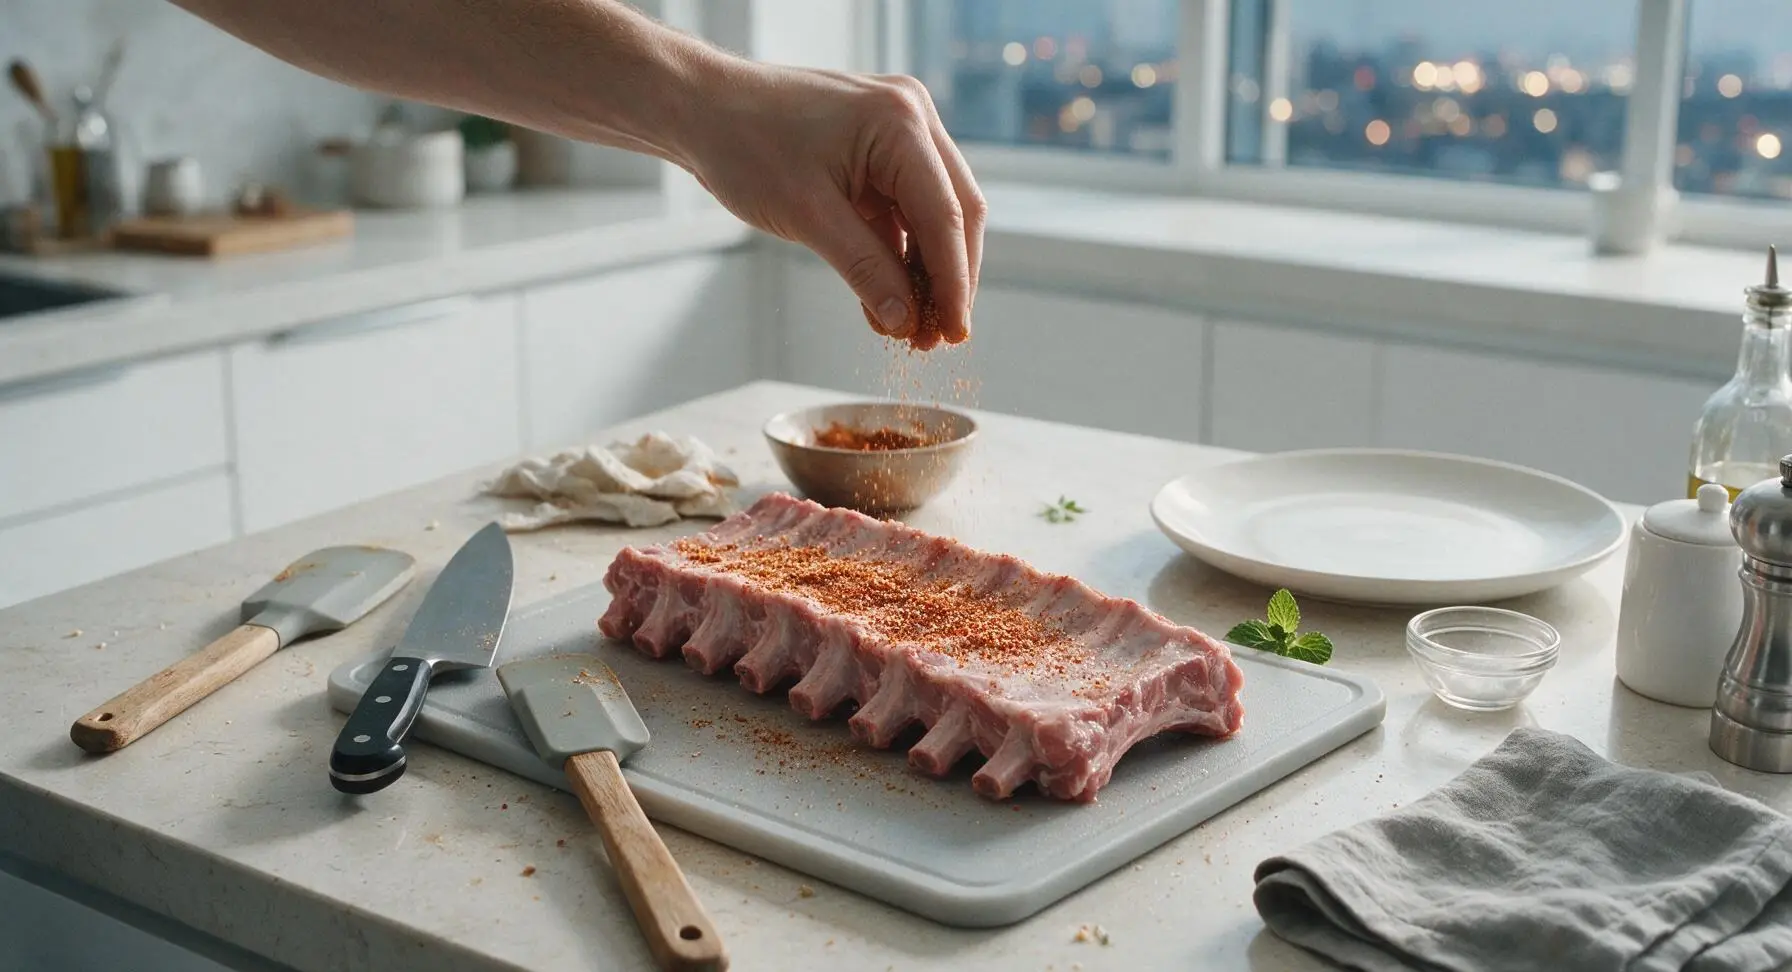
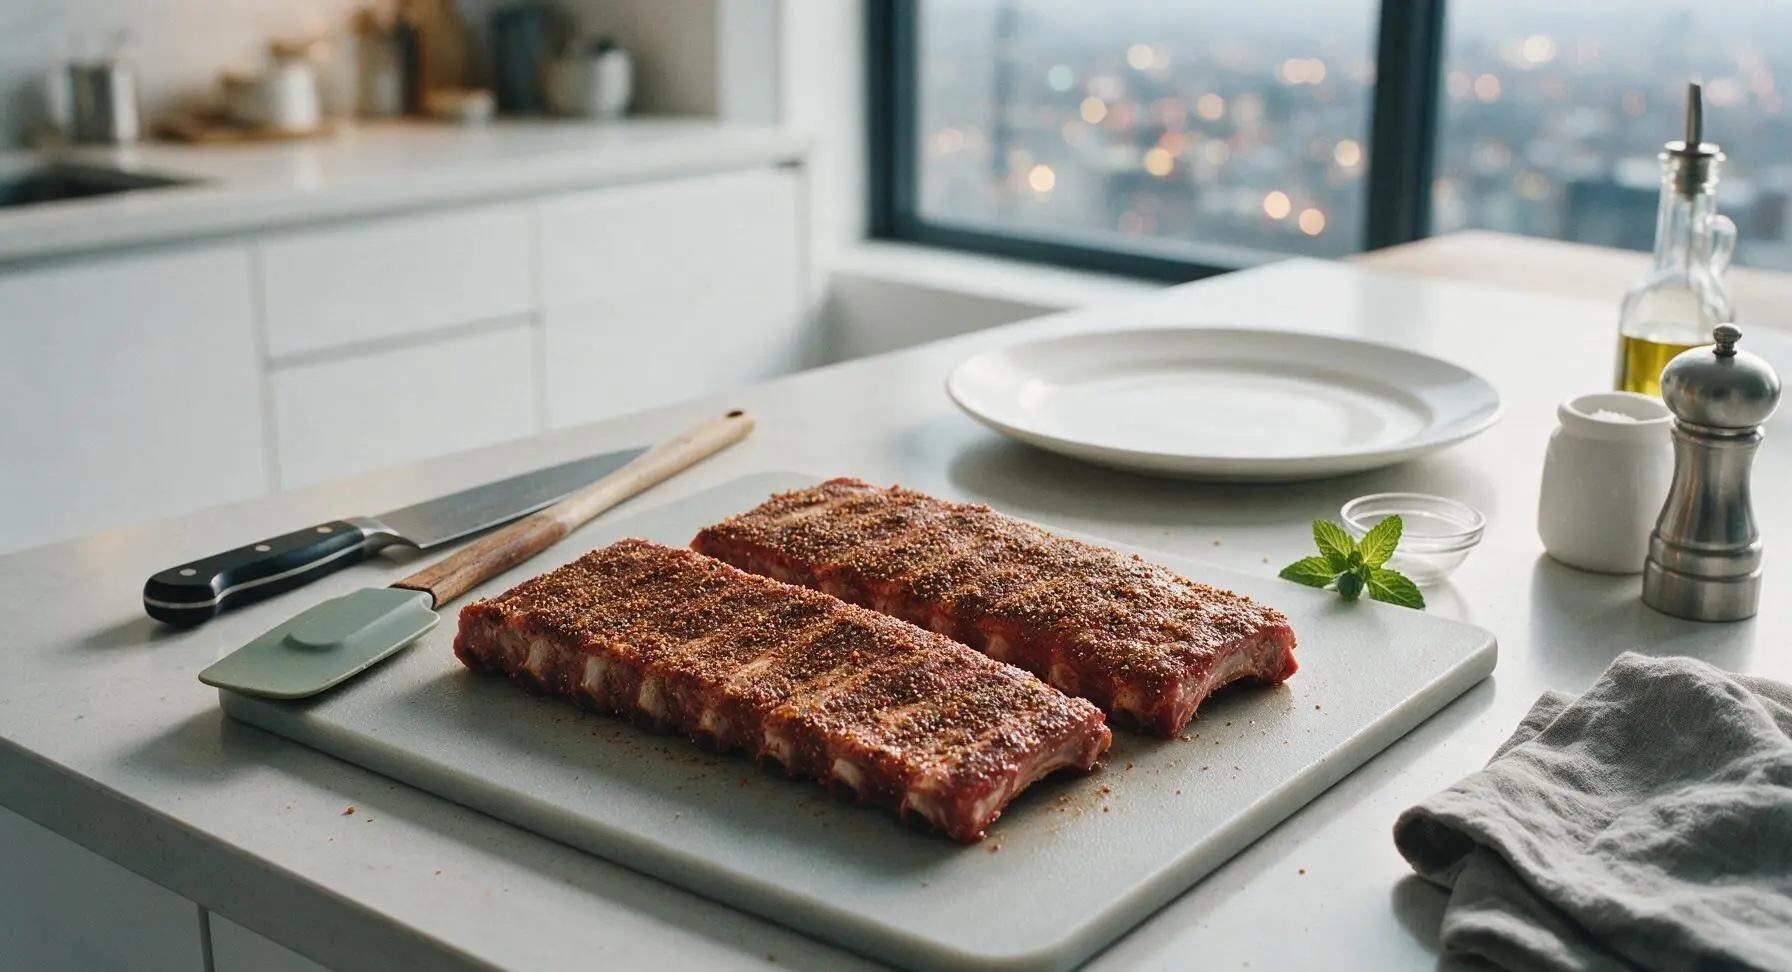
Sprinkle the dry rub evenly over every surface of both rib racks – top, bottom, and cut edges – using roughly two-thirds of the rub mixture. Press the rub firmly into the meat surface with clean, dry hands to create an even, adherent coating about 1/8 inch thick across the whole rack. Let the seasoned ribs rest at room temperature for 15 minutes to allow the spices to penetrate; the meat surface will become slightly moist as the salt draws out natural moisture.
Wrap Ribs for Baking
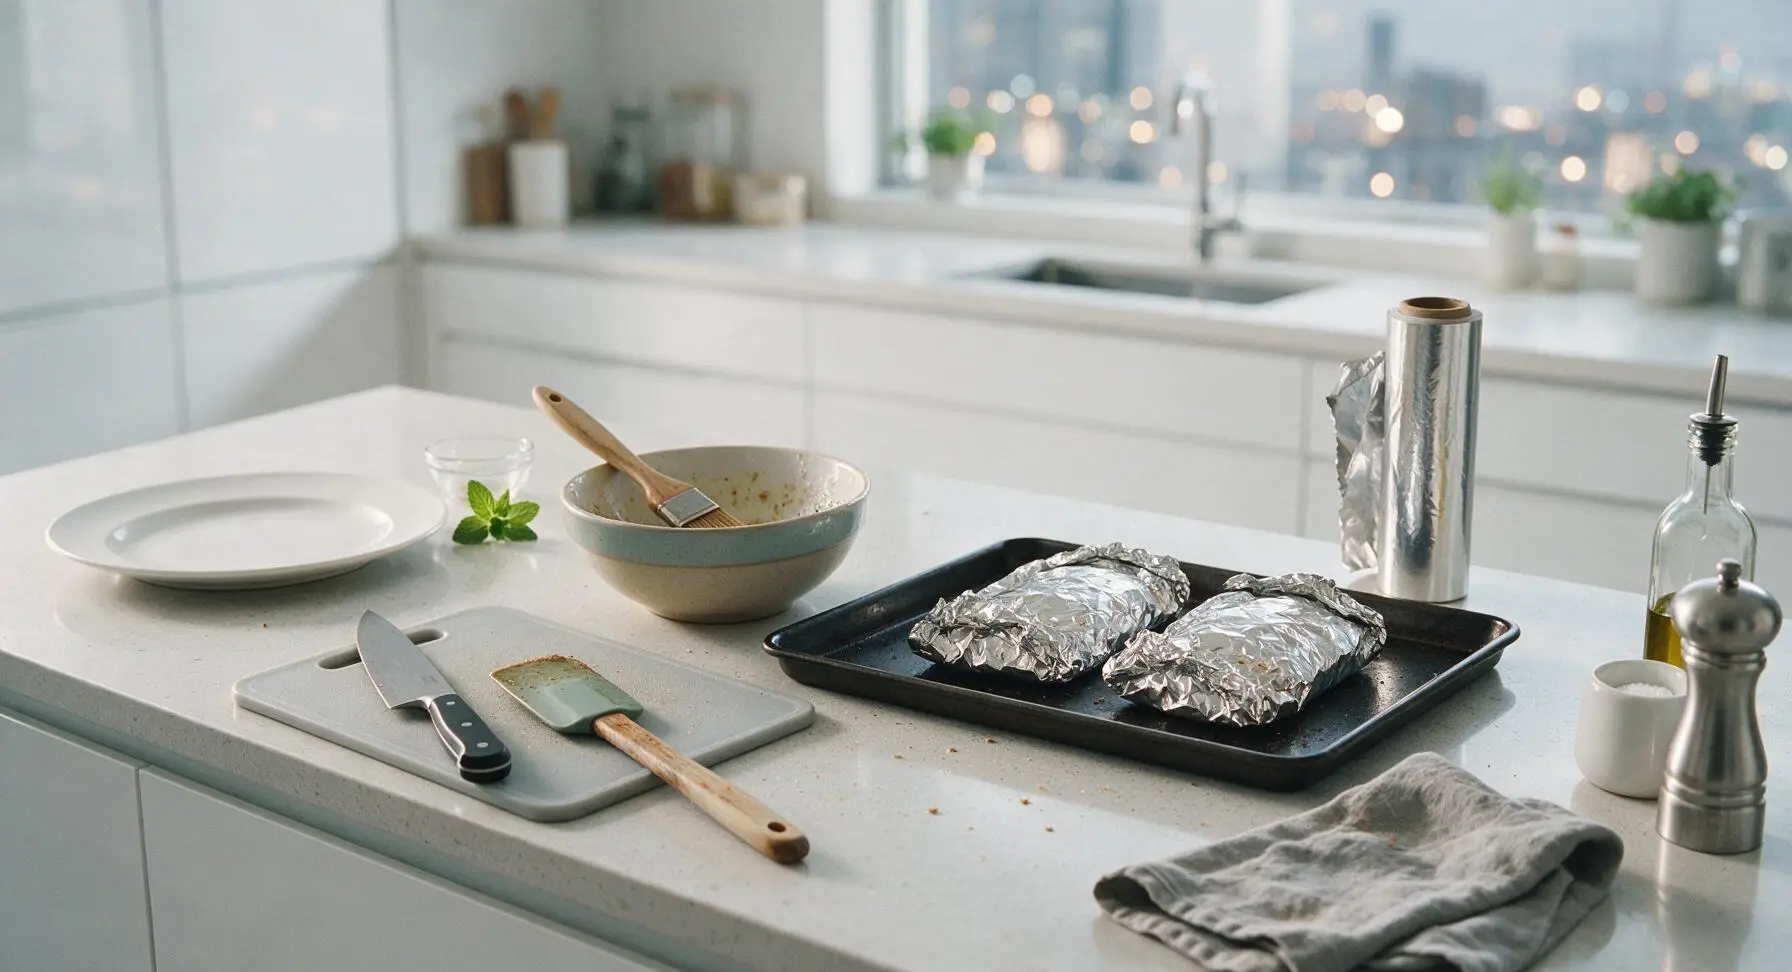
Preheat the oven to 150C (300F). Pull the matte black carbon steel baking sheet from the under-counter cabinet and set it on the counter to the right of the mixing bowl. Tear two large sheets of aluminum foil (each 60cm long, enough to fully enclose a rib rack) from the roll. Stir 2 tbsp apple cider vinegar into the remaining dry rub in the mixing bowl, then brush a thin layer of the vinegar-rub mixture onto the center of each foil sheet before placing each rib rack meat-side up on its foil. Wrap the foil tightly around each rack to create a fully sealed packet, crimping the edges tightly to prevent steam from escaping during cooking.
Slow Cook the Ribs
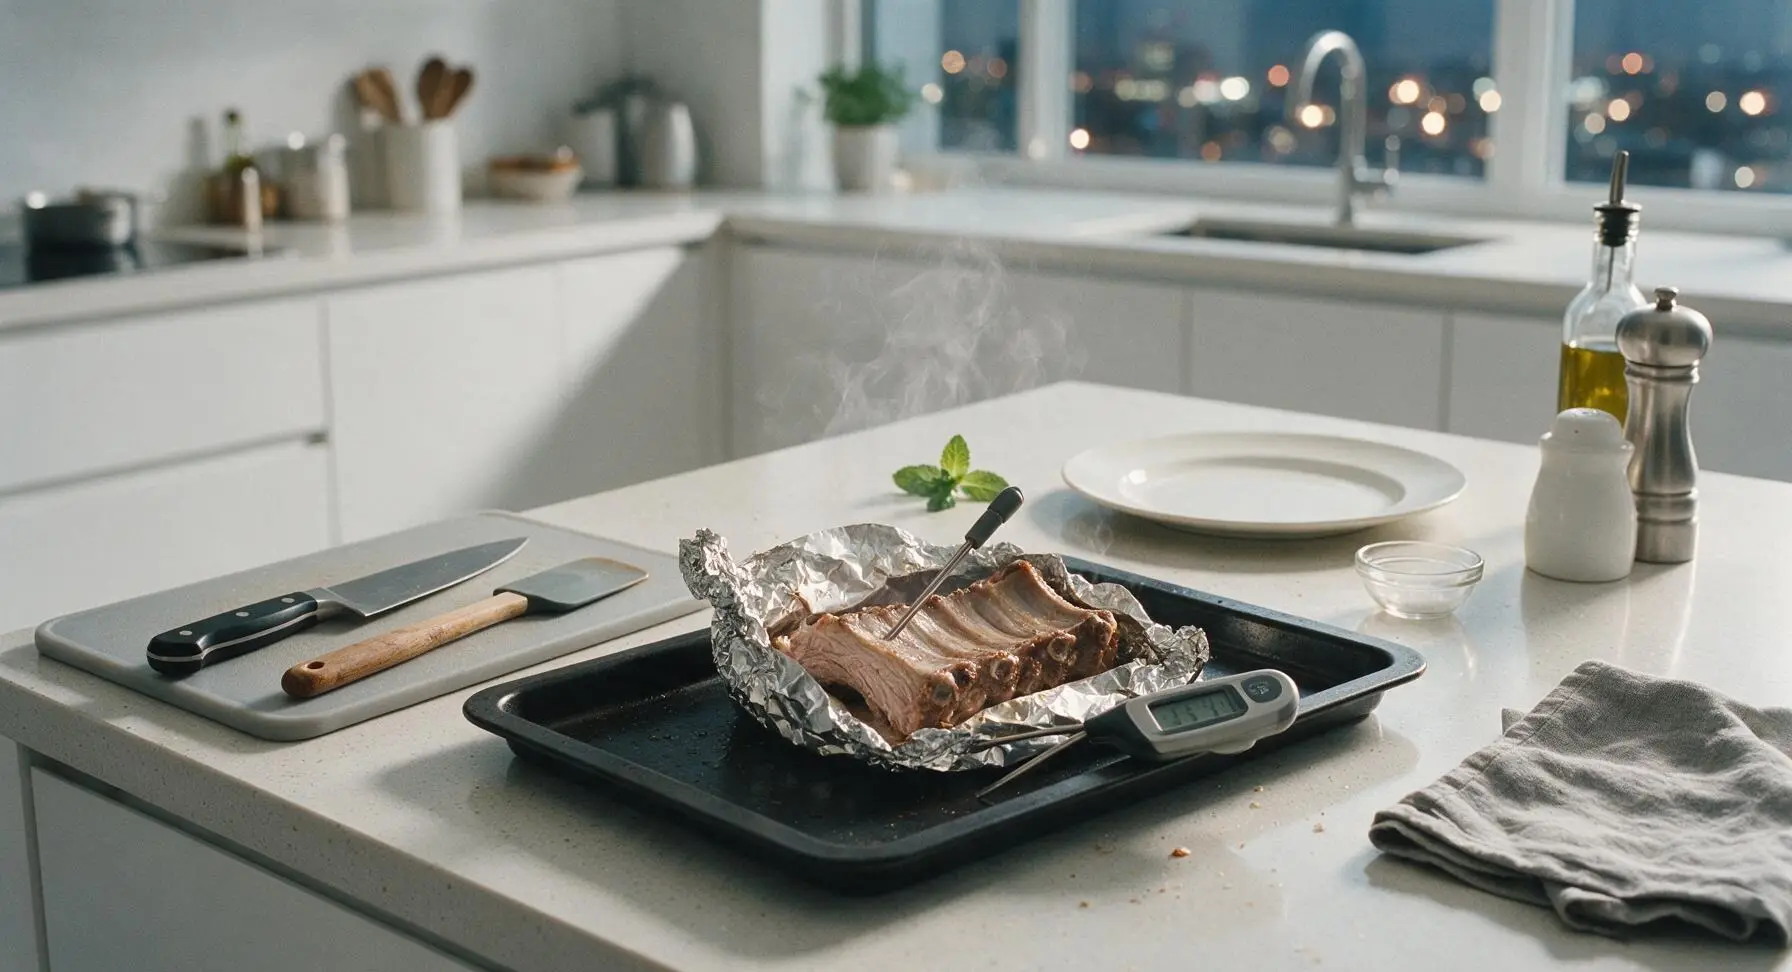
Place the baking sheet with the foil-wrapped ribs on the middle rack of the preheated 150C (300F) oven. Cook for 2 full hours, without opening the oven door or foil packets to retain steam. After 2 hours, carefully pull the baking sheet out and set it on the counter, open one corner of a foil packet (watch for hot steam) to check doneness: the meat should pull away from the end of the bone by roughly 1/4 inch when gently tugged, and the digital meat thermometer should read 90C (195F) when inserted into the thickest part of the meat, away from bone.
Baste with BBQ Sauce
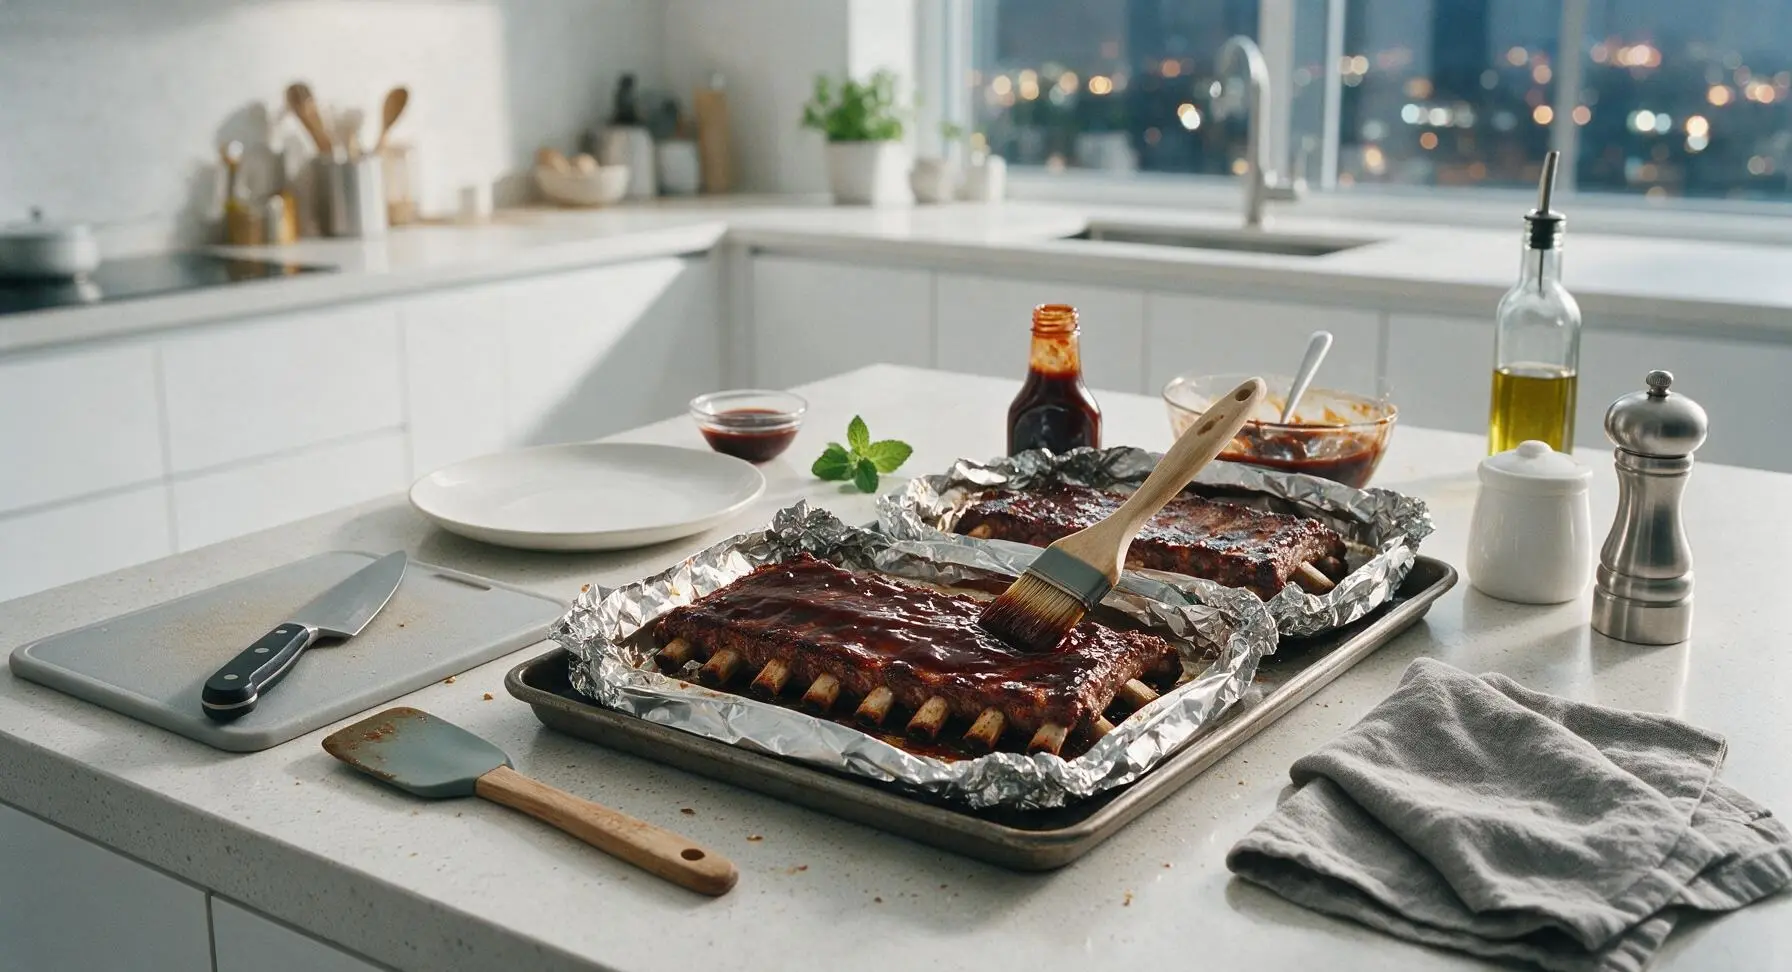
Open both foil packets fully, folding the foil edges down around the ribs to expose the entire top meat surface. Pour 200ml of the BBQ sauce into the mixing bowl, and use the basting brush to coat the top of each rib rack in a thick, even layer of sauce. Leave the foil folded down around the ribs rather than re-sealing, to allow the sauce to caramelize in the oven rather than steaming.
Caramelize the Sauce
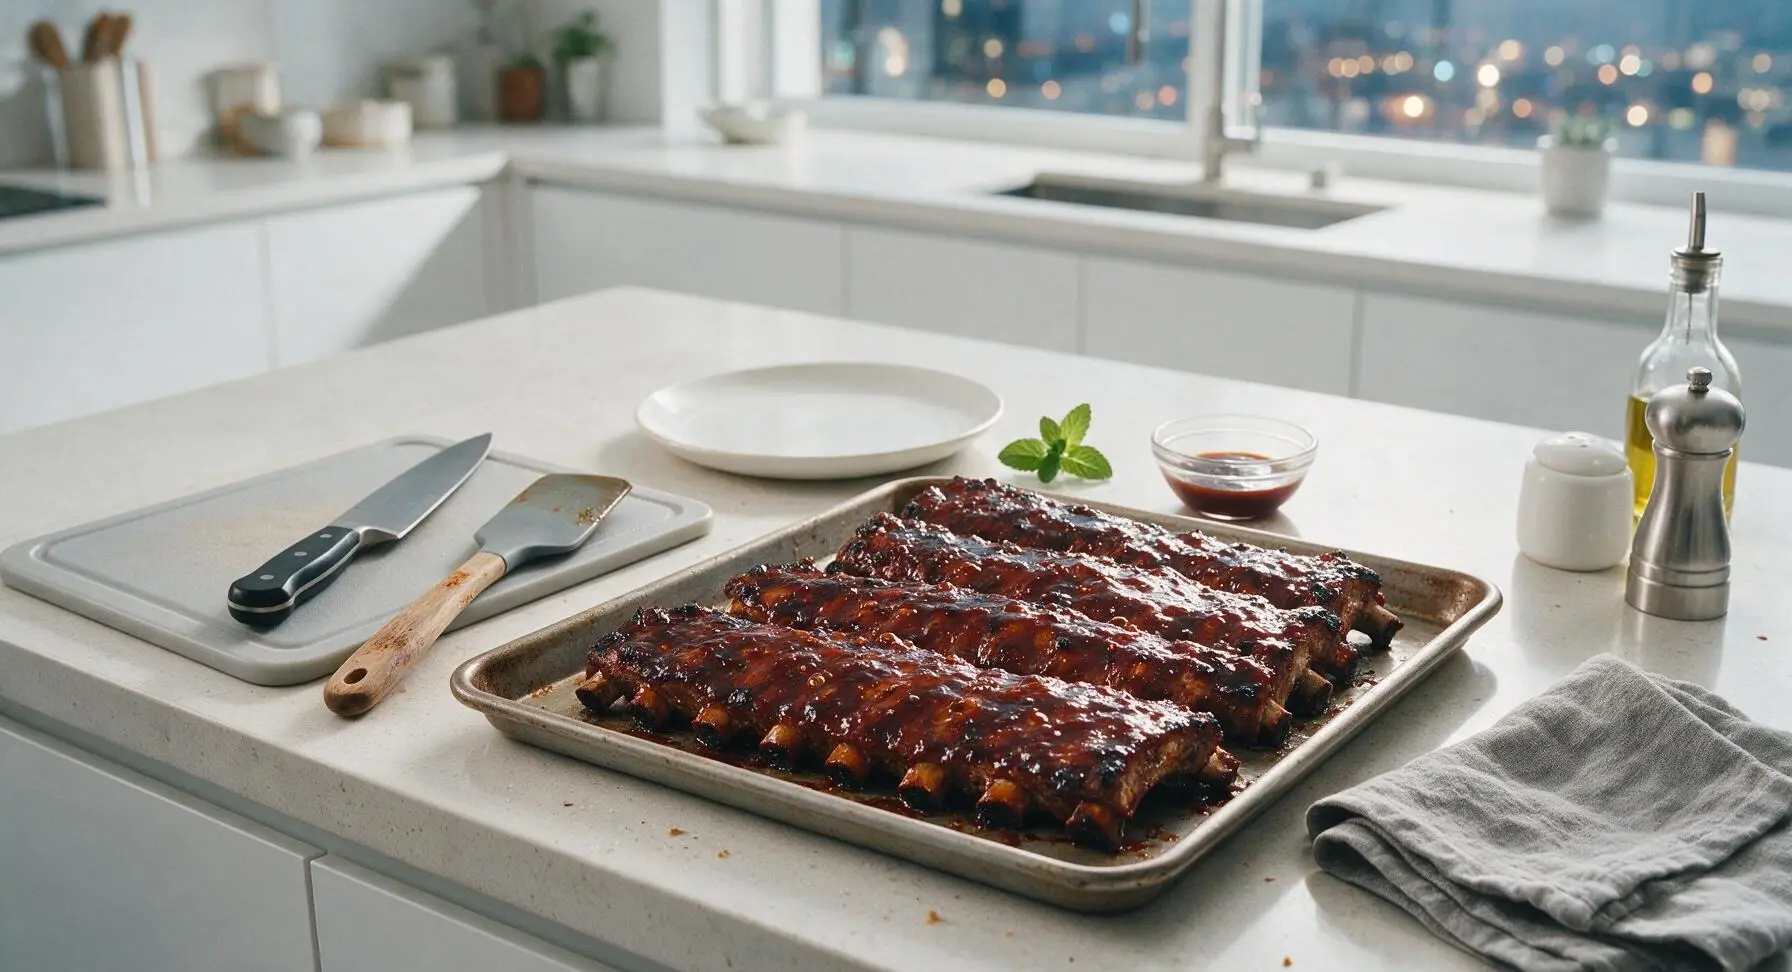
Increase the oven temperature to 220C (425F). Return the open baking sheet to the middle oven rack, and cook for 10-12 minutes, until the sauce is bubbly, sticky, and a deep caramelized mahogany color, with slight dark charred spots along the rib edges. Check the ribs after 8 minutes to avoid burning the sugar in the BBQ sauce, which will turn bitter if overcooked.
Rest and Plate Ribs
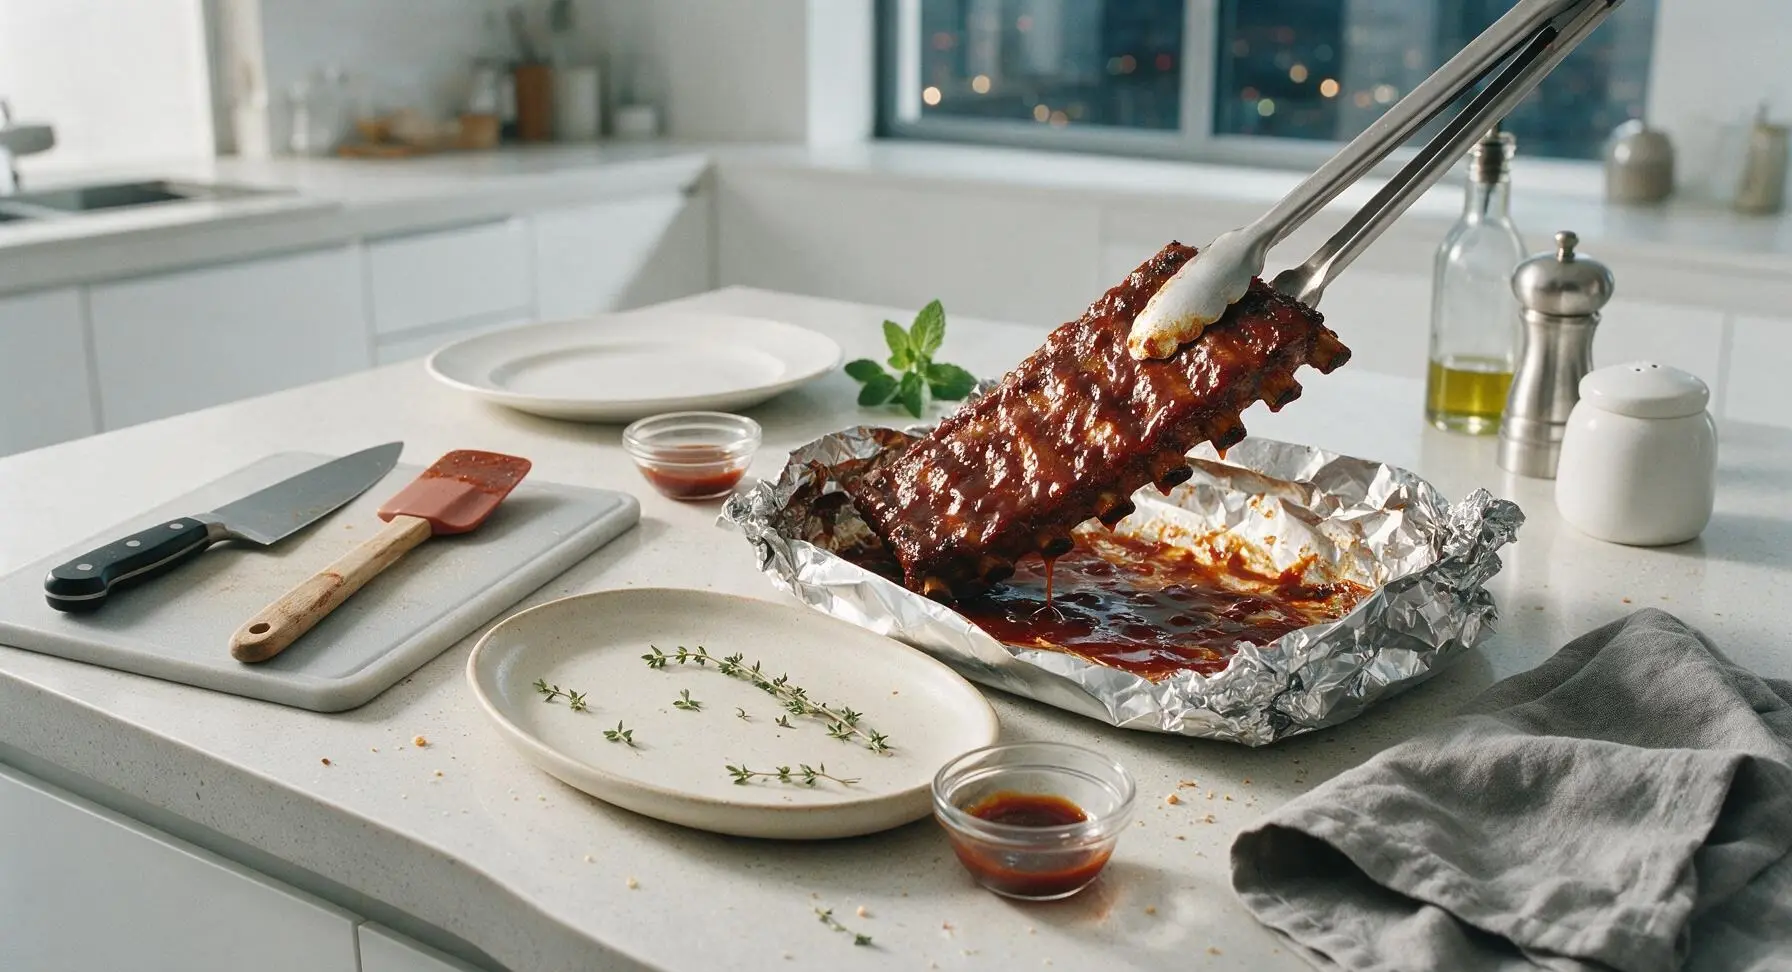
Use the stainless steel tongs to carefully lift the cooked rib racks from the foil packets, letting excess sauce drip back onto the foil, and transfer them to the matte warm off-white oval ceramic platter. Let the ribs rest for 10 minutes at room temperature to allow juices to redistribute, then scatter fresh thyme sprigs across the top. Pour the remaining 150ml of BBQ sauce into the small clear glass ramekin to serve on the side.
Tips
2.Resist the urge to cook ribs at high heat for the full duration: low, slow steam cooking in sealed foil gently breaks down tough connective tissue without drying out the meat, creating the signature tender texture without a dedicated smoker.
3.Let ribs rest for 10 minutes before slicing or serving: cutting into hot ribs immediately causes all rendered fat and meat juices to run out onto the platter, leaving the meat dry and less flavorful.






Game changer! I’ve tried so many oven rib recipes that turn out tough or dry, but these were perfectly tender. My kids loved them so much they asked if we can have ribs every Friday night. I did add a little extra dry rub because my family loves bold flavor, and it worked like a charm. 10/10 would make again!
These were amazing for meal prep! I made a full rack on Sunday, portioned it out with roasted broccoli and mac and cheese, and had lunches ready for the whole work week. The ribs stayed tender even after reheating in the microwave, which I was totally shocked by. Only note is I wish the cook time was a little shorter, but the end result was worth every minute.
Brought these to my neighborhood potluck last weekend and people were literally hovering over the platter. I had three people ask me for the recipe before I even left. Used a sweet and spicy BBQ sauce and it paired perfectly with the tender pork. Zero leftovers, that’s how you know it’s a hit.
Okay full transparency, I’ve never cooked ribs in my life. I was so nervous I’d mess them up, but the instructions were super easy to follow! My only issue was that my BBQ sauce burned a little on the edges during the last 15 minutes – did I do something wrong?
Made these for my post-hike cookout with friends and everyone was raving. The meat was so tender it just fell right off when I picked up a bone. I used a mesquite BBQ sauce and added a pinch of cayenne for a little heat, which was perfect for our group. Will definitely be adding this to my regular rotation!
SO good. I don’t have a smoker so I’ve been chasing that perfect fall-off-the-bone rib texture in my apartment oven for years, and this recipe finally nailed it. My apartment smelled like BBQ for two days straight and I’m not even mad about it. Worth every minute of wait time.
Made these for my kid’s birthday dinner last night and I’m pretty sure I just earned Dad of the Year. I paired it with coleslaw and cornbread and it was the perfect comfort food meal. The only reason I’m not giving 5 stars is I had to run to the store mid-cook because I forgot to buy brown sugar for the rub, oops. 100% my bad though, recipe is perfect.
So happy I found this recipe! I used a gluten-free BBQ sauce and it worked perfectly, no adjustments needed at all. My husband who swears he ‘only likes restaurant ribs’ ate half a rack in one sitting. Huge win for our weeknight dinner rotation!
OMG, made these in my tiny dorm oven and they turned out insane. I was worried the temperature controls on my janky dorm oven would mess them up, but I just checked them a little more often and they were perfect. My roommate and I split a full rack while we watched football and it was better than the takeout ribs we ordered last week. Way cheaper too!
These ribs taste like summertime even though it’s October! I made them for our fall bonfire last weekend and everyone was going back for thirds. The dry rub is perfectly balanced – not too salty, not too sweet, just the right amount of smoky flavor. I will say I let mine rest for 10 minutes after taking them out of the oven and that helped lock in the juices, highly recommend.
I’ve been making ribs for 20+ years, on the smoker, on the grill, in the oven, and I was skeptical this recipe would live up to the hype. Color me impressed. These were as tender as any rib I’ve smoked for 6 hours, without all the hassle of tending a smoker for half the day. My wife said these are the best ribs I’ve ever made, so I guess I’m switching to this method now.
Wait, has anyone tried making these with spare ribs instead of baby back? I have a pack of spare ribs in my freezer I need to use up and I’m wondering if the cook time is the same?
Made these for my anniversary dinner with my partner and they were OBSESSED. We had them with roasted garlic mashed potatoes and roasted asparagus, and it felt like a fancy restaurant meal right at home. I was worried I’d overcook them because medium difficulty sounds intimidating, but the step by step instructions made it so easy even I couldn’t mess it up.
Made these for our Ohio State watch party last Saturday and the whole crew was losing their minds. We usually order ribs from the local BBQ joint for games, but these were cheaper, tasted better, and I didn’t have to wait in a 45 minute pickup line. Already got the recipe taped to my fridge for every game day from now on.
Great recipe! I cut the brown sugar in half for the dry rub and used a no-sugar-added BBQ sauce to keep the sugar content lower, and it still turned out absolutely delicious. The ribs were so flavorful even with less sugar, I didn’t miss the extra sweetness at all.
Ugh, I followed the recipe exactly but my ribs came out a little tough. I checked the oven temp with a thermometer and it was accurate, so I’m not sure what went wrong? I was really looking forward to fall off the bone ribs too.
My veggie-obsessed wife made these for dinner last night and even I, a certified meat and potatoes guy, have to admit they were incredible. I usually don’t love oven-baked ribs because they lack that smoky grill flavor, but the rub had enough smoky paprika that I didn’t even miss the grill. Cleaned my entire plate, which is the highest compliment I can give a recipe.
These ribs are our new Sunday supper staple! I’ve made them three times in the last month and every time they turn out perfectly. I love that I can pop them in the oven and make sides while they cook, no constant babysitting required. My grandkids fight over the last rib every single time, which is the best review a grandma can get.