
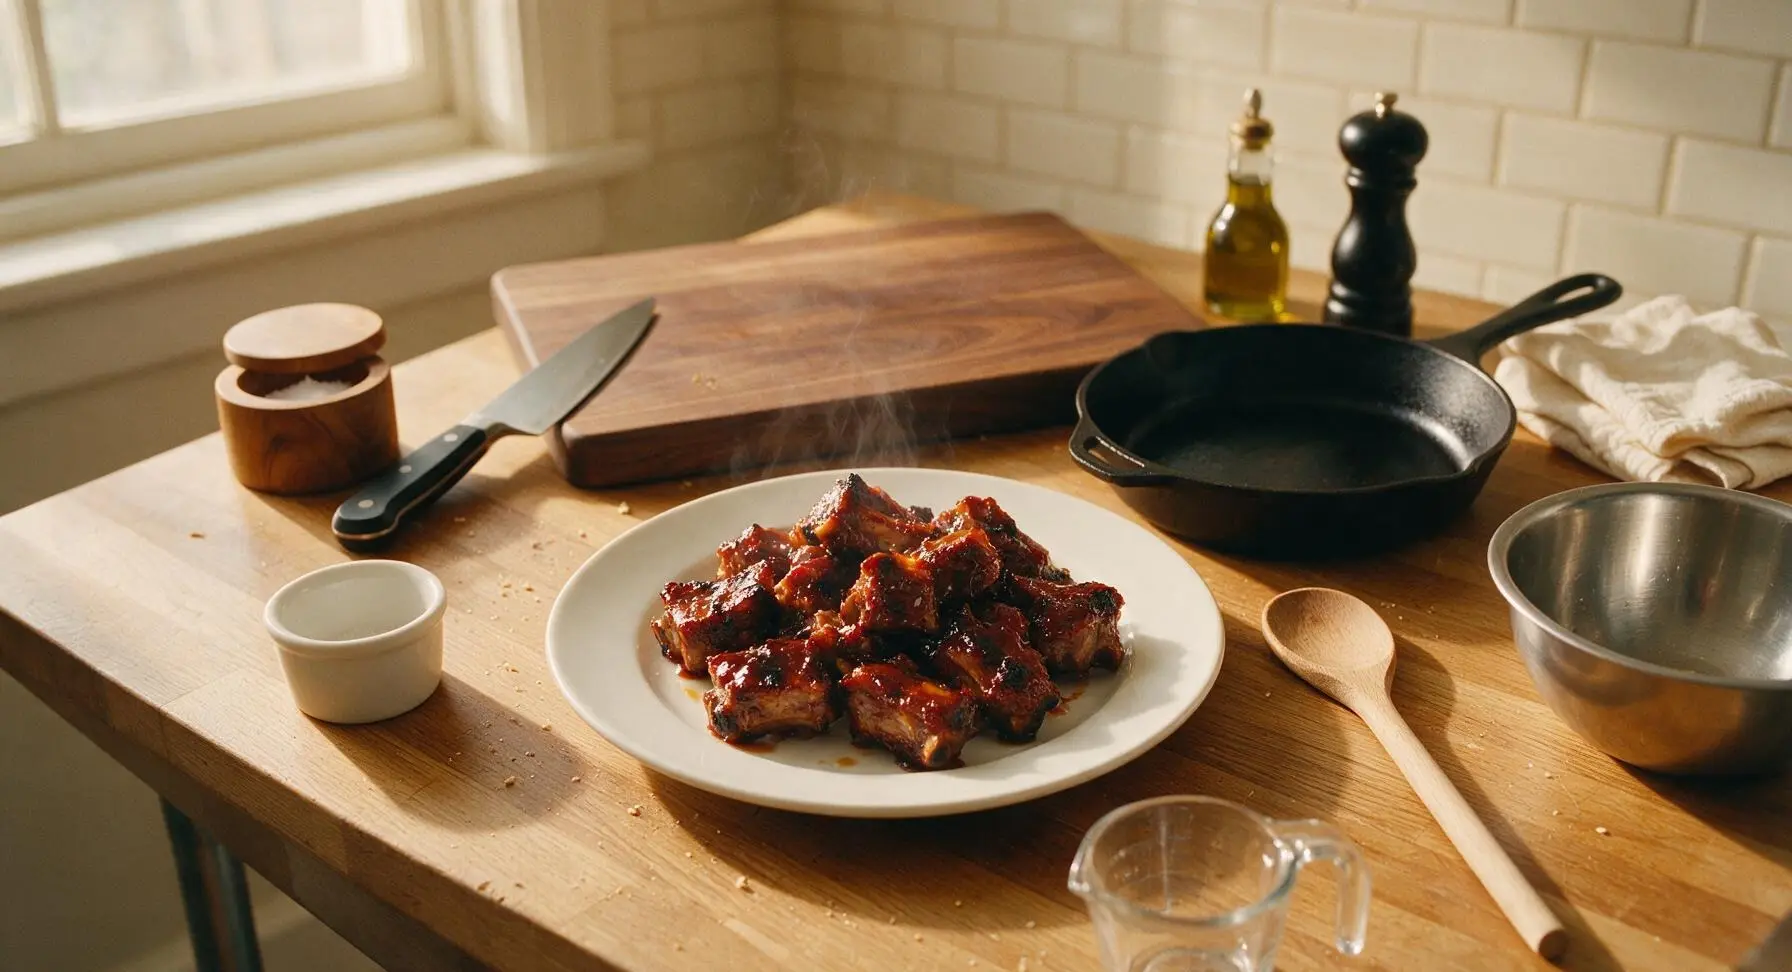
Pork Rib Tips

title 1
Pork Rib Tips
⏱️ cook time 1 hour 30 minutes
🍽️ servings 4
⚡ Difficulty medium

intro

Sticky, smoky, fall-off-the-bone tender pork rib tips slathered in tangy-sweet caramelized BBQ sauce, the ultimate shareable finger food for warm weather gatherings.

Ingredients
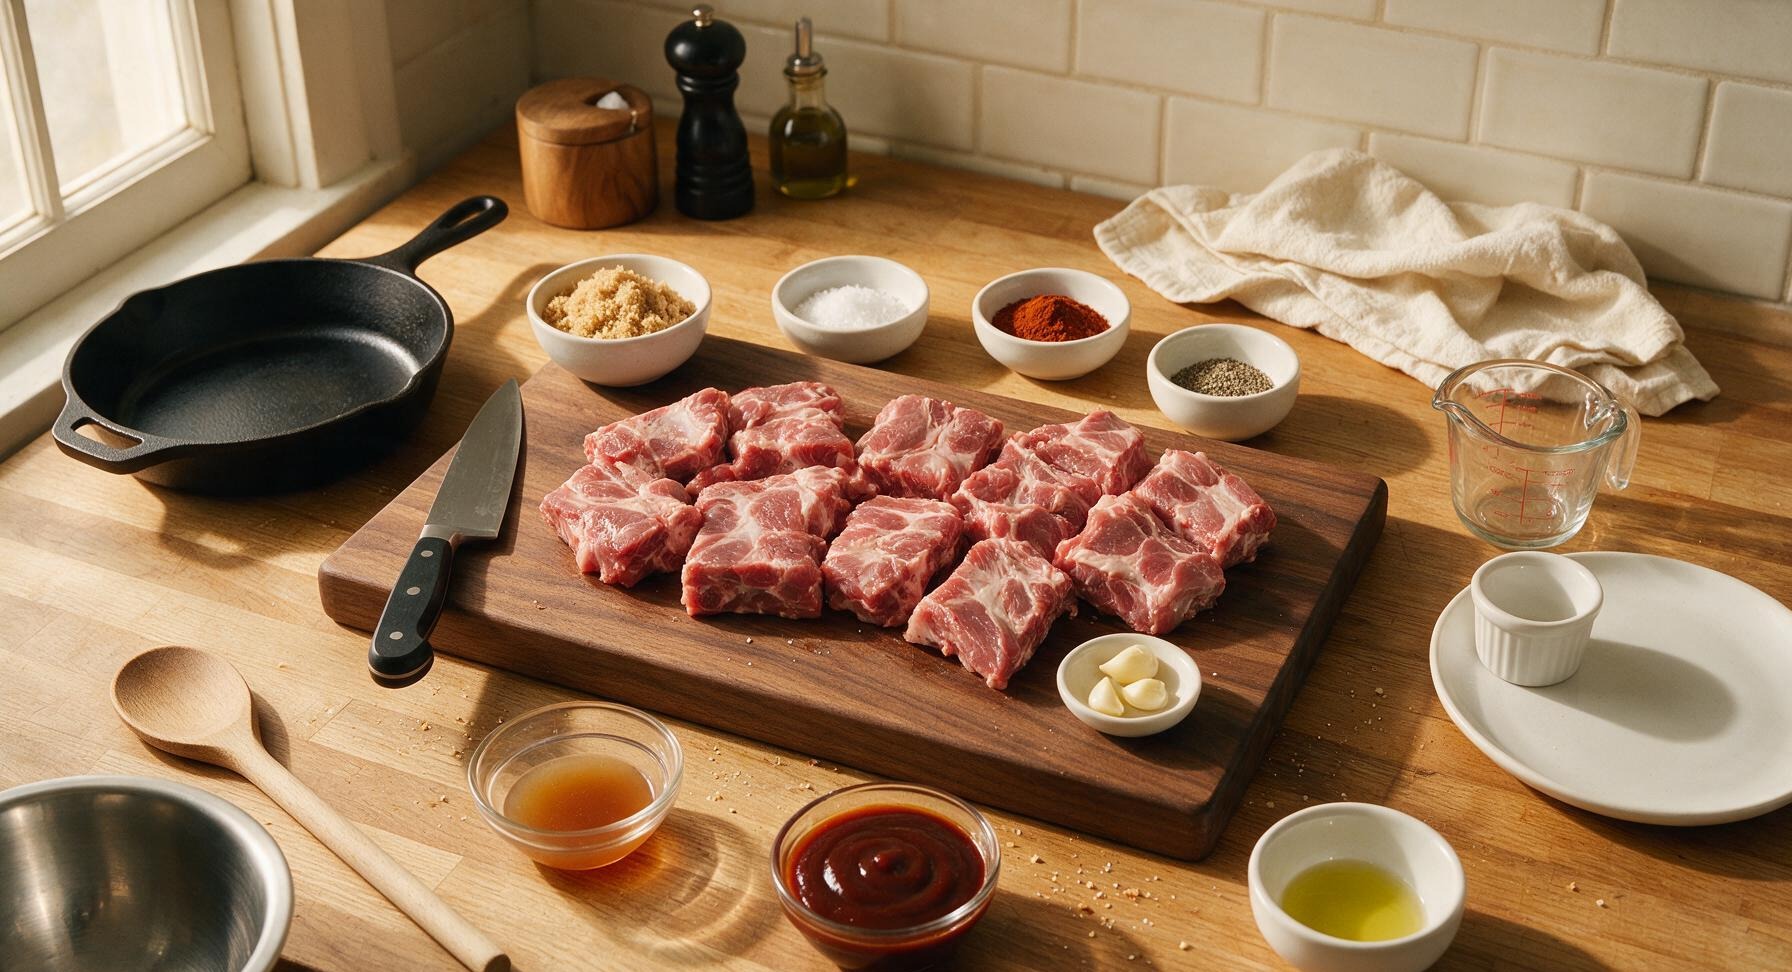
Pork rib tips 1kg (2.2 lbs)
Light brown sugar 3 tbsp
Kosher salt 1 tbsp
Smoked paprika 2 tsp
Garlic powder 1 tsp
Freshly ground black pepper 1 tsp
Apple cider vinegar 2 tbsp
Sweet & tangy barbecue sauce 180ml (3/4 cup)
Fresh garlic cloves 3 cloves, crushed
Neutral cooking oil (canola/avocado) 1 tsp

Steps

1

Trim Rib Tips

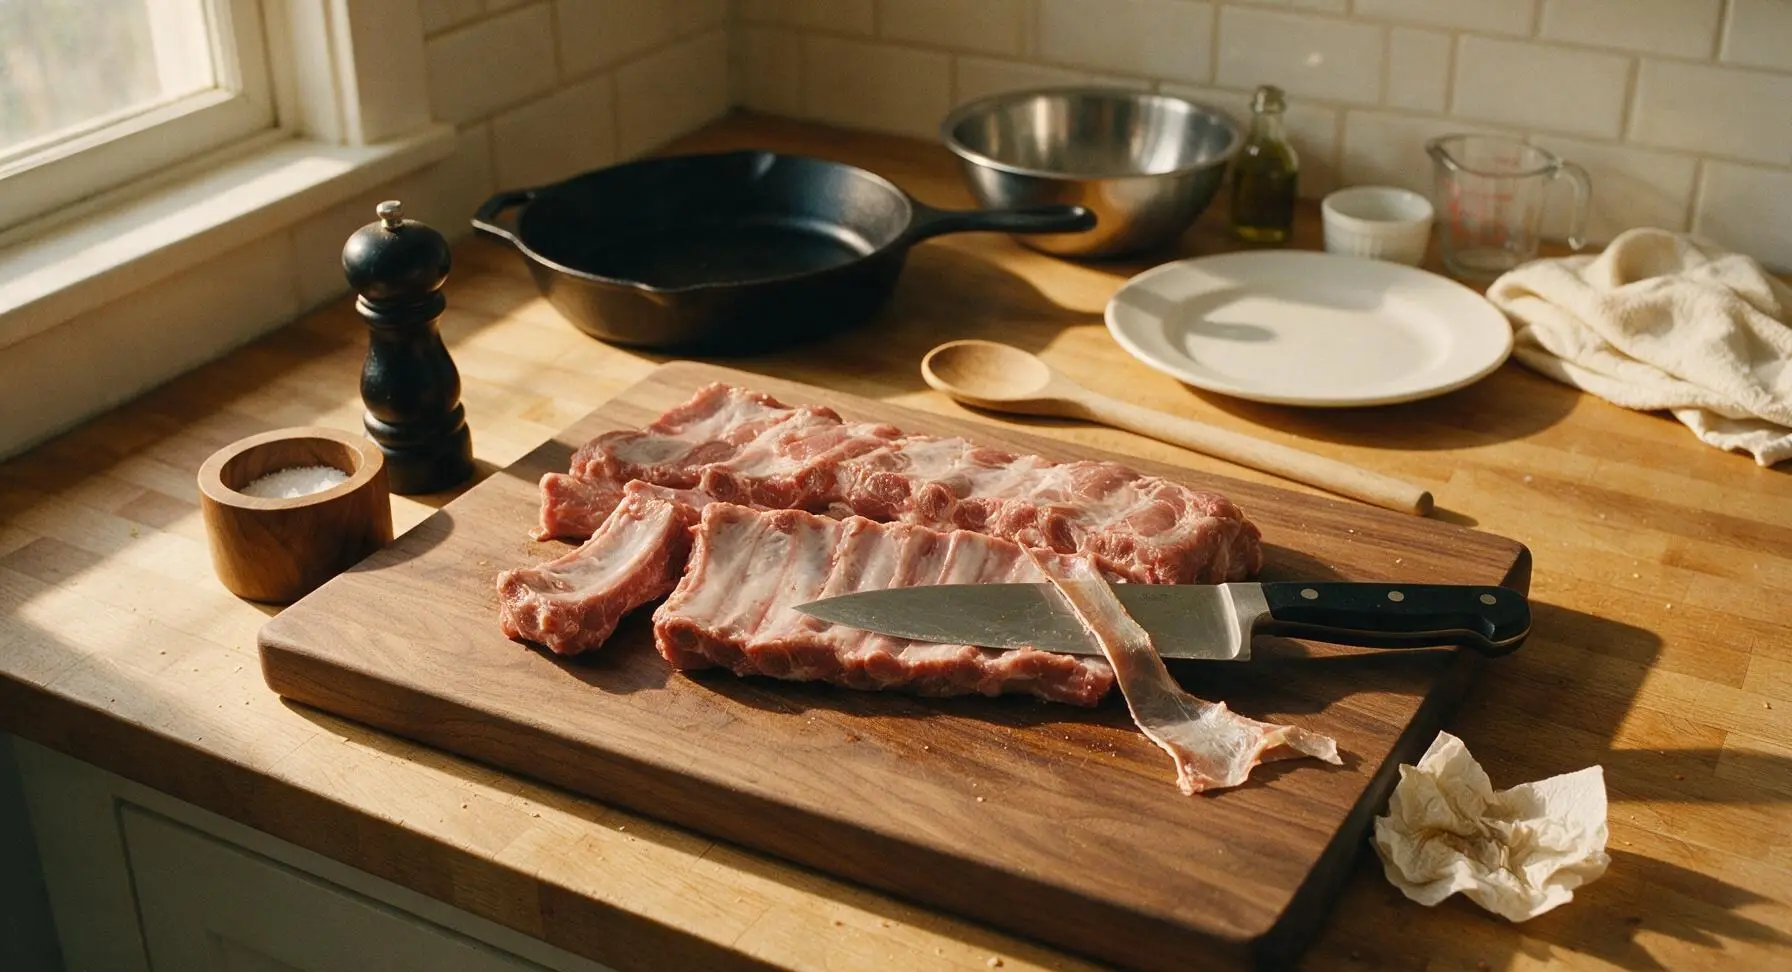
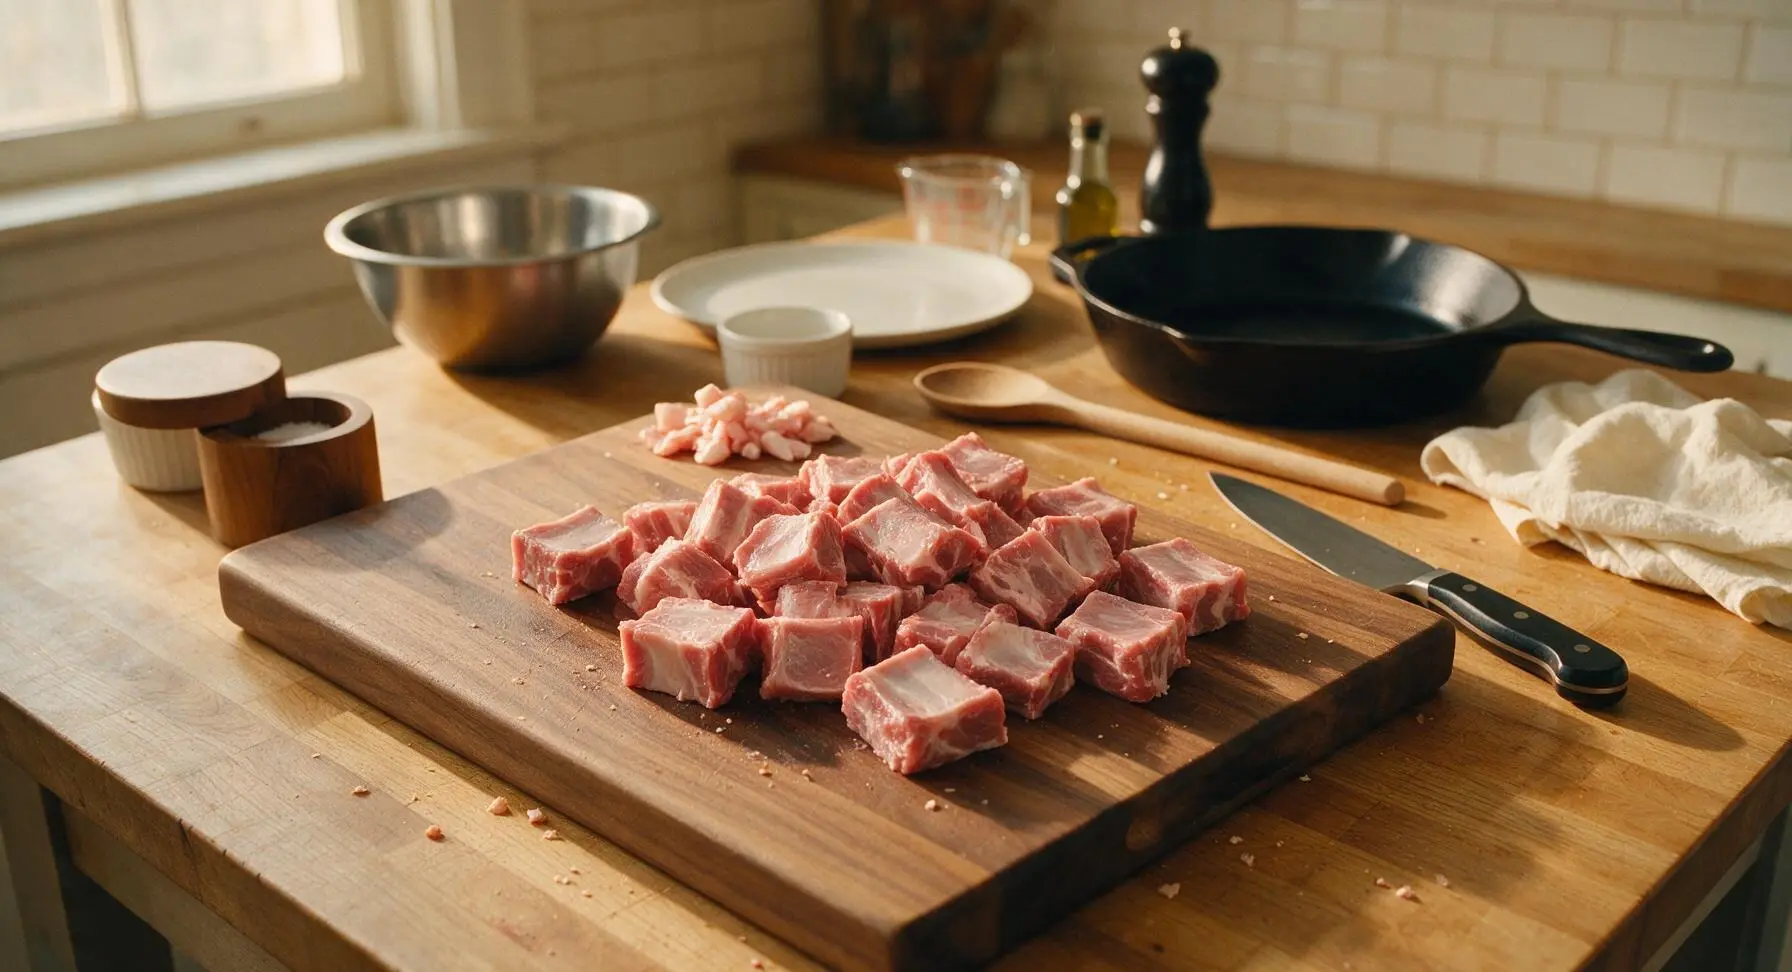
Place the 1kg raw pork rib tips on the acacia wood cutting board. Use the 8-inch walnut-handled chef knife to trim away any excess loose fat or tough silver skin from the rib surfaces, leaving a thin 1/8-inch layer of fat attached to keep meat juicy during cooking. Cut the connected rib sections into individual 3-5cm (1.5-2 inch) bite-sized pieces, discarding any loose hard bone fragments. Pat all cut surfaces completely dry with paper towels from the paper towel roll to ensure dry rub adheres properly and forms a crisp crust.
Step 1
step1:Trim Rib Tips
Step 1
step1:Trim Rib Tips
2

Mix Dry Rub

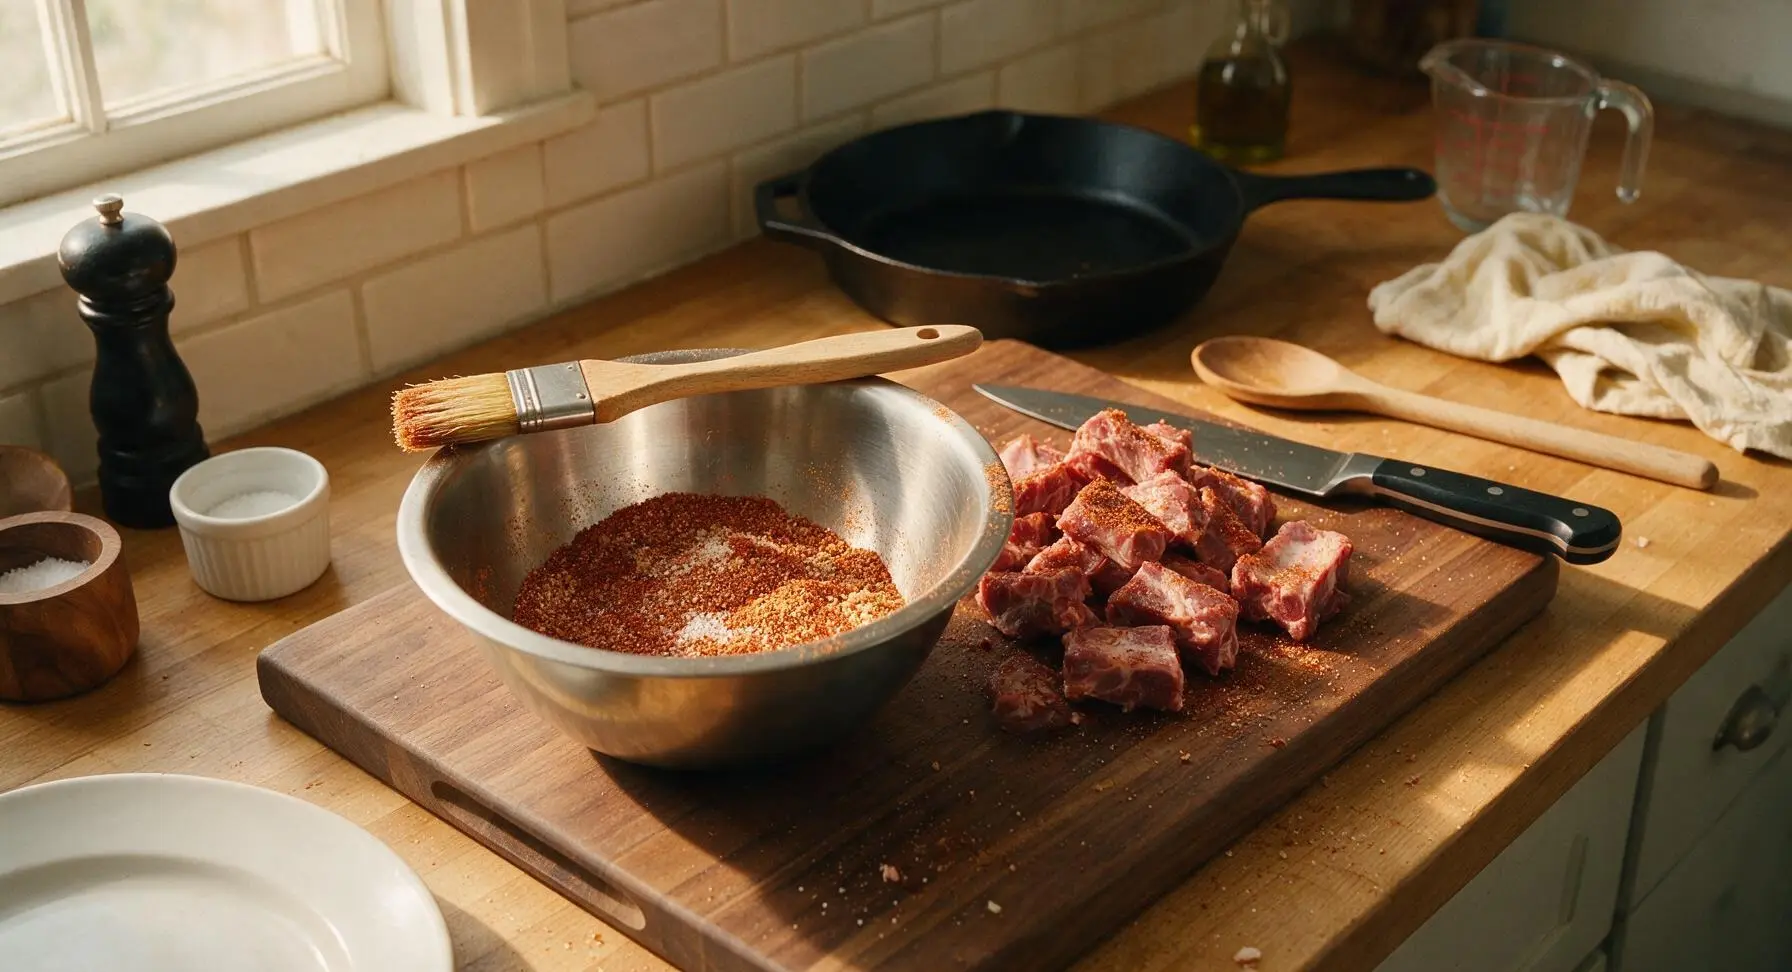
In the medium brushed stainless steel mixing bowl, combine 3 tbsp light brown sugar, 1 tbsp kosher salt, 2 tsp smoked paprika, 1 tsp garlic powder, and 1 tsp freshly ground black pepper (ground fresh from the pepper grinder). Stir the spices with the handle of the basting brush until fully combined, pressing out any clumps of brown sugar against the bowl side to create an even, consistent reddish-brown rub.
Step 2
step2:Mix Dry Rub
3

Coat with Dry Rub

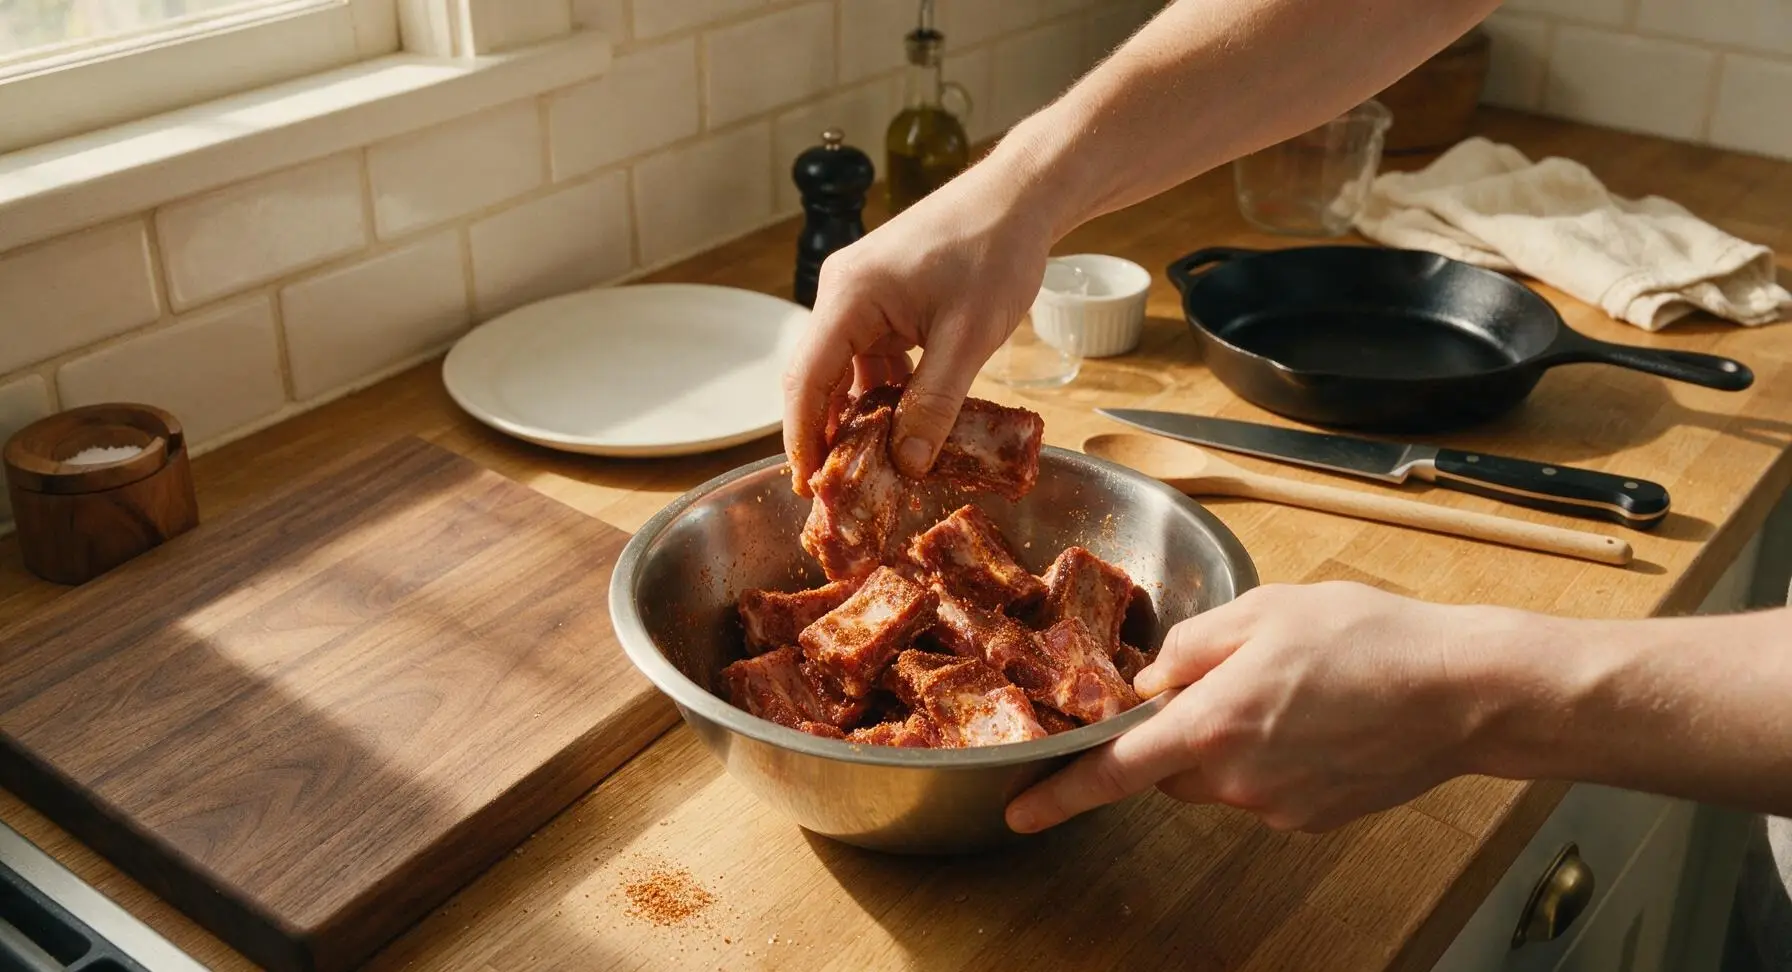
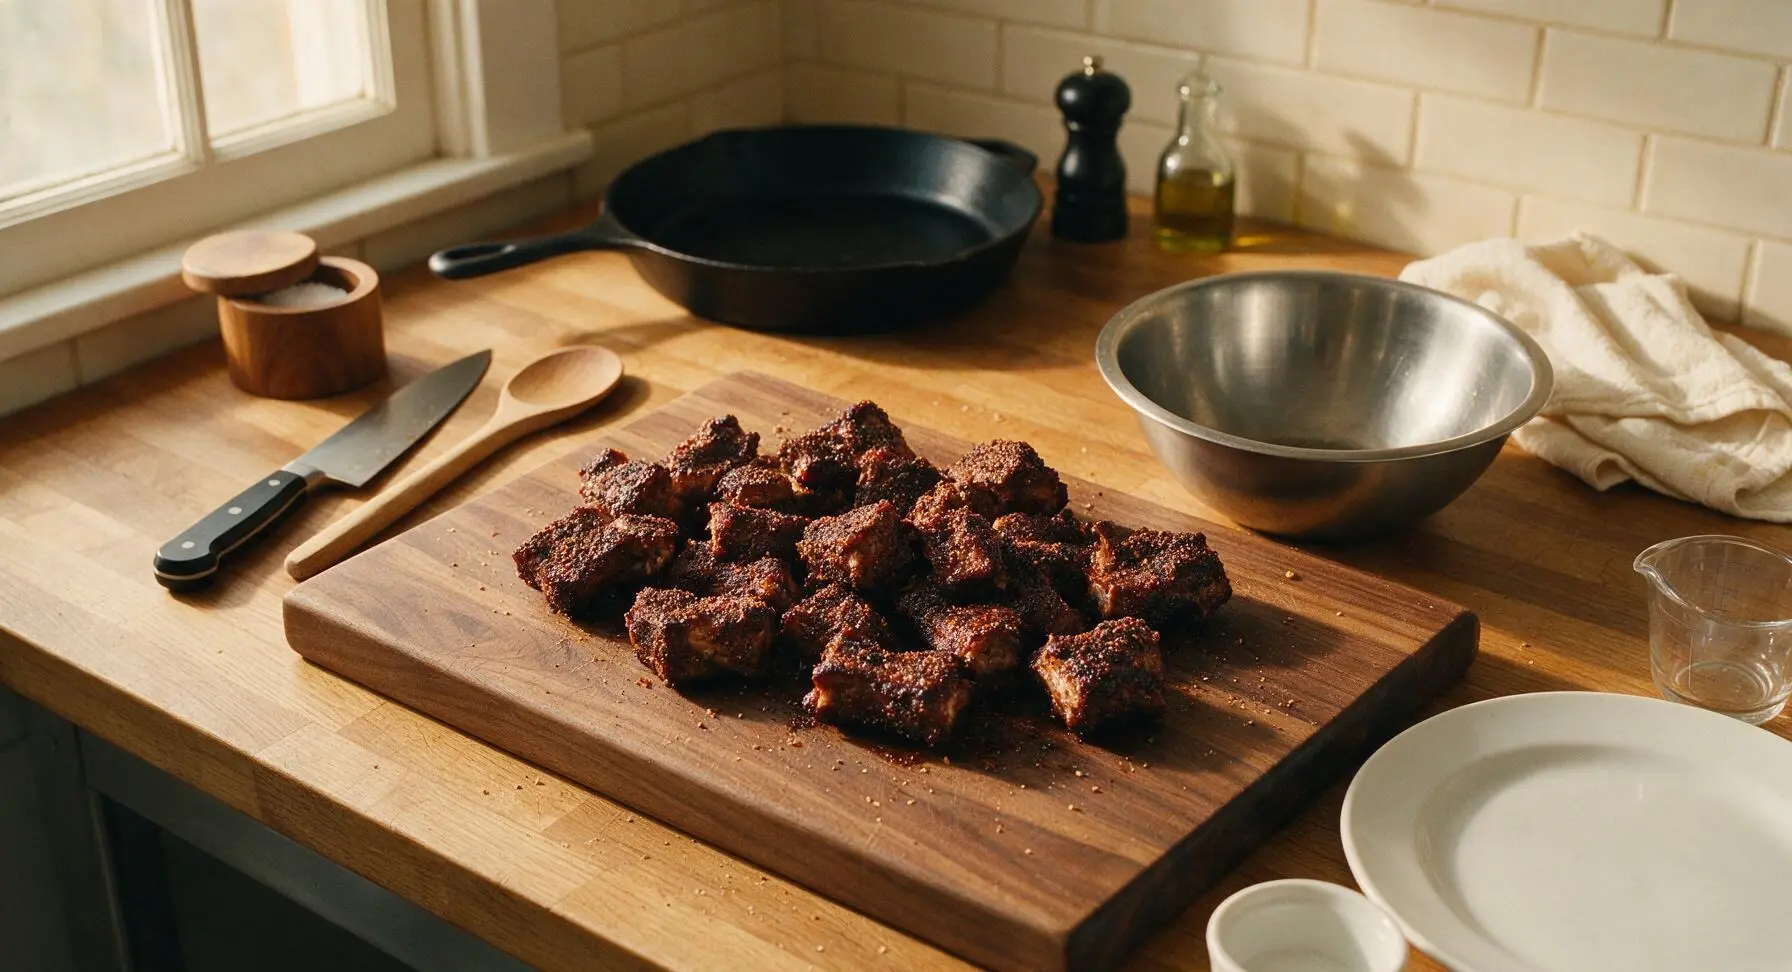
Drizzle 1 tsp neutral cooking oil over the cut rib tips on the cutting board, toss lightly to coat every piece with a thin oil layer. Transfer the oiled ribs to the stainless steel mixing bowl with the dry rub, then use clean hands to toss and press the rub firmly into every side of the rib pieces, ensuring no bare meat spots remain. Let the coated ribs rest at room temperature for 15 minutes to allow the rub to penetrate and draw out surface moisture, which will help form a sticky, caramelized crust during cooking.
Step 3
step3:Coat with Dry Rub
Step 3
step3:Coat with Dry Rub
4

Arrange Ribs on Tray

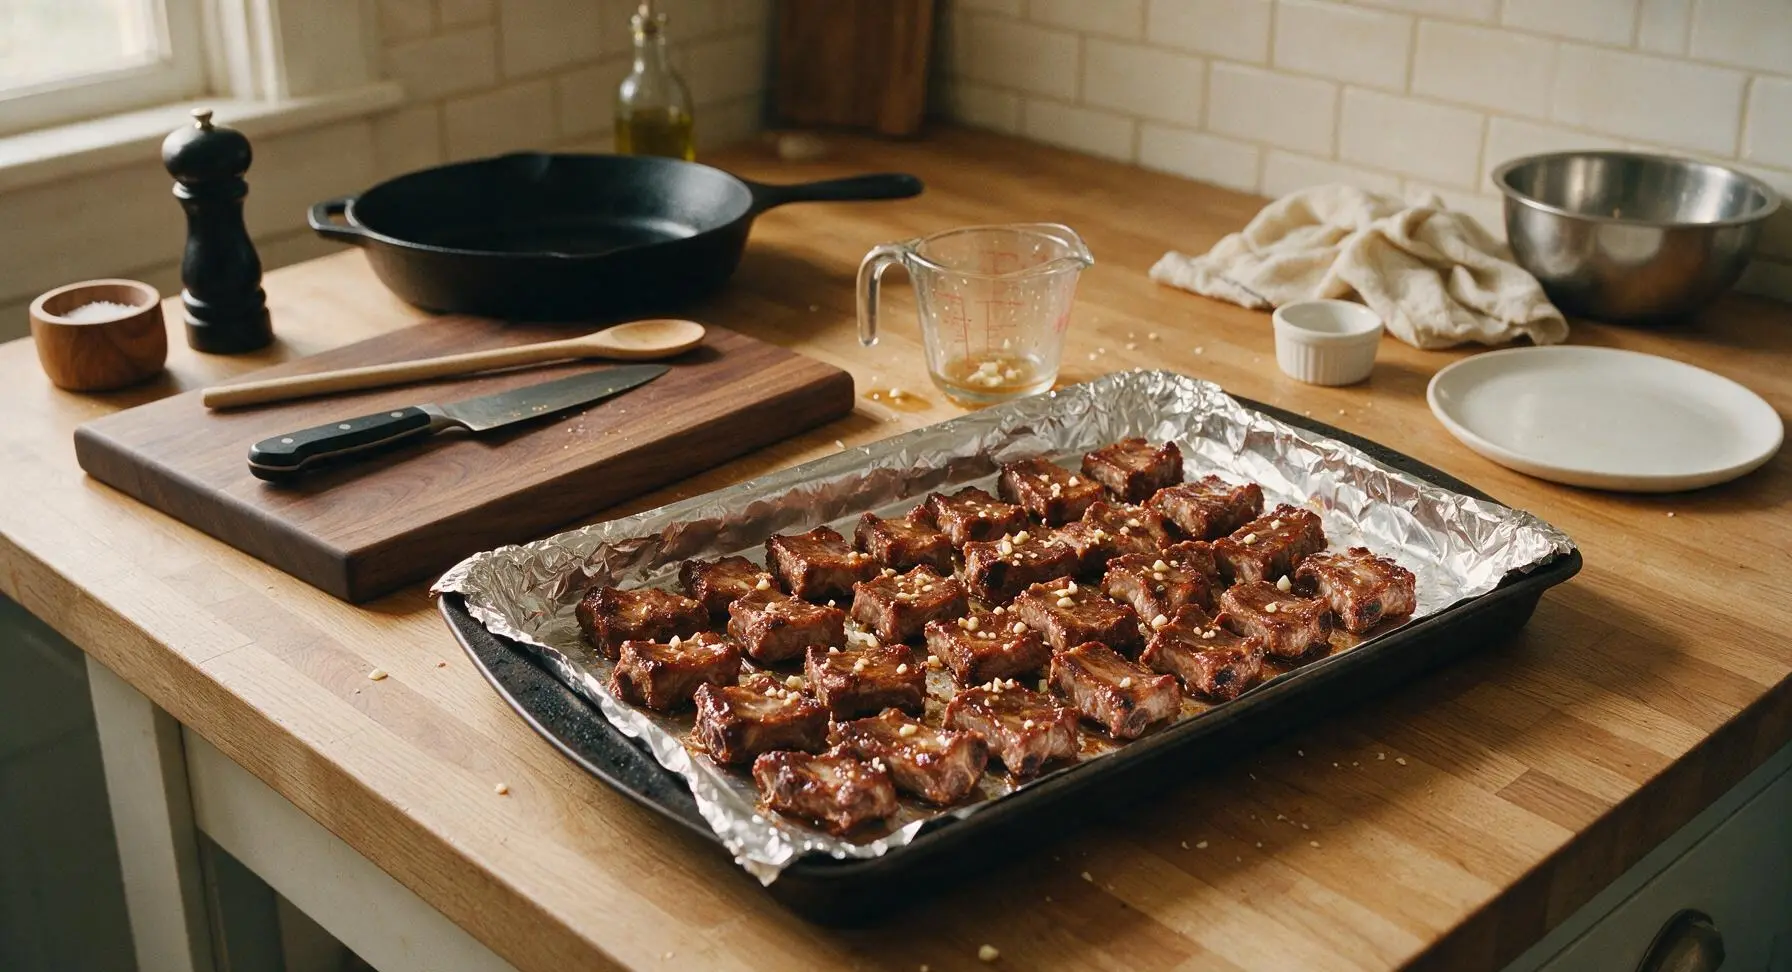
Tear a sheet of heavy-duty aluminum foil to line the 12-inch matte black carbon steel BBQ tray, pressing the foil smoothly up the raised edges for easy post-cook cleanup. Arrange the rub-coated rib tips in a single, even layer on the foil-lined tray, leaving 1cm gaps between each piece to allow hot air to circulate for even cooking. Measure 2 tbsp apple cider vinegar in the clear glass measuring cup, add the 3 crushed garlic cloves, stir to combine, then drizzle the mixture evenly over the top of the ribs to add bright tang, subtle garlic flavor, and keep meat moist during slow cooking.
Step 4
step4:Arrange Ribs on Tray
5

Slow Cook Ribs

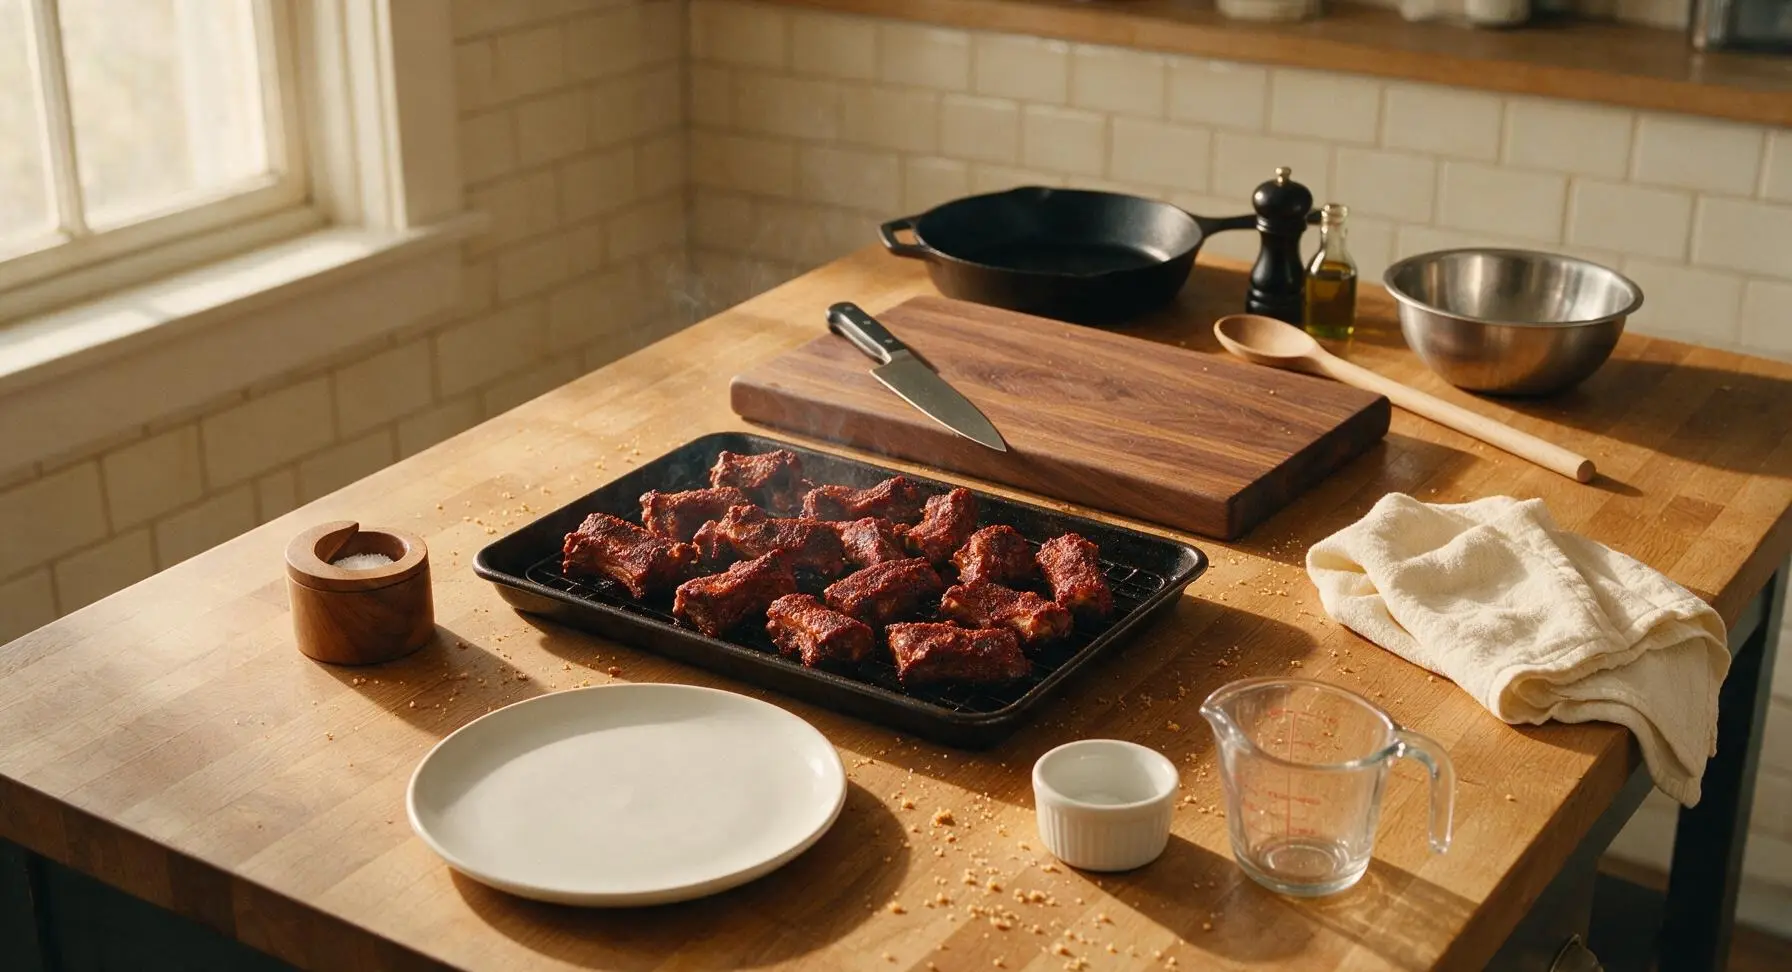
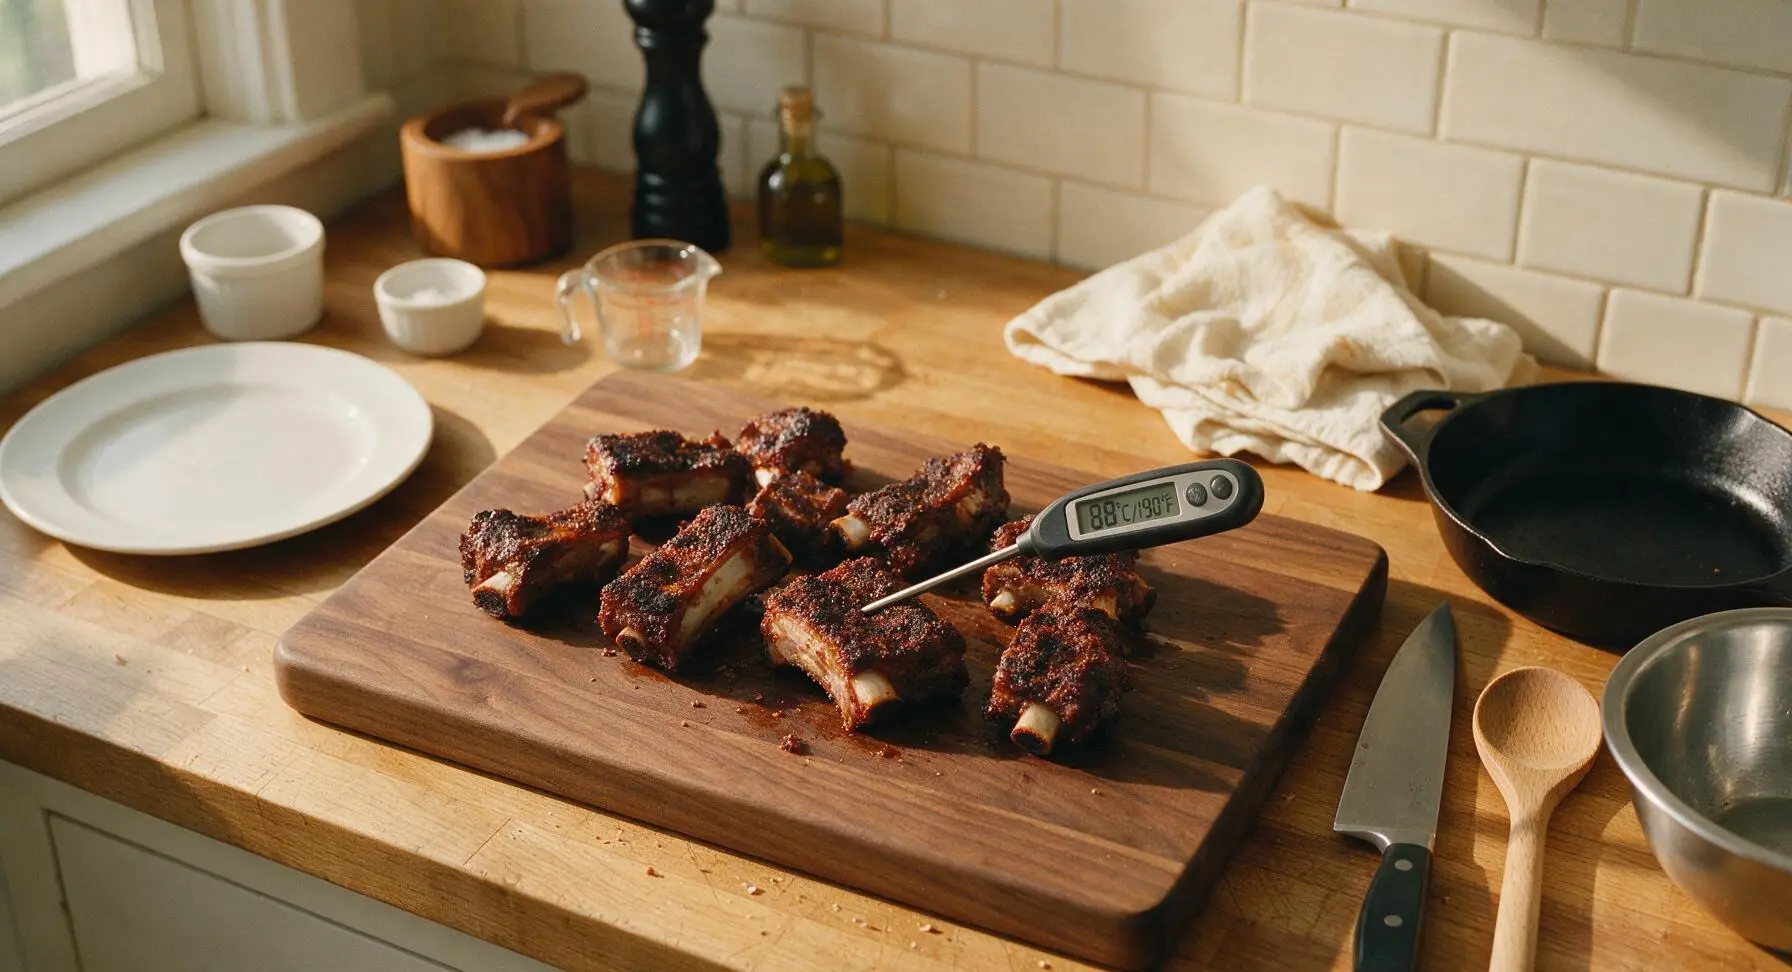
Place the tray of ribs on a preheated grill (or oven) set to 160C/325F configured for indirect heat (no direct flame under the tray). Close the grill lid and cook for 1 hour 15 minutes, avoiding frequent lid opens to maintain consistent temperature. The ribs are done with this stage when they are tender when pierced with a fork, the rub has formed a dark, crisp crust, and the digital instant-read thermometer reads 88C/190F when inserted into the thickest part of a rib piece (positioned away from bone to avoid false temperature readings).
Step 5
step5:Slow Cook Ribs
Step 5
step5:Slow Cook Ribs
6

Baste with BBQ Sauce

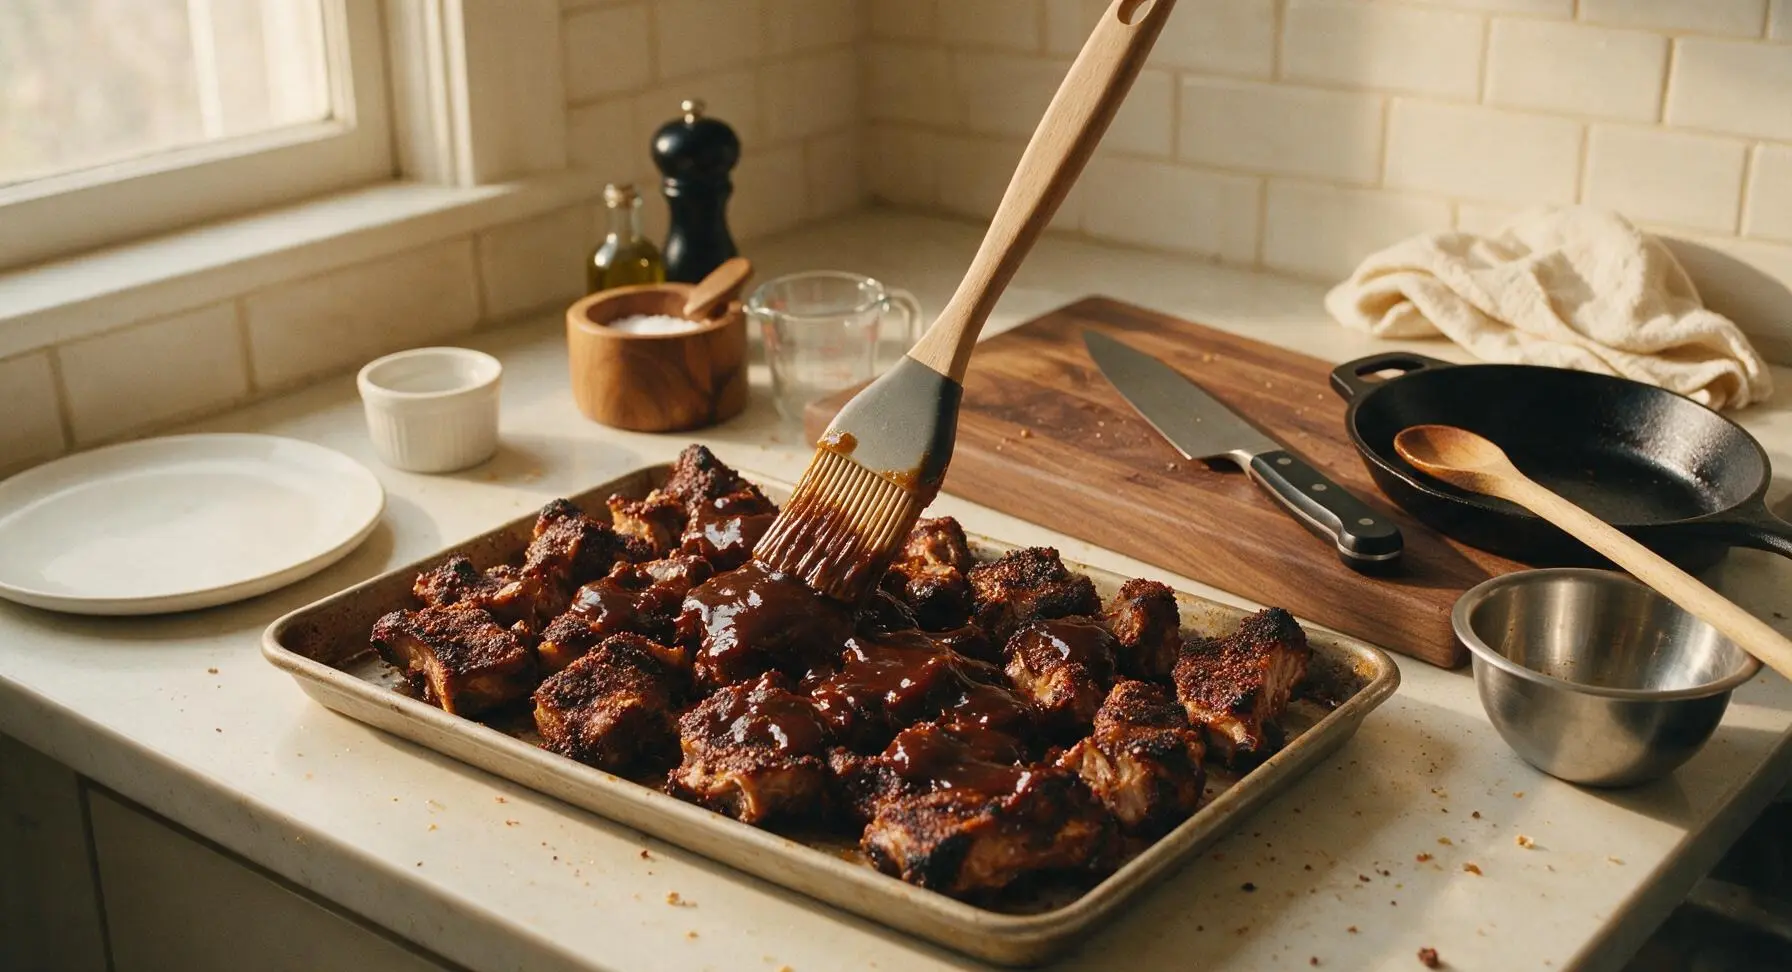
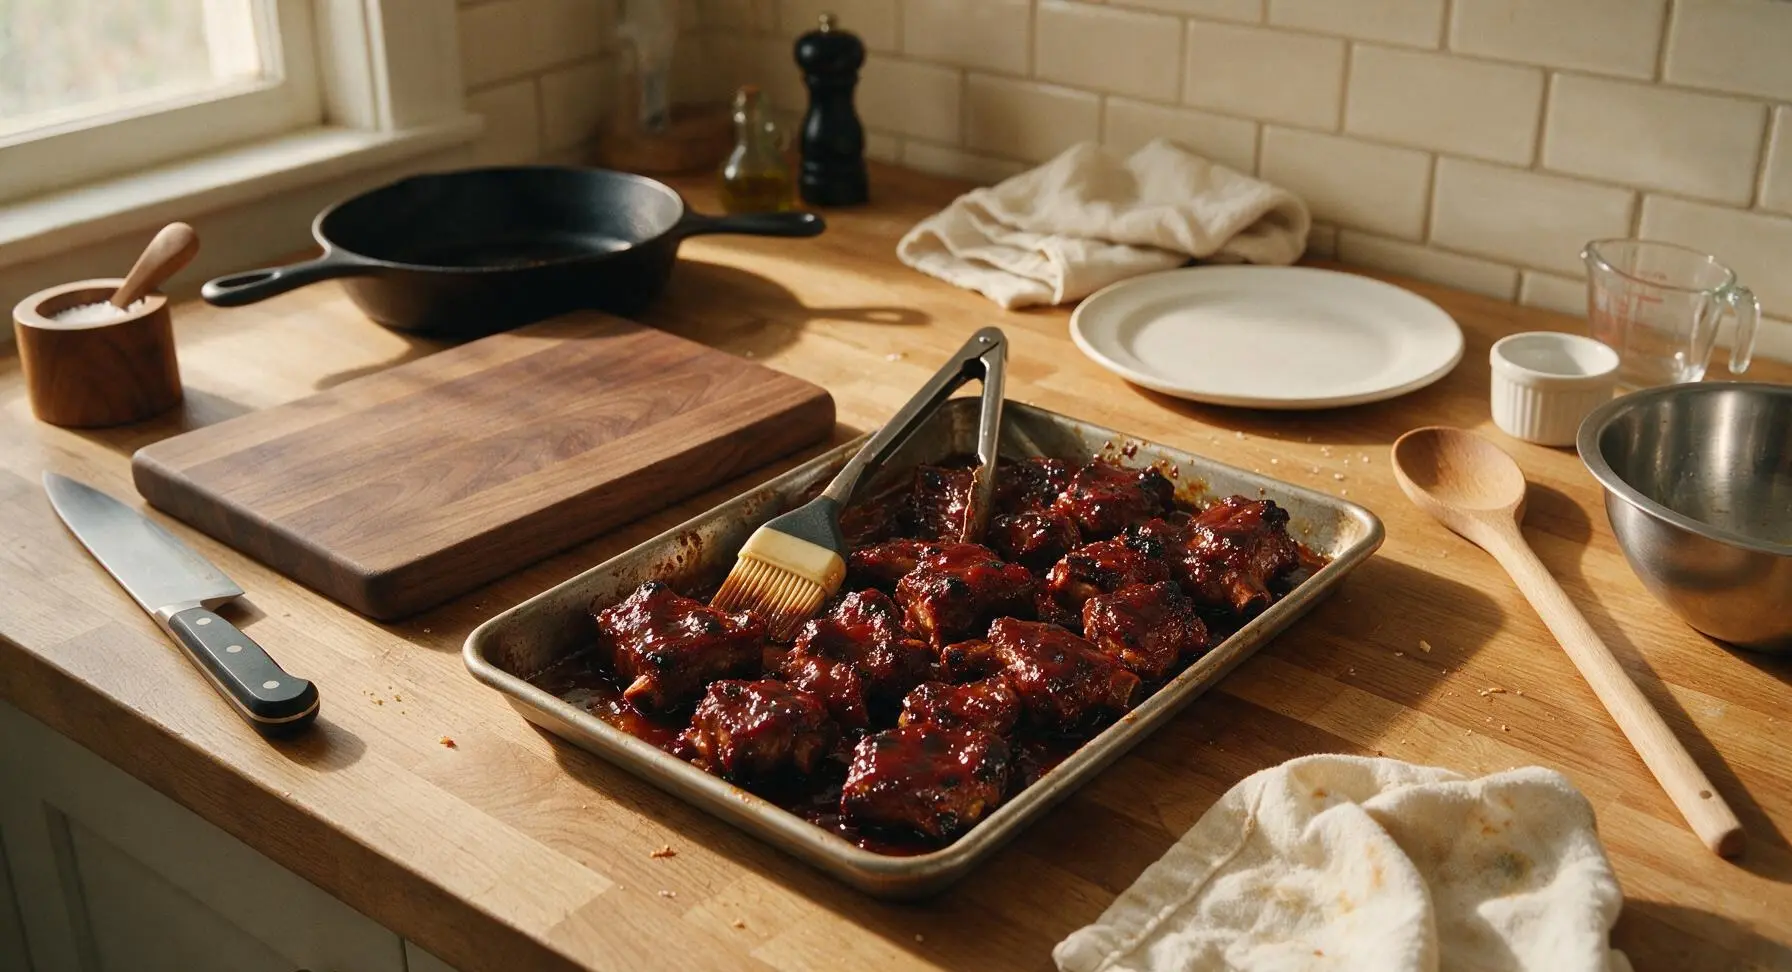
Use the long-handled silicone basting brush to slather all sides of the partially cooked rib tips with 3/4 of the 180ml BBQ sauce, turning each piece with tongs as needed to ensure full, even coverage. Reserve the remaining 1/4 of the sauce for serving. Return the tray to the grill/oven, increase the temperature to 190C/375F, and cook for an additional 15 minutes, until the sauce is sticky, caramelized, and glossy, with tiny slightly charred edges on the rib pieces.
Step 6
step6:Baste with BBQ Sauce
Step 6
step6:Baste with BBQ Sauce
7

Rest and Plate

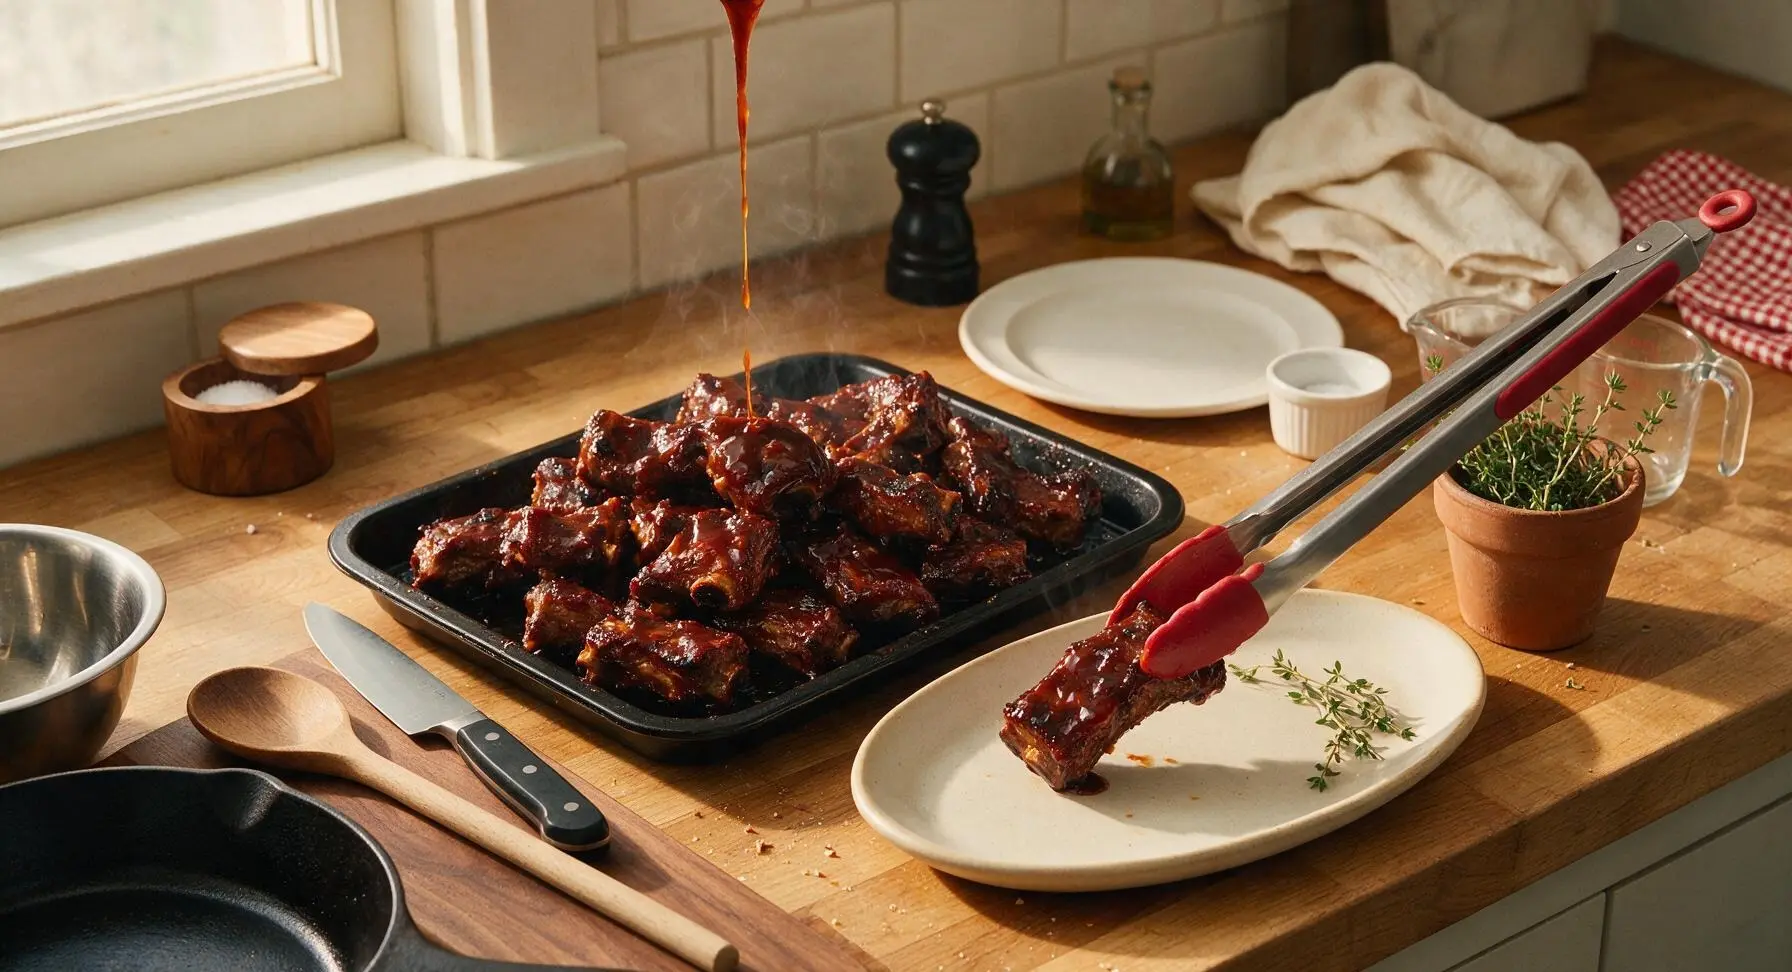
Remove the tray from the heat, and let the rib tips rest for 5 minutes at room temperature to allow juices to redistribute and the sauce to set slightly. Use the silicone-tipped stainless steel tongs to transfer the rib tips to the oval matte cream ceramic serving platter, piling them loosely in the center. Drizzle any thick, saucey drippings from the foil tray over the top of the piled ribs, then tuck a few fresh thyme sprigs (from the terracotta pot) at the edge of the pile for garnish. Serve with reserved BBQ sauce and pickles in the small white ramekins.
Step 7
step7:Rest and Plate

Tips

1.Always pat rib tips completely dry with paper towels before applying oil and rub: excess surface moisture will steam instead of crisp during cooking, preventing the signature sticky, caramelized crust from forming and leaving ribs soggy.
2.Stick to indirect low heat for the first slow cook phase: placing ribs directly over high flame will burn the brown sugar in the rub and sauce long before the connective tissue breaks down to create tender meat, leading to burnt outsides and tough, chewy insides.
3.Don’t skip the 5-minute rest after cooking: cutting into or biting into ribs immediately will cause all the hot, flavorful juices to run out onto the plate instead of staying locked in the meat, resulting in dry, less flavorful bites.


✨ You May Also Like

BBQ & Grilling
🍜 United States

Tender, melt-in-your-mouth beef brisket with a crisp, spiced bark, slow-smoked to deep smoky perfection, the iconic centerpiece of Texas backyard barbecue.

⏱️ 12 hours BBQ & Grilling ★ 4.4
BBQ & Grilling
🍜 Korea

Tender, sweet-savory marinated beef short ribs, a beloved Korean BBQ staple with caramelized, slightly charred edges and deep umami flavor, perfect for outdoor summer gatherings.

⏱️ 4 hours 2BBQ & Grilling ★ 4.8
BBQ & Grilling
🍜 United States

Juicy grilled beef patties topped with smoky homemade chili, melted cheddar, and tangy pickles on toasted brioche buns for a hearty, flavor-packed handheld meal.

⏱️ 40 minuteBBQ & Grilling ★ 4.7
BBQ & Grilling
🍜 United States

A sweet, smoky, tangy BBQ sauce brightened with peak-season dark cherries, ideal for glazing grilled ribs, chicken, pork, or summer roasted veggies.

⏱️ 35 minuteBBQ & Grilling ★ 4.7
BBQ & Grilling
🍜 United States

Rich, smoky, slightly sweet homemade bourbon BBQ sauce with deep caramel notes, ideal for glazing grilled ribs, chicken, and burgers at cookouts.

⏱️ 25 minuteBBQ & Grilling ★ 4.7
BBQ & Grilling
🍜 United States

Iconic Alabama-style BBQ featuring tender hickory-smoked chicken slathered in tangy creamy white sauce, a beloved regional Southern cookout staple.

⏱️ 3 hoursBBQ & Grilling ★ 5

Pork Rib Tips:Frequently Asked Questions

1.What exactly are pork rib tips, and how are they different from regular ribs? ▾
Rib tips are the meaty, cartilage-rich, bite-sized end pieces trimmed from spare ribs when making St. Louis-style rib racks. They’re more affordable than full rib racks, extra juicy, and perfect for finger food, since their small size means every bite gets coated in that sticky BBQ glaze. Ask your butcher to cut them into 1-2 inch pieces if they aren’t pre-cut.
2.Do I need to remove a tough membrane from rib tips like I do with full rib racks? ▾
Great news—you can skip that step for rib tips! Unlike full spare ribs or baby back ribs, rib tips don’t have that thick, chewy silver membrane running along the bone side. Just pat the pieces completely dry with paper towels before applying your dry rub to help seasoning stick and build a nice, caramelized crust as they cook.
3.Can I prep the dry rub for these rib tips ahead of time? ▾
Absolutely! Mix the light brown sugar, kosher salt, smoked paprika, and garlic powder (plus any extra favorite spices) in an airtight container, and store it in a cool, dark pantry for up to 3 months. Make a double batch while you’re at it—it works great for quick seasoning on grilled chicken, roasted veggies, or burgers too.
4.How long should I let the dry rub sit on the rib tips before cooking? ▾
For the best flavor penetration, let seasoned rib tips rest covered in the fridge for at least 1 hour, and up to 12 hours overnight. The salt will draw out natural moisture that mixes with the rub to form a sticky, flavor-packed base that locks in juiciness as the ribs cook. Don’t go longer than 12 hours, or the meat can get overly salty.
5.Can I cook these rib tips in the oven if I don’t have a grill or smoker? ▾
Definitely! Oven-baked rib tips turn out fall-off-the-bone tender every time. Arrange them in a single layer on a wire rack set over a foil-lined baking sheet, bake low and slow at 275°F for 2 to 2.5 hours, then brush with BBQ sauce and broil for 2-3 minutes to get that signature sticky, caramelized finish.
6.What internal temperature should I aim for to get perfectly tender rib tips? ▾
Cook rib tips to an internal temperature of 195°F to 205°F, measured with an instant-read thermometer in the thickest meaty spot (avoid poking cartilage for an accurate read). At that temperature range, tough connective tissue breaks down completely, giving you that ideal pull-apart texture without turning the meat mushy.
7.Why did my rib tips turn out tough and chewy instead of tender? ▾
Tough rib tips almost always come from cooking too fast at too high a temperature, or not cooking long enough for connective tissue to break down. Stick to consistent low, slow heat between 250-275°F, and resist the urge to crank the temp to rush the process—low and slow is non-negotiable for that melt-in-your-mouth bite.
8.When should I brush on BBQ sauce so it gets sticky instead of burnt? ▾
Wait to slather on BBQ sauce until the last 15 to 20 minutes of cooking time. Most BBQ sauces have high sugar content that burns quickly over direct heat, turning bitter and blackened if applied too early. Adding it late lets the sauce caramelize into that perfect glossy, sticky glaze without ruining the flavor of your ribs.
9.Is it okay to use store-bought BBQ sauce instead of homemade? ▾
Of course! Pick a thick, tangy-sweet store-bought sauce you already love, and give it a quick upgrade if you want: stir in a pinch of extra smoked paprika, a splash of apple cider vinegar, or a teaspoon of brown sugar to match the warm, smoky notes of the rib rub so all the flavors feel cohesive.
10.How do I keep rib tips from sticking to my grill grates? ▾
First, make sure your grill grates are completely scrubbed clean before you start, then oil them lightly with a high-smoke-point oil like canola or avocado oil using a folded paper towel held with tongs. Pat rib tips dry before placing them on the grates, and don’t move them for the first 10 minutes so they develop a sear that releases easily.
11.Do I need to wrap rib tips in foil while cooking, like I do with full ribs? ▾
Wrapping is totally optional for rib tips! If you want to shave 20-30 minutes off cook time, wrap them in foil with a splash of apple juice after the first 90 minutes of cooking for 30 minutes, then unwrap to sauce and finish. Skipping the wrap gives you a chewier, more caramelized outer crust many rib fans prefer.
12.Can I make these rib tips in a slow cooker? ▾
Yes, slow cookers work great for set-it-and-forget-it rib tips. Place seasoned rib tips in the slow cooker, cook on LOW for 4 to 5 hours until tender, then transfer them to a baking sheet, brush with sauce, and broil for 2 to 3 minutes to get that sticky, caramelized outer layer you won’t get from the moist slow cooker environment alone.
13.How do I get that classic smoky flavor if I’m cooking ribs in the oven? ▾
If you don’t have a smoker, you can boost smoky flavor two easy ways: use a good quality smoked paprika in your dry rub (add a pinch of hickory smoked salt for extra depth), or stir ¼ teaspoon of liquid smoke into your BBQ sauce before brushing it on. Go light on the liquid smoke—a little goes a long way to avoid artificial aftertaste.
14.How many servings does a batch of these rib tips make for a cookout? ▾
A standard 3-pound batch of rib tips will feed about 4 to 6 people as a main dish, or 8 to 10 people as a shareable finger food appetizer at a warm-weather gathering. I always recommend making an extra half batch, because these disappear fast, and leftover rib tips reheat really well for quick weekday meals.
15.What’s the best way to reheat leftover rib tips so they don’t dry out? ▾
The best way to reheat ribs without drying them out is to wrap them tightly in foil with a tiny splash of water or apple juice, then bake them at 250°F for 15 to 20 minutes until heated through. Unwrap them for the last 2 minutes, brush with a little extra BBQ sauce, and broil quickly to refresh that sticky glaze.
16.Can I freeze cooked rib tips for later meals? ▾
Absolutely! Let cooked rib tips cool completely, then store them in an airtight, freezer-safe container or heavy-duty freezer bag for up to 3 months. Thaw them in the fridge overnight before reheating using the foil-wrapped oven method, and add a fresh brush of BBQ sauce to bring back that just-cooked sticky finish.
17.What side dishes pair best with these sticky BBQ rib tips? ▾
These tangy, sweet ribs pair perfectly with classic cookout sides: creamy coleslaw to cut the richness, crispy baked mac and cheese, tangy dill potato salad, grilled corn on the cob, buttery cornbread, or crisp dill pickles. For lighter gatherings, serve them with a green salad tossed in bright vinaigrette to balance the bold BBQ flavor.
18.My light brown sugar turned rock hard before I could make the rub—what’s a quick fix? ▾
No need to run to the store! If your brown sugar is rock hard, place it in a microwave-safe bowl, cover it with a damp paper towel, and microwave it in 20-second bursts until it softens enough to measure. For long-term storage, keep brown sugar with a slice of bread or terra cotta sugar saver to keep it soft and scoopable for months.
19.Can I adjust the recipe to make these less sweet if I prefer tangier BBQ? ▾
Absolutely. Cut the brown sugar in the dry rub by half, add an extra ½ teaspoon of kosher salt and a pinch of cracked black pepper, and mix a tablespoon of apple cider vinegar and a teaspoon of Dijon mustard into your BBQ sauce to amp up the tang. You’ll still get that sticky caramelized finish, but with a brighter, less cloying, savorier flavor.

Comments (15)

2 days ago

OMG these rib tips came out SO good! I made them for our Sunday family dinner last night and even my super picky 7 year old asked for seconds. The sticky sauce has the perfect balance of sweet and smoky, I didn’t change a single thing in the recipe. Total crowd pleaser!

3 days ago

Tried this for my first ever cookout hosting and I was so nervous because I always mess up ribs! These turned out fall-off-the-bone tender, but I did notice my sauce didn’t get as thick and sticky as the photos show? Did I do something wrong with the simmer step?

2 days ago

So glad you gave these a try for your cookout, Liz! If your sauce isn’t thickening up, chances are the heat was a little too low during the final toss, or you might have extra liquid from the ribs pooling in the pan. Try cranking the heat to medium for 2-3 minutes while stirring constantly next time, and that sticky glaze will set right up!

1 week ago

Game changer for my weekly meal prep! I made a big batch on Sunday and these rib tips held up perfectly all week for lunches. I paired them with roasted broccoli and mac and cheese, and my coworkers kept asking where I got the recipe. 10/10 will make again!

5 days ago

Wait do you reheat them in the microwave or oven? I tried reheating sauced ribs once and they got all rubbery, would love to try this for meal prep too!

4 days ago

Great question, Leo! For best results when reheating, pop them in a 350°F oven for 8-10 minutes covered with foil, that way the sauce stays sticky and the meat stays tender instead of getting rubbery in the microwave. So happy you love them for meal prep, Mia!

yesterday

I’ve been making rib tips on my smoker for years, and decided to give this oven method a shot when it rained all weekend. Let me tell you, these don’t miss! The sauce recipe alone is going in my permanent rotation, it’s better than the store bought BBQ sauce I’ve used for a decade. Worth every minute of cook time.

5 days ago

Made these for our fantasy football watch party last Sunday and they were gone in 10 minutes flat. I added a little extra cayenne for a kick and it was chef’s kiss. Perfect game day food, way better than ordering wings.

3 days ago

How much cayenne did you add? I love heat but don’t want to overwhelm the other flavors for my roommates who can’t handle super spicy food!

2 weeks ago

Super easy to follow even for a college kid who barely knows how to use his oven! Only thing is I thought 90 minutes cook time was way too long, mine were done at like an hour? Maybe my oven runs hot? Still tasted amazing though, I’ll definitely be making these for my dorm floor potluck next month.

1 week ago

Oh my gosh I had the same thing happen! My old apartment oven ran 25 degrees hot so I had to cut the cook time short too, still turned out great, everyone at our floor potluck went crazy for them last semester.

1 week ago

Thanks for the heads up, Jake! Oven temperatures can vary pretty wildly between models, so it’s always a good idea to check for tenderness around the 1 hour mark if you know your oven runs hot. So stoked these worked out for you, and they’ll be a total hit at the potluck!

30 minutes ago

These are absolutely delicious, but does anyone know the nutrition info? I’m keeping my carbs super low right now and the BBQ sauce has brown sugar in it, so I’m trying to calculate how many I can eat without going over my limit for the day 😂

5 minutes ago

Hi Kathy! So glad you love the rib tips! We’re working on adding full nutrition info to all our recipes soon, but for reference, a 4 oz serving of these rib tips comes out to roughly 12g net carbs if you follow the sauce recipe exactly. If you want to cut carbs more, you can swap the brown sugar for a brown sugar substitute with zero added sugar and it works just as well!

2 hours ago

Let these rest for 10 minutes after pulling them out of the oven like the recipe says, trust me on that. I skipped that step the first time I made them and all the sauce slid right off, but the second time? Perfectly sticky, perfectly tender, restaurant quality. My neighbors already asked for the recipe after they smelled me cooking them.

1 week ago

My kids loved it! I swapped the regular paprika for smoked paprika because that’s what I had in the pantry, and served the rib tips with coleslaw and cornbread for a quick weeknight dinner. Even my teenager who hates everything said this was “actually good” which is the highest praise possible in our house.

5 days ago

Oh I did the smoked paprika swap too! It adds such a deep, smoky flavor, I don’t think I’ll ever go back to regular paprika for this recipe.

4 days ago

Love that pantry swap, so smart! That smoked paprika hack is such an easy way to amp up the smoky flavor without adding extra work. So glad your whole family (even the hard-to-please teen!) enjoyed these, that’s the best compliment we can get.

3 days ago

I’ve tried so many sticky rib tip recipes online and this one is hands down the best. The sauce doesn’t just sit on top of the meat, it actually caramelizes and gets that perfect sticky char on the edges, exactly like what you get at a good BBQ joint. No notes, this is my new go-to.

2 days ago

Wait do you bake these on a wire rack or straight on the baking sheet? I want that caramelized edge too, last time I made rib tips they got soggy sitting in their own juices.

2 weeks ago

Made these for my grandson’s birthday cookout and everyone raved. I added a splash of apple cider vinegar to the sauce like my own mom used to do, and it cut the sweetness just right. The cook time was spot on, the meat pulled right off the bone without being mushy. Will be passing this recipe down to my kids for sure.

yesterday

Brought these to my office potluck yesterday and I had people coming up to me for the recipe for an hour after lunch. The only issue was I made a double batch and there were zero leftovers, I didn’t even get to take an extra one home for my partner! Next time I’m making a triple batch for sure.

2 hours ago

That’s what we love to hear, Pete! So sorry you didn’t get to save one for your partner, that’s always the sign of a truly great potluck dish. A triple batch is definitely the right call next time, no one can say no to these sticky rib tips!

5 days ago

I was worried this would be too complicated for a weeknight since it’s marked medium difficulty, but I broke up the steps! I prepped the sauce and seasoned the rib tips the night before, then just popped them in the oven when I got home from work and it was totally doable. 90 minutes sounds long but most of that is hands-off bake time, perfect for busy nights.

3 days ago

Oh that prep ahead tip is genius! I never thought to season the meat and make the sauce the night before, that would save so much time on weeknights. Definitely trying that when I make these next week.

2 days ago

Pretty good, but I felt like the sauce was a little too sweet for my taste. I followed the recipe exactly, but next time I’ll cut the brown sugar by a third and add a little more mustard and black pepper to balance it out. The texture of the rib tips was perfect though, super tender!

1 day ago

I did the exact same thing! Cut the brown sugar a bit and added extra Dijon, it was the perfect balance of sweet and tangy. Don’t get me wrong, the original recipe is great, but that small tweak made it perfect for people who don’t love super sweet BBQ.

30 minutes ago

Thanks for the honest feedback, Fiona! Everyone’s taste for sweetness is a little different, so cutting the brown sugar and adding extra mustard is a fantastic tweak if you prefer more tangy, less sweet BBQ. We’re glad you loved the texture of the ribs even with the sweetness preference!

just now

I tried making these on my new pellet smoker instead of the oven since it was nice out, and they turned out insane! 225 degrees for 2 hours, then tossed in the sauce and seared for 5 minutes for that sticky crust. The sauce recipe is chef’s kiss, even when made on the smoker instead of oven.

just now

Oh I was wondering if these would work on a pellet grill! Thanks for testing that out, I’m making them this weekend on my Traeger and I was worried I’d have to drag everything inside to the oven.

just now

That smoker hack sounds incredible, Tim! We’re so glad the sauce worked perfectly with your pellet grill method, that seared crust after smoking sounds next level. Thanks for sharing that tip with other readers, we’ll have to test that method ourselves soon!



