
Potato Candy
intro
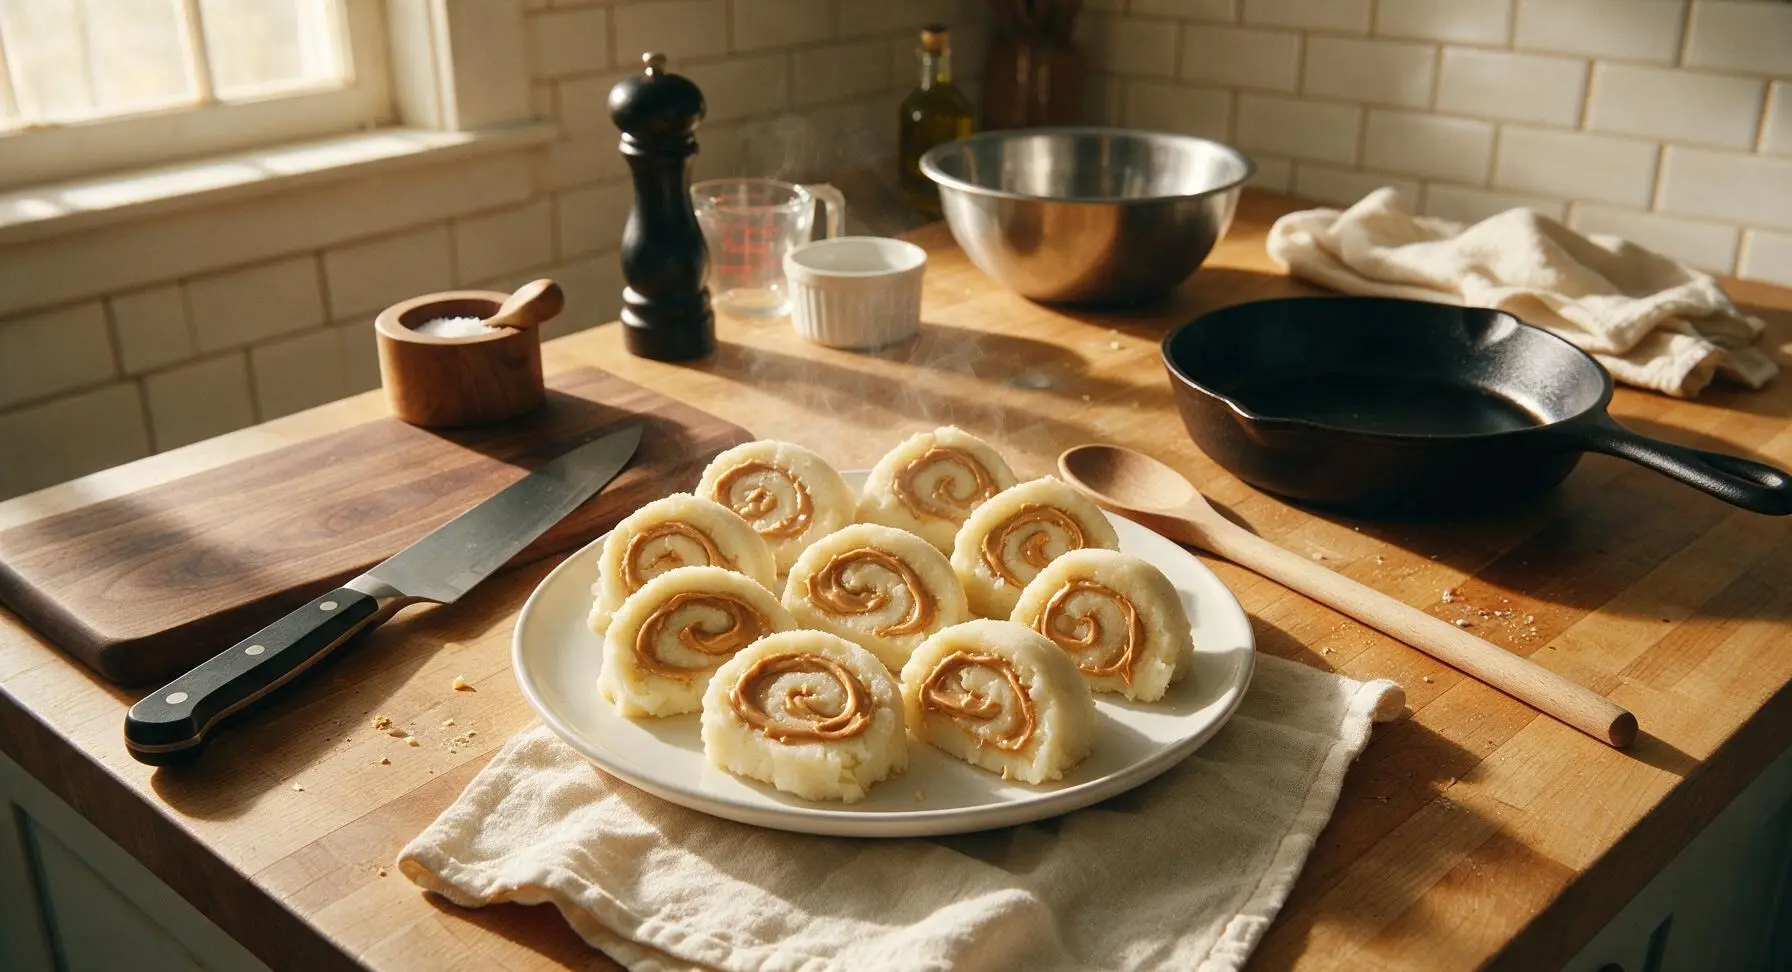
Creamy no-bake vintage Appalachian candy: fluffy potato dough rolled around smooth peanut butter, cut into soft, melt-in-your-mouth pinwheel bites perfect for holiday tins.
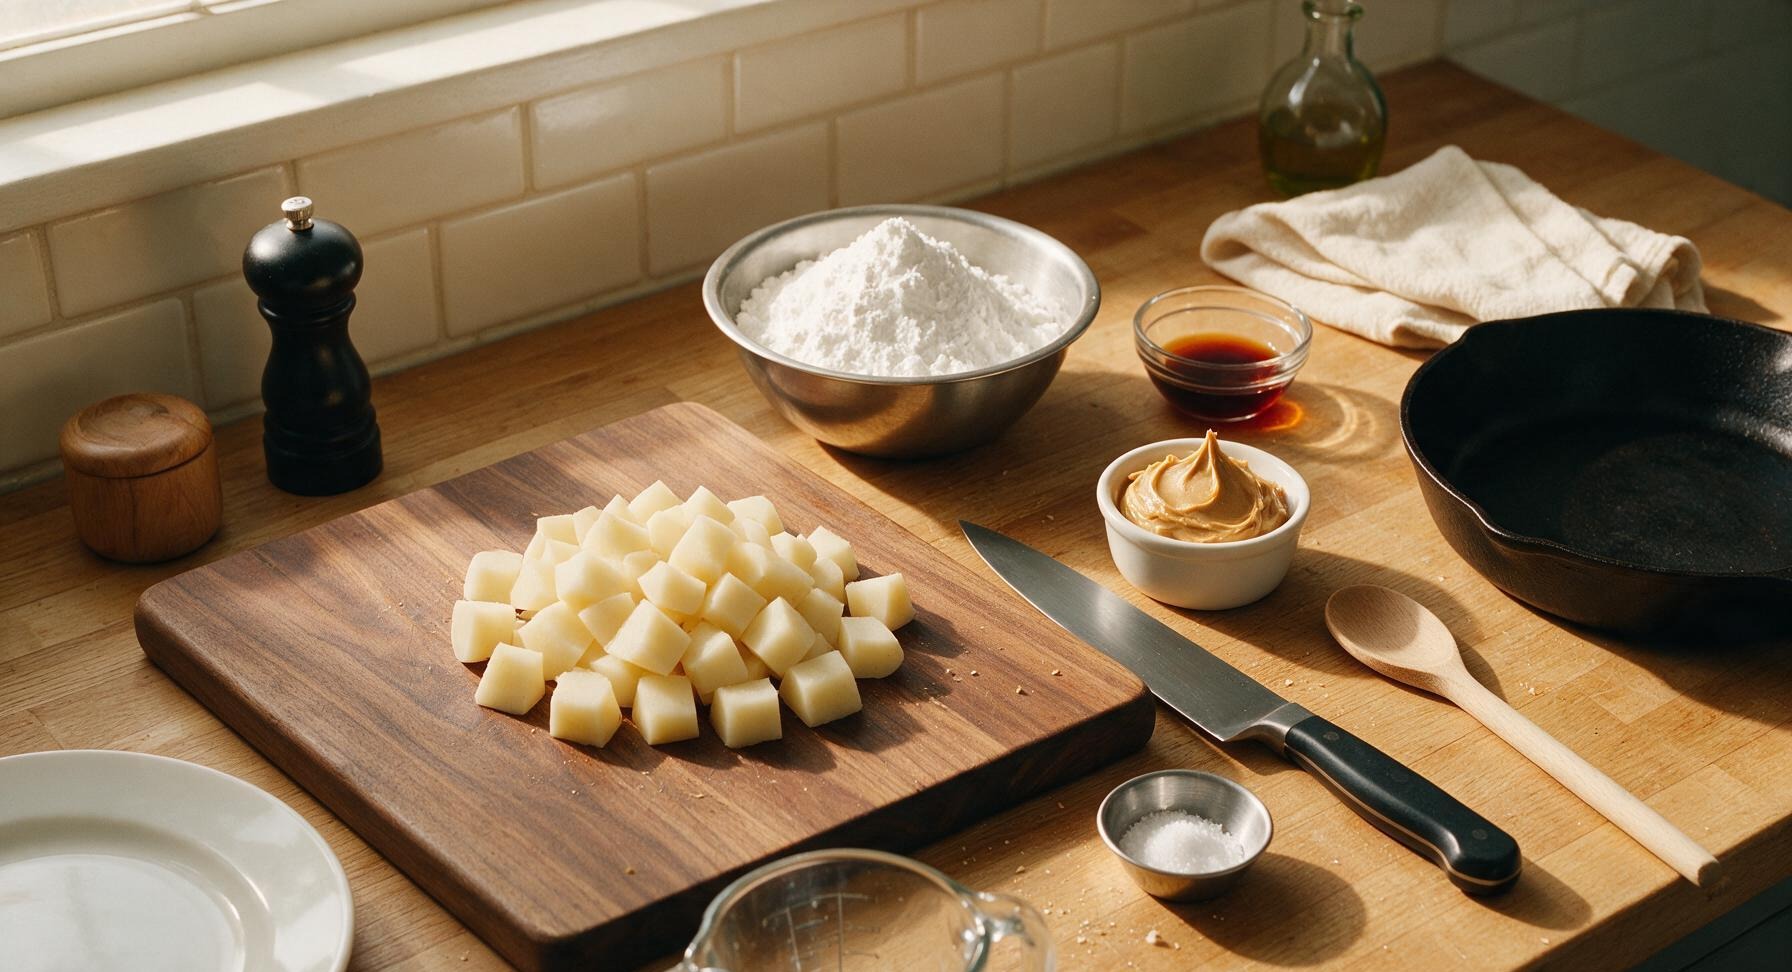
Ingredients
Steps
Boil the Potato Cubes
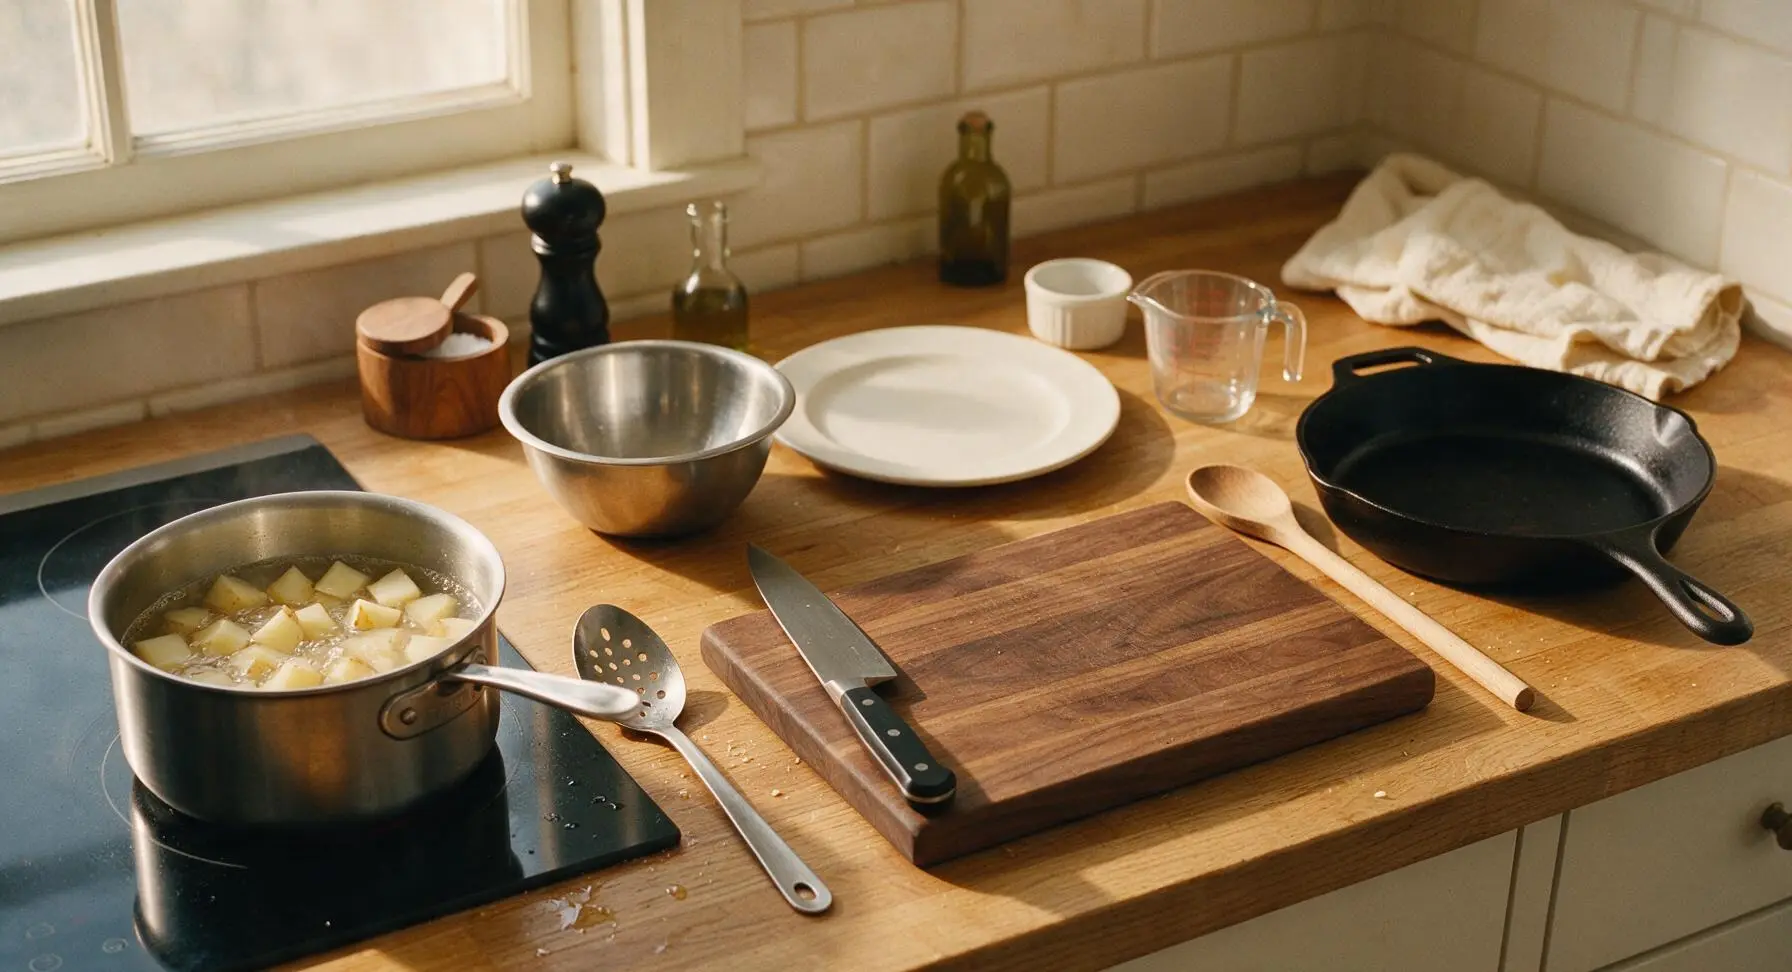
Fill the 2-quart brushed stainless steel saucepan two-thirds full of cold water, add 1 teaspoon of fine salt from the terracotta crock, and set on the induction cooktop to bring to a rolling boil over medium-high heat. Add the peeled, cubed russet potato, reduce heat to maintain a gentle simmer, and cook for 12–15 minutes until the potato is completely tender when pierced with a fork (no resistance at the center). Do not overcook, as waterlogged potato will make the candy dough overly sticky and require excess powdered sugar.
Mash Potato Until Smooth
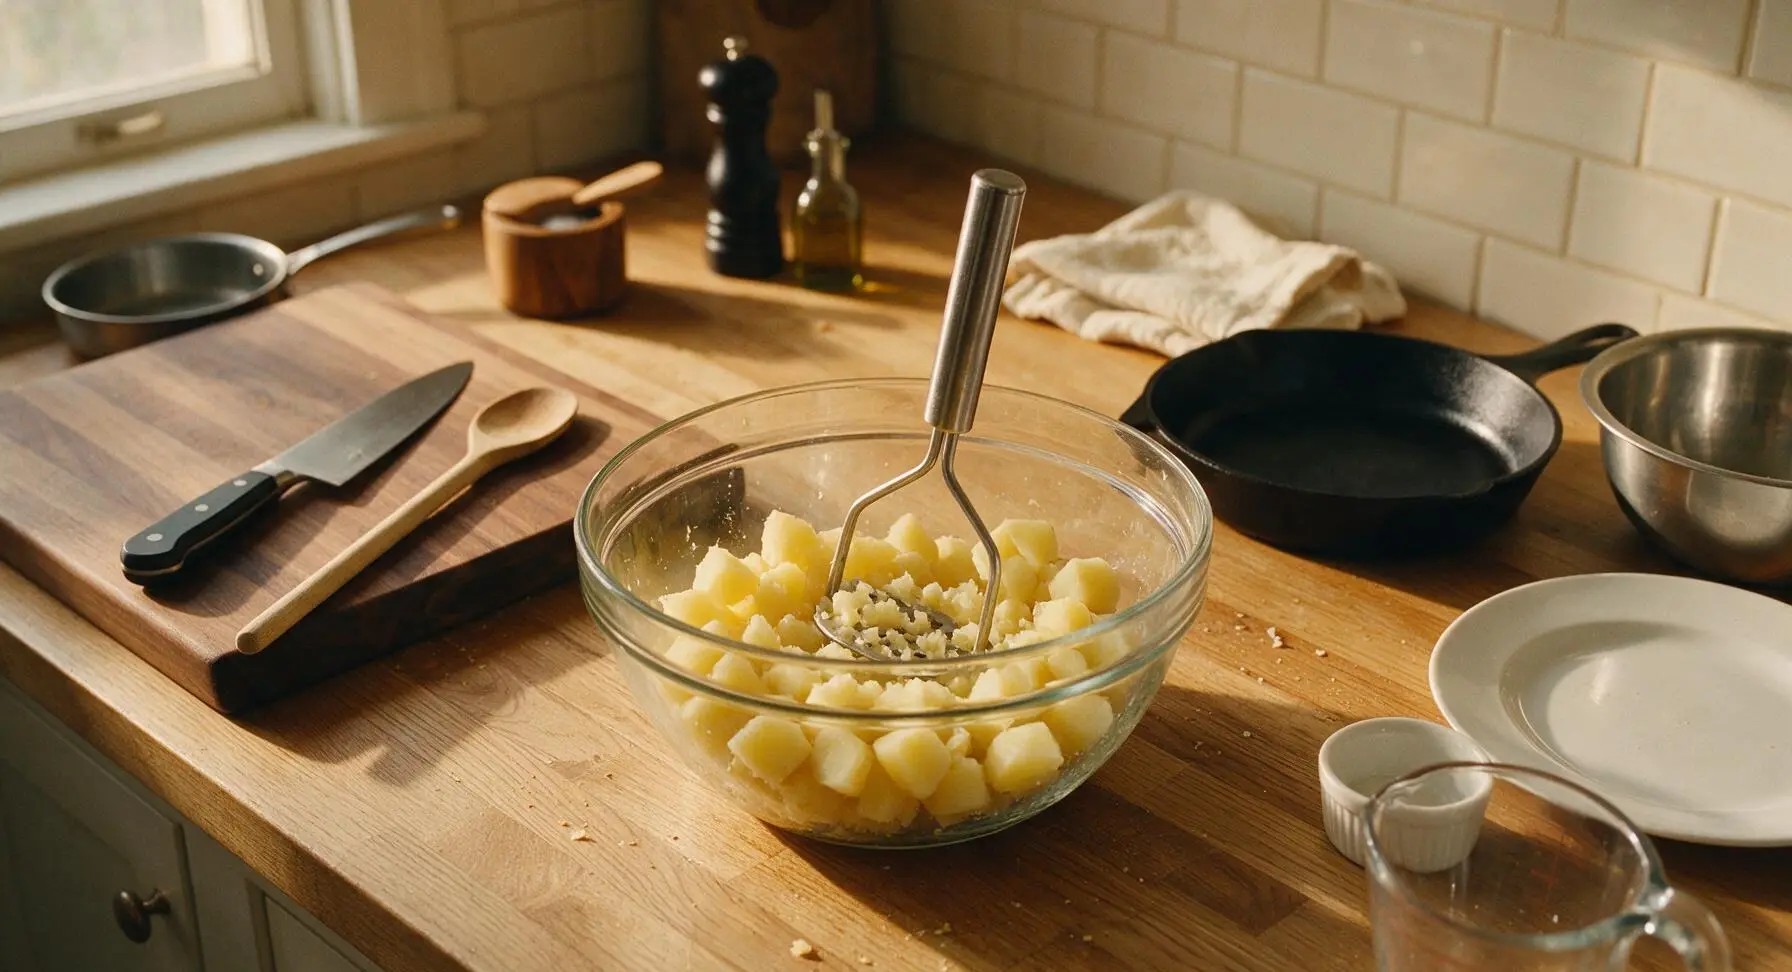
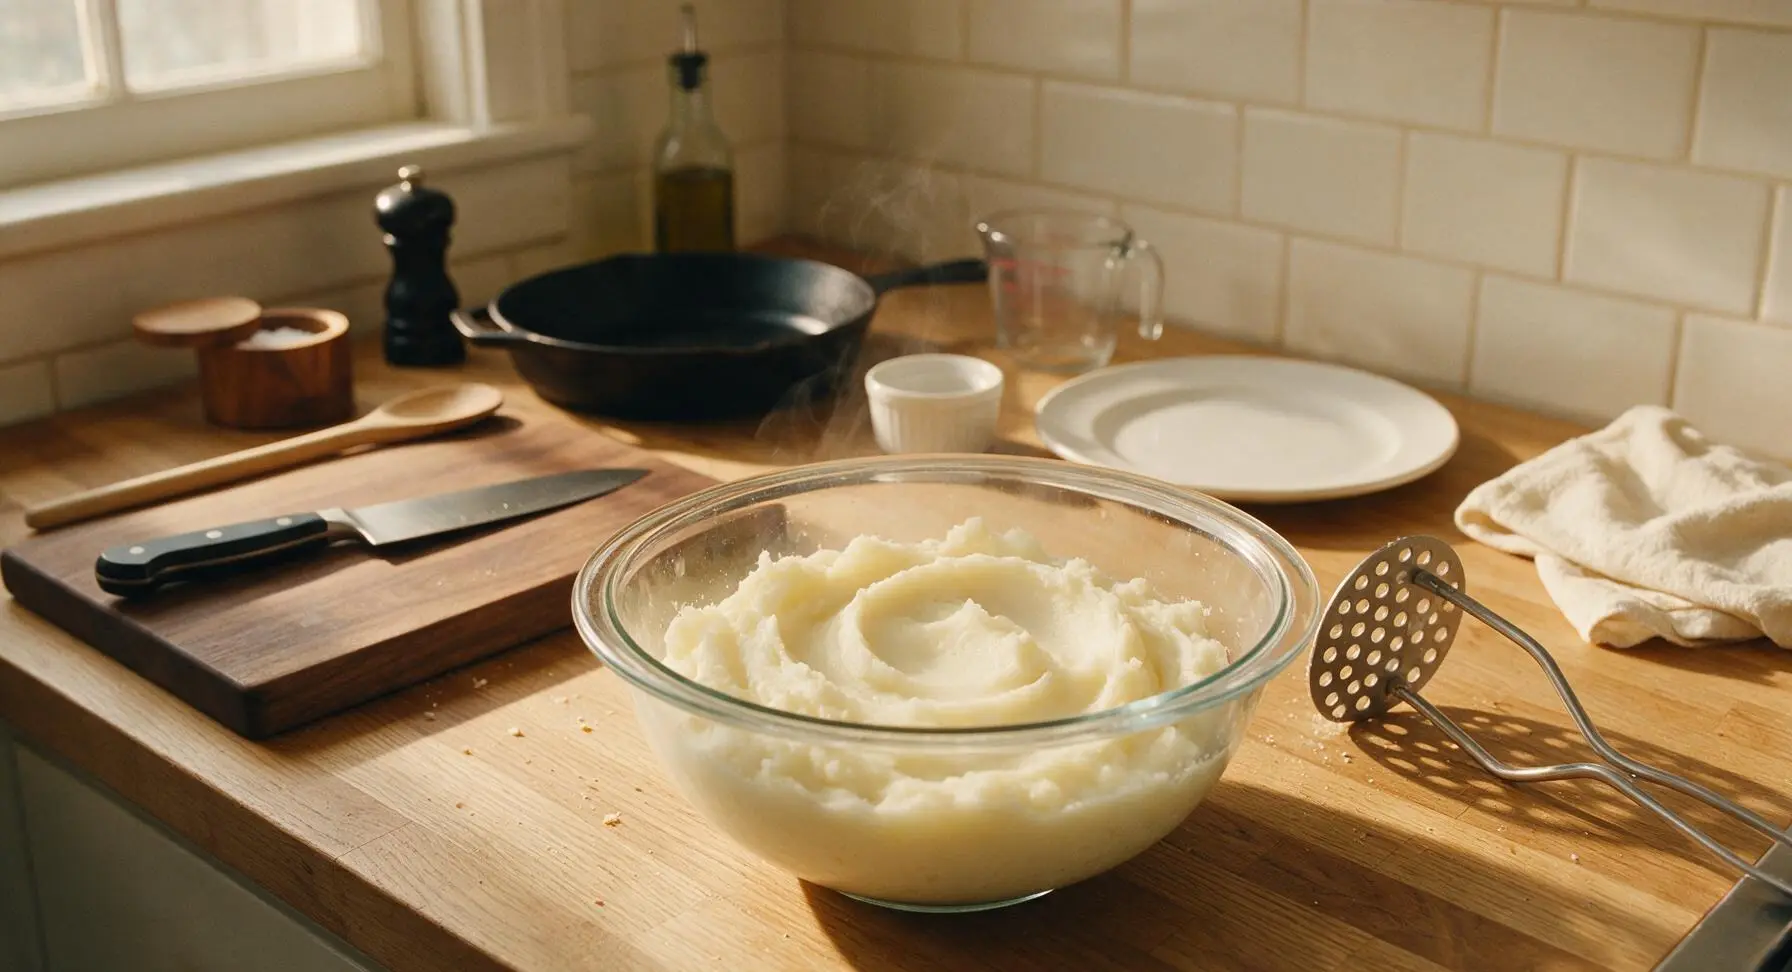
Use the slotted spoon to lift tender potato cubes from the water, draining thoroughly, and transfer them to the 2L clear tempered glass mixing bowl. Add 1/4 teaspoon fine salt and 1/2 teaspoon vanilla extract. Use the stainless steel potato masher to mash the potato completely until perfectly smooth, with zero lumps remaining. Let the mashed potato cool for 5 minutes until just warm to the touch, not hot—hot potato will melt powdered sugar and cause runny dough.
Fold in Powdered Sugar
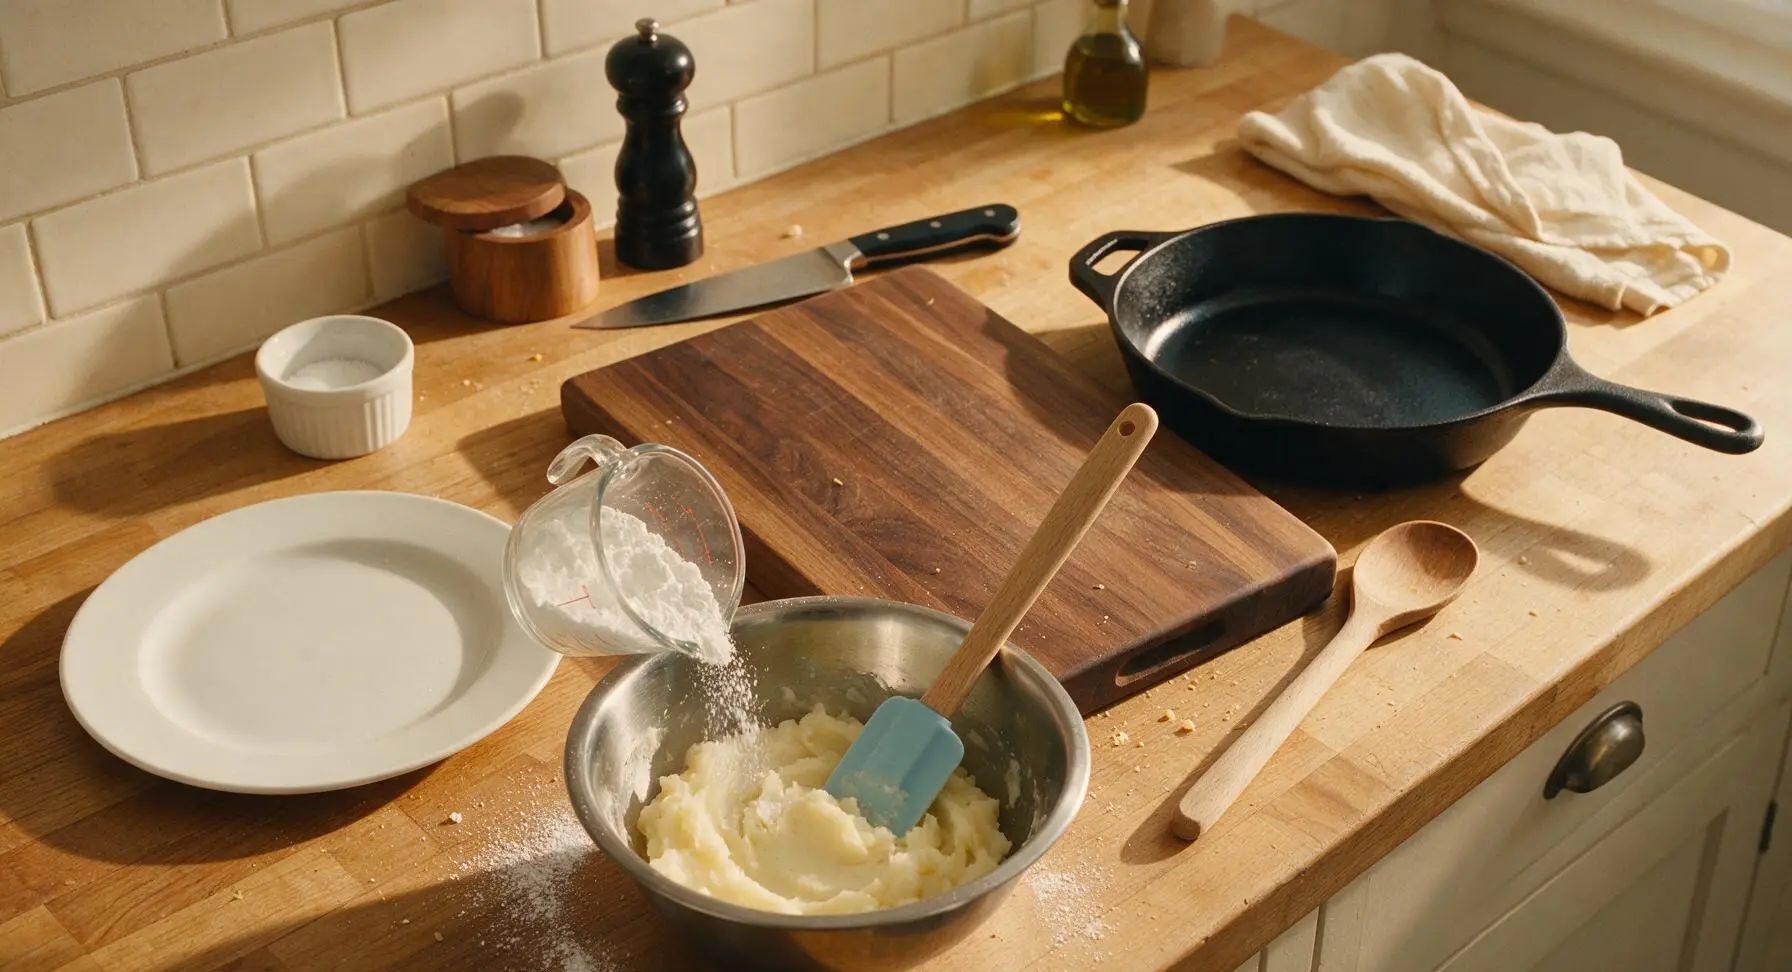
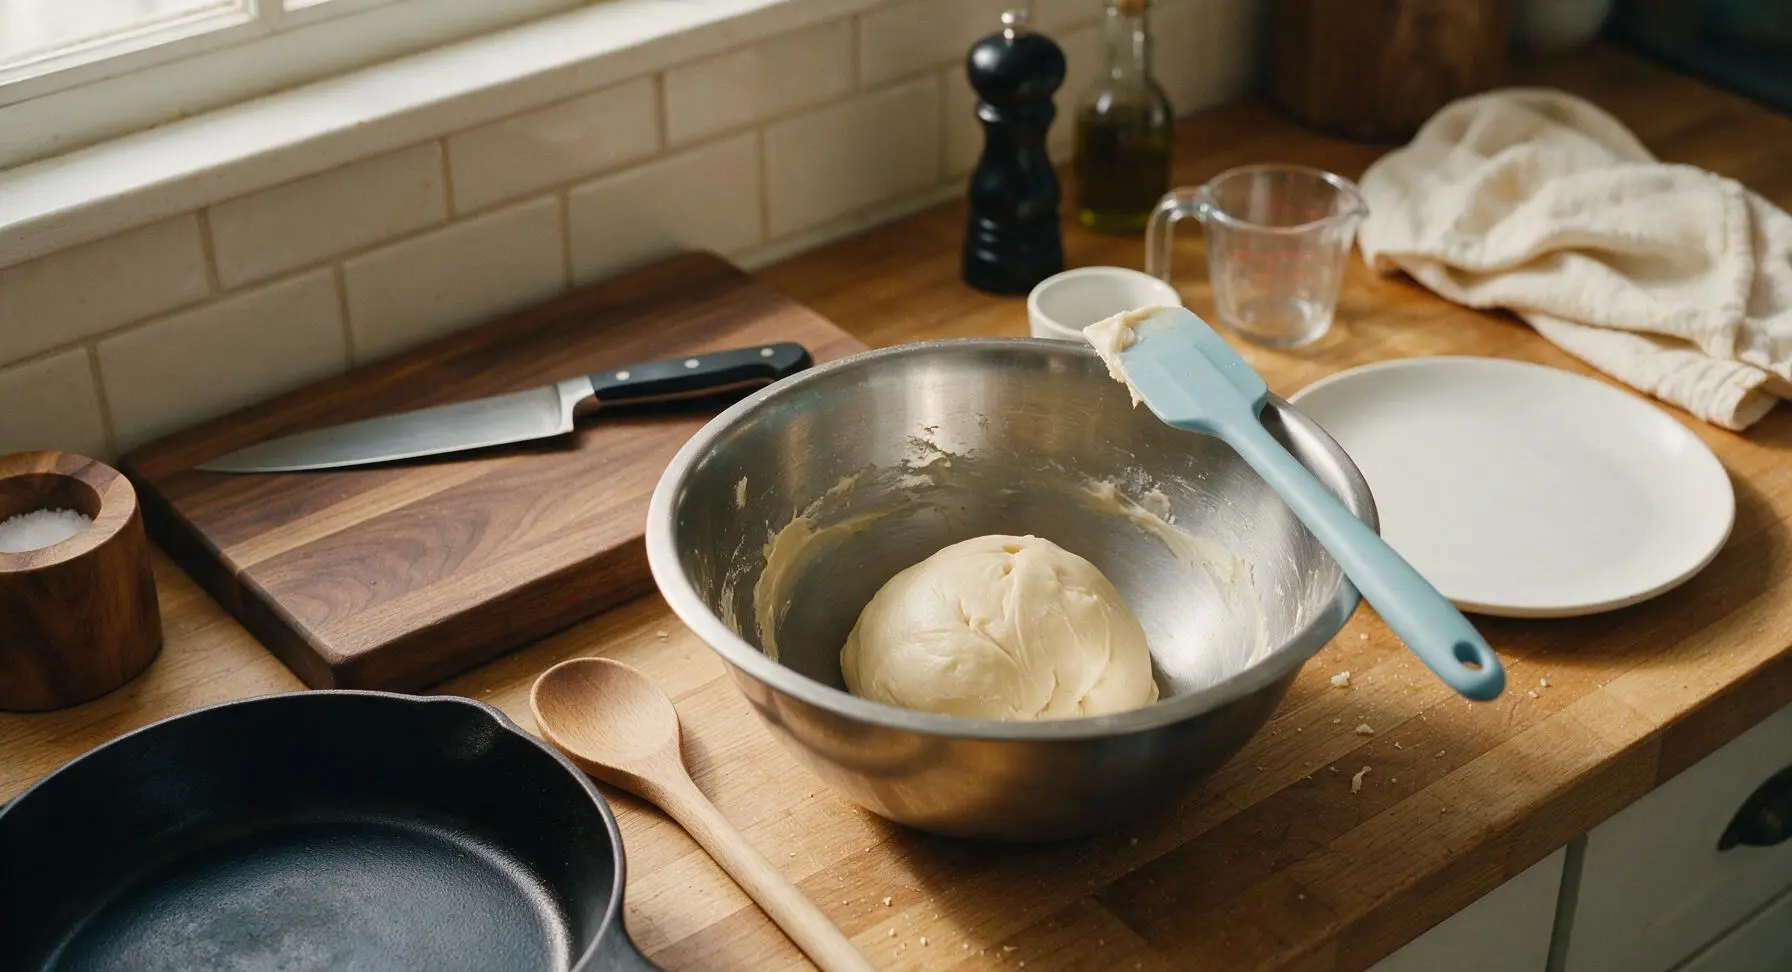
Add powdered sugar 1/2 cup at a time to the warm mashed potato, stirring continuously with the matte pastel blue silicone spatula. At first the mixture will be thin and runny, but it will thicken into a stiff, playdough-like dough as you incorporate the full 4 cups of sugar. Stop adding sugar once the dough pulls cleanly away from the sides of the bowl and does not stick to your fingers when lightly touched. If the dough feels sticky, add up to 2 extra tablespoons of powdered sugar, 1 teaspoon at a time, to reach the correct consistency.
Roll Dough to Rectangle
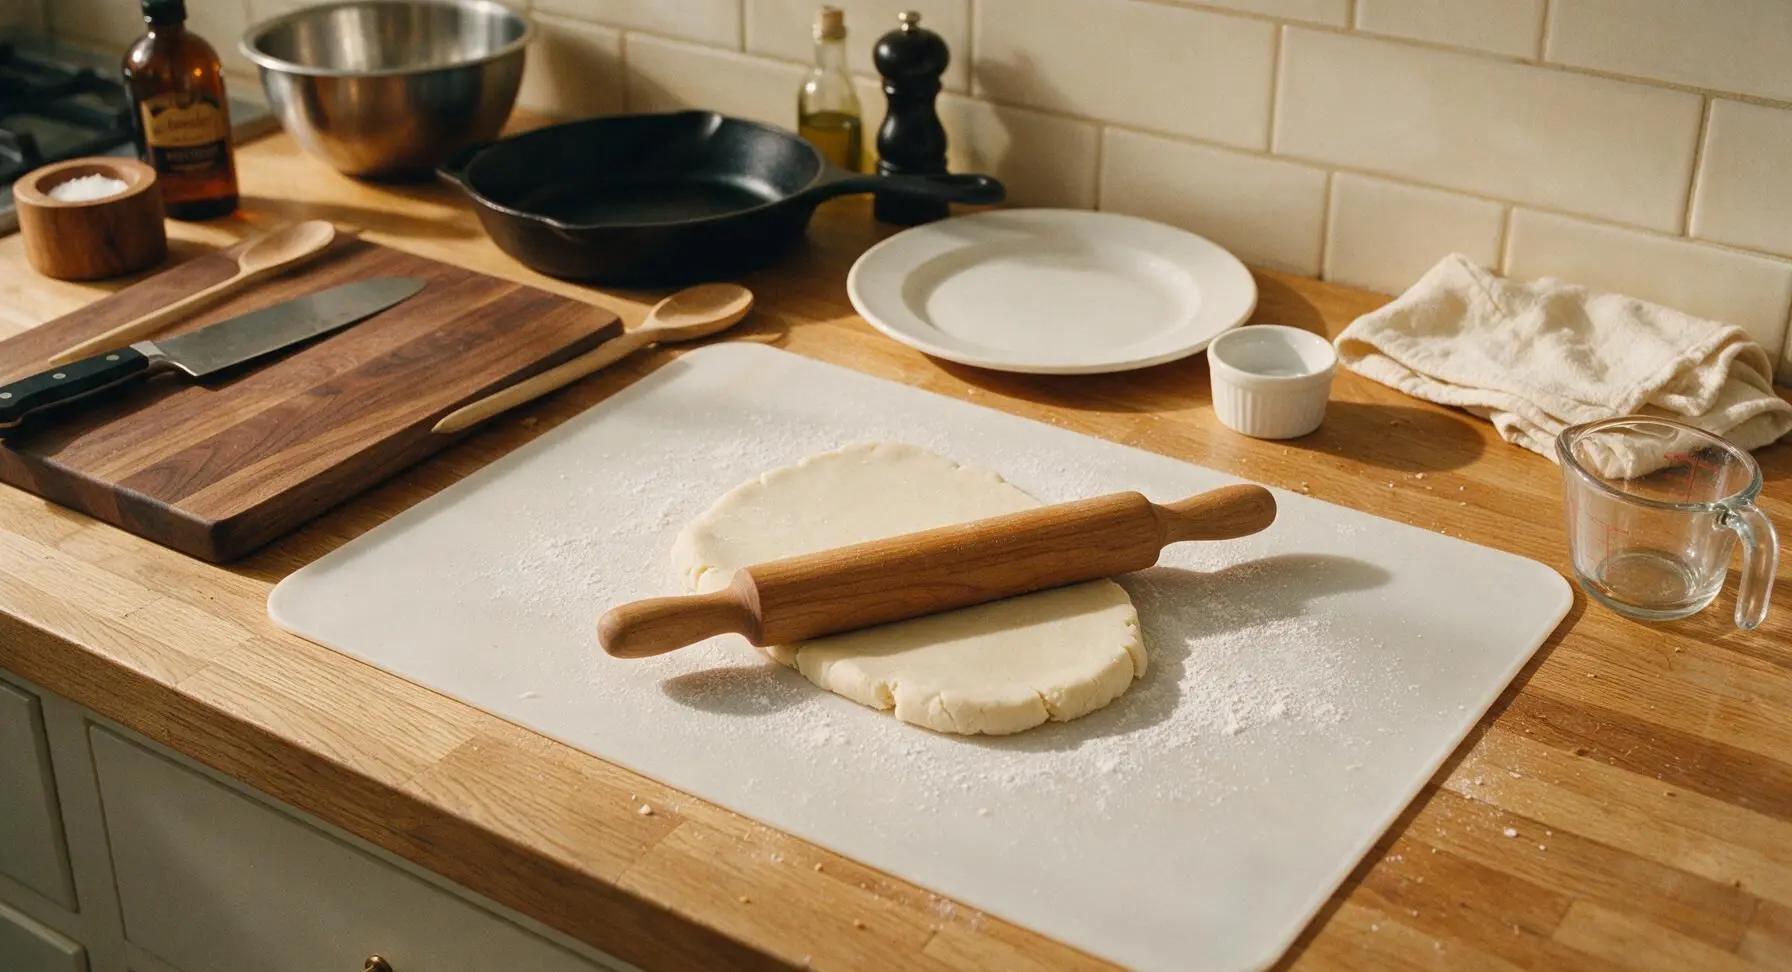
Sprinkle the white silicone rolling mat (positioned center-counter) with 1 tablespoon of reserved extra powdered sugar to prevent sticking. Place the candy dough ball in the center of the mat, dust the top of the dough with the remaining 1 tablespoon powdered sugar, and use the solid maple rolling pin to roll the dough into an even 1/4-inch thick rectangle measuring roughly 25x20cm. Lift the dough occasionally to ensure it is not sticking to the mat, and keep edges as straight as possible for uniform pinwheels.
Spread Peanut Butter Filling
Scoop the creamy peanut butter from the clear glass ramekin, and use the small offset metal spatula to spread it in a thin, even layer across the entire surface of the rolled dough, leaving a 1cm (1/2 inch) bare border along the top long edge of the rectangle. This bare border will help seal the roll closed. Do not spread peanut butter too thickly, as it will squeeze out when rolling and create messy edges.
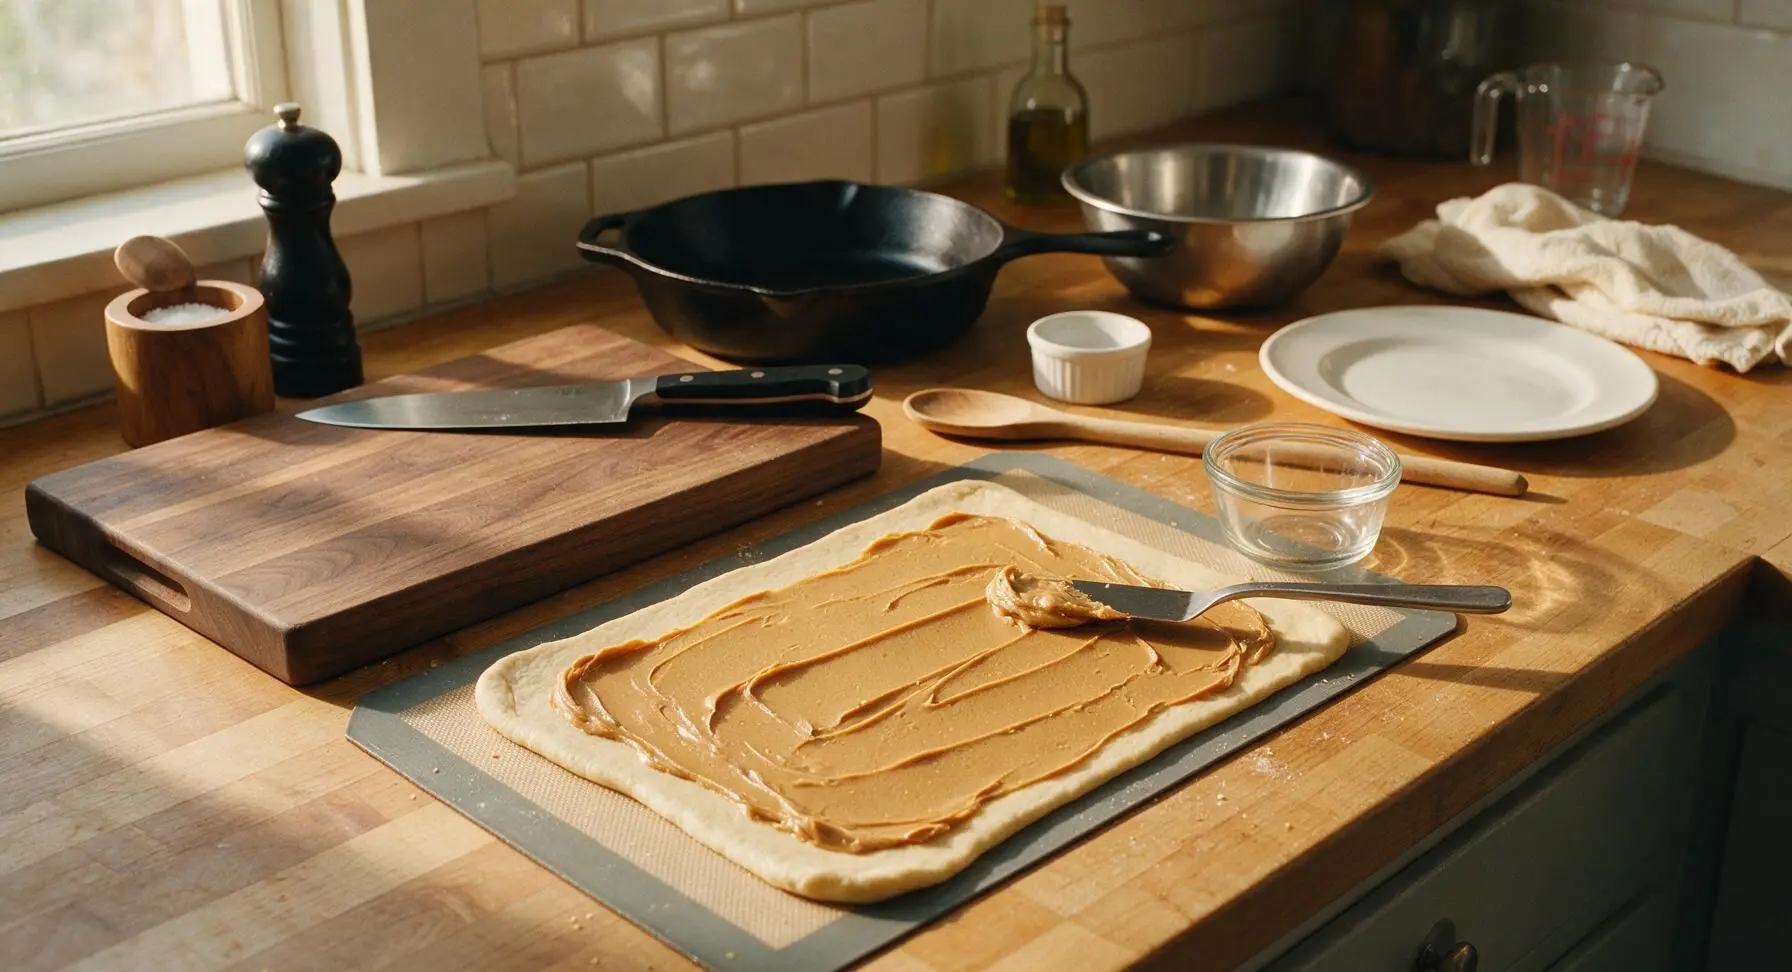
Roll Tight Candy Log
Start at the long edge of the dough opposite the bare border, and roll the dough tightly into a uniform 5cm diameter log, similar to rolling a jelly roll. Press gently along the bare dough border to seal the log closed. Transfer the log to the refrigerator to chill for 30 minutes, until firm enough to slice cleanly without squishing.
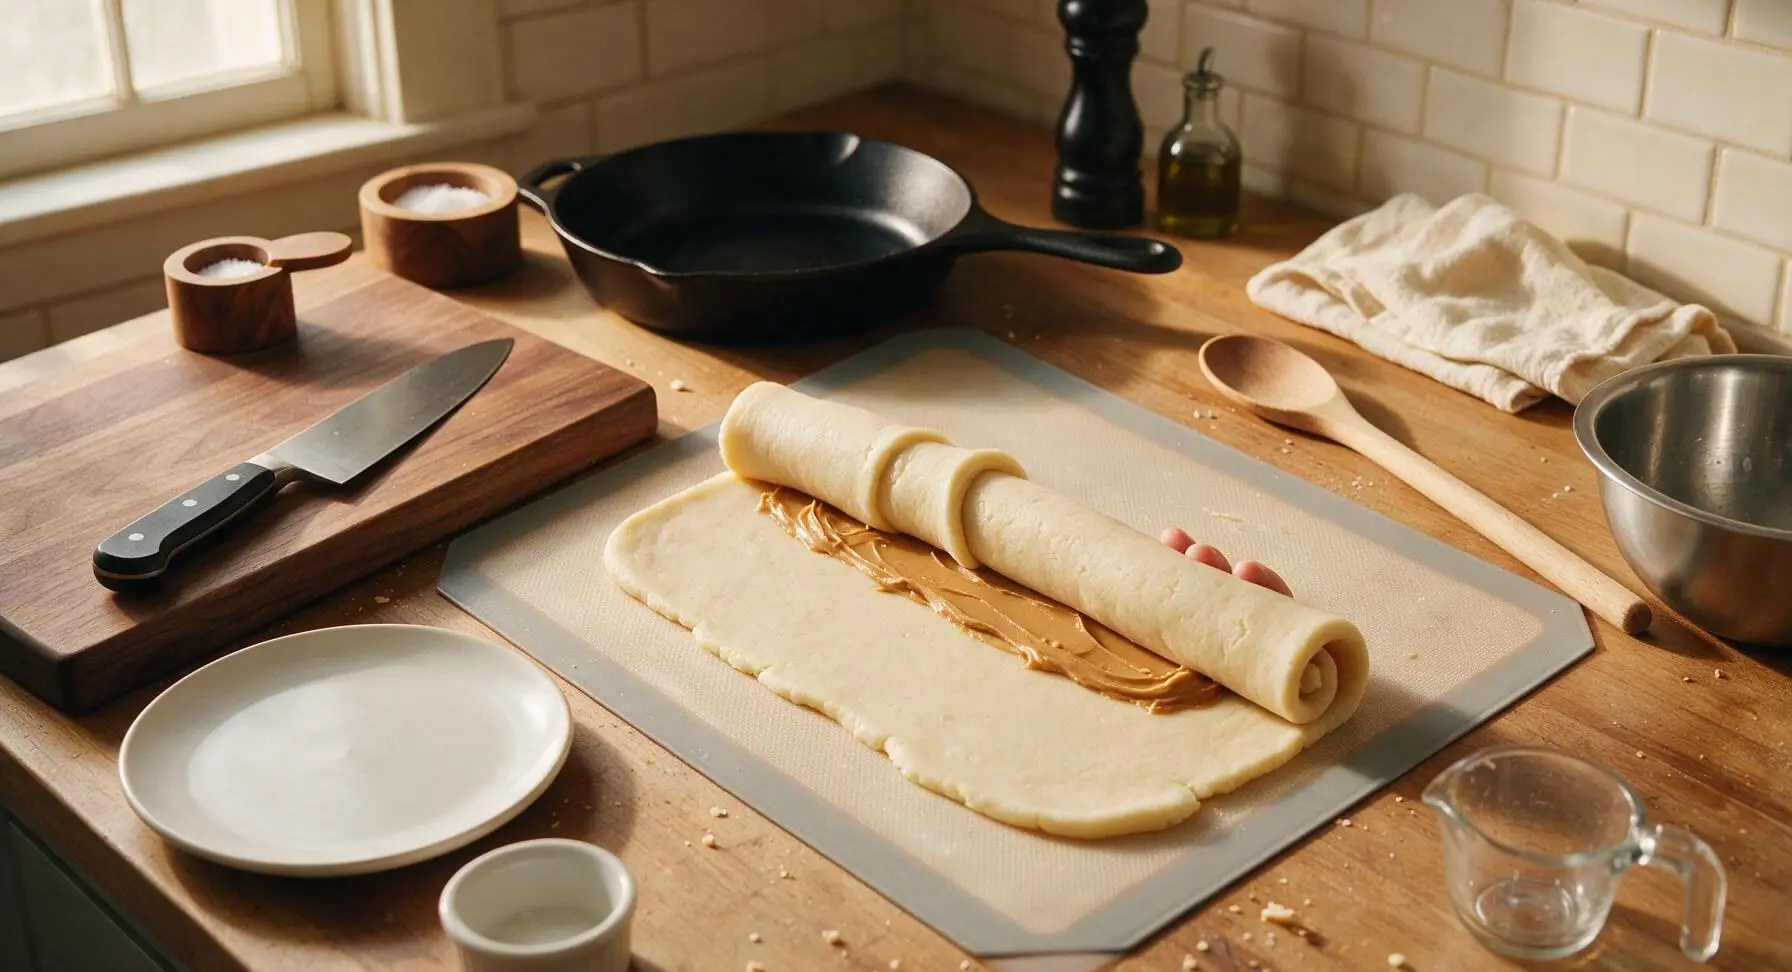
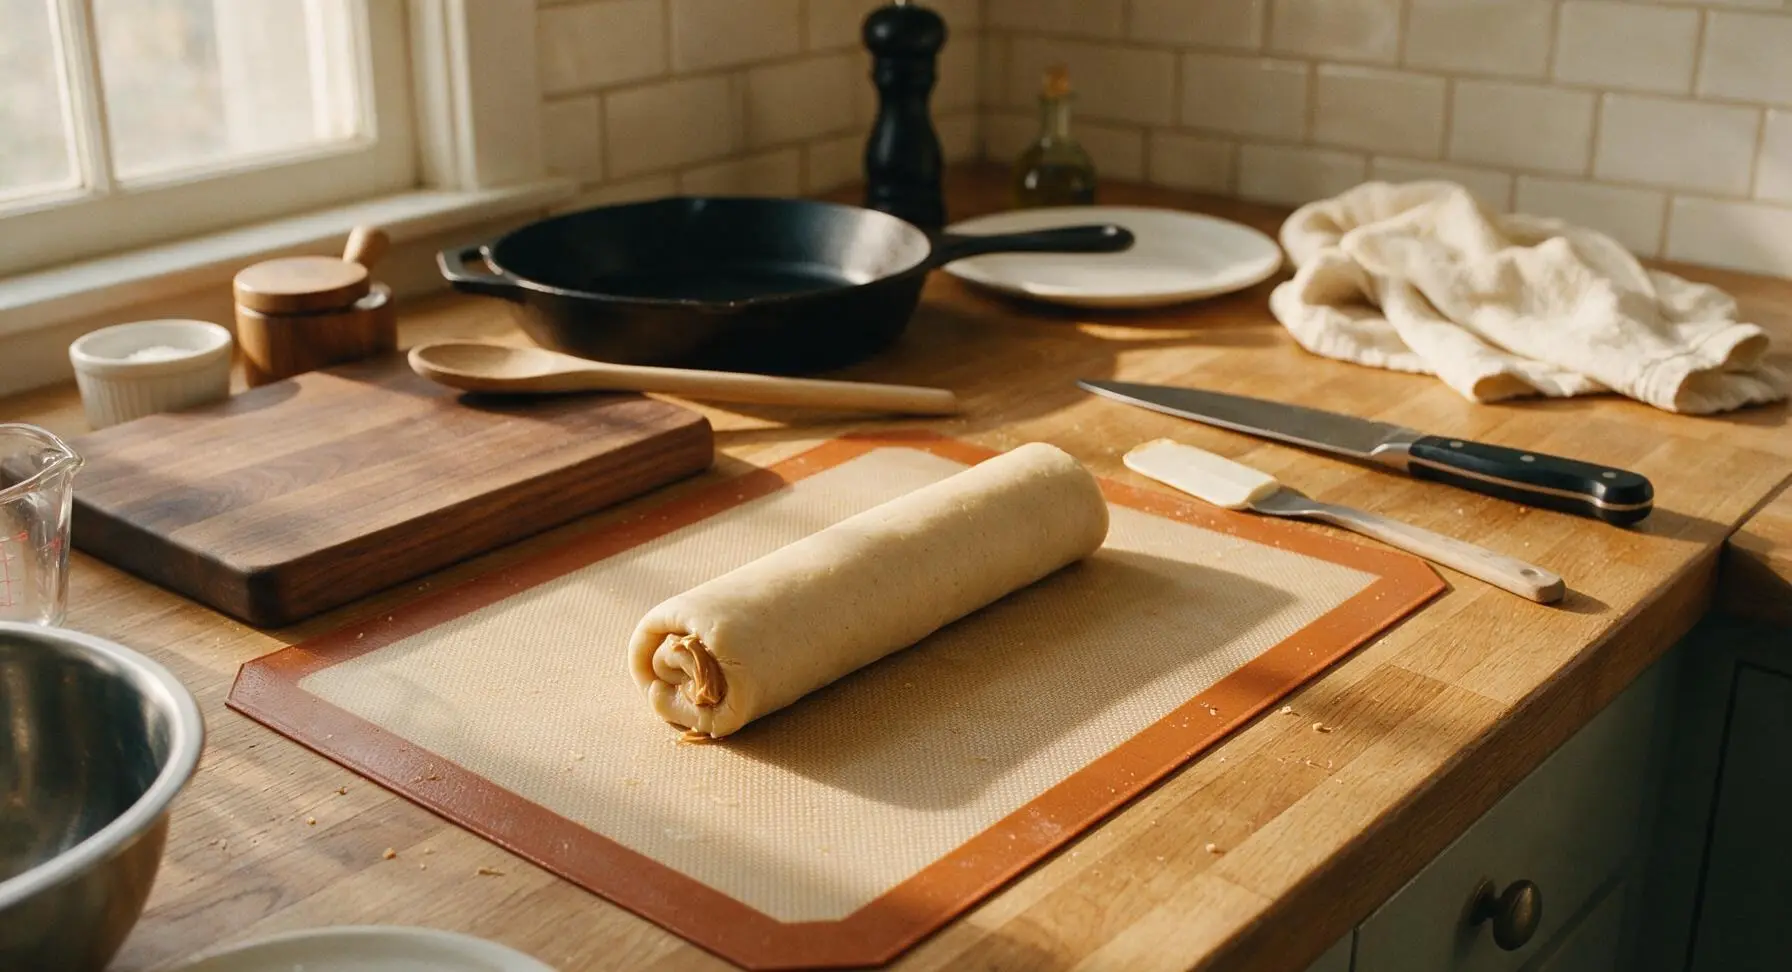
Slice into Pinwheels
Remove the chilled candy log from the refrigerator and place it back on the rolling mat. Use the sharp 8-inch chef knife to cut the log into 1cm (1/2 inch) thick pinwheel slices, wiping the knife blade clean with the cream waffle-weave kitchen towel between cuts to prevent sticking and ensure clean, smooth edges on each slice. Arrange slices on the cream ceramic serving platter to serve.
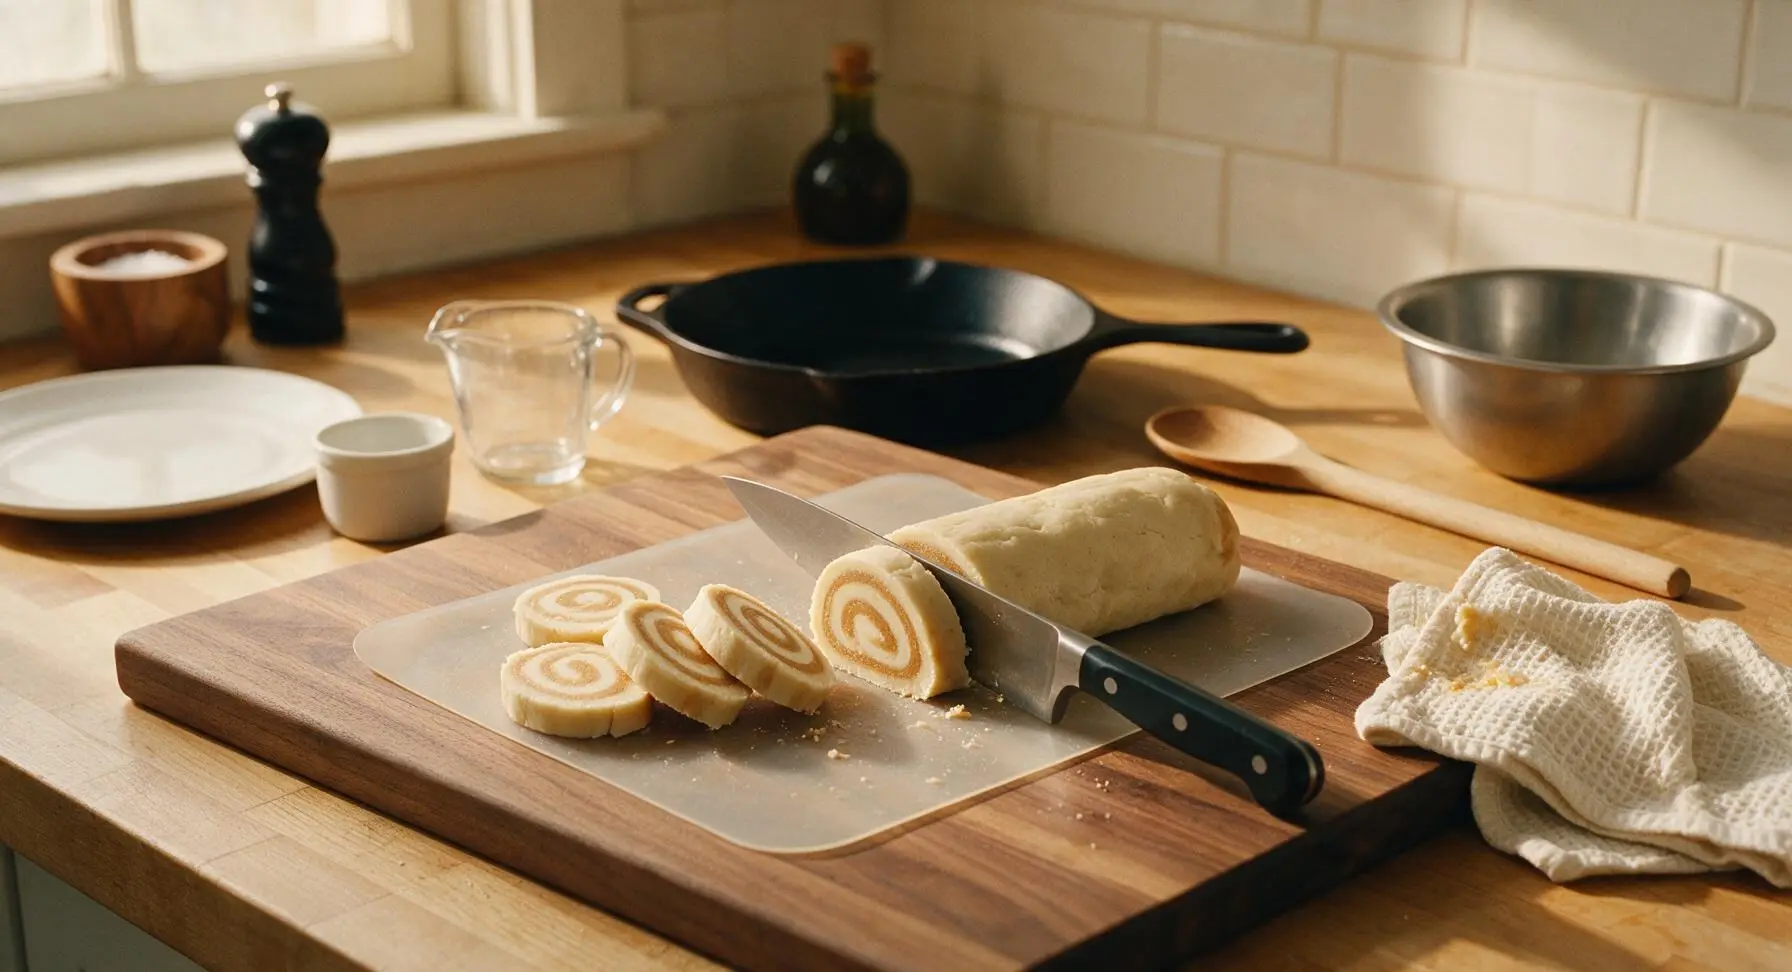
Tips
2.Choose no-stir peanut butter: Natural, separated peanut butter has excess free oil that will soak into the candy dough and cause soggy, leaking pinwheels; no-stir processed peanut butter stays firm and creates a clean, defined swirl.
3.Chill the log fully before slicing: Cutting the log before it is firm will cause the dough to squish and deform, ruining the pinwheel shape. For extra clean slices, chill the log for 10 extra minutes if your kitchen is warm.






OMG, I haven’t had potato candy since my grandma made it for Christmas every year when I was a kid! I was so nervous it wouldn’t turn out right because I’m a terrible candy maker, but this was SO easy. 15 minutes? No way, I had it done even faster. My kids devoured half the batch before I even got to roll it in powdered sugar. Game changer for our holiday treat plates this year!
Wait, potato in candy? I was so skeptical when my kid brought this recipe home from their 4-H club, but y’all — it’s insane how good this is. No weird fancy ingredients, no candy thermometer needed, perfect for after-school snack prep. I did add a sprinkle of flaky sea salt on top of a few pieces and wow, that cuts the sweetness perfectly.
Finally, a retro candy recipe I can make for my gluten-free kiddo without weird specialty ingredients! I was worried the texture would be gummy since I used russet potatoes like the recipe said, but it came out perfectly smooth, just like the old-fashioned stuff I remember from church bake sales. 10/10, will be making this monthly.
Made this in my dorm room microwave last night lmao. I only had a tiny bag of powdered sugar and a leftover baked potato from the dining hall, and it still slapped. My roommates thought I was a professional baker for like 10 minutes. 10/10, zero fancy equipment needed, broke college student approved.
I’ve been making potato candy for over 60 years, and this recipe is spot on. No weird add-ins, just the simple, creamy sweet taste I remember from my own mom’s kitchen. I like to roll mine out extra thin and spread a thin layer of peanut butter before rolling it up, that’s the way we always did it back in Kentucky.
Brought this to our office potluck yesterday and it was the first thing gone! People kept going back for seconds and asking where I got the recipe. It’s so nice having a no-bake treat that comes together in 15 minutes when I’m crunched for time between meetings and school drop offs.
First time ever making any kind of candy and I didn’t mess it up!!! I was so scared I’d overmix it or make it too sticky, but the instructions were so straightforward. I added a drop of vanilla extract like someone suggested in the tips and it tasted exactly like the candy my great aunt used to send us for holidays. Only reason it’s not 5 stars is I wish the recipe noted how much extra powdered sugar to have on hand for dusting, I ran out mid-roll!
Made this for my little brother’s birthday party snack table and all the kids went crazy for it. I rolled some in sprinkles instead of just plain powdered sugar and they looked so fun, like little fancy candy rolls even though they took zero effort.
I’ve been hunting for a good old-fashioned potato candy recipe forever — so many modern ones add weird stuff like cream cheese or coconut that don’t belong. This is exactly the no-frills version I grew up with, no weird shortcuts, just simple ingredients. 10/10, bookmarked for good.
SO good! I was looking for a quick no-bake treat to make for my roommate’s birthday and this came together so fast. I didn’t even have to run to the grocery store, I had all the ingredients already in my pantry and fridge. Will absolutely be making this again.
Made this for our weekly Sunday family dinner and everyone was raving. My dad, who swears he hates all ‘newfangled’ sweets, had three pieces and asked me to send him the recipe. It’s so fun introducing the old classic recipes to the family, especially when they’re this easy.
Made this on our group camping trip last weekend using a russet potato we cooked over the campfire and a random bag of powdered sugar I’d thrown in the gear bin for emergency s'mores. It was the perfect late-night snack around the fire — people from the neighboring campsite even wandered over to ask what we were eating because they saw us passing the plate around. Who knew campfire potato candy would be the hit of the trip? Zero fancy tools needed, even when you’re roughing it!