
Pounded Yam
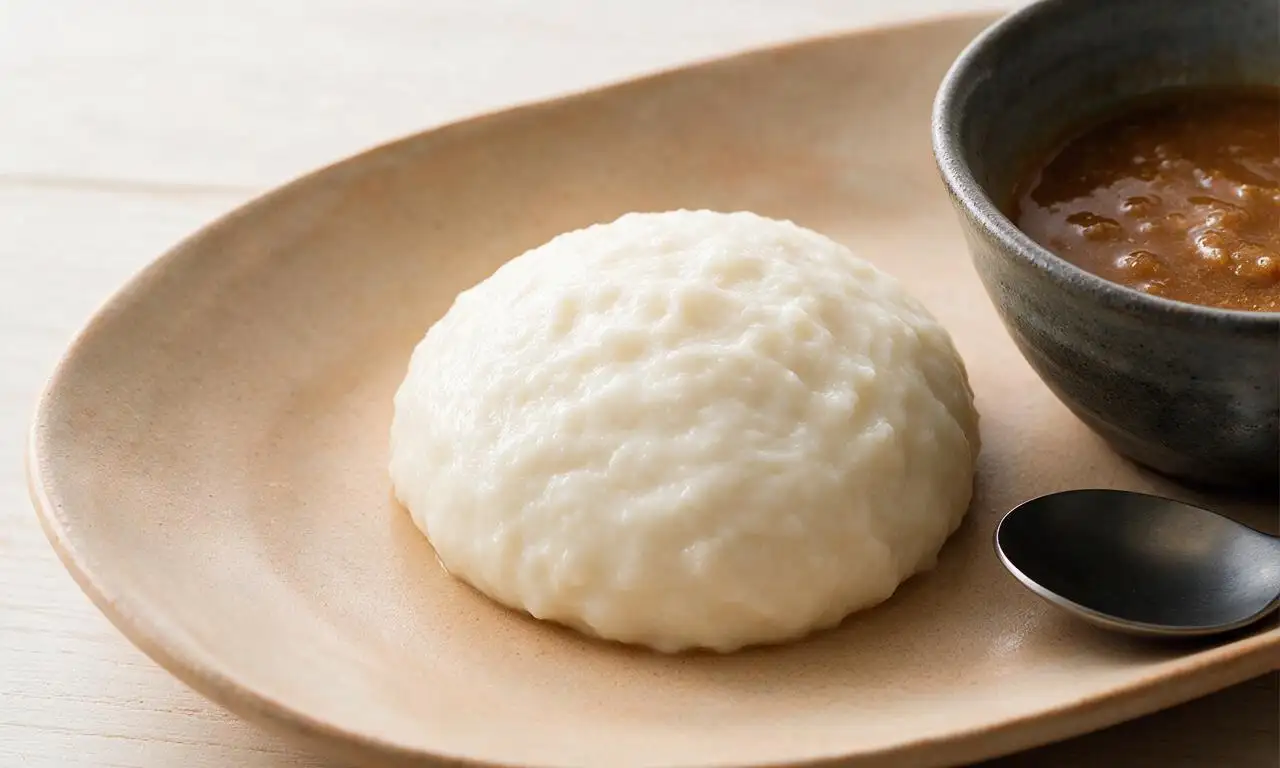
intro
Smooth, stretchy, and deeply comforting, pounded yam is a beloved starchy staple perfect for sopping up rich, savory soups and stews at shared family meals.
Ingredients
Steps
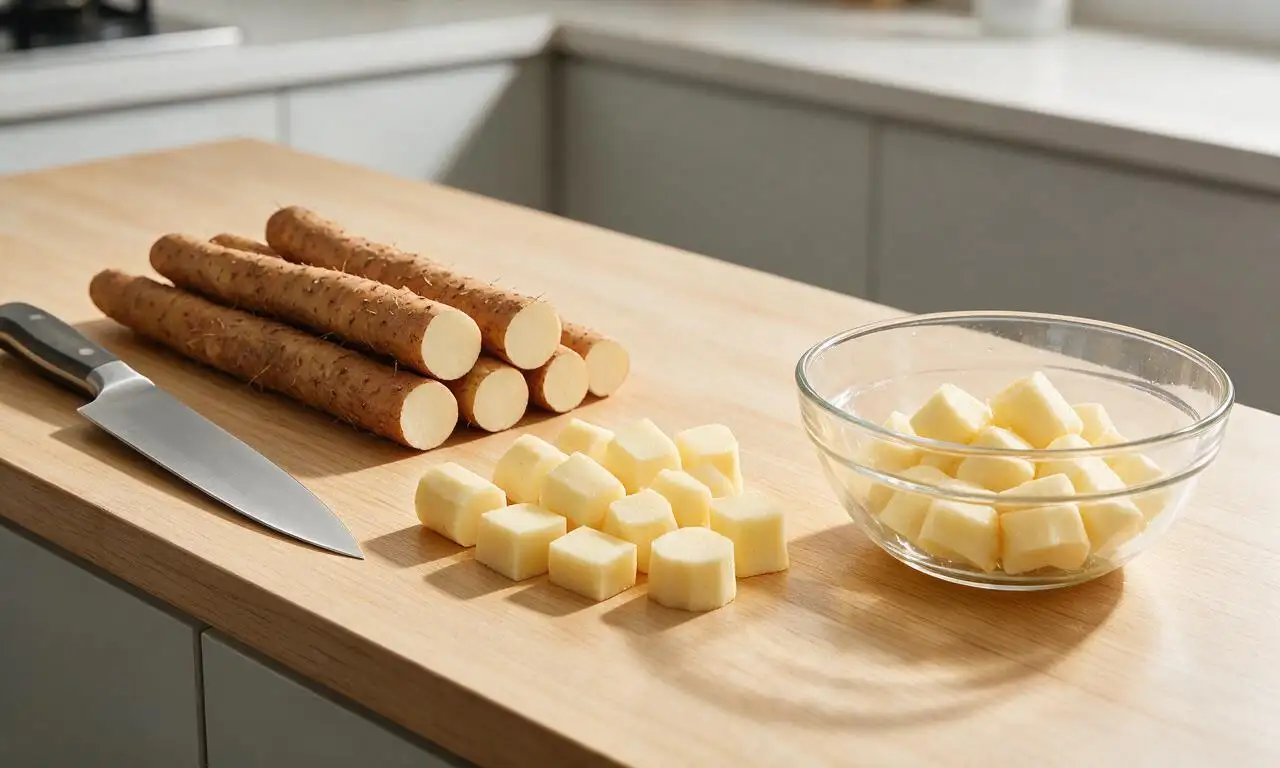
Prep the yam tubers
Peel the tough, rough outer skin of 1kg white puna yam with a sharp vegetable knife, taking care to remove all thin brown fibrous layers just under the skin. Cut the peeled yam into uniform 5cm (2-inch) chunks, then rinse thoroughly under cold running water for 1 minute to wash away excess surface starch.
Boil the yam chunks
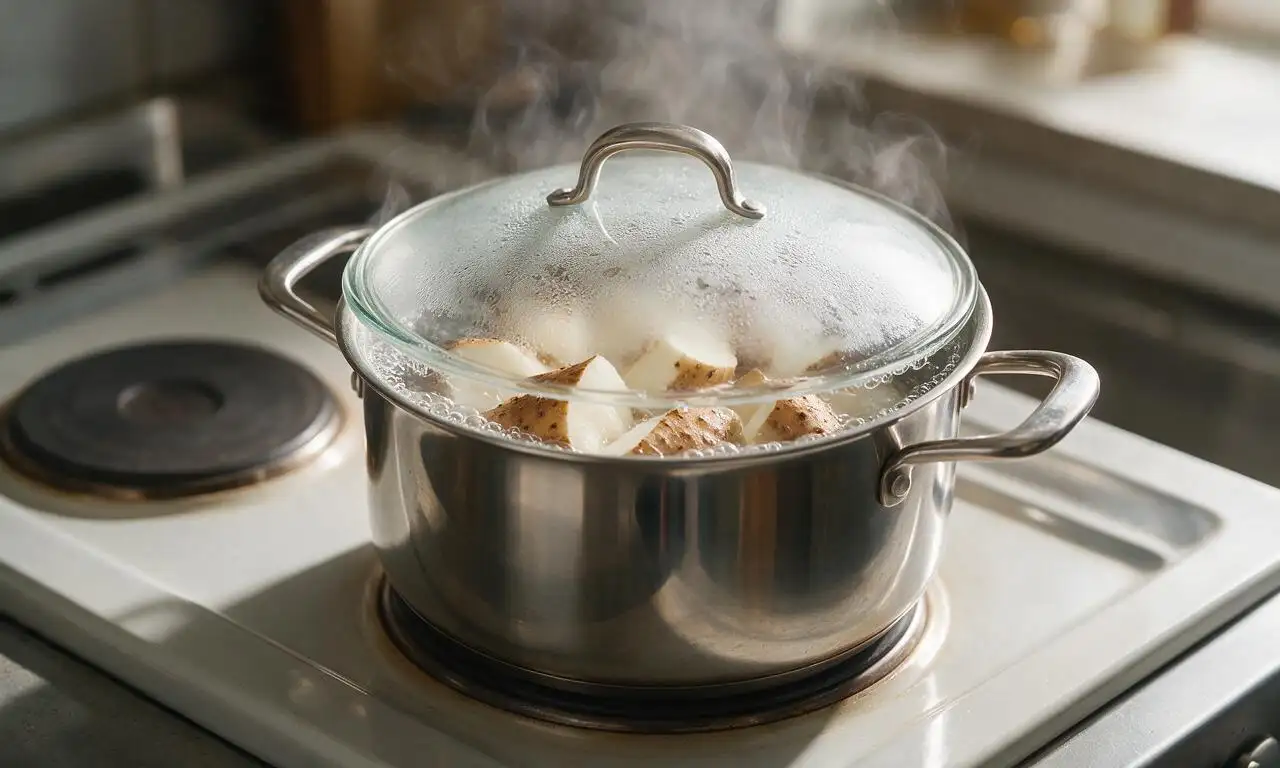
Place the rinsed yam chunks in a 5-liter stockpot, pour in 2 liters of cold water to fully submerge all pieces, and stir in 1 teaspoon of fine sea salt if using. Bring the water to a rolling boil over medium-high heat (7/10 on most stovetop dials), then reduce heat to medium-low (3/10), cover the pot with a tight-fitting lid, and simmer for 18-22 minutes. Test doneness by piercing a chunk with a fork: it should slide in easily with no hard, crumbly core.
Drain yam completely
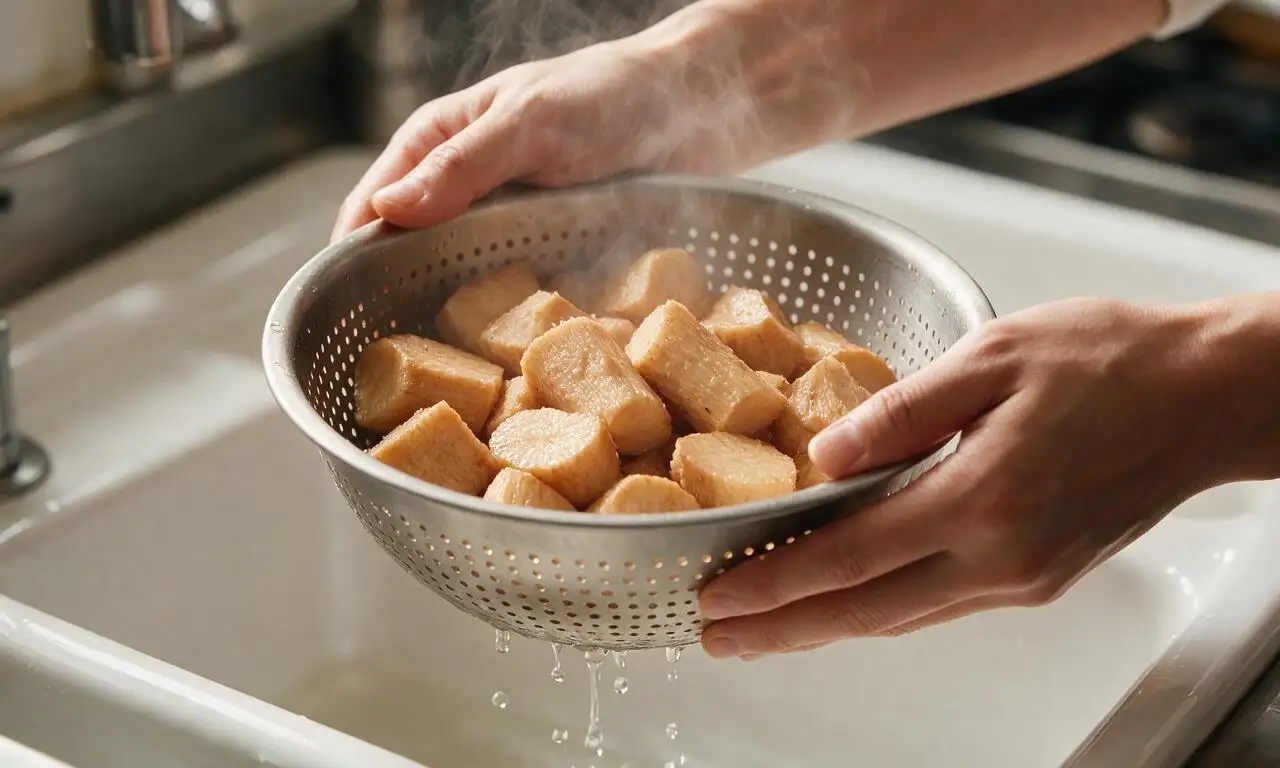
Turn off the stovetop heat once the yam is fully tender. Carefully lift the pot and pour all contents into a large colander set in the kitchen sink. Shake the colander gently for 30 seconds to drain off every last bit of residual boiling water, as trapped excess water will make the finished pounded yam mushy and unable to hold its shape.
Start initial pounding
Immediately transfer the hot, drained yam chunks to a large, heavy wooden mortar (or a 5-quart stand mixer fitted with a dough hook for a no-pestle alternative). Pound firmly with repeated, even strikes of the wooden pestle for 3-4 minutes, folding the outer edges of the yam into the center between strikes to break up all large, hard lumps. Work quickly while the yam remains hot, as cooled yam will not smooth out properly.
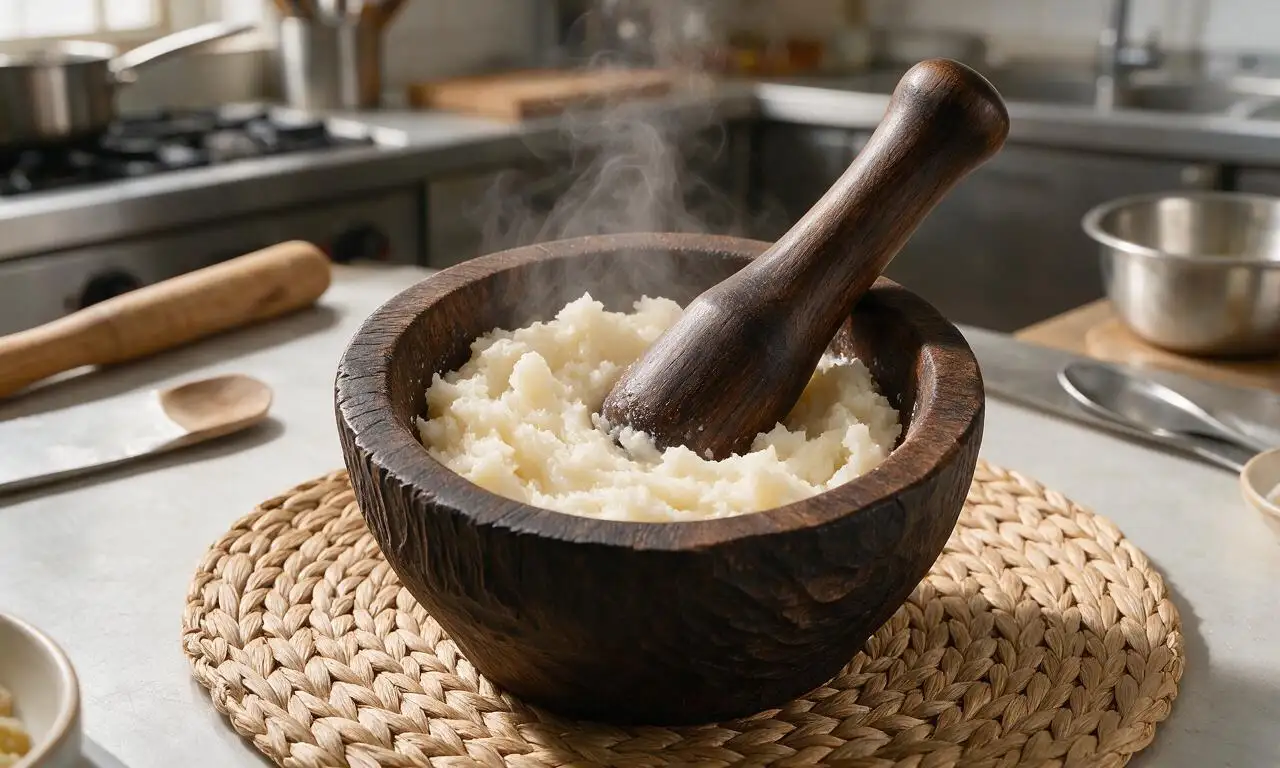
Pound to smooth elasticity
Continue pounding the yam for an additional 4-5 minutes, pausing every 60 seconds to scrape the sides of the mortar and the pestle head with a silicone spatula to incorporate any loose, crumbly yam bits. The finished pounded yam is ready when it is completely lump-free, glossy, stretchy, and elastic, with a firm dough-like consistency that holds a shape when pressed.
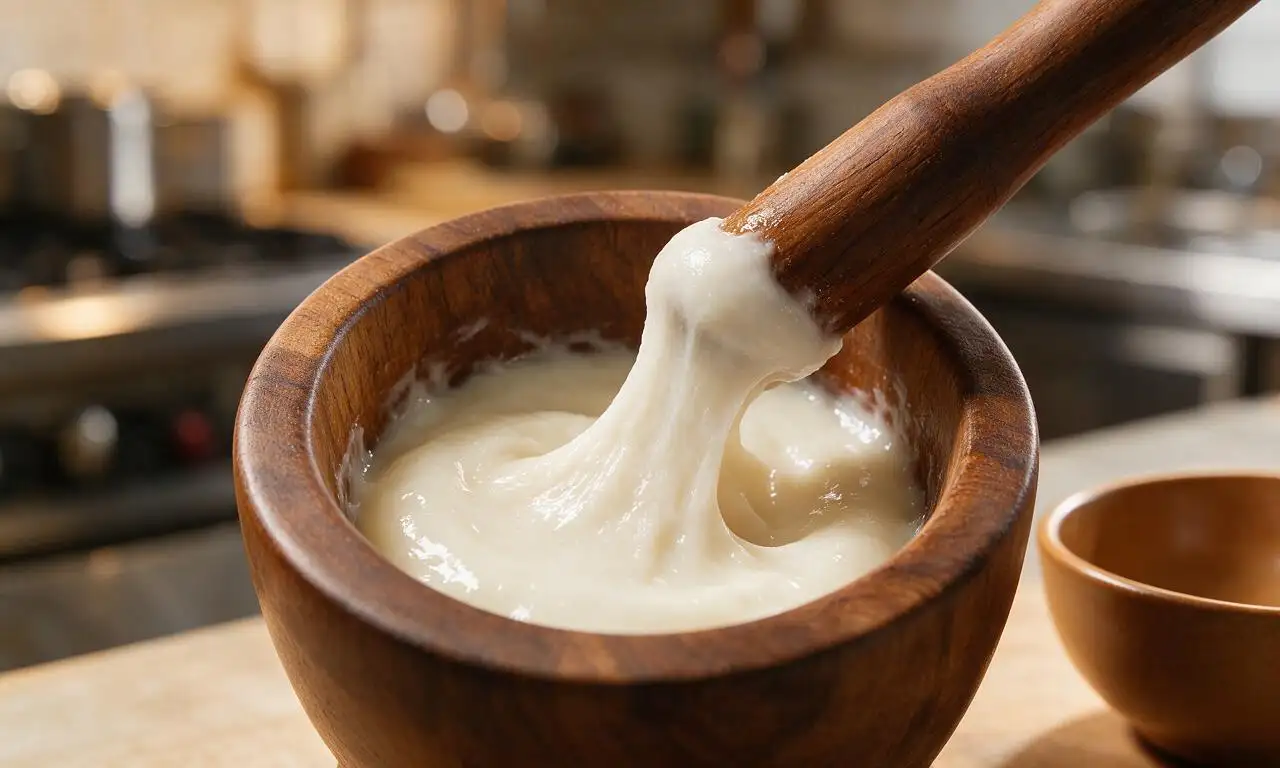
Portion and serve hot
Dip a large serving spoon in a small bowl of warm water to prevent sticking, then scoop four equal 200g portions of the hot pounded yam. Roll each portion into a smooth, tight round ball, and arrange on a warm serving platter. Serve immediately alongside rich, savory soups like vatapá or egusi for a complete meal.
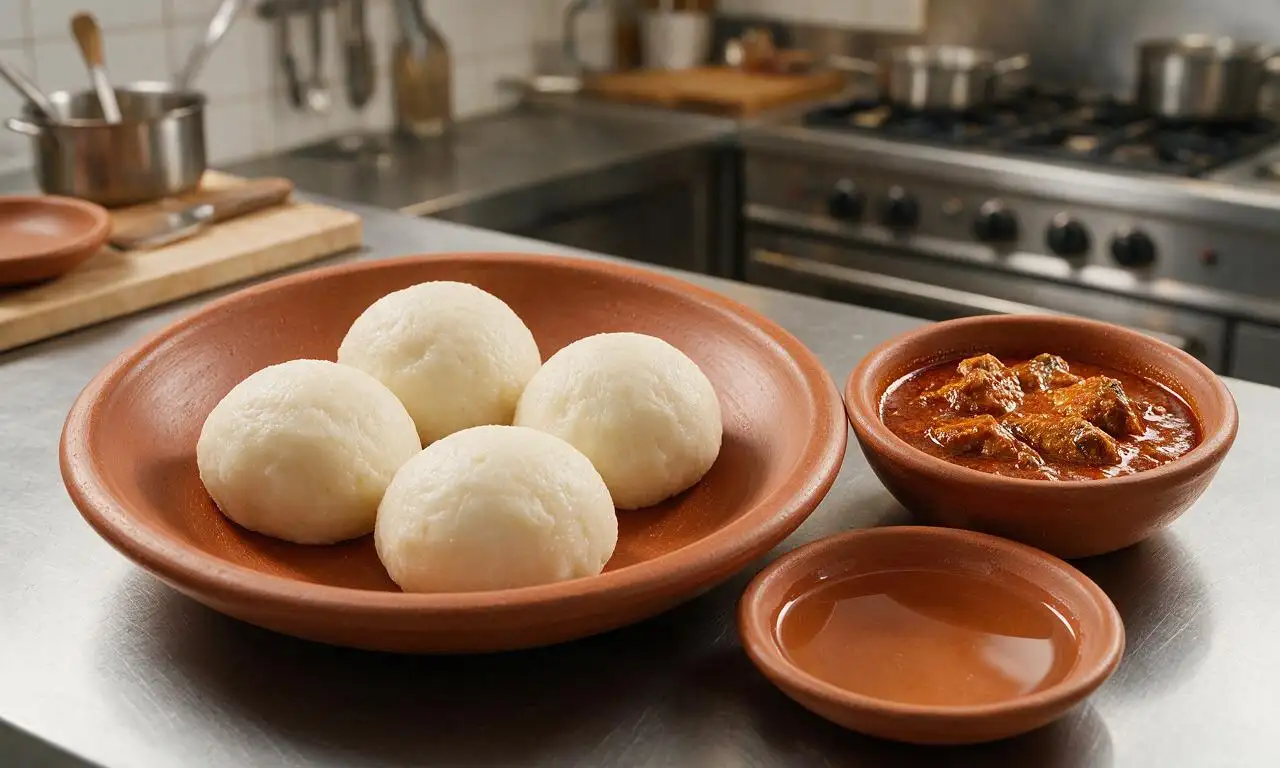
Tips
2.Always pound the yam while it is piping hot; even slight cooling will cause hard, grainy lumps that cannot be smoothed out with additional pounding.
3.If using a stand mixer instead of a mortar and pestle, run it on low speed (setting 2) for 6-7 minutes total, scraping the bowl regularly, to avoid overmixing the yam into a sticky, gluey paste.





OMG, I’ve been trying to nail pounded yam for my partner’s family dinner for months and this recipe finally worked! I was so nervous about getting the texture right—no lumps, perfectly stretchy, not too sticky—and the 40 minute cook time was totally doable even after work. My mother-in-law said it tasted just like what she made growing up in Lagos! Total game changer, will be making this every Sunday from now on.
Made this for our weekend potluck last week and it was gone in 10 minutes flat! My kids are super picky and they kept asking for seconds dipped in that egusi soup I paired it with. I was worried the difficulty level would be too high for me as someone who’s pretty new to making West African food, but the steps were so clear and easy to follow. 10/10!
Really solid pounded yam recipe! I followed the steps exactly and the flavor and texture were spot on, my only note is that it took me closer to 50 minutes total instead of the listed 40—probably because I had to stop and stir a few extra times to make sure the yams didn’t stick to the bottom of the pot. Still turned out amazing though, will definitely make again.
SO good! I meal prepped a big batch on Sunday to eat with different stews throughout the week and it held up way better than I thought it would. I wrapped individual portions in plastic wrap and reheated them in the microwave for a minute each, and the texture was almost as good as fresh. Saved me so much time on weeknight dinners, can’t recommend enough.