
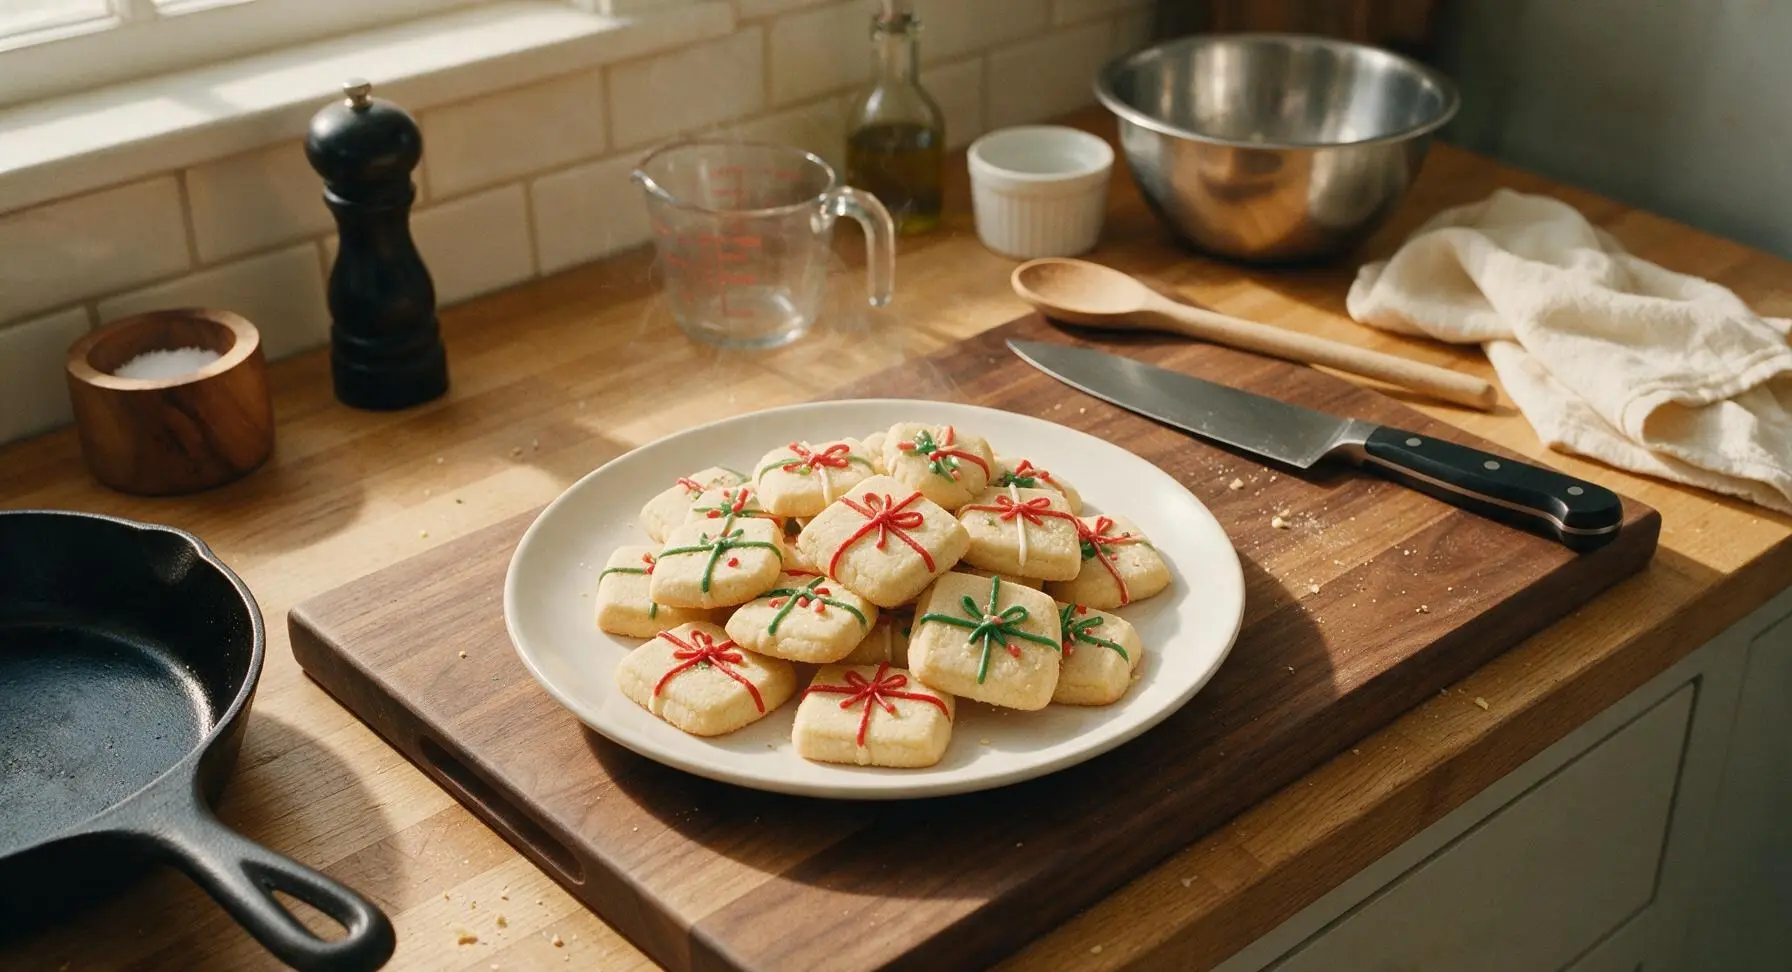
Present Cookies

title 1
Present Cookies
⏱️ cook time 10 minutes
🍽️ servings 24
⚡ Difficulty medium

intro

Buttery, crisp vanilla sugar cookies decorated to look like tiny wrapped holiday presents, perfect for Christmas cookie platters and thoughtful homemade edible gifts.

Ingredients
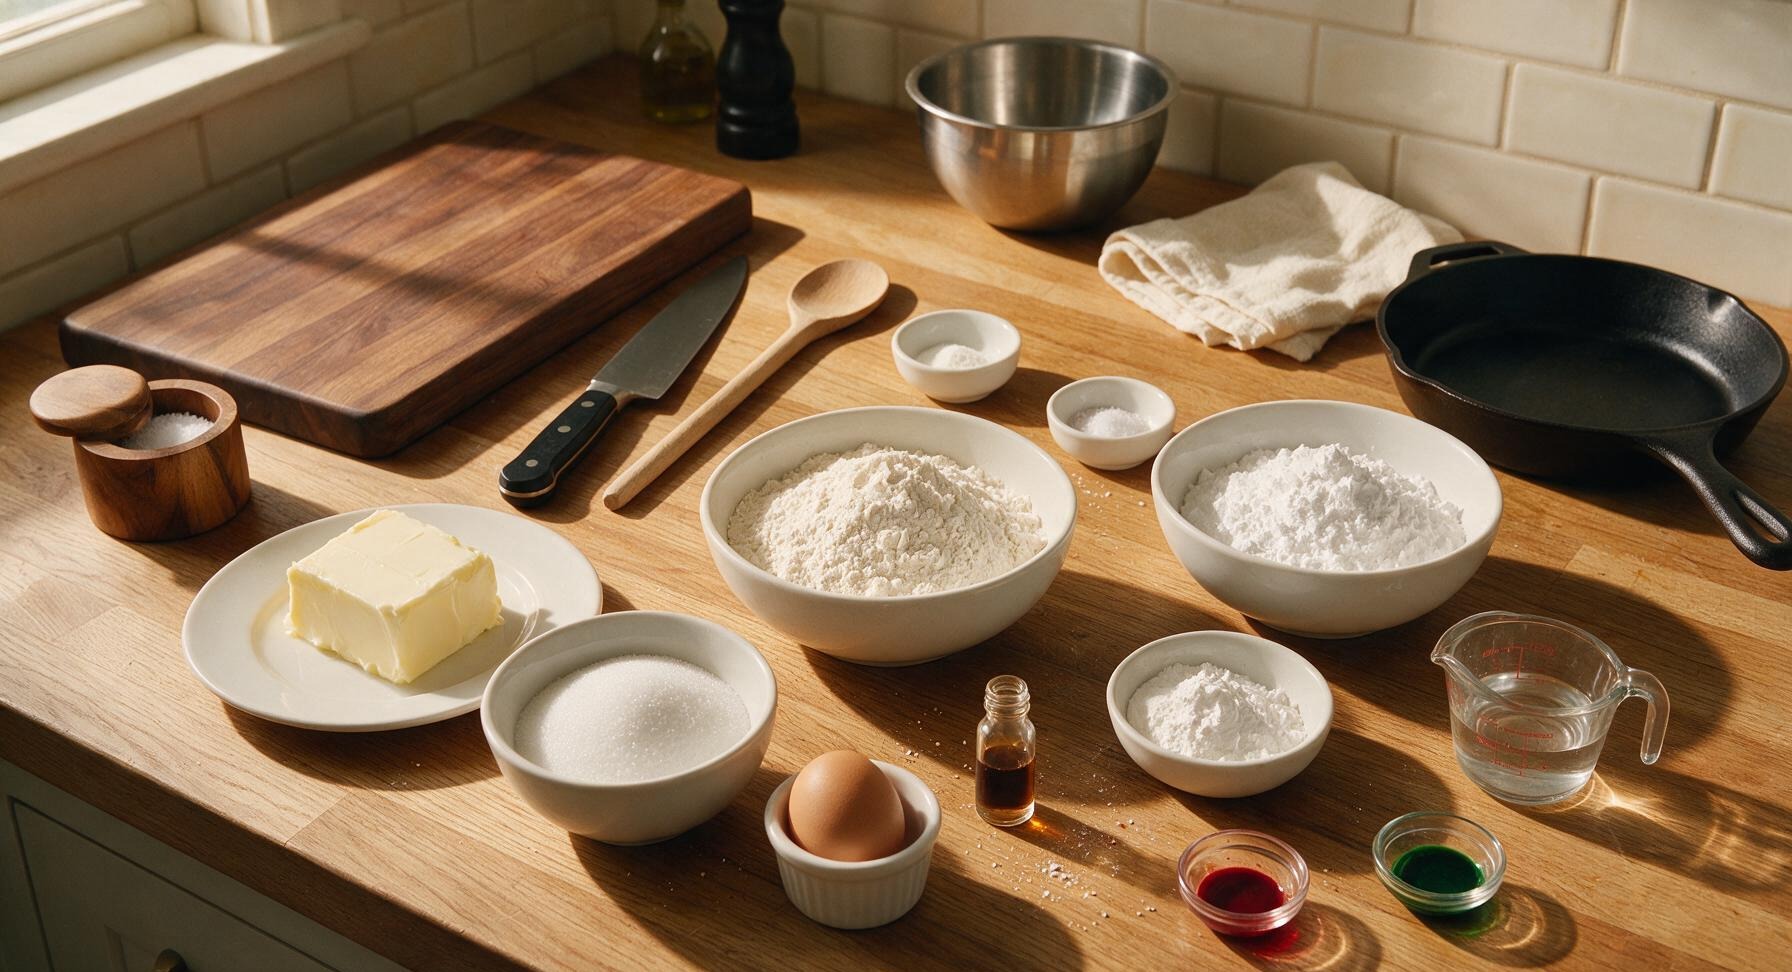
Unsalted butter, softened 226g (1 cup)
Granulated sugar 200g (1 cup)
Large egg 1 (50g)
Pure vanilla extract 1 tsp
All-purpose flour 315g (2.5 cups)
Baking powder 1/2 tsp
Fine sea salt 1/4 tsp
Powdered sugar 360g (3 cups)
Meringue powder 2 tbsp
Warm water 3 tbsp
Red gel food coloring 1/4 tsp
Green gel food coloring 1/4 tsp

Steps

1

Cream Butter and Sugar

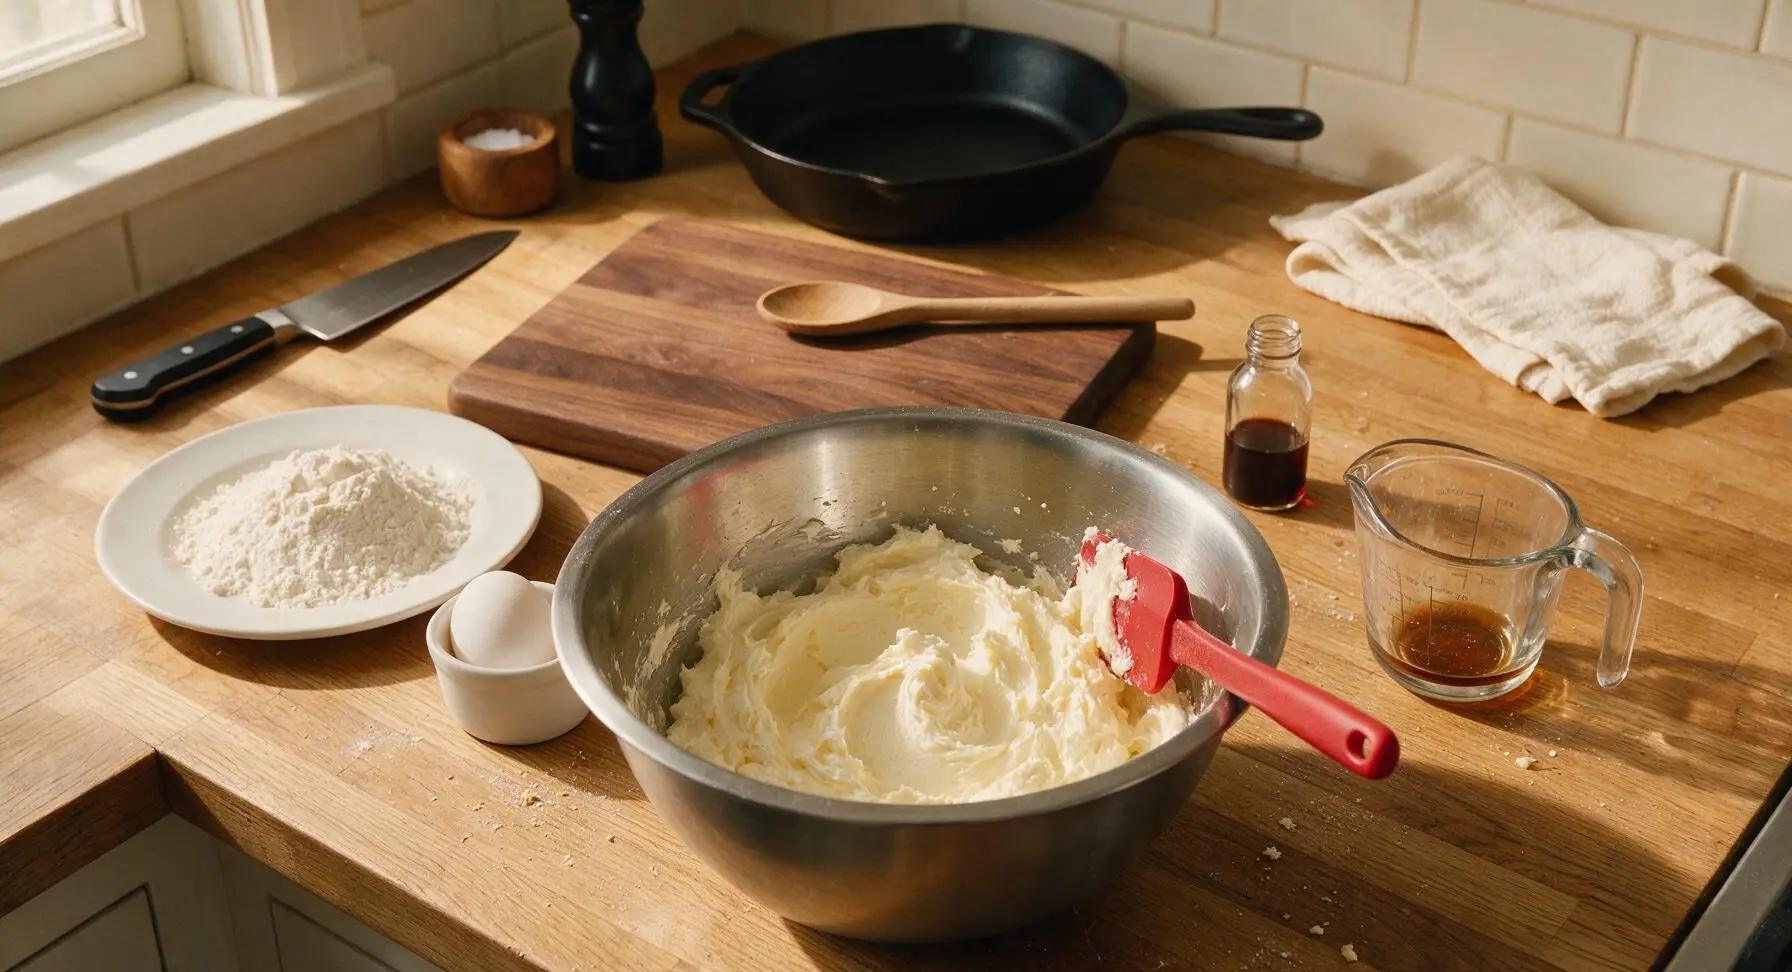
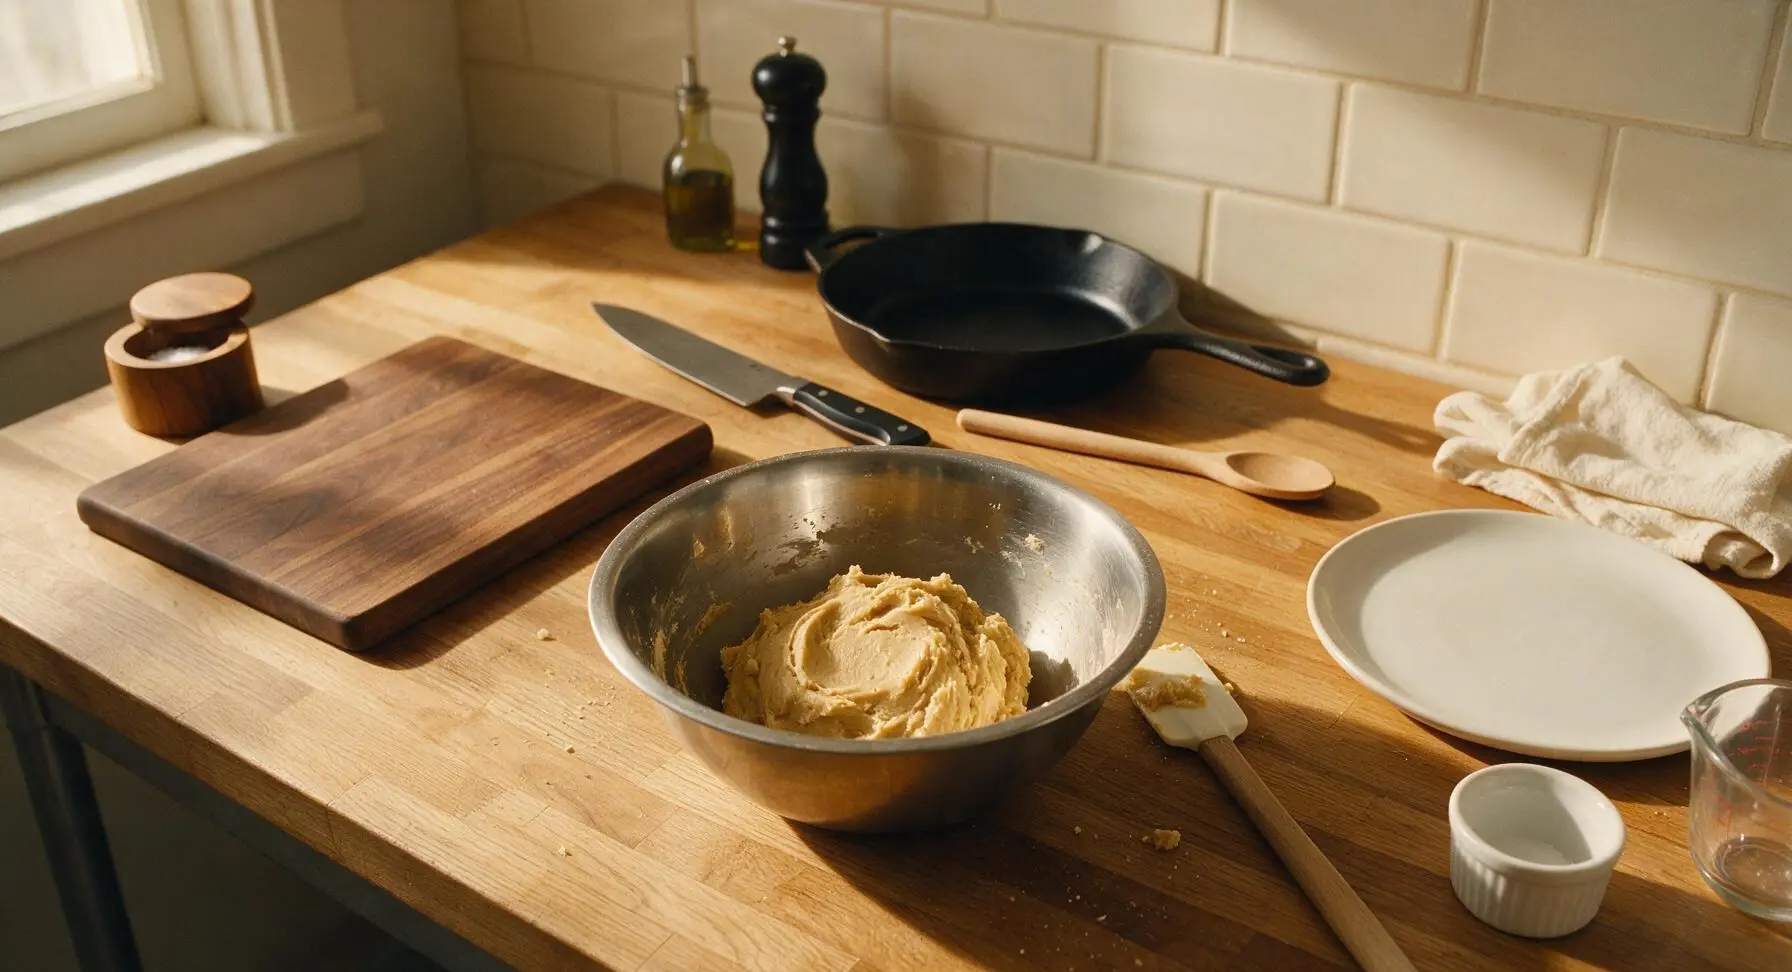
Place softened unsalted butter and granulated sugar in the medium stainless steel mixing bowl. Use the red-handled silicone spatula to beat the ingredients together for 3-4 minutes, until the mixture turns pale ivory, light and fluffy, with no visible lumps of firm butter. Scrape down the bowl sides halfway through mixing to ensure even incorporation.
Step 1
step1:Cream Butter and Sugar
2

Combine Dough Ingredients

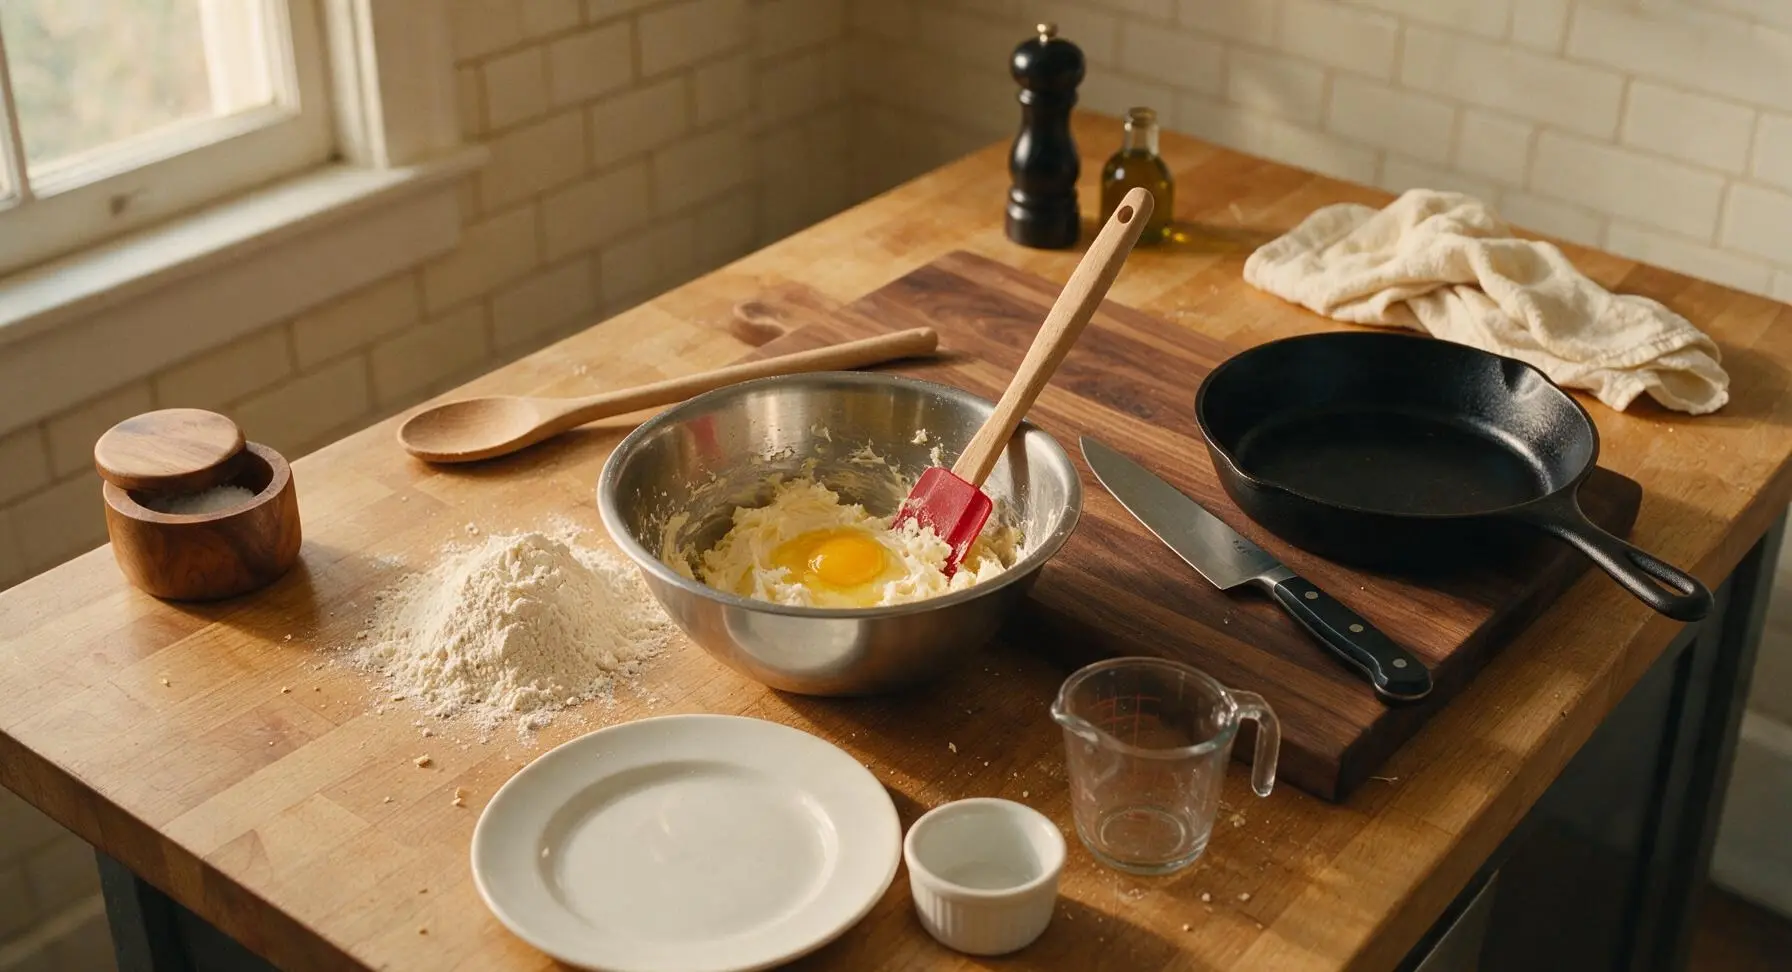
Add the whole large egg and vanilla extract to the creamed butter mixture, stirring until fully combined with no visible streaks of raw egg. Whisk all-purpose flour, baking powder, and fine sea salt together in a small pile, then add dry ingredients to the wet mixture in two equal batches, stirring gently just until no dry flour streaks remain. Do not overmix, as this will produce tough, dense cookies.
Step 2
step2:Combine Dough Ingredients
Step 2
step2:Combine Dough Ingredients
3

Chill the Dough

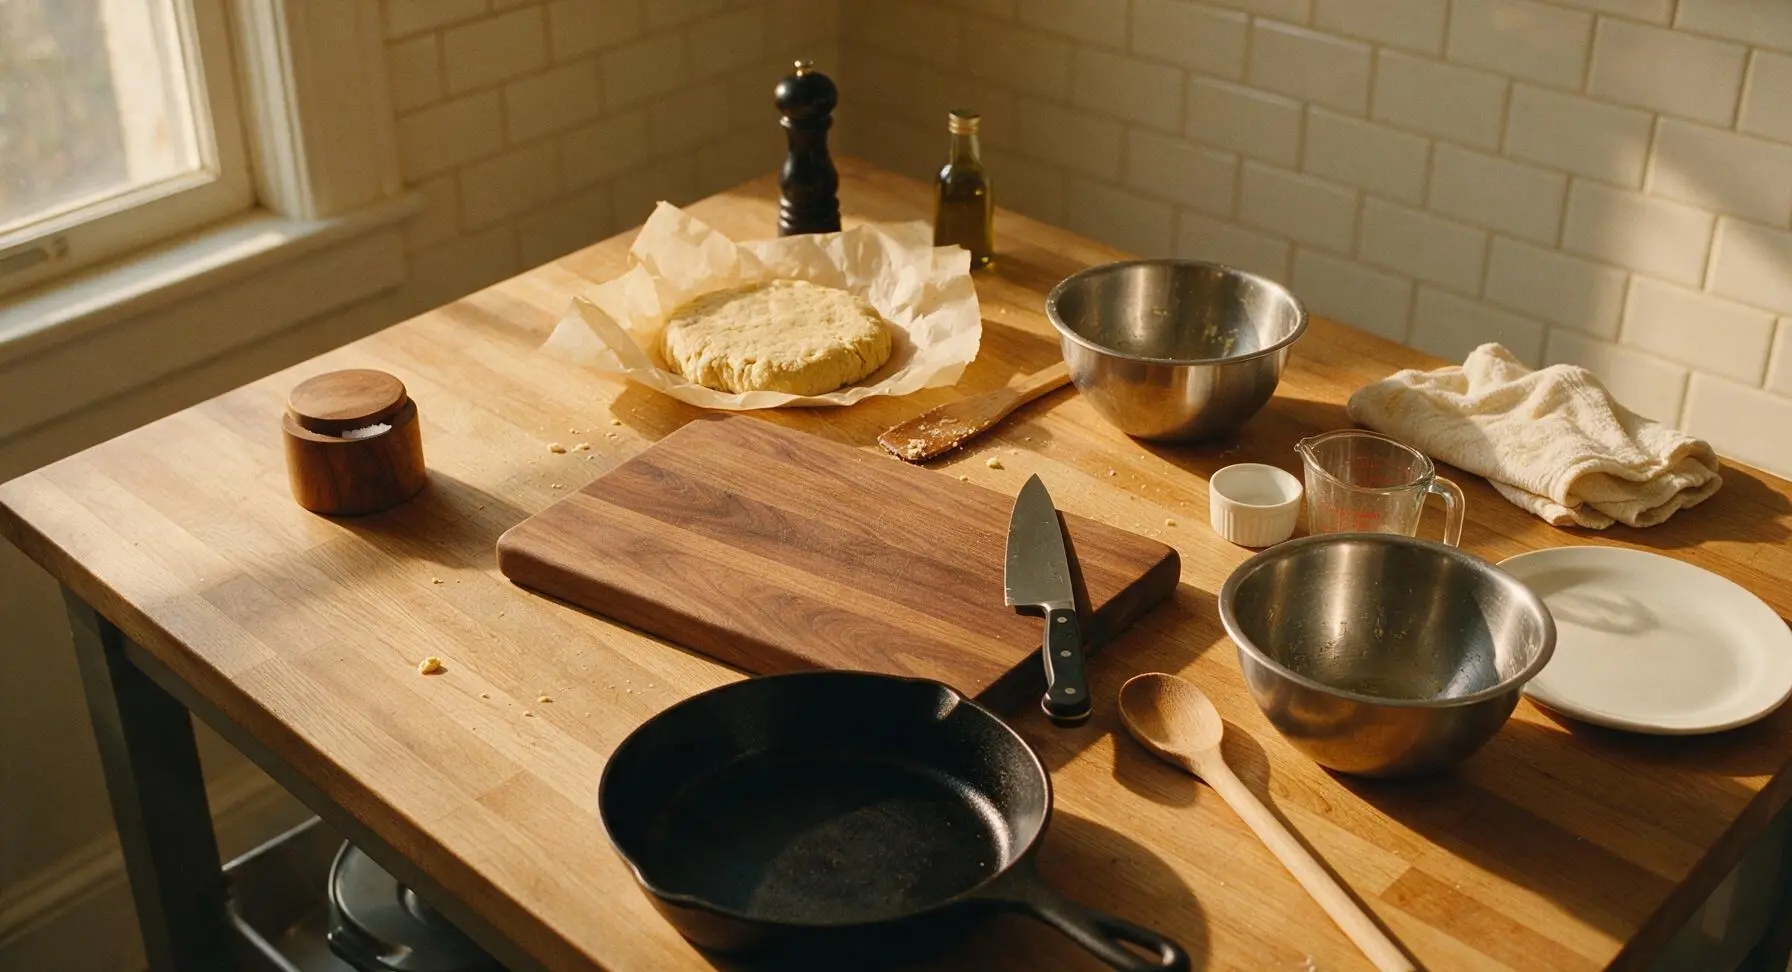
Turn the dough out onto a sheet of unbleached parchment paper, pat it into a uniform 2cm thick disk, wrap tightly, and refrigerate for 1 full hour. Chilling solidifies the butter in the dough, preventing cookies from spreading and losing their sharp square present shape during baking.
Step 3
step3:Chill the Dough
4

Roll and Cut Cookies

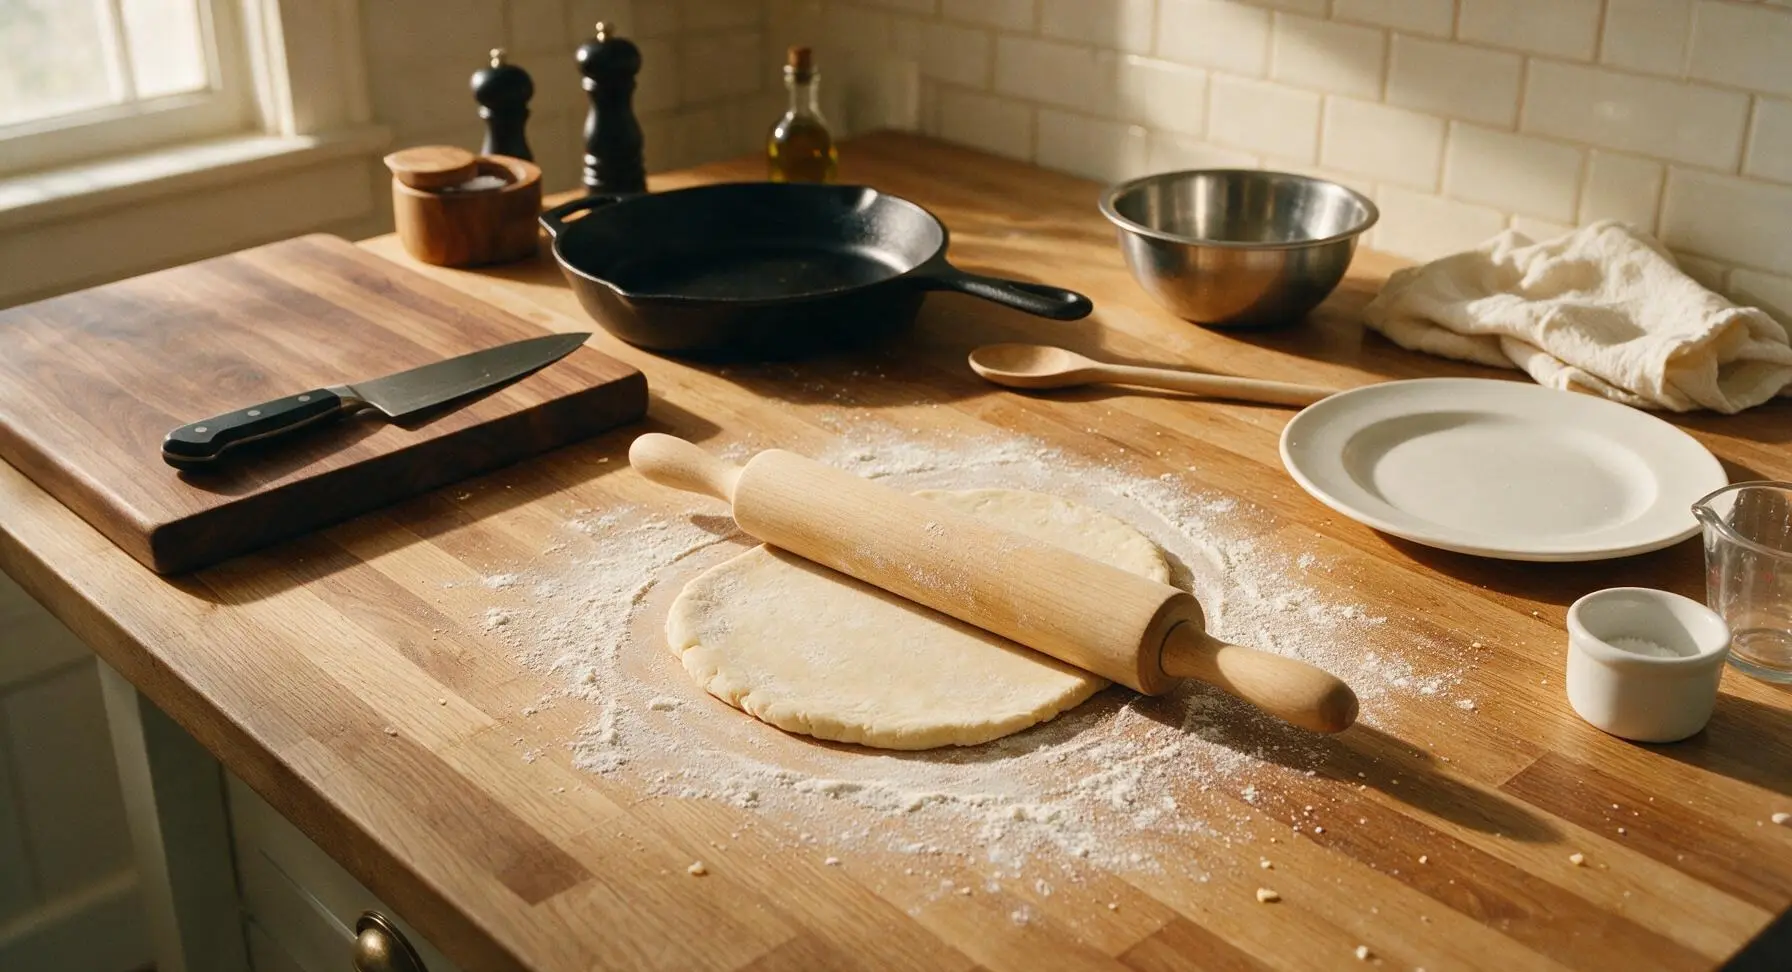
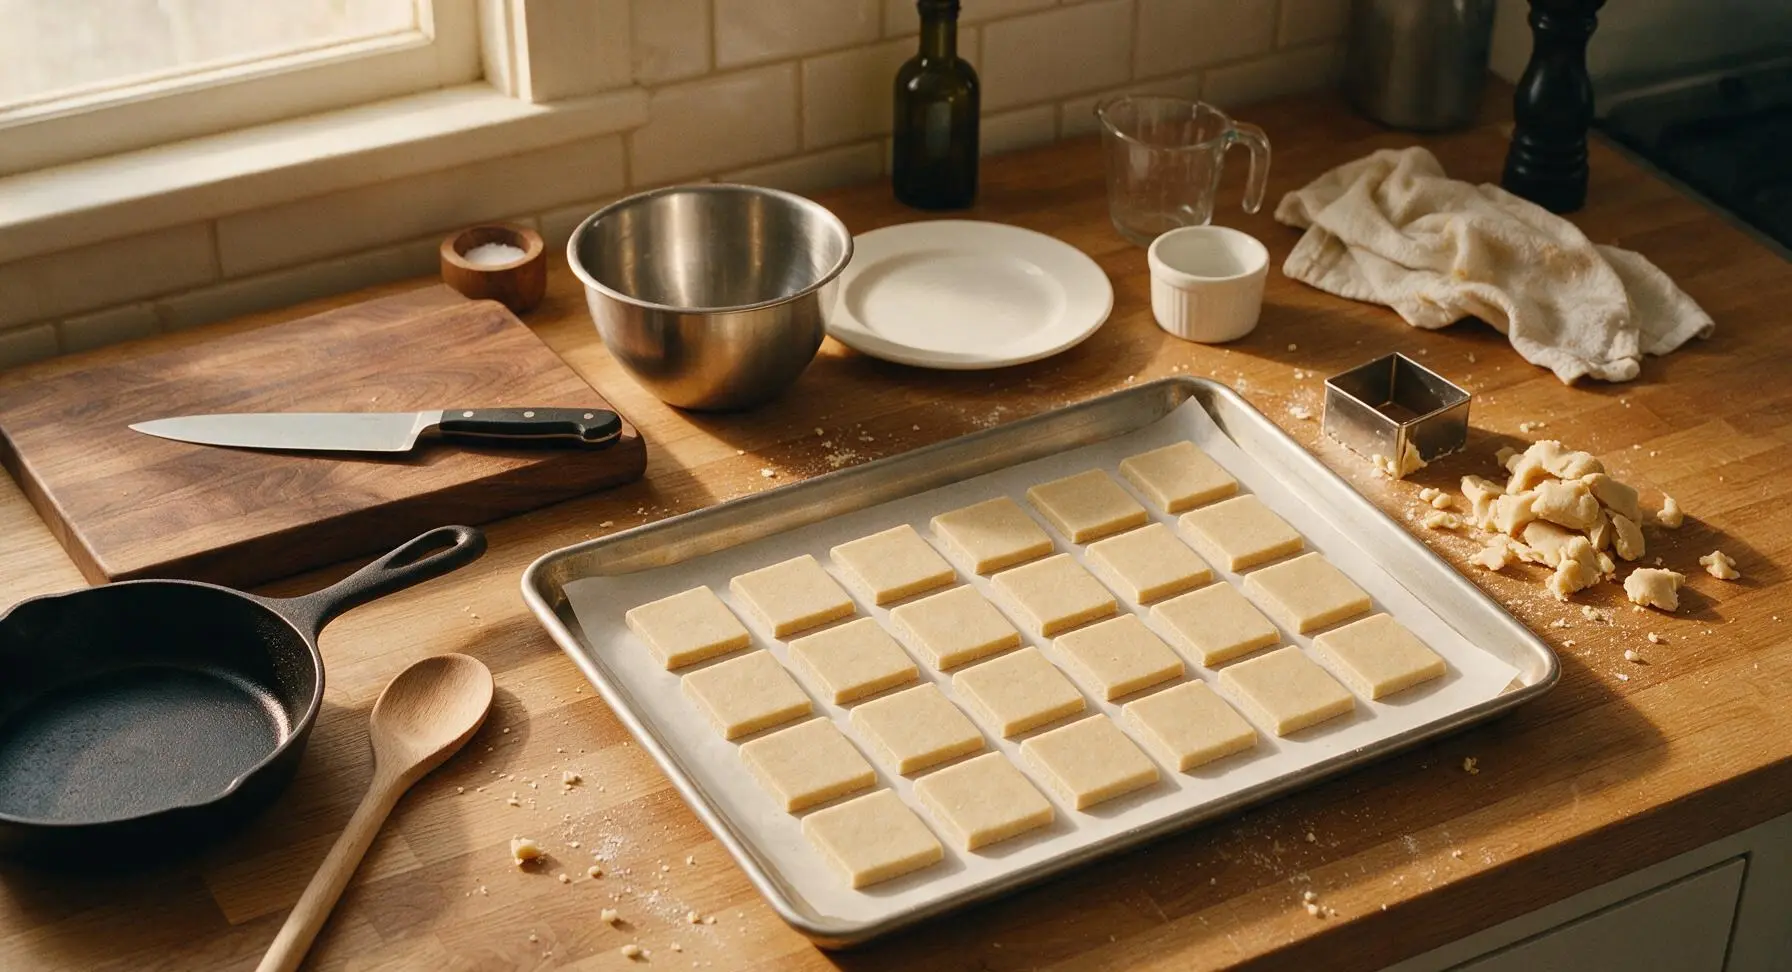
Remove chilled dough from the fridge, unwrap, and place on a lightly floured section of counter. Use the beech wood rolling pin to roll dough to an even 6mm thickness, applying consistent pressure across the surface to avoid uneven thickness. Press the 6cm square cookie cutter straight down through the dough, twisting slightly to release clean, sharp-edged squares. Gather and re-roll dough scraps once to cut a total of 24 square cookies, arranging them 2cm apart on the parchment-lined half-sheet baking pan.
Step 4
step4:Roll and Cut Cookies
Step 4
step4:Roll and Cut Cookies
5

Bake the Cookies

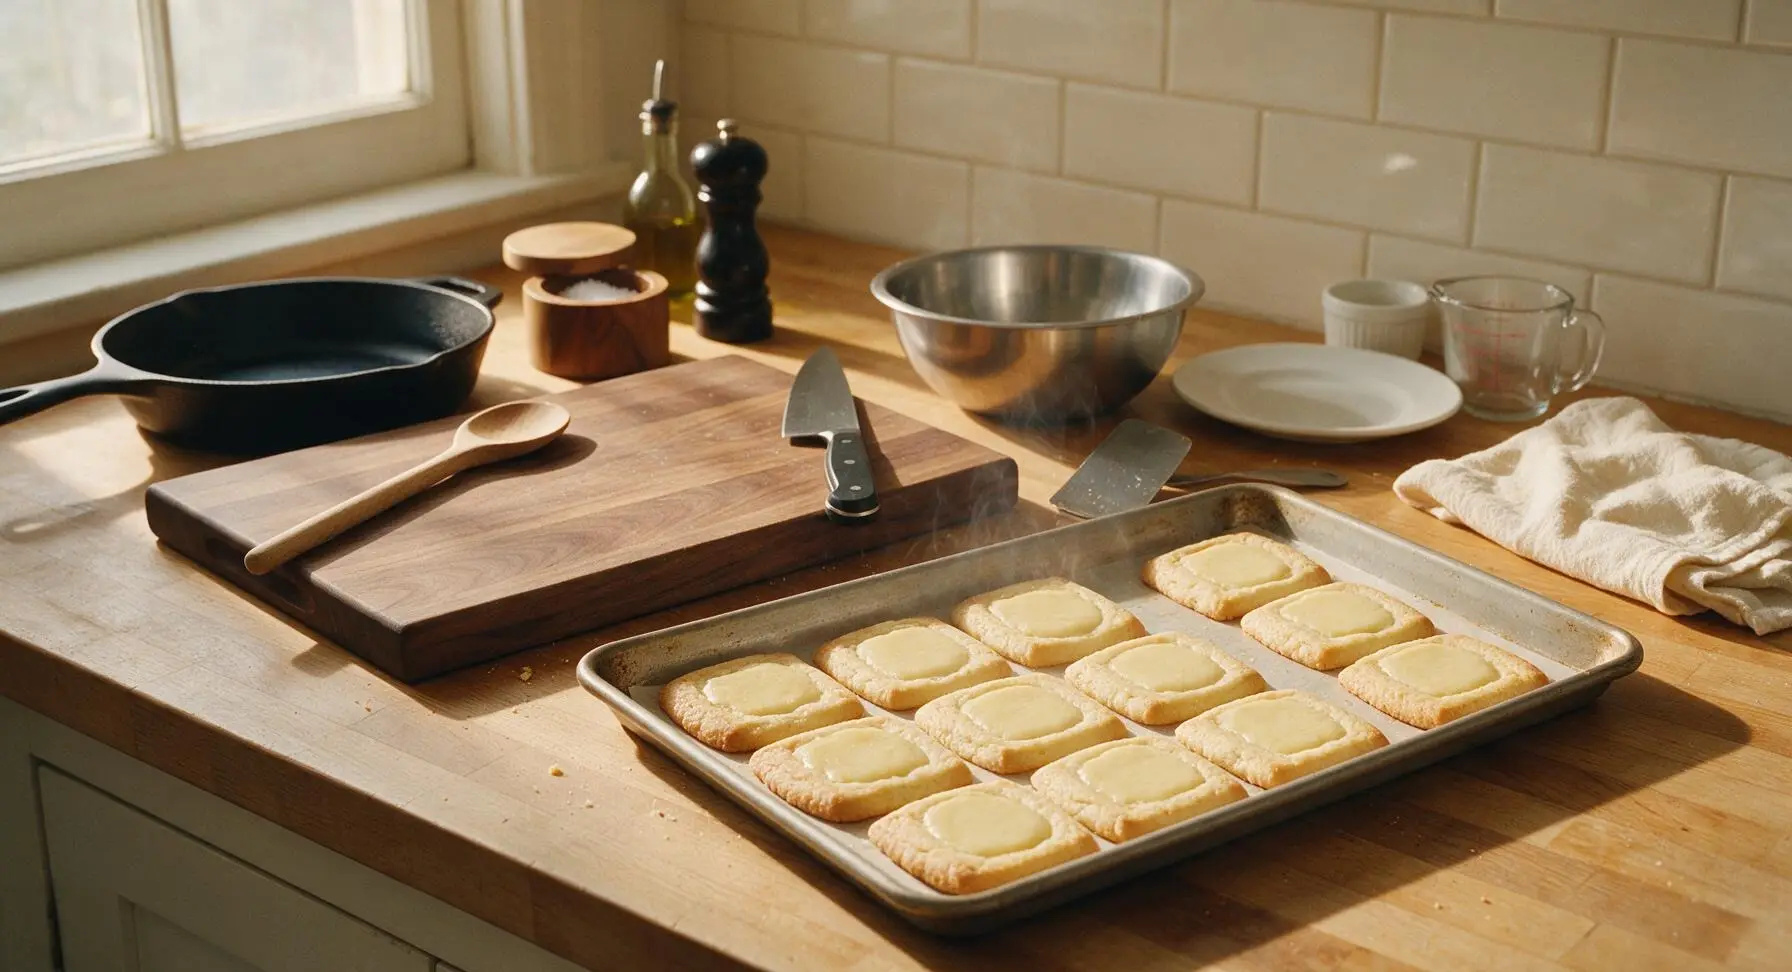
Place the baking pan of cut cookies in a preheated 175C (350F) oven for 8-10 minutes, until cookie edges are just barely pale golden, and centers are set with no glossy raw dough sheen. Remove from oven and let cookies cool completely on the pan for 10 minutes before moving, as they will firm up as they cool. Avoid overbaking, which will result in dark, overly crisp cookies.
Step 5
step5:Bake the Cookies
6

Make Royal Icing

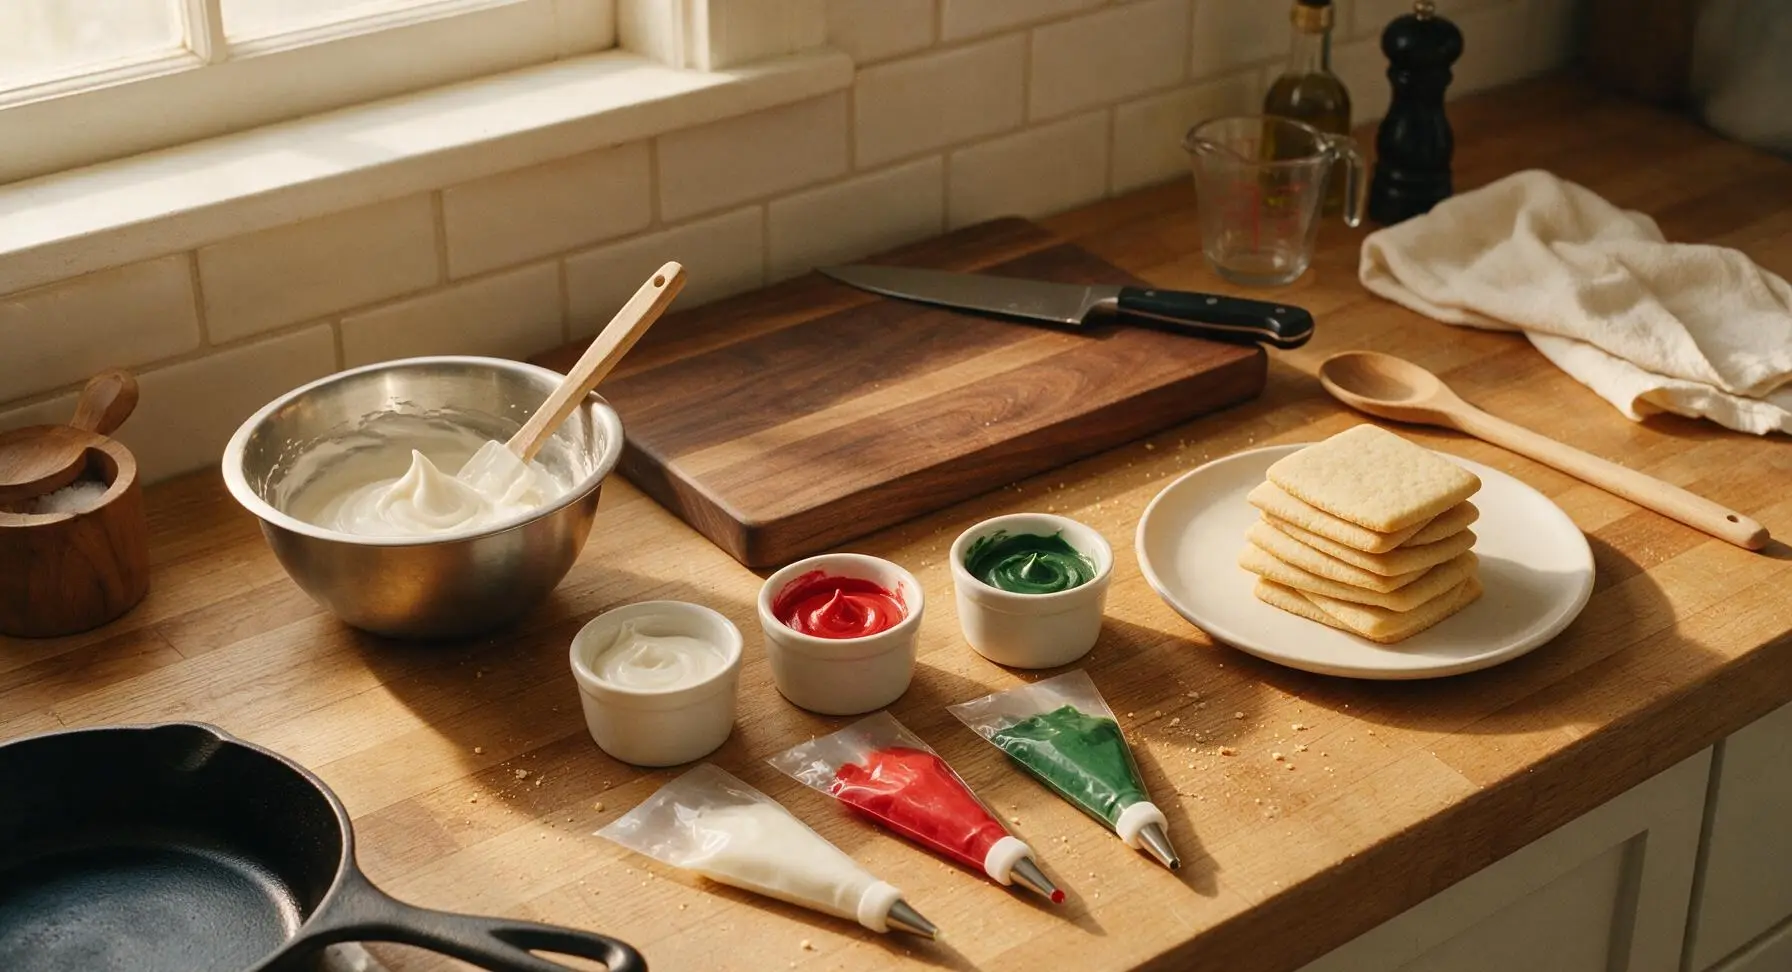
While cookies cool, combine powdered sugar, meringue powder, and warm water in the clean stainless steel mixing bowl, stirring with the silicone spatula until smooth, bright white, and a medium consistency that holds a soft peak when the spatula is lifted, perfect for both outlining and flooding. Divide the icing evenly between the three small matte white ramekins: leave one portion plain white, stir red gel food coloring into the second until evenly bright cherry red, and stir green gel food coloring into the third until evenly deep pine green. Transfer each colored icing to a separate clear piping bag fitted with a small #2 round tip.
Step 6
step6:Make Royal Icing
7

Ice White Cookie Bases

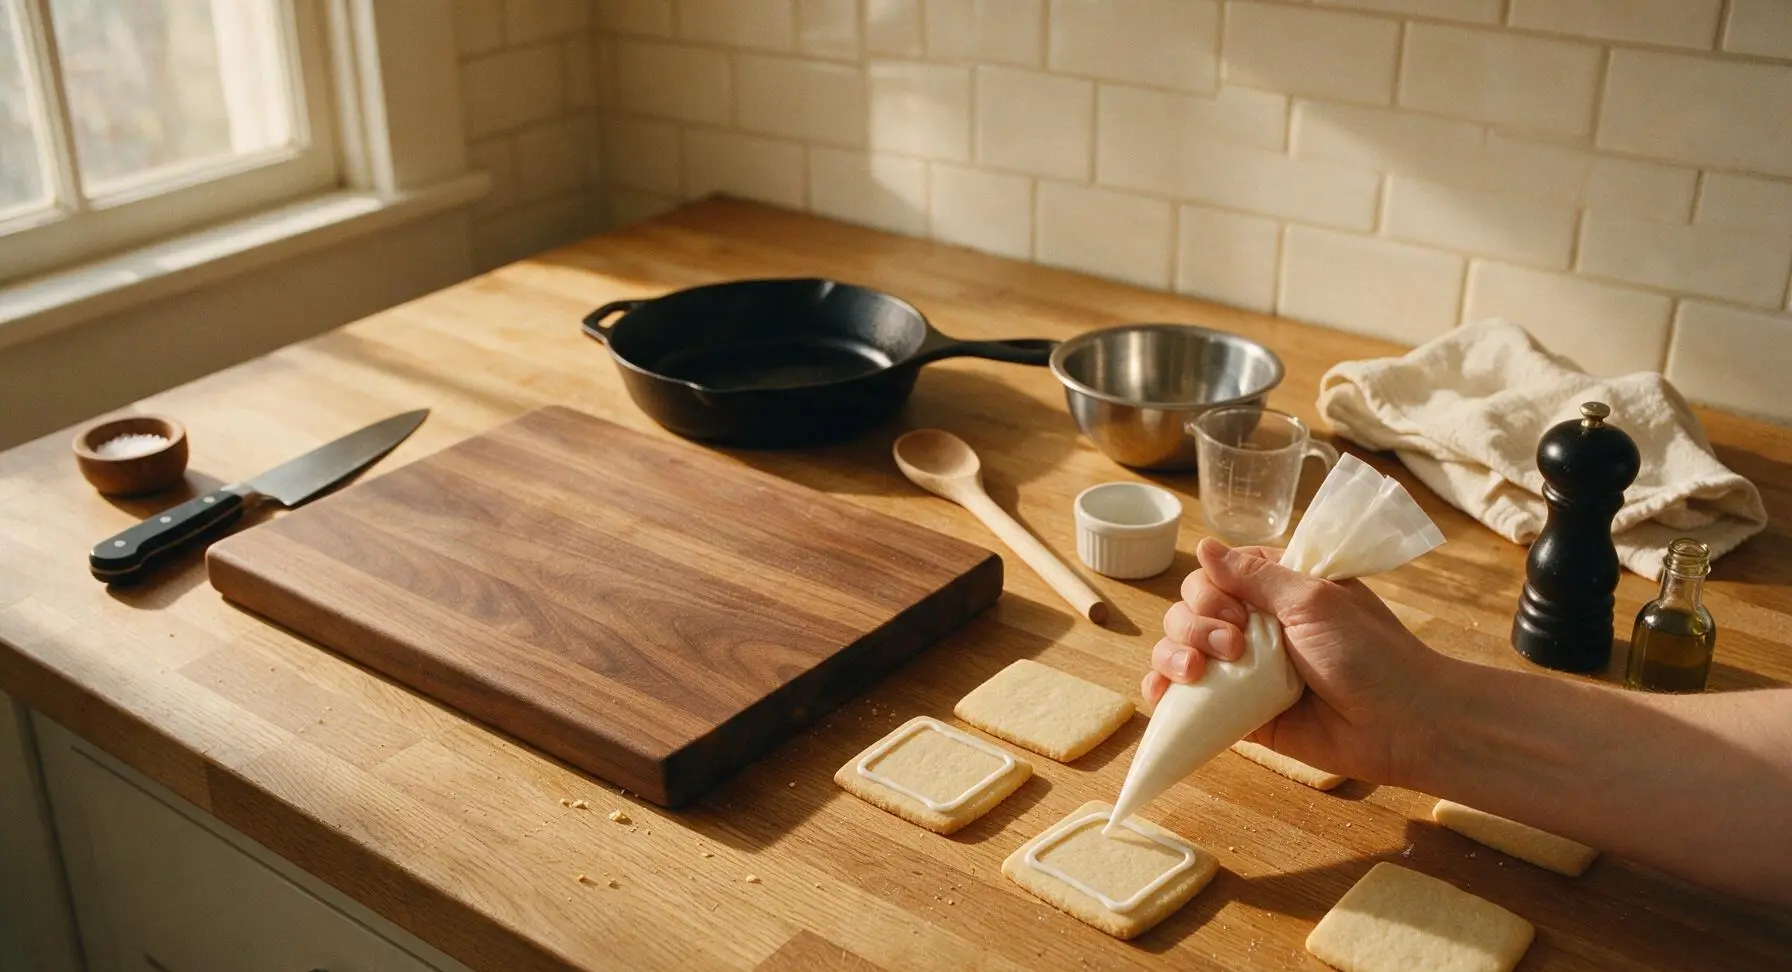
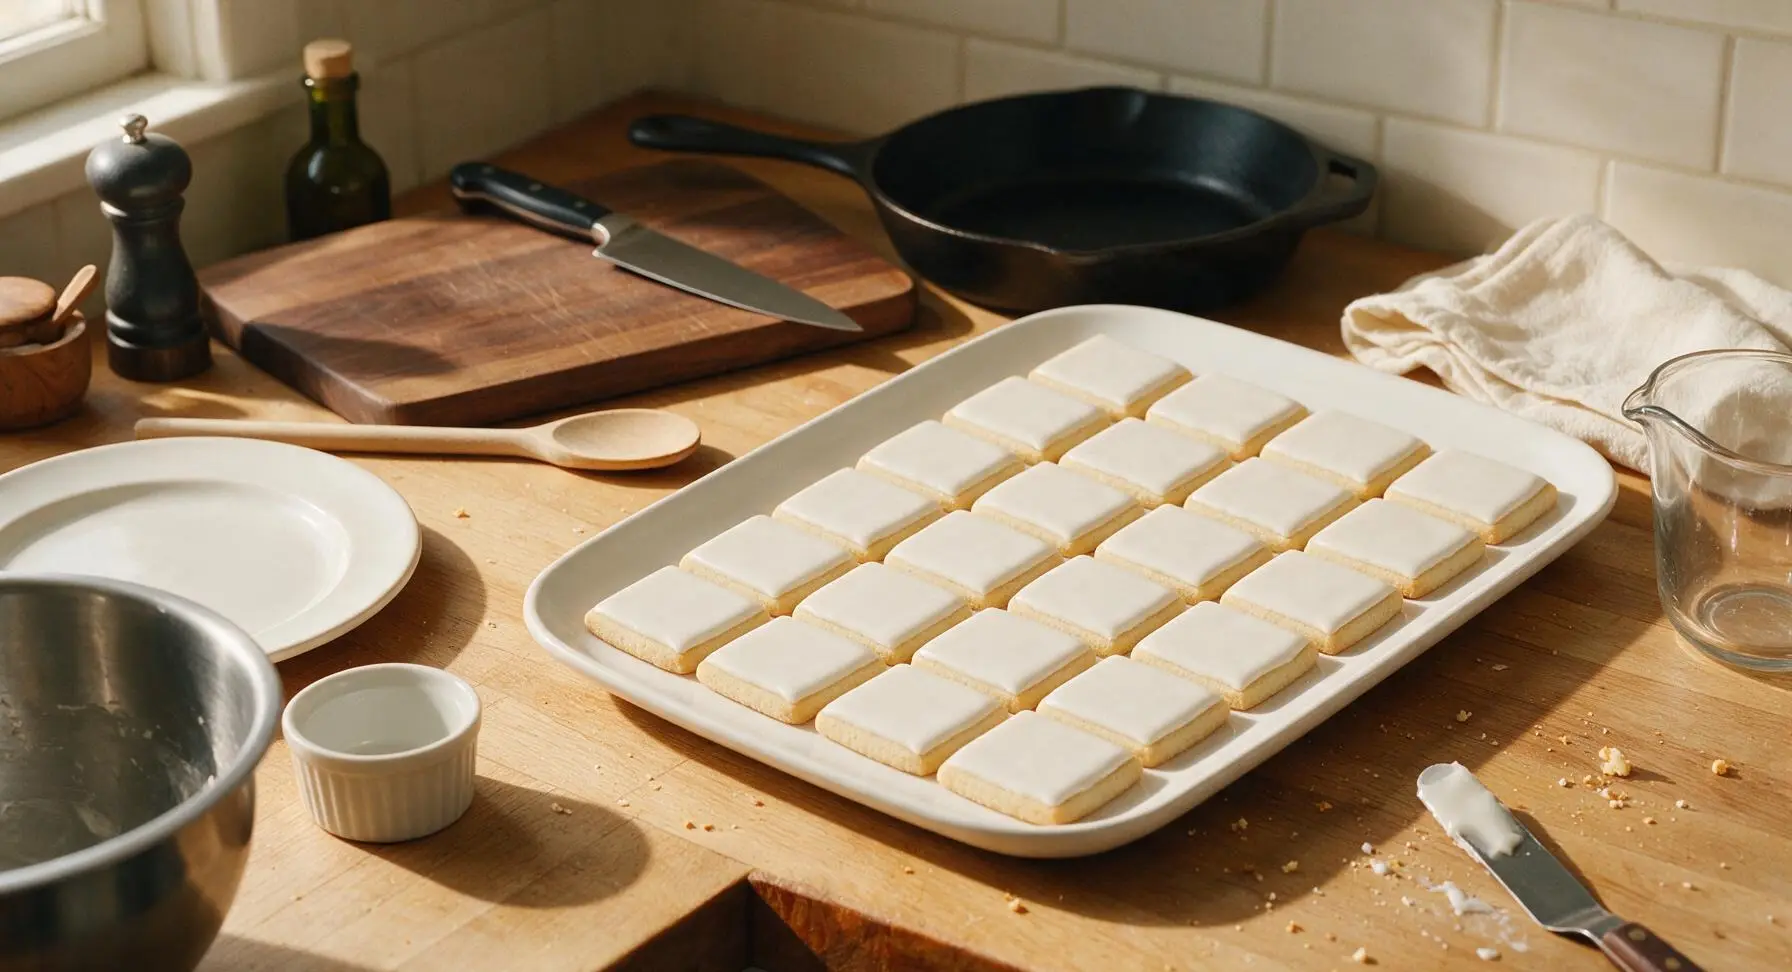
Use the white icing piping bag to pipe a thin continuous outline around the top edge of each square cookie, then fill the outlined center with white icing, using the small offset spatula to spread it into a smooth, flat surface covering the entire cookie top. Let the white base icing dry completely for 20 minutes before adding decorations, to prevent color bleeding between layers.
Step 7
step7:Ice White Cookie Bases
Step 7
step7:Ice White Cookie Bases
8

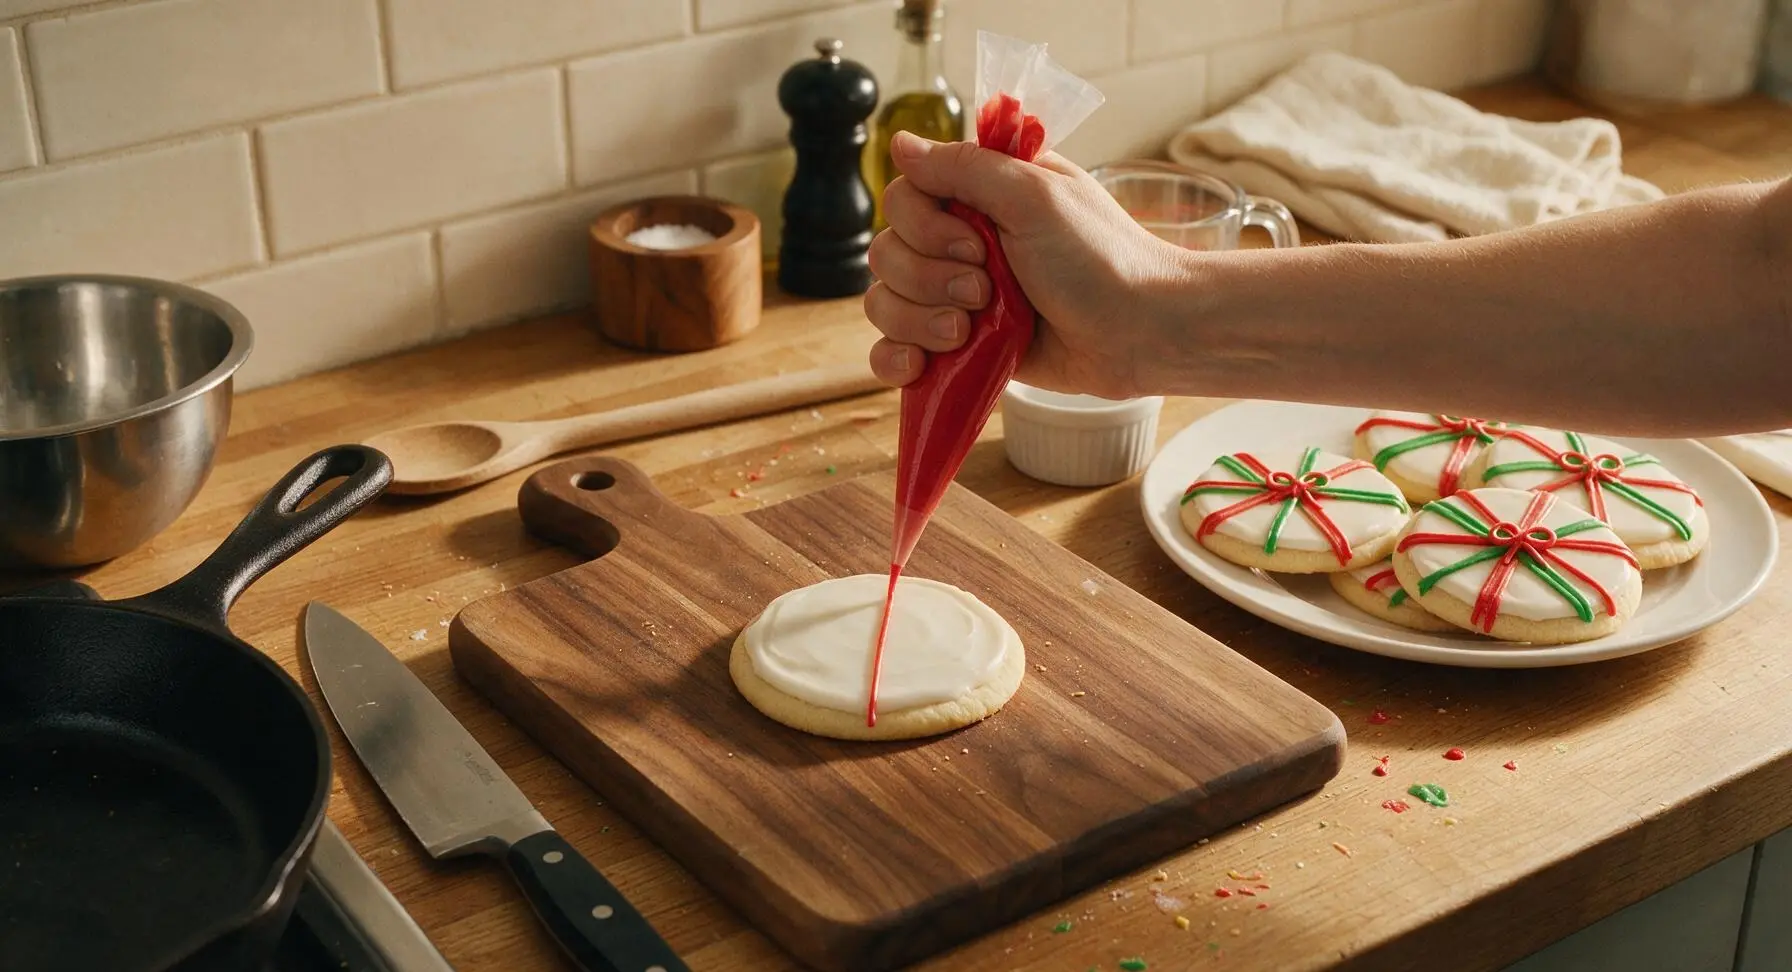
Add Ribbon Decorations

Once the white base icing is fully dry, use the red and green icing piping bags to pipe thin, straight crisscross lines across each cookie to mimic wrapped gift ribbon: pipe one vertical line and one horizontal line across the center of each cookie, alternating red and green ribbon colors across the batch. Pipe a tiny looped bow at the intersection of the two lines on each cookie to complete the present design.
Step 8
step8:Add Ribbon Decorations

Tips

1.Always chill the dough for the full 60 minutes before rolling: warm, soft dough causes butter to melt too quickly in the oven, making cookies spread out of their sharp square shape and ruining the present box look.
2.Wait for each layer of royal icing to dry completely before adding the next: piping colored ribbons onto tacky, partially dried white icing will cause colors to bleed and blur, resulting in messy, indistinct ribbon lines.
3.Use gel food coloring instead of liquid food coloring for royal icing: liquid coloring adds excess moisture that thins icing, making it runny and unable to hold the sharp, clean lines needed for neat ribbon and bow details.


✨ You May Also Like

Desserts & Baking
🍜 Italy

Creamy, coffee-kissed classic Northern Italian no-bake dessert, with layers of rum-spiked mascarpone cream, soft ladyfingers, and a rich cocoa dusting.

⏱️ 4 hours 3Desserts & Baking ★ 4.7
Desserts & Baking
🍜 France

Flaky, shatteringly crisp, buttery French croissants with golden exteriors and soft, airy layered interiors, perfect for pairing with coffee for a special morning treat.

⏱️ 12 hours Desserts & Baking ★ 4.5
Desserts & Baking
🍜 United States

Warm, spiced baked apples topped with a fluffy golden biscuit crust, this cozy dessert pairs perfectly with vanilla ice cream for cool-weather comfort.

⏱️ 55 minuteDesserts & Baking ★ 4.6
Desserts & Baking
🍜 United States

A star-spangled classic American blueberry pie with buttery flaky crust and bright sweet-tart filling, perfect for summer patriotic gatherings.

⏱️ 1 hour 25Desserts & Baking ★ 4.7
Desserts & Baking
🍜 United States

A beloved no-bake regional Maine candy with a chewy coconut-potato center coated in rich dark chocolate, a New England holiday staple since the 1870s.

⏱️ 2 hours 3Desserts & Baking ★ 4.8
Desserts & Baking
🍜 France

Luxuriously creamy, floral frozen custard made with aromatic Tahitian vanilla beans, boasting a smooth, rich texture that melts slowly on the tongue.

⏱️ 3 hours 3Desserts & Baking ★ 4.5

Present Cookies:Frequently Asked Questions

1.Can I make the present cookie dough ahead of time? ▾
Absolutely! Shape the dough into a 1-inch thick disk, wrap tightly in plastic wrap, and refrigerate for up to 3 days, or freeze for up to 3 months. Thaw frozen dough in the fridge overnight before rolling, and let chilled dough rest 10 minutes at room temp so it doesn’t crack when you cut shapes.
2.Why do my present cookies spread and lose their sharp square shape when baking? ▾
Spread usually happens if your butter is too soft (it should give slightly when pressed, not be greasy or melty) or you roll dough on a warm surface. For crisp, sharp edges, chill cut cookie squares for 15 minutes before baking, and confirm your oven is fully preheated with an oven thermometer.
3.What’s the best thickness to roll the dough for even baking? ▾
Roll your dough to a consistent 1/4-inch thickness for these present cookies. Any thinner and edges will burn before the center sets, any thicker and you’ll get soft, underbaked centers instead of that perfect crisp, buttery bite. Use rolling pin thickness guides if you have them to keep every square uniform.
4.How do I get a clean, smooth square cut for the present cookie base? ▾
Use a sharp, straight-edged square cookie cutter, and dip the edge in a little flour between cuts to prevent sticking. Press straight down firmly without twisting the cutter—twisting seals dough edges and keeps cookies from rising evenly. Gather scraps once, re-chill, and re-roll to avoid tough dough.
5.Can I substitute salted butter for unsalted butter in this recipe? ▾
You can, just skip any added fine salt the recipe calls for to keep flavor balanced. Keep in mind salted butter has variable salt content across brands, so unsalted butter gives you full control over the sweet, buttery vanilla flavor that makes these cookies feel special for holiday gifting.
6.What kind of icing works best to make the present ribbon and bow details? ▾
Stiff royal icing is ideal for these decorations, because it dries hard, smudge-proof, and holds its shape for crisp bow and ribbon lines. Thin a small portion slightly for flooding if you want a solid base color, and use the stiffer consistency for piped cross ribbons and tiny bow details.
7.How long do these decorated present cookies stay fresh? ▾
Stored in an airtight container at room temperature, separated by layers of parchment paper to prevent smudging decorations, these cookies will stay crisp and flavorful for up to 1 week. Wait until icing is fully set (about 4 hours at room temp) before packing to avoid messy smudges.
8.Can I freeze fully decorated present cookies? ▾
Yes! Wait until the icing is 100% dry (8 hours or overnight), then layer cookies between parchment sheets in a freezer-safe airtight container, and freeze for up to 3 months. Thaw in the container in the fridge overnight, then let come to room temp before opening the lid to avoid condensation ruining decorations.
9.My dough is super crumbly when I try to roll it out—what went wrong? ▾
Crumbly dough usually means you either added too much flour, or the dough is too cold. If it’s straight from the fridge, let it rest at room temp for 5 to 10 minutes, kneading gently once or twice to soften. If you over-measured flour, knead in a teaspoon of room temp water at a time until smooth.
10.Can I add other flavors to the base cookie dough? ▾
Absolutely! For a warm holiday twist, add 1/2 teaspoon of almond extract, 1/4 teaspoon of ground cinnamon, or a teaspoon of finely grated orange zest to the dough with the vanilla. Skip chunky mix-ins like nuts or chocolate chips, as those will distort the clean square shape and make decorating harder.
11.Do I need to use parchment paper or a silicone mat when baking these? ▾
It’s highly recommended! Both prevent cookies from sticking to the baking sheet, cut down on excess spread, and keep cookie bottoms from getting too dark. If you don’t have either, lightly grease your baking sheet, but watch the first batch closely as they may bake 1 to 2 minutes faster.
12.How do I prevent icing colors from bleeding onto each other on finished cookies? ▾
Let each layer of icing dry fully for 2 to 3 hours before adding adjacent or overlapping colors. For example, if you pipe a red ribbon over a white cookie base, make sure the white base is completely set first. Avoid storing cookies in very humid conditions, as moisture makes even dry icing bleed and smudge.
13.What size cookie cutter is best for gift-friendly present cookies? ▾
A 2 to 2.5 inch square cutter is perfect! That size makes cookies easy to stack in gift tins, not so big that they feel overwhelming, and large enough to easily pipe clear ribbon and bow details without the design feeling cramped. For mini platter cookies, use a 1.5 inch cutter and reduce bake time by 1 to 2 minutes.
14.Can I make these cookies without eggs for dietary restrictions? ▾
You can swap the large egg for 1/4 cup of unsweetened applesauce, or a commercial egg replacer mixed per package instructions, for an egg-free version. The texture will be slightly softer than the original crisp butter cookie, so chill cut shapes for an extra 2 minutes before baking to reduce spread.
15.What’s the easiest way to package these for homemade holiday gifts? ▾
Once icing is fully dry, stack 3 to 4 cookies in clear cellophane treat bags, tie with a matching festive ribbon, and add a small handwritten tag for a simple, charming gift. If packing in tins, layer between parchment paper to prevent scuffs, and keep tins in a cool spot away from direct heat so icing doesn’t soften.

Comments (9)

just now

OMG these present cookies were such a hit at my neighborhood cookie swap last weekend! I used red and green sanding sugar for the bow details and everyone kept asking for the recipe. Difficulty was totally manageable even for someone like me who burns half my baked goods, lmao. The 10 minute cook time is no joke too—perfect for when you’re cramming last minute holiday treats.

5 days ago

Tried these for my kid’s class holiday party and wow—zero leftovers. The only note I have is make sure you chill the dough long enough before cutting the little bow shapes, otherwise they spread too much in the oven. Still tasted SO good even when my first batch spread a little, no complaints from the 2nd graders.

3 days ago

Game changer for my annual ugly sweater party! I stacked little white chocolate squares on top for the “present tag” and it looked so fancy people thought I bought them from a fancy bakery. Don’t sleep on the almond extract in the dough, it makes the whole kitchen smell like Christmas.

2 days ago

Wait, has anyone tried making these gluten free? My niece has celiac and I want to make a batch she can eat when we do our family cookie decorating night next week. Not sure if a 1:1 GF flour swap would work here without messing up the shape.

yesterday

Great question! A 1:1 gluten free all-purpose flour blend (the kind with xanthan gum) works perfectly here—just add an extra 1 tablespoon of cold butter to keep the dough from getting too crumbly when you cut out the bow shapes. Let us know how they turn out!

yesterday

First time trying a shaped cookie that didn’t turn into a blob in the oven! My kids loved helping press the little bow indentations on top, we even added mini M&Ms as the “bow centers” for extra color. They went nuts for how fun they looked, and kept sneaking bites before I could even get the icing on. Cook time was spot on at 10 minutes for my oven, no burnt edges at all.

2 hours ago

Oh the mini M&M idea is genius! I’m stealing that for my batch this weekend, my toddler is obsessed with anything that has candy on it so that’ll be a huge hit.

30 minutes ago

These are so cute but I struggled a little with the bow dough tearing when I tried to lift the cutouts onto the baking sheet. Did I roll the dough too thin? I ended up patching a bunch and they still tasted great but looked a little wonky, lol.

5 minutes ago

That’s such a common snag! If your bow cutouts are tearing, it usually means the dough got too warm while you were rolling it. Pop the cutouts back in the fridge for 10 minutes before transferring them to the sheet, and they’ll hold their shape perfectly without tearing. Promise!

2 weeks ago

Wait, is there a way to make these ahead and freeze them? I’m trying to get a head start on my Christmas baking this year so I’m not running around like a crazy person the week before. Would the icing hold up after being frozen and thawed?

1 week ago

I froze a batch last year! I froze the un-iced baked cookies for up to a month, then thawed them in the fridge overnight and added the ribbon icing the day I served them. Worked like a charm, no sogginess at all.

5 days ago

Such great advice! We don’t recommend freezing the iced cookies because the icing can crack and bleed as it thaws, but freezing the plain baked cookies (or even the raw cutouts!) works beautifully. Raw cutouts go straight from freezer to oven, just add 2 minutes to the cook time.

2 hours ago

I was intimidated by the medium difficulty rating but these were way easier than I thought! I will say my royal icing was way too thick at first so my ribbon lines looked all lumpy, but I just added a tiny bit more lemon juice and it smoothed right out. My roommate said they’re the best cookies I’ve ever made, so that’s a win.

30 minutes ago

Oh thank god you said that, I’ve been putting off making these because medium difficulty sounds scary! I’m still pretty new to baking so I was worried I’d mess up the shapes entirely.

5 minutes ago

So glad they turned out for you! The medium rating is mostly because of the shaped cutouts and icing detail—if you take your time and chill the dough as directed, even beginner bakers can pull these off. You’ve got this!

1 week ago

Made these for my office holiday potluck and people were taking photos of them before they even ate one! I did a mix of milk chocolate and dark chocolate drizzle for the “ribbon” parts and it was chef’s kiss. Only took me an hour total from start to finish which is perfect for a weeknight bake.

3 days ago

The chocolate drizzle instead of icing sounds way better than what I was planning! I was gonna use royal icing but I always make it too runny, so chocolate will be way more forgiving. Thanks for the tip!

2 days ago

Chocolate drizzle is the move! I did that last year and the chocolate sets way faster than royal icing too, so you don’t have to wait forever for the cookies to dry before stacking them in a tin. Game changer for cookie tins for neighbors.



