
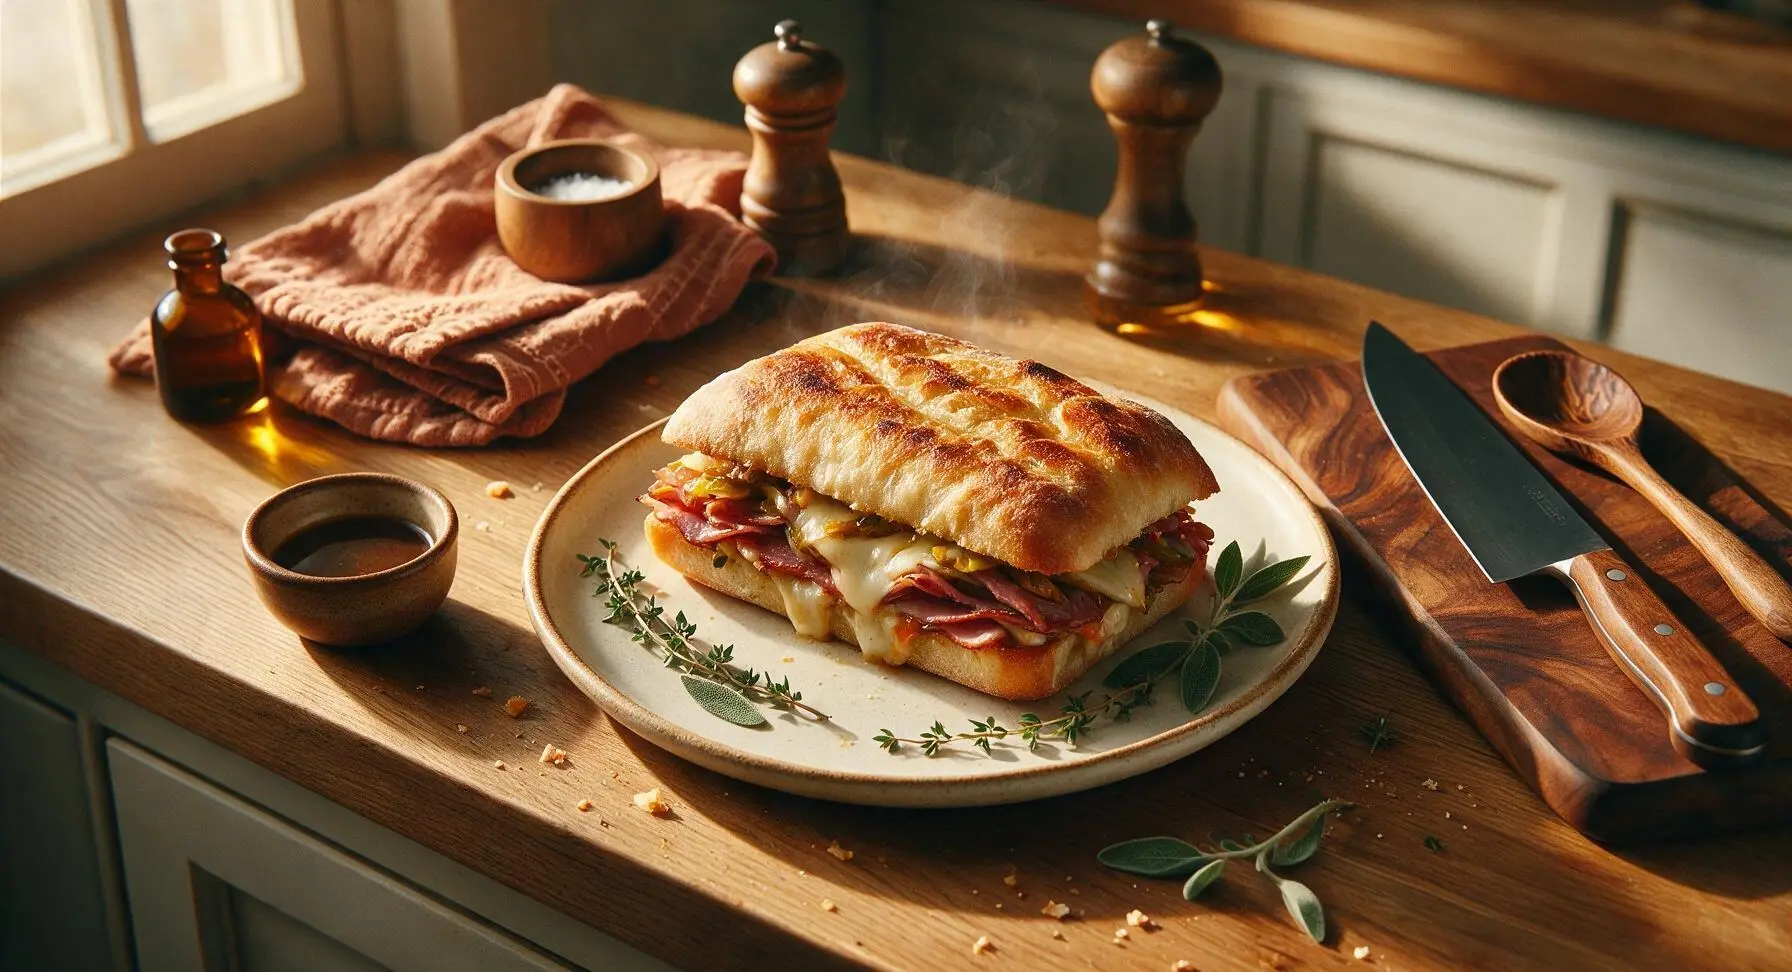
pressed sandwich

title 1
pressed sandwich
⏱️ cook time 8 minutes
🍽️ servings 4
⚡ Difficulty easy

intro

Crispy golden ciabatta layered with savory cured meats, melted provolone, and tangy pickled veggies, pressed until oozing and crisp—perfectly portable for summer picnic lunches.

Ingredients
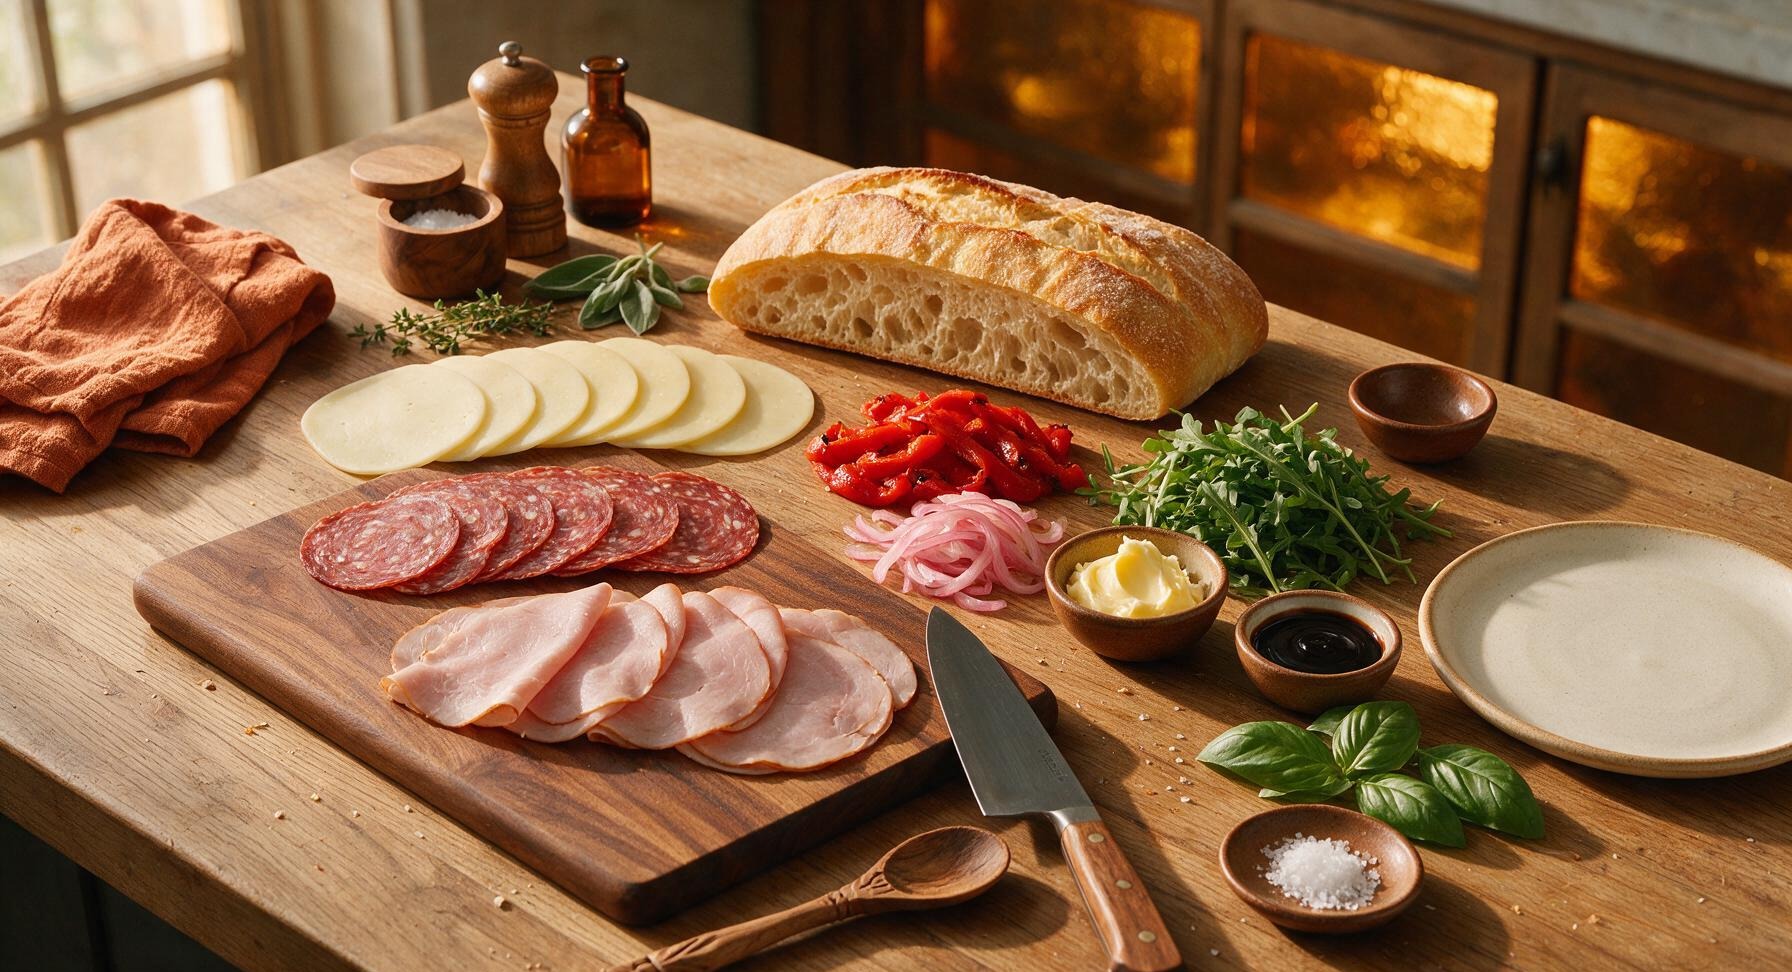
Large ciabatta loaf 450g (1 whole)
Sliced provolone cheese 120g (8 thin slices)
Thinly sliced spicy soppressata 90g (6 slices)
Thinly sliced smoked deli ham 90g (6 slices)
Roasted red peppers, patted dry 75g (½ cup)
Thinly sliced pickled red onion 40g (¼ cup)
Fresh arugula, lightly packed 30g (1 cup)
Unsalted butter, softened 28g (2 tablespoons)
Balsamic glaze 15ml (1 tablespoon)
Fresh basil leaves 5g (6 large leaves)
Flaky sea salt 1g (¼ teaspoon)

Steps

1

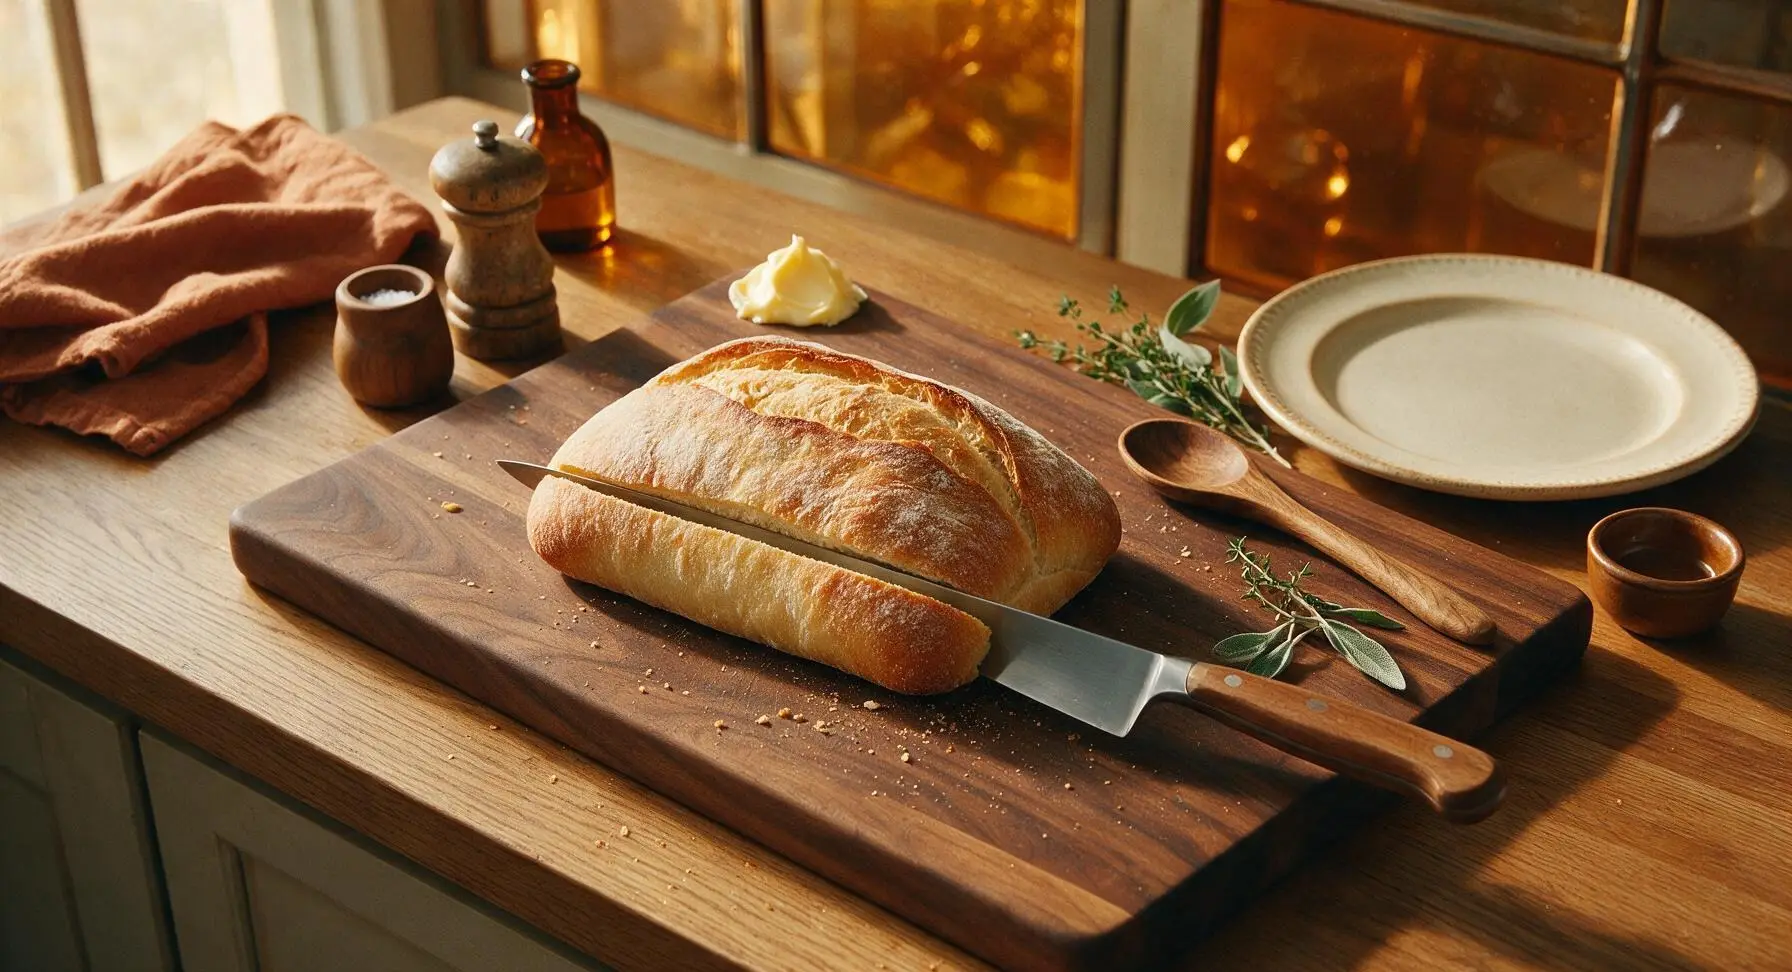
Slice and Butter Bread

Place the whole ciabatta loaf on the center of the bamboo cutting board. Using the 8-inch walnut-handled chef knife, slice the loaf horizontally into two equal, flat top and bottom sections, keeping the outer crust fully intact on both pieces. Spread 1 tablespoon of softened butter evenly across the outer crust face of each bread half, coating all the way to the edges to ensure even browning. Set the bread halves cut-side up on the board after buttering.
Step 1
step1:Slice and Butter Bread
2

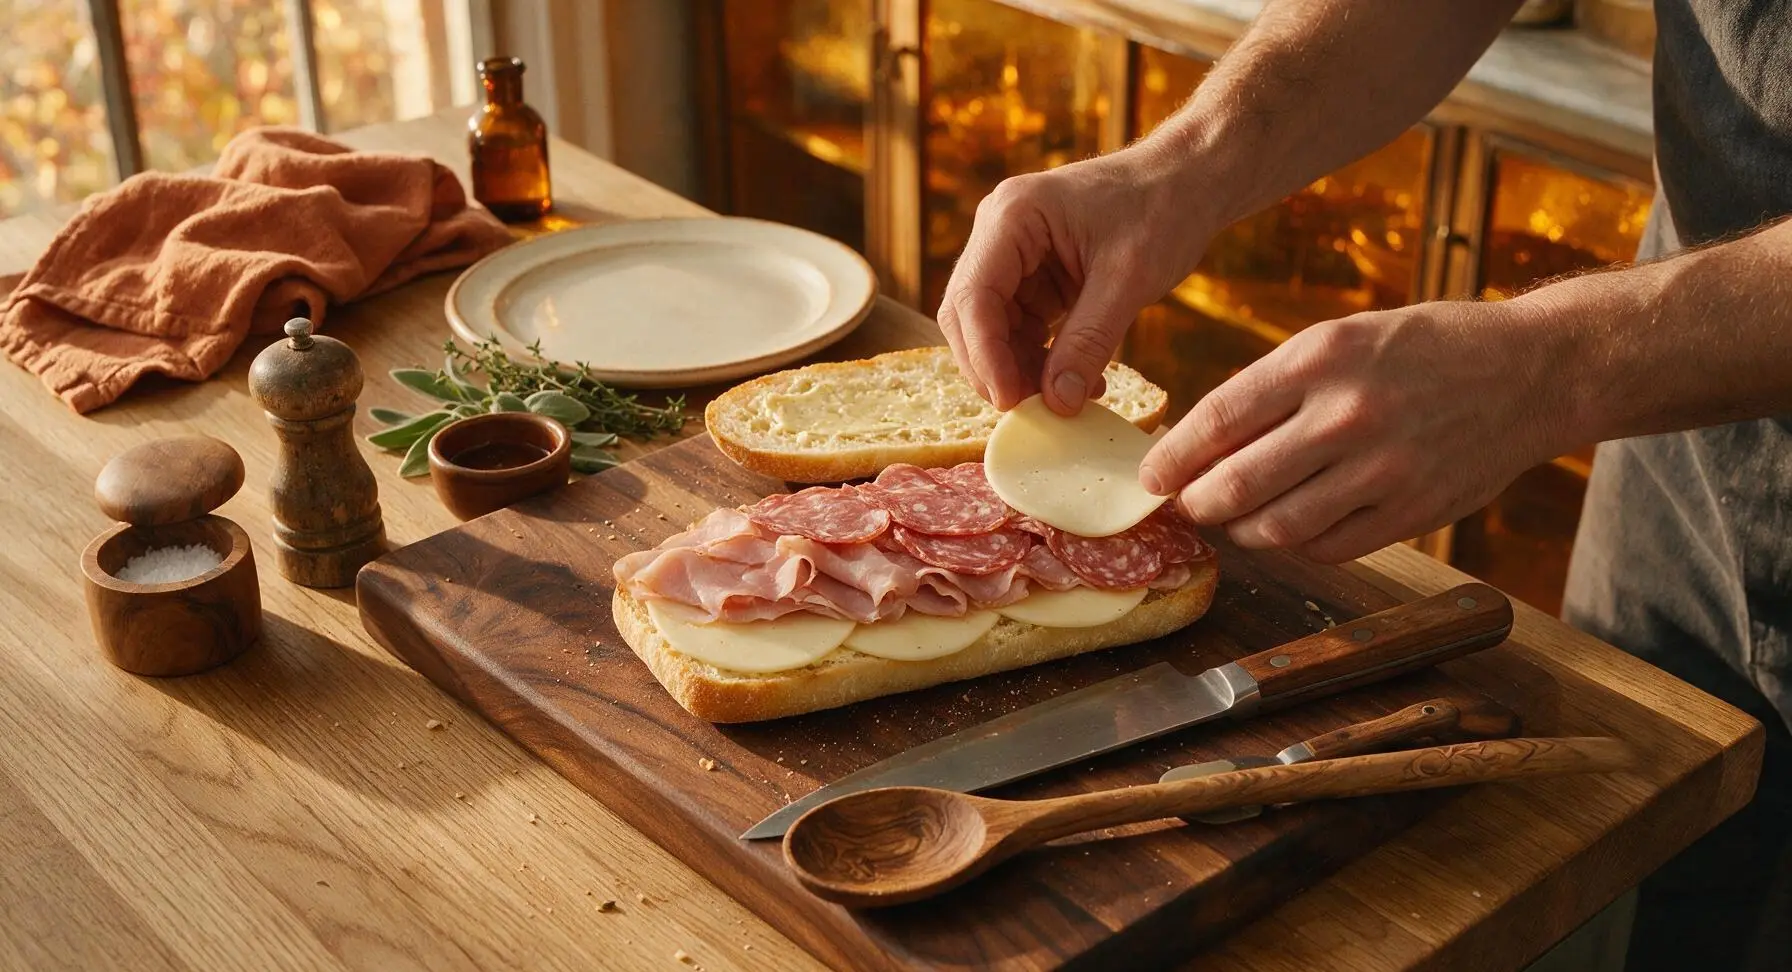
Layer Cheese and Meats

Lay the bottom ciabatta half cut-side up on the cutting board. Arrange 4 slices of provolone cheese across the entire cut surface, overlapping slightly to cover the bread edge to edge. Top the cheese with an even layer of smoked ham slices, followed by the soppressata slices, spreading the meats flat to avoid thick lumps that will prevent even pressing. Top the meat layer with the remaining 4 slices of provolone, which will help hold the fillings in place when melted.
Step 2
step2:Layer Cheese and Meats
3

Add Veggie Fillings

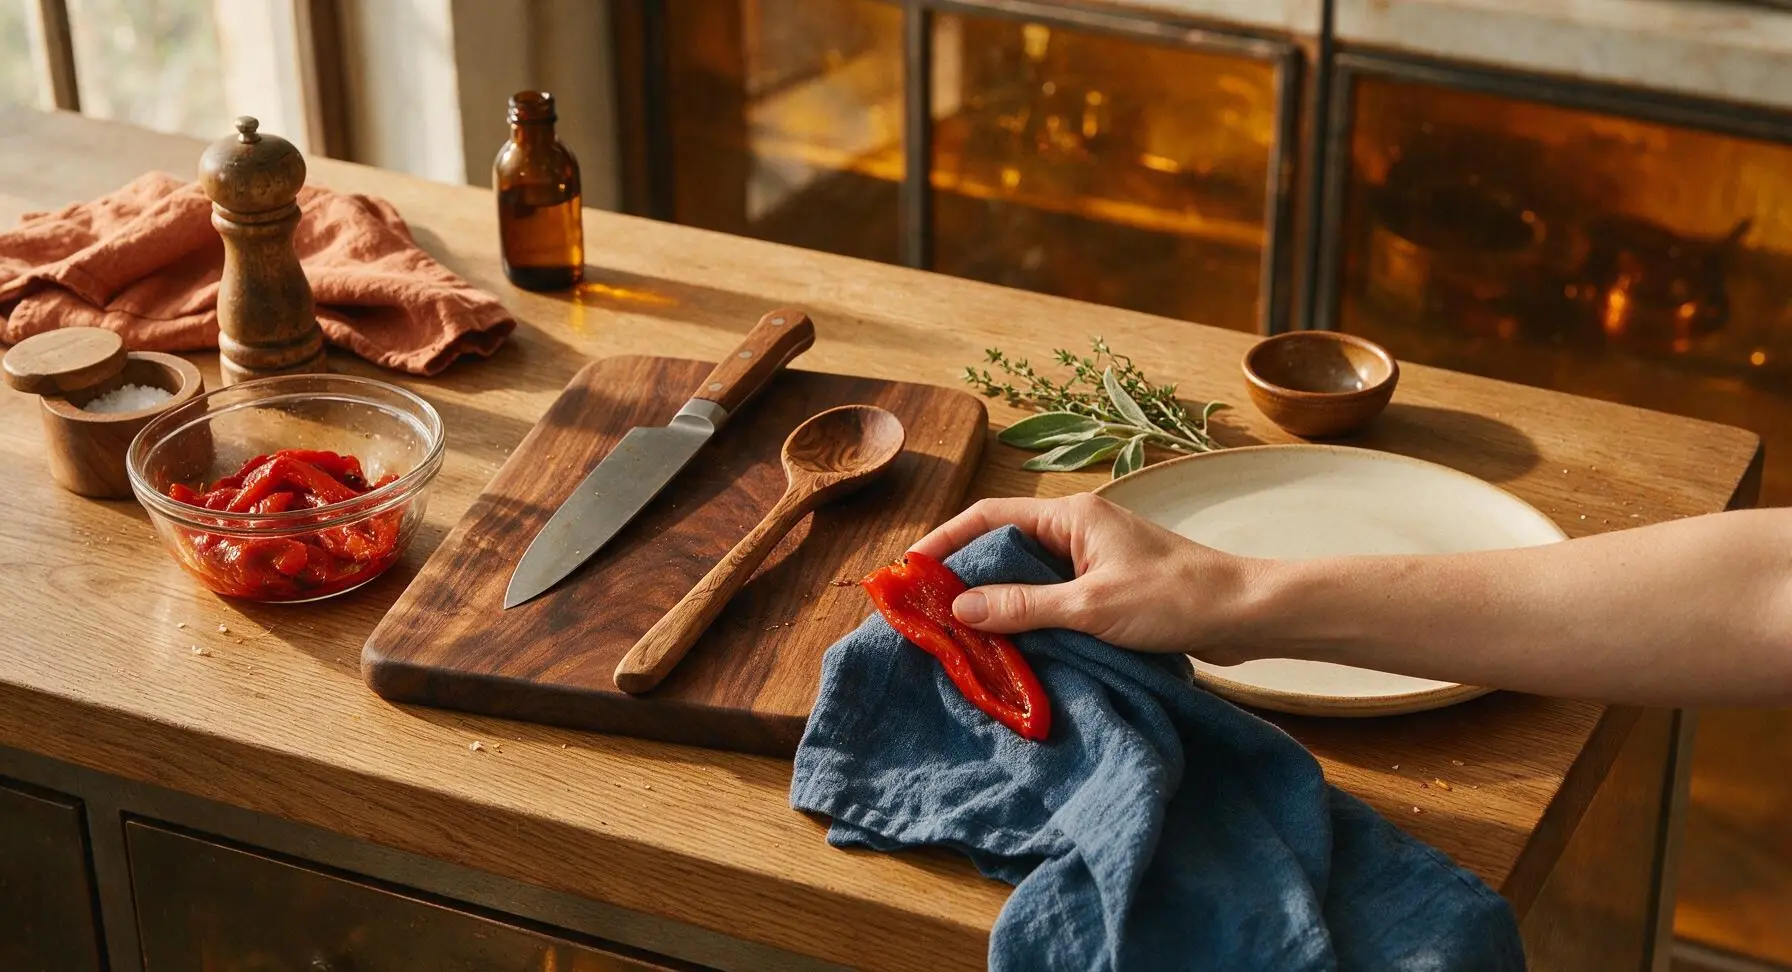
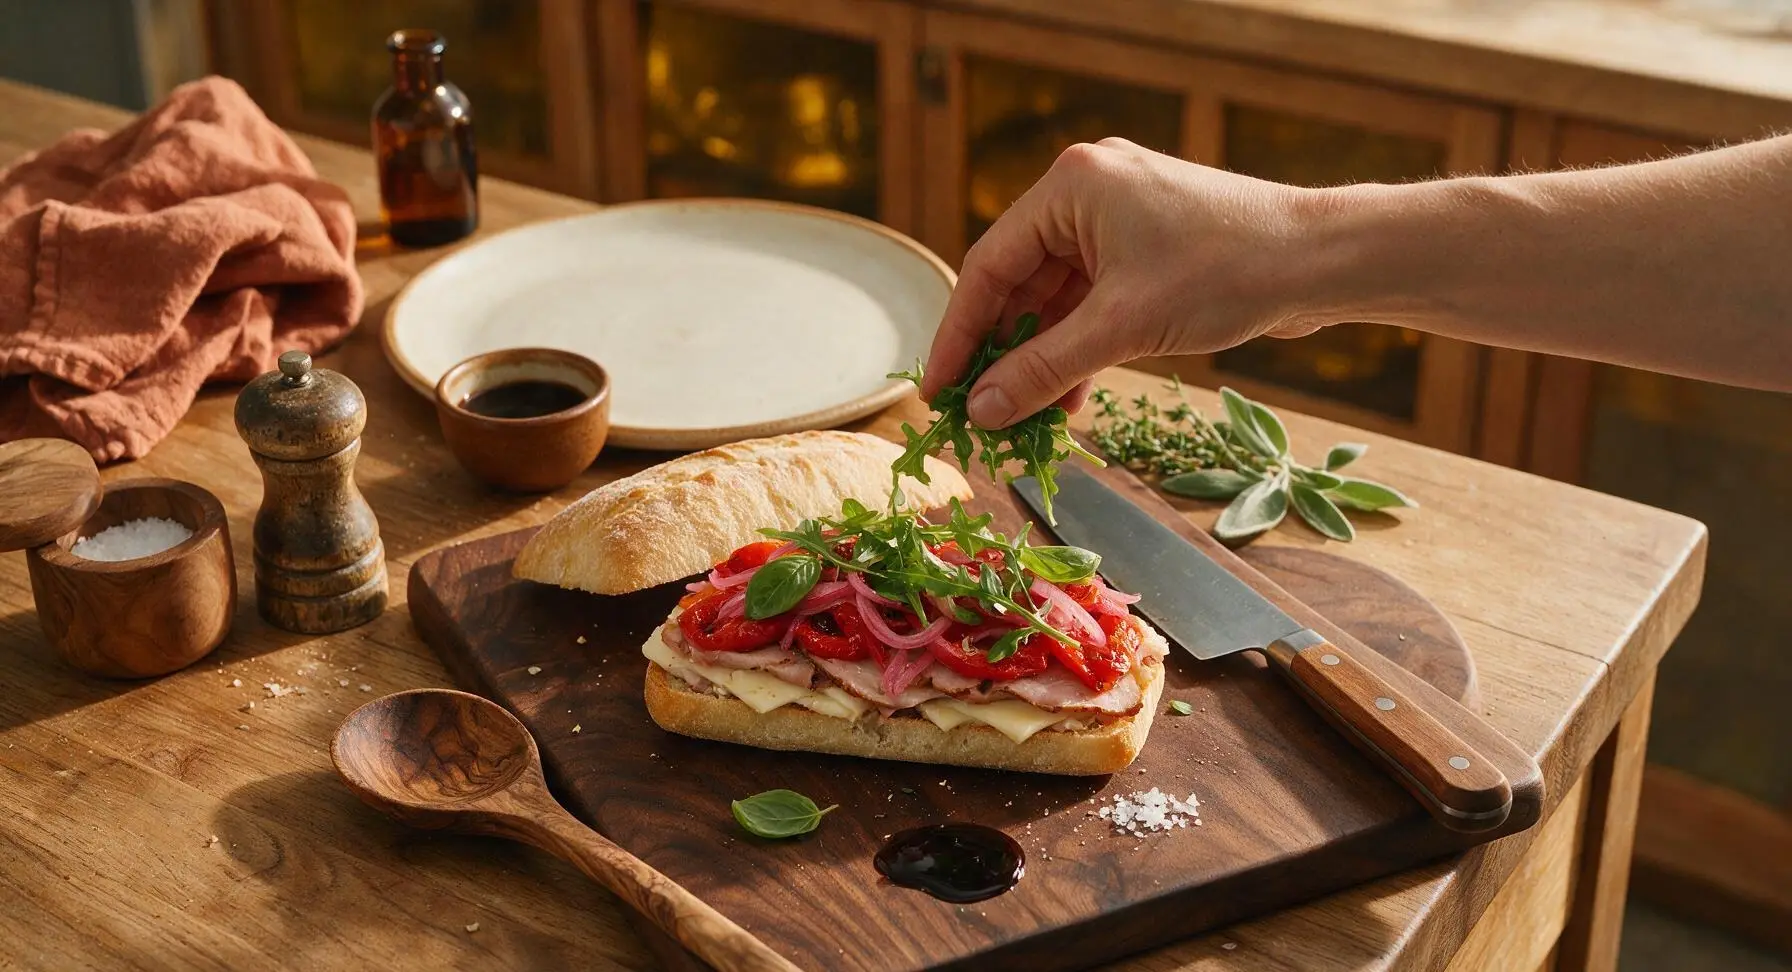
Pat the roasted red peppers completely dry with a corner of the indigo linen towel to remove excess brine (wet fillings will make the sandwich soggy). Arrange the dried roasted red peppers in an even layer over the top provolone layer, followed by the thinly sliced pickled red onion and fresh basil leaves. Drizzle the balsamic glaze evenly over the veggies, then top with the lightly packed arugula, and sprinkle with ¼ teaspoon flaky sea salt.
Step 3
step3:Add Veggie Fillings
Step 3
step3:Add Veggie Fillings
4

Seal the Sandwich

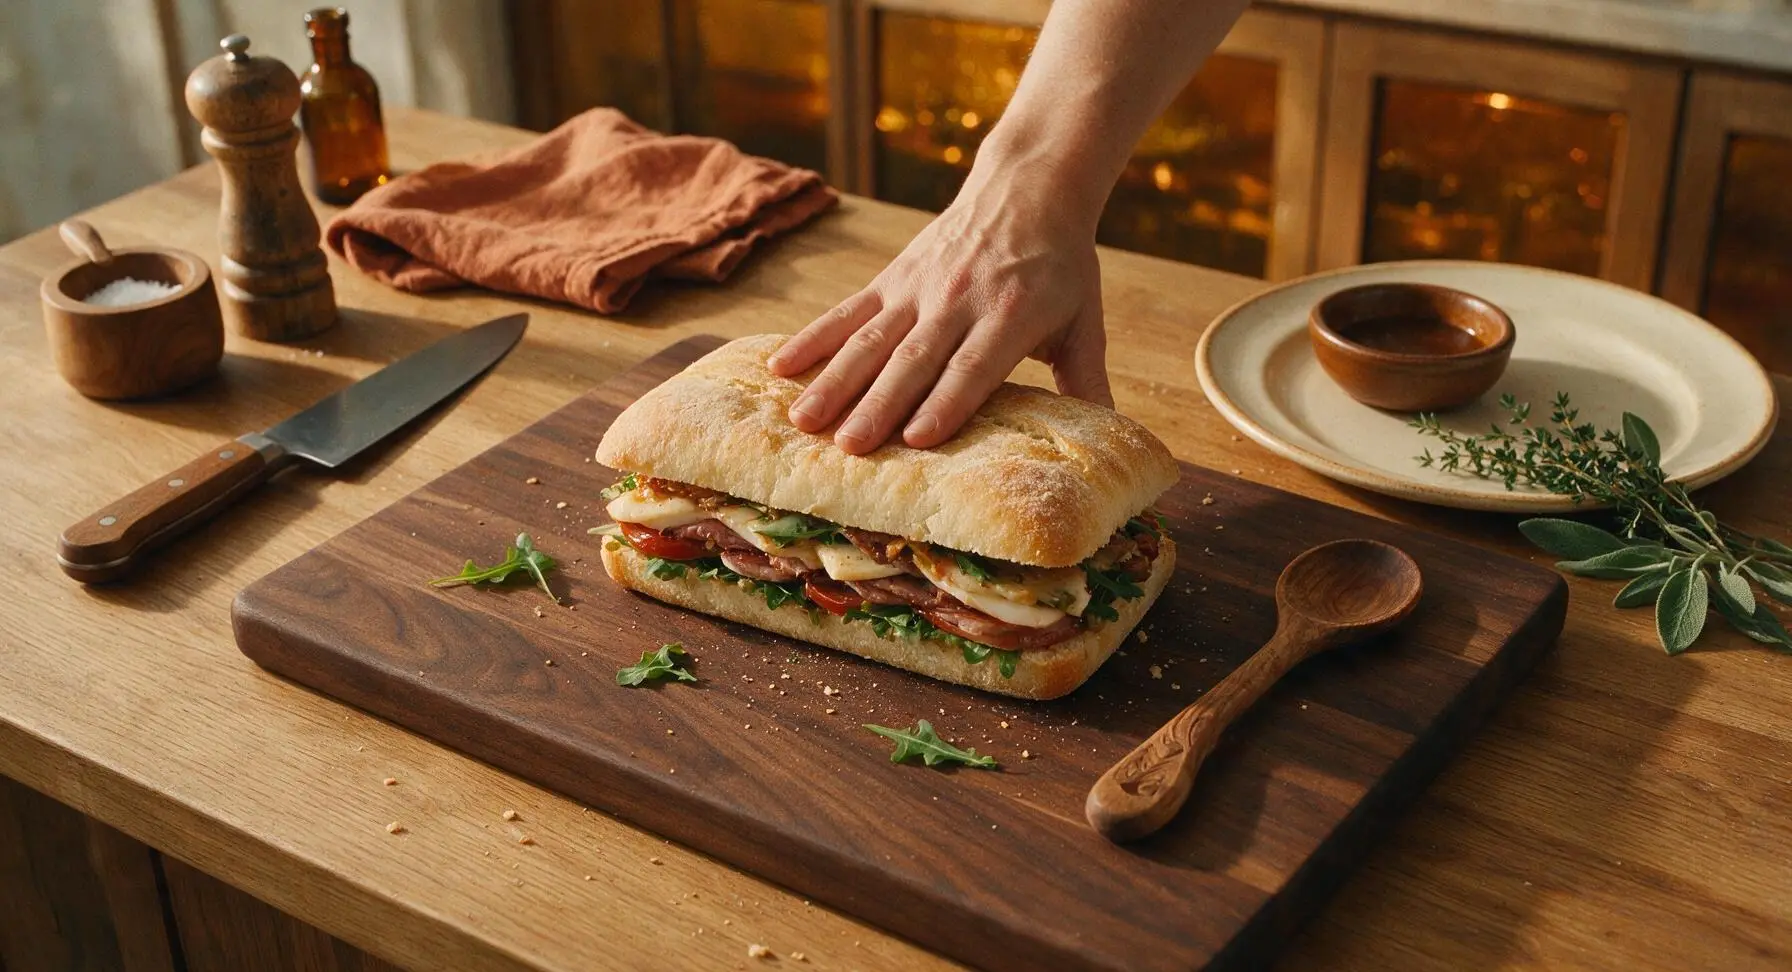
Place the top ciabatta half buttered-side out over the fillings, pressing down firmly with the palm of your hand to compact the layers slightly. Make sure no fillings are spilling out over the edges of the bread; tuck any stray arugula or meat slices back inside to prevent burning during cooking. The assembled sandwich should be a uniform, compact rectangle roughly 5cm thick.
Step 4
step4:Seal the Sandwich
5

Preheat Skillet and Press

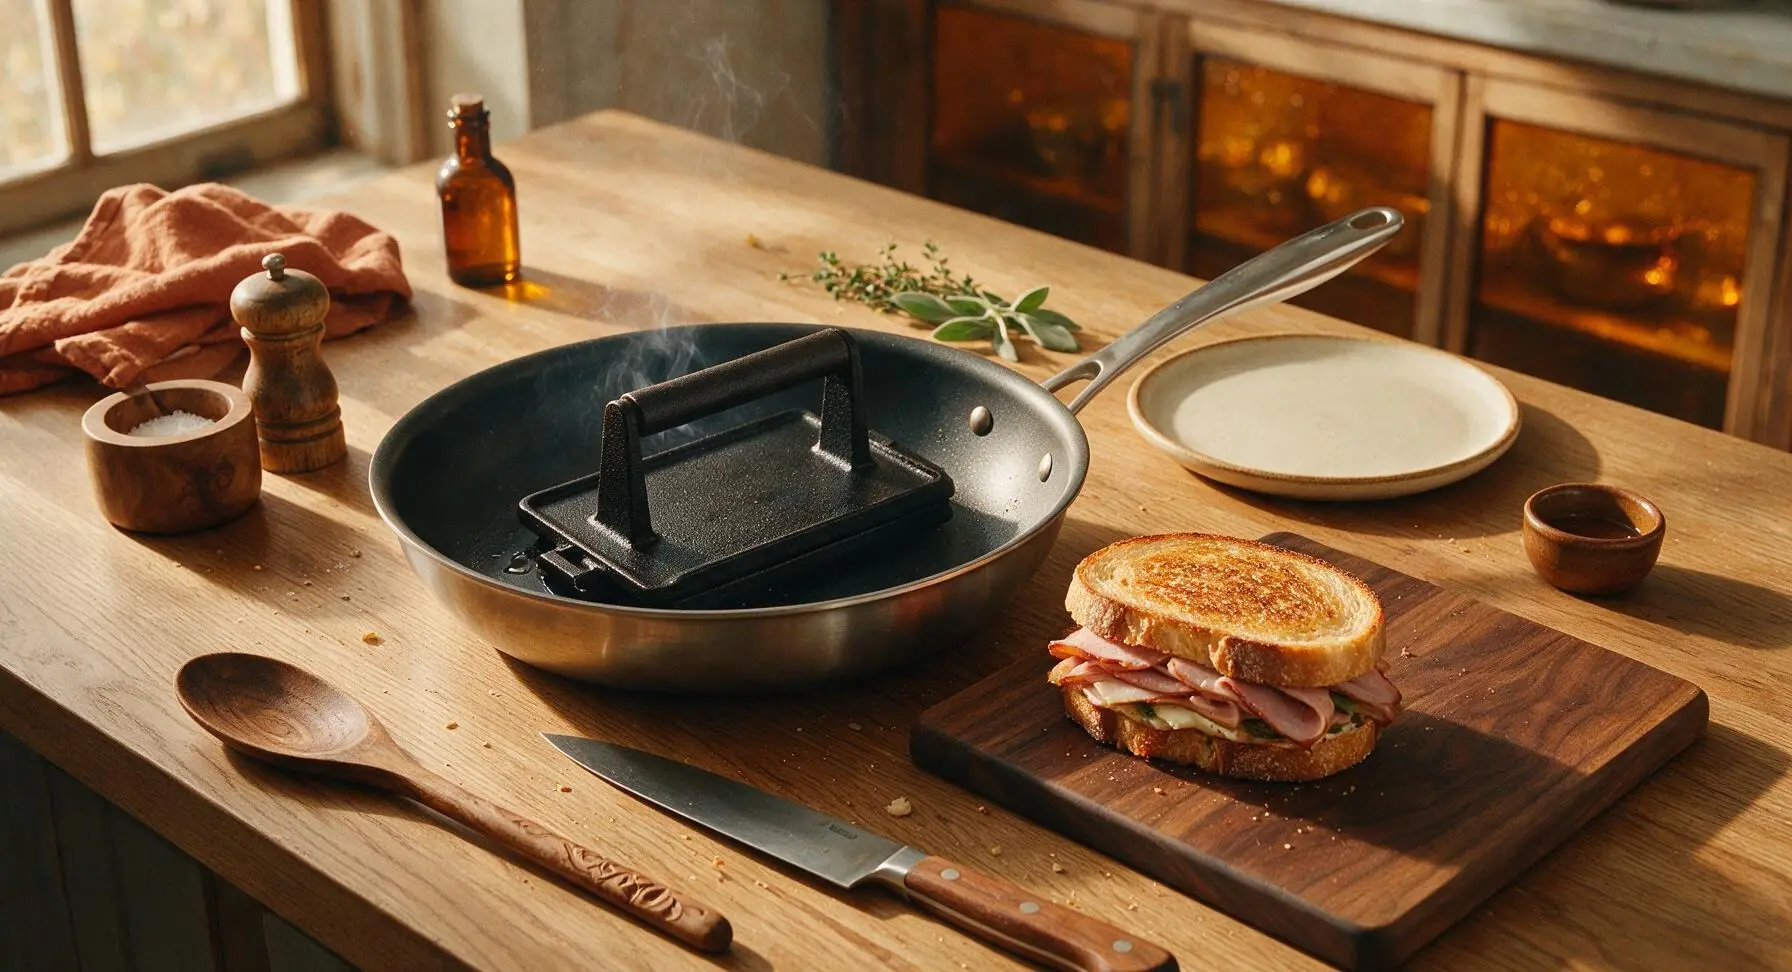
Move the 28cm stainless steel non-stick skillet from its back-left storage position to the central work zone, set to medium heat (350°F / 175°C). Place the matte black cast iron sandwich press directly on the skillet surface to preheat for 2 minutes, until the skillet is hot enough that a drop of water sizzles and evaporates immediately on contact.
Step 5
step5:Preheat Skillet and Press
6

Cook Until Crispy

Carefully lift the assembled sandwich with the offset metal spatula and place it in the preheated skillet. Set the hot cast iron press directly on top of the sandwich, applying firm, even pressure to flatten it to roughly 3cm thick. Cook for 4 minutes, until the bottom bread is deep golden brown with crisp, dark press marks, then use the spatula to flip the sandwich, replace the press, and cook for another 4 minutes on the second side, until the cheese is fully melted and the crust is crisp on both sides.
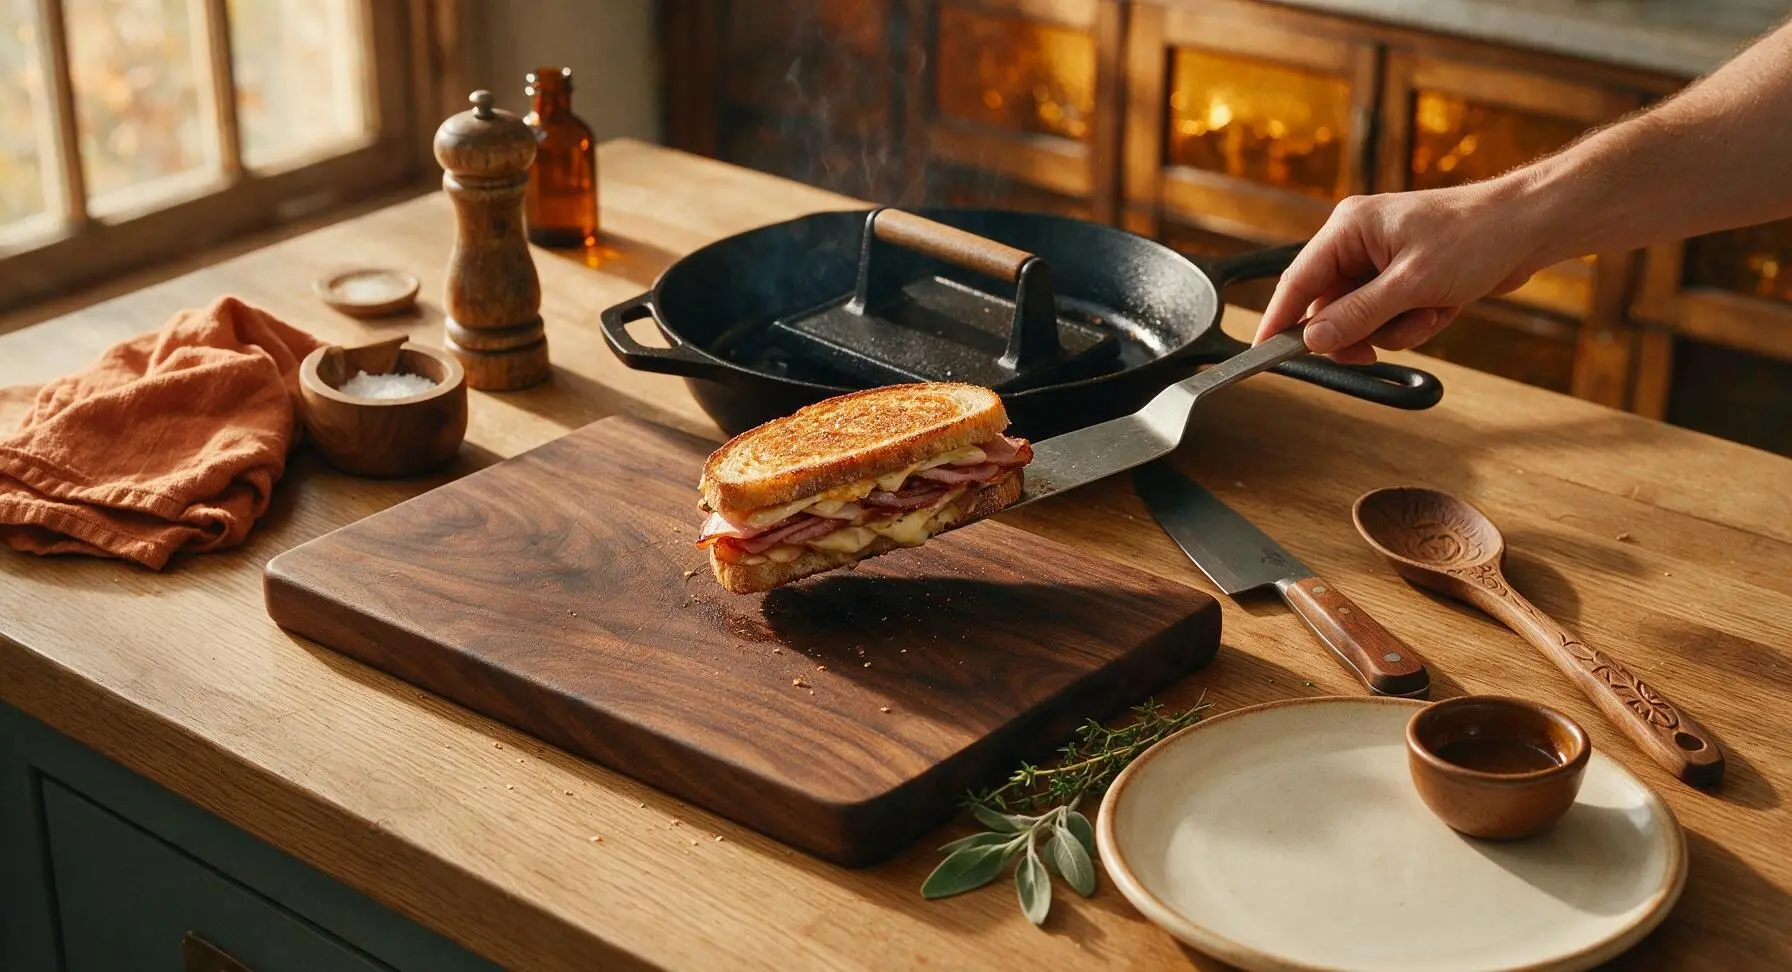
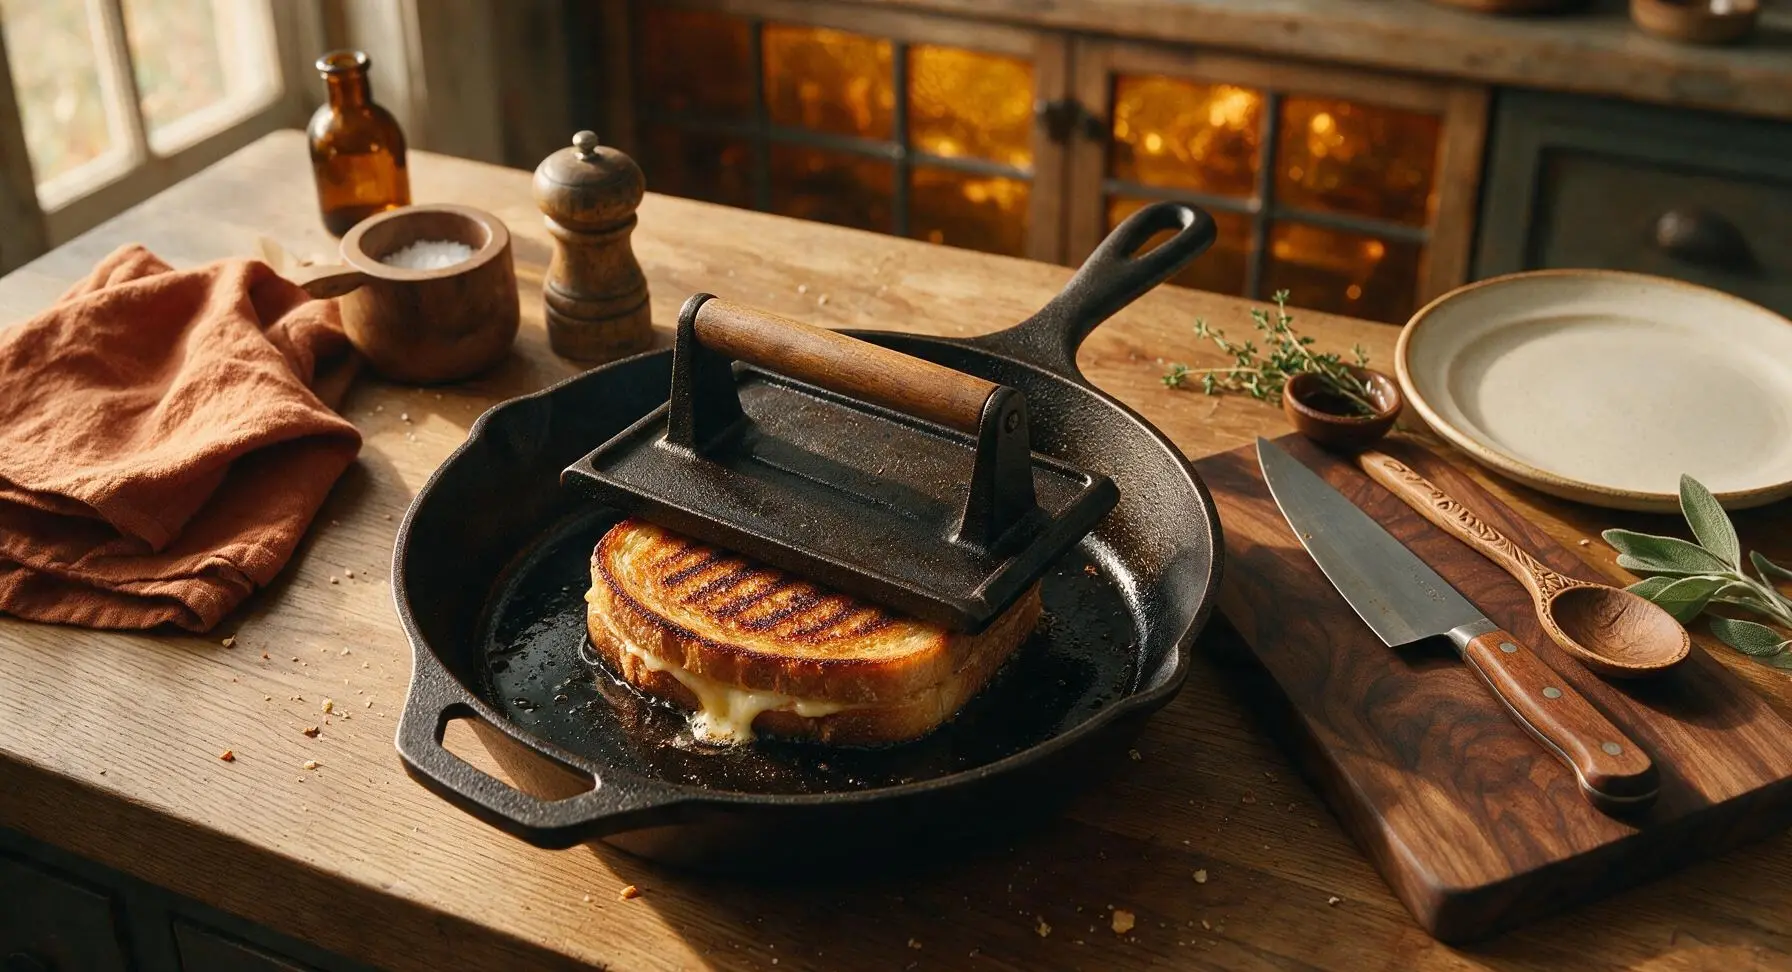
Step 6
step6:Cook Until Crispy
Step 6
step6:Cook Until Crispy
7

Rest, Slice, and Serve

Use the offset spatula to transfer the cooked pressed sandwich from the skillet back to the bamboo cutting board. Let it rest for 2 minutes to allow the cheese to set slightly (this prevents fillings from sliding out when sliced). Using the chef knife, cut the sandwich diagonally into 4 equal triangular wedges, then transfer the wedges to the top matte cream ceramic plate for serving.
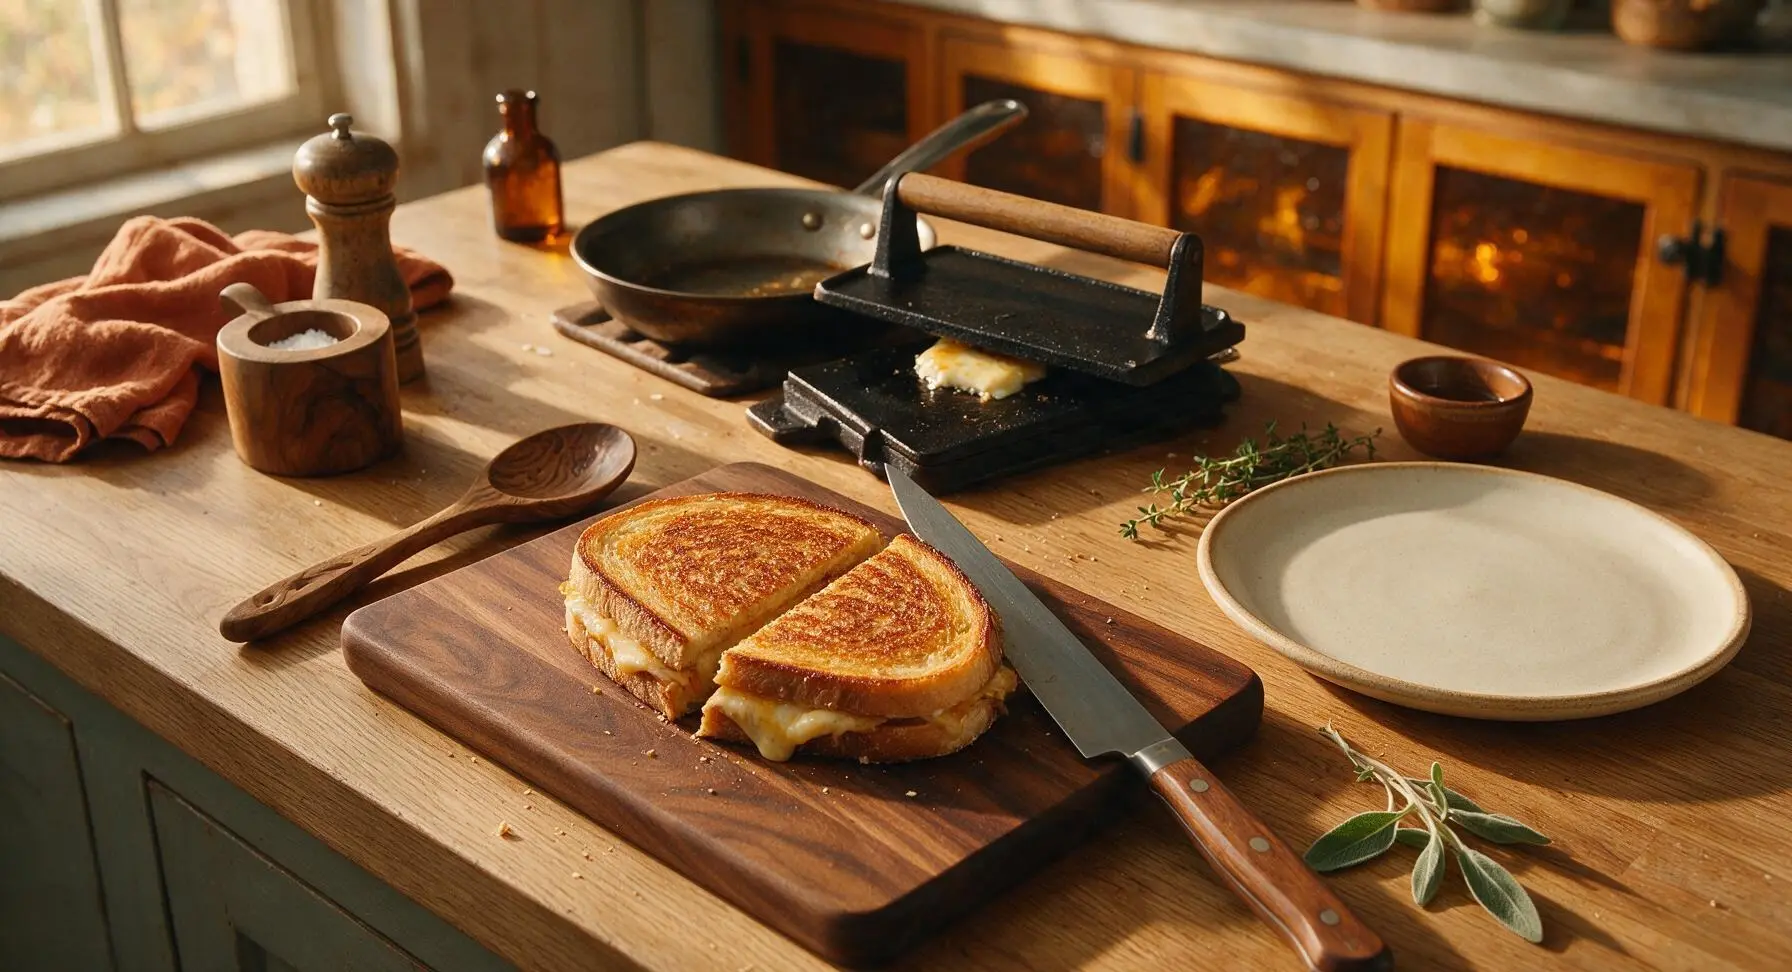
Step 7
step7:Rest, Slice, and Serve

Tips

1.Pat all brined ingredients (roasted red peppers, pickled red onions) completely dry with a towel before layering—excess moisture will soak through the bread and turn your crispy sandwich soggy, even after firm pressing.
2.Preheat the cast iron press on the skillet for 2 full minutes before setting it on the sandwich—this ensures immediate, even contact crisping on the top bread surface, rather than steaming, for a uniformly golden crust with no soft, pale spots.
3.Let the cooked sandwich rest for 2 minutes before slicing—this allows the melted cheese to set slightly, so fillings stay neatly tucked between bread layers instead of sliding out when cut, making the wedges easy to pack and eat on the go.


✨ You May Also Like

Lunch
🍜 United States

Creamy, salty, tangy nostalgic Midwestern sandwich pairing rich peanut butter with crisp briny dill pickles for a fast, satisfying no-cook meal.

⏱️ 5 minutesLunch ★ 4.6
Lunch
🍜 United States

Crispy, melty pressed sandwich layered with savory roast pork, ham, Swiss cheese, pickles, and tangy mustard: a beloved Cuban-American comfort classic.

⏱️ 25 minuteLunch ★ 4.9
Lunch
🍜 United States

Hearty, briny New Orleans pressed sandwich stacked with cured Italian meats, provolone, and zesty olive salad, served cold for bold, portable flavor.

⏱️ 1 hour 20Lunch ★ 4.7
Lunch
🍜 United States

A tangy, creamy Southern American staple, this no-cook cheesy sandwich is packed with sharp cheddar and sweet pimentos for a satisfying, portable bite.

⏱️ 1 hour 15Lunch ★ 4.8
Lunch
🍜 United States

Crispy Cajun-spiced fried shrimp piled on crusty French bread with tangy remoulade and fresh toppings, the iconic Louisiana street food sandwich.

⏱️ 35 minuteLunch ★ 4.4
Lunch
🍜 United States

Stacked, savory deli-style corned beef sandwich with melted Swiss, tangy mustard, and crisp griddled rye— a fast, hearty, satisfying classic.

⏱️ 15 minuteLunch ★ 4.9

pressed sandwich:Frequently Asked Questions

1.Do I need a specialty panini press to make this sandwich? ▾
You absolutely don’t! If you don’t have a dedicated press, set your assembled sandwich in a regular skillet over medium-low heat, then top it with a heavy cast-iron skillet weighted down with a couple of canned goods for even pressure. Flip halfway through cooking to get that uniform golden crisp on both sides, about 3-4 minutes per side.
2.Why does the recipe say to pat roasted red peppers dry before adding them? ▾
Wet roasted red peppers (or any briny pickled add-in) will turn your ciabatta soggy fast, even after pressing. Patting them thoroughly with paper towels removes excess brine and surface moisture, so you get that perfect shatteringly crisp crust instead of a mushy, limp sandwich that falls apart mid-bite, especially when packing it for picnics.
3.Can I assemble this sandwich ahead of time for a summer picnic? ▾
You can layer the un-pressed fillings up to 12 hours ahead, wrap the loaf tightly in plastic wrap, and keep it lightly weighted in the fridge until you’re ready to crisp it. Press the sandwich right before packing it in an ice-filled cooler, and it will stay crisp and hold its shape for 3-4 hours without getting soggy, as long as you dried your veggies properly.
4.What if I can’t find spicy soppressata for this recipe? ▾
No stress! Swap it for any thinly sliced cured salami you prefer—pepperoni, finocchiona, or calabrese salami all bring that same savory, slightly spicy kick. If you don’t eat pork, thinly sliced spicy turkey pepperoni or plant-based cured salami works as a 1:1 swap, just make sure slices are thin so they layer evenly under pressure.
5.How do I keep cheese from oozing out everywhere while I press the sandwich? ▾
The easiest trick is to layer provolone slices directly against both cut sides of the ciabatta first, before adding meats and veggies. That creates a natural moisture barrier that keeps melted cheese contained inside the sandwich instead of leaking onto your cooking surface. Stick to medium-low heat too—high heat makes cheese melt too fast and seep out before the bread crisps.
6.Can I use a different type of bread instead of ciabatta? ▾
Absolutely, as long as you pick a sturdy, crusty loaf with a tight crumb that won’t turn soggy under pressure. Great swaps include a rustic sourdough loaf, plain focaccia (blot excess surface oil off first), or a crusty Italian loaf. Skip soft, fluffy white sandwich bread—it will compress too much and turn mushy when pressed, even with dry fillings.
7.What extra add-ins work well without ruining the crispy texture? ▾
Stick to low-moisture add-ins to keep that signature crunch: patted-dry thin pepperoncini slices, a thin schmear of grainy Dijon on the bread, a handful of peppery arugula added right after pressing, or thin slices of sharp provolone for extra tang. Skip wet add-ins like fresh tomato slices, runny mayo, or oily dressings unless you’re eating immediately.
8.How thin should I slice the meats for the best pressed sandwich? ▾
Aim for 1/16-inch thick slices, which is the standard “thin cut” at most deli counters. Thick meat slices won’t compress evenly under pressure, leading to lopsided bites and gaps where fillings fall out as you eat. If you’re slicing at home, pop cured meats in the freezer for 15 minutes first to firm them up for easy, even, paper-thin slices.
9.Do I need to scoop the soft inner crumb out of the ciabatta? ▾
You don’t have to, but pulling out a small amount of the soft, airy inner crumb from both ciabatta halves creates a shallow pocket for fillings, so they don’t squeeze out when you apply pressure. Don’t dig out all the crumb, though—leave a ¼-inch thick layer attached to the crust to keep the bread sturdy enough to hold layers without getting floppy.
10.How long should I press the sandwich to get that perfect crisp? ▾
If using a preheated panini press set to medium heat, cook for 5-6 minutes total until the bread is deep golden crispy and the provolone is fully melted. If using the stovetop weighted-skillet method, cook 3-4 minutes per side over medium-low heat, pressing down firmly every minute to ensure the whole surface crisps evenly. Don’t rush it on high heat, or you’ll burn the bread before the cheese melts.
11.Can I make a vegetarian version of this pressed sandwich? ▾
Definitely! Swap the soppressata and smoked ham for thinly sliced, well-patted marinated artichoke hearts, roasted zucchini slices, a thin layer of briny olive tapenade, and extra provolone, plus the roasted red peppers. You can even add thin slices of smoked mozzarella for extra savoriness, just stick to low-moisture veggies to keep the crust crisp.
12.How should I store and reheat leftover pressed sandwich? ▾
Wrap leftover individual portions tightly in parchment paper (not plastic, which traps moisture and softens the crust) and store in the fridge for up to 2 days. To recrisp, pop portions in a toaster oven or dry skillet over medium-low heat for 2-3 minutes per side until the crust is crunchy again and cheese remelts—skip the microwave, which turns bread rubbery.

Comments (14)

2 days ago

OMG this was SUCH a hit at my kid’s post-soccer team potluck last weekend! I loaded mine up with turkey, ham, provolone, pickles and that spicy mustard slather, pressed it overnight in the fridge between two cast irons, and it came out perfectly crispy even after I transported it 20 minutes to the field. Total game changer for busy weekends! Will 100% be making this again for our next tailgate.

1 day ago

Wait did you really press it overnight? I’ve always done it for 2 hours max, I need to try that longer press for my next football watch party!

1 day ago

So glad it was a hit at the potluck, Stacy! The overnight press is such a pro move for extra melded flavors and less sogginess—great call. Thanks for the awesome review!

30 minutes ago

8 minute cook time? Sign me up. I threw this together between work meetings today for a quick lunch, used leftover roast beef from last night’s dinner and some cheddar I had in the deli drawer, and my god the crunch was unreal. Way better than the sad takeout sandwich I almost ordered.

10 minutes ago

Love that you used up leftover roast beef for this—zero food waste and maximum flavor, that’s what we love to see! So happy it made your work lunch better.

3 days ago

Super easy recipe for dorm cooking! I don’t have a fancy panini press so I used a heavy textbook on top of my skillet while it cooked, and it came out almost as crispy as the ones from the deli down the street. Only knock is I wish I’d added more spread, mine was a little dry in spots. Definitely making again though.

1 week ago

I make a batch of these every Sunday for weekday work lunches and they hold up SO well! I wrap them tight in parchment after pressing, slice them into halves, and they stay crispy (not soggy!!) for 3 whole days in the fridge. My coworkers keep asking where I buy them, little do they know they take 10 minutes total to make.

5 days ago

Wait they don’t get soggy? I tried making pressed sandwiches for meal prep once and the bread turned to mush by Tuesday. What’s your secret?!

4 days ago

That’s such a smart meal prep hack! Pro tip to avoid sogginess for anyone else: spread a thin layer of butter or cream cheese on the inside of the bread slices to create a barrier against wet fillings like tomatoes or pickles. Works like a charm!

yesterday

I’ve been making pressed sandwiches for family beach trips for 40 years, and this recipe’s method for getting the bread extra crispy on the stovetop is better than my old trick! My grandkids devoured three whole halves each when I made these yesterday, they kept begging for more. Thank you for the easy, tasty recipe!

12 hours ago

I’m always looking for no-mess beach food! Do you wrap them in foil to take to the sand, or do they hold up in a cooler just as is?

5 days ago

Packed two of these for a day hike last weekend and they were perfect! Held up in my pack no problem, didn’t get squished, the crispy bread held up even when it was 80 degrees out, and the protein from the salami and cheese kept me full for 6 miles. Will be a staple on all my future hikes.

2 weeks ago

Brought these to our neighborhood block party and they were the first thing gone off the food table! I cut them into little bite-sized squares, stuck a toothpick in each, and people were hovering around the platter asking for the recipe before I even set it down. 10/10, will be making for every potluck from now on.

2 weeks ago

The bite-sized toothpick trick is genius for parties! So glad they were a hit at the block party, thanks for sharing that serving tip with everyone!

2 hours ago

Tried this for dinner tonight and it was super tasty, though I burned the first side a little because I had the heat up too high (oops). Turned it down for the second side and it got that perfect golden crispy crust, though! I used pesto instead of mustard and added roasted red peppers, it tasted just like the fancy pressed sandwiches I get at my local Italian deli.

1 hour ago

Oh the pesto swap sounds incredible! I’ve been using spicy mayo but pesto and roasted red peppers is going on my grocery list for this week.

45 minutes ago

So happy you adjusted to get that perfect crisp! Pesto and roasted red peppers sound like a dream combo—love when people put their own spin on the recipe. Next time start with medium-low heat so the bread toasts evenly without burning, you got it!

5 minutes ago

Just made this for me and my wife for a quick weeknight dinner and she said it’s better than the sandwiches we got on our honeymoon in NYC! I used pastrami, swiss, and a little Russian dressing, pressed it in my cast iron, and the crunch was chef’s kiss. Can’t believe how easy this was.

just now

Pastrami and Swiss with Russian is the classic combo! I’m so glad you nailed it, nothing beats a good crispy pressed sando at home instead of paying $18 for one at a deli.

1 week ago

Made this totally veggie and it slapped! Roasted zucchini, bell peppers, caramelized onions, smoked gouda, and a little hummus spread, pressed until crispy. Even my meat-obsessed boyfriend stole half my sandwich and said he’d eat the veggie version any day. Win win!

3 days ago

This is going into our regular weeknight dinner rotation for sure! 8 minutes of cook time means I can get dinner on the table fast even on nights when my kid has late hockey practice. I serve it with a side of chips and pickles, and no one complains about what’s for dinner for once.

2 days ago

Love that this is working for your busy weeknights! Those quick, no-fuss meals that the whole family loves are the absolute best, right? Thanks for leaving such a nice review!

yesterday

Wait why did I never think to press my sandwiches on the stovetop without a panini press? I used my Dutch oven on top of the skillet to weigh it down, and the bread got so crispy and crunchy, the cheese got all melty… I’m never making a regular cold sandwich again. Game. Changer.

20 hours ago

Same! I don’t have room for a panini press in my tiny apartment kitchen, so using a heavy pot or even a canned goods stack works perfectly. I’ve made this three times in the last week lmao.

18 hours ago

You don’t need any fancy equipment to make great crispy sandwiches! A heavy pot, cast iron skillet, or even a stack of canned goods works perfectly as a press—no need to buy extra gadgets. So glad you loved it!

2 days ago

Really solid recipe! I added pickled jalapeños and hot honey to my sandwich for a little sweet-spicy kick, and it was so good. Only reason I’m not giving 5 stars is I wish the recipe noted how long to press it on each side, I had to guess a little and my first sandwich was a little under-crisped.

1 day ago

Thanks for the honest feedback, Sam! We’ll update the recipe to note that you’ll want 3-4 minutes per side over medium-low heat to get that perfect crisp. The hot honey and pickled jalapeño combo sounds amazing, by the way!

just now

Made this for my partner’s lunch today and he texted me 10 minutes after leaving the house saying it’s the best sandwich he’s ever had. I used sourdough bread, smoked turkey, brie, apple slices, and a little fig jam, pressed until crispy, and it was the perfect sweet-savory combo. Will absolutely be adding this to our weekend lunch rotation.



