
pressure cooker chicken casserole

title 1
pressure cooker chicken casserole
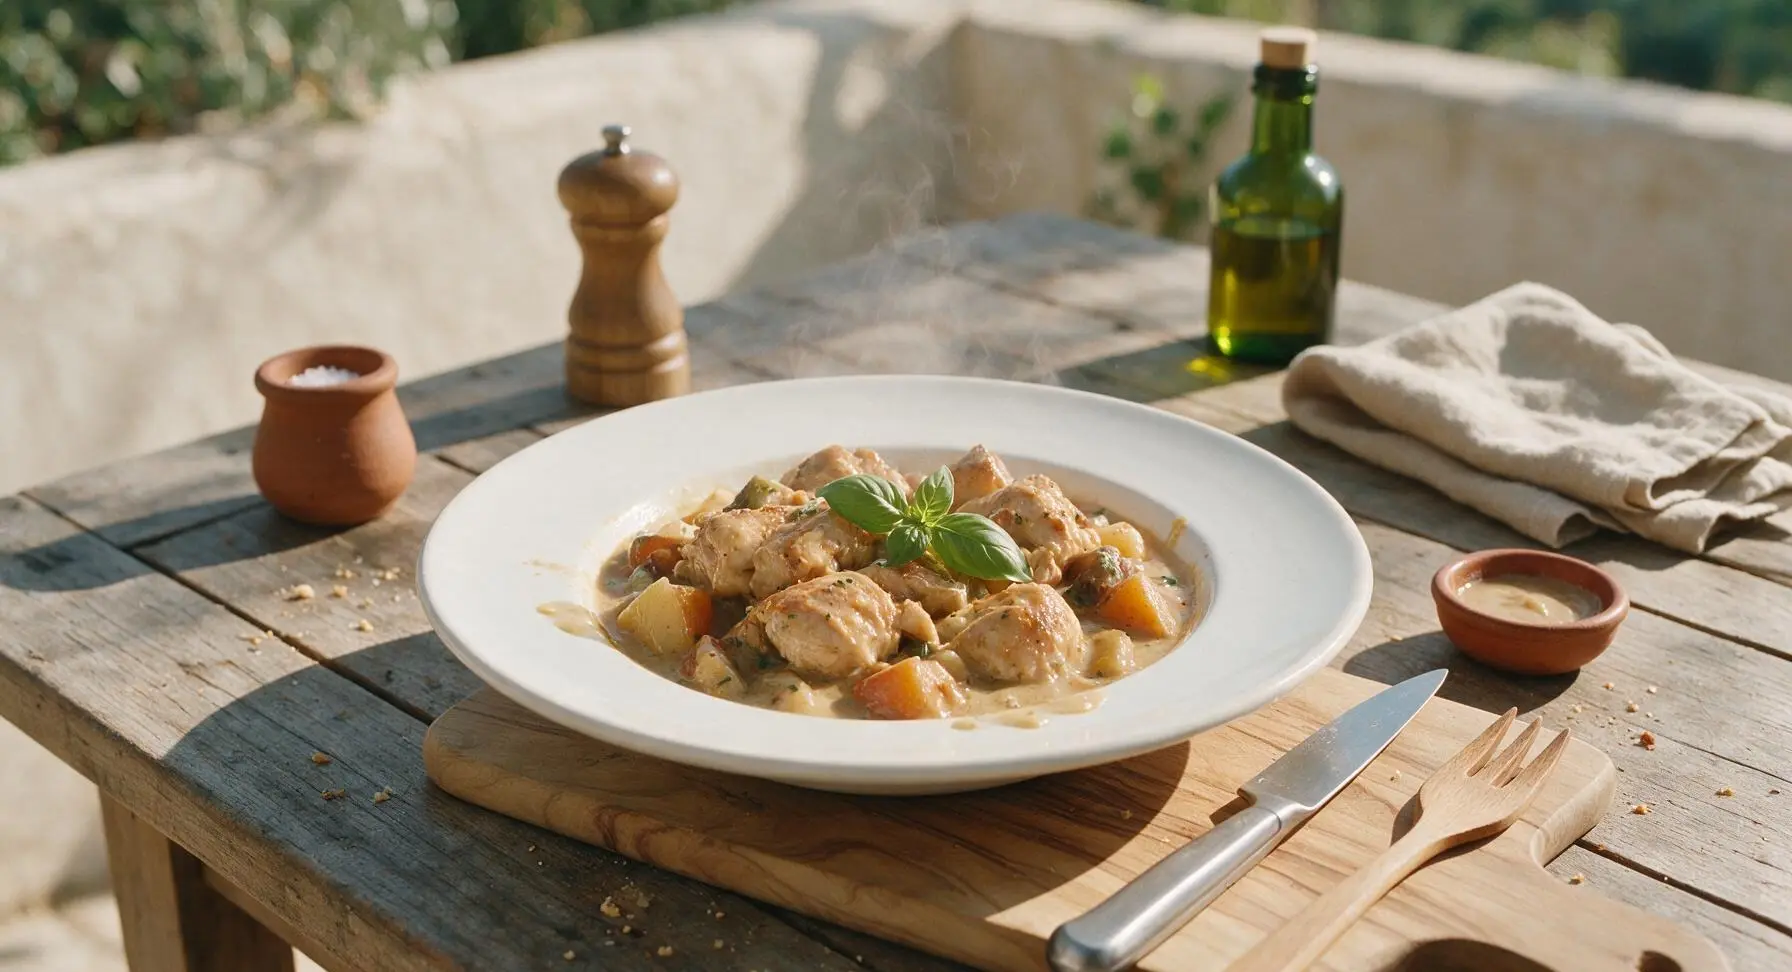
⏱️ cook time 25 minutes
🍽️ servings 4
⚡ Difficulty easy

intro

Tender chicken, hearty root vegetables, and silky creamy gravy cooked fast in a pressure cooker, delivering all the cozy comfort of a slow-baked casserole on a tight schedule.

Ingredients
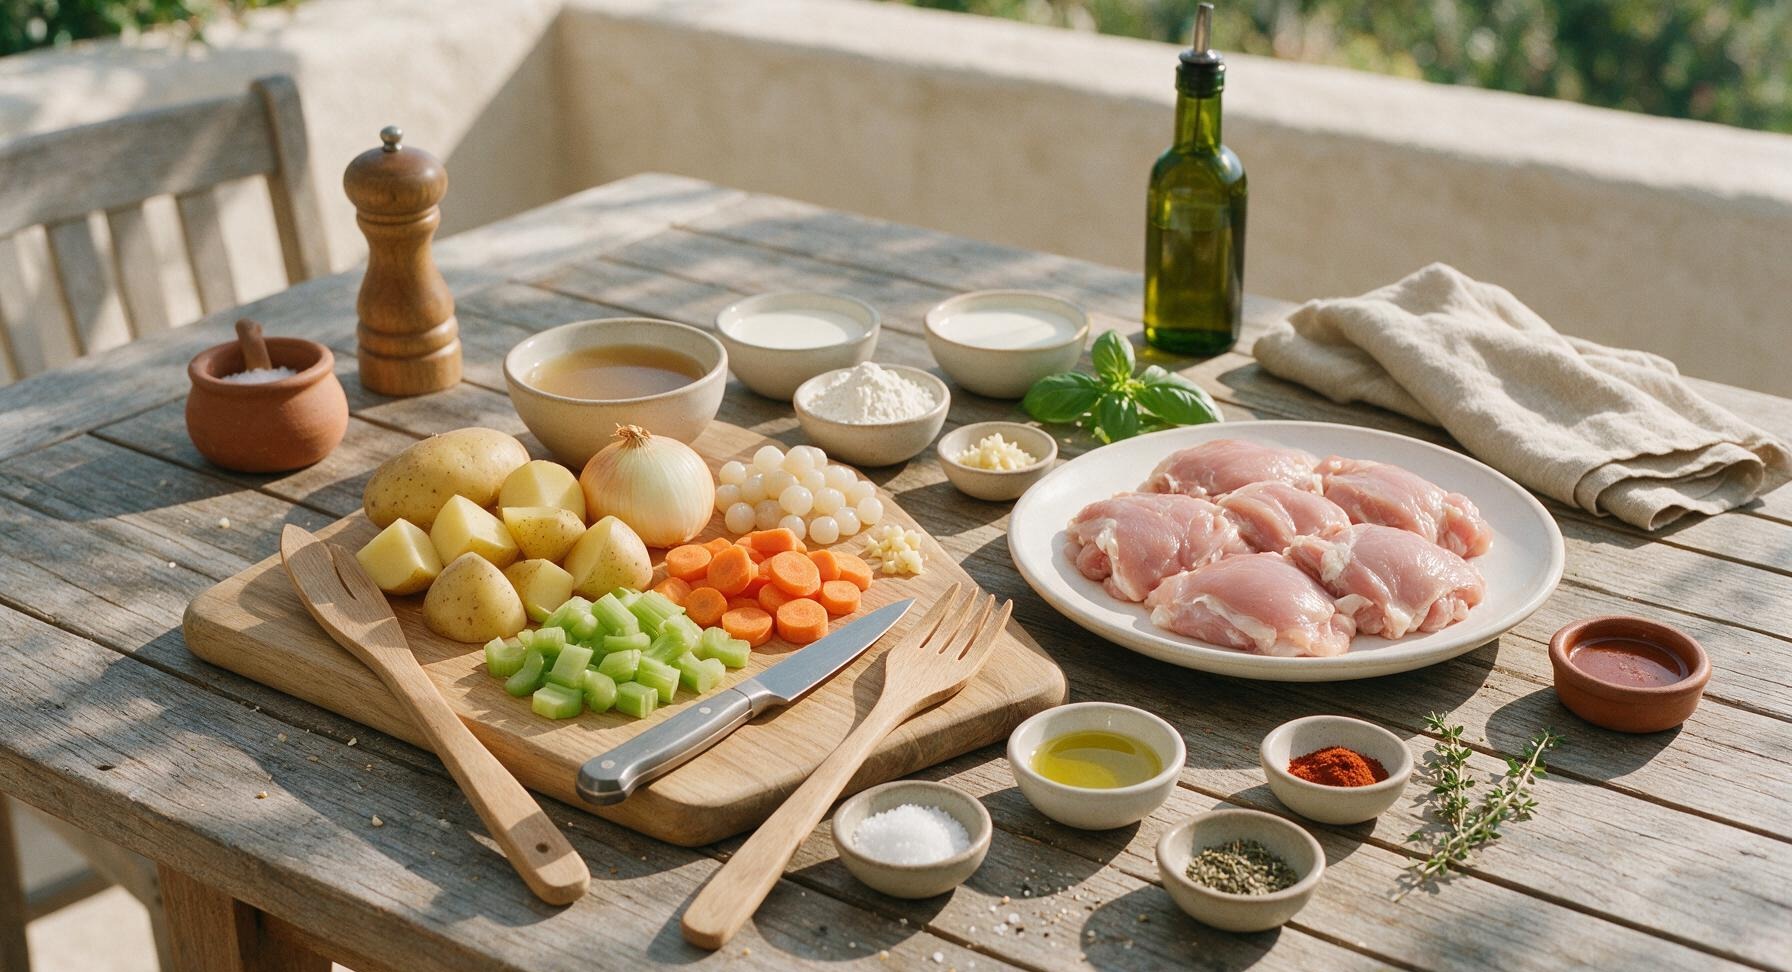
Boneless skinless chicken thighs 1.5 lbs (680g)
Yukon gold potatoes 2 medium (350g, cut into 1-inch chunks)
Yellow onion 1 medium (150g, diced)
Carrots 2 medium (120g, sliced into ½-inch rounds)
Celery stalks 2 stalks (100g, sliced into ½-inch pieces)
Frozen pearl onions ½ cup (75g)
Garlic cloves 3 cloves (10g, minced)
Low-sodium chicken broth 1 cup (240ml)
Heavy cream ½ cup (120ml)
All-purpose flour 2 tablespoons (16g)
Olive oil 1 tablespoon (15ml)
Kosher salt 1 teaspoon (5g)
Black pepper ½ teaspoon (2g, freshly ground)
Dried thyme ½ teaspoon (1g)
Smoked paprika ¼ teaspoon (0.5g)
Fresh thyme sprigs 2 sprigs (for garnish)

Steps

1

Chop Vegetables and Chicken

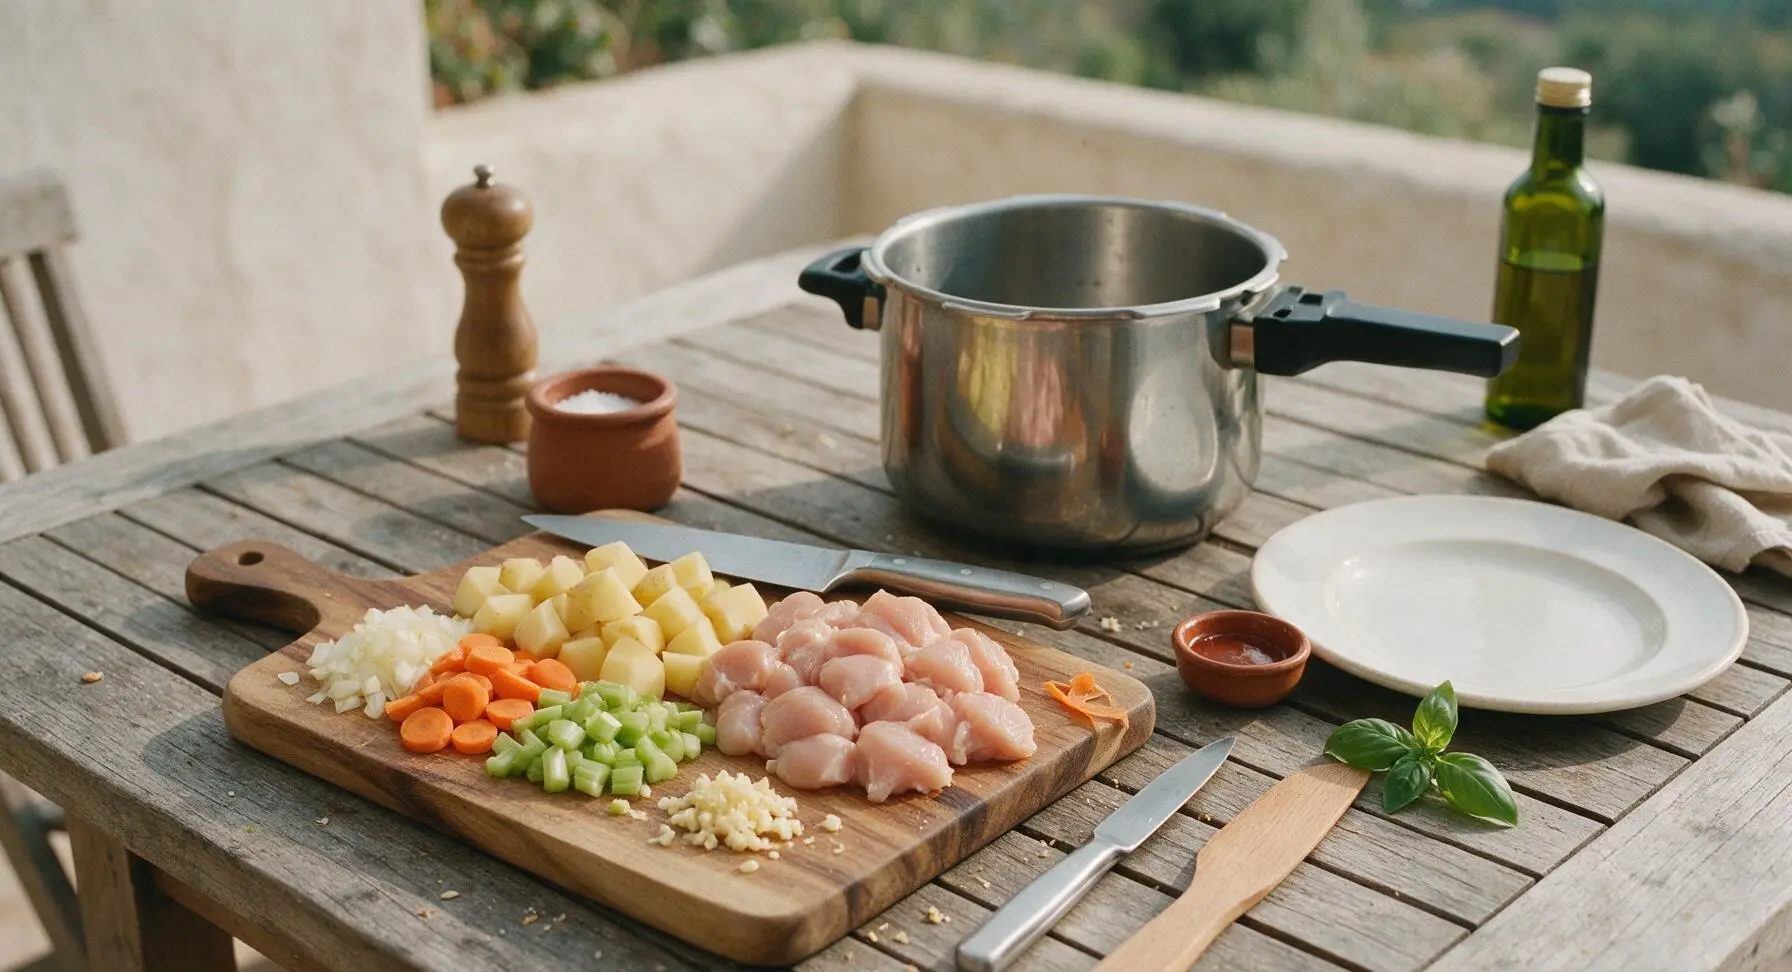
Place boneless, skinless chicken thighs on the acacia wood cutting board. Using the 8-inch chef knife, cut chicken into uniform 1.5-inch chunks, trimming any small pieces of excess hard fat. Cut potatoes into 1-inch chunks, dice the yellow onion, slice carrots and celery into ½-inch pieces, and mince garlic. Arrange prepped ingredients in separate small piles on the edge of the cutting board. Uniform piece sizes ensure even cooking for every component.
Step 1
step1:Chop Vegetables and Chicken
2

Sear Chicken Chunks

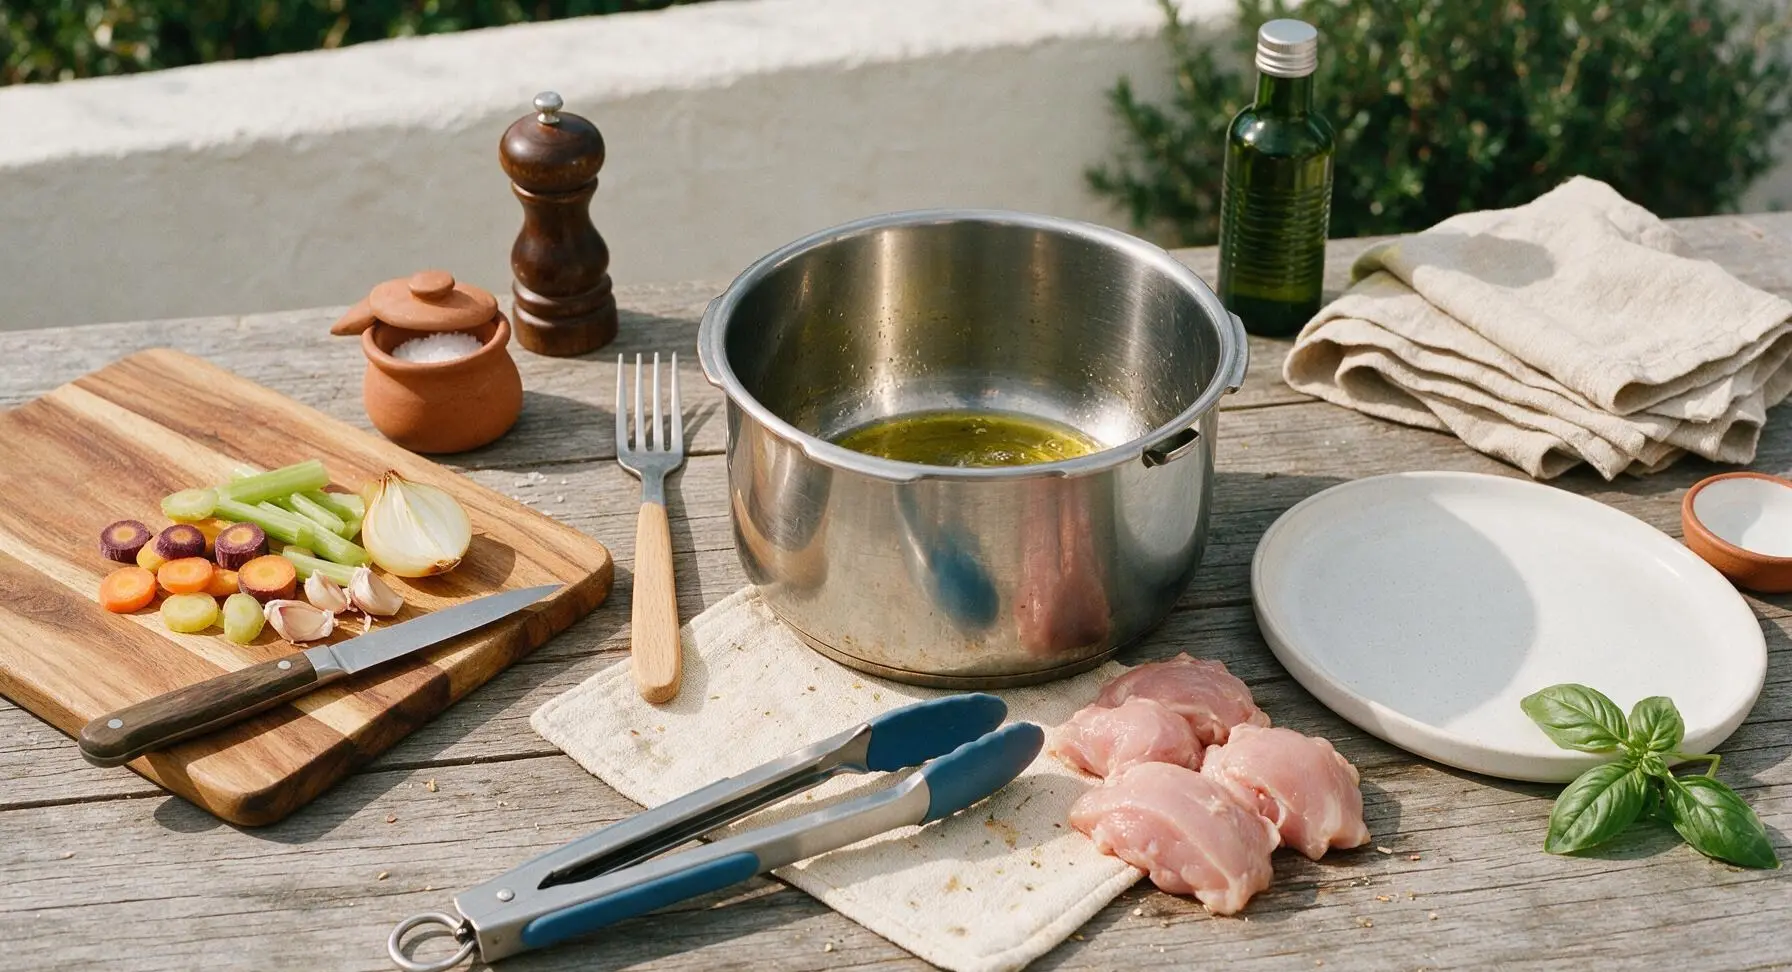
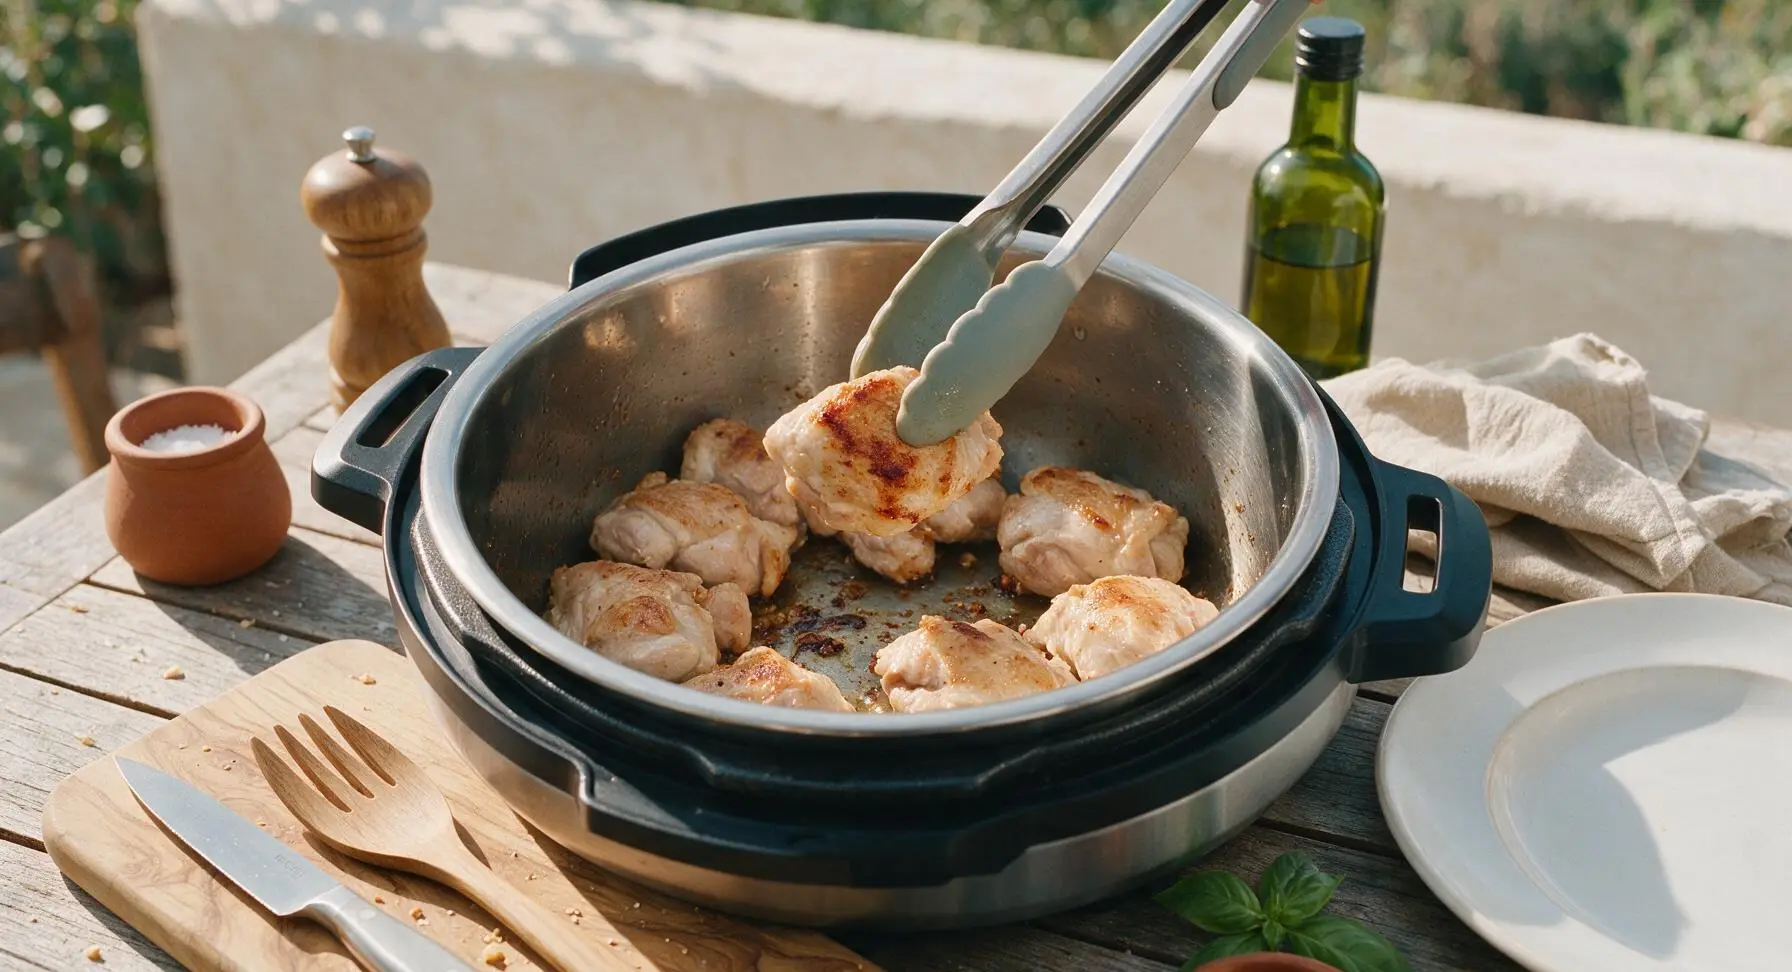
Turn the electric pressure cooker to the 'Sauté' function, add 1 tablespoon olive oil to the stainless steel inner pot, and heat for 2 minutes until the oil shimmers. Add cut chicken chunks in a single layer, season with ½ teaspoon kosher salt and ¼ teaspoon black pepper. Sear for 2 minutes per side until light golden brown on the edges; the chicken does not need to be fully cooked through at this stage. Use the silicone-tipped stainless steel tongs to flip chicken pieces as they brown, leaving browned fond bits on the pot bottom for flavor.
Step 2
step2:Sear Chicken Chunks
Step 2
step2:Sear Chicken Chunks
3

Sauté Aromatic Vegetables

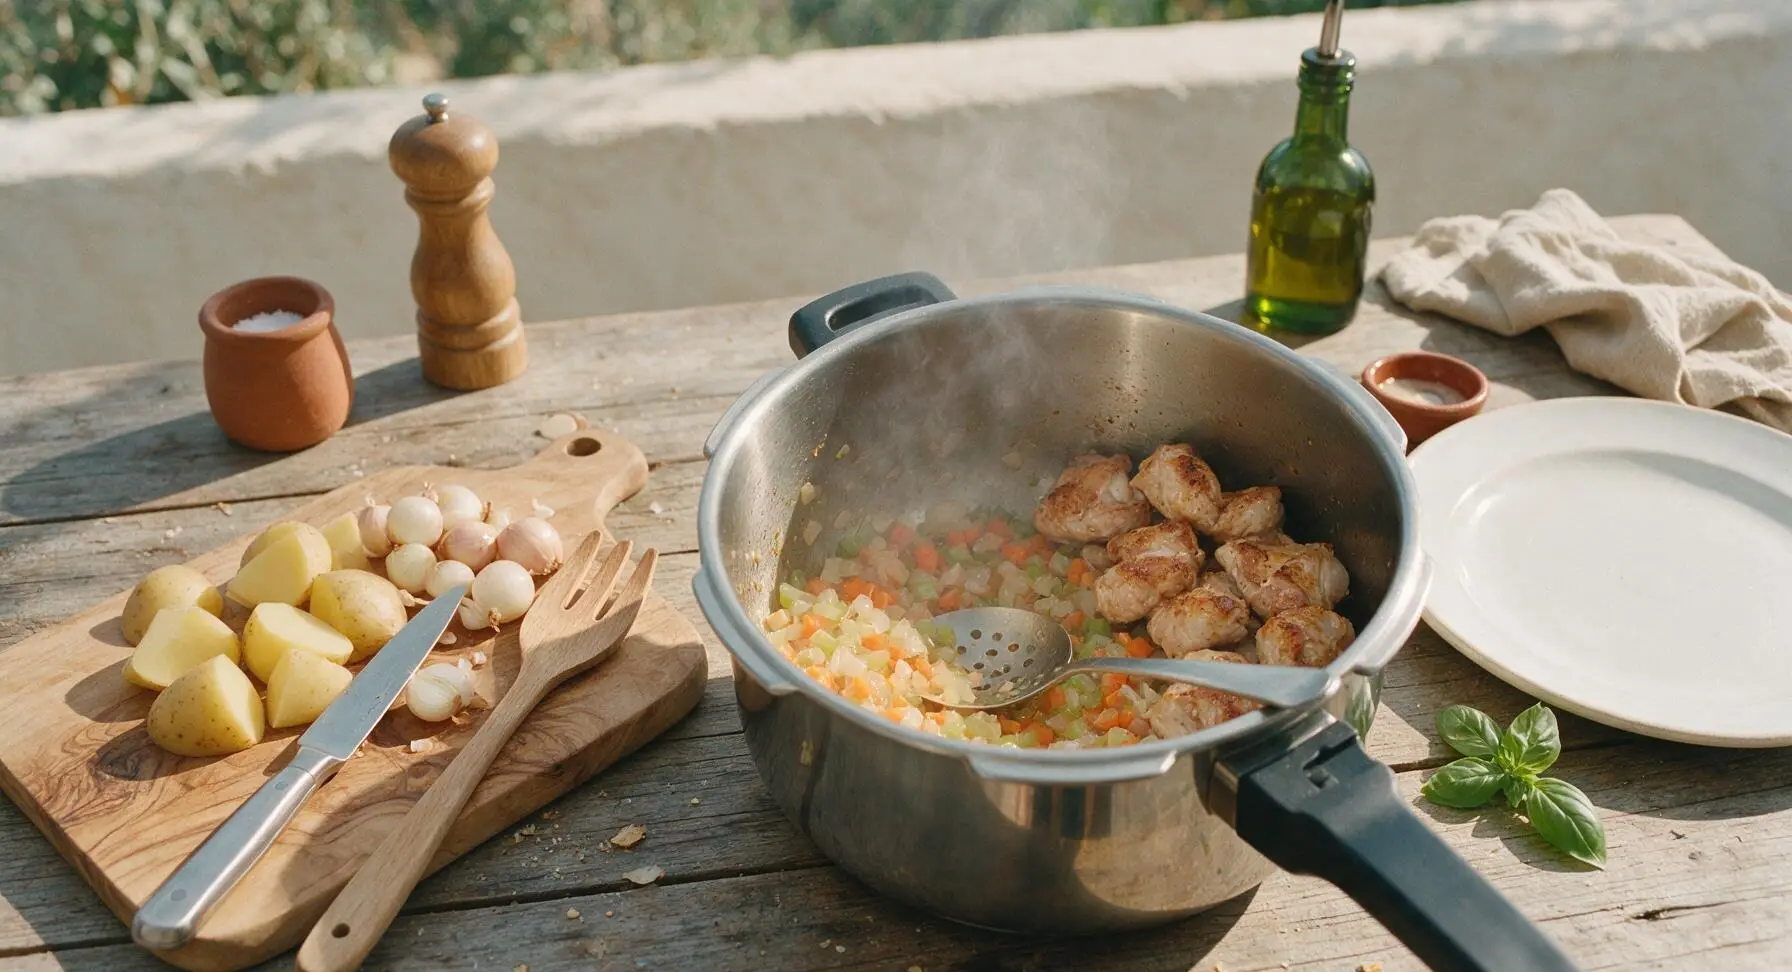
Leave seared chicken in the pot. Add diced onion, carrot, and celery to the inner pot, stirring with the sage-handled silicone slotted spoon. Sauté for 3 minutes on the Sauté setting until the onion turns translucent and vegetables soften slightly, scraping up browned fond bits from the pot bottom as you stir. Add minced garlic, dried thyme, and smoked paprika, and cook for 30 seconds more until the spices release a warm, fragrant aroma.
Step 3
step3:Sauté Aromatic Vegetables
4

Deglaze and Add Ingredients

Pour ¼ cup of chicken broth into the pot, stirring vigorously to lift all remaining browned fond from the pot bottom (this prevents pressure cooker burn errors and adds deep, savory flavor). Add remaining chicken broth, potato chunks, and frozen pearl onions, stirring to combine all ingredients evenly. Sprinkle 2 tablespoons all-purpose flour over the top, stirring thoroughly to incorporate with no dry flour lumps remaining. The liquid should just barely cover the top of the solid ingredients.

Step 4
step4:Deglaze and Add Ingredients
5

Pressure Cook Casserole

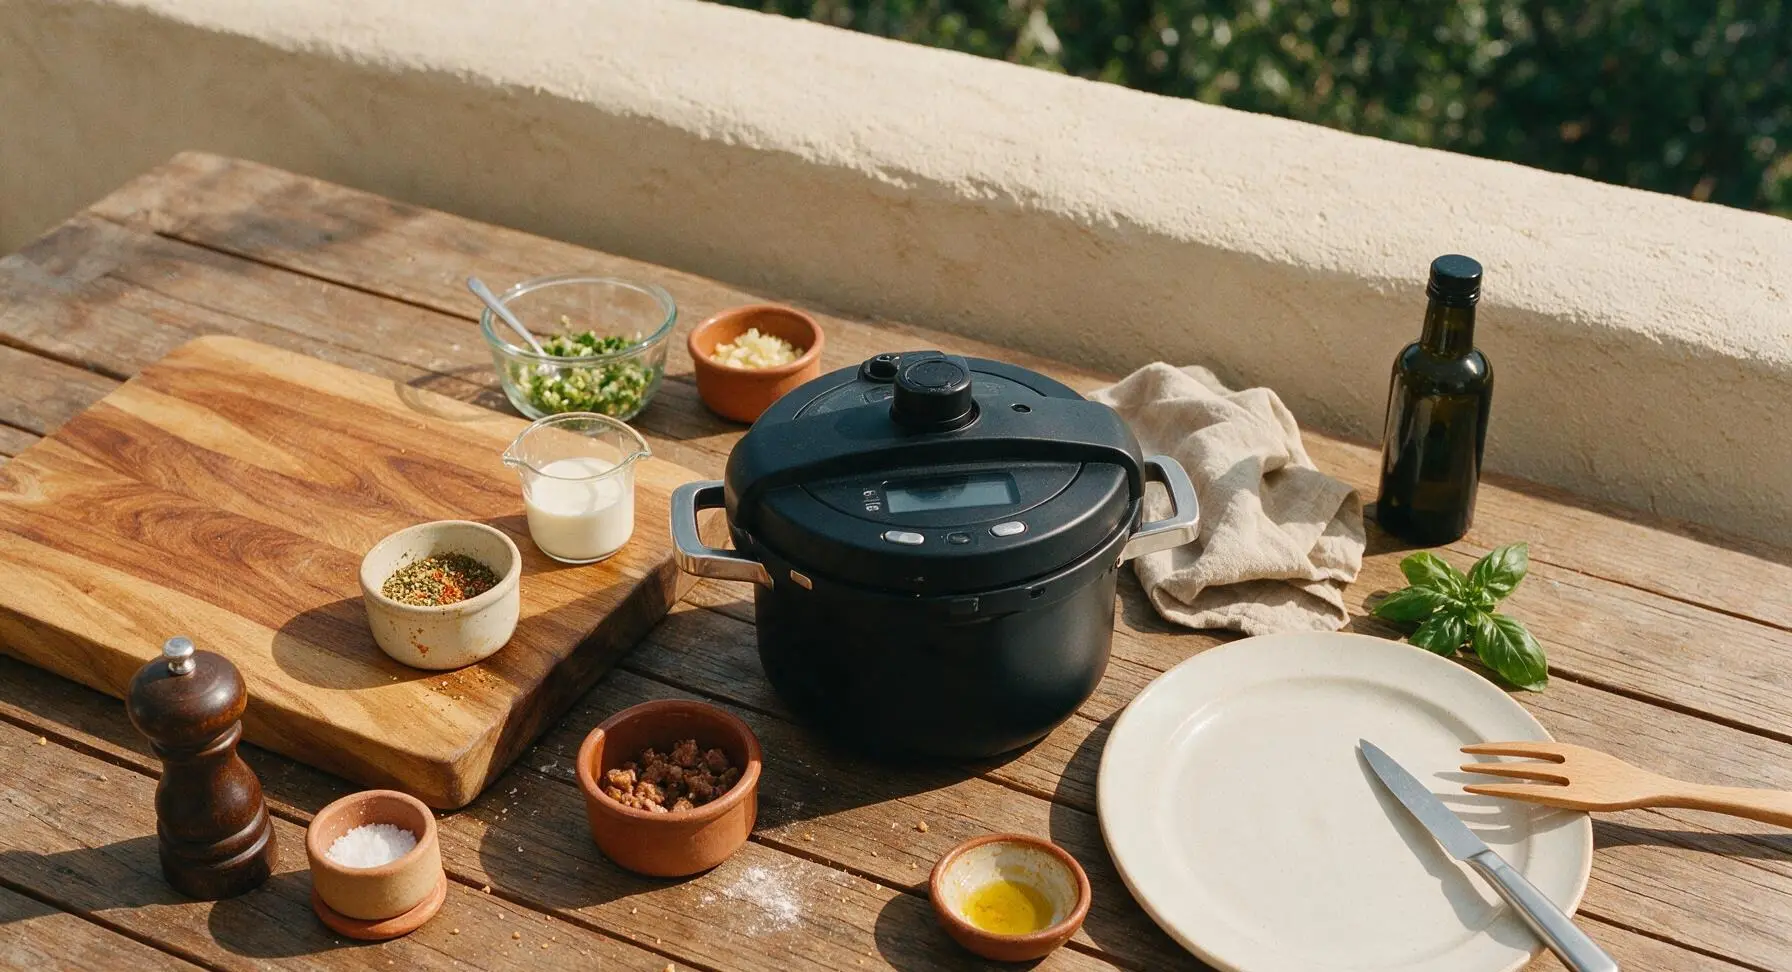
Secure the pressure cooker lid, turn the steam release valve to the 'Sealing' position. Set the cooker to High Pressure for 8 minutes. The unit will take approximately 8 minutes to build pressure before the cook time countdown begins. Do not attempt to force the lid open while the cooker is pressurized.
Step 5
step5:Pressure Cook Casserole
6

Release and Thicken Gravy

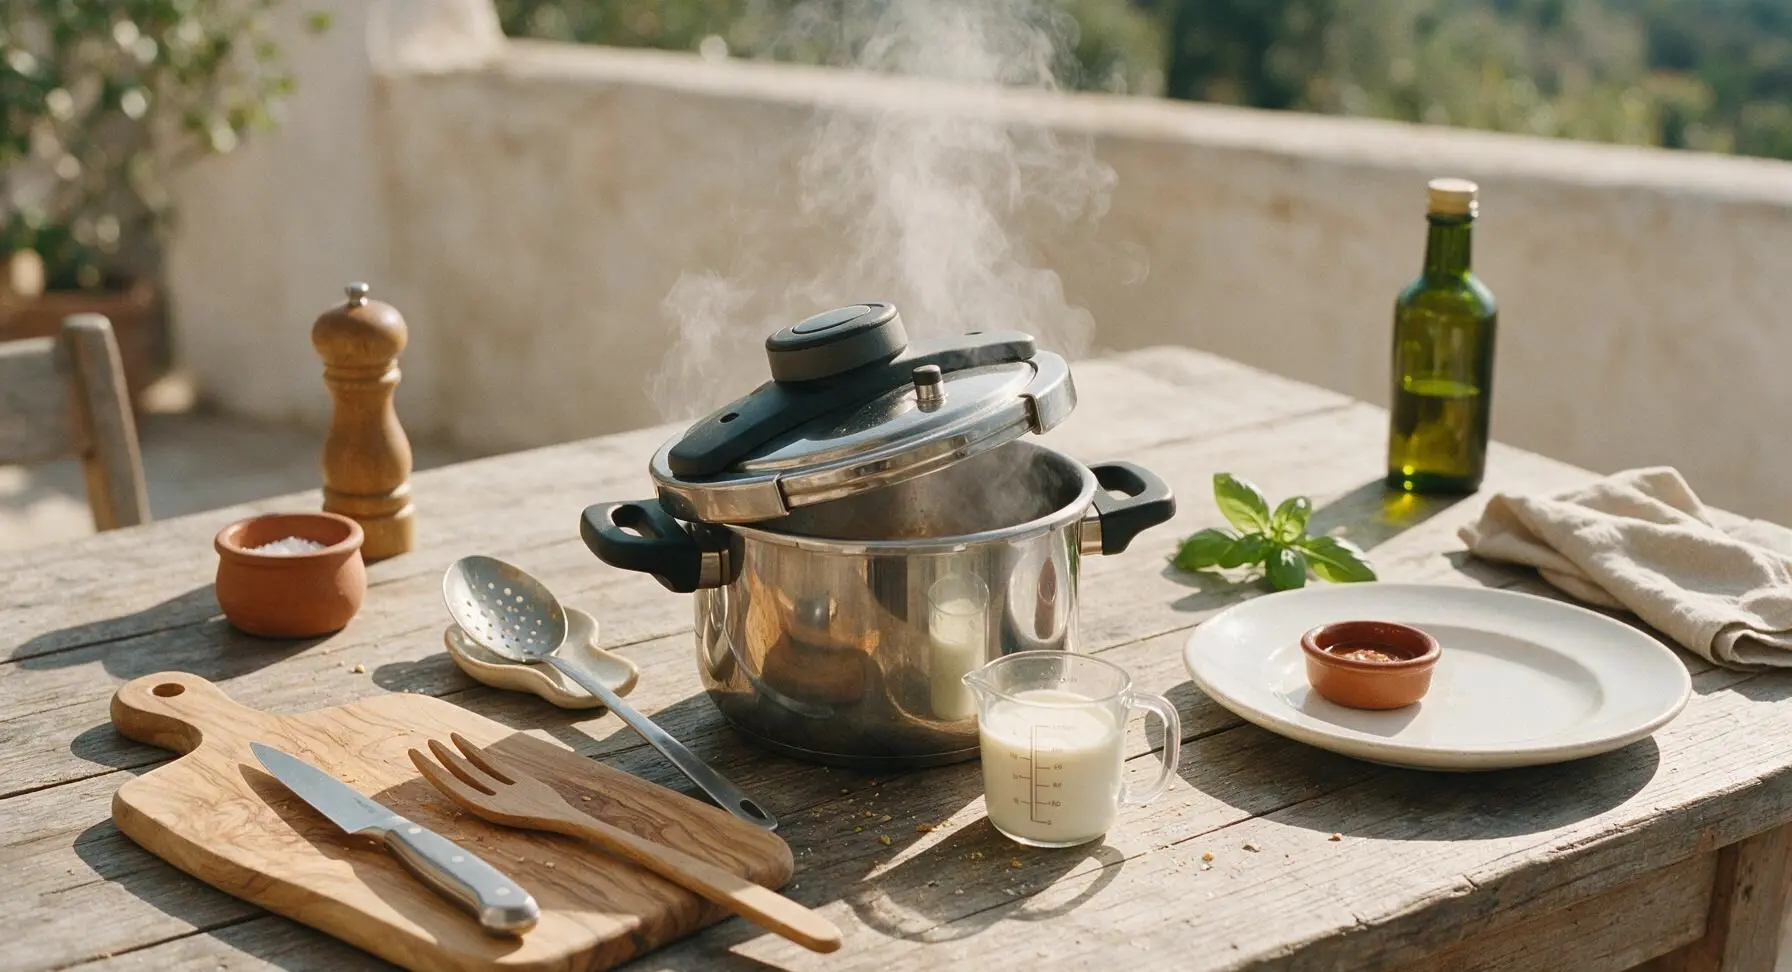
Once the 8-minute cook time completes, perform a quick pressure release by carefully turning the steam valve to Venting (use the long handle of the slotted spoon to keep hands away from hot steam), waiting until all pressure releases and the float valve drops (about 3 minutes). Remove the lid, angling it away from your face to avoid rising steam. Turn the cooker back to Sauté, pour in heavy cream, and stir with the slotted spoon. Simmer for 2 minutes, stirring occasionally, until the gravy thickens to a smooth consistency that lightly coats the back of the spoon. Taste and adjust seasoning with remaining salt and pepper if needed.

Step 6
step6:Release and Thicken Gravy
Step 6
step6:Release and Thicken Gravy
7

Rest and Plate Casserole

Turn the pressure cooker off, and let the casserole rest for 5 minutes to allow the gravy to set and flavors to meld. Ladle generous portions onto the creamy white stoneware dinner plate, garnish with fresh thyme leaves and a light crack of black pepper. Serve immediately while warm.
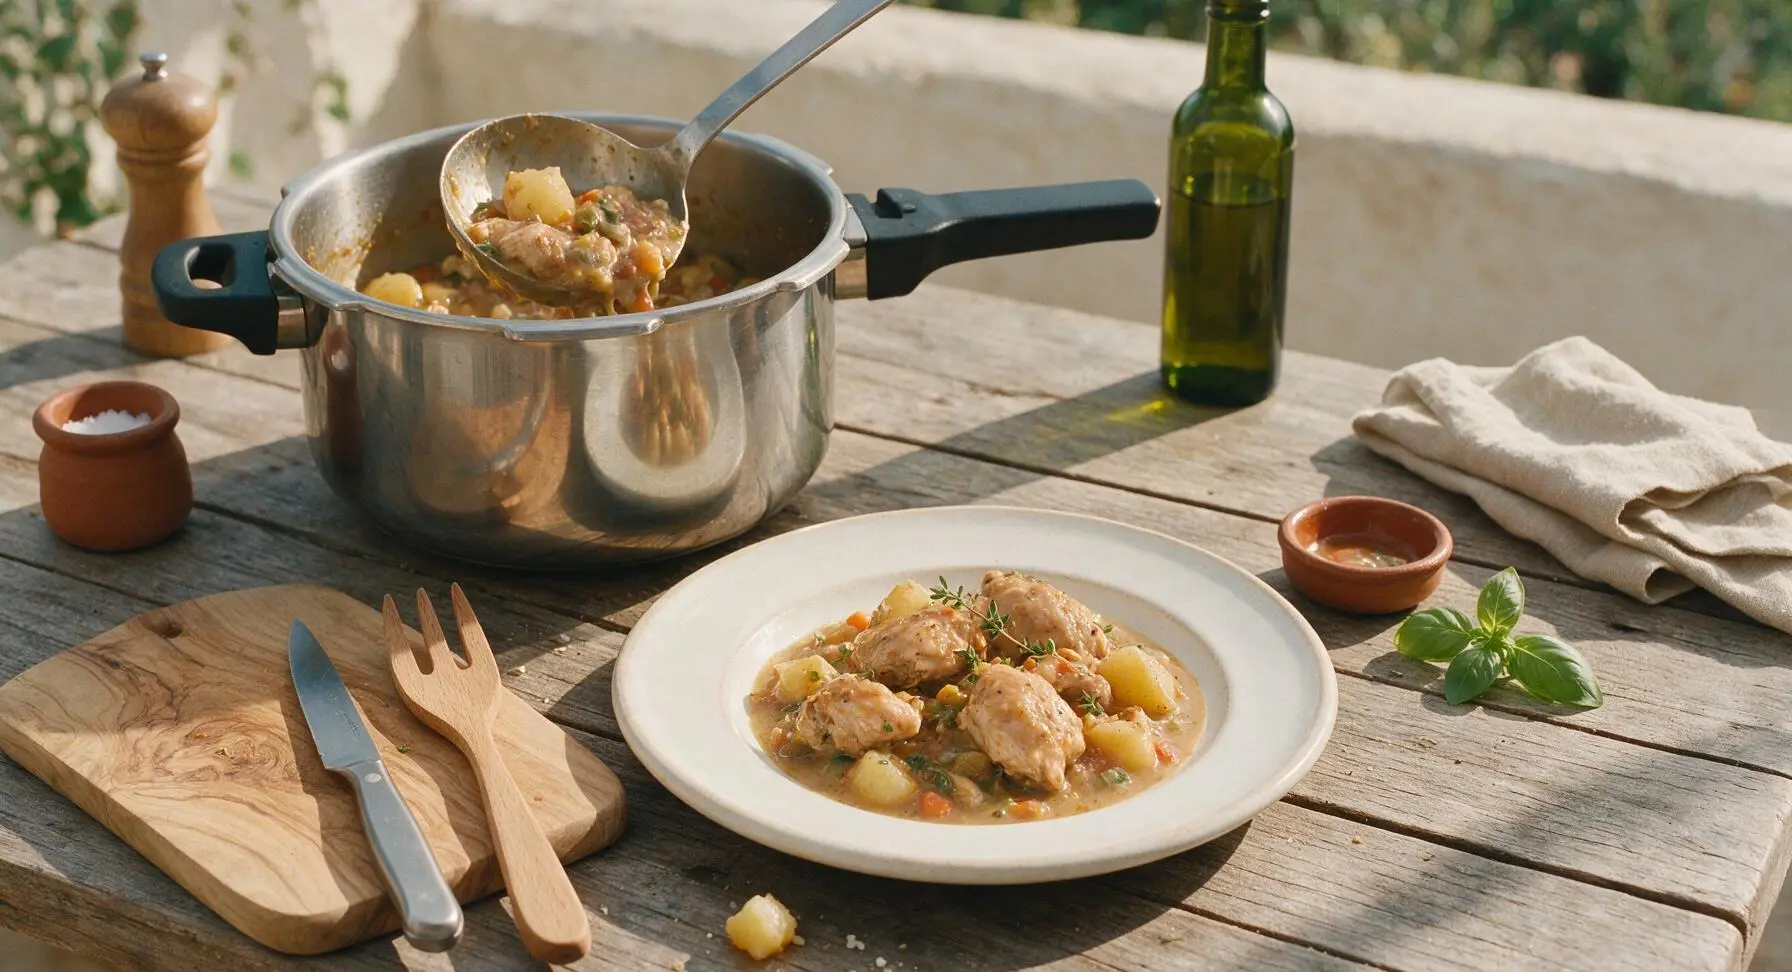
Step 7
step7:Rest and Plate Casserole

Tips

1.Choose boneless skinless chicken thighs over chicken breast: Thighs have enough fat to stay juicy and tender under high pressure, while lean breast meat easily becomes stringy and dry with even a minute of overcooking.
2.Scrape every bit of browned fond from the pot bottom when deglazing: Stuck-on burnt bits will trigger the pressure cooker's overheat burn sensor, stopping your cook early and leaving a bitter, acrid taste in the finished casserole.
3.Let the casserole rest for the full 5 minutes after cooking: The gravy will continue to thicken as it cools slightly, and the turbulent boiling from pressure release will settle, creating a smooth, cohesive sauce instead of a watery, separated texture.


✨ You May Also Like

Main Course
🍜 United Kingdom

A showstopping classic of tender seared beef, savory mushroom duxelles, and crisp prosciutto wrapped in flaky golden puff pastry, baked to juicy perfection.

⏱️ 2 hours 1Main Course ★ 4.7
Main Course
🍜 India

Tender charred marinated chicken simmered in a rich, spiced creamy tomato sauce, this iconic Anglo-Indian curry pairs perfectly with basmati rice or warm naan.

⏱️ 50 minuteMain Course ★ 4.6
Main Course
🍜 Thailand

Classic tangy, sweet, and savory Thai stir-fried rice noodles with shrimp, tofu, and crunchy garnishes, balancing all five core Thai flavor profiles.

⏱️ 30 minuteMain Course ★ 4.5
Main Course
🍜 United Kingdom

Crispy golden beer-battered cod and fluffy double-fried chips, served with tangy tartar sauce and malt vinegar: the timeless, beloved British pub comfort classic.

⏱️ 45 minuteMain Course ★ 4.7
Main Course
🍜 Mexico

Smoky, chile-marinated pork tacos with caramelized pineapple, fresh cilantro, and lime: a beloved classic Mexican street food perfect for casual summer gatherings.

⏱️ 1 hour 45Main Course ★ 4.8
Main Course
🍜 United States

Crunchy Fritos corn chips layered with savory beef chili and melted cheddar, topped with cool, zesty fixings for a beloved, cozy Tex-Mex comfort food.

⏱️ 35 minuteMain Course ★ 4.8

pressure cooker chicken casserole:Frequently Asked Questions

1.Can I use boneless, skinless chicken breasts instead of thighs for this recipe? ▾
You can, but I strongly recommend sticking to thighs if possible—they stay juicy under high pressure, while breasts easily turn rubbery if overcooked by even a minute. If you do use breasts, cut them into 2-inch chunks, reduce pressure cook time to 4 minutes, and do an immediate quick pressure release to avoid dry, tough meat.
2.Do I need to sauté ingredients first, or can I dump everything into the pressure cooker at once? ▾
Sautéing the onion, celery, and carrots for 3 minutes on the pressure cooker’s sauté setting first builds deep, savory flavor you won’t get from raw, dumped ingredients. You don’t need to brown the potatoes, but this quick aromatic sauté cuts sharp raw veggie notes and makes the final gravy taste far richer, with no extra fancy steps.
3.How do I keep the Yukon Gold potatoes from turning mushy during pressure cooking? ▾
Cut your potatoes into uniform 1.5-inch chunks, and never dice them smaller than that—tiny pieces will turn to paste under high pressure. Layer them on top of the other ingredients instead of submerging them fully in liquid, and stick to the 8-minute high pressure cook time with quick release to stop them from overcooking.
4.My gravy came out too thin after pressure cooking—how do I fix that quickly? ▾
It’s totally normal for cooking liquid to be thin right after releasing pressure, since pressure cooking traps moisture instead of evaporating it. Just switch the cooker to sauté mode, stir in a slurry of 1 tablespoon cornstarch mixed with 2 tablespoons cold water, and simmer 2-3 minutes until the gravy thickens to a silky, coat-the-spoon consistency.
5.Can I make this chicken casserole ahead of time for weekly meal prep? ▾
Absolutely—this casserole holds up beautifully for meal prep! Let it cool completely, then portion into airtight containers and refrigerate for up to 4 days, or freeze for up to 3 months. Reheat individual portions in the microwave for 2-3 minutes, stirring halfway, or reheat a full batch on the stovetop with a splash of broth if it thickens too much.
6.Do I have to use chicken broth for the cooking liquid, or is water okay? ▾
You can technically use water, but low-sodium chicken broth adds a huge boost of savory depth water can’t match, making the gravy and vegetables taste far more flavorful. If you only have water on hand, add an extra half teaspoon of poultry seasoning and pinch of garlic powder to make up for missing flavor, and adjust salt to taste before serving.
7.How much liquid do I need to add for the pressure cooker to work correctly? ▾
You only need 1 cup of total liquid (broth, or broth mixed with a splash of heavy cream for richness) for a standard 6-quart pressure cooker. That’s the minimum required to build enough steam to reach high pressure. Resist adding more liquid, or you’ll end up with watery, diluted gravy instead of that rich, cozy casserole texture.
8.Can I add extra vegetables like frozen peas or green beans to this recipe? ▾
Definitely! Sturdy root veggies go in at the start of cooking, but delicate veggies like frozen peas, green beans, or corn should be stirred in right after you release pressure, while the casserole is still piping hot. Let them sit 5 minutes to warm through—they’ll cook perfectly from residual heat without turning mushy under high pressure.
9.Should I use a quick pressure release or natural release for this casserole? ▾
Use a quick pressure release as soon as the 8-minute high pressure cook time ends. A long natural release traps food at high heat for too long, leading to overcooked chicken, mushy potatoes, and limp carrots. Use a wooden spoon to carefully flip the pressure valve (to avoid steam burns!) to vent all pressure immediately before opening the lid.
10.Can I use bone-in chicken thighs instead of boneless for this recipe? ▾
You absolutely can! Bone-in, skin-on thighs add even richer, deeper flavor to the gravy, but you’ll need to add 2 extra minutes to the high pressure cook time to make sure the chicken cooks through fully. After cooking, you can easily pull out bones and discard rubbery skin before stirring the casserole together, if you prefer.

Comments (7)

2 hours ago

OMG this pressure cooker chicken casserole is a total game changer for weeknight dinners! I got home from my kid’s soccer practice at 6, had this on the table by 6:30 with zero fuss. My kids devoured it, even my super picky 8 year old asked for seconds. SO good, I’m adding this to our regular meal prep rotation for sure!

30 minutes ago

So happy to hear this was a hit with your family, Mia! Quick, kid-approved weeknight meals are exactly what this recipe is made for — love that you’re adding it to your rotation 😊

2 days ago

Really solid recipe! Cook time was spot on at 25 minutes, super easy even for someone who burns toast half the time. The only tweak I made was adding a little extra smoked paprika and a handful of frozen peas because I had them lying around. Brought it to my office potluck and people were hounding me for the recipe left and right.

yesterday

Wait adding frozen peas is such a good call! I tossed in some diced carrots too when I made it last week, gave it that extra little veggie crunch. 10/10 potluck pick for sure, everyone at my church potluck went crazy for it

2 hours ago

Love the custom veggie adds! This recipe is super flexible, so tossing in extra peas, carrots, or even a handful of shredded cheese at the end works perfectly. So glad it was a potluck hit!

3 days ago

Made this after a long day on the trails this weekend and it hit so different. Hearty, flavorful, zero complicated steps. I used boneless skinless thighs instead of breasts because that’s what I had in the freezer and it came out so juicy, no dry chicken at all. Will be making this on repeat all winter long!

5 days ago

Wait why did I wait so long to try this? I work 10 hour shifts and the last thing I want to do when I get home is spend an hour cooking and cleaning up. This took literally no effort, came out creamy and savory, and even my teen who only eats takeout said it was better than the casserole from his favorite diner. Absolute household win.

3 days ago

That’s the best compliment we could get, Greg! We designed this recipe specifically for folks with packed schedules who don’t want to sacrifice flavor for speed. So glad your teen approved!

1 week ago

It was fine, pretty easy to make as advertised, but I felt like it was a little bland for my taste. I ended up adding a ton of hot sauce, extra garlic powder, and a can of diced green chiles to kick it up. If you like mild, creamy comfort food this is great, just adjust the seasonings if you prefer more heat.

5 days ago

Oh same! I added a whole chopped jalapeño and a sprinkle of cayenne when I made it, it was chef’s kiss. The base recipe is so solid it’s easy to crank the heat up without messing up the texture at all

3 days ago

Great tip for folks who love extra heat! The base seasoning is intentionally mild so it’s customizable for all taste preferences — adding green chiles, jalapeños, or extra spice is a fantastic way to make it your own.

1 week ago

Y’all this tastes just like the chicken casserole my grandma used to make, but without having to bake it for an hour in the oven! I topped mine with those crispy French fried onions right before serving and my whole family went back for thirds. So easy, so cozy, perfect for a rainy Sunday dinner.

30 minutes ago

Super easy recipe for a total beginner like me! I was nervous to use my new pressure cooker for the first time but the steps were so straightforward I didn’t mess anything up. Only tiny issue was I added a little too much chicken broth at first so it was a bit runny, but I stirred in a quick cornstarch slurry and it thickened right up. Tasted amazing!

5 minutes ago

So proud of you for giving your pressure cooker a try! The cornstarch slurry fix is such a smart quick trick for if it comes out a little runny — we’re so glad it turned out tasty for you even with the extra broth!



