
Pretzel Kisses
intro
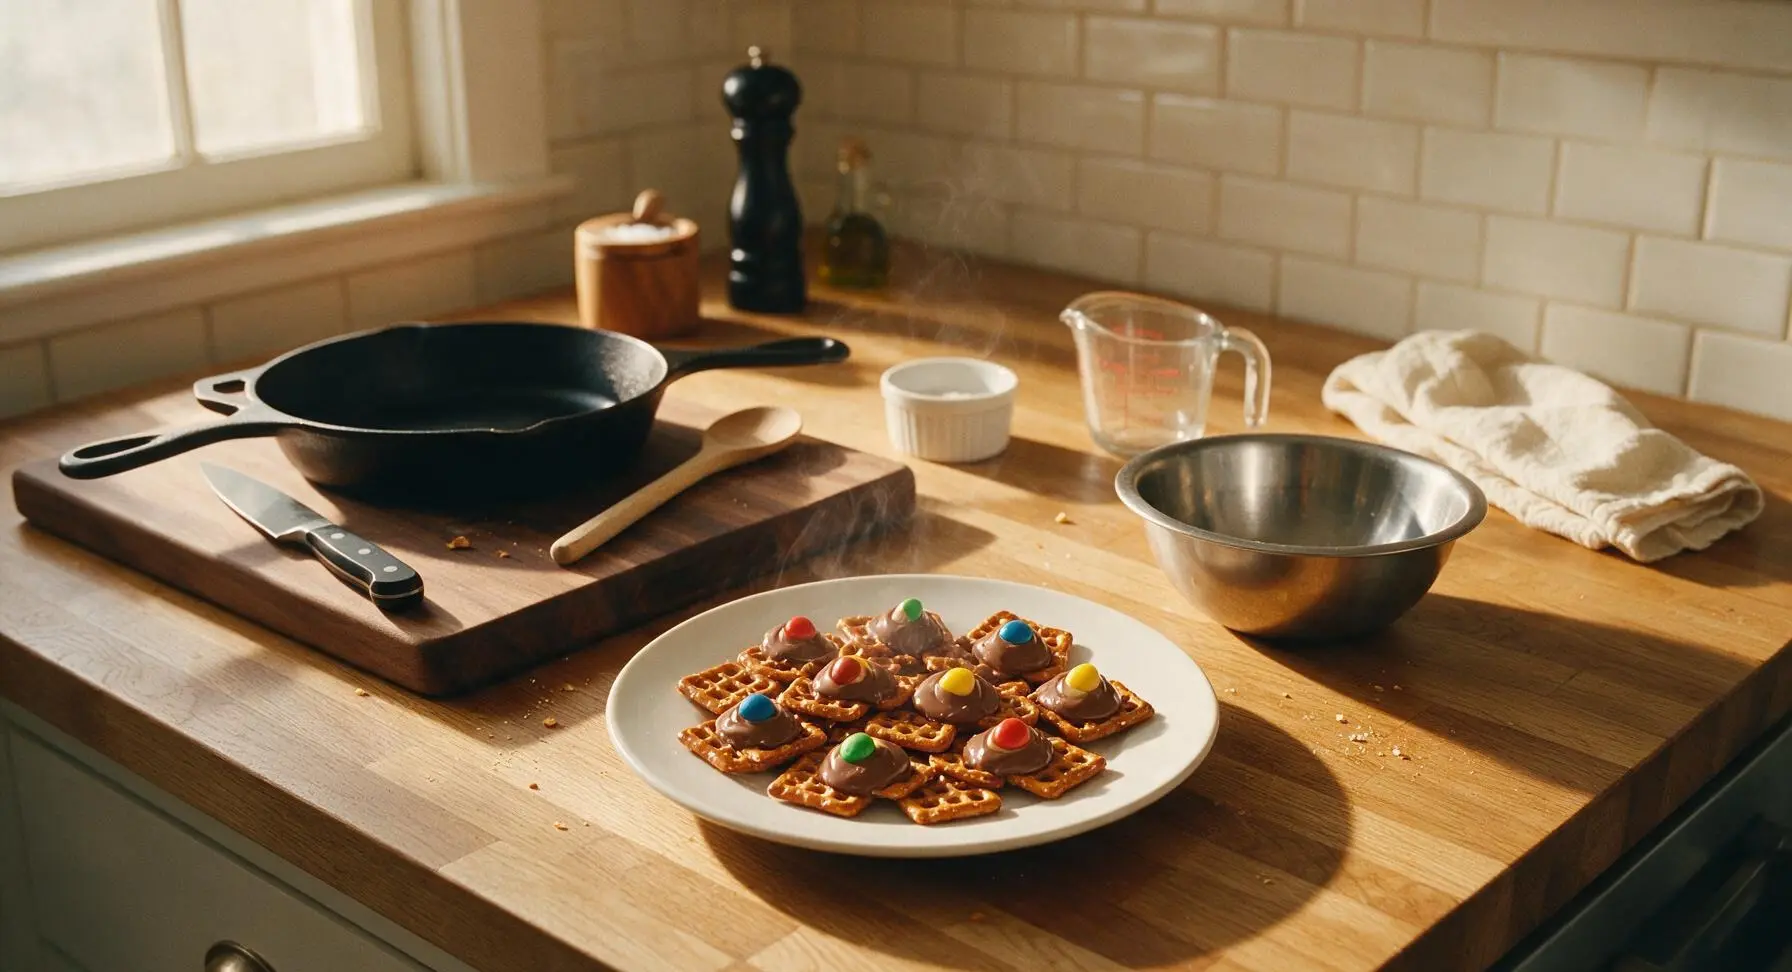
Salty, crunchy pretzel squares topped with soft melted milk chocolate and a bright candy bite: the iconic 3-ingredient sweet-savory holiday treat ready in minutes.
Ingredients
Steps
Preheat and Line Pan
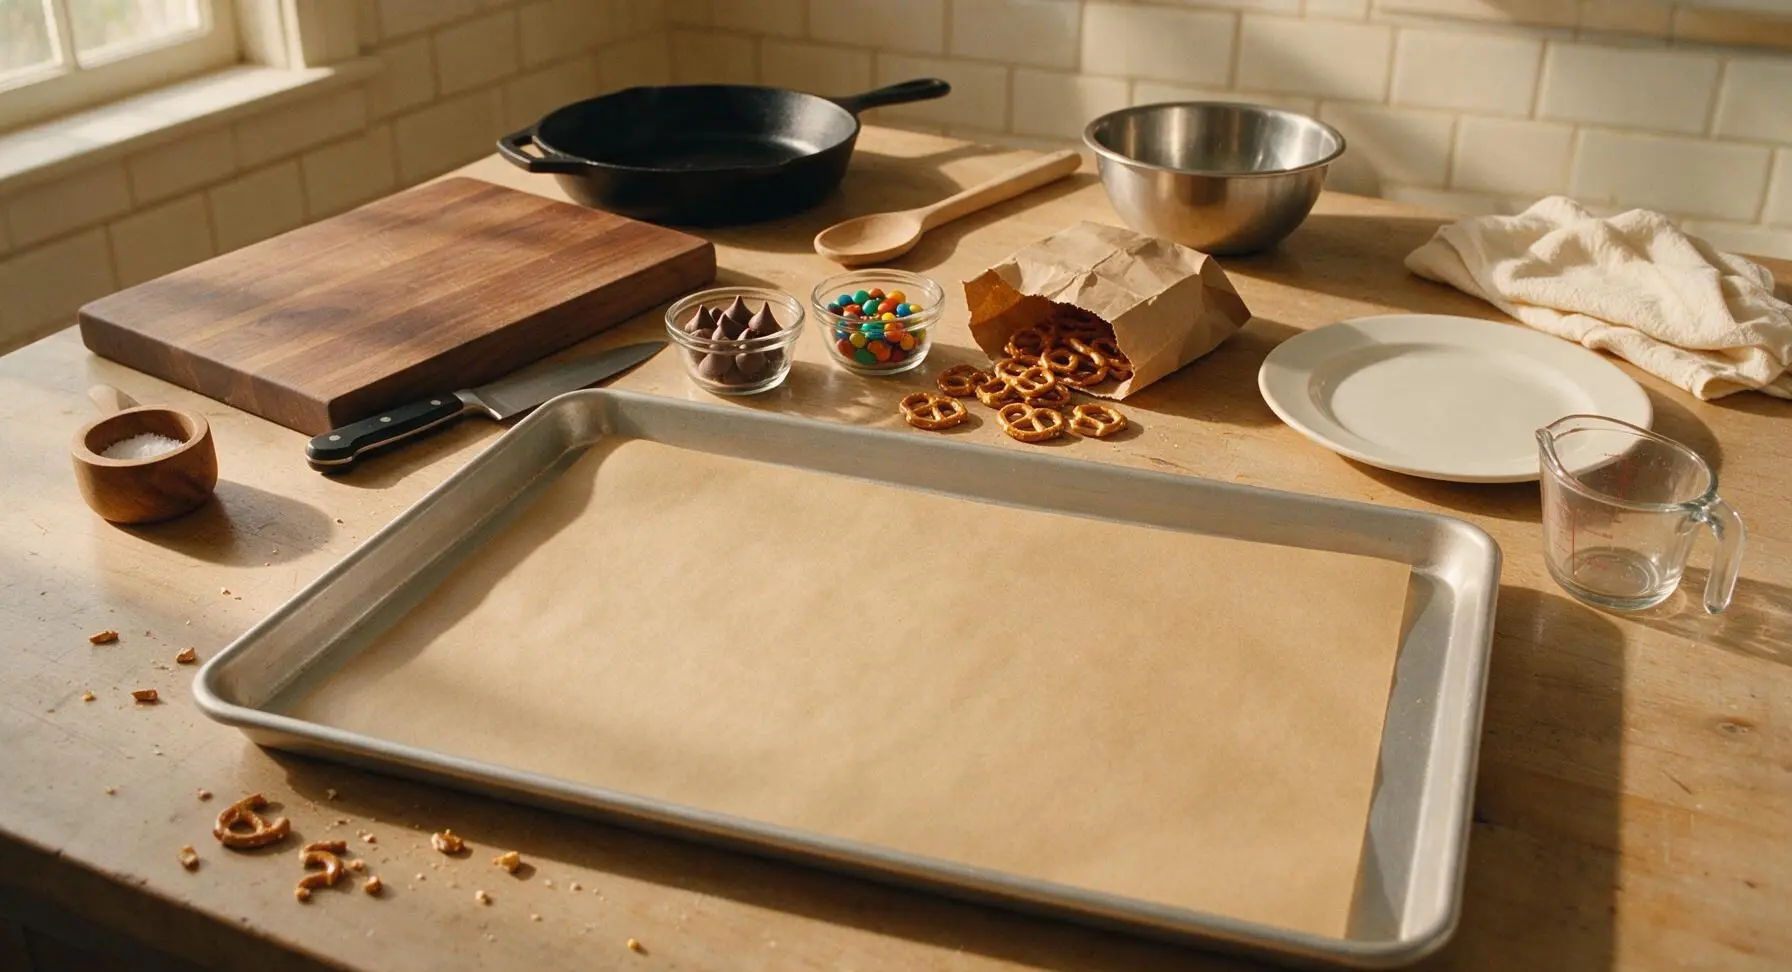
Preheat your oven to 175°C (350°F). Line the large aluminum baking sheet with the cut piece of unbleached parchment paper, smoothing out any wrinkles so the paper lies completely flat against the pan base with no curled edges. Set the prepared pan on the central counter work area.
Arrange Pretzel Bases
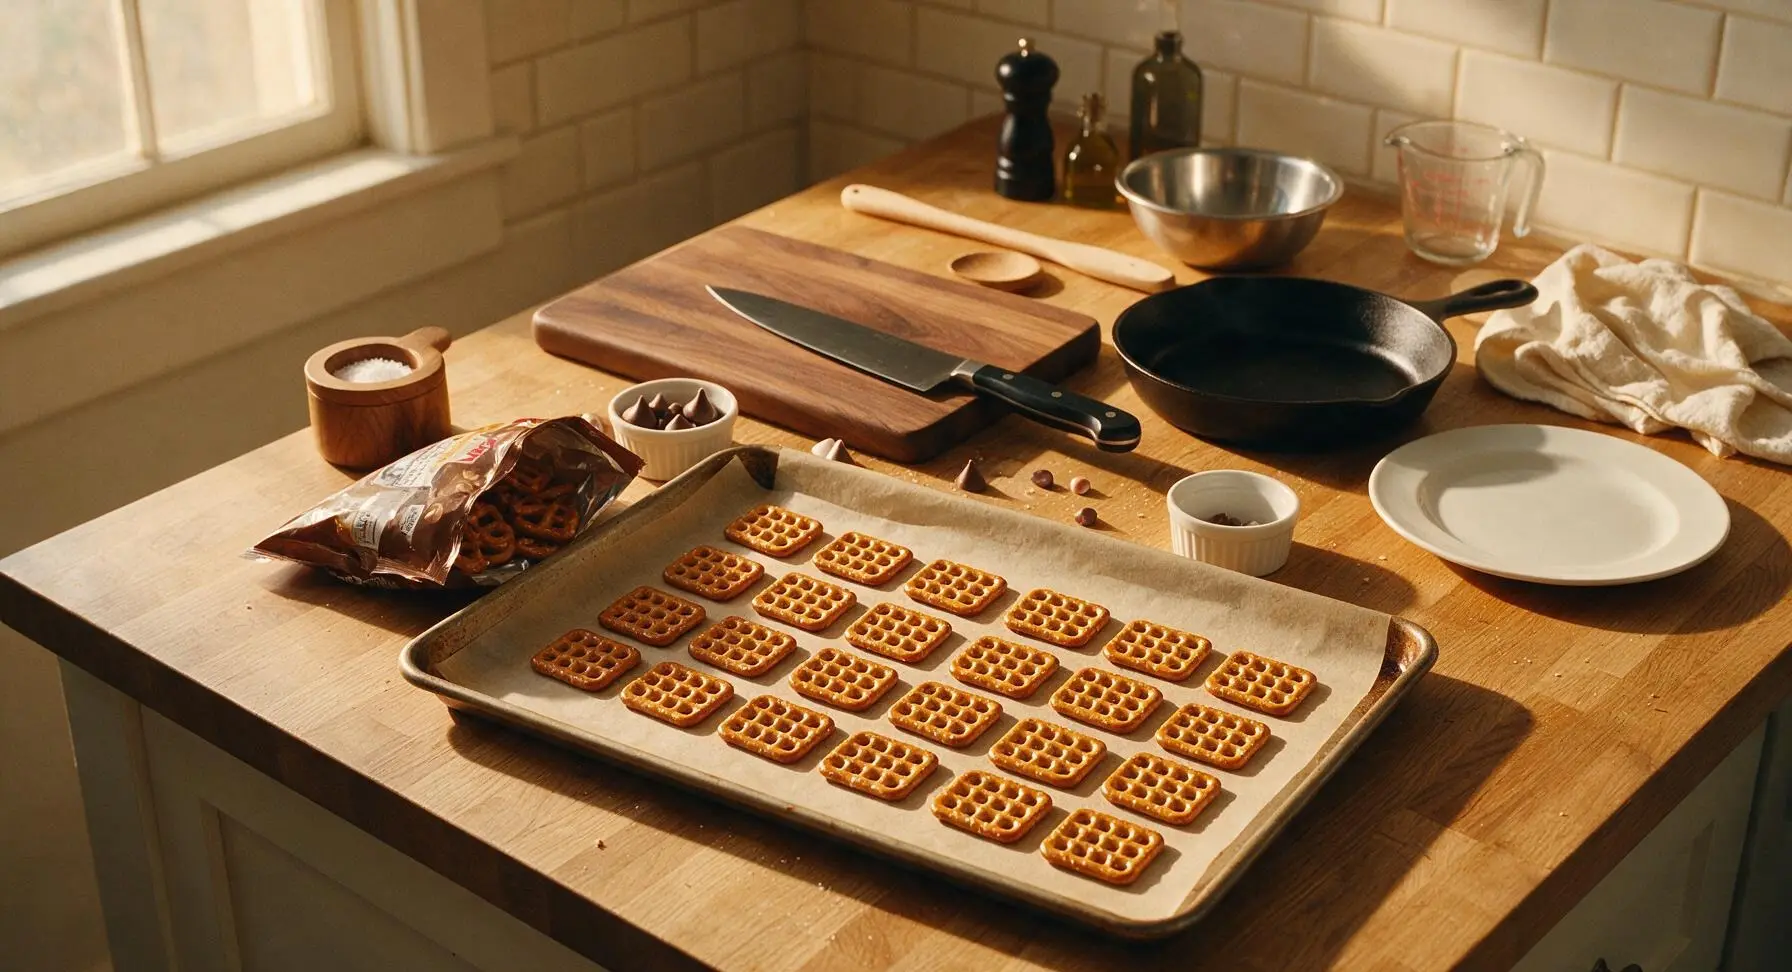
Space the 24 square pretzel snaps in even 4x6 rows across the parchment-lined baking sheet, leaving 1cm of space between each pretzel to prevent melted chocolate from spreading between bites. Ensure every pretzel lies completely flat, with no tilted edges, so the chocolate Kiss will sit securely without sliding off.
Add Chocolate Kisses
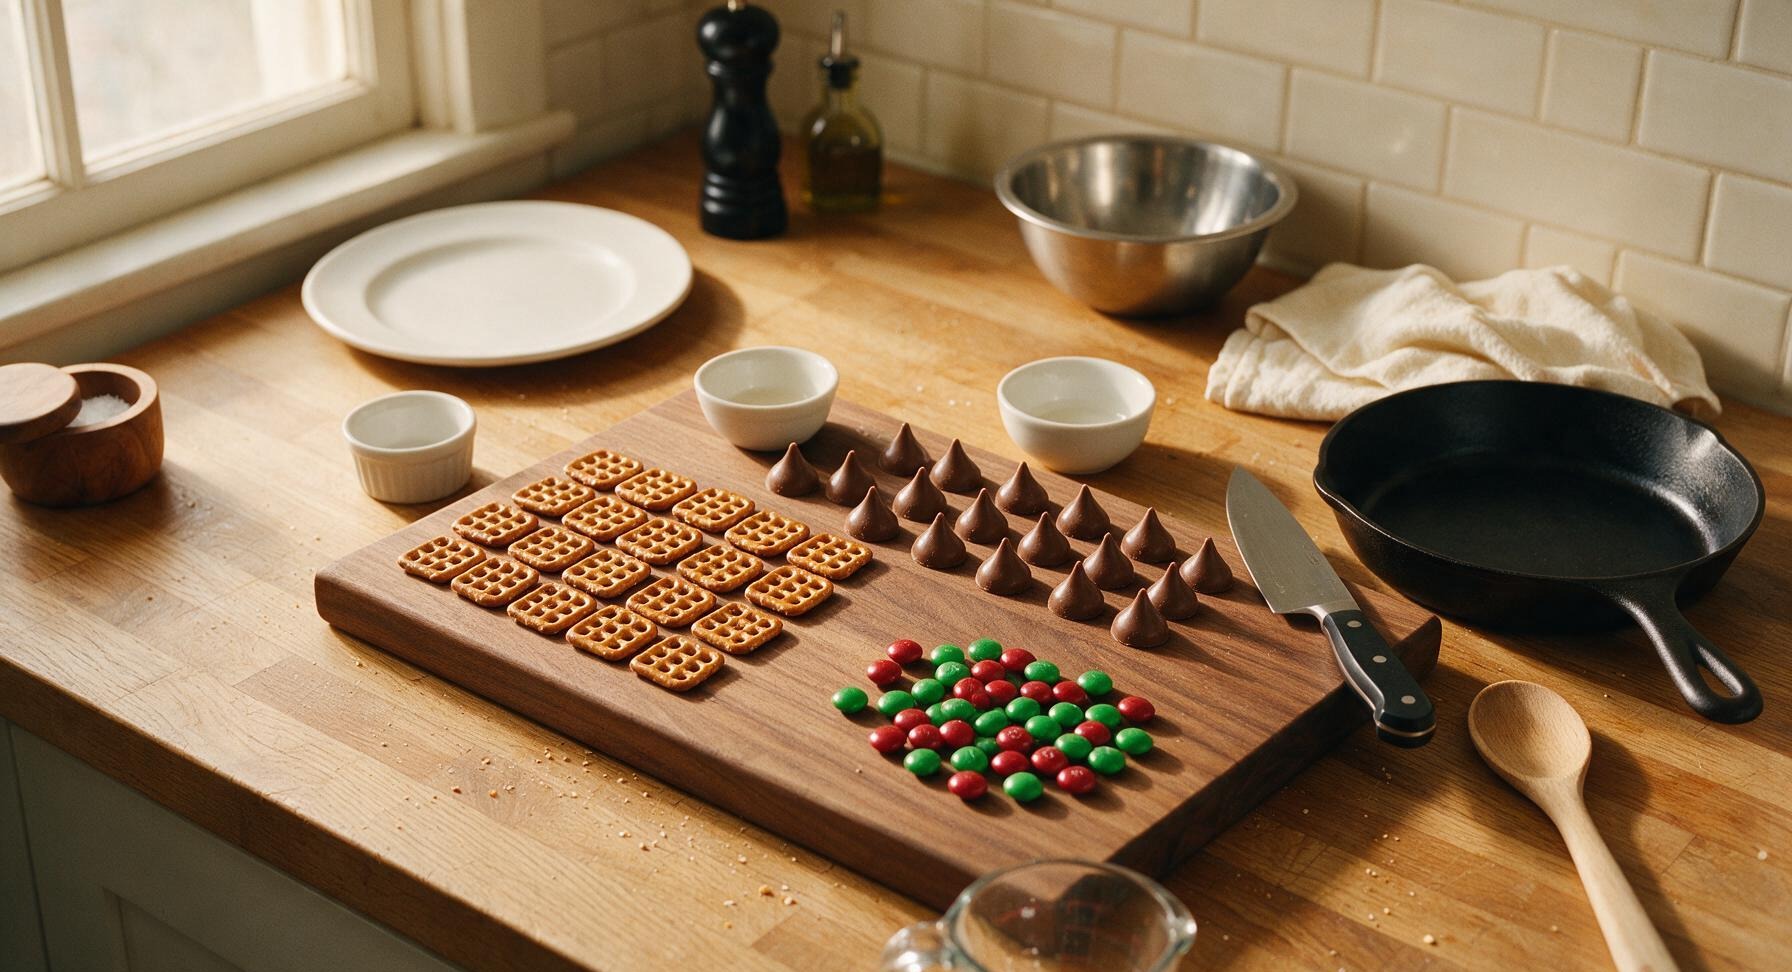
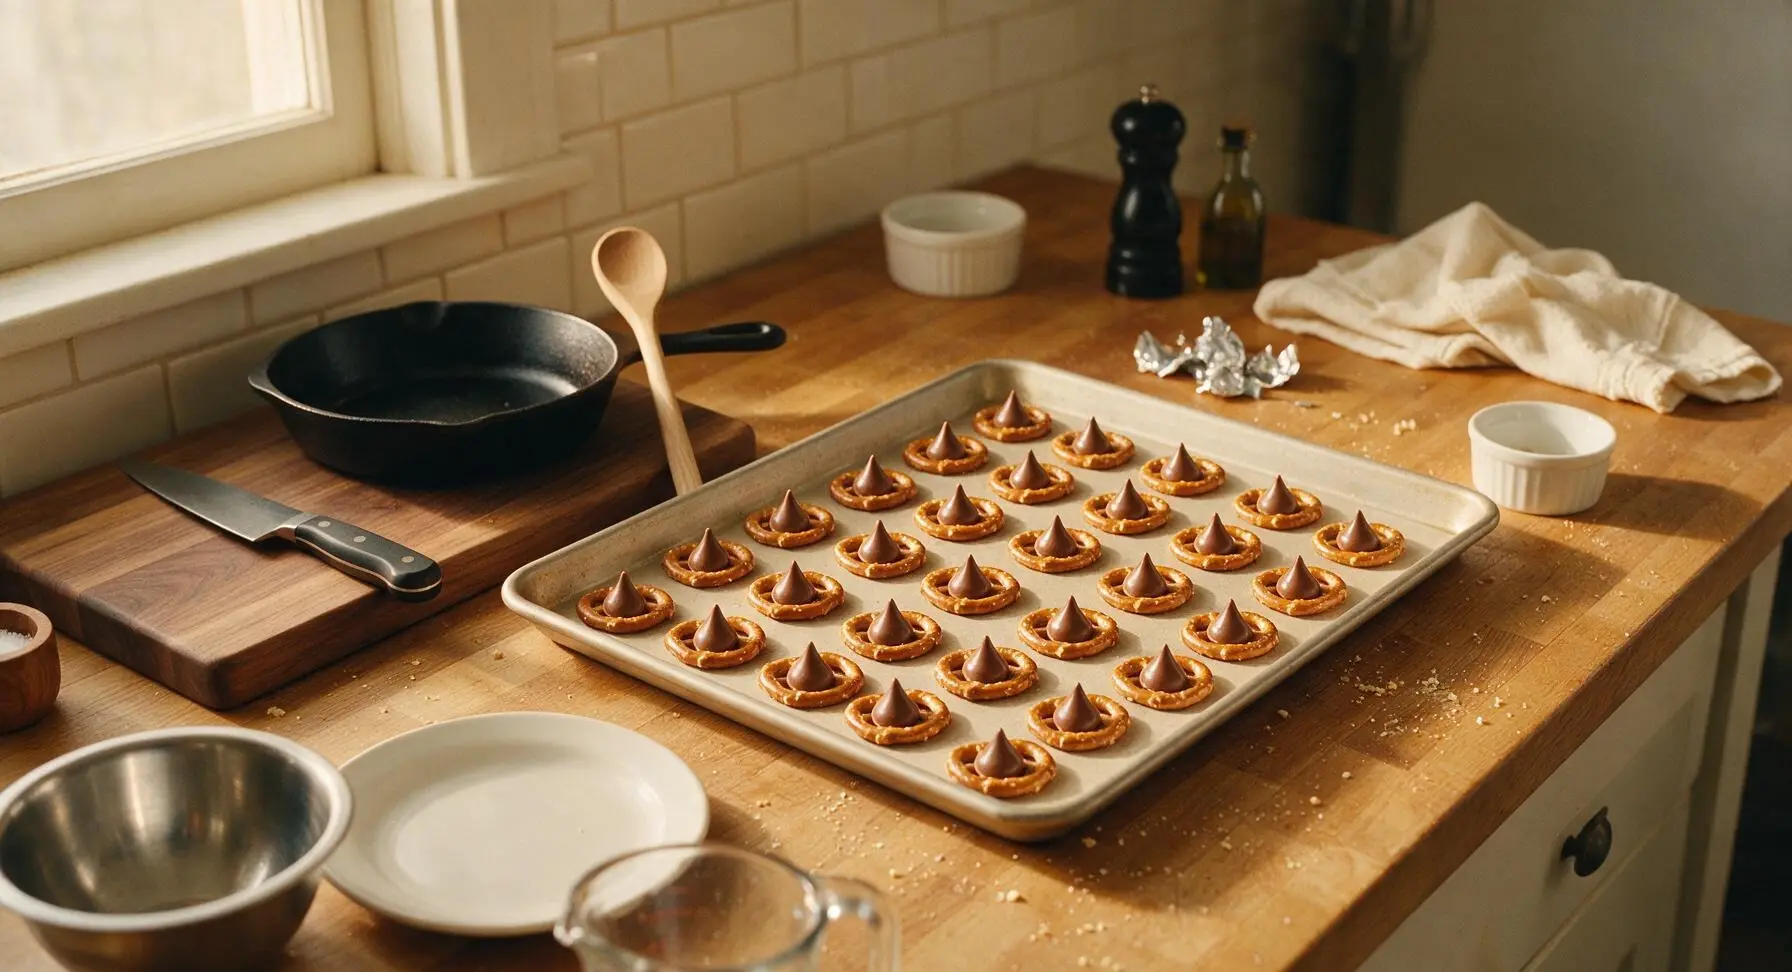
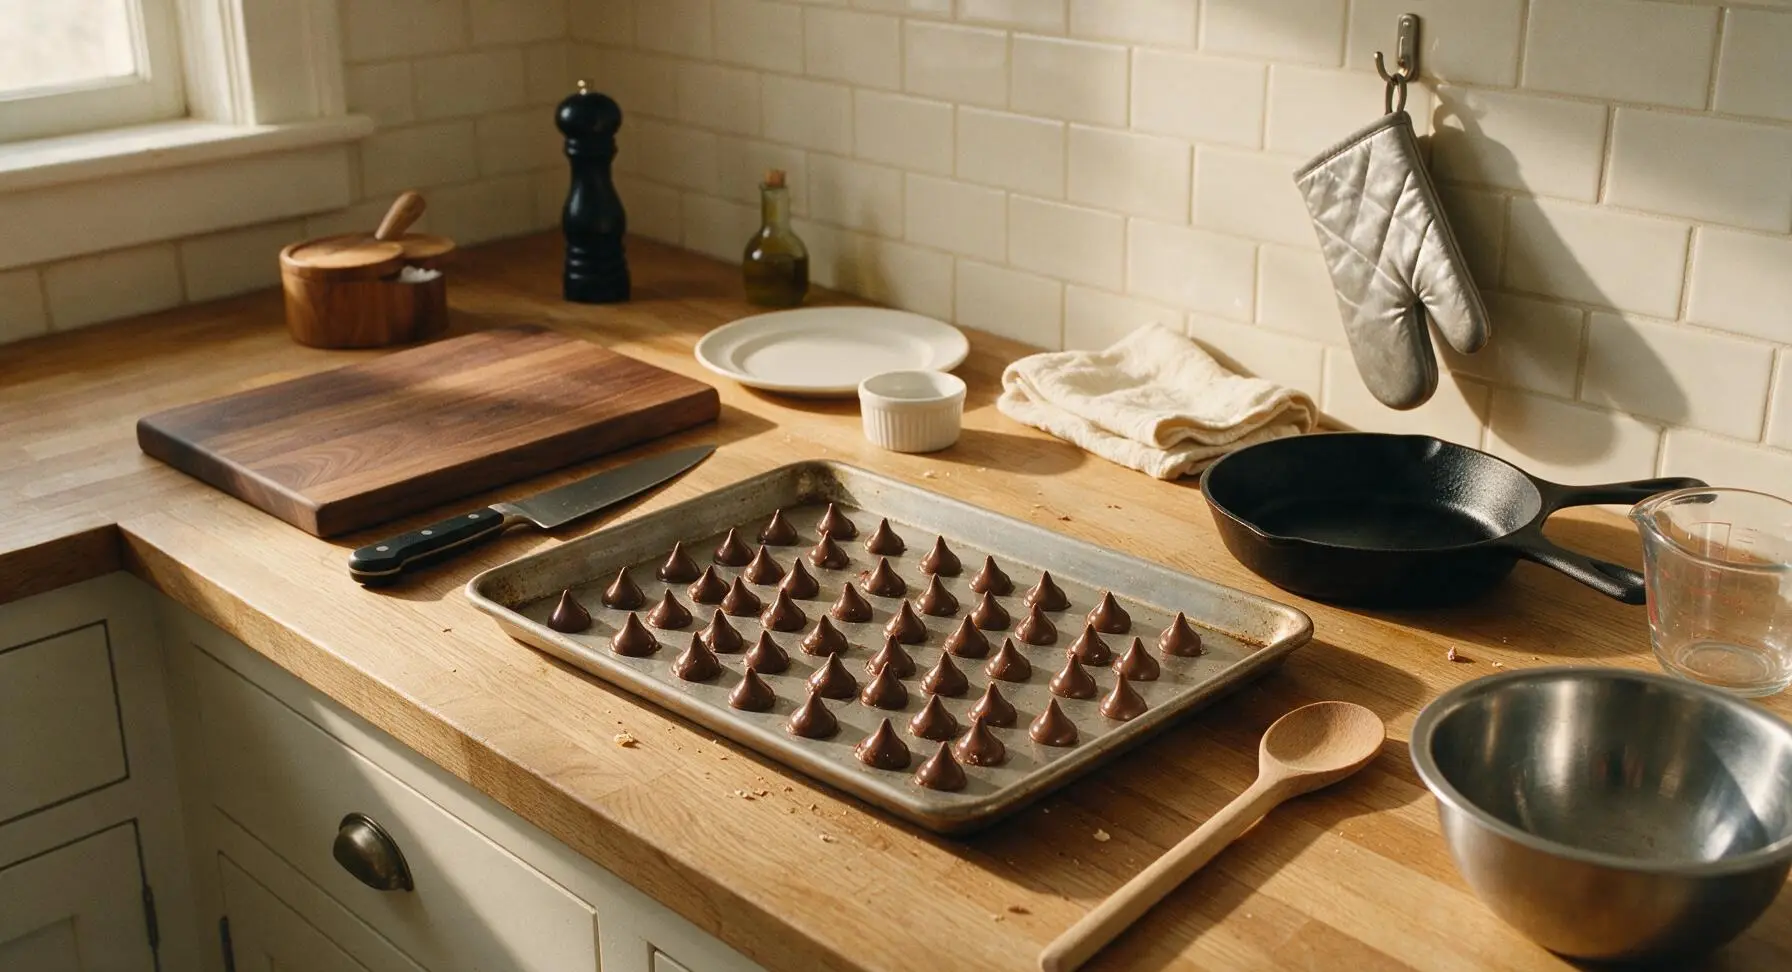
Unwrap all 24 milk chocolate Kisses if you have not already done so, collecting foil wrappers in a temporary pile. Place one unwrapped Kiss, pointy side up, directly in the center of each pretzel square. Press very lightly to make sure the Kiss sits stable and does not roll off the pretzel as you move the pan.
Bake to Soften Chocolate
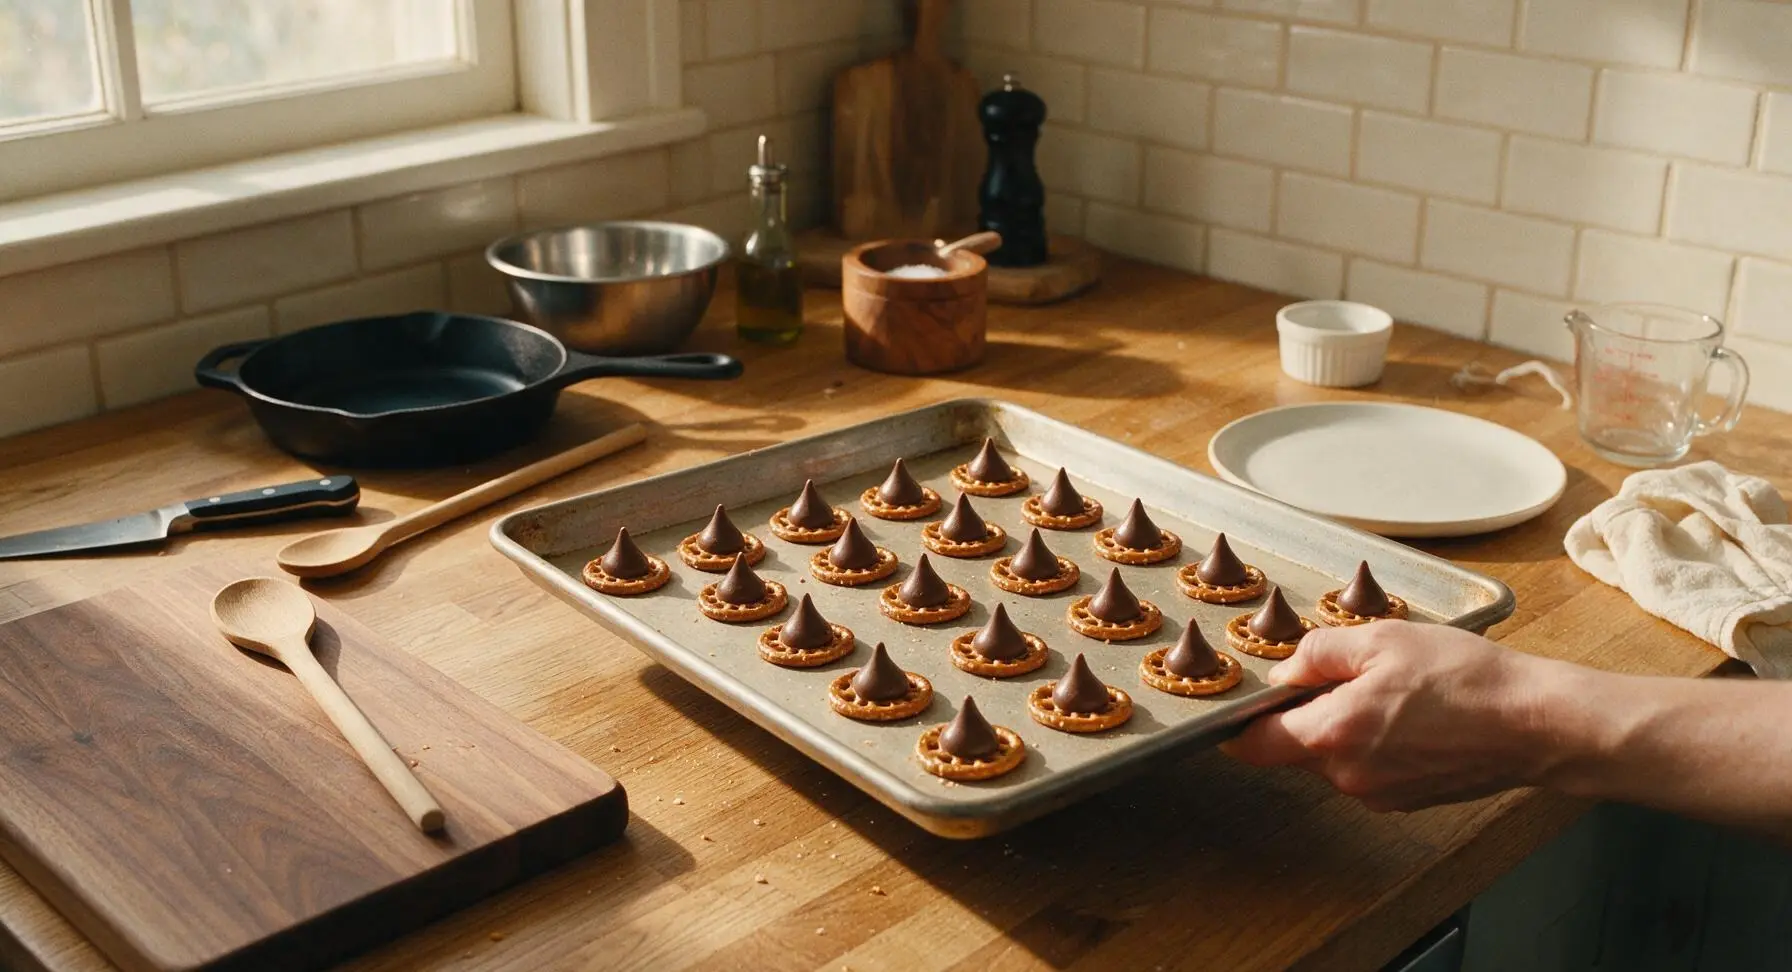
Clear the foil wrappers from the counter, then carefully transfer the baking sheet to the middle rack of the preheated oven. Bake for exactly 3 to 4 minutes, watching closely: the chocolate will look glossy and soft to the touch, but should not be fully melted or runny off the pretzel. Do not overbake, as this will cause the chocolate to seize and turn grainy.
Press Candy Toppings
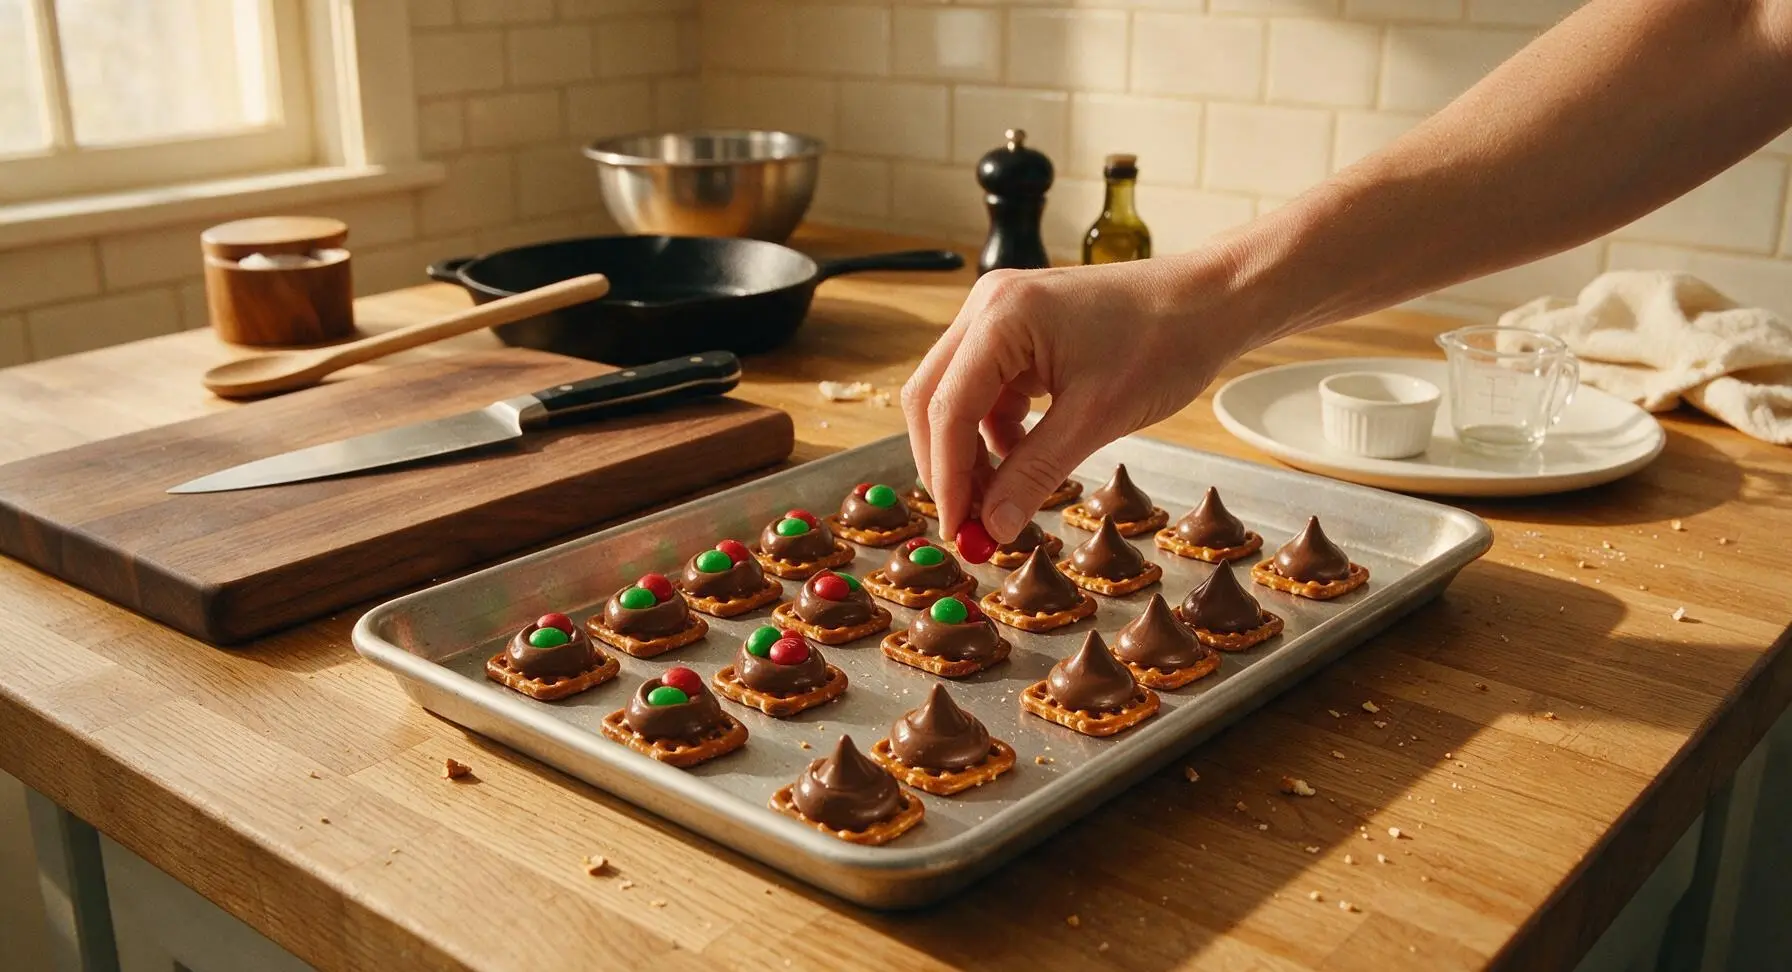
Working quickly while the chocolate is still warm and soft, press one candy-coated chocolate piece directly into the center of each softened Kiss, applying gentle even pressure until the chocolate flattens slightly to cover most of the pretzel surface. Align each candy so it sits straight up for a neat, uniform look. If the chocolate starts to firm up before you finish, you can pop the pan back in the oven for 30 seconds to re-soften.
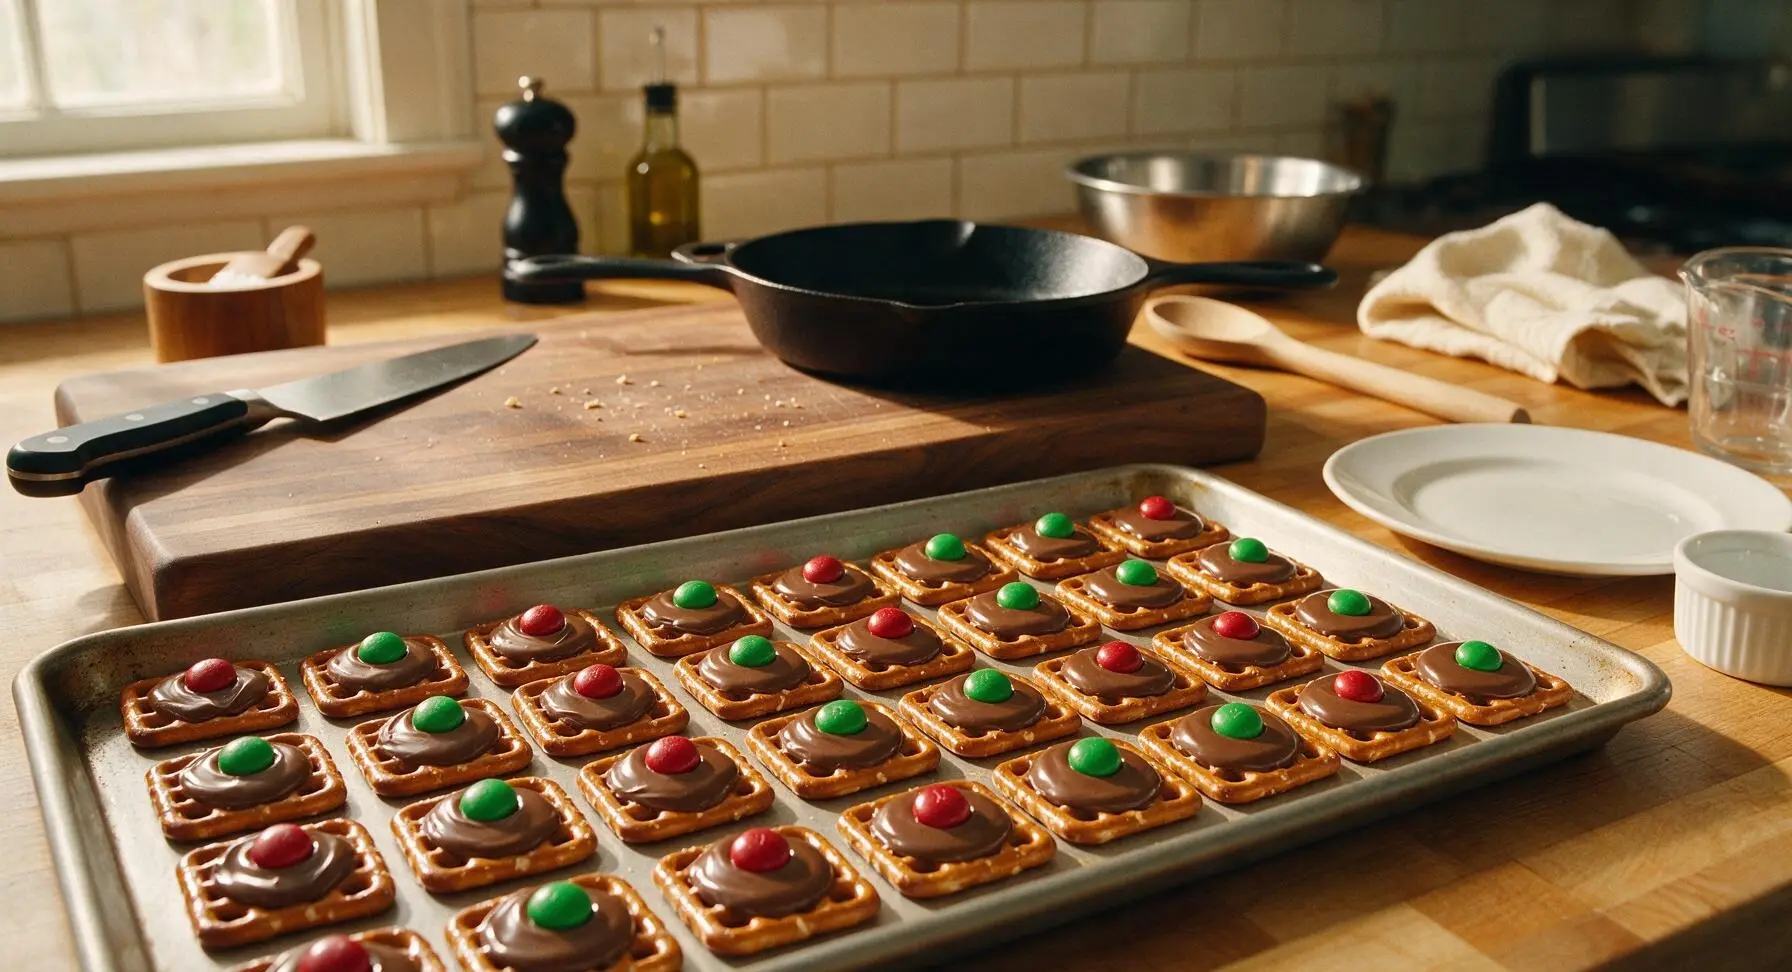
Cool Until Set
Once all candies are pressed, use the small stainless steel offset spatula to carefully transfer each Pretzel Kiss from the warm baking sheet to the chrome wire cooling rack set on the counter. Let the treats cool at room temperature for 20 to 25 minutes, until the chocolate is completely firm and set to the touch. For faster setting, you can place the cooling rack in the refrigerator for 5 to 7 minutes, but avoid leaving them in too long as this can cause chocolate bloom (white powdery patches on the surface).
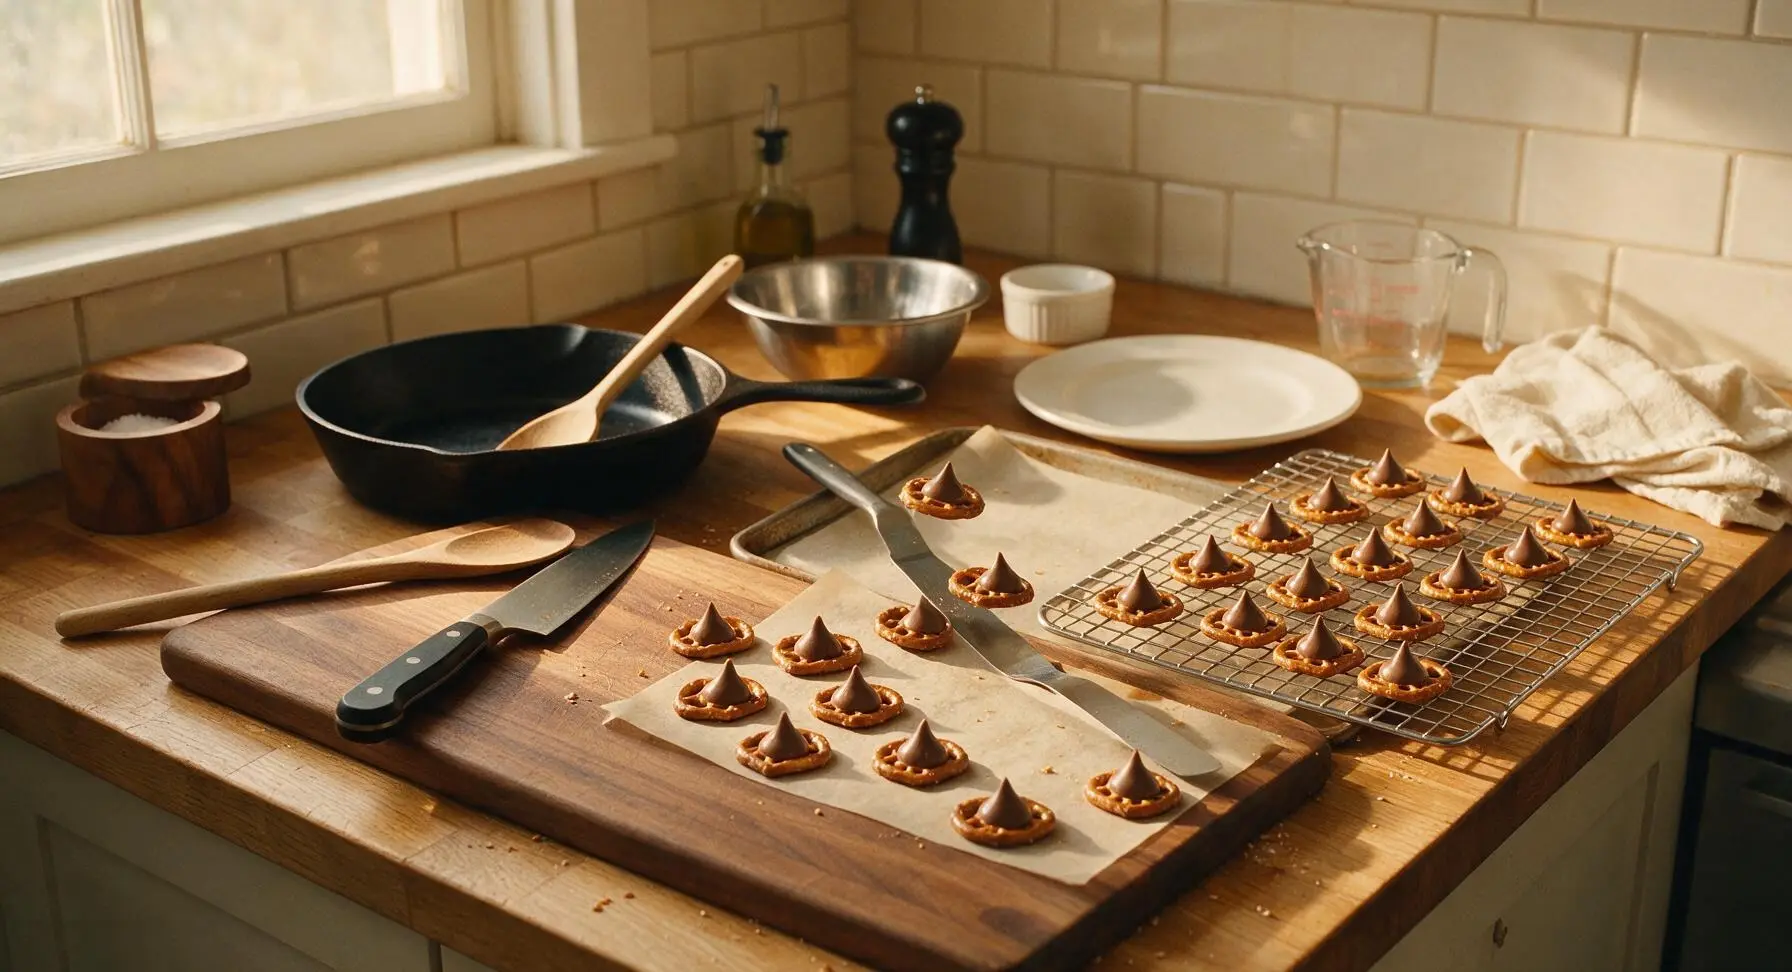
Plate and Serve
Once the chocolate is fully set and firm, transfer the cooled Pretzel Kisses from the cooling rack to the round cream ceramic serving platter, piling them loosely for casual serving. They are ready to eat immediately, or can be stored in an airtight container at room temperature for up to 1 week.
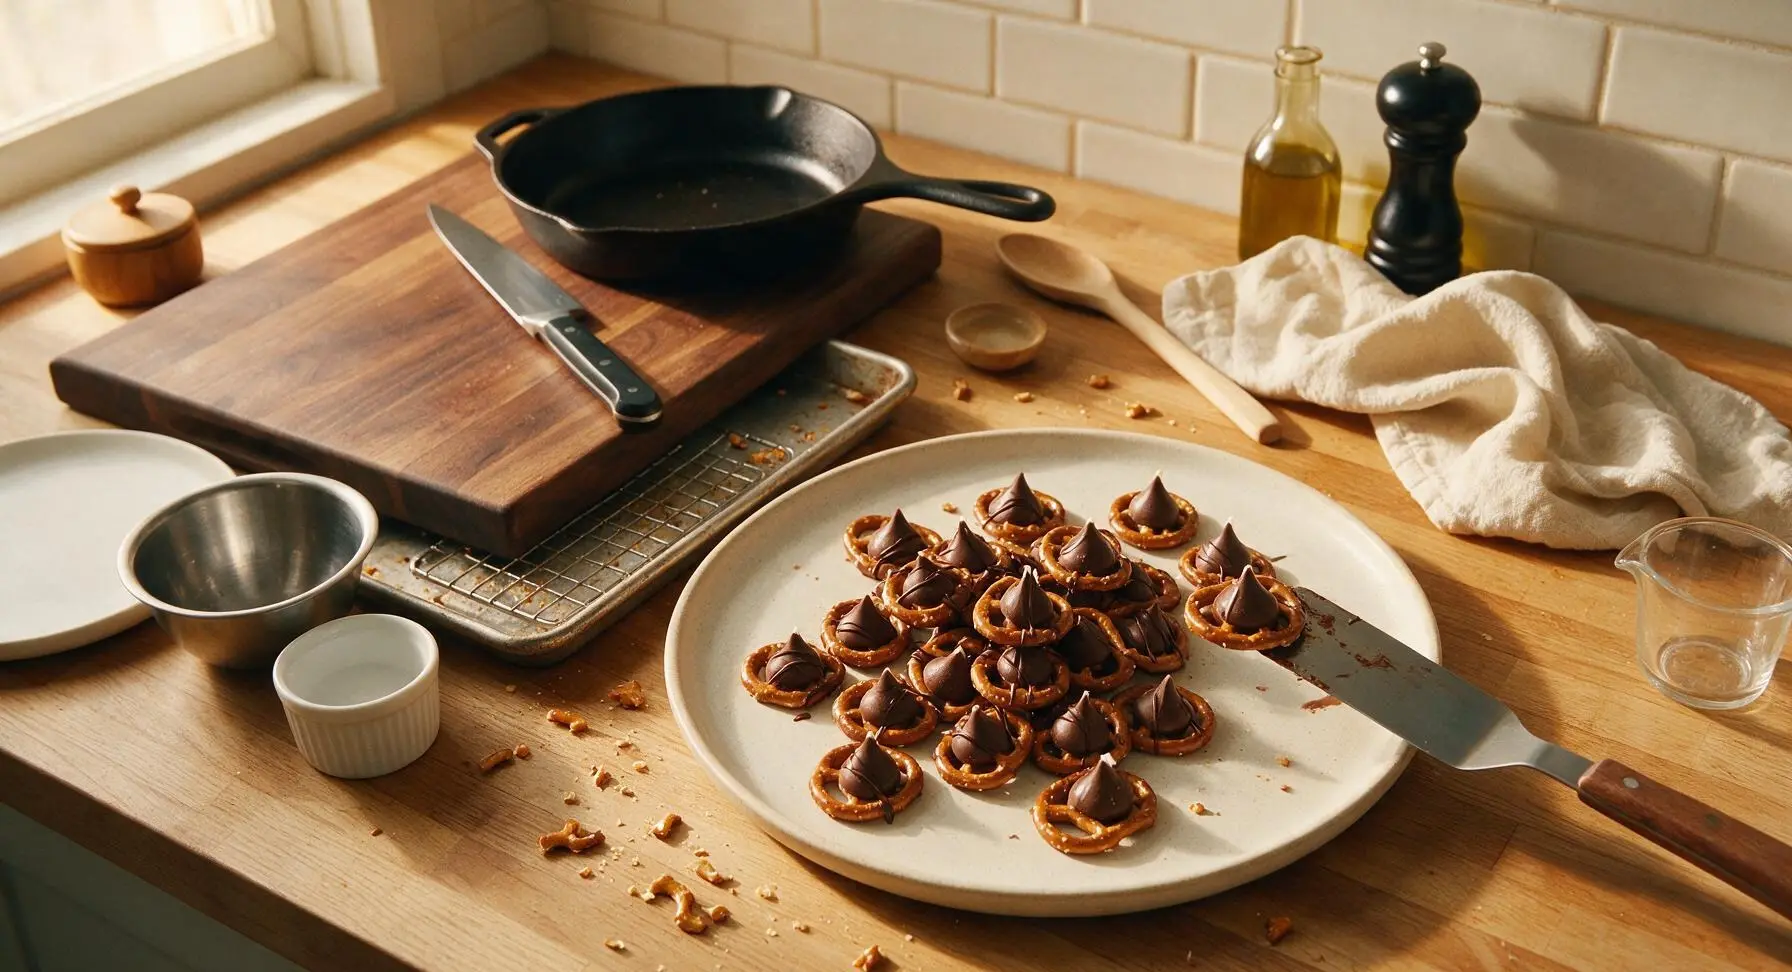
Tips
2.Watch the chocolate closely while baking: milk chocolate softens quickly at 350°F, and overbaking will cause it to seize into a grainy, dull mass instead of melting into a smooth, creamy layer.
3.Let chocolate set at room temperature if possible: quick-chilling in the fridge for too long can cause chocolate bloom, a harmless but unappetizing white powdery coating on the chocolate surface that ruins its glossy finish.






OMG these are SO good! I made these last night for my boys’ after school snack and they devoured the whole batch in 10 minutes flat. I can’t believe the cook time is only 4 minutes — I spent longer getting the ingredients out of the pantry than I did baking them! 10/10, will be making these for our next neighborhood potluck for sure.
Total game changer! I’ve been looking for super easy treats to add to my holiday cookie tins and these are going to be a permanent addition. No fancy skills required, zero mess, and that sweet-salty combo is unbeatable. I used dark chocolate kisses this time and can’t wait to try the caramel filled ones next.
Made these at 1am after getting home from a concert when I was desperately craving something sweet. Had a random bag of pretzels and a bag of hugs left over from Halloween, threw em in the oven for 4 minutes, and honestly? Best late night snack I’ve made in months. So easy even when you’re half delirious tired. Knocked a star off because I burned the first batch when I got distracted looking for my leftover concert merch, oops — totally my fault though, the recipe is perfect!
I was skeptical something this easy could actually taste good, but wow — these are incredible! I made a big batch on Sunday for my work meal prep sweet treats, and they held up perfectly all week. No sogginess, no weird texture, just perfect chewy-crunchy chocolatey goodness. Even my picky coworker asked for the recipe!
My kids loved it! We made these together for their elementary school class party, and every single kid came back for a second one. It was the perfect activity for my 6 and 8 year old to help with — no sharp tools, no complicated steps, just lay pretzels, plop a kiss on top, bake, press a candy on. Will be a go-to for every class party from now on!