
pulled chicken dutch oven
intro
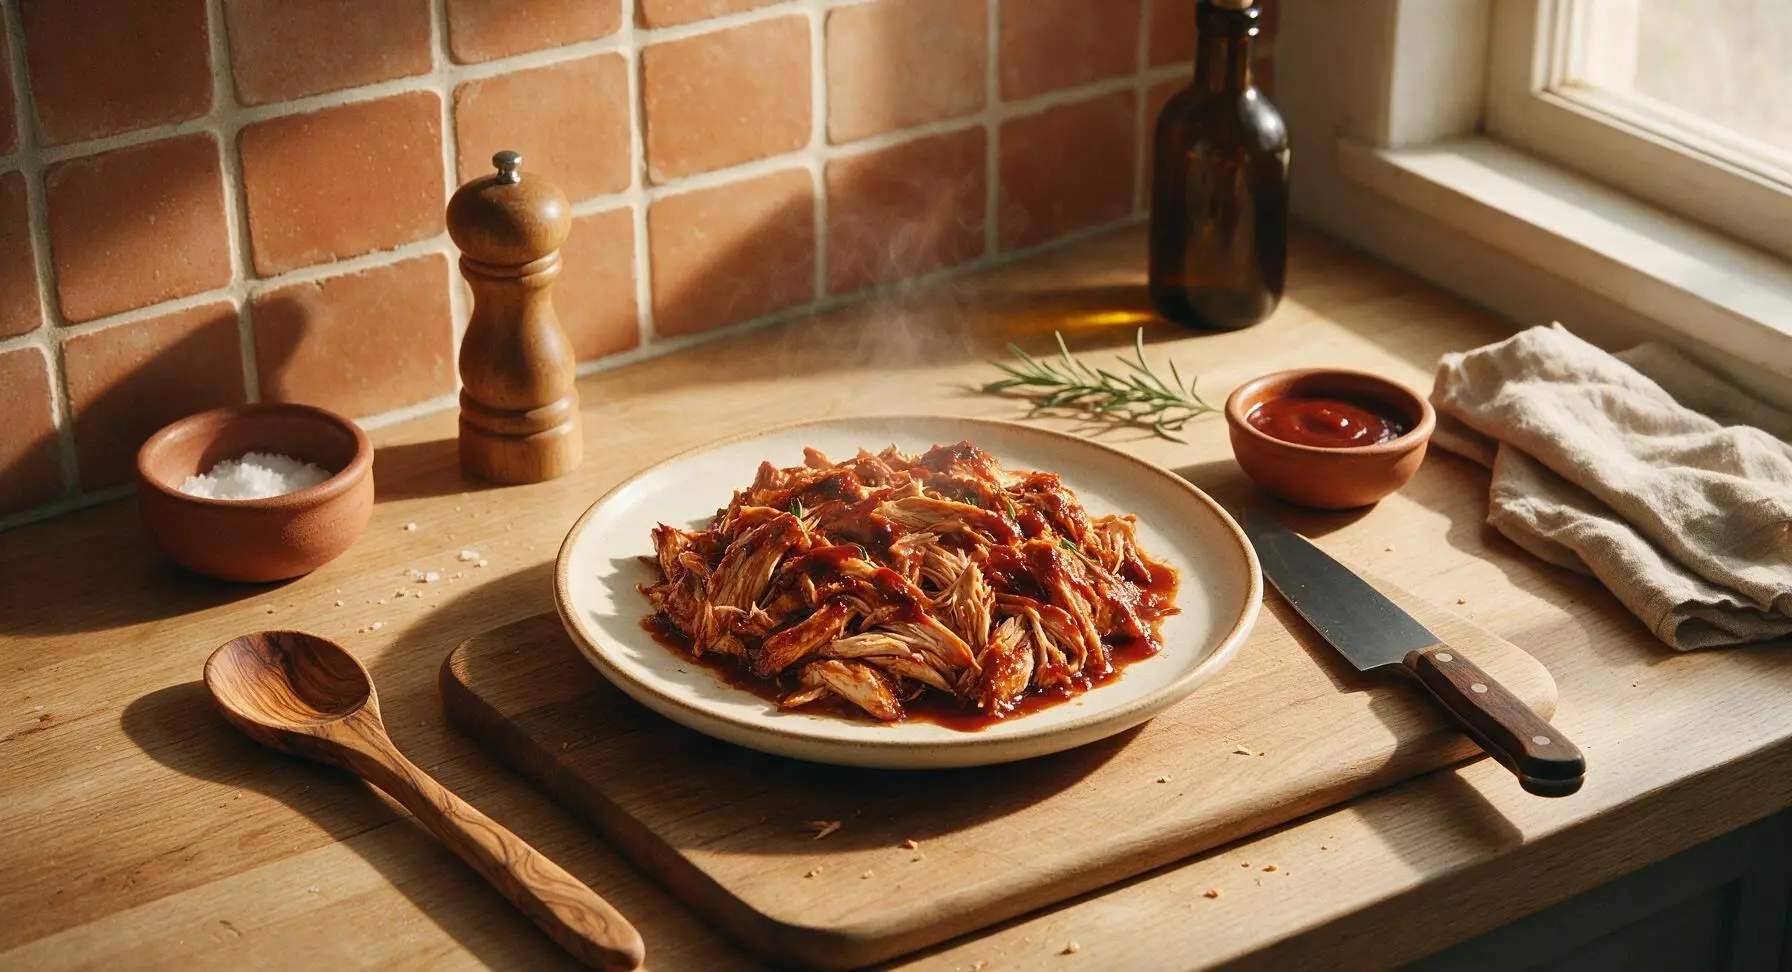
Juicy, fall-apart tender pulled chicken coated in smoky tangy BBQ sauce, made simple in a Dutch oven with no smoker required—perfect for summer cookouts.
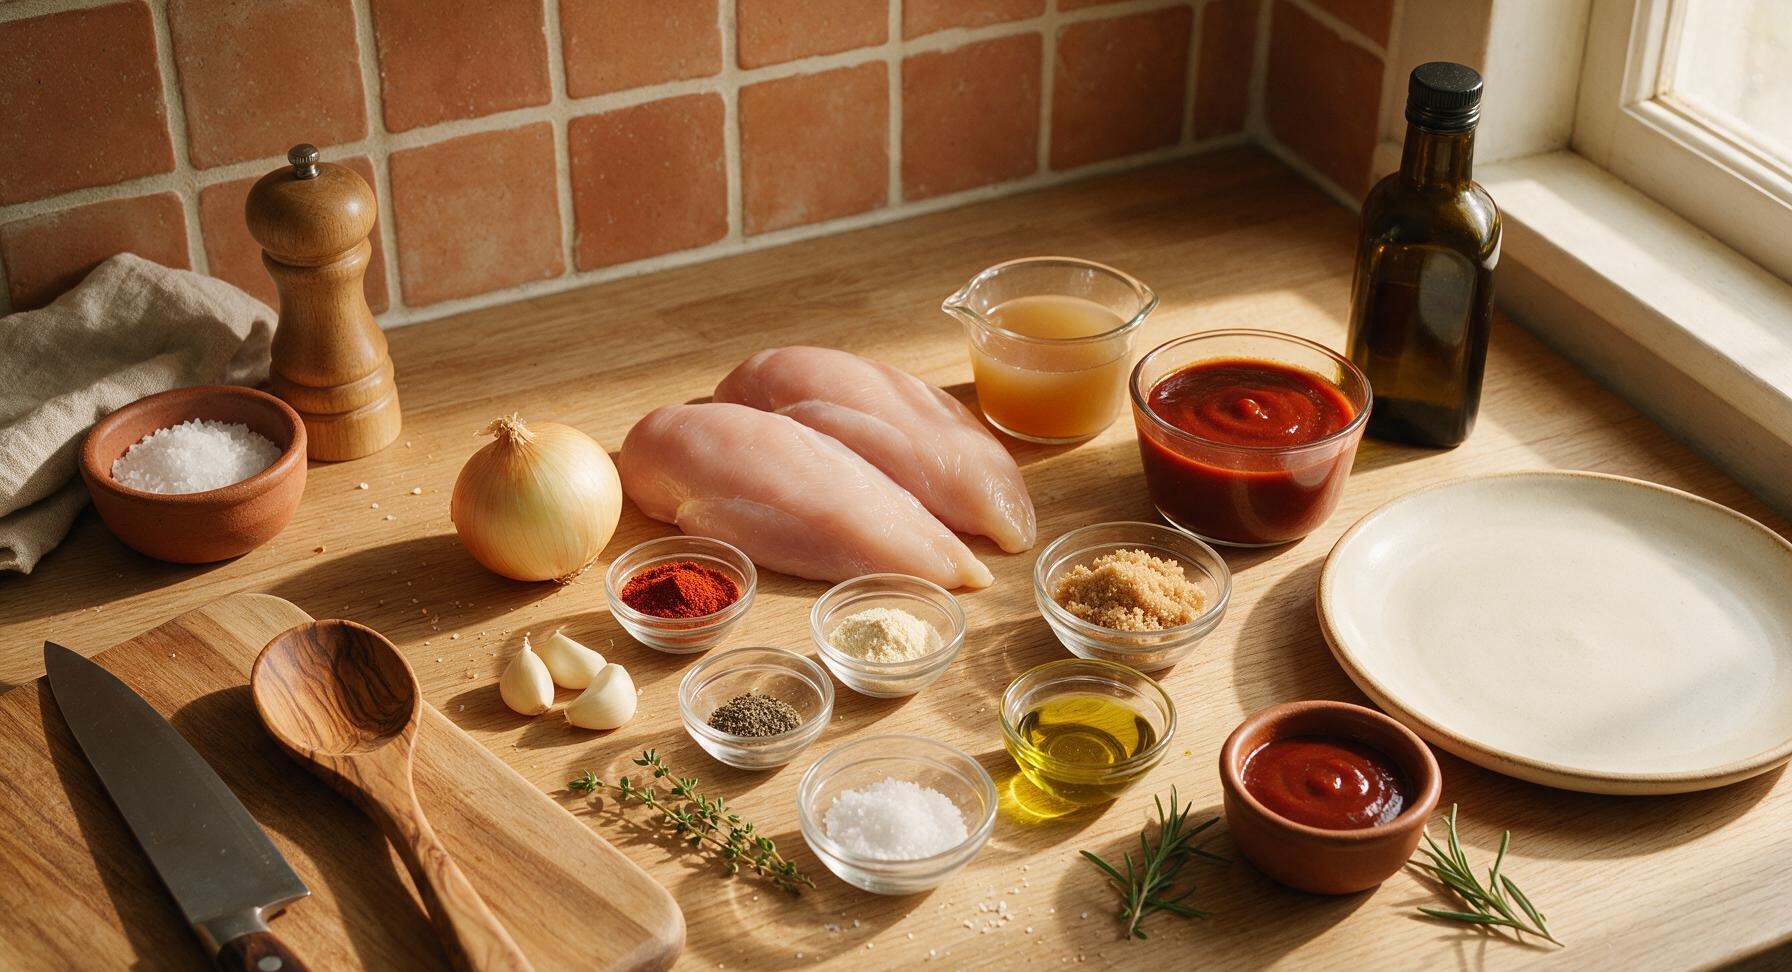
Ingredients
Steps
Prep Aromatics and Spices
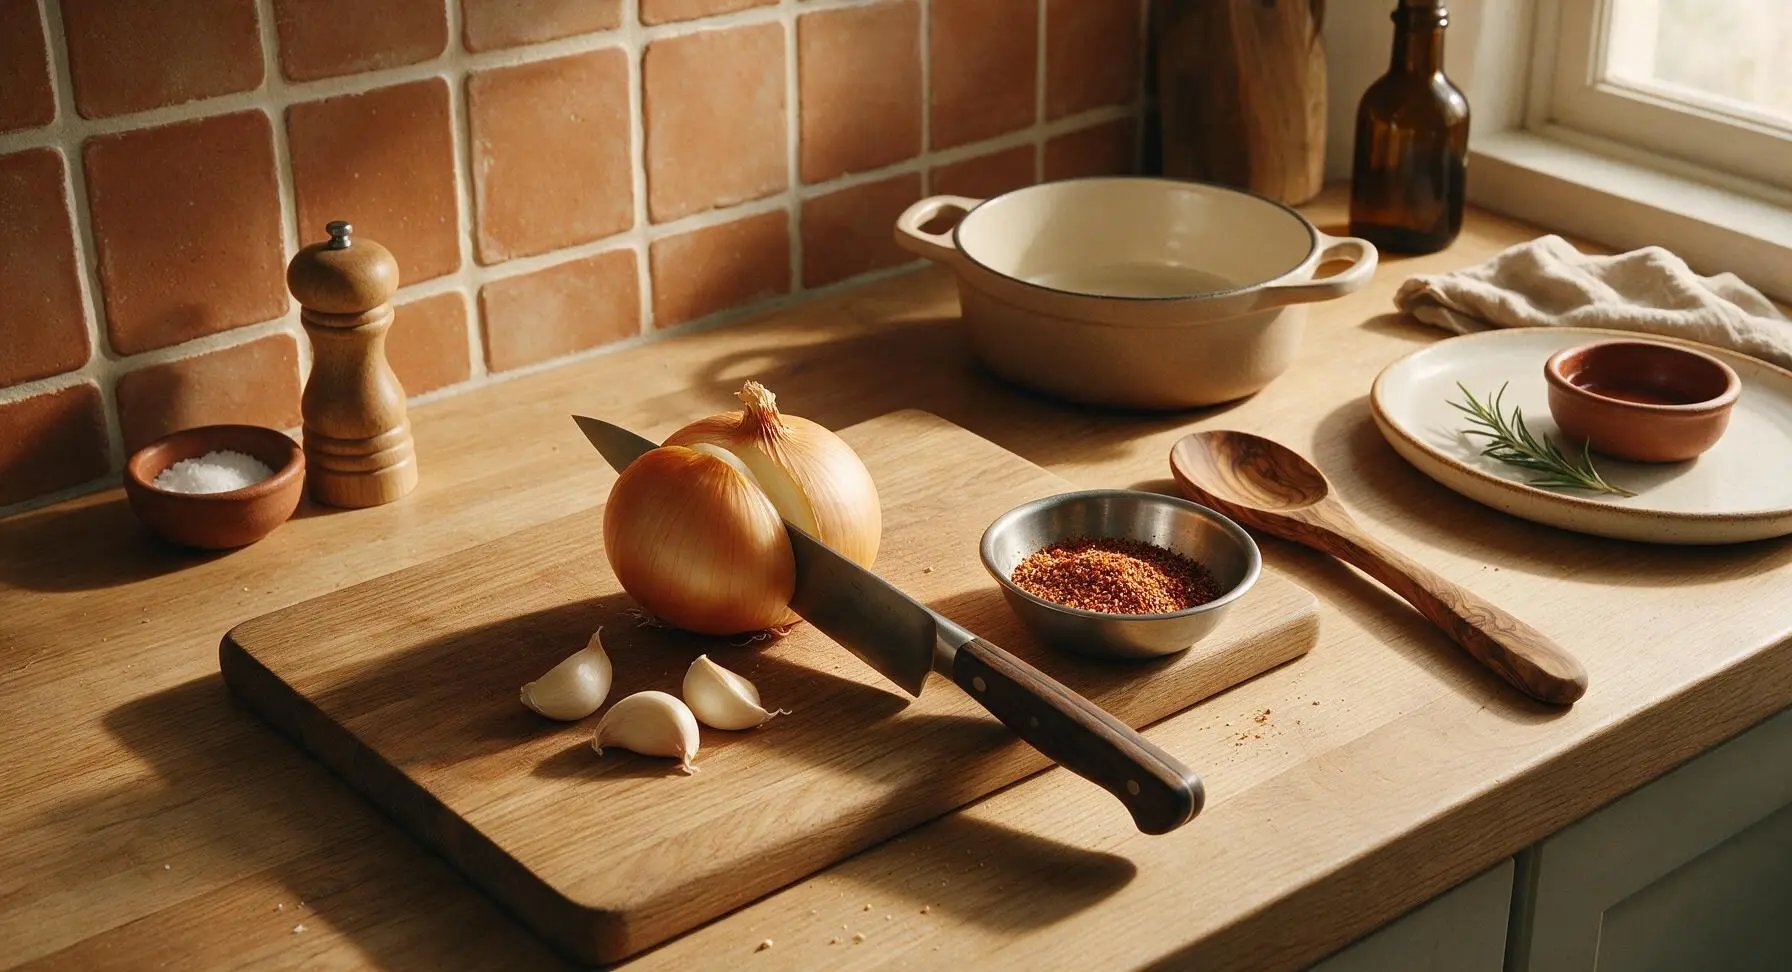
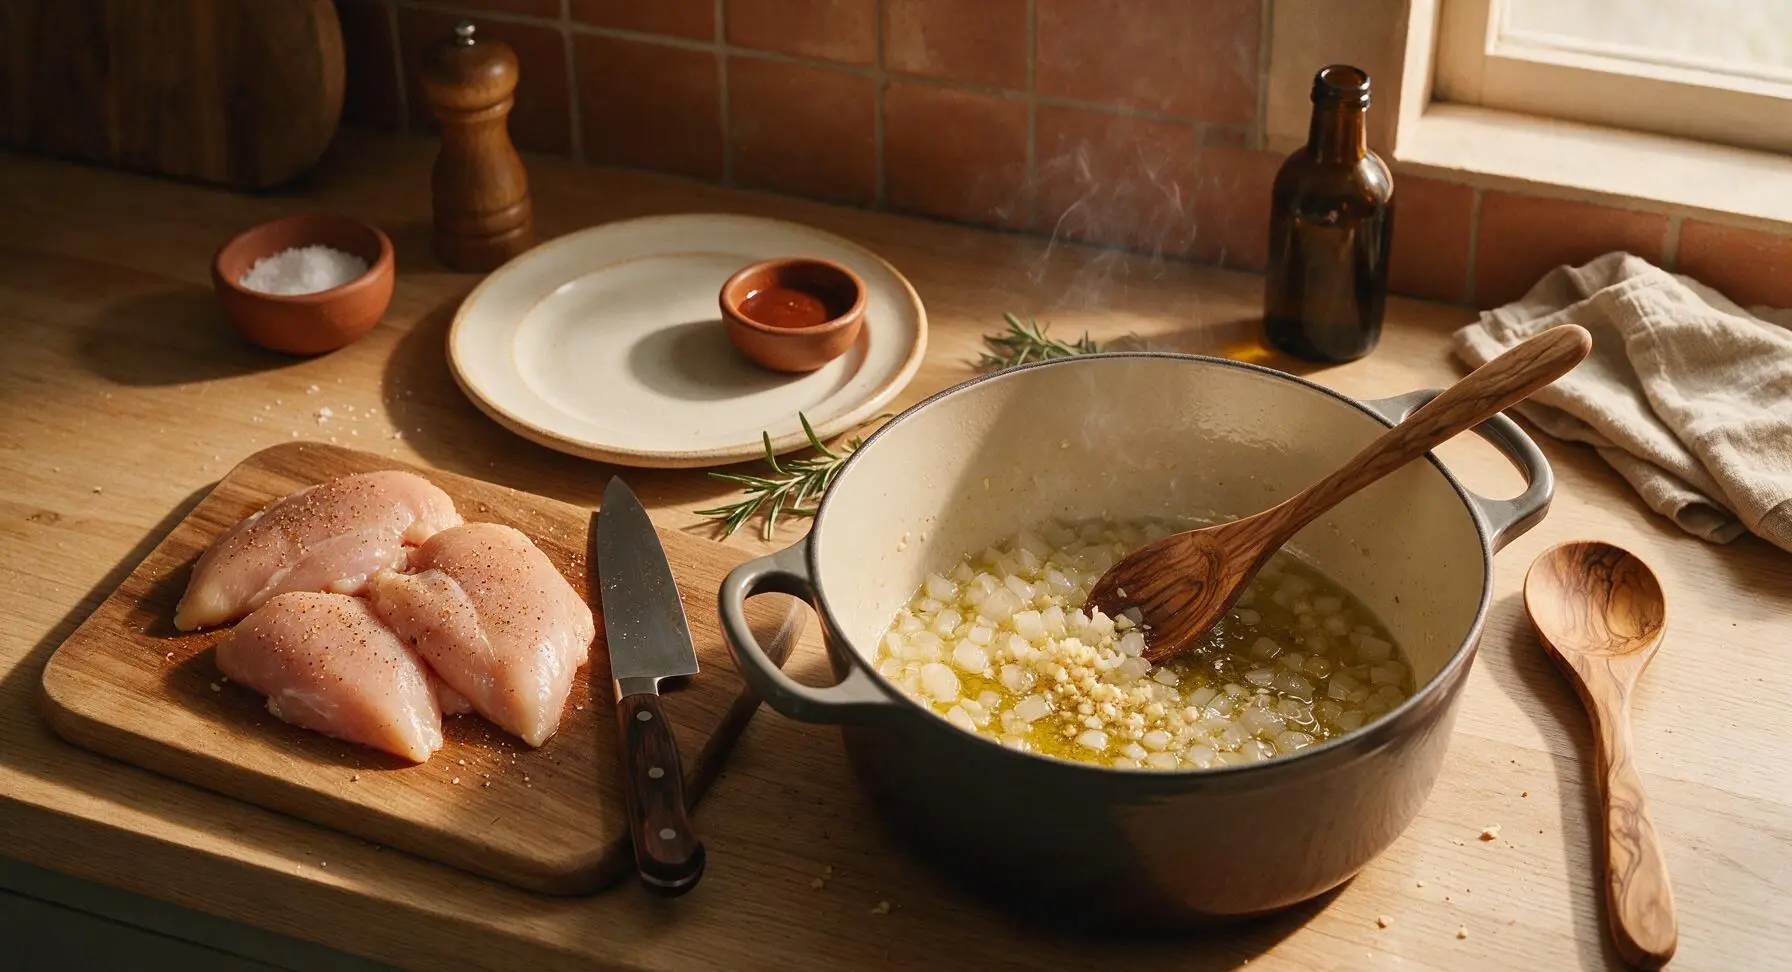
Place the small yellow onion and 3 garlic cloves on the thick end-grain maple cutting board. Use the 8-inch chef knife to dice the onion into 1cm pieces, and mince the garlic finely. In the small stainless steel mixing bowl, combine 1 tablespoon smoked paprika, 1 teaspoon garlic powder, 1 tablespoon light brown sugar, 1 teaspoon kosher salt, and 1/2 teaspoon ground black pepper, stirring to mix into an even spice blend.
Season the Chicken
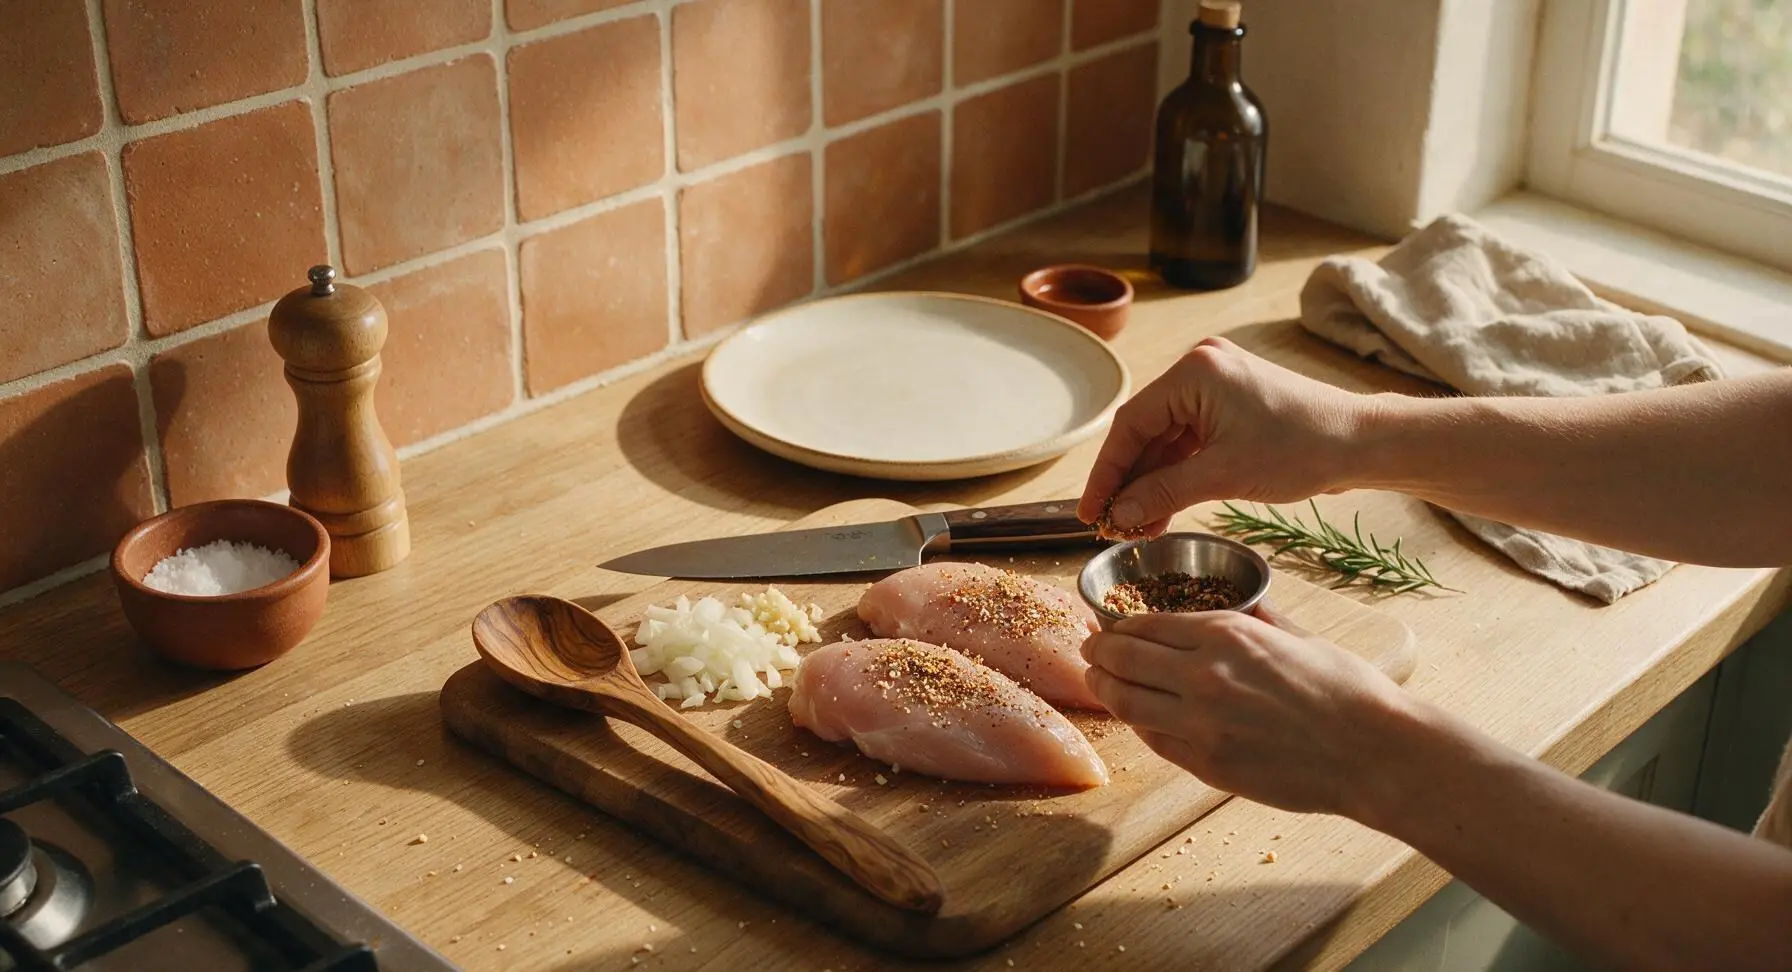
Pat the 680g chicken breasts completely dry using a clean corner of the indigo cotton kitchen towel. Rub two-thirds of the prepared spice mix evenly over all sides of the chicken breasts, pressing gently to help the spices adhere firmly to the meat surface. Set the remaining one-third of the spice mix aside to use when cooking the aromatics.
Sauté Aromatic Base
Heat 1 tablespoon extra-virgin olive oil in the 5.5-quart enameled Dutch oven over medium stovetop heat. Add the diced onion, sauté for 3-4 minutes, stirring occasionally with the walnut cooking spoon, until soft and translucent. Add the minced garlic and reserved one-third spice mix, cook for 30 seconds until fragrant, taking care not to burn the garlic (burnt garlic adds a bitter, unpleasant taste to the final dish).
Sear Chicken Breasts
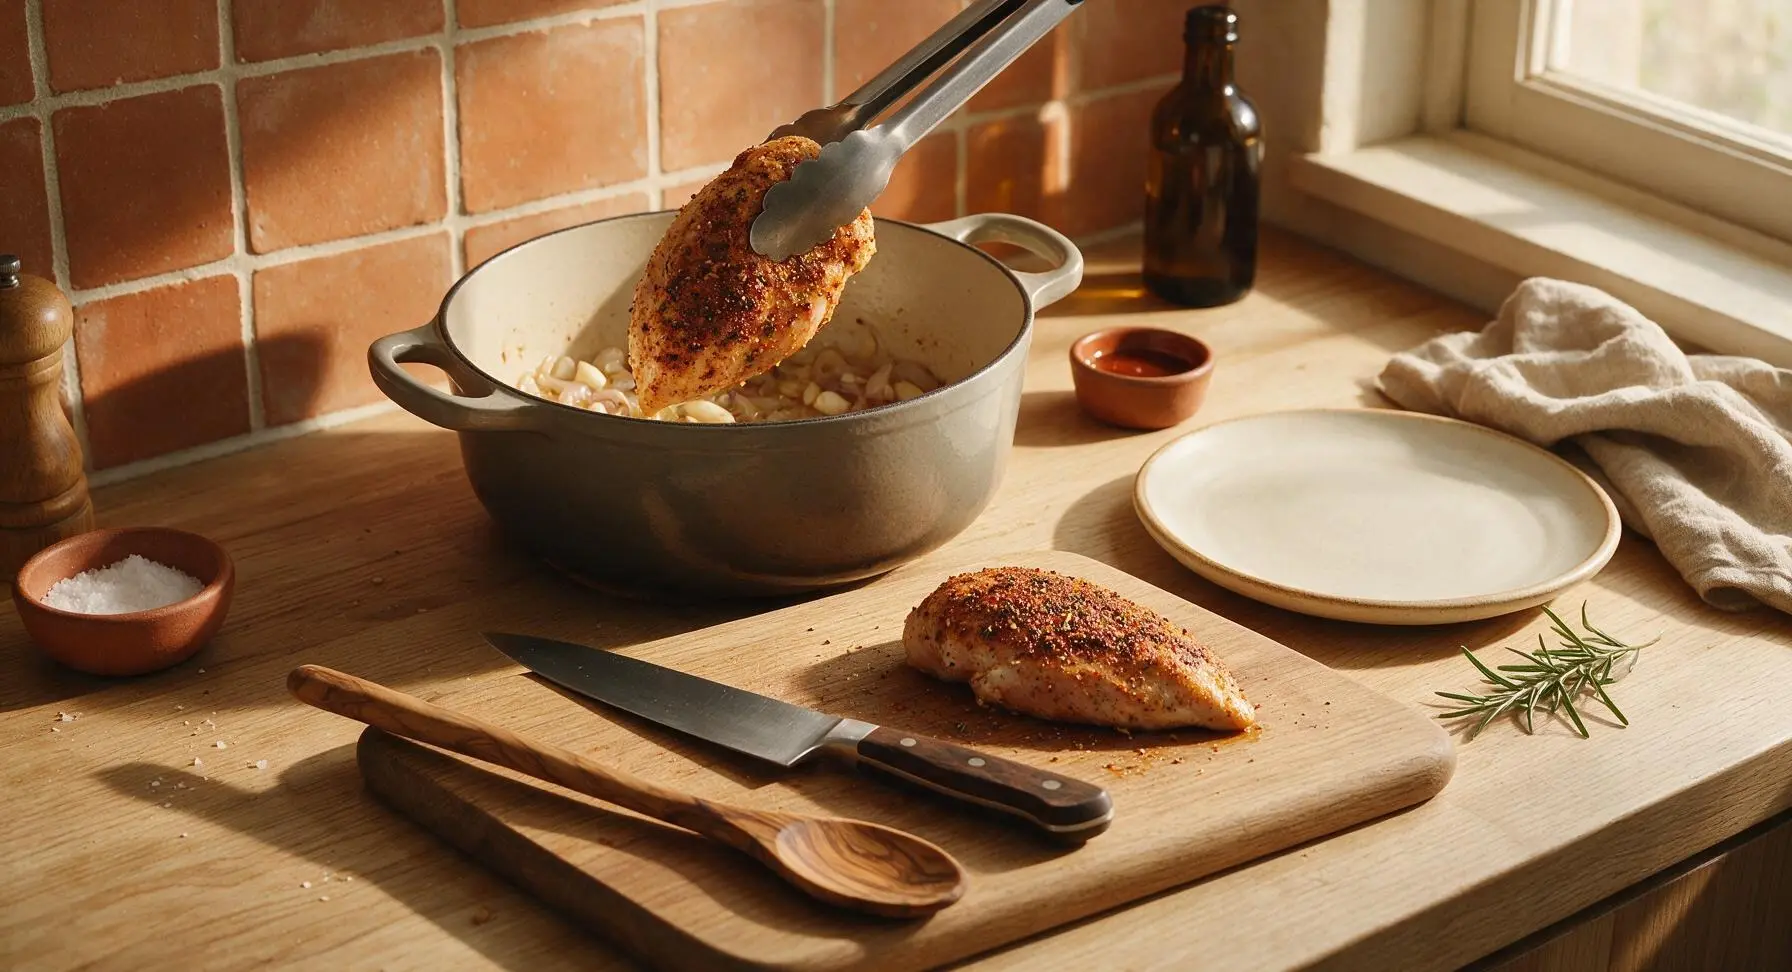
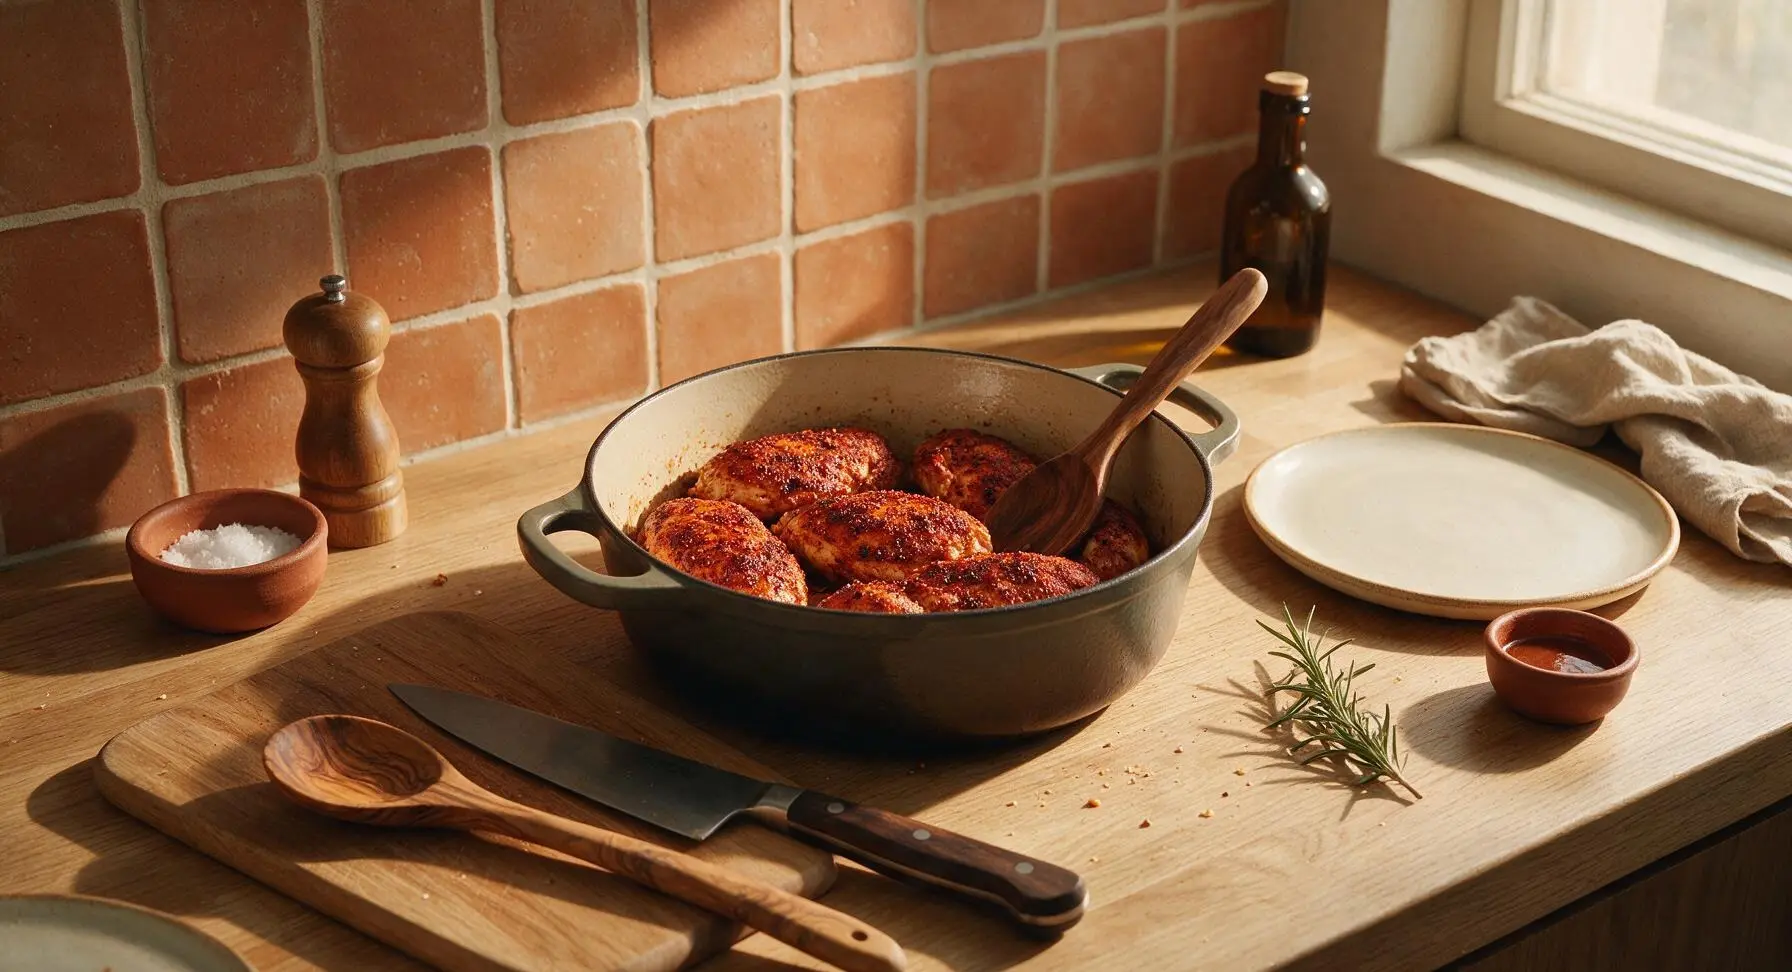
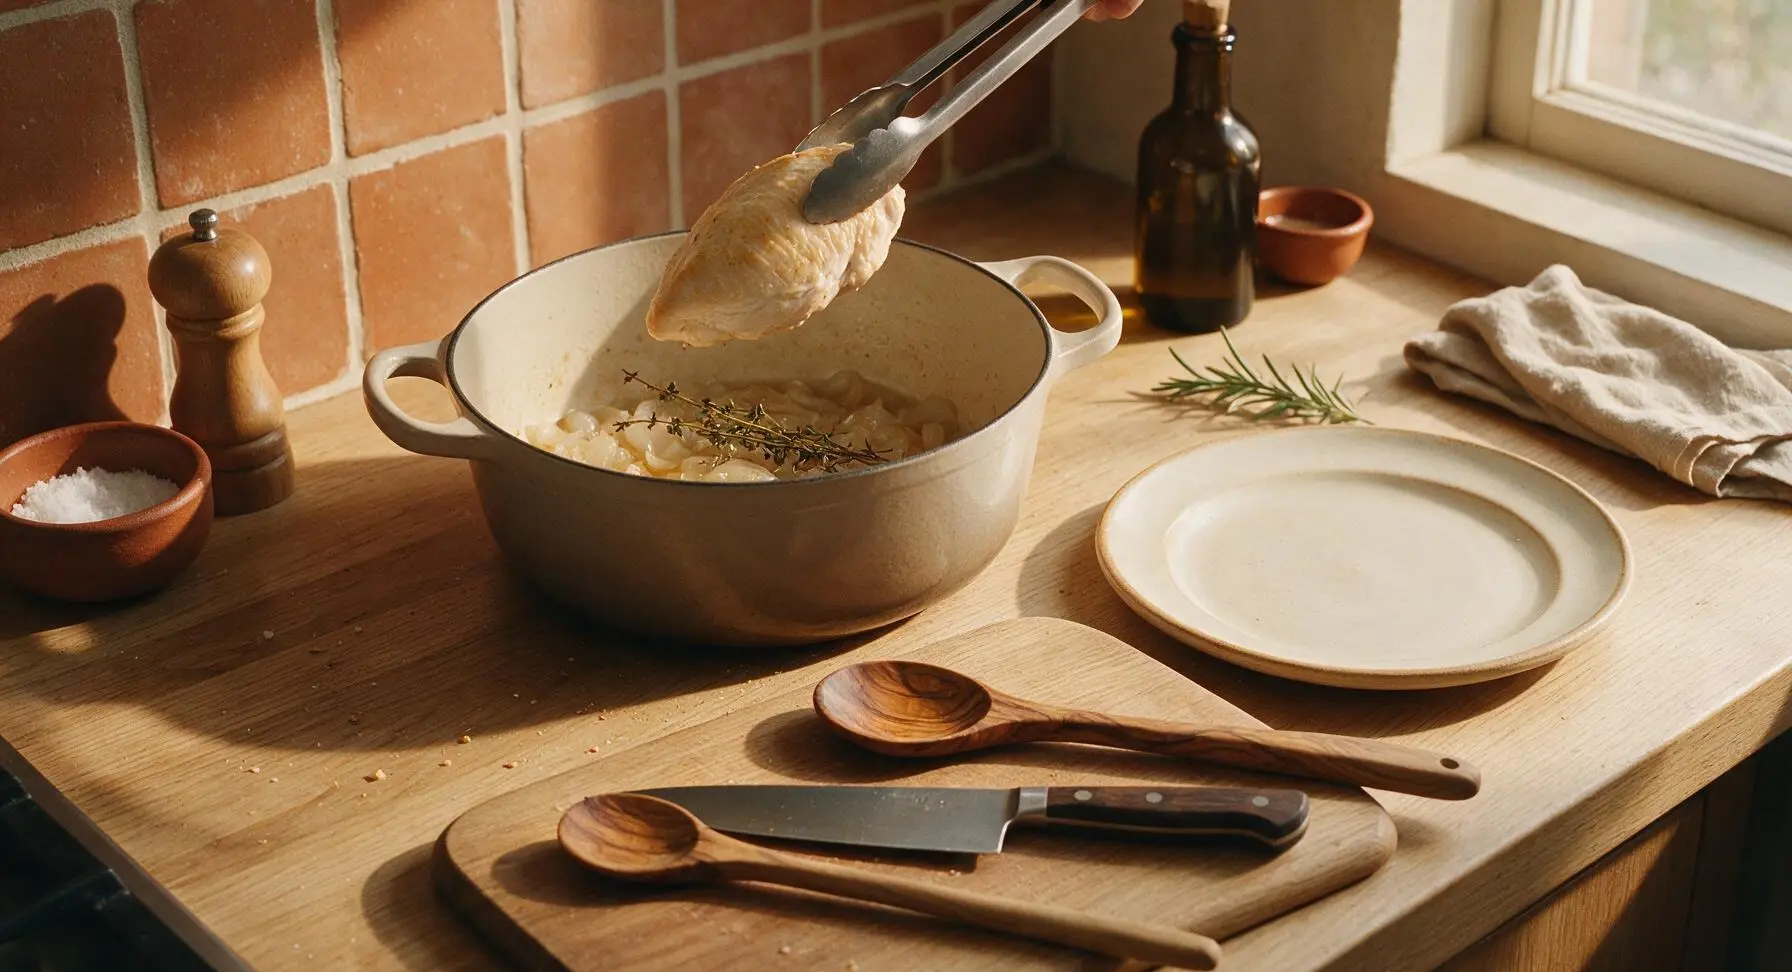
Use the brushed stainless steel tongs to place the spiced chicken breasts into the Dutch oven on top of the sautéed aromatics. Sear for 2 minutes per side, until the spice rub forms a deep reddish-brown crust on the chicken surface. The chicken does not need to cook fully at this stage—searing only builds a flavorful outer crust, and the chicken will finish cooking during the slow simmer step.
Add Braising Liquid
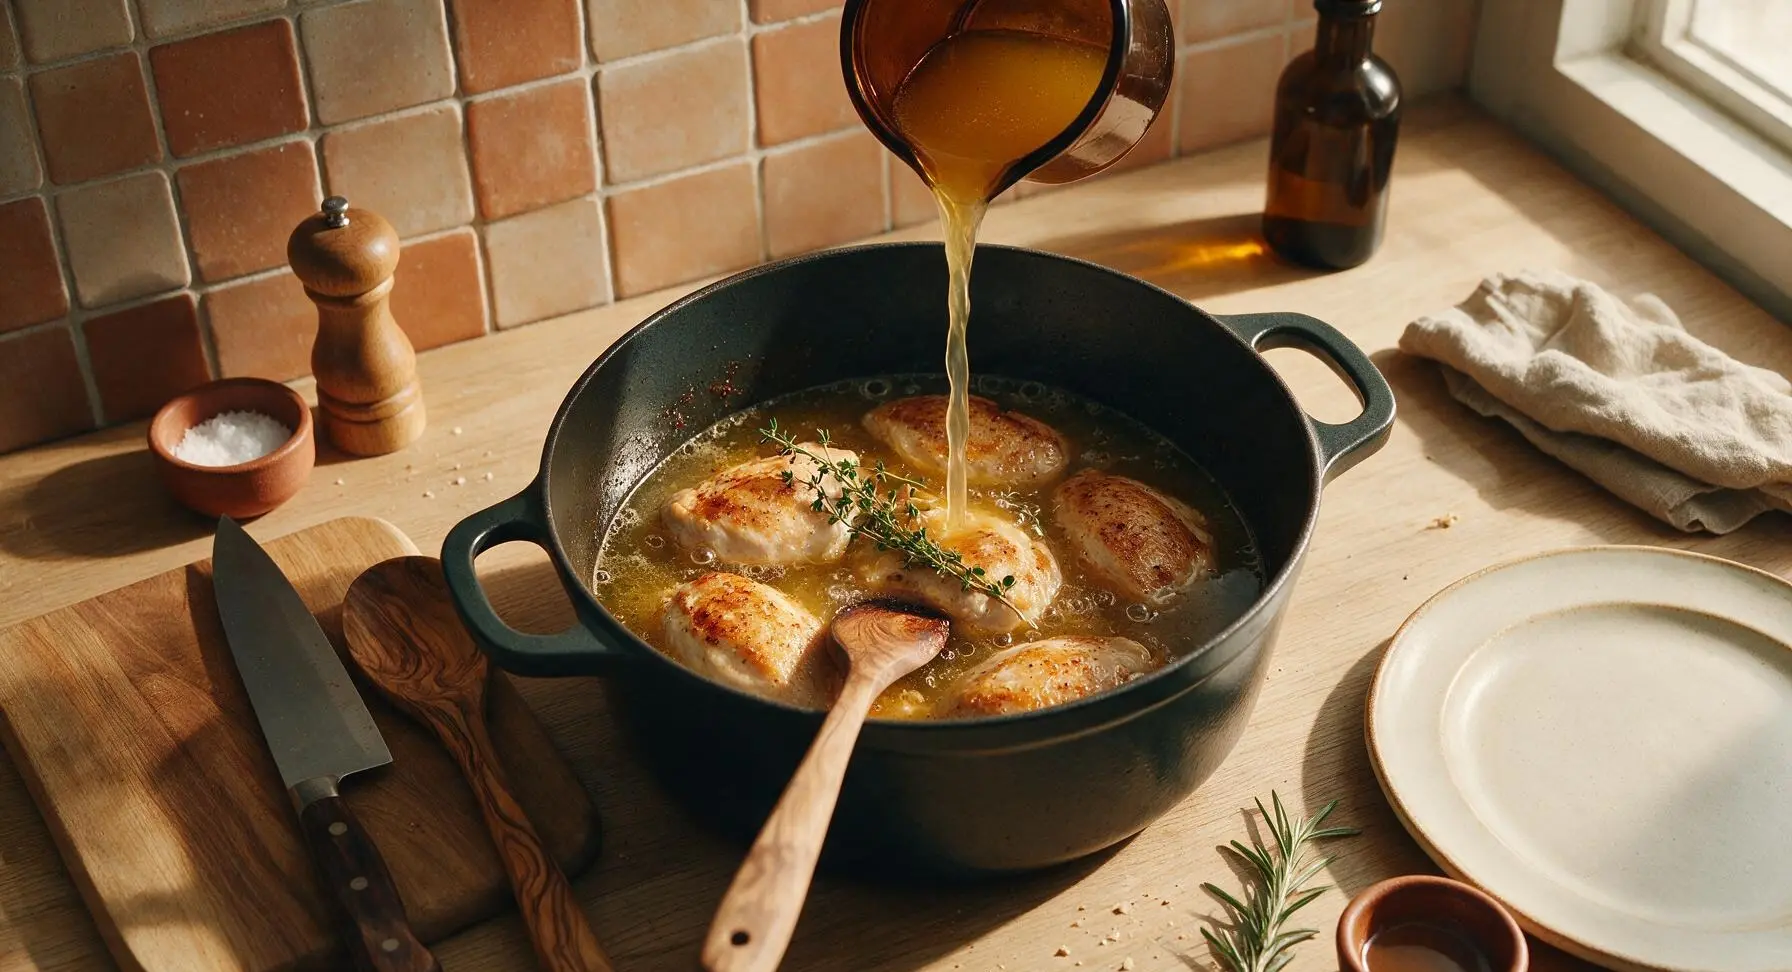
Pour the 120ml low-sodium chicken broth into the Dutch oven, using the walnut spoon to scrape the bottom of the pot and lift all browned fond bits stuck to the surface—these caramelized bits are packed with concentrated, savory flavor that will infuse the chicken as it cooks. Tuck the 2 fresh thyme sprigs into the liquid around the chicken, then bring the liquid to a gentle simmer (small bubbles breaking steadily at the surface, not a violent rolling boil).
Slow Cook Covered
Place the matching matte black lid securely on the Dutch oven, reduce stovetop heat to the lowest setting, and cook for 1 hour. The chicken is done when it reaches an internal temperature of 165°F (74°C) and is so tender that a fork slides easily through the thickest part with no resistance. Avoid lifting the lid for the first 45 minutes of cooking to trap consistent, moist heat inside the pot.
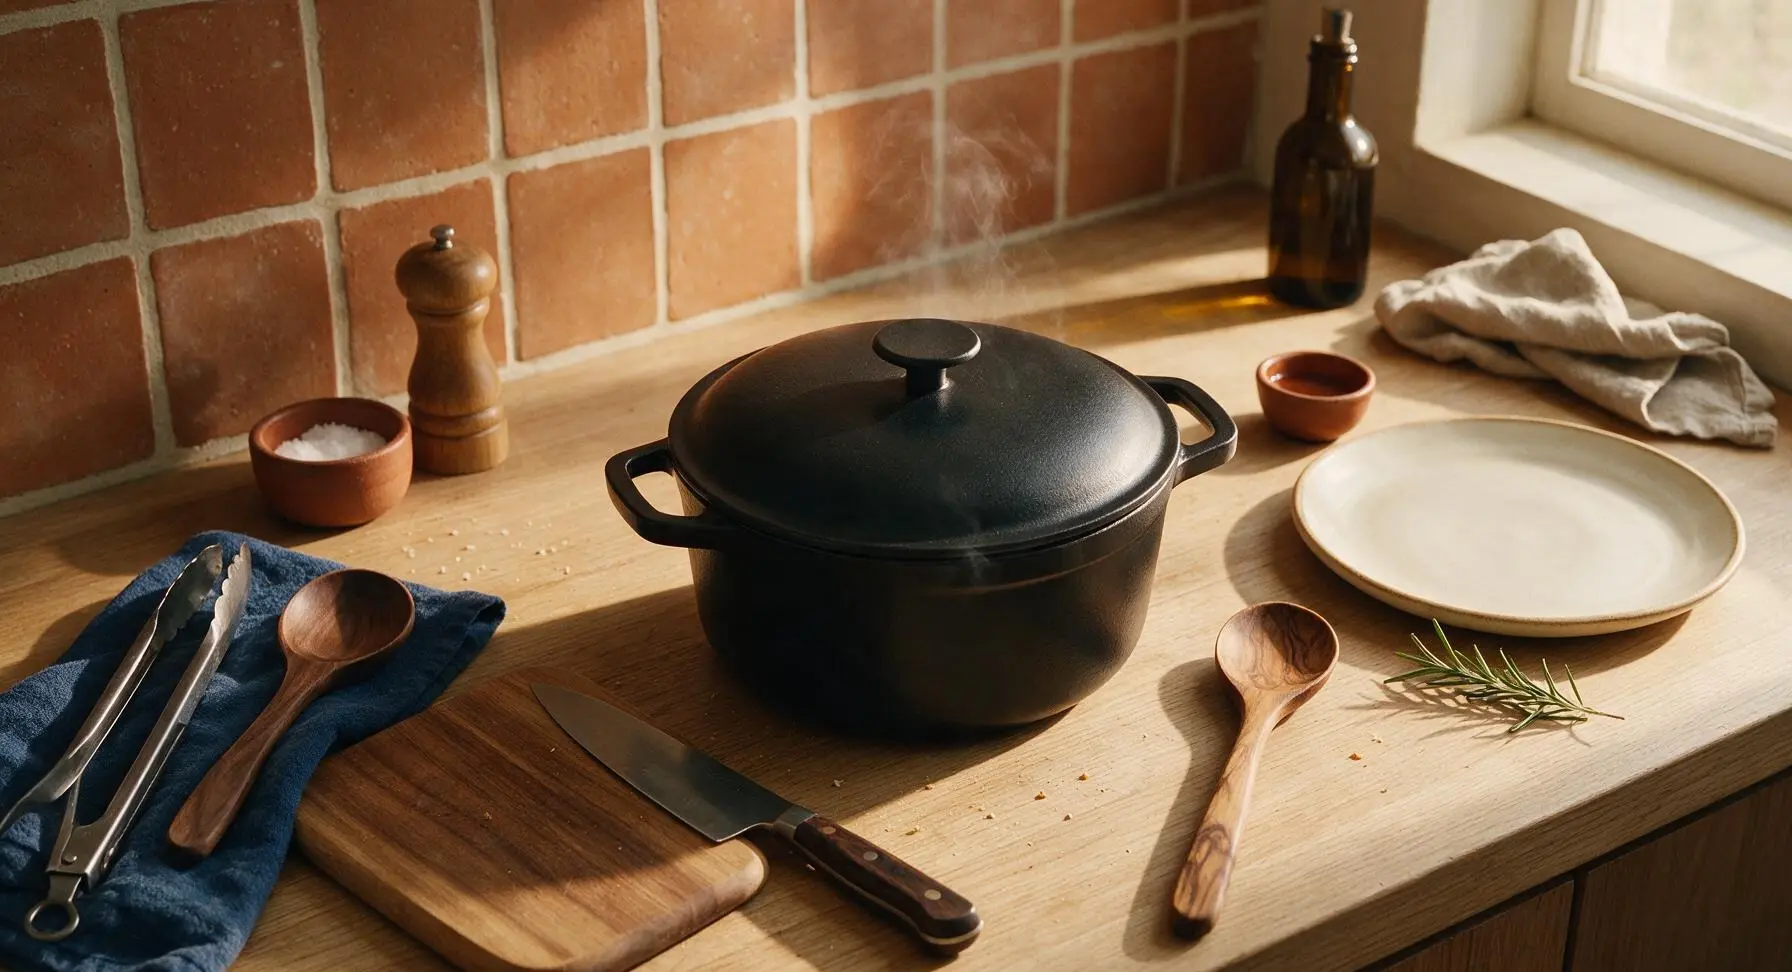
Shred Tender Chicken
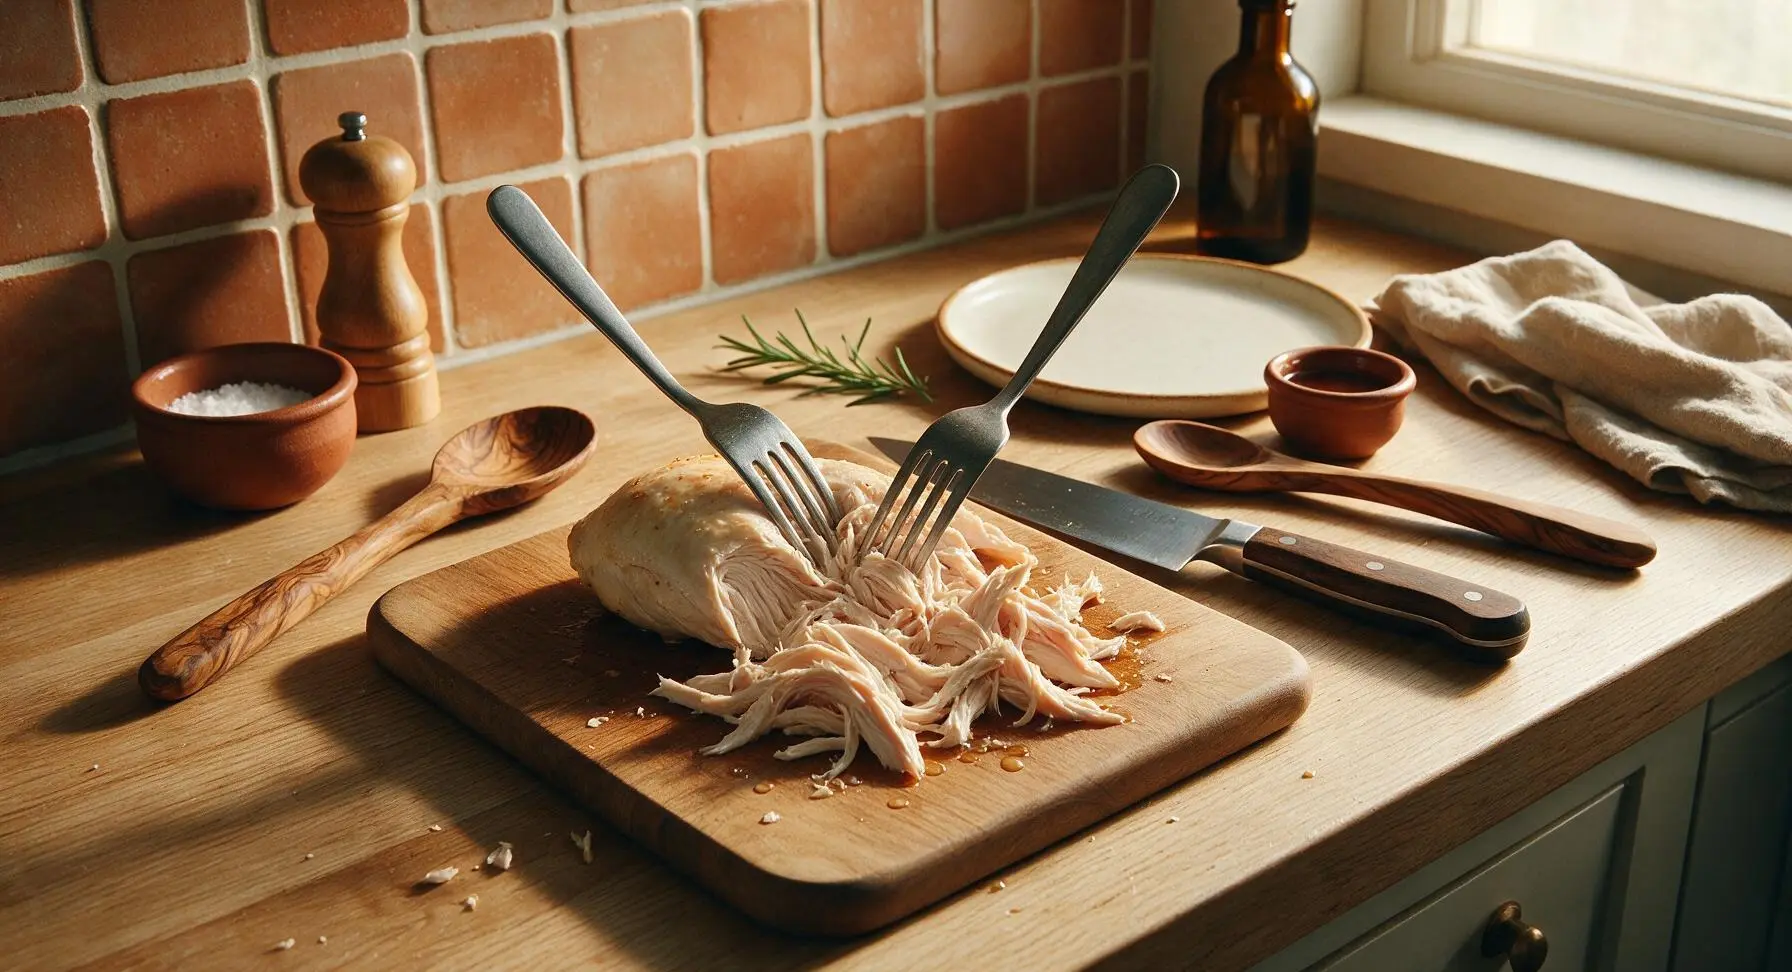
Once cooked, use the stainless steel tongs to transfer the chicken breasts from the Dutch oven to the clean maple cutting board. Let the chicken rest for 5 minutes to cool slightly (it will be very hot straight from the pot), then use the two stainless steel forks to pull the chicken apart into thin, tender shreds. Fish out and discard the cooked thyme sprigs from the remaining liquid in the pot.
Coat in BBQ Sauce
Return all shredded chicken to the Dutch oven with the remaining cooking liquid and onions. Pour in 180ml tangy tomato-based BBQ sauce, stirring thoroughly with the walnut spoon to coat every chicken shred evenly. Let the chicken simmer uncovered for 5 minutes over low heat, until the sauce thickens slightly and clings to the chicken instead of pooling at the bottom of the pot.
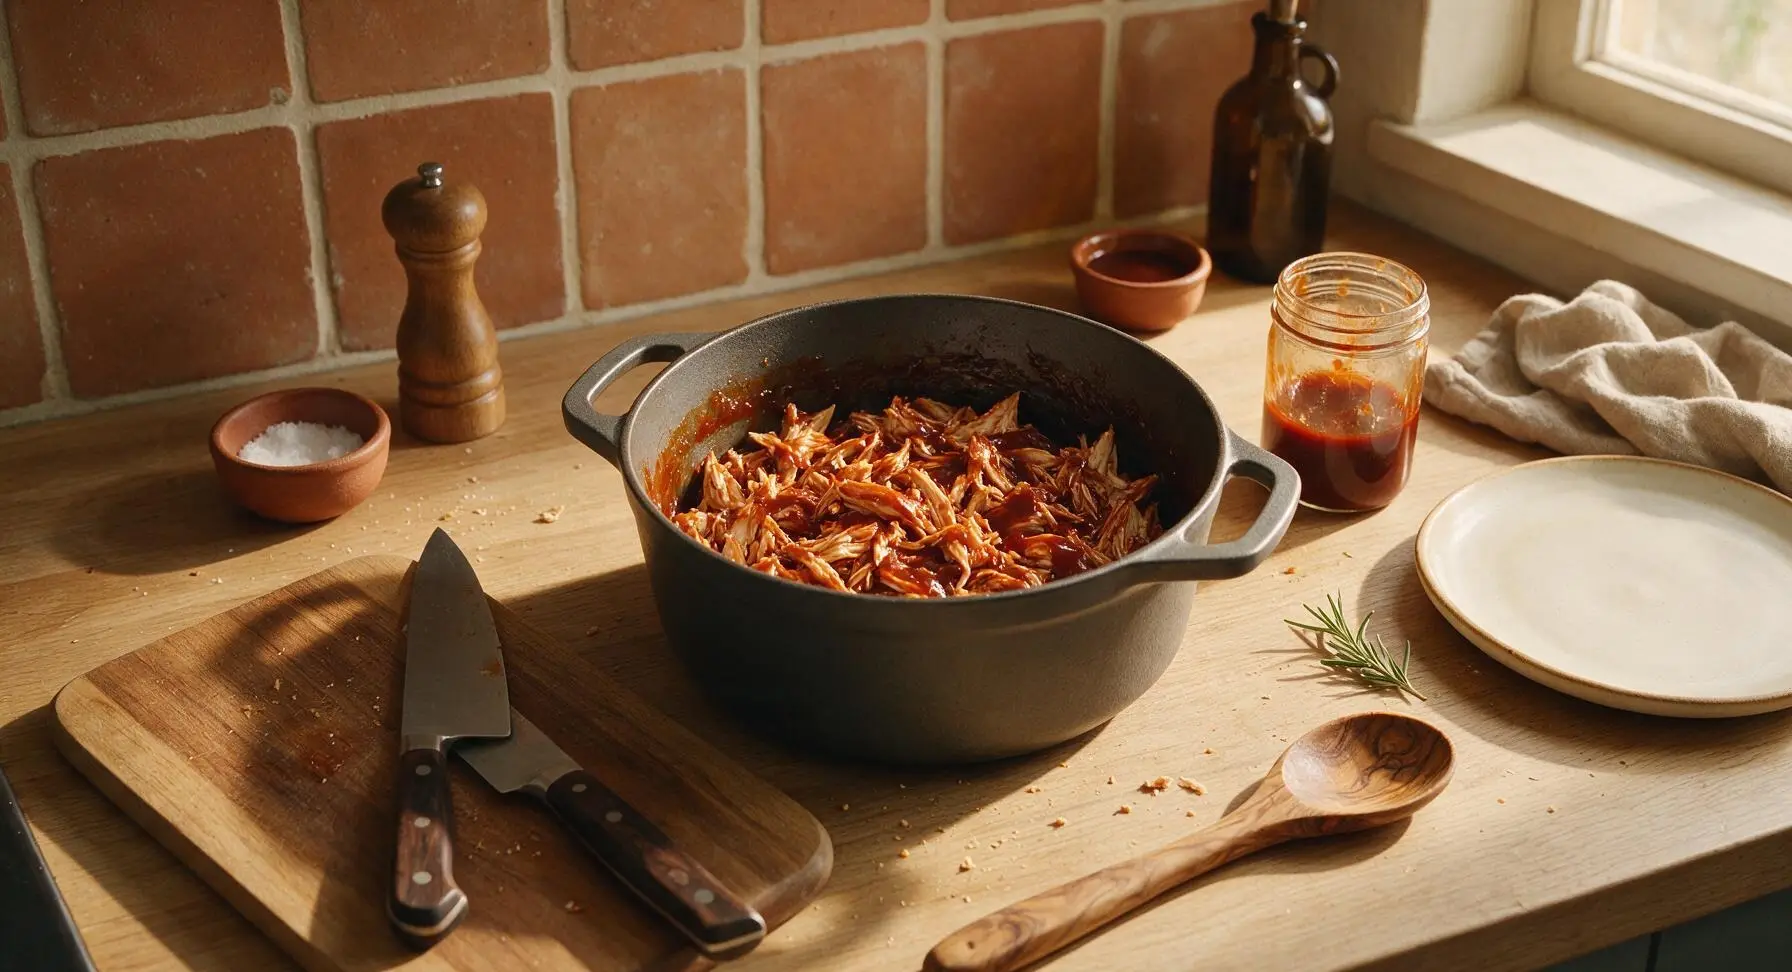
Rest and Plate
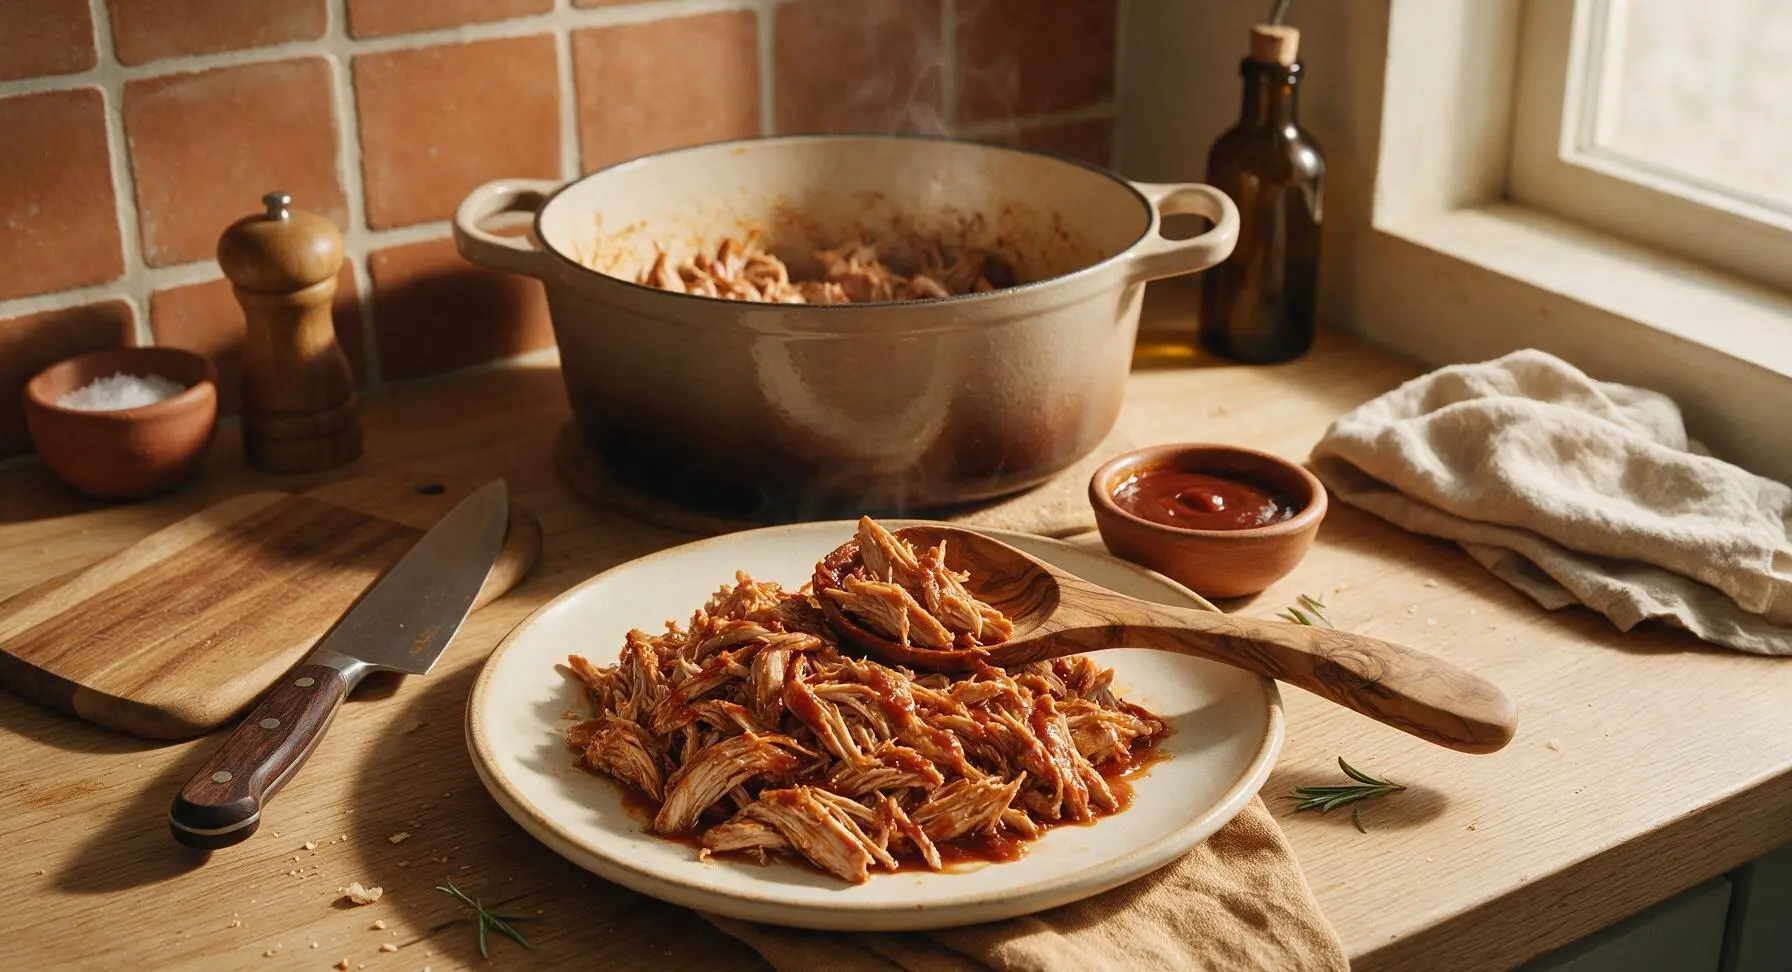
Turn off the heat, let the pulled chicken rest for 5 minutes to absorb the sauce. Taste and adjust seasoning with extra salt or pepper if desired, then pile a generous portion onto the cream white stoneware dinner plate, with extra BBQ sauce served in the matching stoneware ramekin on the side.
Tips
2.Always scrape the browned fond bits from the bottom of the Dutch oven after adding broth: these caramelized cooking residues hold concentrated umami flavor that infuses the chicken with rich, deep taste as it slow cooks, rather than burning and turning bitter on the pot bottom.
3.Let the chicken rest twice—once after cooking before shredding, and once after tossing with sauce: resting allows meat fibers to relax and reabsorb juices, so your pulled chicken stays moist instead of releasing all its liquid onto the plate when served.






OMG this Dutch oven pulled chicken is a total game changer! I made it for our Sunday family dinner last night and my two picky kids went back for seconds, even asked to put it in their school lunches this week. It was so tender I barely had to pull it with two forks, and the seasoning was perfect without being too spicy. 10/10 will be making this for our next neighborhood potluck too!
As someone who meal preps 5 days of lunches every Sunday, this recipe is chef’s kiss. Cook time is totally manageable even on a lazy weekend, the chicken shreds like a dream, and it holds up so well in the fridge all week. I tossed mine with a little extra BBQ sauce on serving day and it tasted just as good as night one. Only note: I used boneless skinless thighs instead of breasts because I prefer juicier meat, worked perfectly.
Super easy recipe even for a total newbie like me! I just got my first Dutch oven for my birthday and was nervous to use it, but this came together with basically zero effort. Piled it high on brioche buns with coleslaw for my roommates and we all ate like kings. SO good.
Wait, can I make this in a regular pot if I don’t have a Dutch oven? I’ve been dying to try pulled chicken but haven’t splurged on a Dutch oven yet, and this recipe looks too good to pass up.
I was skeptical that oven pulled chicken could be as good as the smoked stuff I make on my pellet grill, but man was I wrong. The flavor was incredible, the meat was fall apart tender, and I didn’t have to stand outside in 90 degree heat to make it. My wife said it’s one of the best things I’ve cooked all summer!
Used this pulled chicken for taco night last Tuesday and my whole family lost their minds! I added a little taco seasoning to the mix instead of the plain paprika, piled it on corn tortillas with cilantro, lime, and avocado, and it was chef’s kiss. Will 100% be using this base for tacos, nachos, and sliders from now on.
Quick question! If I want to make this ahead for a party on Saturday, can I shred it and store it in the sauce in the fridge for a couple days before reheating? I don’t want to be stuck cooking the whole day of the party!
This is perfect for my high protein meal plan! Each serving has so much protein, it’s low effort, and I don’t get bored eating it because I can switch up the sides all week – one day with roasted veggies, one day on a salad, one day on a whole wheat bun. Total win for anyone trying to eat better without spending hours in the kitchen.
I’ve been making pulled chicken for my grandkids for 40 years and this recipe is right up there with my own! The seasoning blend is perfectly balanced, not too salty, and the cook time is spot on – no tough, dry chicken here. I added a splash of apple cider vinegar to the sauce like I always do and it was just perfect. Great recipe!
Wait, how many people does this recipe serve? I’m having 6 friends over for game day this weekend and I’m trying to figure out if I need to double it or if one batch is enough. Don’t want to run out of food mid-football game!
This pulled chicken was SO juicy and flavorful, but I found myself wanting a little more sauce to coat it all when I was ready to serve. Did I do something wrong? I followed the recipe exactly, measured all the liquid, let it cook covered the whole time.
Made this for our church potluck last Sunday and got so many compliments I lost count! I served it on mini Hawaiian rolls as sliders with a little pickle on top, and even the pastor came up to ask me for the recipe. So easy to make, feeds a crowd, and everyone loves it. 10/10 will be making this for every potluck from now on.