
Pulled Pork (Bone-in Pork Butt)

title 1
Pulled Pork (Bone-in Pork Butt)
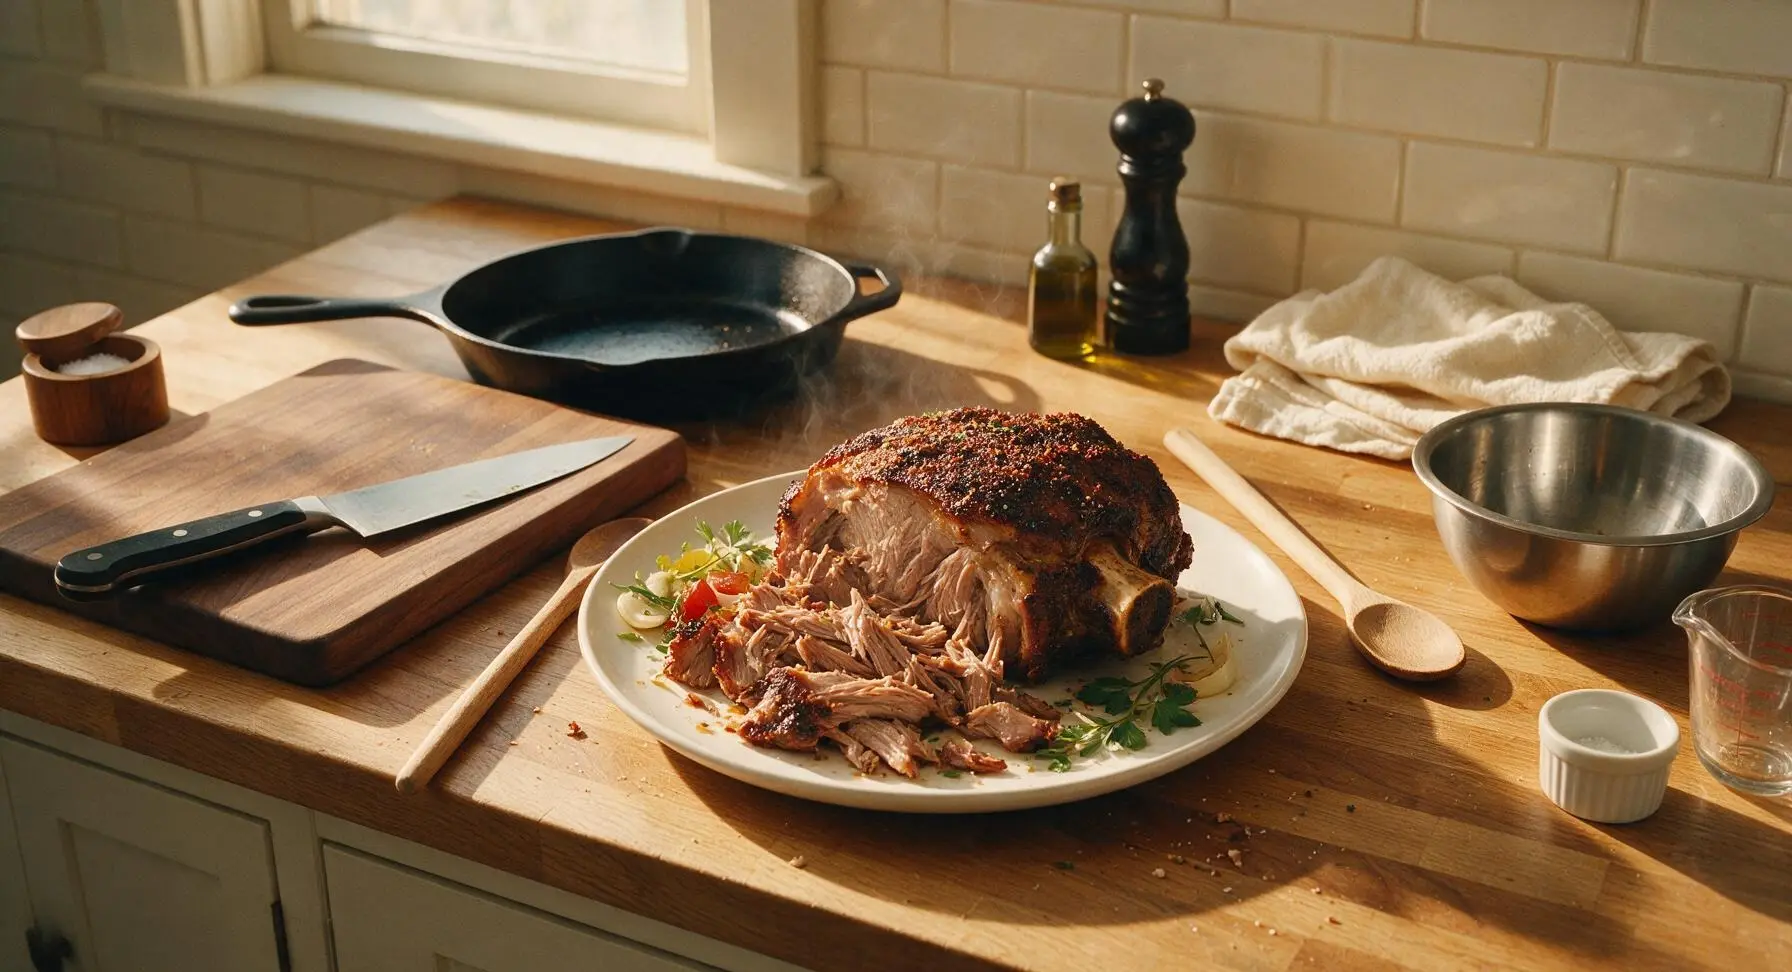
⏱️ cook time 8 hours
🍽️ servings 8
⚡ Difficulty medium

intro

Slow-cooked bone-in pork butt with a crispy spiced bark and juicy pull-apart meat, perfect for piling high on buns at summer cookouts.

Ingredients
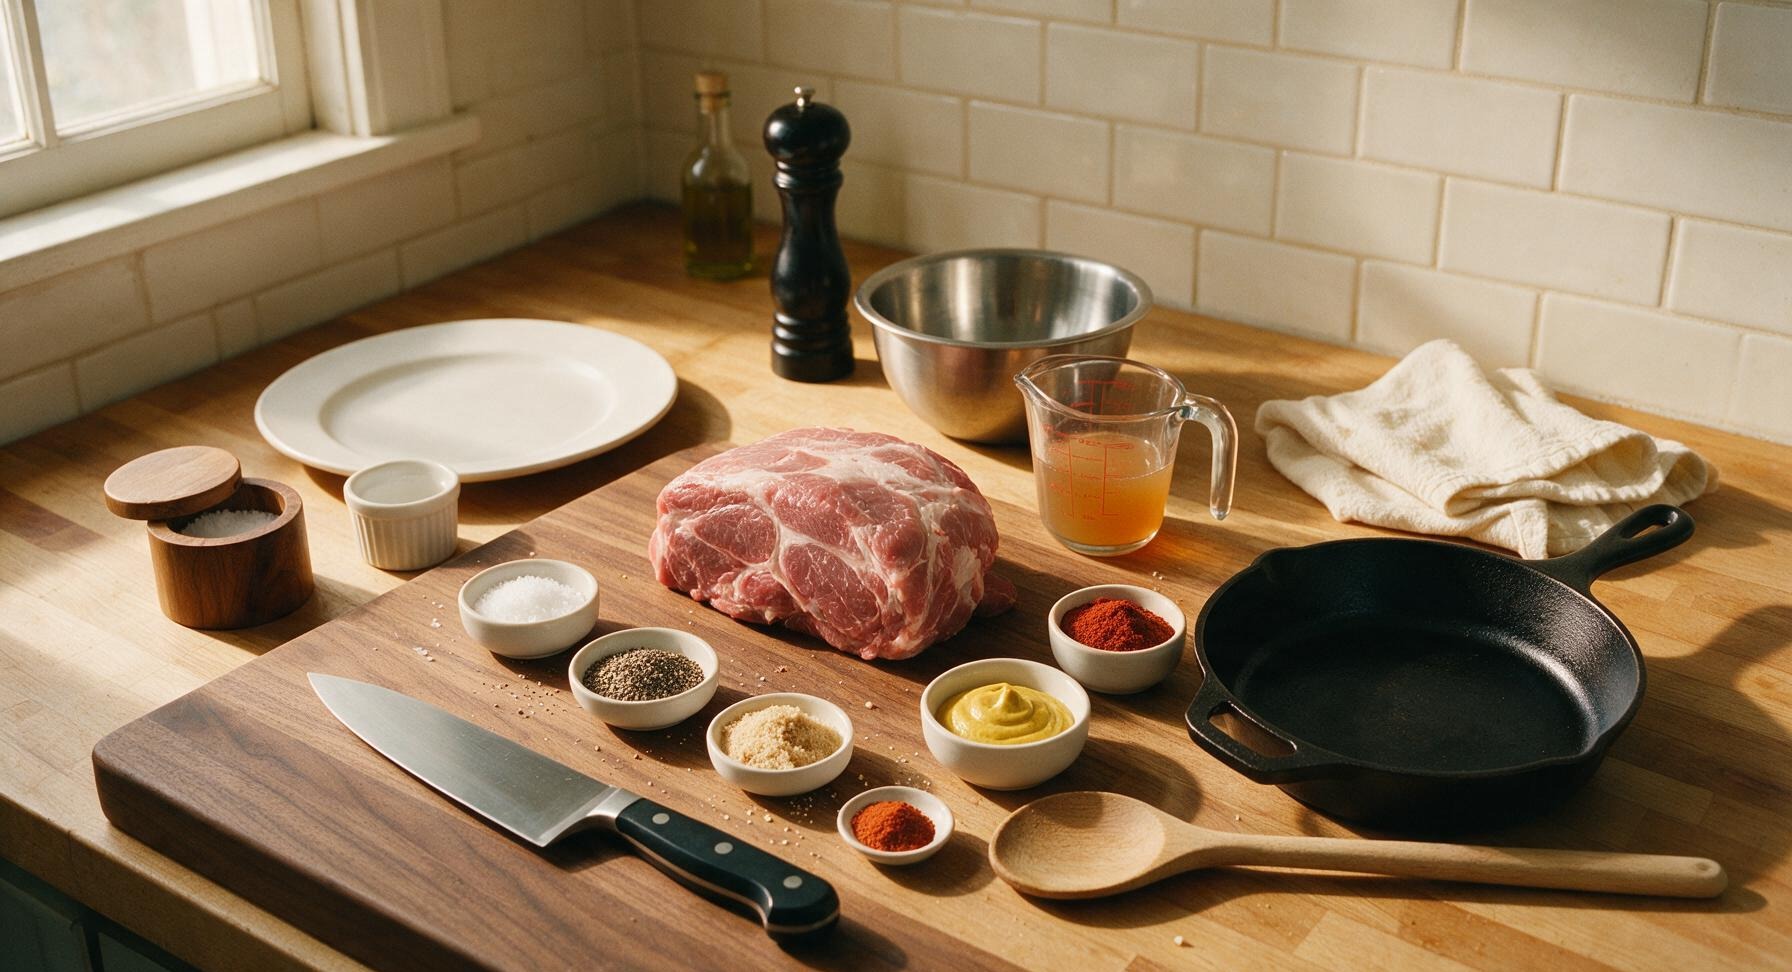
Bone-in pork butt (Boston butt) 4 lb (1.8 kg)
Kosher salt 2 tbsp
Coarsely ground black pepper 1 tbsp
Smoked paprika 2 tbsp
Light brown sugar 1 tbsp
Garlic powder 1 tbsp
Onion powder 1 tsp
Cayenne pepper 1/2 tsp
Yellow mustard 2 tbsp
Apple cider vinegar 1/4 cup

Steps

1

Trim excess fat

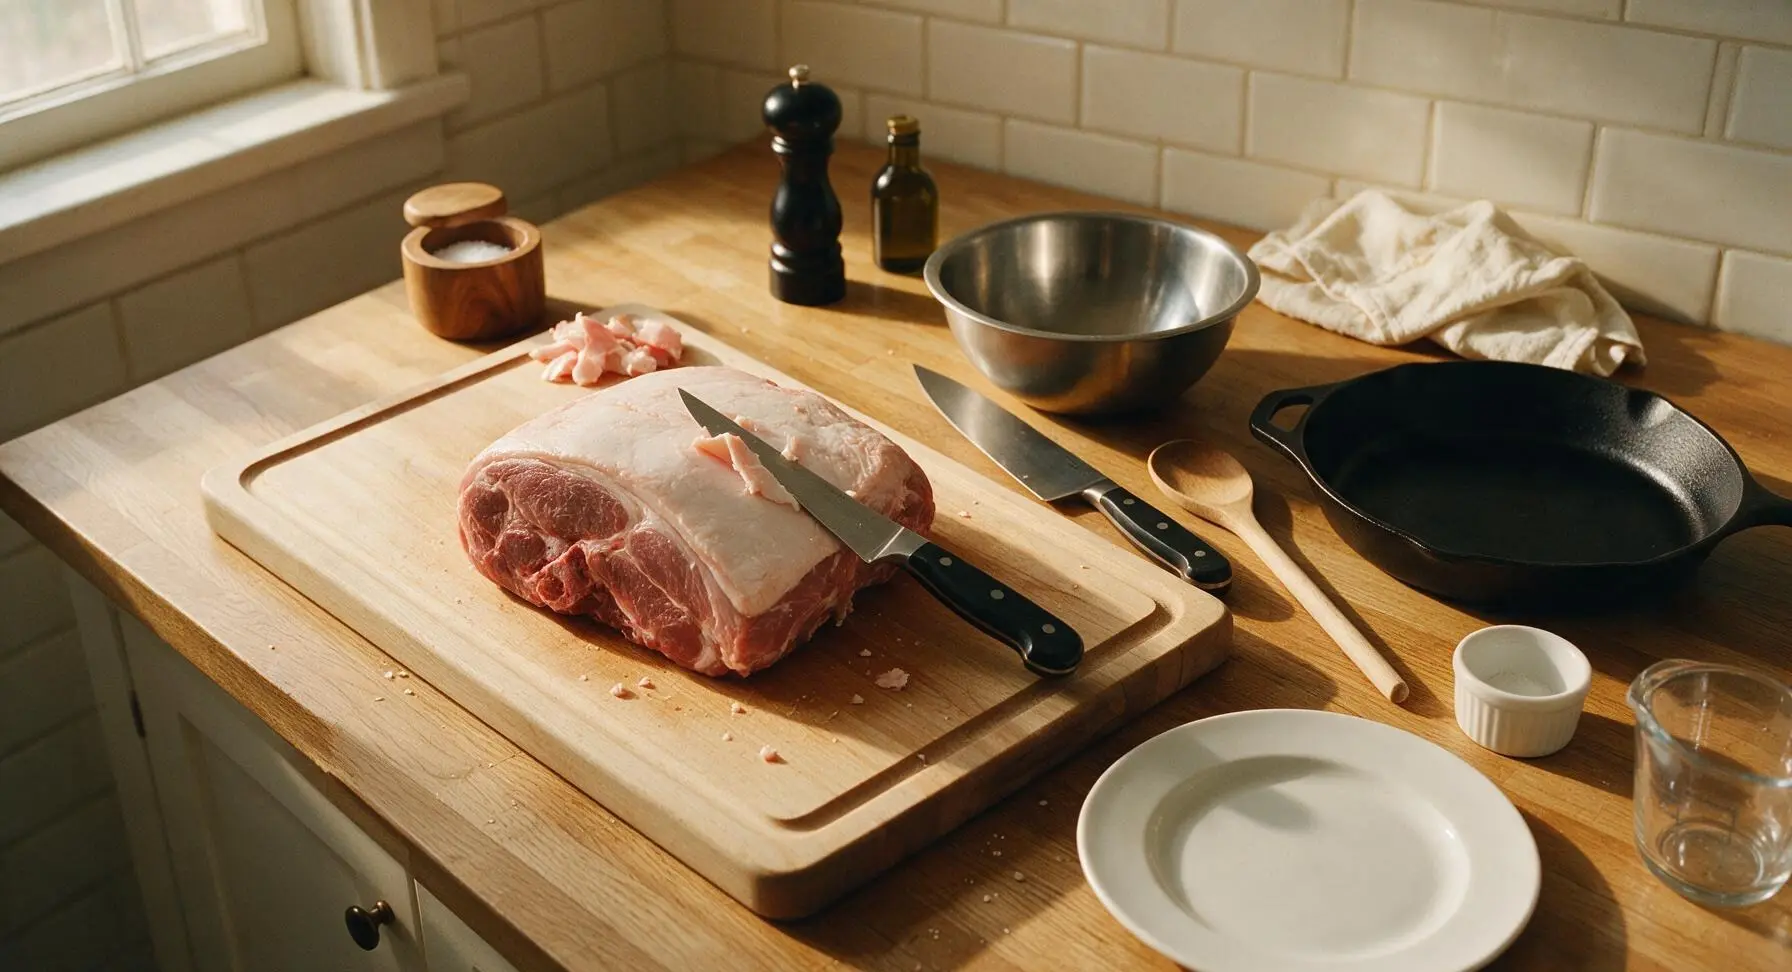
Place the raw bone-in pork butt fat-side up on the maple cutting board. Use the 6-inch boning knife to trim the thick outer fat cap down to a uniform 1/4-inch thickness, removing any tough silver skin and hard, waxy fat deposits from the meat surface. Leave the shoulder bone fully attached and intact. Pat the entire meat surface completely dry with a corner of the linen towel.
Step 1
step1:Trim excess fat
2

Mix spice rub

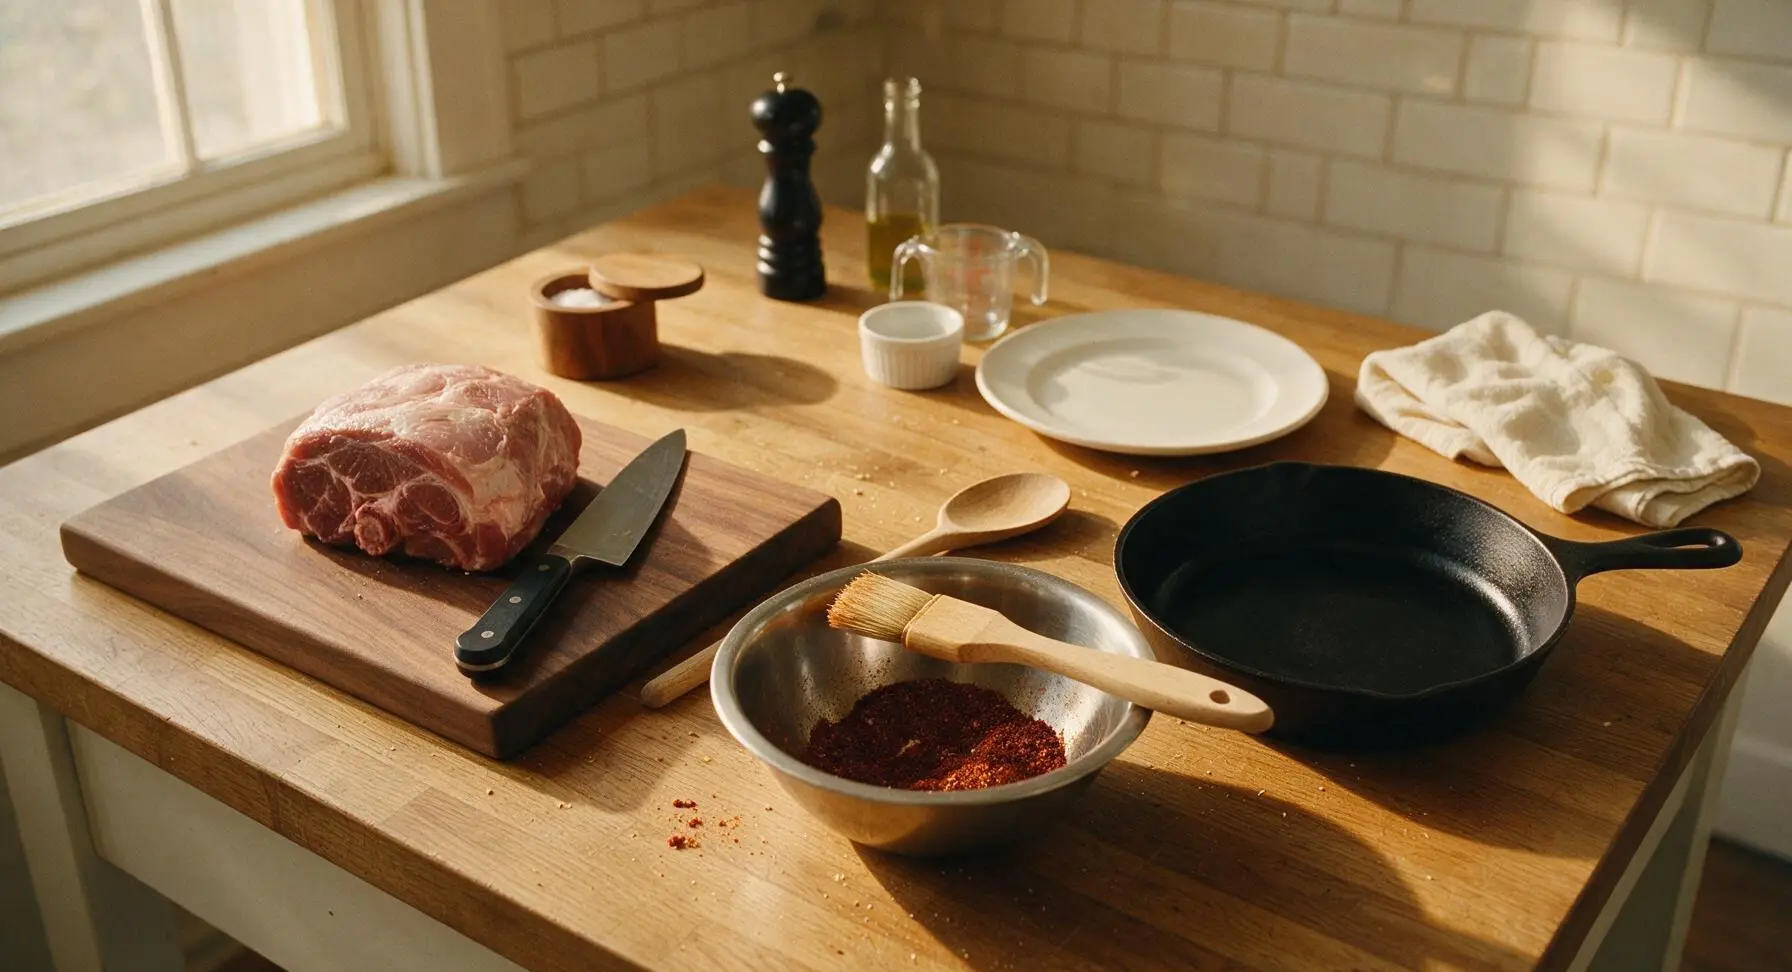
In the medium stainless steel mixing bowl, combine the kosher salt, black pepper, smoked paprika, light brown sugar, garlic powder, onion powder, and cayenne pepper. Stir with the handle of the basting brush until evenly mixed, breaking up any clumps of brown sugar with your fingers to create a uniform, deep reddish-brown rub.
Step 2
step2:Mix spice rub
3

Coat with mustard

Scoop the yellow mustard onto the surface of the trimmed pork butt. Use the silicone basting brush to spread a thin, even layer of mustard across every surface of the meat, including the sides and areas around the bone. The mustard acts as a flavor-neutral binder to help the rub stick tightly during cooking.
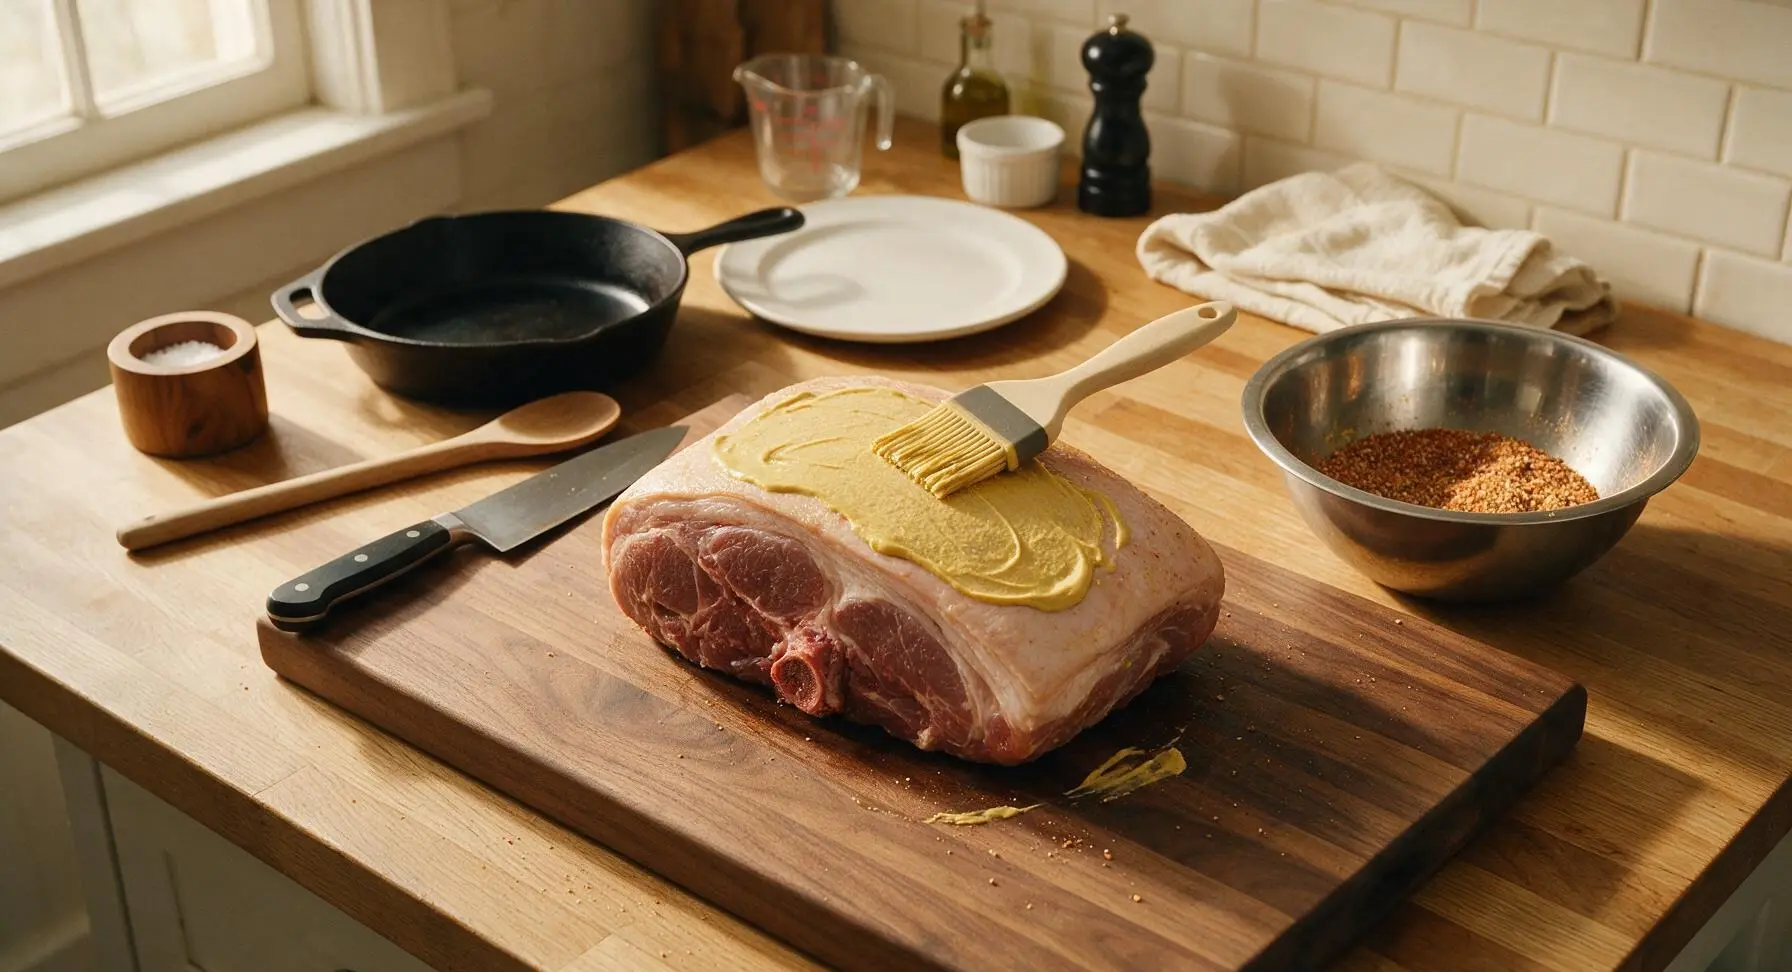
Step 3
step3:Coat with mustard
4

Season with rub

Generously sprinkle the mixed spice rub over every surface of the mustard-coated pork, pressing the rub firmly into the meat with your free hand to create an even, thick coating. Cover the sides, ends, and area around the bone completely so no bare meat is visible. Let the seasoned pork rest at room temperature for 30 minutes to allow the rub to adhere and form a slightly tacky surface.
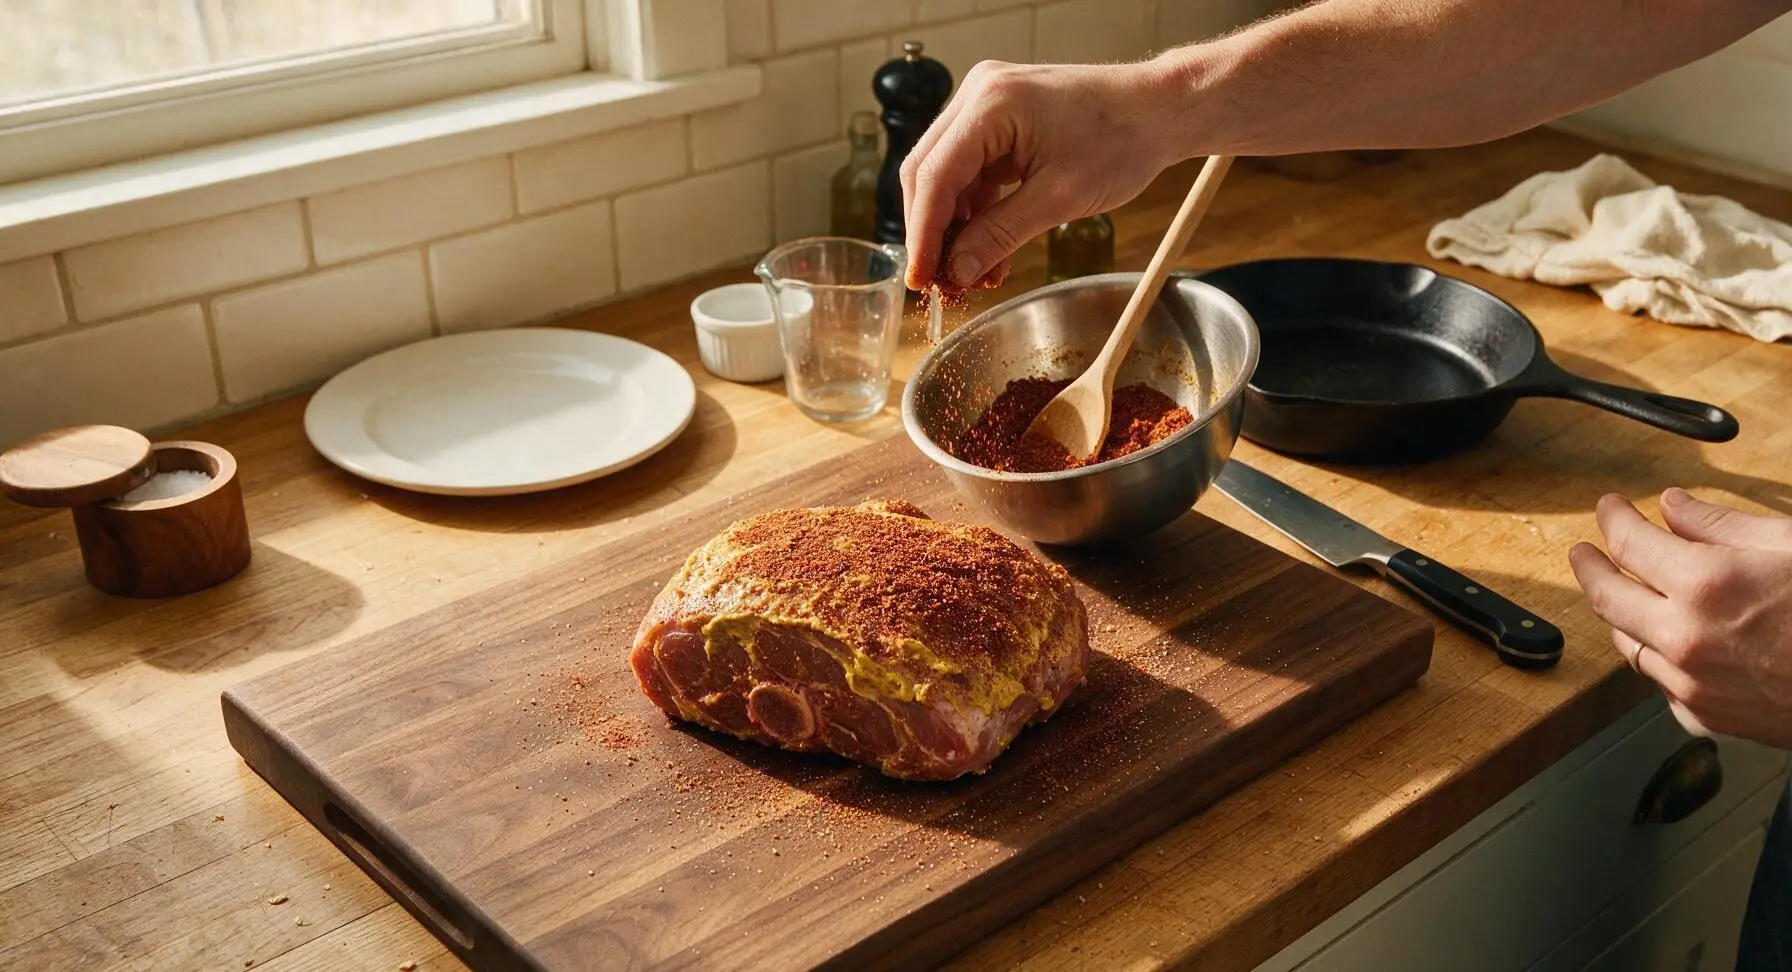
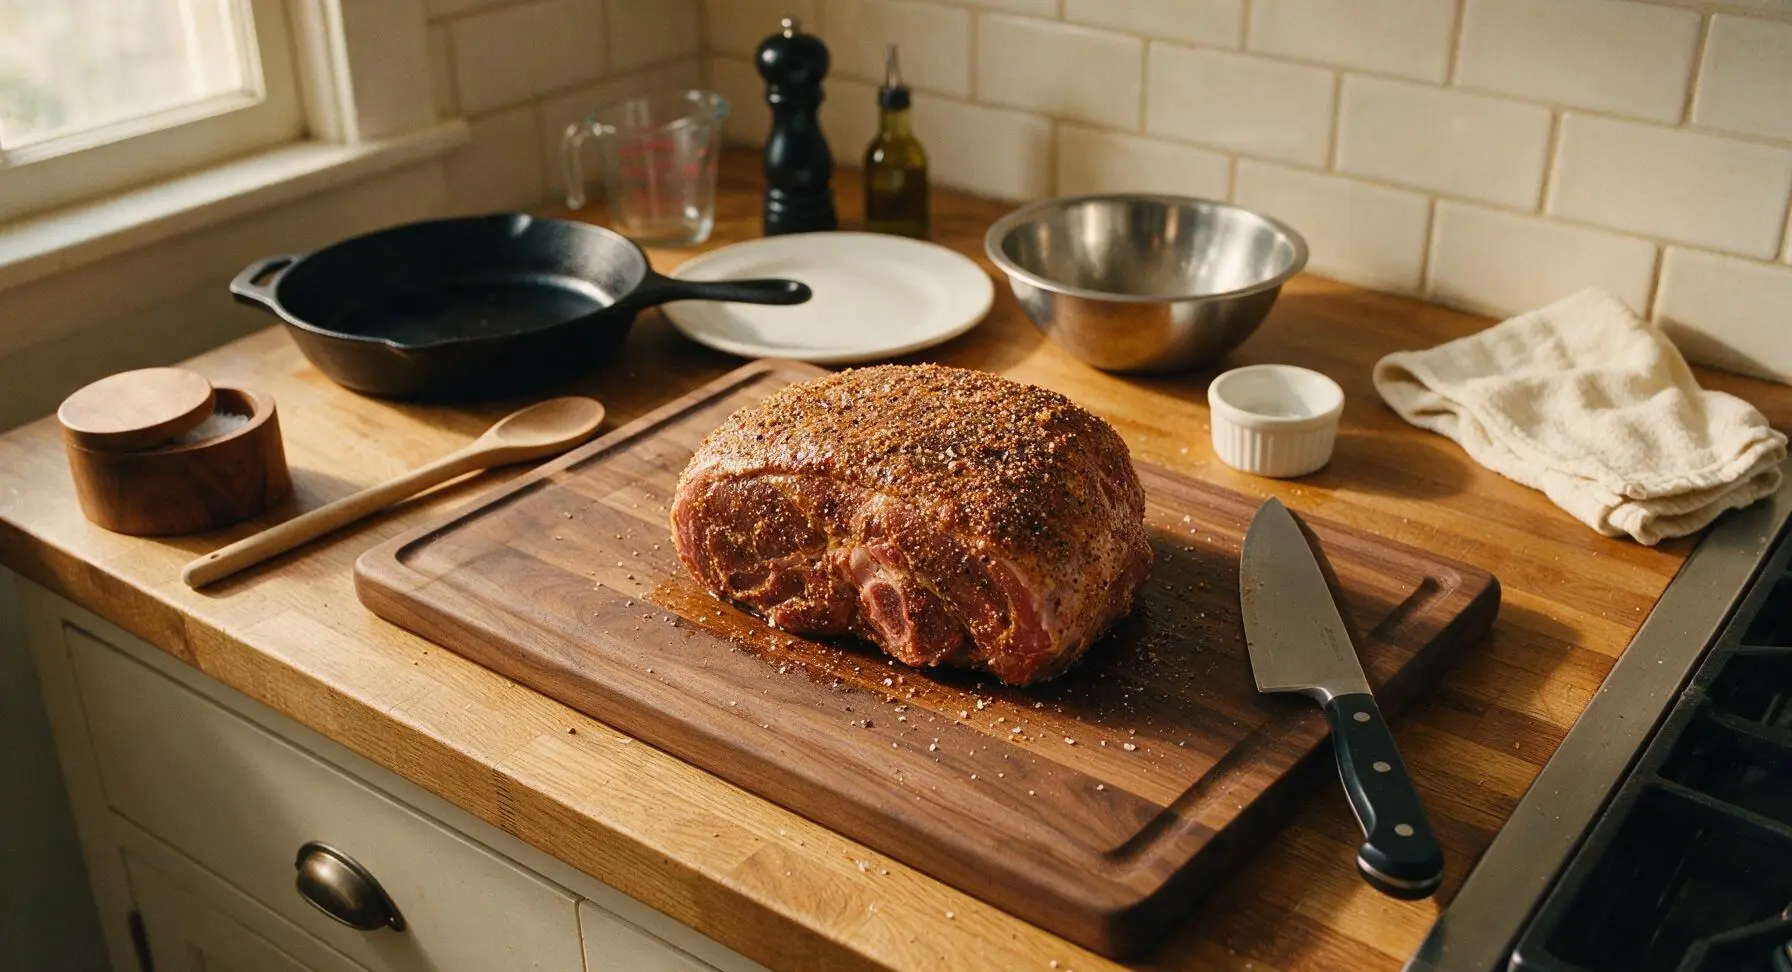
Step 4
step4:Season with rub
Step 4
step4:Season with rub
5

Cook low and slow

Preheat your smoker or oven to 225°F (107°C). Place the seasoned pork butt fat-side up in the heavy-duty aluminum roasting pan, then transfer to the smoker or oven. Cook for 6 hours, spritzing the surface with apple cider vinegar every 90 minutes using the basting brush, until the exterior forms a dark mahogany bark and the internal temperature reaches 165°F (74°C) when checked with the digital meat thermometer (probe placed in the thickest part, away from bone).
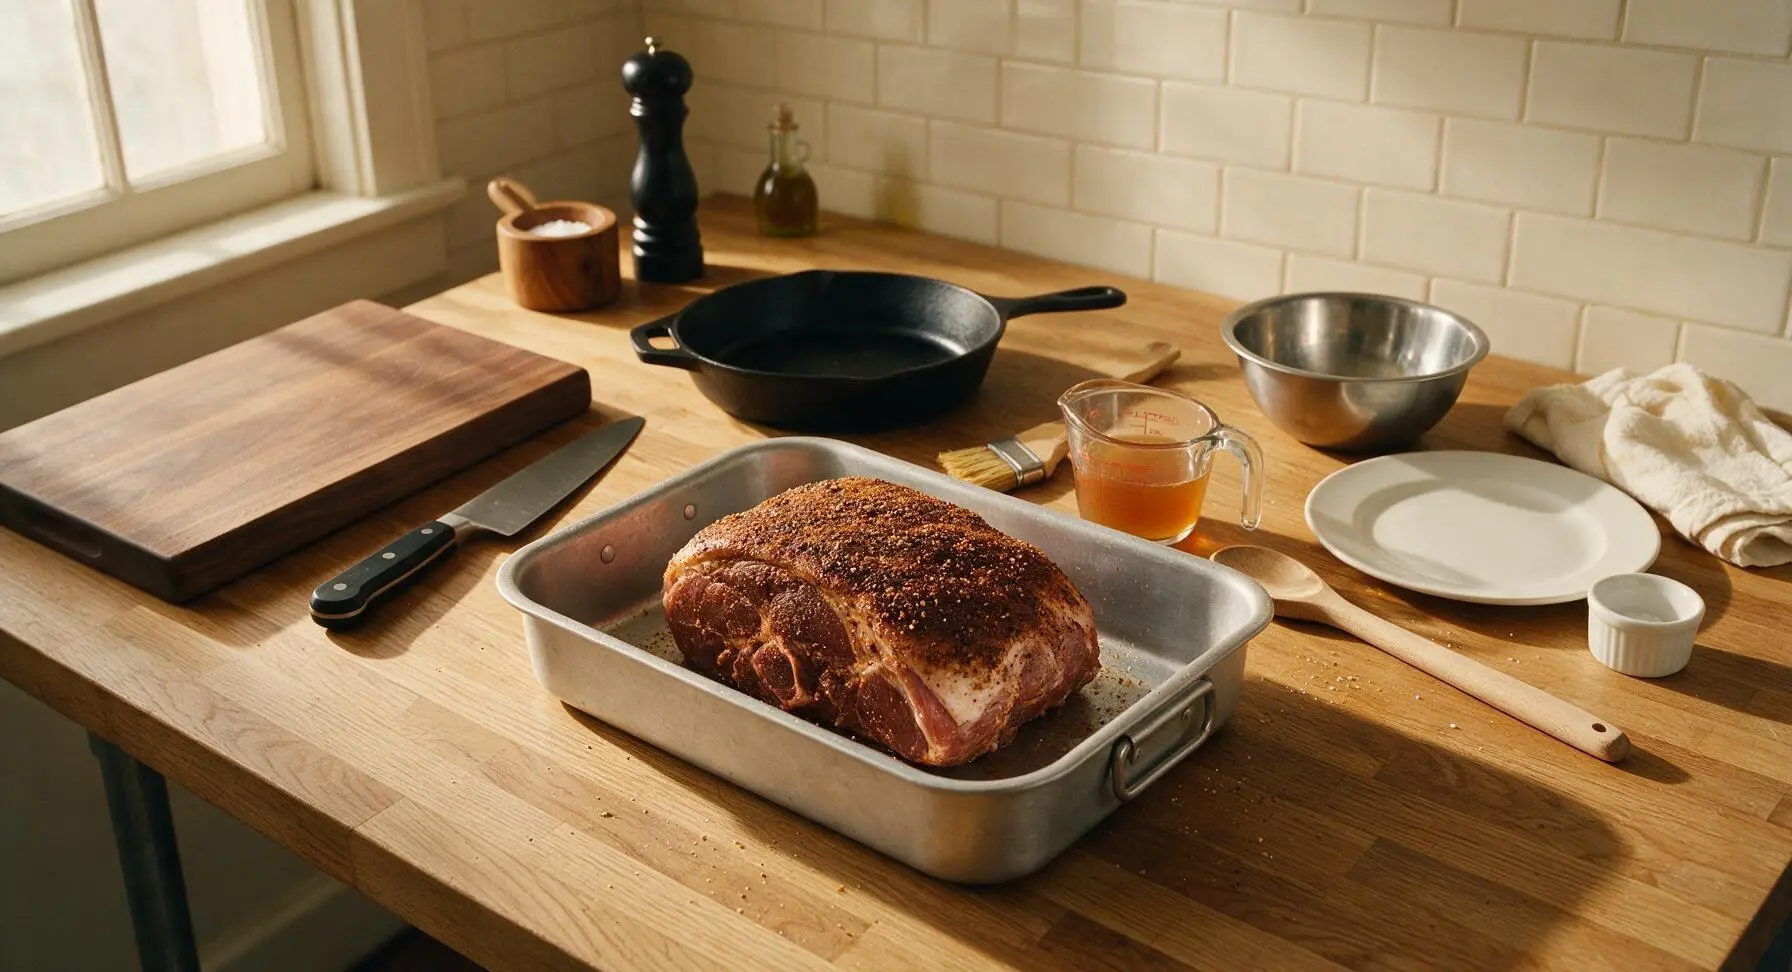
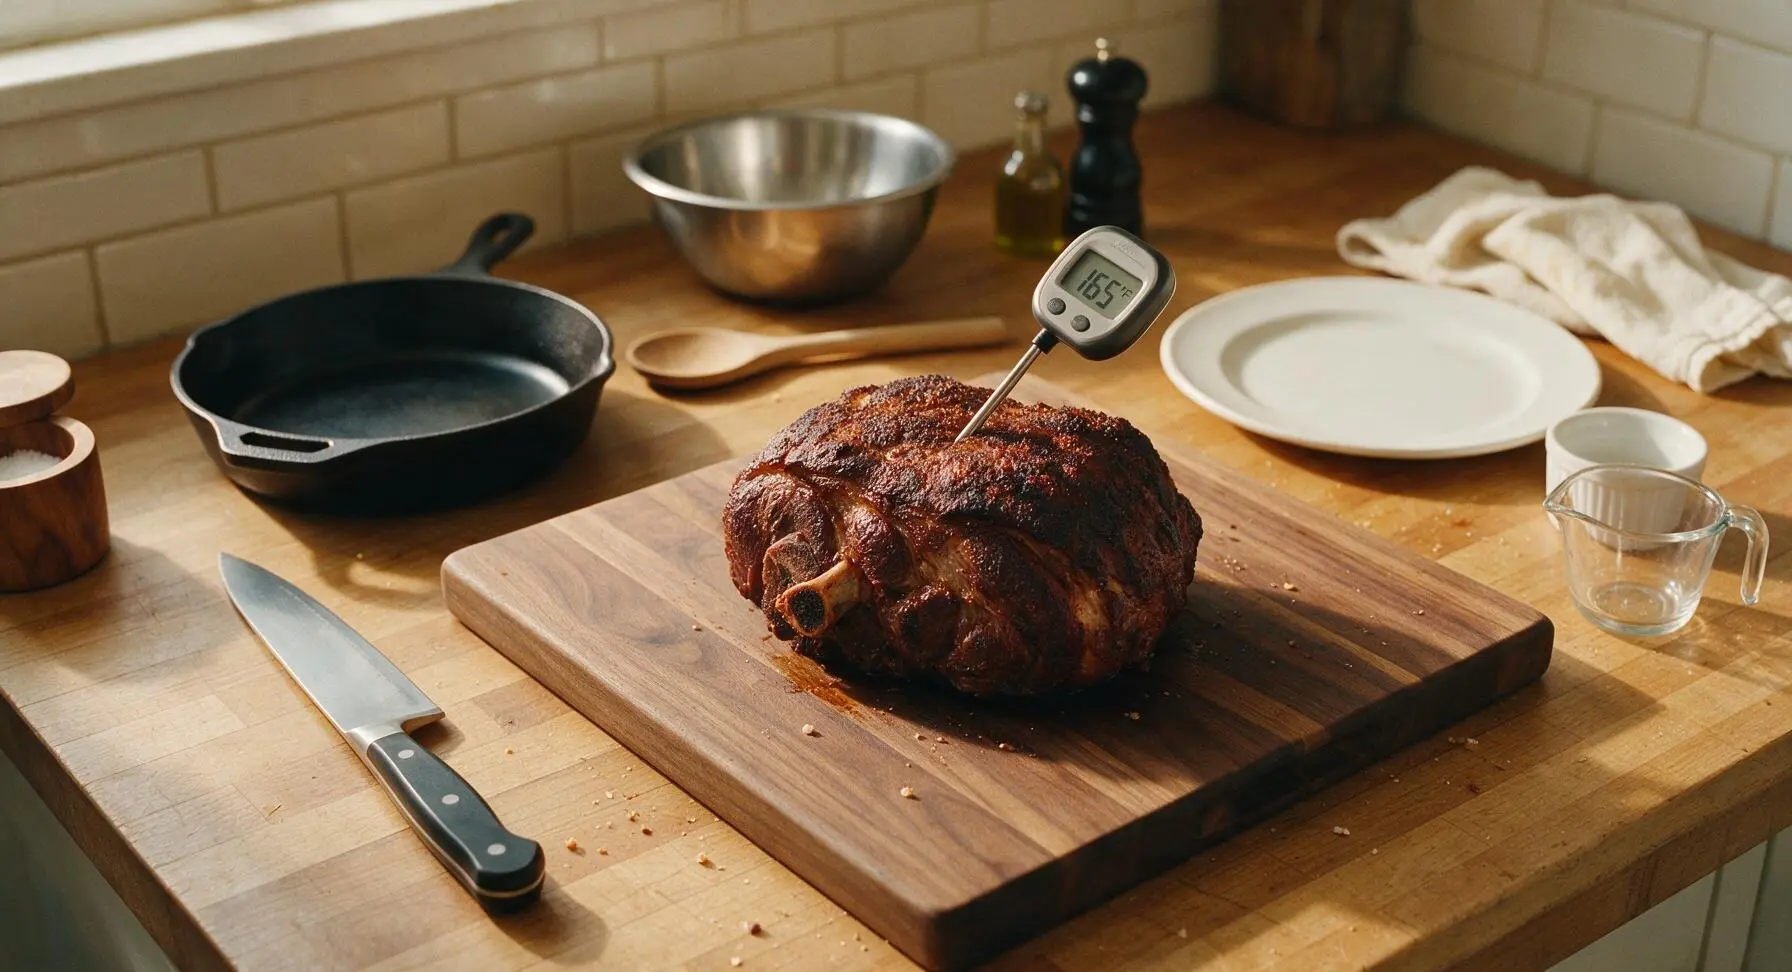
Step 5
step5:Cook low and slow
Step 5
step5:Cook low and slow
6

Wrap and finish cooking

Remove the pork from heat once it hits 165°F. Tightly wrap the entire pork butt in two layers of heavy-duty aluminum foil, adding 2 tablespoons of remaining apple cider vinegar inside the foil packet to create steam. Return the wrapped pork to the smoker/oven and continue cooking at 225°F for an additional 2 hours, until internal temperature reaches 203°F (95°C) and the meat feels tender when probed (like sticking a knife into soft butter).
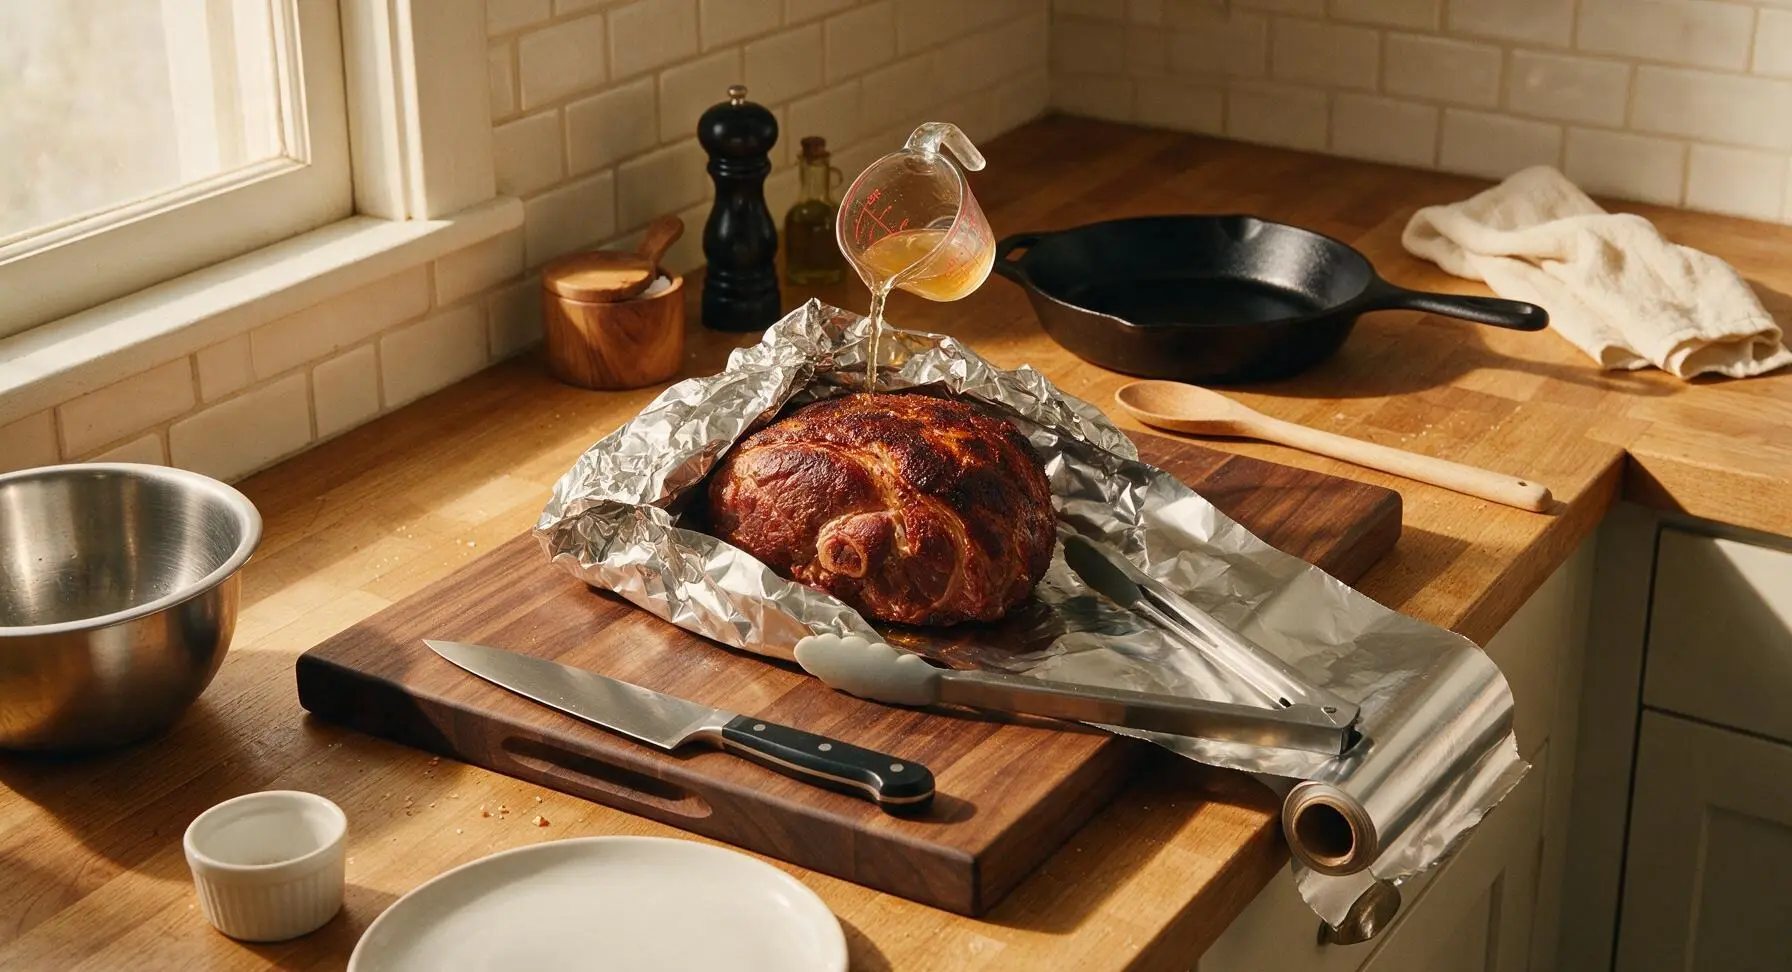
Step 6
step6:Wrap and finish cooking
7

Rest cooked pork

Once the pork reaches 203°F, carefully remove it from heat (keep it tightly wrapped in foil) and let it rest for 1 full hour in a warm spot (such as a turned-off cooler or draft-free counter spot). Resting allows muscle fibers to reabsorb juices, ensuring the meat stays moist instead of leaking liquid when shredded.
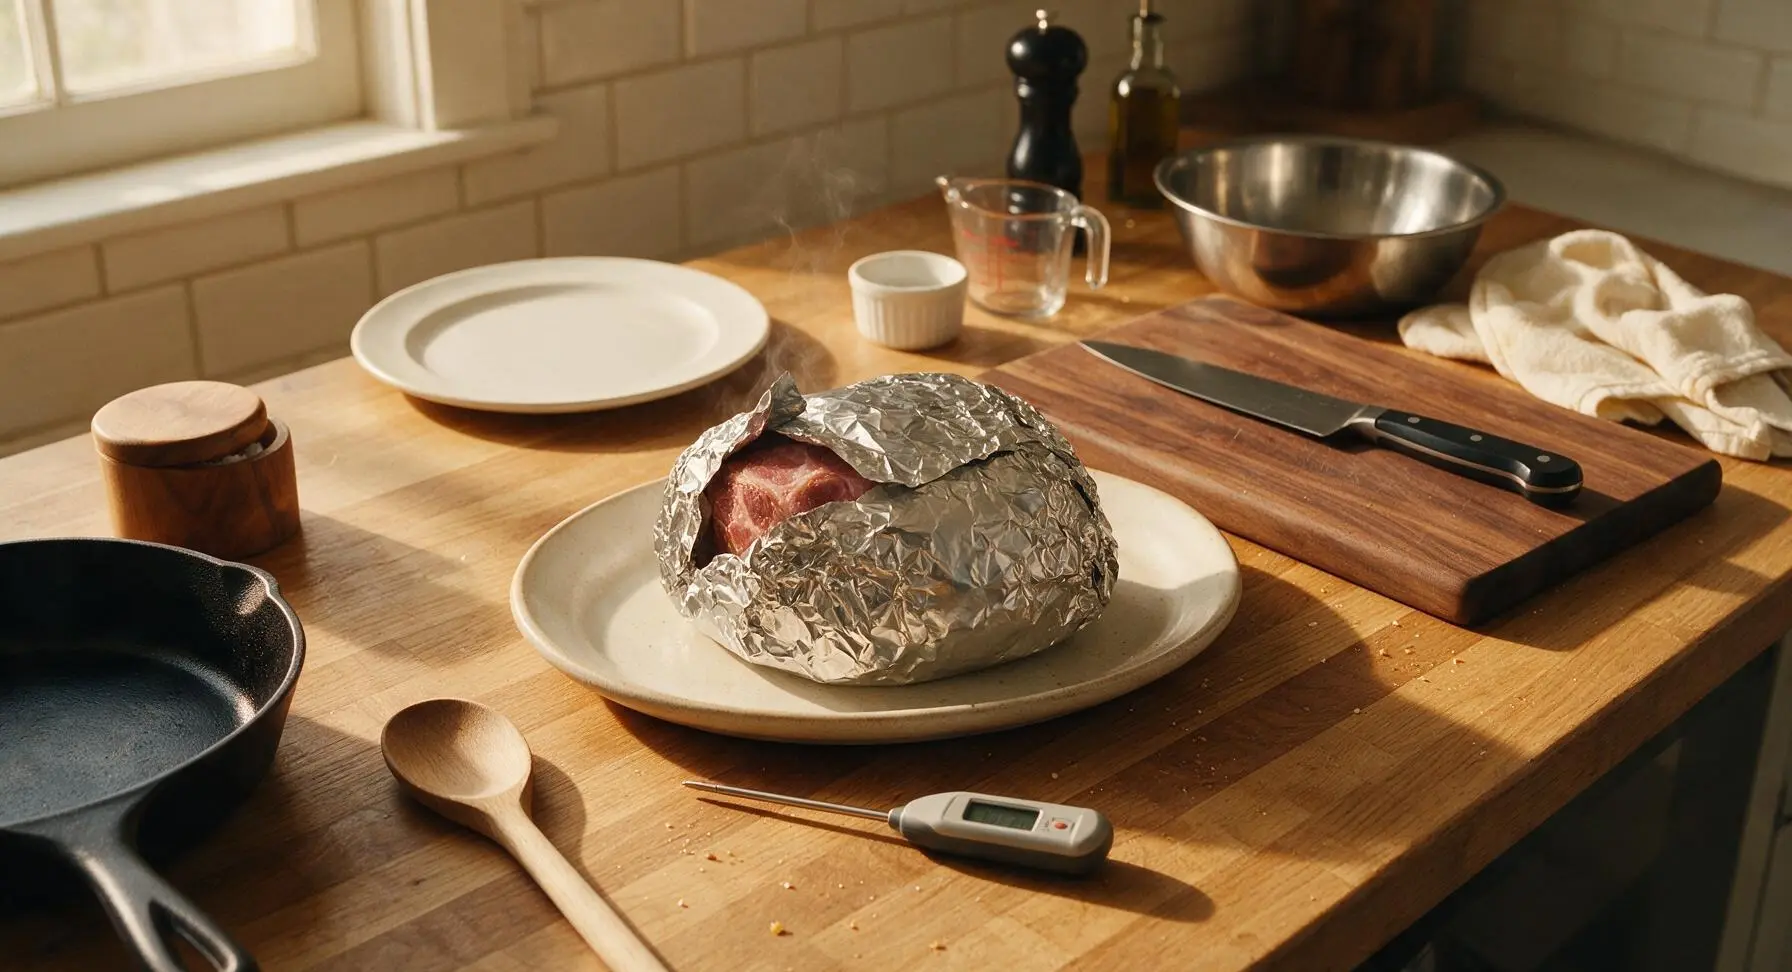
Step 7
step7:Rest cooked pork
8

Pull pork apart

Unwrap the rested pork, reserving any collected juices from the foil packet. Use the black cast aluminum meat claws to shred the pork into bite-sized pieces, discarding any large chunks of unrendered fat. Pull the bone out cleanly (it should slide out easily with no meat attached when fully cooked). Toss the shredded pork with the reserved collected juices to keep it moist before serving.
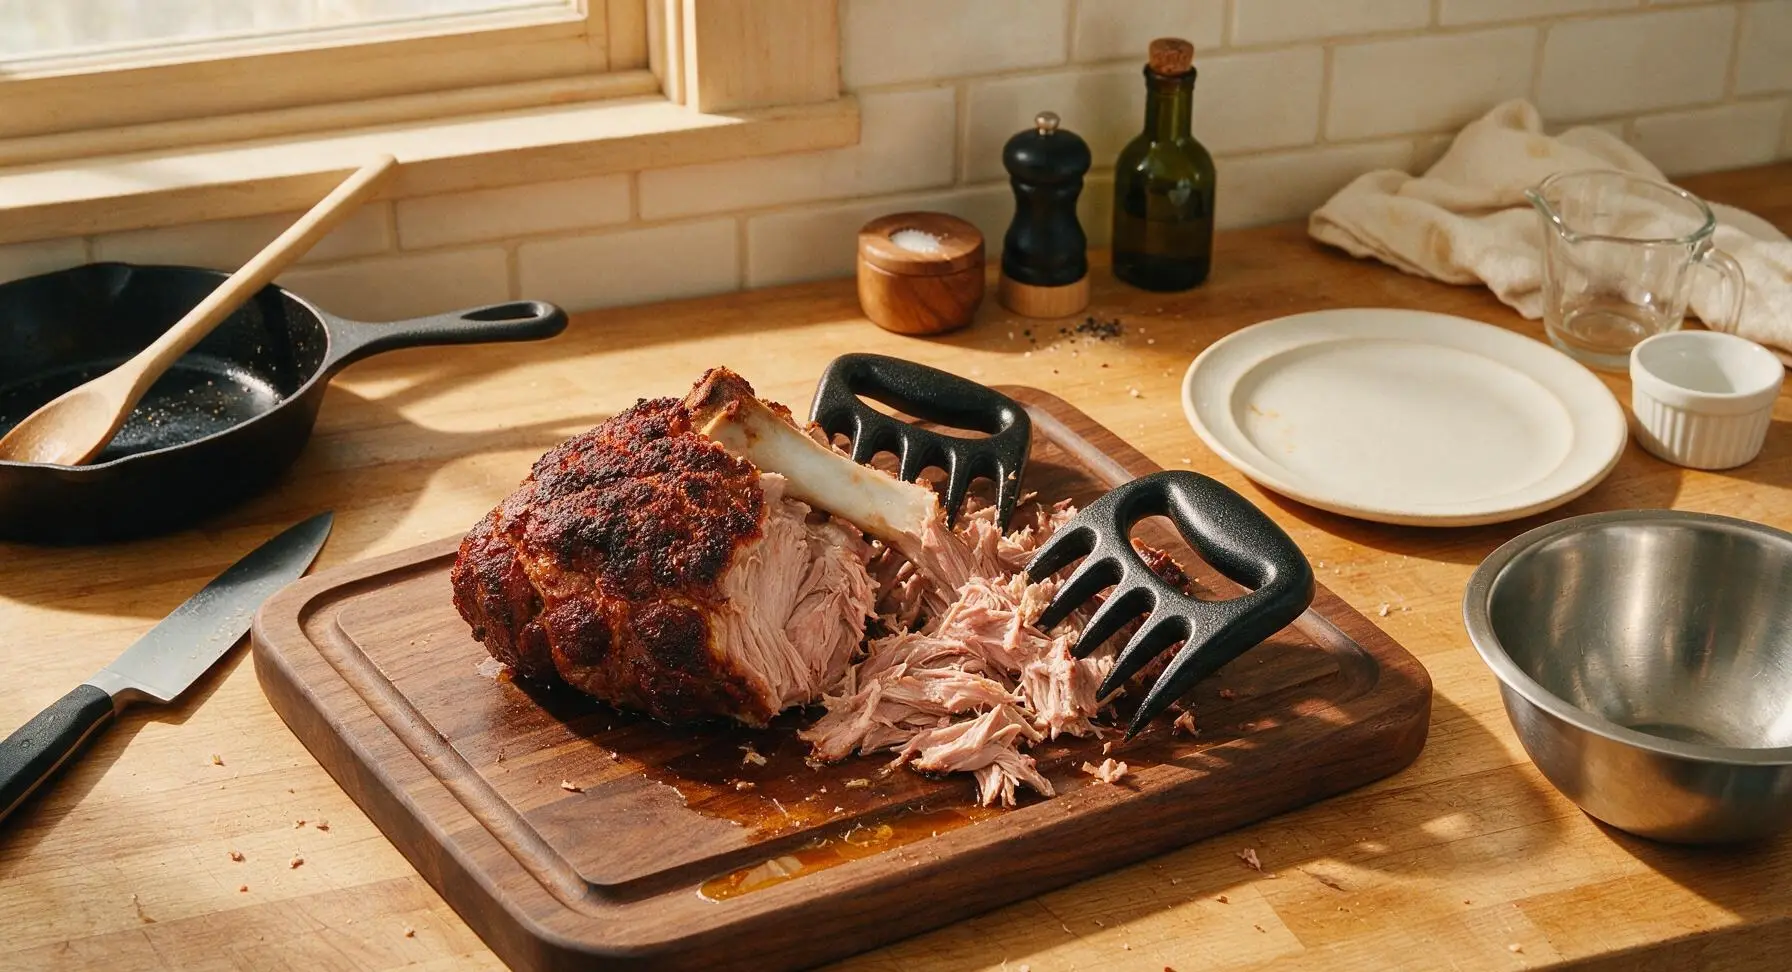
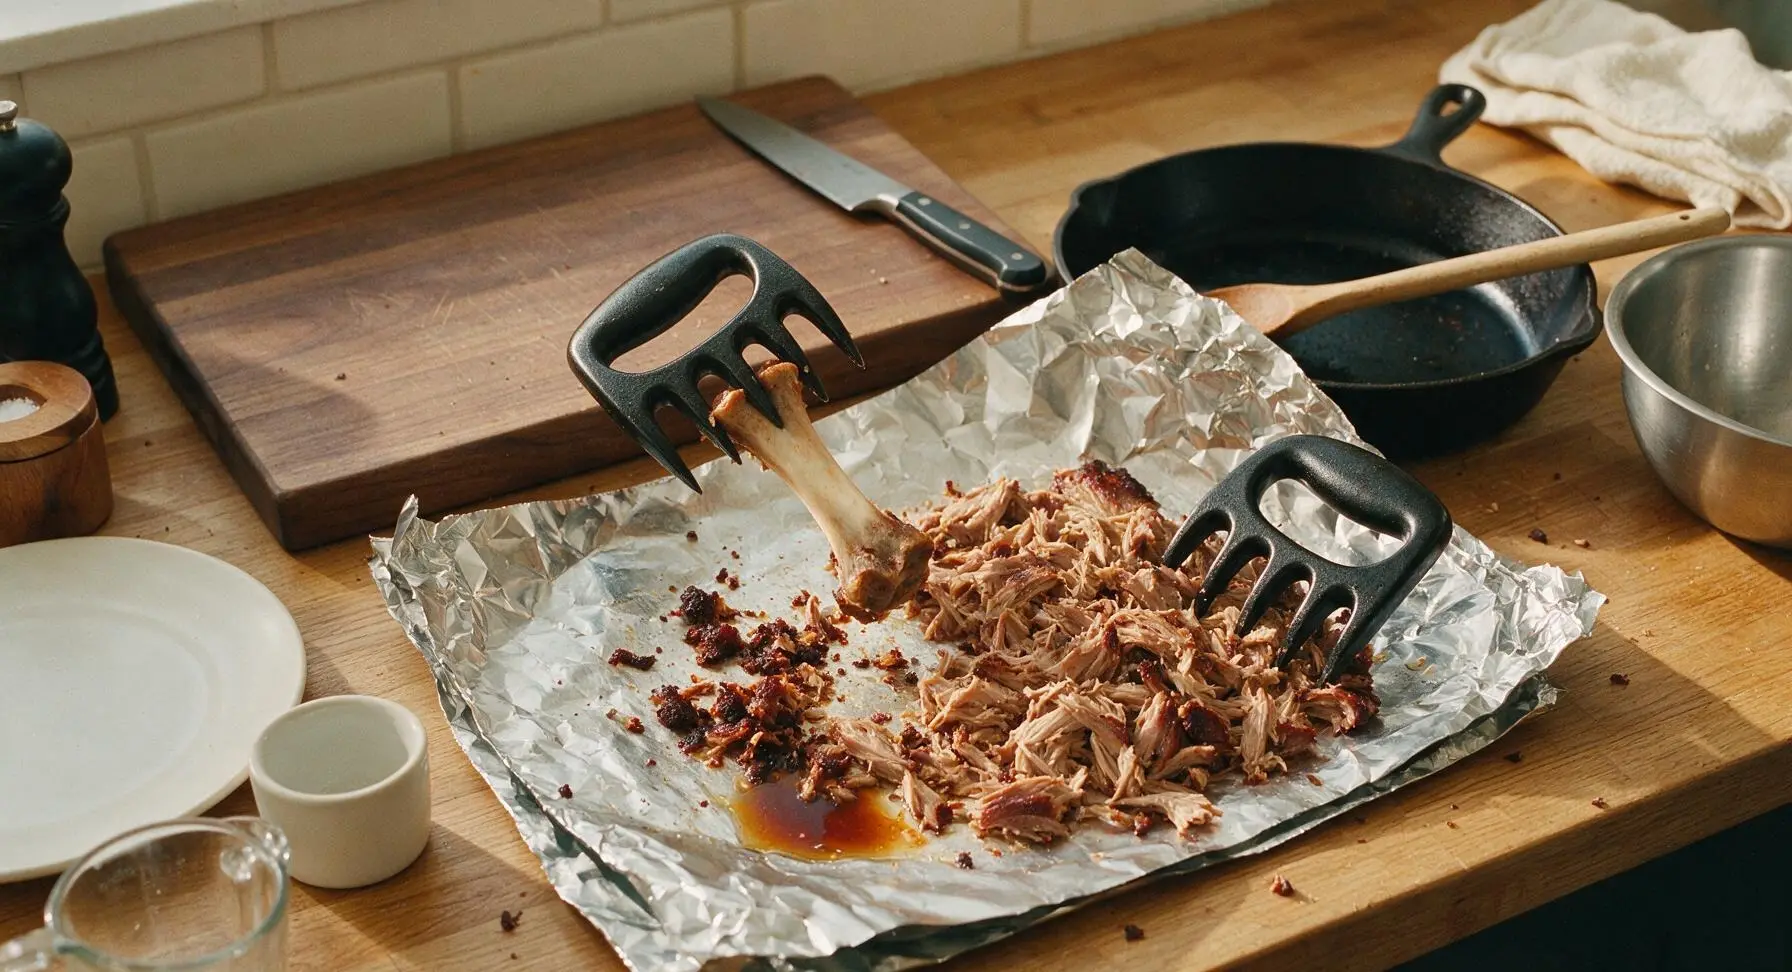
Step 8
step8:Pull pork apart
Step 8
step8:Pull pork apart

Tips

1.Don’t rush the 1-hour rest period: Wrapped resting lets the pork’s muscle fibers relax and reabsorb rendered juices, so your pulled pork will stay moist and juicy instead of leaking all its liquid onto the plate the second you shred it.
2.Select a pork butt with even white marbling and a 1/2-inch thick fat cap when shopping: The intramuscular fat melts slowly during low-heat cooking to keep meat tender, while the trimmed 1/4-inch cap bastes the meat from above as it renders.
3.If you don’t own specialty meat claws, use two sturdy dinner forks to shred the pork, but wait 10 minutes after unwrapping to let the surface cool slightly: The meat reaches 203°F when done, and holding it directly after unwrapping can lead to bad burns.


✨ You May Also Like

BBQ & Grilling
🍜 United States

Tender, melt-in-your-mouth beef brisket with a crisp, spiced bark, slow-smoked to deep smoky perfection, the iconic centerpiece of Texas backyard barbecue.

⏱️ 12 hours BBQ & Grilling ★ 4.4
BBQ & Grilling
🍜 Korea

Tender, sweet-savory marinated beef short ribs, a beloved Korean BBQ staple with caramelized, slightly charred edges and deep umami flavor, perfect for outdoor summer gatherings.

⏱️ 4 hours 2BBQ & Grilling ★ 4.8
BBQ & Grilling
🍜 United States

Juicy grilled beef patties topped with smoky homemade chili, melted cheddar, and tangy pickles on toasted brioche buns for a hearty, flavor-packed handheld meal.

⏱️ 40 minuteBBQ & Grilling ★ 4.7
BBQ & Grilling
🍜 United States

A sweet, smoky, tangy BBQ sauce brightened with peak-season dark cherries, ideal for glazing grilled ribs, chicken, pork, or summer roasted veggies.

⏱️ 35 minuteBBQ & Grilling ★ 4.7
BBQ & Grilling
🍜 United States

Rich, smoky, slightly sweet homemade bourbon BBQ sauce with deep caramel notes, ideal for glazing grilled ribs, chicken, and burgers at cookouts.

⏱️ 25 minuteBBQ & Grilling ★ 4.7
BBQ & Grilling
🍜 United States

Iconic Alabama-style BBQ featuring tender hickory-smoked chicken slathered in tangy creamy white sauce, a beloved regional Southern cookout staple.

⏱️ 3 hoursBBQ & Grilling ★ 5

Pulled Pork (Bone-in Pork Butt):Frequently Asked Questions

1.Why use bone-in pork butt instead of boneless for pulled pork? ▾
Bone-in pork butt delivers far richer, deeper flavor than boneless cuts, as the marrow and surrounding connective tissue break down during slow cooking to baste the meat from the inside out. The bone also acts as a natural heat conductor for more even cooking, and it gives a clear doneness cue—when meat pulls easily from the bone, it’s perfectly tender.
2.What size bone-in pork butt should I buy to serve 8 people? ▾
Plan for ½ pound of raw bone-in pork butt per person, so a 4-pound cut will feed 8 guests comfortably. Bone-in cuts lose roughly 40% of their weight during cooking from rendered fat and moisture loss, leaving you with about ⅓ pound of tender pulled pork per guest—perfect for sandwiches, with a little extra for seconds.
3.Do I need to brine the pork butt before applying the dry rub? ▾
You don’t need a wet brine for great pulled pork if you season generously with kosher salt 12 to 24 hours ahead of cooking. That dry brine draws out moisture that dissolves the salt, which then sinks back into the meat to season it evenly, lock in juiciness, and help the spiced bark form a crisp, flavorful crust without extra steps.
4.What’s the ideal cooking temperature for tender, pull-apart pulled pork? ▾
Cook your pork butt low and slow at 225°F to 250°F until the internal temperature hits 195°F to 205°F. At that range, tough connective tissue and marbled fat fully melt into the meat, creating that signature juicy, fall-apart texture. Don’t pull it at 165°F—it will be tough and impossible to shred cleanly at that point.
5.Why didn’t my dry rub form a crispy bark on the pulled pork? ▾
Crispy bark usually fails to form for three key reasons: you wrapped the meat too early in the cook, the light brown sugar in your rub burned before the crust set, or you spritzed the meat too often so the surface never dried out. Leave the pork unwrapped for the first 3 to 4 hours of cooking to let the rub set into a firm, spiced crust.
6.Can I make this pulled pork in a regular oven if I don’t have a smoker? ▾
Absolutely—you can make fantastic pulled pork in a standard home oven. Set your oven to 275°F, place the seasoned pork on a wire rack set inside a rimmed baking sheet, and cook until it hits 200°F internal. For a subtle smoky note, the recipe’s smoked paprika works perfectly, or add a small pan of soaked wood chips on the rack below.
7.Do I really need to let the pulled pork rest after cooking, and for how long? ▾
Yes, resting is non-negotiable for juicy pulled pork. Let the cooked pork rest, loosely tented with foil, for 30 to 45 minutes before pulling. This gives muscle fibers time to reabsorb all the rendered, flavorful juices instead of them running out all over your cutting board when you shred, which leaves you with dry, bland pork.
8.What’s the best way to shred the pork butt once it’s done cooking? ▾
The easiest, most reliable method is to use two clean dinner forks to pull the meat apart into bite-sized strands, discarding any large chunks of unrendered fat and the central bone as you go. For big batches, heat-resistant meat claws work faster, but skip the food processor—it will turn tender meat into mushy, uneven pulp.
9.Can I apply the dry rub right before cooking if I don’t have time to prep ahead? ▾
You can apply the rub—made with kosher salt, coarsely ground black pepper, smoked paprika, and light brown sugar—right before cooking if you’re short on time, but you’ll get far better flavor and bark formation if you can let it sit for at least 1 hour at room temperature first. If applied immediately before cooking, the rub won’t adhere properly, and you’ll lose much of it to the pan as fat renders.
10.Why did my pork butt hit a long temperature stall, and what should I do? ▾
The temperature stall—when internal temp hangs around 160°F to 170°F for hours—is totally normal. It happens when evaporating moisture from the meat surface cools it faster than heat can raise the temp. You can either wait it out, or wrap the pork tightly in butcher paper or foil at that point to power through the stall faster.
11.How long will leftover pulled pork stay fresh in the fridge or freezer? ▾
Properly stored in an airtight container, leftover pulled pork will stay fresh in the fridge for 3 to 4 days, and it freezes beautifully for up to 3 months. To reheat without drying it out, toss the shredded pork with a splash of apple cider vinegar or chicken broth, cover, and warm at 325°F until it hits 165°F internal.
12.Is pork butt the same cut as Boston butt? I saw both labels at the grocery store. ▾
Yes, bone-in pork butt and Boston butt are the exact same cut—they come from the upper shoulder of the pig, not the rear end as the name might suggest. Don’t confuse it with pork picnic shoulder, a lower, tougher shoulder cut with more skin and connective tissue that works better for chopping than fine pulling.
13.Do I need to trim the fat cap on the pork butt before adding the rub? ▾
Trim the thick fat cap down to about ¼ inch thick before applying your rub—don’t remove it entirely. That thin fat layer will slowly render as the pork cooks, basting the meat to keep it juicy and helping the bark form a crisp crust. If you leave the full ½-1 inch fat cap on, you’ll end up with a soft, greasy, unseasoned crust.
14.Can I use this pulled pork for dishes other than sandwiches? ▾
Absolutely! This juicy, spiced pulled pork works for far more than just piling high on cookout buns. Toss it into tacos, top baked potatoes or nachos, mix it into barbecue baked beans, pile it onto sliders for game day, or add it to breakfast hash with eggs. Hold off on dousing it in heavy sauce right away so it works across different meals easily.
15.What’s the easiest way to make this in a slow cooker with that classic smoky flavor? ▾
For rich smoky flavor in a slow cooker, lean into the recipe’s smoked paprika, and add 1 teaspoon of hickory or mesquite liquid smoke to the bottom of the crock before adding the seasoned pork. Cook on low for 8 to 10 hours until the meat pulls easily from the bone, then broil shredded pork for 3-5 minutes to mimic crispy bark.

Comments (5)

3 days ago

OMG this pulled pork was a total game changer for our weekend family cookout! I was nervous about the 8 hour cook time but it was so worth it—meat pulled apart like butter, even my super picky 7 year old asked for seconds. I used a simple apple cider vinegar spritz every hour like my grandpa used to, and it paired perfectly with the dry rub from this recipe. Took this to our neighborhood potluck last Sunday and everyone was hounding me for the recipe! 10/10 will make again for our Fourth of July spread.

2 days ago

Wait did you do this on a smoker or in the oven? I’m trying to decide if I can pull this off on my offset smoker without messing up the temp for 8 whole hours, my last pork butt came out tough as shoe leather 😅

yesterday

So glad it was a hit at your potluck, @BBQMom1987! And to answer @GrillGuyJake’s question too—this recipe works beautifully on an offset smoker, just hold your temp steady at 225°F and you’ll get that perfect fall-apart texture every time, no tough bites. The apple cider spritz trick you used sounds delicious, great call!

5 days ago

Great base recipe! I made a big batch Sunday for meal prep for the week, and it’s been so good on sliders, nachos, even breakfast burritos with eggs. My only note is that I wish I’d trimmed a little more of the hard fat cap off before cooking, a few bits were too chewy for my taste. Still, way better than the grocery store pre-made pulled pork I used to buy!

3 days ago

Love that you’re using this for meal prep—it holds up so well all week! Great tip on the fat cap too—trimming it down to about 1/4 inch thick is the sweet spot so you get that rich rendered fat flavor without the chewy unrendered bits. Hope that helps for your next batch!

2 weeks ago

Tried this for my first ever pork butt cook and honestly? It turned out way better than I expected. I was worried the medium difficulty rating would be too much for a total newbie, but the step-by-step instructions were so clear I didn’t second guess anything. Cooked it in my Dutch oven since I don’t have a smoker, tossed it with a little sweet hickory BBQ sauce at the end, and my roommates devoured half the pan before I could even pack up leftovers. Only heads up for other first-timers: I had to add an extra 45 minutes of cook time because the bone didn’t wiggle clean like the recipe said, so don’t panic if yours takes a little longer to get to that fall-off-the-bone point!

5 days ago

SO good. I served this with coleslaw and cornbread for Sunday dinner after church, and my husband said it’s better than the pulled pork we get at our favorite BBQ joint downtown. The bark came out perfectly crispy, I didn’t even need to add extra sauce! Will absolutely be adding this to our regular rotation.

3 days ago

Did you use the mustard slather under the rub like the recipe says? I skipped that last time I made pulled pork and the bark wouldn’t stick right, wondering if that makes a difference here!

yesterday

Finally a pulled pork recipe that doesn’t call for a ton of weird sugary additives! I used a sugar-free dry rub to keep this gluten free and low carb, served it on lettuce wraps with pickles and red onion, and it was chef’s kiss. Only heads up for other small household cooks: this makes a TON of food, so be ready to freeze half if you’re not feeding a crowd!

2 hours ago

How well does this freeze? I’ve had bad luck with frozen pulled pork getting all watery and mushy when I thaw it, would love to stock up if it holds up!

30 minutes ago

So happy you loved the low-sugar, gluten-free adaptation! For freezing, let the pork cool completely, portion it into airtight bags with a splash of the reserved cooking juices, and squeeze out all excess air before sealing. It’ll stay perfect for up to 3 months, and reheating low and slow in the oven or crockpot will keep it from getting mushy!



