
pulled pork in ninja foodi

title 1
pulled pork in ninja foodi
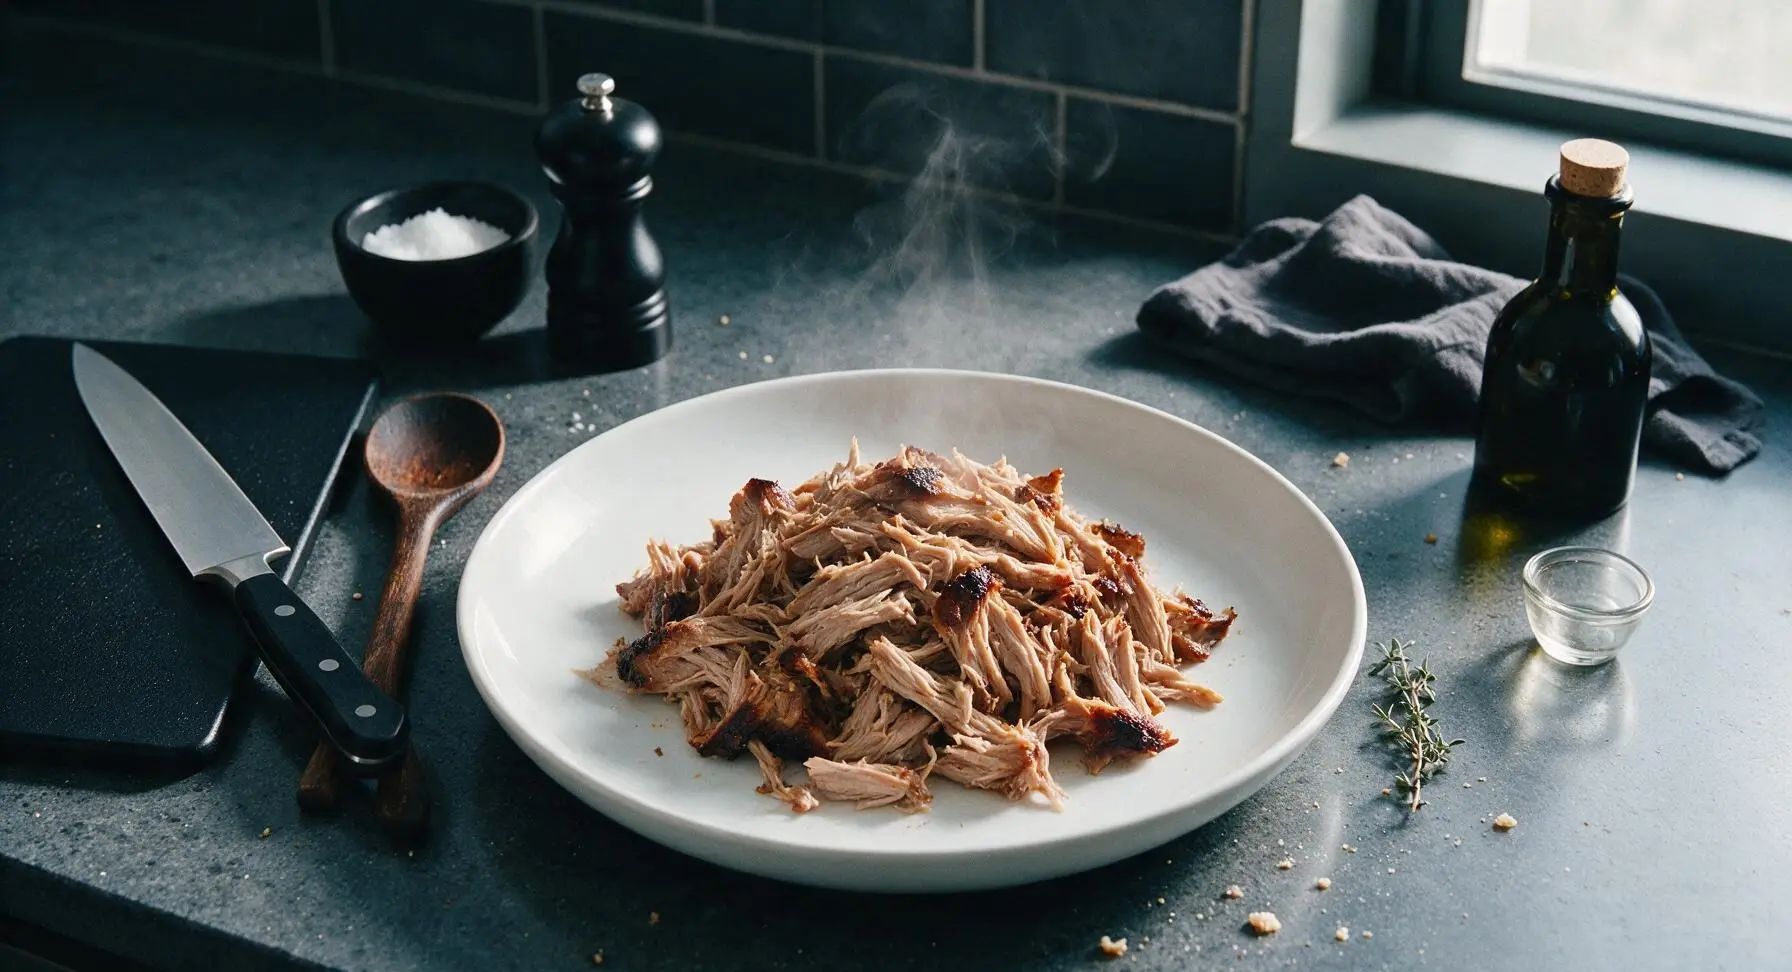
⏱️ cook time 1 hour 15 minutes
🍽️ servings 6
⚡ Difficulty easy

intro

Fall-apart tender pulled pork with a smoky caramelized bark, made fast in the Ninja Foodi—no smoker required, perfect for piling high on buns at summer gatherings.

Ingredients
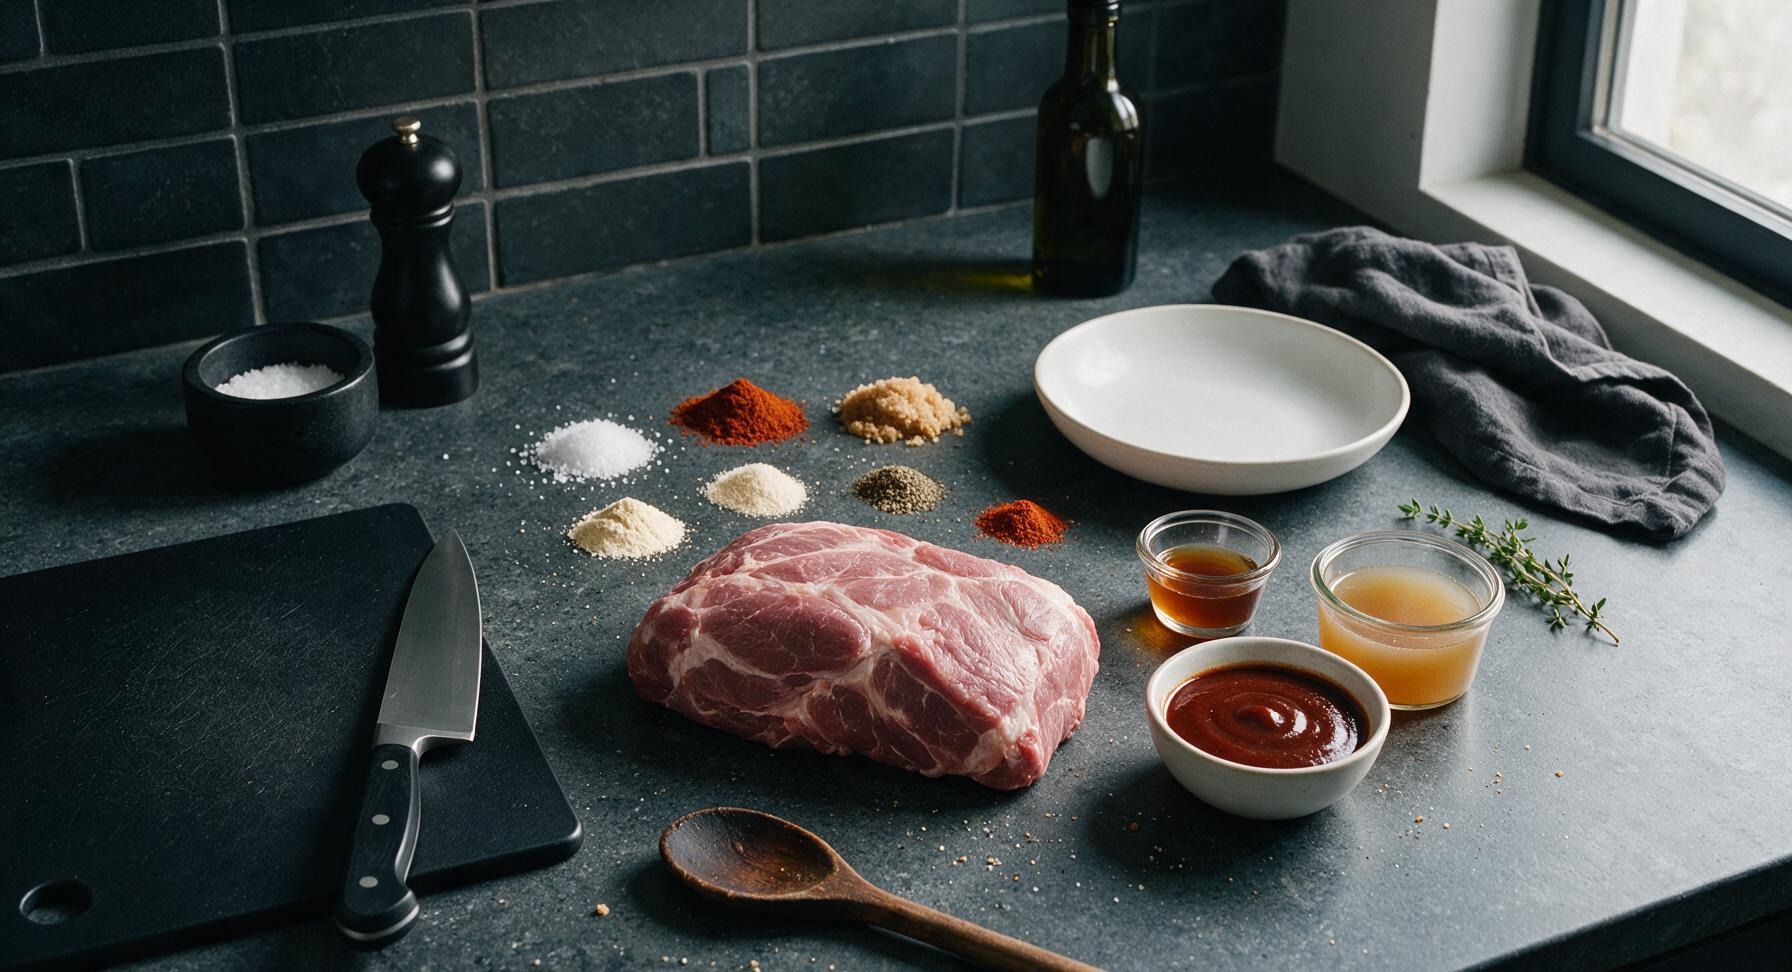
Boneless pork shoulder (Boston butt) 3lb (1.4kg)
Kosher salt 1 tbsp
Smoked paprika 2 tbsp
Light brown sugar 1 tbsp
Garlic powder 1 tsp
Onion powder 1 tsp
Ground black pepper 1 tsp
Ground cumin 1/2 tsp
Cayenne pepper 1/4 tsp
Apple cider vinegar 2 tbsp
Low-sodium chicken broth 1/2 cup (120ml)
Tangy BBQ sauce 3/4 cup (180ml), plus extra for serving

Steps

1

Trim Pork Shoulder

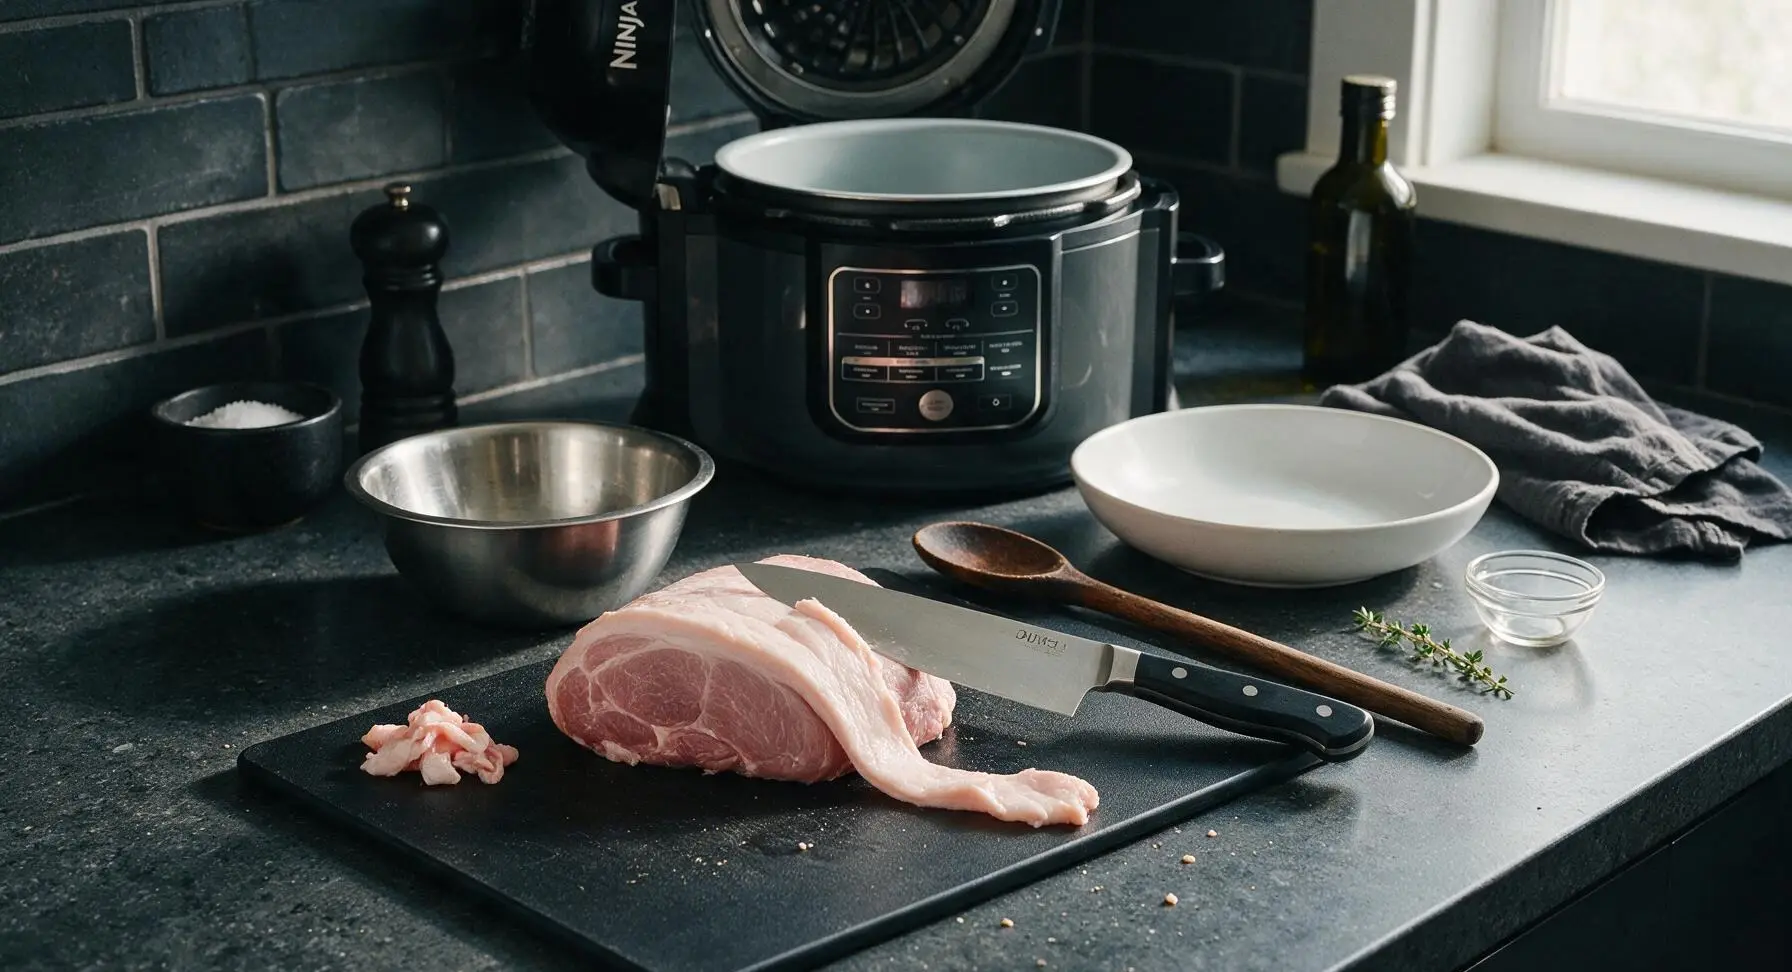
Place the 3lb boneless pork shoulder on the maple wood cutting board. Use the 8-inch chef knife to trim excess hard fat and silver skin from the surface, leaving a 1/4-inch thick even fat cap on one side. Cut the pork into 2 large equal-sized chunks to fit easily in the Ninja Foodi pot, with no pieces larger than 4 inches across. Pat the entire surface of the pork completely dry with paper towels from the fixed roll for better rub adhesion.
Step 1
step1:Trim Pork Shoulder
2

Mix Spice Dry Rub

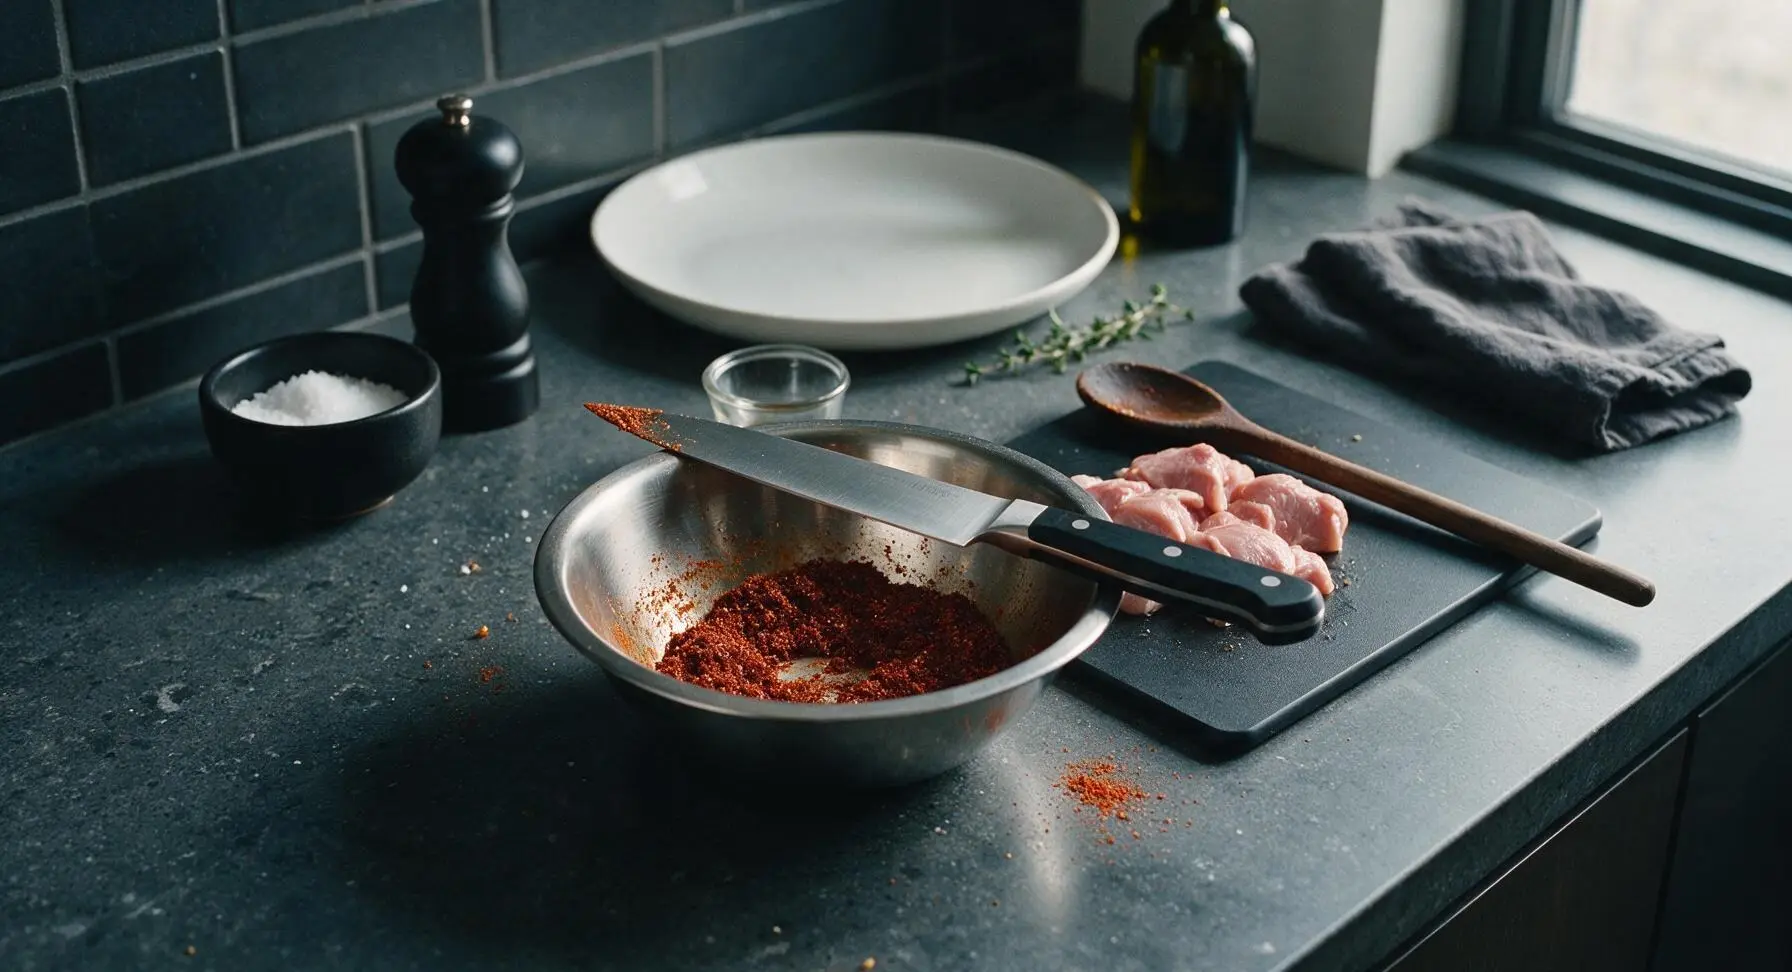
In the small stainless steel mixing bowl, combine 1 tbsp kosher salt, 2 tbsp smoked paprika, 1 tbsp light brown sugar, 1 tsp garlic powder, 1 tsp onion powder, 1 tsp ground black pepper, 1/2 tsp ground cumin, and 1/4 tsp cayenne pepper. Stir with the tip of the chef knife until fully blended, with no clumps of brown sugar remaining. The rub will be a deep rusty red-brown color with a slightly coarse texture.
Step 2
step2:Mix Spice Dry Rub
3

Coat Pork with Rub

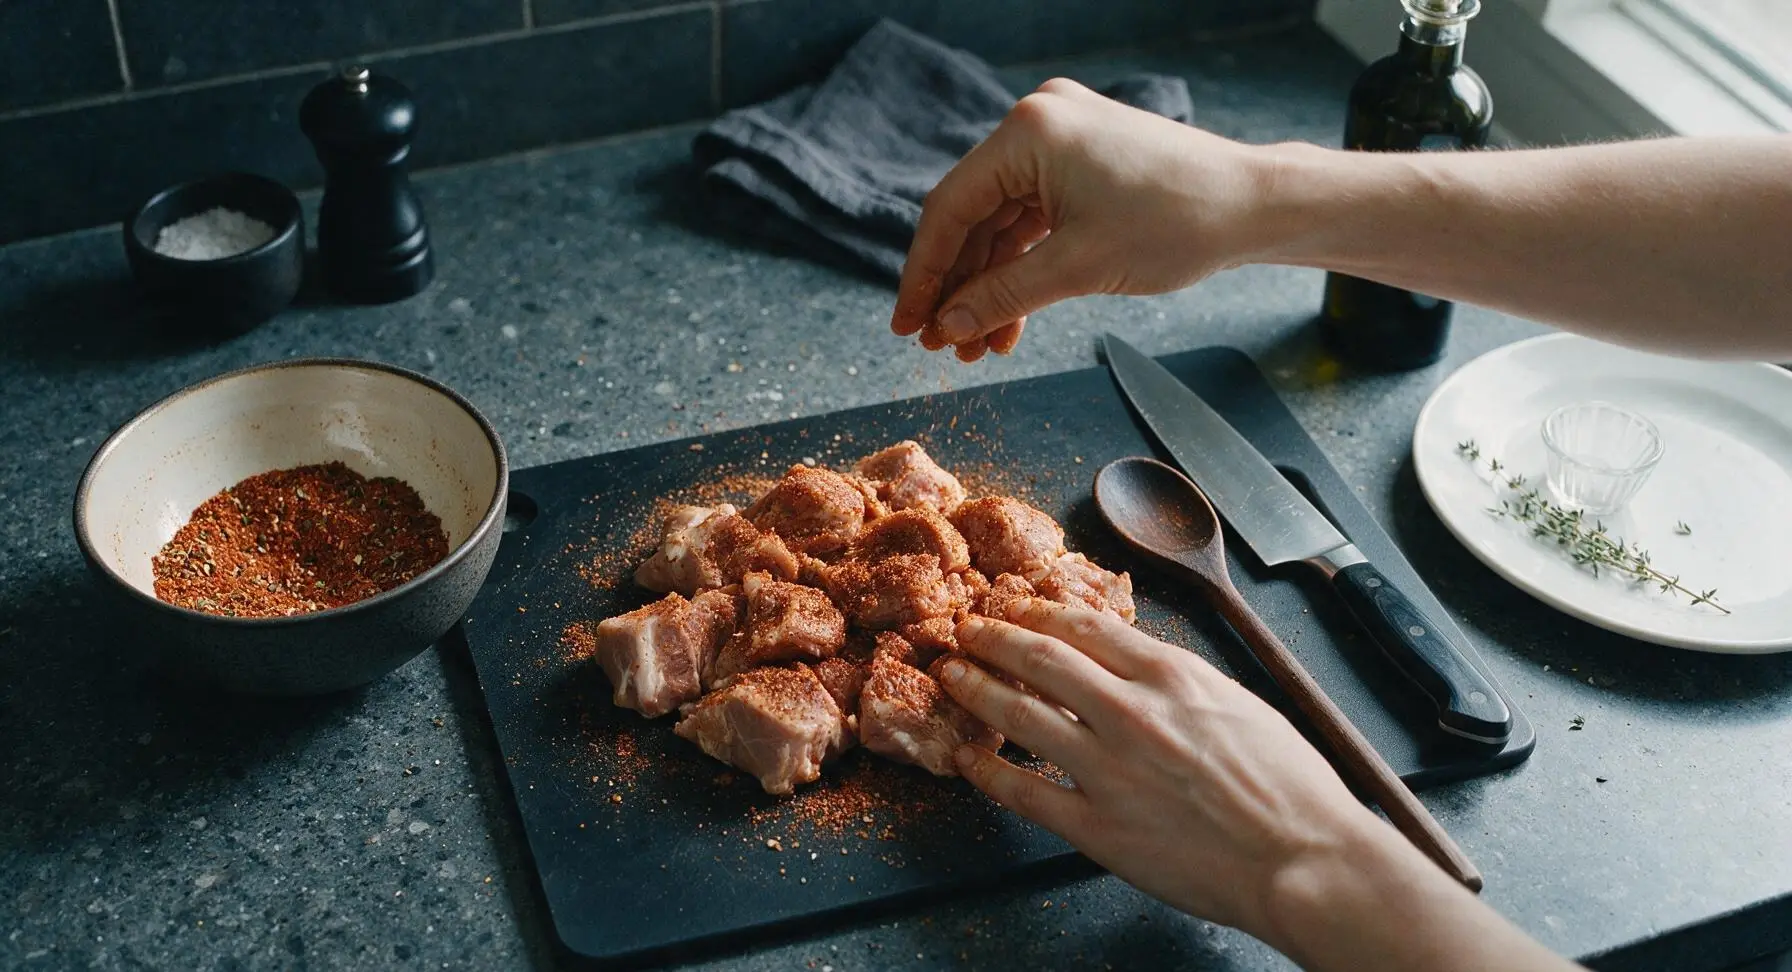
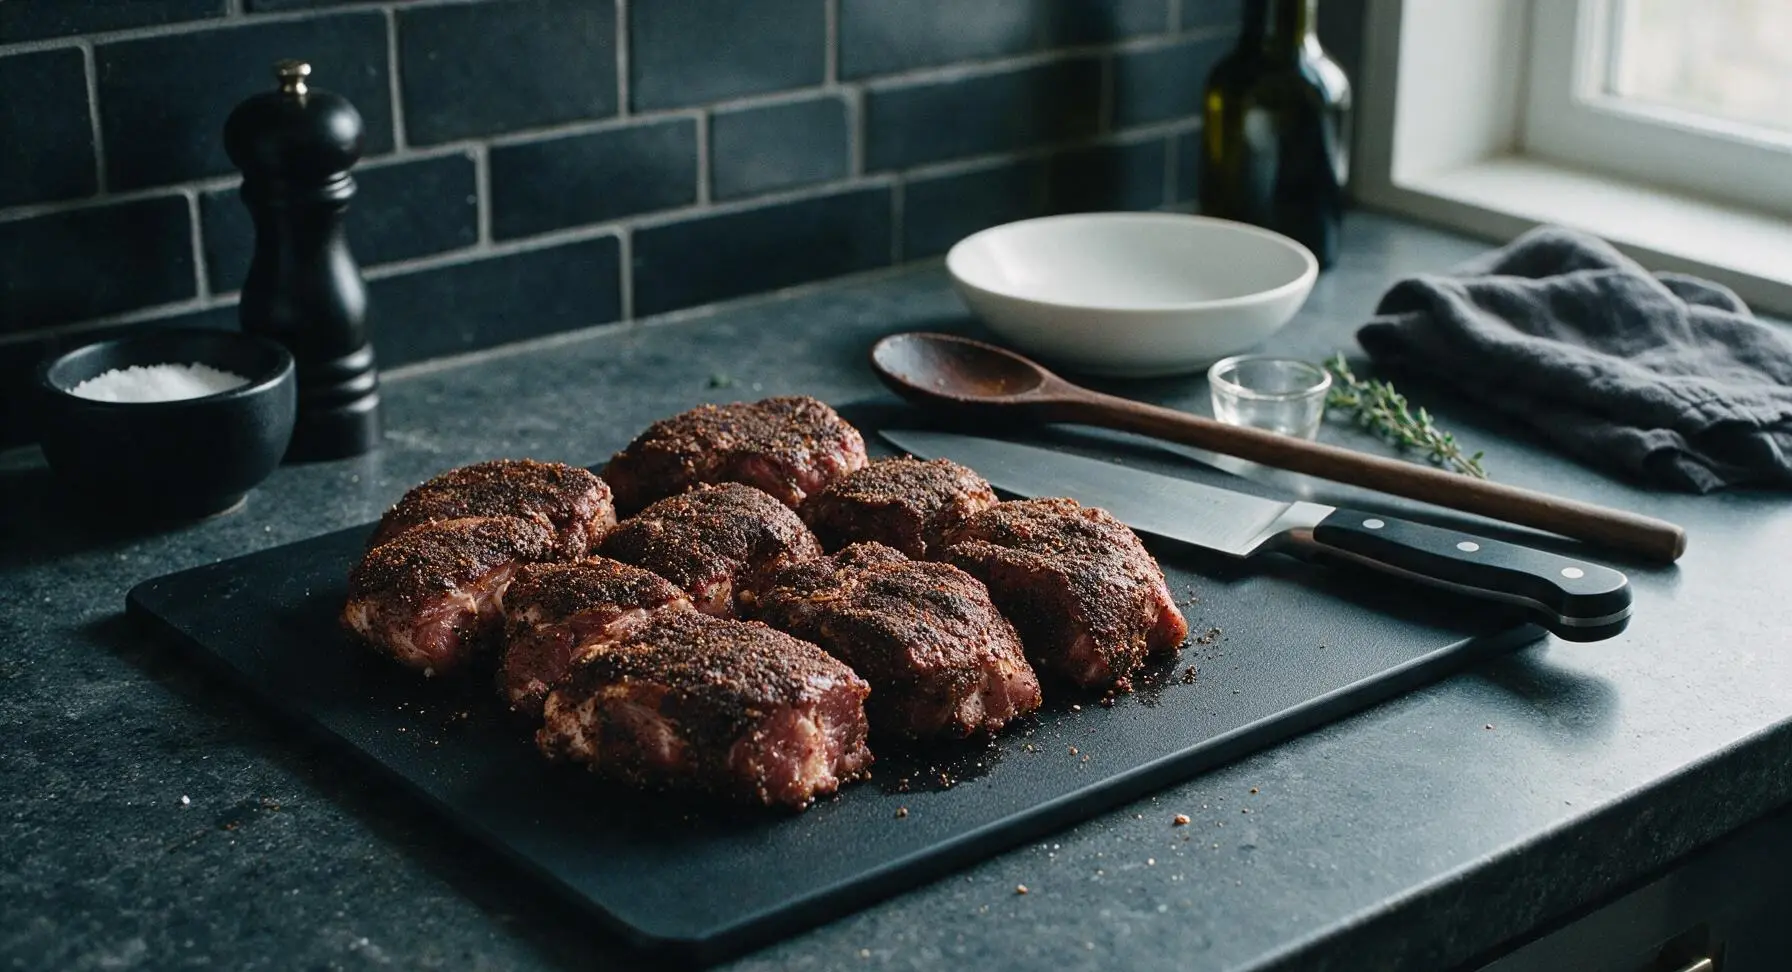
Sprinkle the dry rub generously over every surface of the pork chunks, using your hands to press the rub firmly into the meat so it adheres, including the sides and fat cap. Use every last bit of the rub, with no bare patches of meat visible. Let the seasoned pork rest for 10 minutes at room temperature while you prep the cooking liquid.
Step 3
step3:Coat Pork with Rub
Step 3
step3:Coat Pork with Rub
4

Pressure Cook Pork

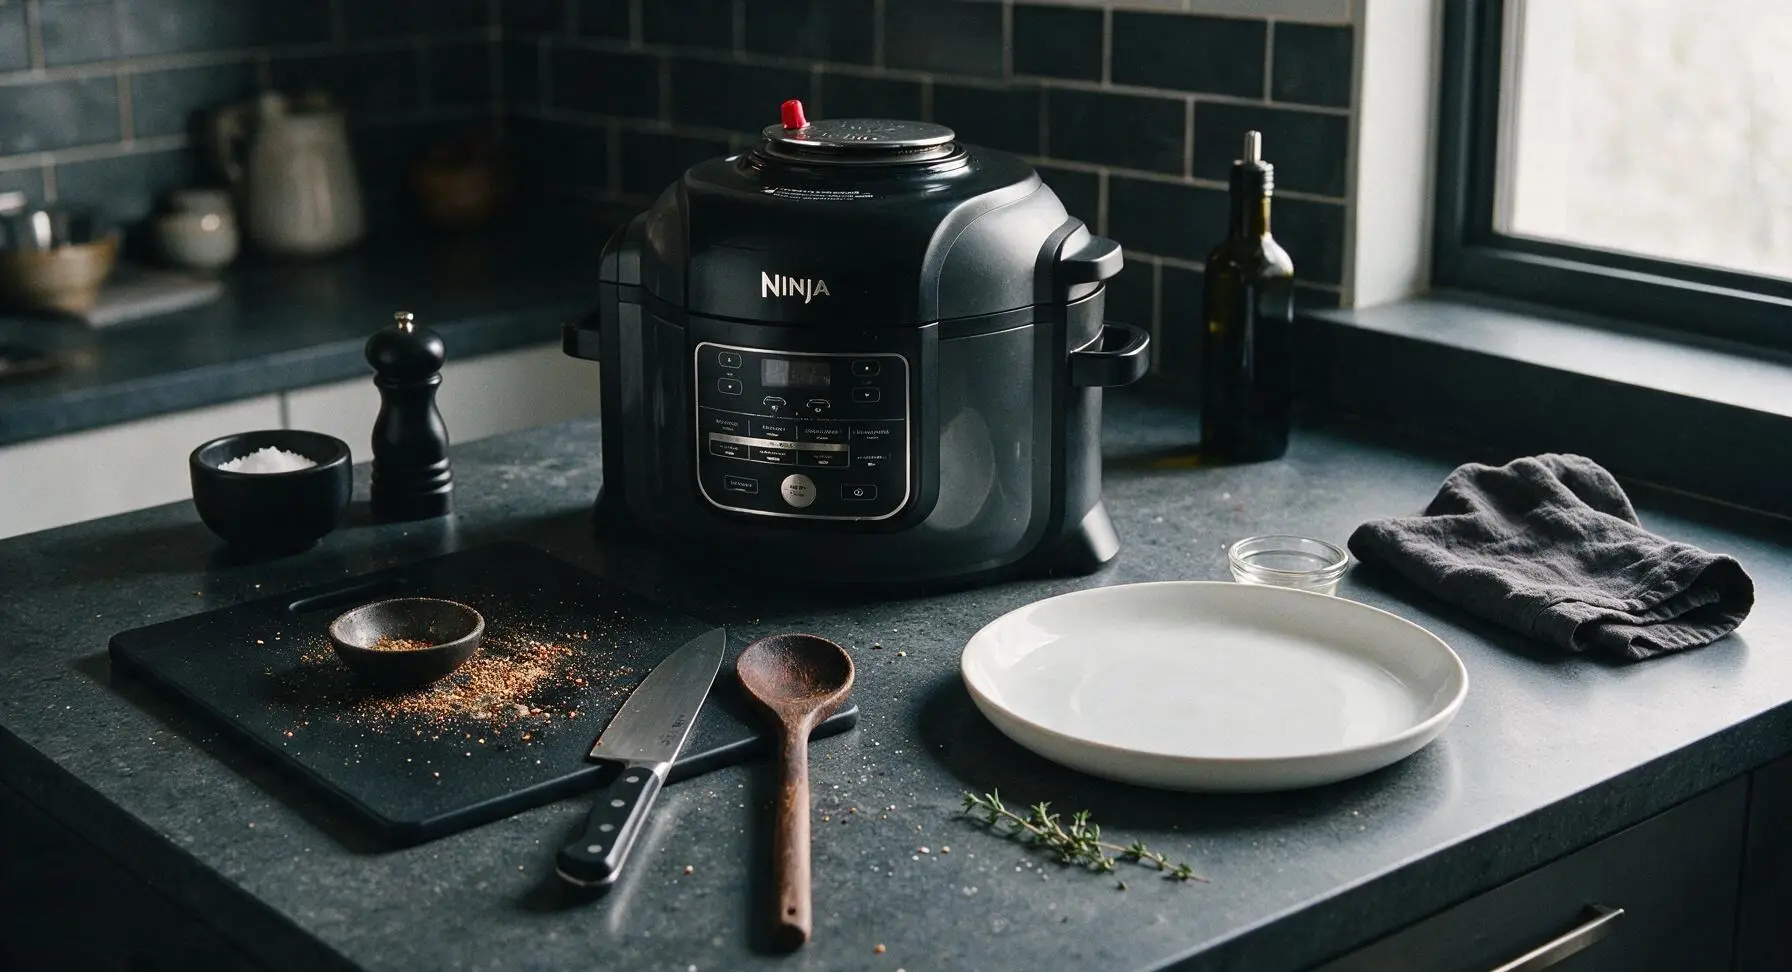
Pour 1/2 cup chicken broth and 2 tbsp apple cider vinegar into the bottom of the Ninja Foodi inner pot. Place the seasoned pork chunks in the pot in a single layer, fat cap side up. Close the pressure lid, set the valve to Seal, and cook on High Pressure for 45 minutes. Once the cook time ends, let the pressure release naturally for 15 minutes, then manually release any remaining pressure before opening the lid. The pork will be very tender when poked with a fork.
Step 4
step4:Pressure Cook Pork
5

Crisp Pork Surface

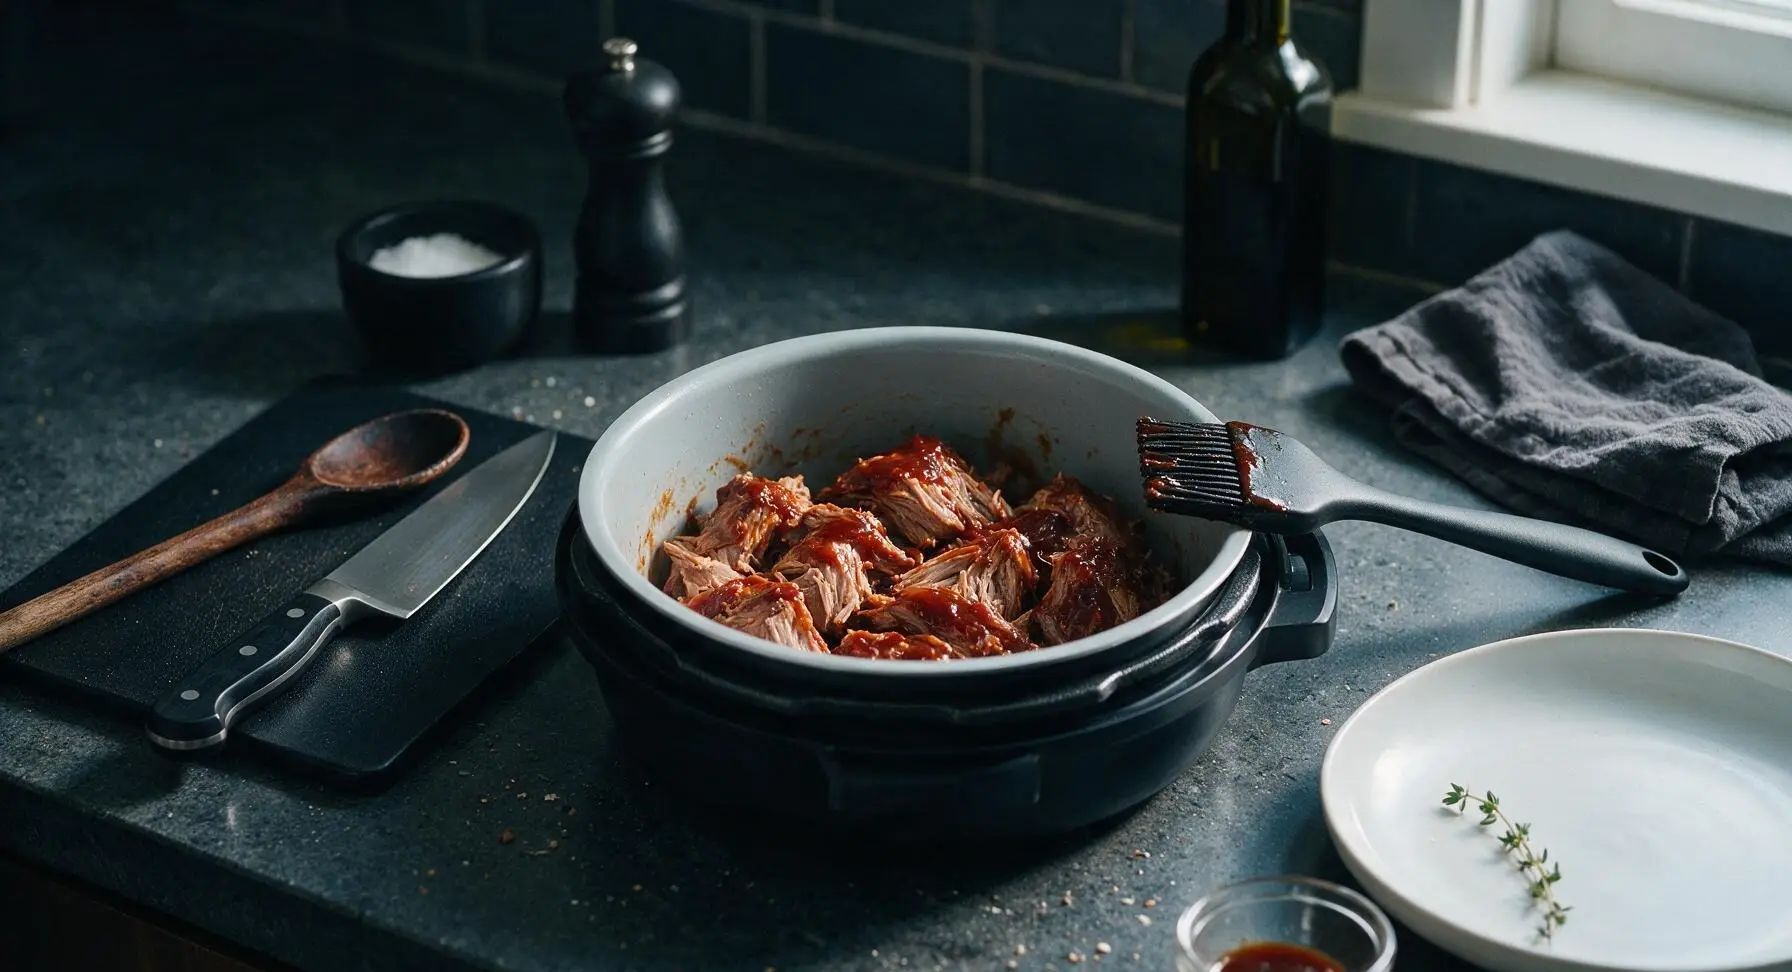
Carefully open the Ninja Foodi lid after pressure is fully released. Use the stainless steel tongs to hold the pork chunks to one side of the pot while you pour out all but 2 tbsp of the cooking liquid from the inner pot, keeping the pork in the pot the whole time. Brush the top of each pork chunk with 1/4 cup of BBQ sauce. Close the air crisp lid, set the Ninja Foodi to Air Crisp at 400°F (200°C) for 8-10 minutes, until the top of the pork is dark, caramelized, and slightly crisp at the edges.
Step 5
step5:Crisp Pork Surface
6

Shred Cooked Pork

Once the crisp cycle finishes, turn off the Ninja Foodi. Use the metal meat claws to shred the pork directly in the pot, pulling it into thick, bite-sized strands. Discard any large chunks of unrendered fat as you shred.
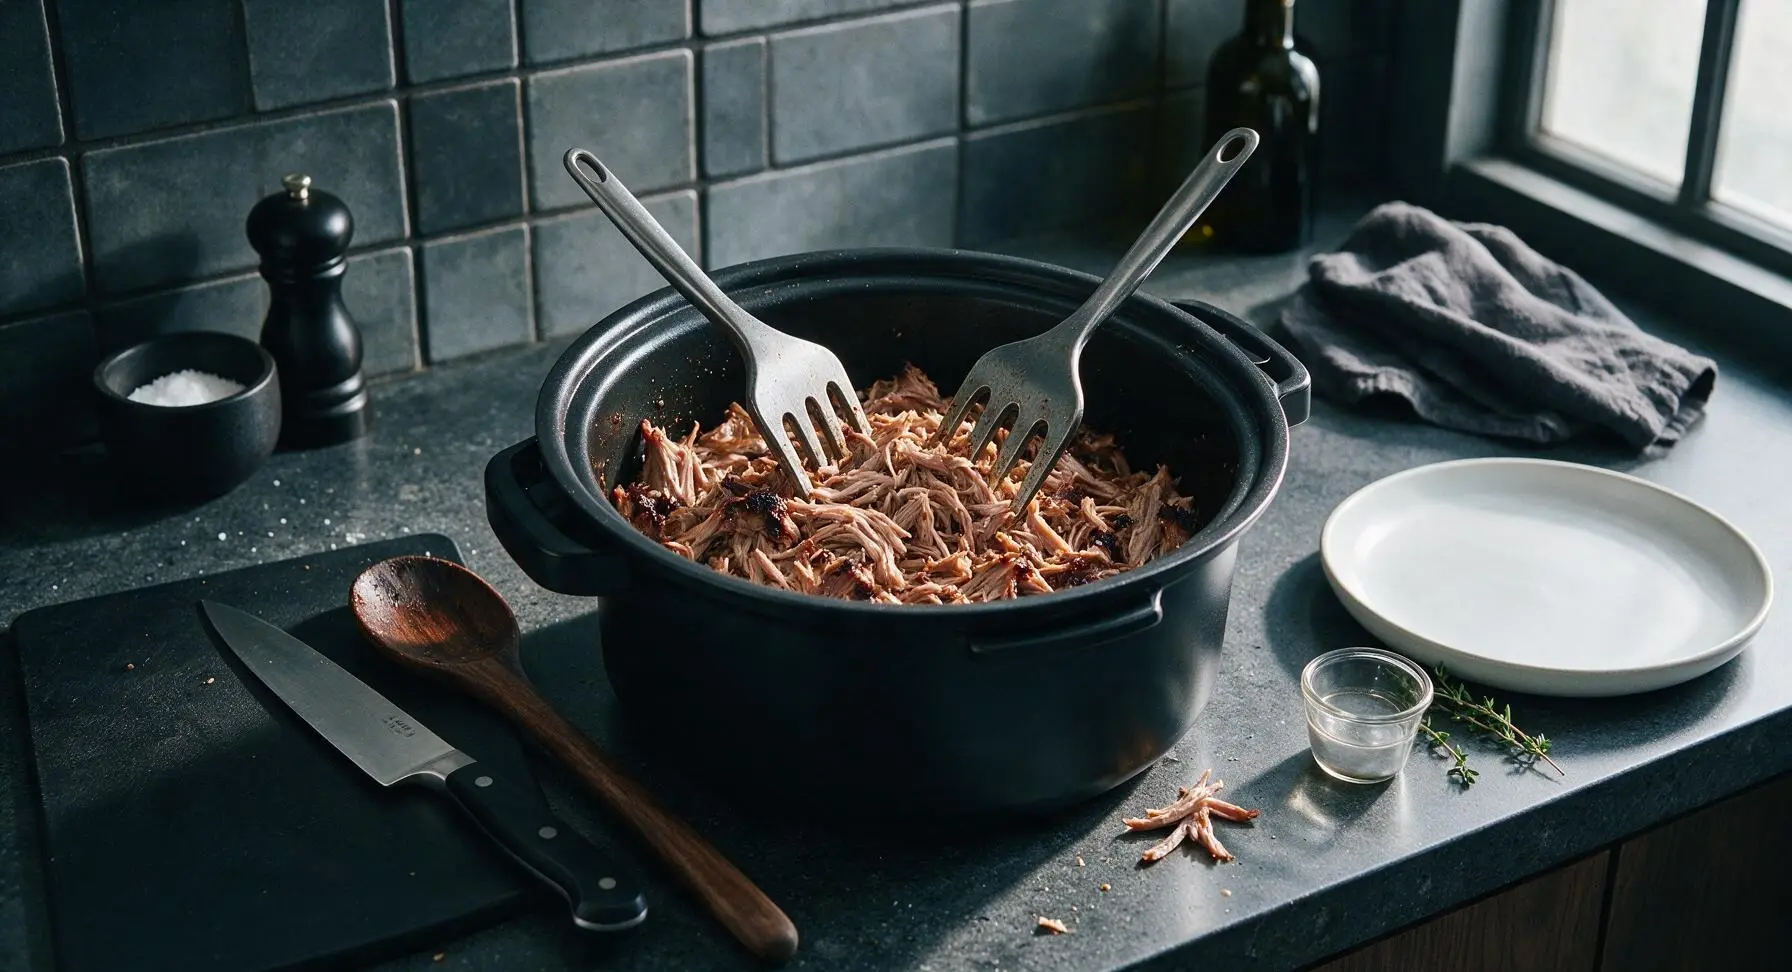
Step 6
step6:Shred Cooked Pork
7

Toss with BBQ Sauce

Pour the remaining 1/2 cup of BBQ sauce over the warm shredded pork in the Ninja Foodi pot. Use the dark walnut wooden spoon to gently toss the shreds until every strand is lightly coated in sauce, mixing the crisp bark pieces evenly throughout the softer pork. Let the pork rest for 5 minutes so the sauce soaks in and the juices redistribute before plating.
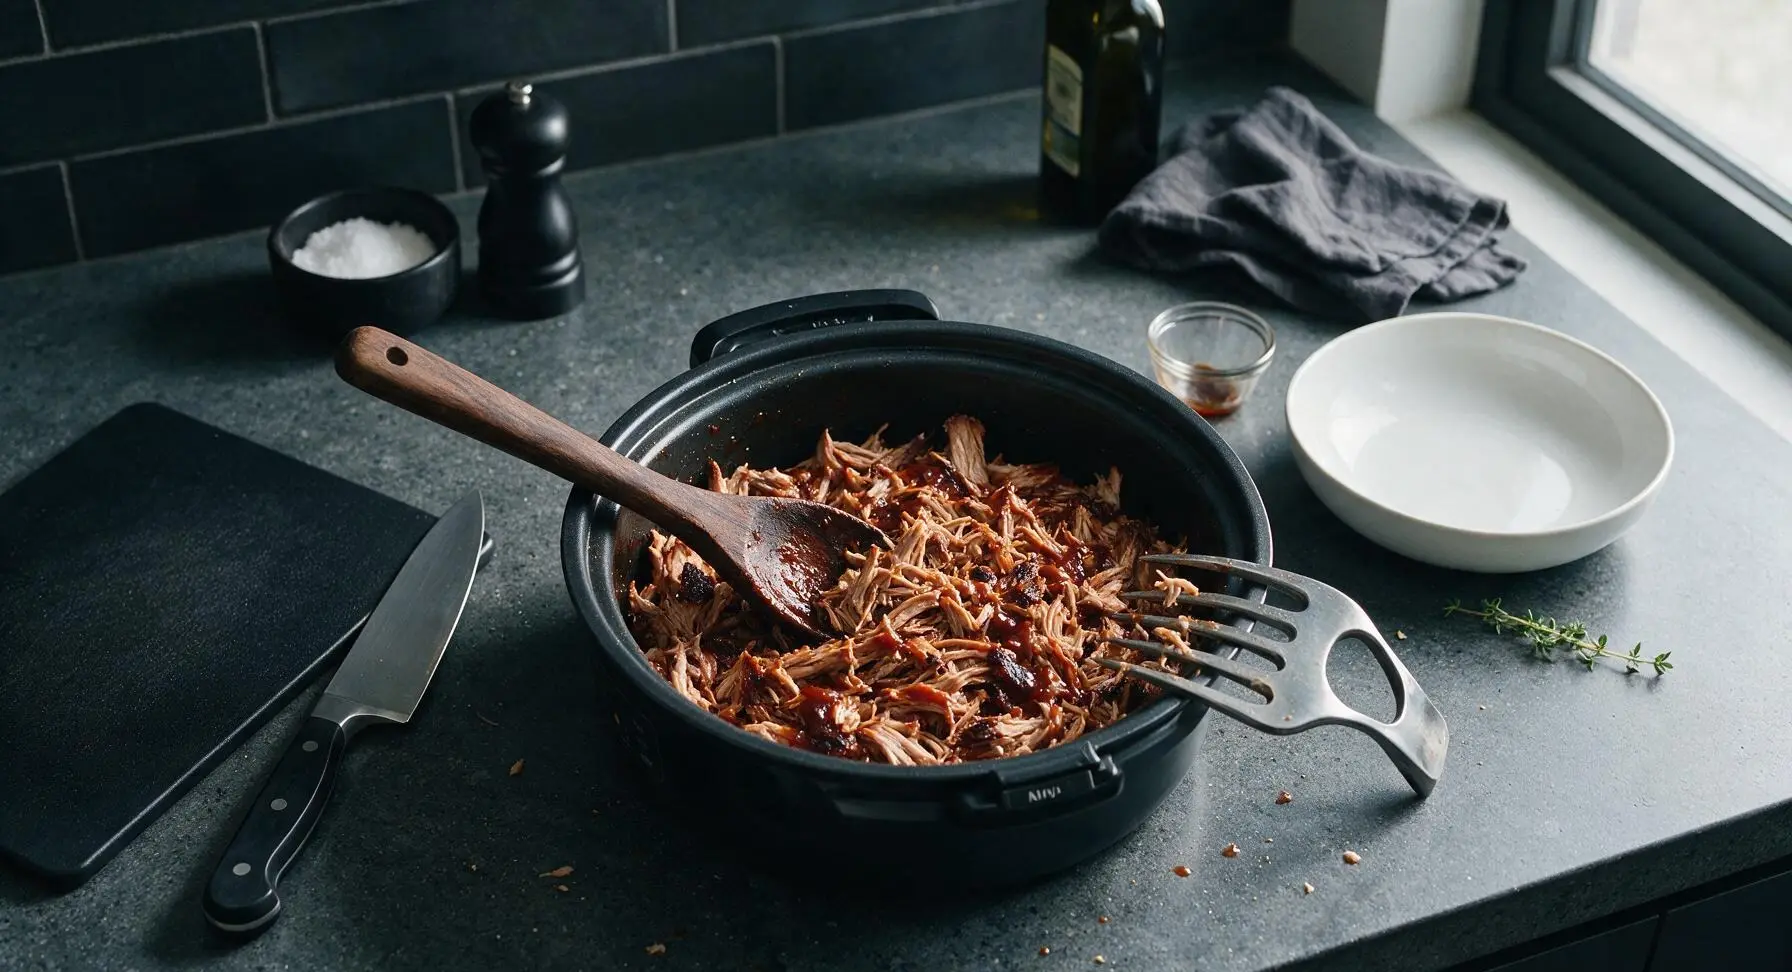
Step 7
step7:Toss with BBQ Sauce

Tips

1.Do not skip the 15-minute natural pressure release after cooking: quick-releasing immediately can cause pork fibers to seize and turn tough, while a slow partial release keeps meat melt-in-your-mouth tender and prevents hot liquid splatters.
2.Pat pork completely dry with paper towels before applying dry rub: any surface moisture will prevent the spice rub from adhering properly, stopping a flavorful, textured crust from forming during the air crisp step.
3.Avoid adding extra cooking liquid to the inner pot: pork releases significant natural juice as it pressure cooks, and too much liquid will dilute spice flavor and prevent a caramelized, bark-like crust from forming during air crisping.


✨ You May Also Like

BBQ & Grilling
🍜 United States

Tender, melt-in-your-mouth beef brisket with a crisp, spiced bark, slow-smoked to deep smoky perfection, the iconic centerpiece of Texas backyard barbecue.

⏱️ 12 hours BBQ & Grilling ★ 4.4
BBQ & Grilling
🍜 Korea

Tender, sweet-savory marinated beef short ribs, a beloved Korean BBQ staple with caramelized, slightly charred edges and deep umami flavor, perfect for outdoor summer gatherings.

⏱️ 4 hours 2BBQ & Grilling ★ 4.8
BBQ & Grilling
🍜 United States

Juicy grilled beef patties topped with smoky homemade chili, melted cheddar, and tangy pickles on toasted brioche buns for a hearty, flavor-packed handheld meal.

⏱️ 40 minuteBBQ & Grilling ★ 4.7
BBQ & Grilling
🍜 United States

A sweet, smoky, tangy BBQ sauce brightened with peak-season dark cherries, ideal for glazing grilled ribs, chicken, pork, or summer roasted veggies.

⏱️ 35 minuteBBQ & Grilling ★ 4.7
BBQ & Grilling
🍜 United States

Rich, smoky, slightly sweet homemade bourbon BBQ sauce with deep caramel notes, ideal for glazing grilled ribs, chicken, and burgers at cookouts.

⏱️ 25 minuteBBQ & Grilling ★ 4.7
BBQ & Grilling
🍜 United States

Iconic Alabama-style BBQ featuring tender hickory-smoked chicken slathered in tangy creamy white sauce, a beloved regional Southern cookout staple.

⏱️ 3 hoursBBQ & Grilling ★ 5

pulled pork in ninja foodi:Frequently Asked Questions

1.What cut of pork works best for this Ninja Foodi pulled pork recipe? ▾
Stick with boneless pork shoulder, often labeled Boston butt, for the juiciest, most tender results. Its heavy, even marbling melts during pressure cooking to keep meat fall-apart moist at the Ninja Foodi’s fast cook times. Skip lean cuts like pork loin, which will turn tough and stringy no matter how long you cook them.
2.Do I need to sear the pork before pressure cooking it in the Ninja Foodi? ▾
Yes, that quick sear is non-negotiable for that signature smoky, caramelized bark the recipe highlights. Use the Foodi’s sauté function on high to brown all sides of the seasoned pork for 2-3 minutes per side before locking on the pressure lid—it builds deep, savory flavor you won’t get from pressure cooking alone.
3.How long does it take to cook pulled pork in the Ninja Foodi? ▾
For a standard 4-pound boneless pork shoulder, plan for 60 minutes of high pressure cooking, plus a 15-minute natural pressure release before quick-releasing remaining steam. Add 10 minutes of cook time per extra pound of pork, and don’t skip the final 3-4 minute air crisp step to set the caramelized bark.
4.Can I use a bone-in pork shoulder for this recipe? ▾
Absolutely! Bone-in pork shoulder works just as well, and many cooks argue the bone adds extra rich, savory depth to the finished meat. Add 10 minutes of total high-pressure cook time to account for the bone, and confirm the pork fits easily in your Foodi pot without blocking the pressure valve before starting.
5.Why is my pulled pork coming out tough instead of tender? ▾
Tough pulled pork almost always stems from one of two issues: too little cook time, or using too lean a cut of pork. Pork shoulder needs enough time under pressure for its tough connective tissue to break down into silky, juicy gelatin. If it’s chewy after the initial cook, lock the lid back on and add 10 more minutes of high pressure.
6.Do I need to add liquid to the Ninja Foodi pot before pressure cooking? ▾
Yes, you’ll need at least 1 cup of thin liquid to build the steam required for pressure cooking. Plain water works, but apple cider, chicken broth, or a splash of apple cider vinegar adds subtle flavor that seeps into the pork as it cooks. Skip adding thick, sugary sauce directly to the pot pre-pressure cook, as it can burn on the bottom.
7.Can I make this pulled pork ahead of time for a summer cookout? ▾
Definitely! This pulled pork holds beautifully for meal prep or parties. Cook the pork fully, shred it, toss it with a splash of reserved cooking juices, and store it in an airtight container in the fridge for up to 4 days, or freeze for up to 3 months. Reheat gently in the microwave, slow cooker, or Ninja Foodi on warm before serving.
8.What’s the point of the air crisp step at the end of cooking? ▾
That short air crisp step is how you get that craveable, smoky caramelized bark without a separate smoker or outdoor grill. After pressure cooking, sprinkle a little extra dry rub on the pork surface and air crisp at 400°F for 3-5 minutes to crisp the outer layer without drying out the tender meat inside.
9.Can I adjust the dry rub if I don’t have all the listed spices? ▾
Of course! The base rub of kosher salt, smoked paprika, light brown sugar, and garlic powder is a classic, but you can swap in add-ins like cumin, chili powder, onion powder, black pepper, or a pinch of cayenne for heat to match your taste. Just keep salt and sugar balanced so the rub doesn’t taste too sweet or too salty.
10.How much pulled pork should I make per person for a gathering? ▾
Plan for ⅓ to ½ pound of raw pork shoulder per guest, since the meat shrinks by about 40% during cooking as fat renders and moisture cooks off. That works out to roughly 4-6 ounces of finished pulled pork per person, the perfect amount for a piled-high sandwich plus a small extra serving for guests who go back for seconds.
11.Do I have to remove the fat cap from the pork shoulder before cooking? ▾
You don’t need to trim off all the fat, but it’s smart to trim any extra-thick fat cap sections down to about ¼ inch thick. That thin fat layer renders down during cooking to keep meat moist and add bark flavor, but a thick, untrimmed fat cap will turn rubbery and chewy instead of crisping during the final air crisp step.
12.Can I add barbecue sauce to the pork while it pressure cooks? ▾
Hold off on adding thick, sugary barbecue sauce until after the pork is done pressure cooking. Sugary sauces can scorch on the bottom of the Ninja Foodi pot during pressure cooking, leading to burnt bits and possible pressure valve blockage. Toss shredded pork with your favorite BBQ sauce right before serving, or during the last few minutes of reheating.
13.What size Ninja Foodi do I need to make this pulled pork? ▾
A 6.5-quart Ninja Foodi is the perfect size for a 3-5 pound boneless pork shoulder, ideal for most family meals and small gatherings. If you have an 8-quart model, you can cook up to a 7-pound boneless shoulder, just make sure the meat doesn’t sit above the max fill line in the inner pot to avoid pressure issues.
14.Should I do a natural pressure release or quick release for this recipe? ▾
For the juiciest results, do a 15-minute natural pressure release once the pressure cook time ends, then quick release any remaining steam. A full quick release right after cooking can cause meat moisture to rush out too fast, leading to dry pork, while a full natural release takes too long and can make meat mushy instead of tender.
15.Can I make this recipe without smoked paprika if I don’t like smoky flavor? ▾
Absolutely! If you’re not a fan of smoky notes, swap the smoked paprika for regular sweet paprika, and add a pinch of dry mustard or extra garlic powder for depth. You won’t get that classic smoked bark flavor, but you’ll still end up with juicy, tender, perfectly seasoned pulled pork that works great for sandwiches, tacos, or rice bowls.
16.How do I get the bark to stick to the pork instead of getting mushy? ▾
For a crisp, non-mushy bark, pat the pork completely dry with paper towels before applying the dry rub and searing, and don’t submerge the entire roast in liquid during pressure cooking. After pressure cooking, pat the roast surface dry again before the air crisp step, and sprinkle on a light extra layer of dry rub to help the crust caramelize evenly.
17.What are the best serving ideas for this Ninja Foodi pulled pork? ▾
Pile it high on soft toasted hamburger buns with coleslaw and pickles for classic pulled pork sandwiches, perfect for summer gatherings. You can also serve it over mac and cheese, stuff it into tacos or baked potatoes, toss it with vinegar-based sauce for Carolina-style pork, or pair it with baked beans and cornbread for a full backyard cookout spread.

Comments (11)

2 days ago

OMG this pulled pork is a total game changer for weeknight family dinners! I was so skeptical I could get tender, fall-apart pork in just over an hour in my Ninja Foodi, but this recipe delivered 100%. My kids devoured two servings each and asked when I’m making it again. SO good, I already prepped a second batch for meal prep this week!

yesterday

Right?! I made it for Sunday meal prep too, and it stayed perfect all week for tacos, sliders, and even loaded nachos. Total win!

yesterday

So glad it was a hit with your family! It works perfectly for meal prep because the flavors get even better as it sits in the fridge for a few days.

1 week ago

Made this for my neighborhood potluck last weekend and people were hounding me for the recipe all night. Usually I do pulled pork low and slow on the smoker for 8+ hours, so I was shocked how tender this turned out in a fraction of the time. The only tweak I made was adding a little extra smoked paprika for that classic deep smoke flavor.

5 days ago

Love that smoked paprika tweak! That’s such a smart way to get that slow-smoked vibe without the extra cook time, I’ll have to try that next time I make it for a cookout.

30 minutes ago

First time ever making pulled pork and this was so easy even I didn’t mess it up! I used a cheap pork shoulder I found on sale at the grocery store, tossed it in the Foodi, and bam, perfect tender pork. I ate it on Hawaiian rolls with a little coleslaw all week for dorm dinners. 10/10 would make again.

5 days ago

Wait, is it normal for the pork to release a ton of liquid while it pressure cooks? I followed the recipe exactly, and when I went to shred it there was way more juice at the bottom than I expected. It still tasted amazing, I just wasn’t prepared for that much drippings!

3 days ago

Oh that’s totally normal! I save all that juice to toss with the shredded pork so it doesn’t dry out, it’s packed with so much flavor. Don’t dump it!

3 days ago

Great question! That liquid is totally expected from the pressure cooking process – as Beth mentioned, saving a bit of it to mix back in with the shredded pork keeps it extra juicy and flavorful. I usually reserve about ½ cup to toss in before serving.

yesterday

I’ve been making pulled pork for 40+ years the old-fashioned way, and I have to say this Ninja Foodi method blew me away. My grandkids came over for dinner last night and said it was the best I’ve ever made. I don’t say that lightly about a “fast” recipe, but this one earned a permanent spot in my rotation.

2 hours ago

Fellow old-school pulled pork fan here! I was skeptical too, but my husband said the same thing – he actually preferred this to my 8-hour smoker version. Wild how good it turns out so fast!

2 hours ago

SO good! I didn’t even have the exact rub the recipe called for so I used a random BBQ rub I had in my pantry and it still turned out incredible. Tender, juicy, perfectly seasoned, and done in barely over an hour? Total weeknight win. I’m already planning to make this for my birthday cookout next month.

5 minutes ago

Made this last night and loved it! Quick question for next time – do I need to sear the pork first like the recipe says? I was running super short on time and skipped the searing step last night, and it still turned out really good, but I wondered if searing gives it an even better flavor crust?

just now

You can absolutely skip the searing step if you’re crunched for time! The searing adds a nice deep crust and extra flavor, but the pork will still be perfectly tender and tasty without it if you need to cut a few minutes off the total time.

just now

I skipped searing last week when I was running late to soccer practice with my kids and no one even noticed a difference! Still came out amazing, just don’t skip letting it naturally release for 10 minutes like the recipe says, that’s the key for tenderness.

3 days ago

Made this to bring to my office potluck and it was the first dish gone! Everyone kept asking if I spent all day slow cooking it, and no one believed me when I said it only took a little over an hour in the Ninja Foodi. I tossed it with a little vinegar-based BBQ sauce at the end and it was chef’s kiss.

2 days ago

Vinegar-based BBQ sauce is such a perfect pairing! I’m so glad it was the star of the office potluck – that’s always the best compliment when a dish disappears that fast.

2 weeks ago

As someone who can barely make mac and cheese from a box without messing it up, this recipe was so forgiving! I accidentally set the pressure cook time 5 minutes too long and it was still fall-apart tender, no dry spots at all. Served it on sliders for game night with my roommates and everyone raved.

1 week ago

Same! I overcooked mine by 10 minutes once when I got caught up in a game and it was still perfect. This recipe is basically impossible to mess up, which is perfect for people like us lol.

1 week ago

This is my new go-to Sunday meal prep recipe! I make a big batch, portion it out with rice and roasted veggies, and it lasts me the whole work week for lunches. It reheats like a dream, no weird rubbery texture like some pressure cooked meats get. 10/10, worth every minute.

3 days ago

So happy this pulled pork recipe is naturally gluten free! I have celiac and so many storebought BBQ sauces and pulled pork recipes have hidden gluten, so being able to make my own with seasonings I trust is such a win. It was so tender, my whole family loved it even the non-gluten free folks!

2 days ago

Fellow celiac here! I used my go-to GF BBQ sauce with this recipe last week and it was so good, even my gluten-eating teen asked for seconds. Such a great safe recipe for family dinners!

2 days ago

That makes me so happy to hear! I intentionally keep the base recipe super simple so it works for all kinds of dietary needs, whether you’re gluten free, dairy free, or just adjusting flavors to what your family loves. So glad it worked out for you!



