
pulled pork with coke
intro
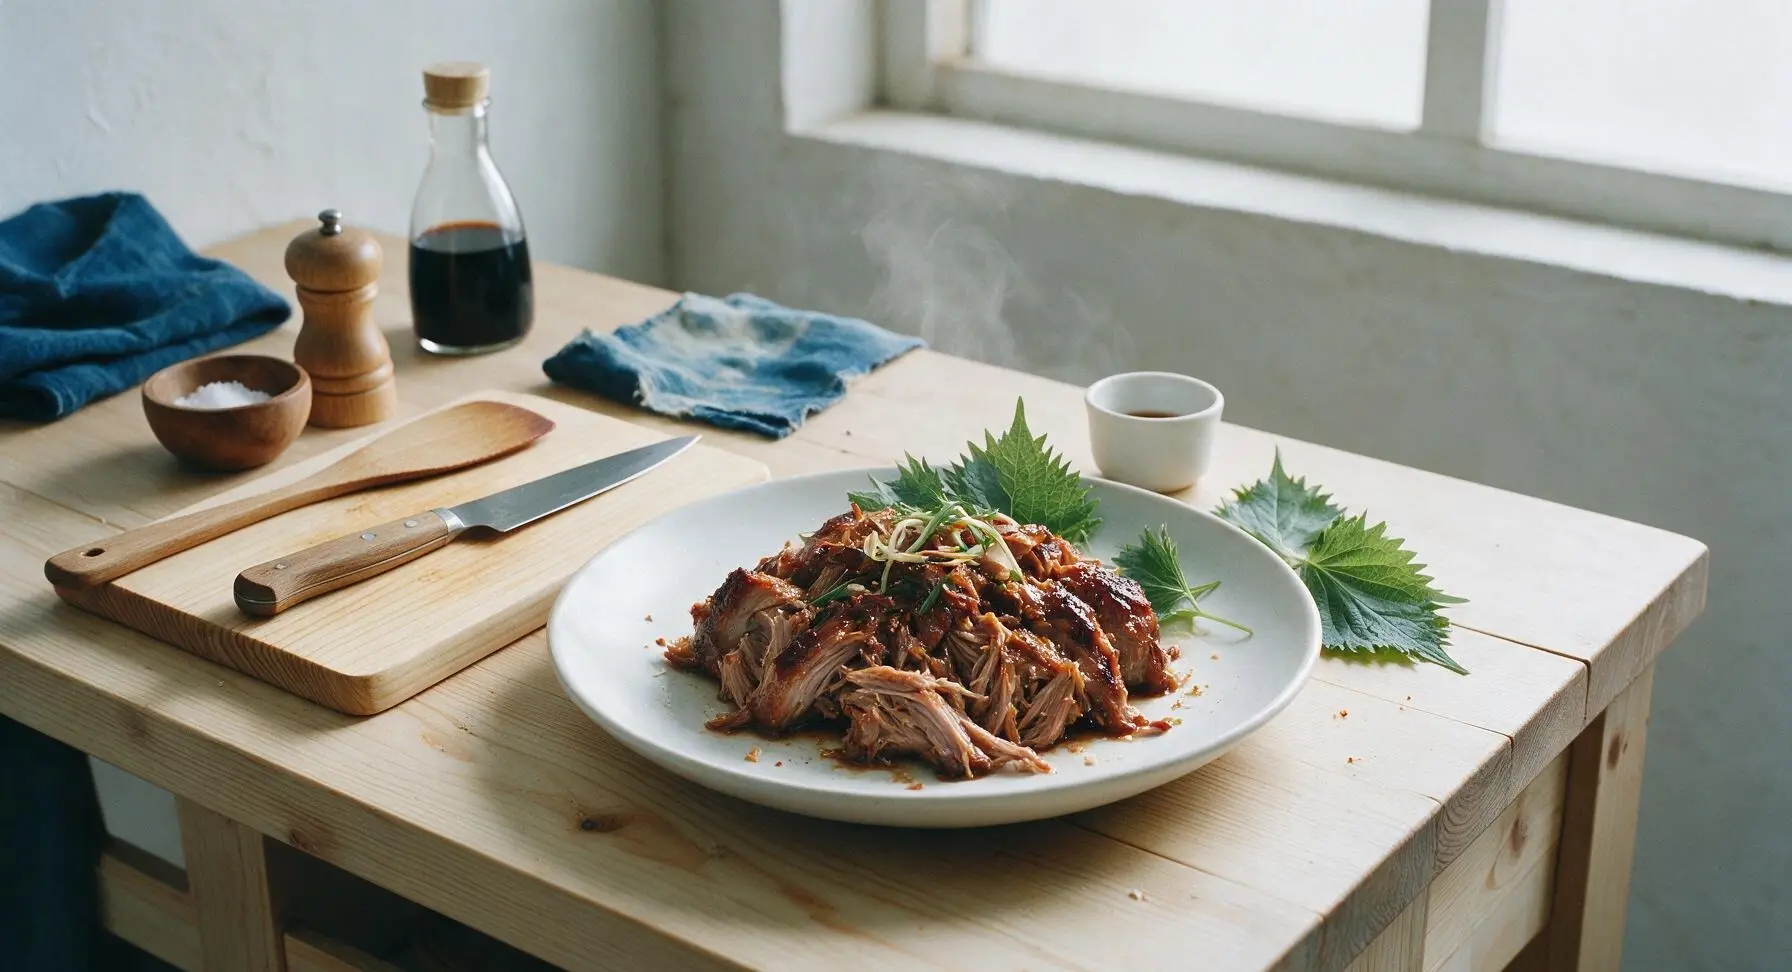
Tender, caramelized pork shoulder slow-braised in cola and warm spices, with a sticky sweet-savory glaze, perfect for piling on buns at summer cookouts.
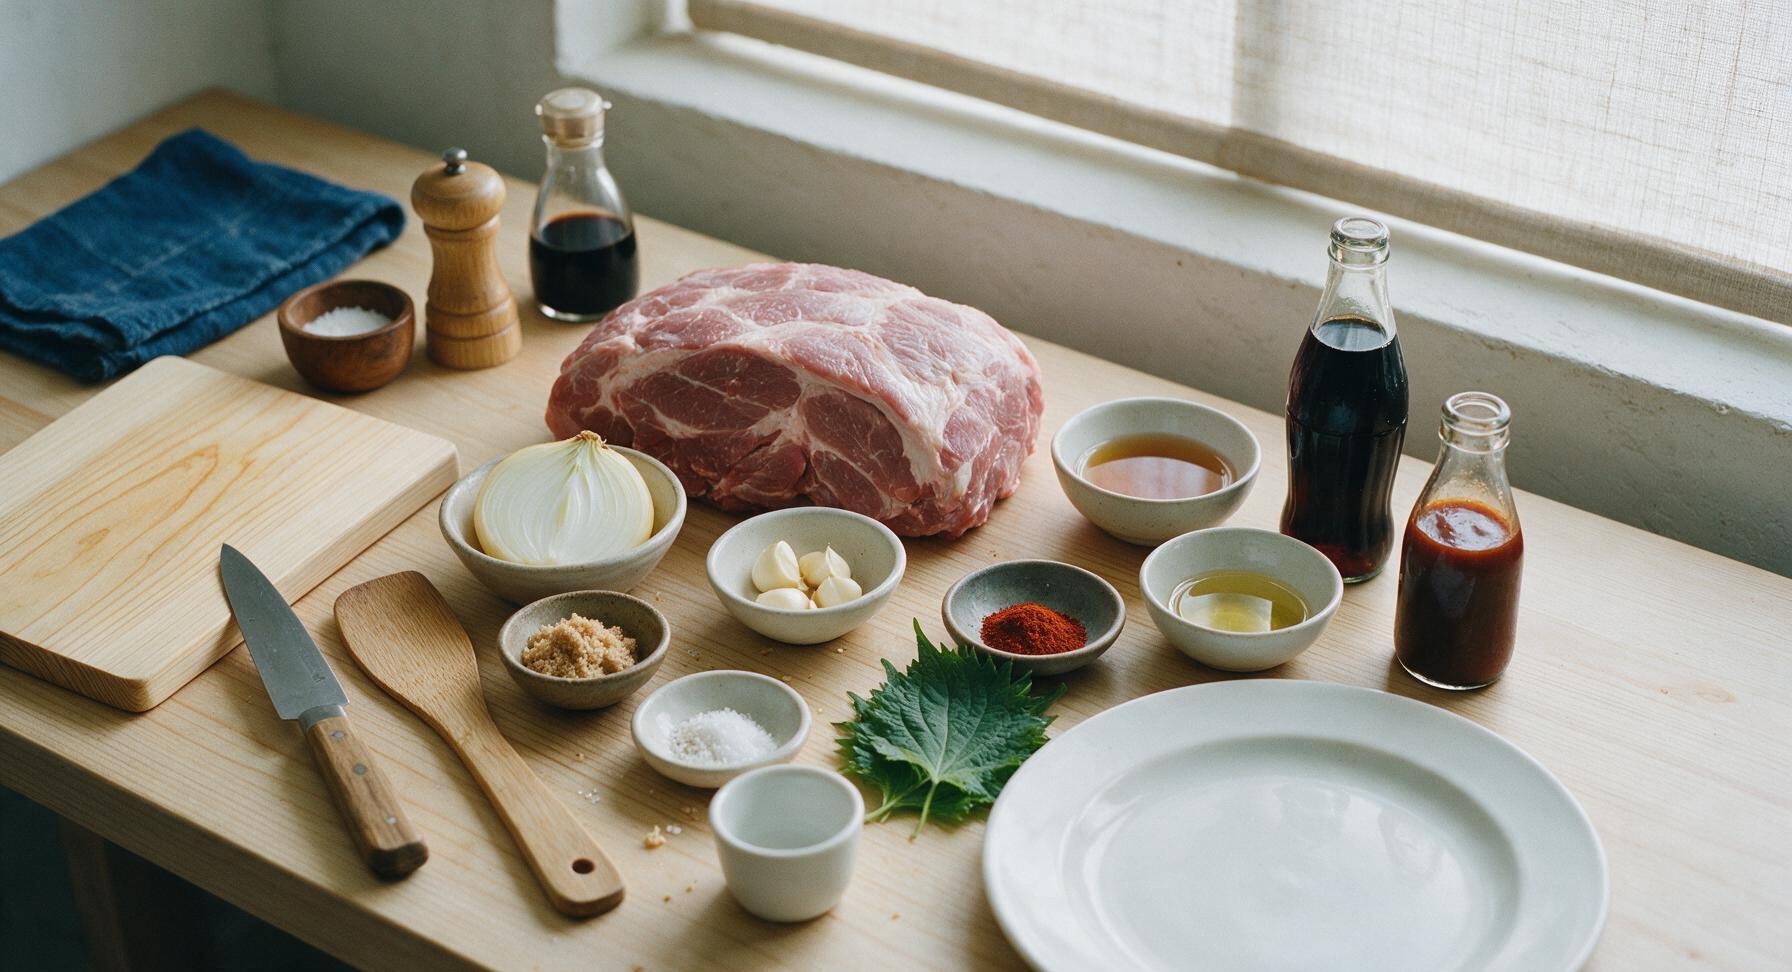
Ingredients
Steps
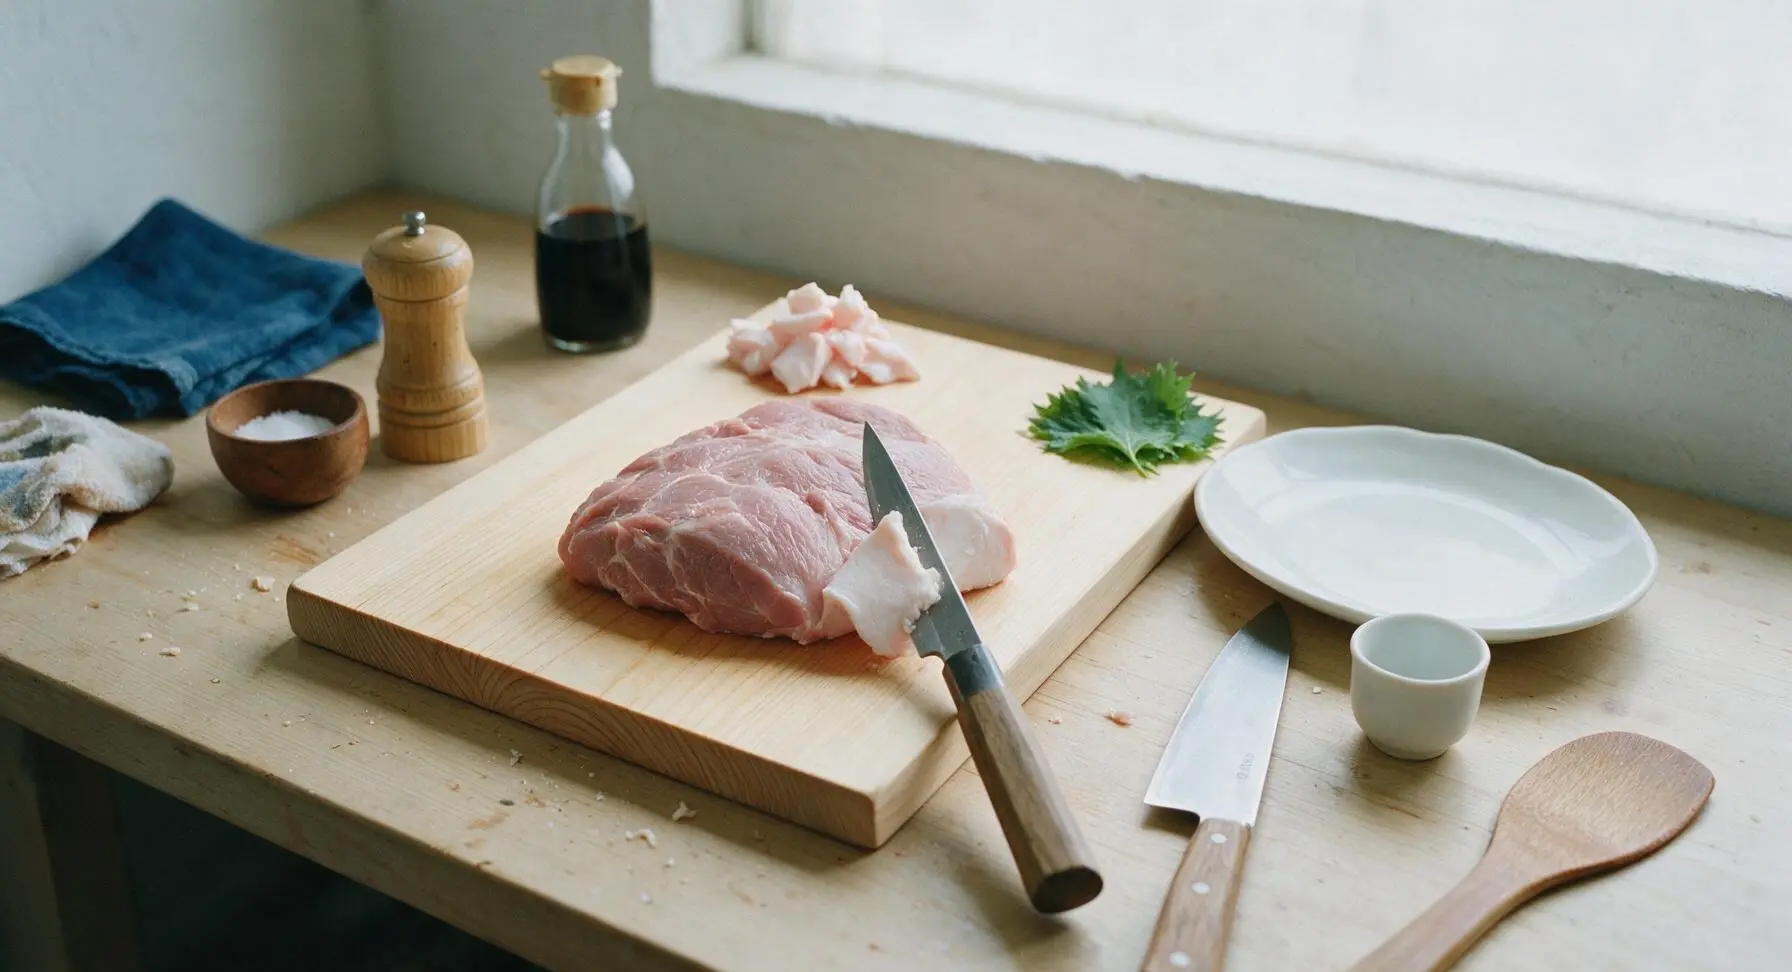
Trim the Pork Shoulder
Place the boneless pork shoulder on the acacia wood cutting board. Use the 6-inch boning knife to trim the thick outer fat cap down to an even 1/4-inch (6mm) layer, removing all tough, pearlescent silver skin and loose hard fat chunks. Cut the roast into 2 equal, roughly 2lb chunks to promote even cooking, then pat all surfaces completely dry with paper towels for better searing.
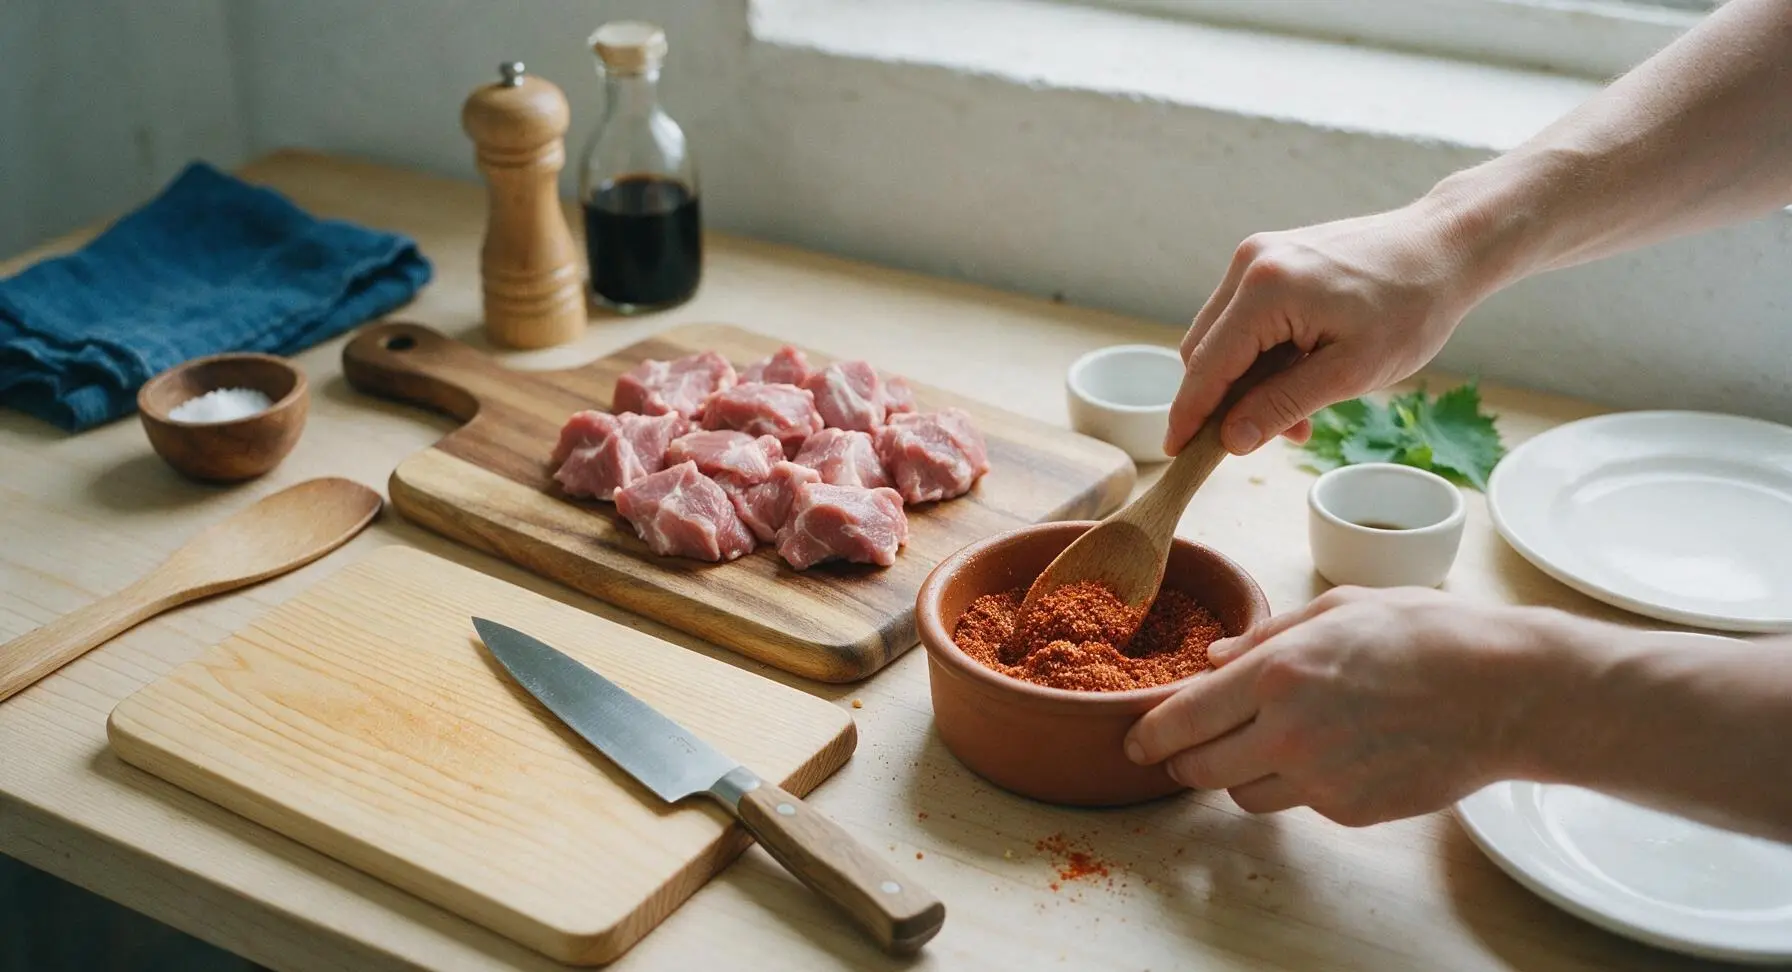
Mix the Dry Rub
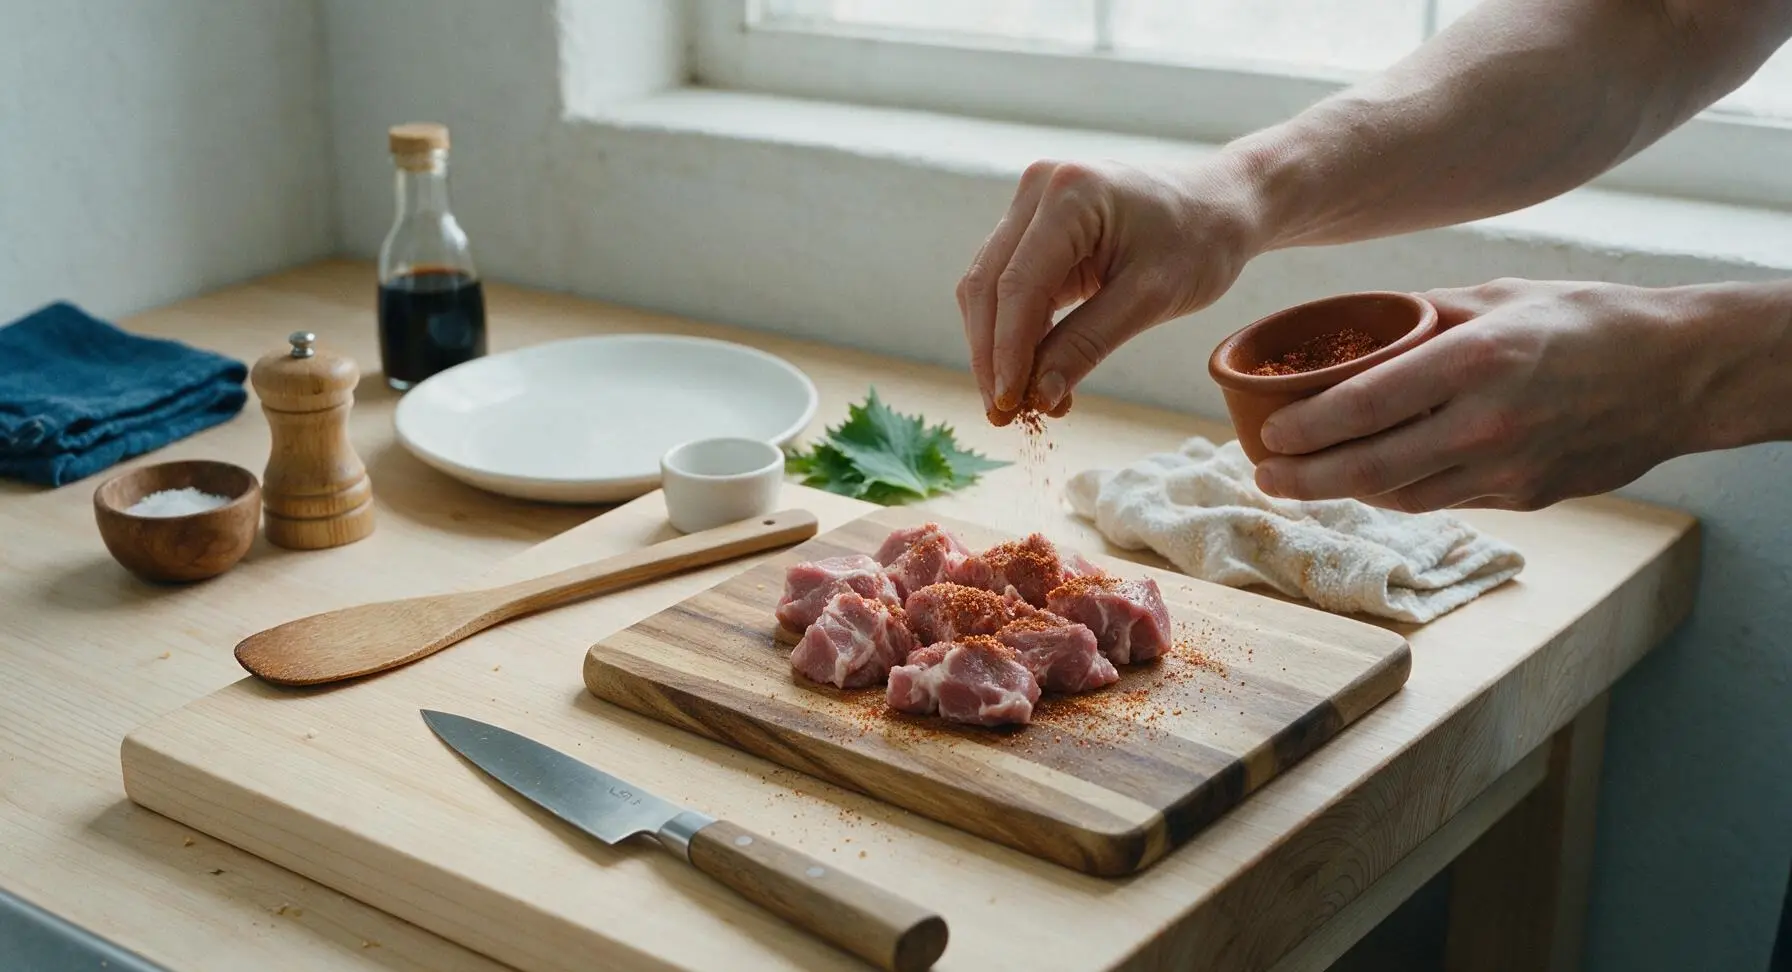
In the small terracotta mixing ramekin, combine the light brown sugar, smoked paprika, garlic powder, kosher salt, and black pepper. Stir with the beech wood cooking spoon until evenly mixed, breaking up any clumps of brown sugar with the back of the spoon. The finished rub should be a uniform warm reddish-brown with no streaks of separate spices.
Coat Pork with Rub
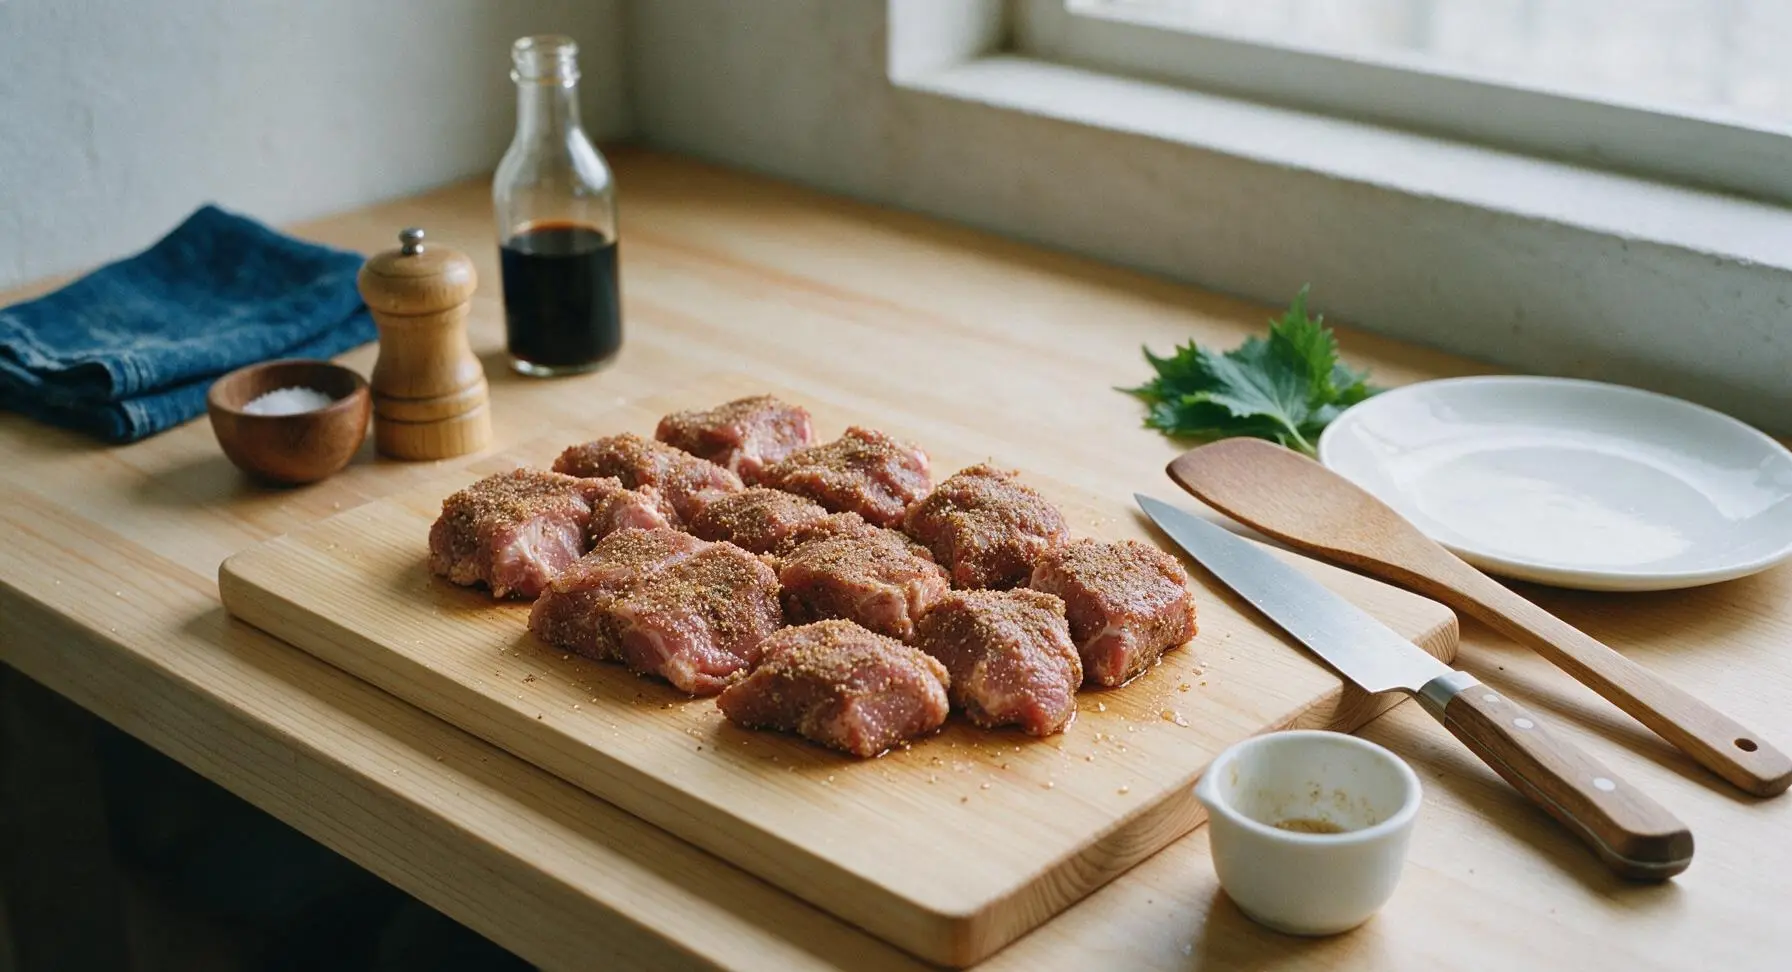
Sprinkle the spice rub evenly over all surfaces of the dried pork chunks, pressing gently with your fingers to help the rub adhere to the meat. Ensure every side, including the cut ends, is coated in a thin, even layer of spice; no bare pink meat should remain visible. Let the seasoned pork rest for 10 minutes at room temperature while you preheat the Dutch oven.
Sear the Pork Chunks
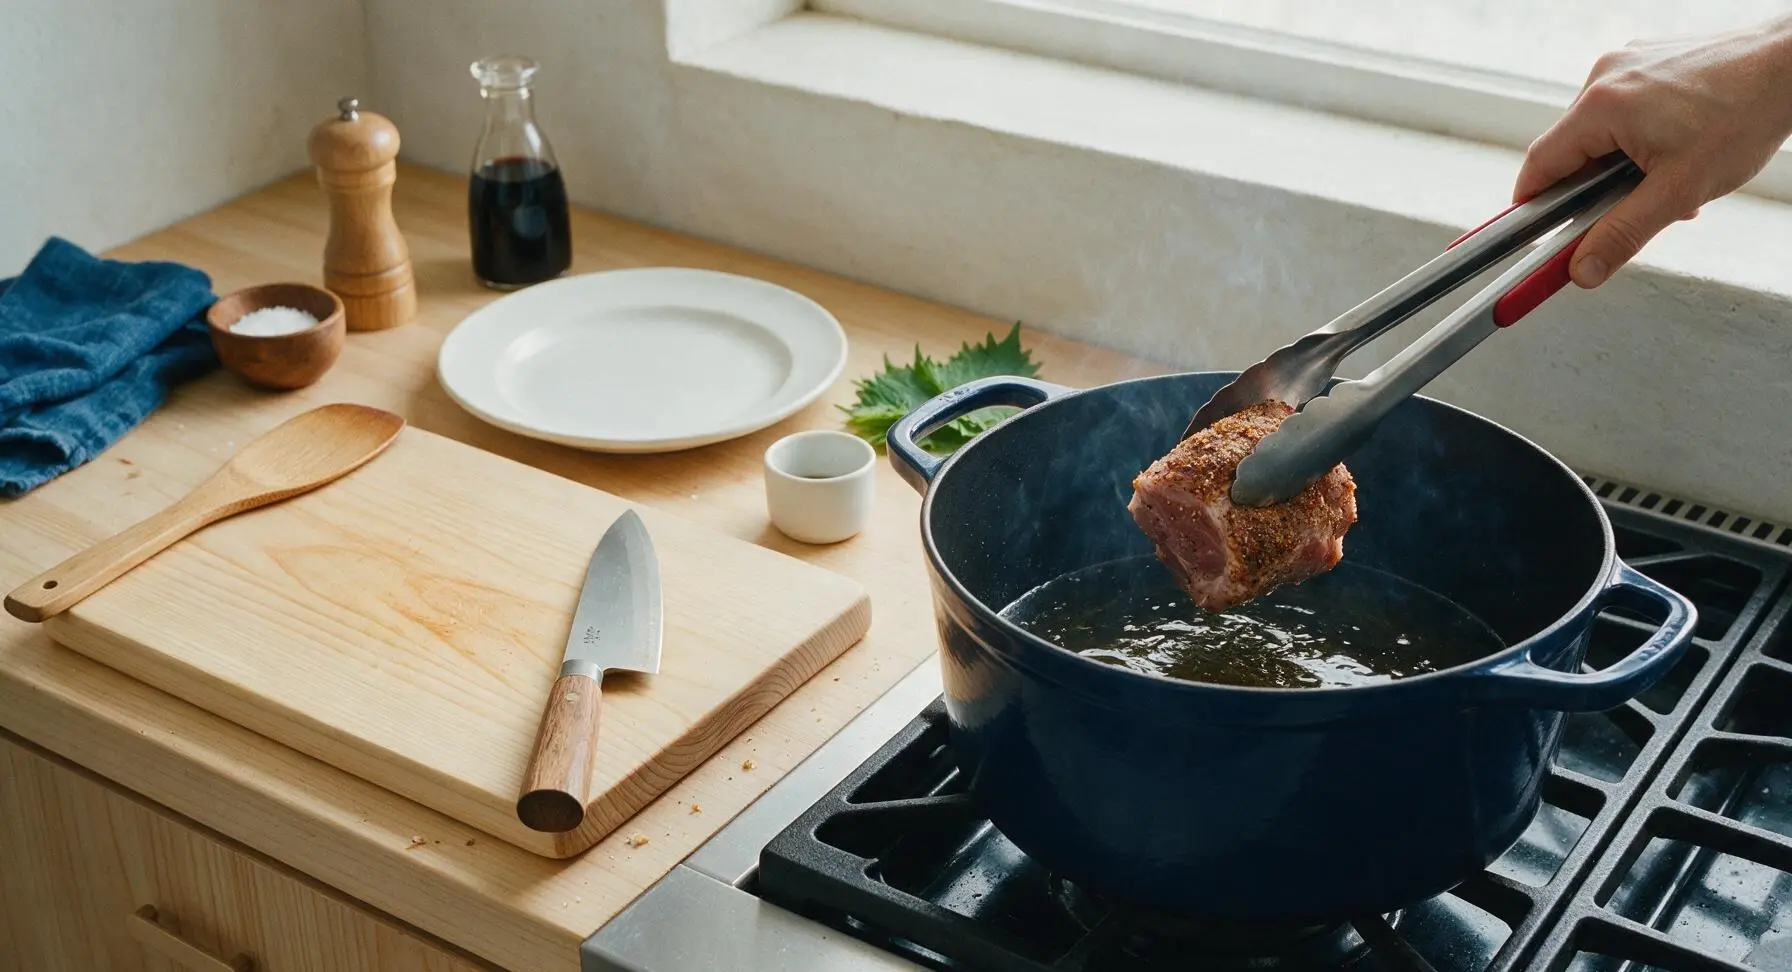
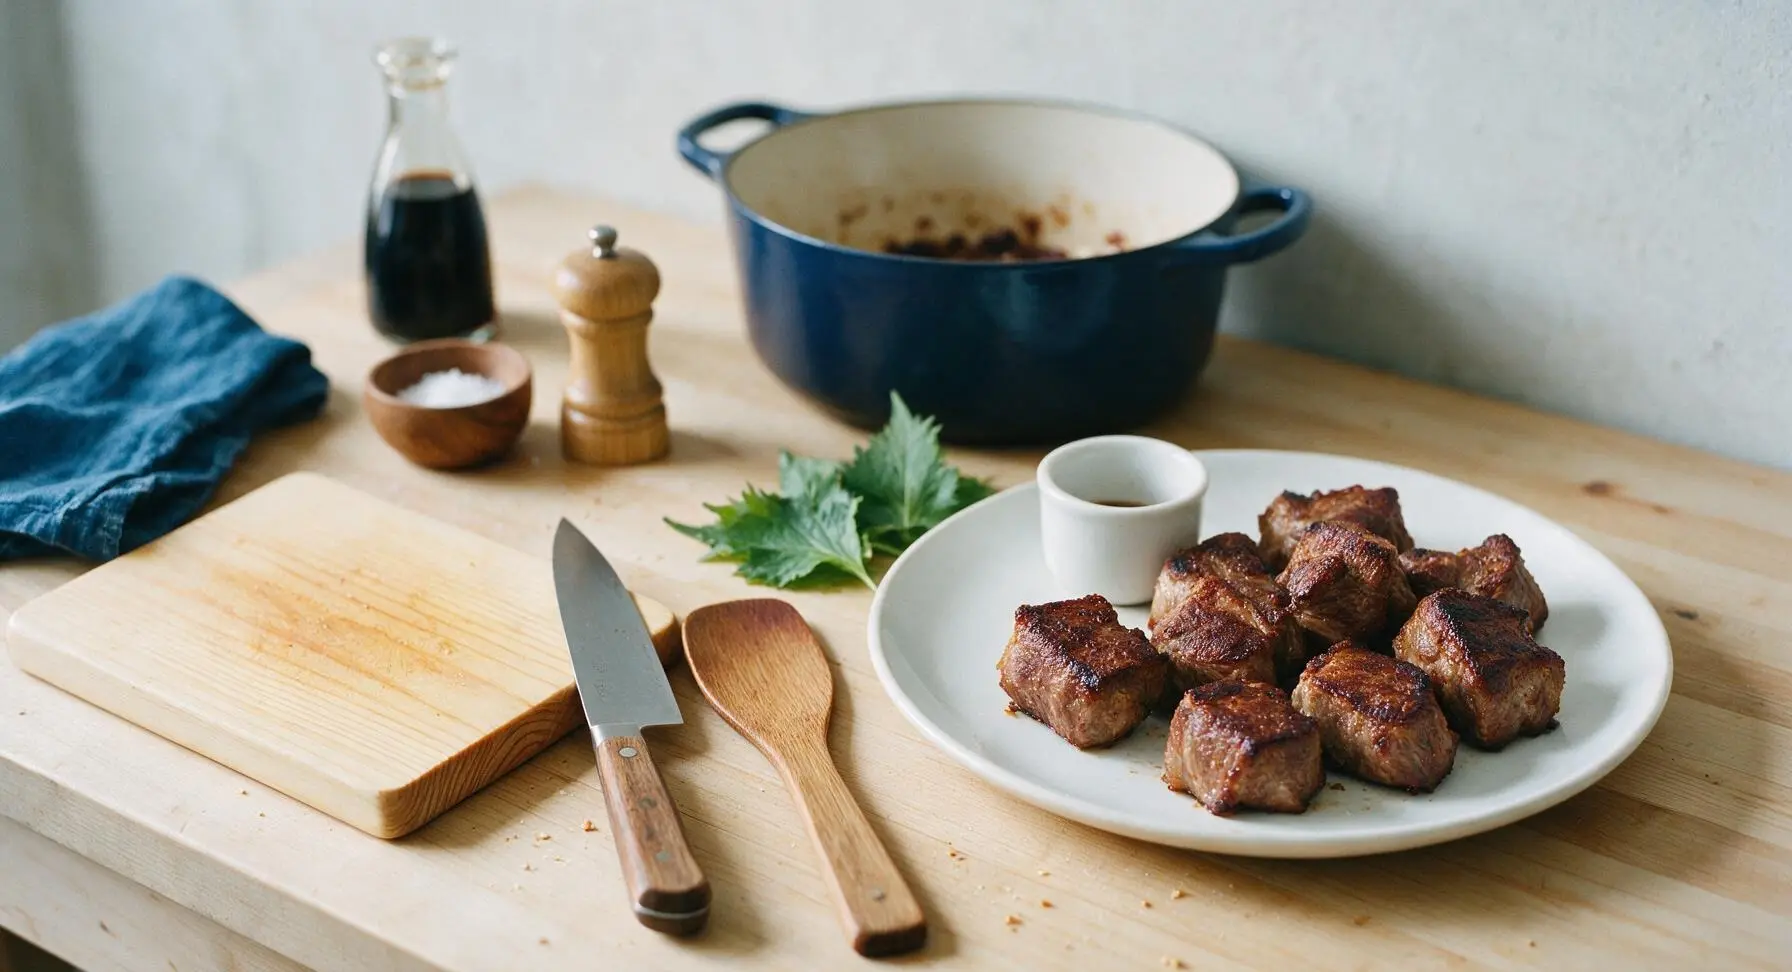
Heat 1 tablespoon of neutral oil in the 5.5-quart navy enamel Dutch oven over medium-high heat on the integrated stovetop. Once the oil is shimmering (but not smoking), use the 12-inch stainless steel tongs to lower the seasoned pork chunks into the pot. Sear for 3-4 minutes per side, until a deep, dark golden-brown crust forms on every surface; do not move the pork while searing to build a proper crust. Transfer seared pork to the matte cream ceramic plate temporarily once all sides are browned.
Braise in Cola Mixture
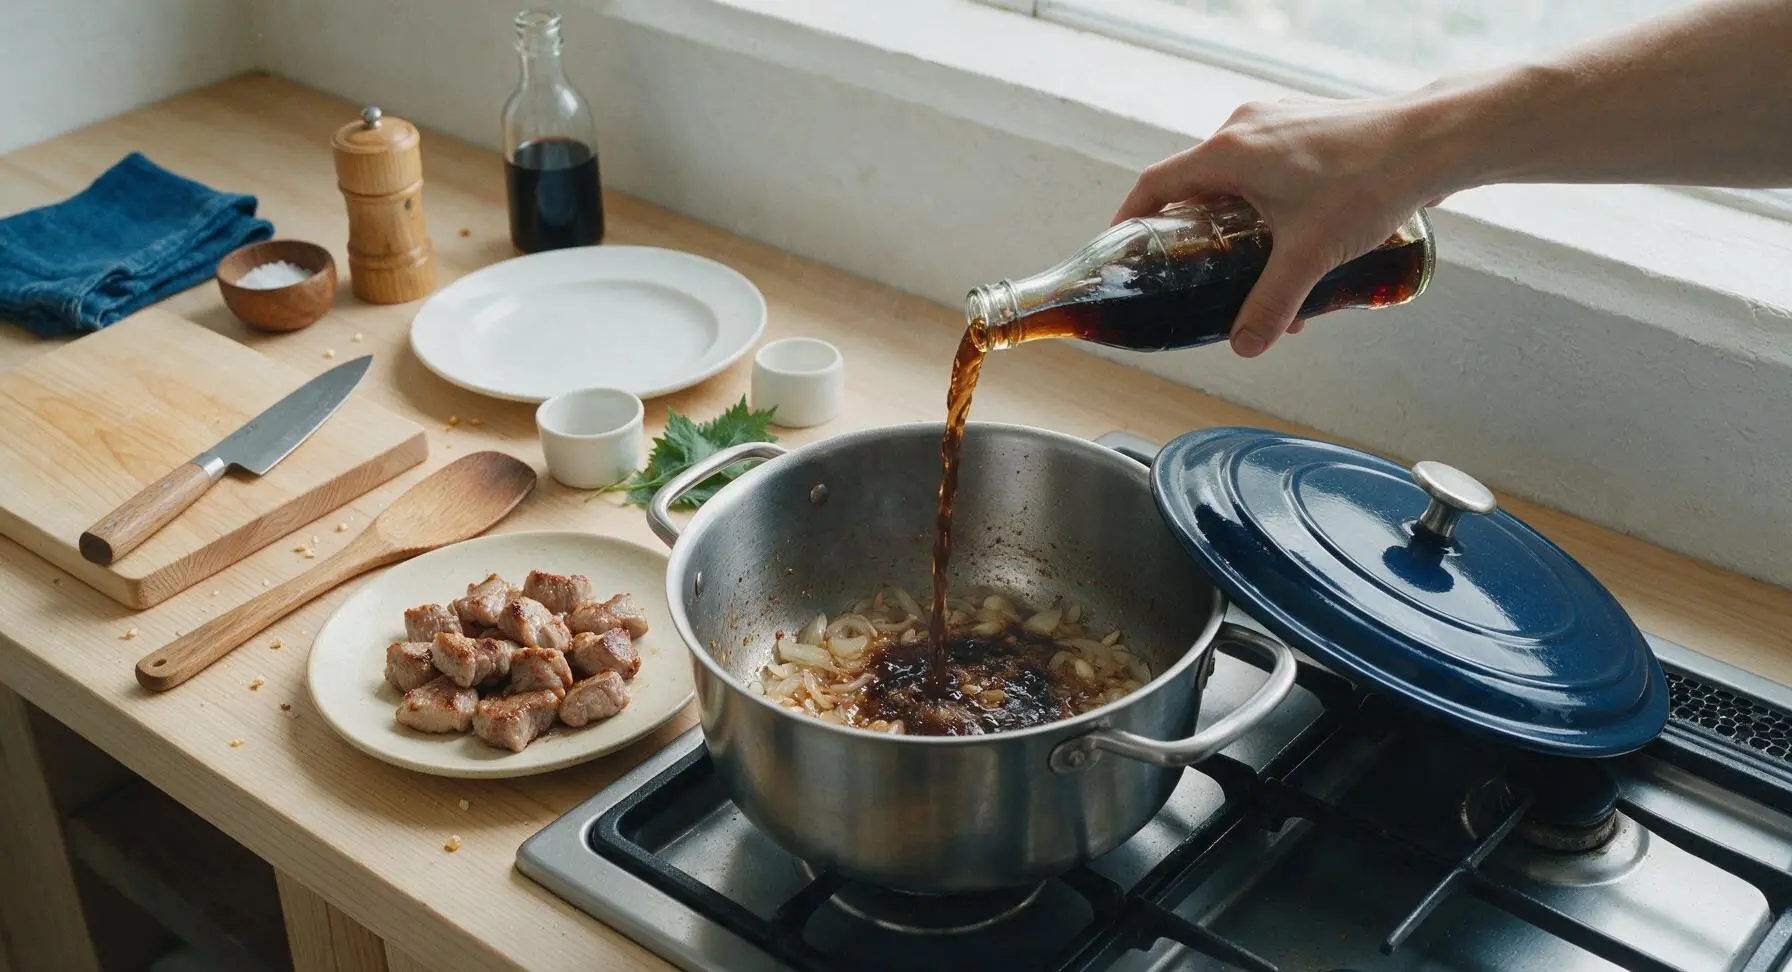
Reduce stovetop heat to medium, add the sliced onion and crushed garlic to the Dutch oven, and sauté for 2 minutes until soft and fragrant, scraping up the browned fond bits from the pot bottom with the beech wood cooking spoon. Pour in the cola and apple cider vinegar, stirring to combine, then bring the liquid to a gentle simmer. Return the seared pork chunks to the pot, nestling them into the liquid so they are about 2/3 submerged (do not fully cover). Place the matching navy lid on the Dutch oven, leaving a 1/4-inch gap to allow small amounts of steam to escape, then transfer to a preheated 325°F (160°C) oven. Cook for 3 hours, until the pork reaches an internal temperature of 205°F (96°C) when checked with the instant-read thermometer, and pulls apart with almost no resistance.
Rest the Cooked Pork
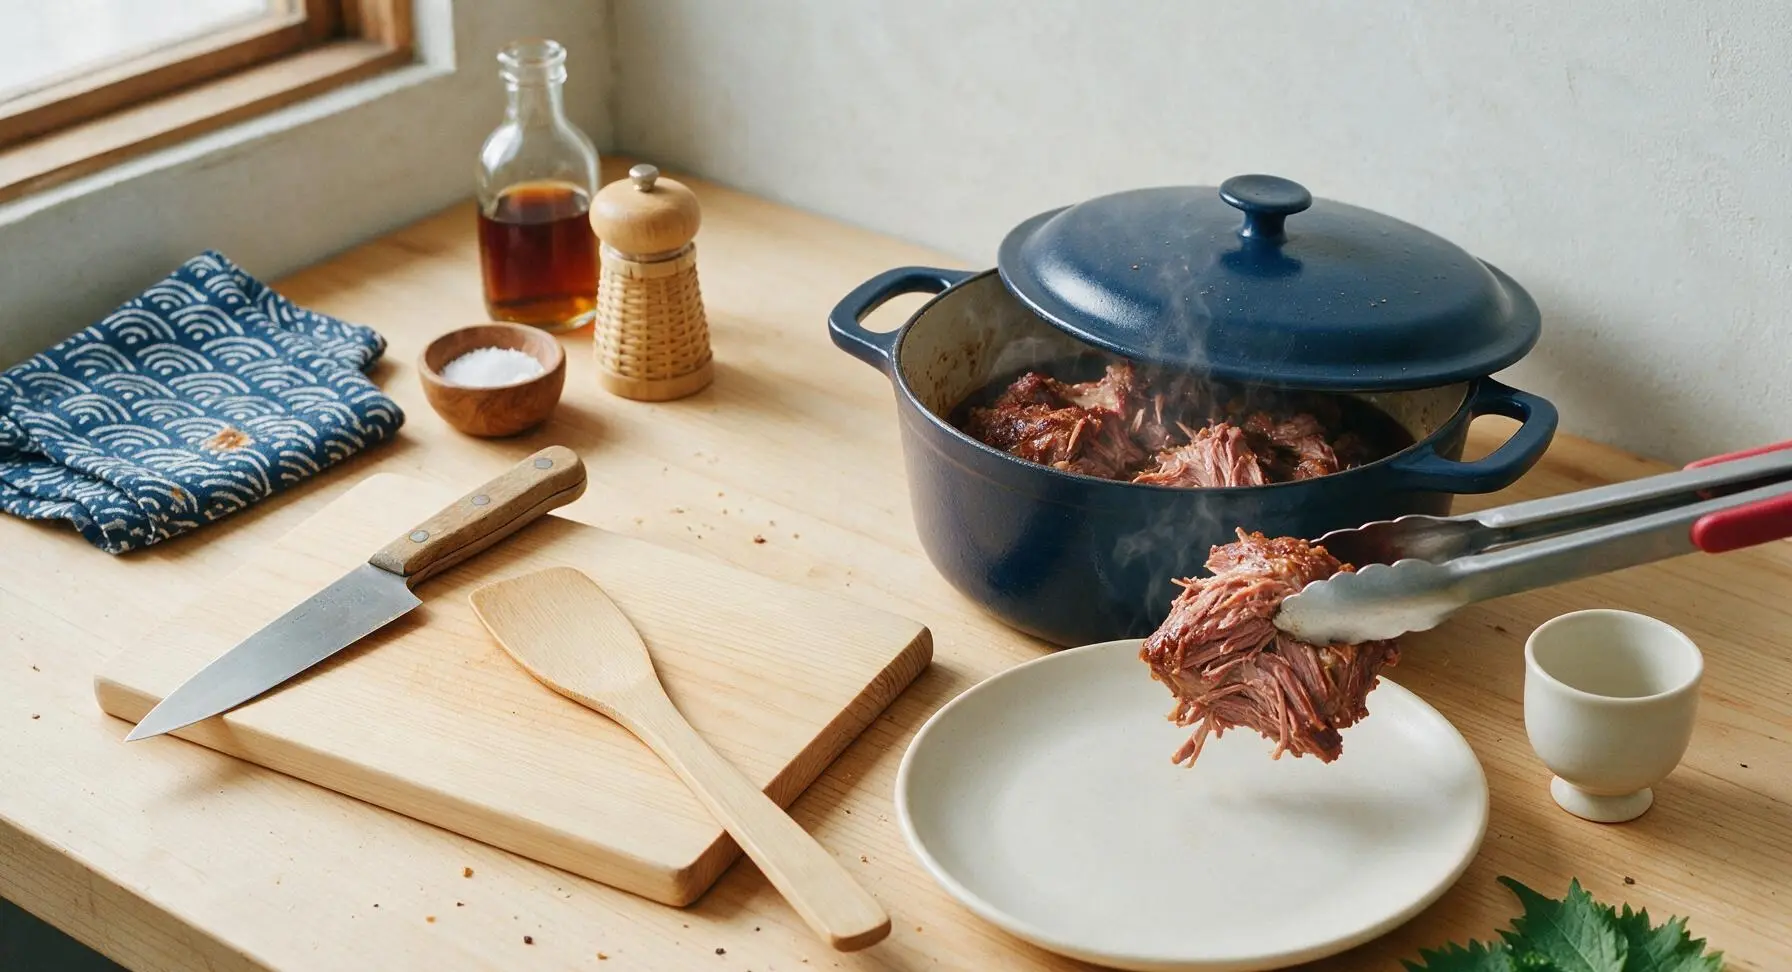
Carefully remove the Dutch oven from the oven using oven mitts, and transfer the cooked pork chunks to the matte cream ceramic plate using tongs. Let the pork rest for 15 minutes at room temperature, loosely tented with a small piece of aluminum foil, to allow juices to redistribute back into the meat. Reserve the braising liquid in the Dutch oven for finishing, skimming any excess fat from the surface if desired.
Pull Pork into Strands
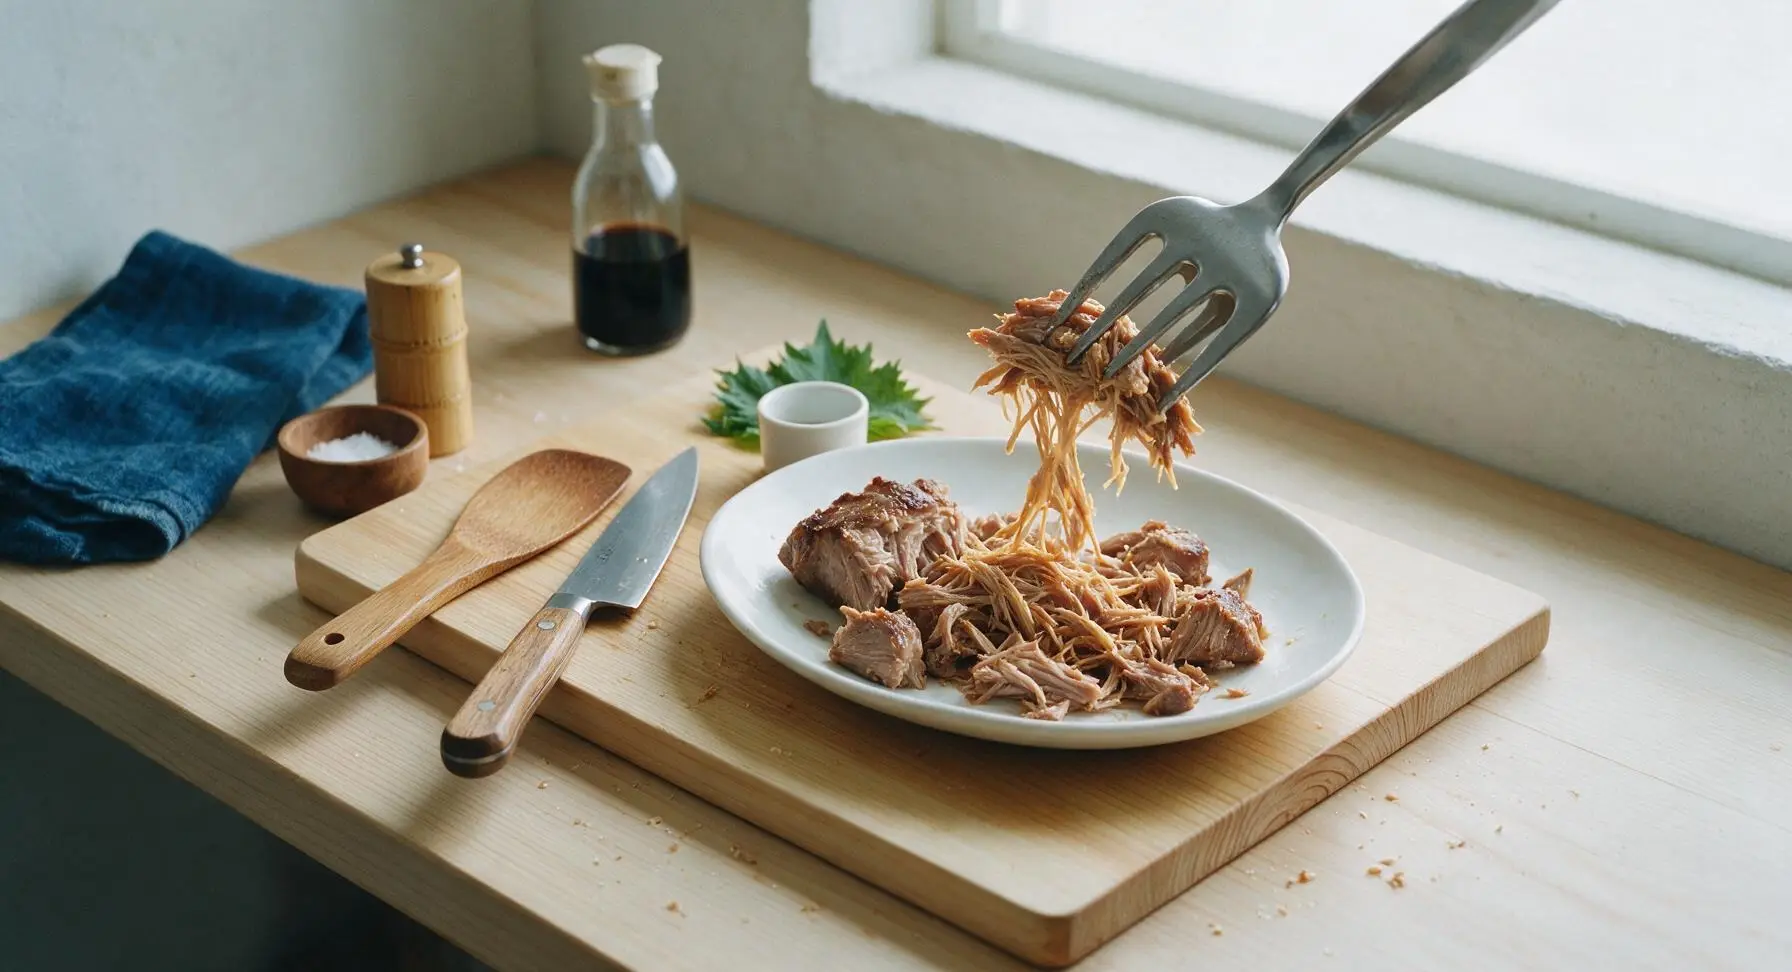
Once the pork is cool enough to handle, use the pair of stainless steel meat claws to pull the meat into thin, irregular strands, discarding any remaining large chunks of fat or unrendered connective tissue. Aim for a mix of long, stringy strands and slightly chunkier pieces for varied texture; do not shred the pork too finely or it will become mushy.
Toss with Reduced Sauce
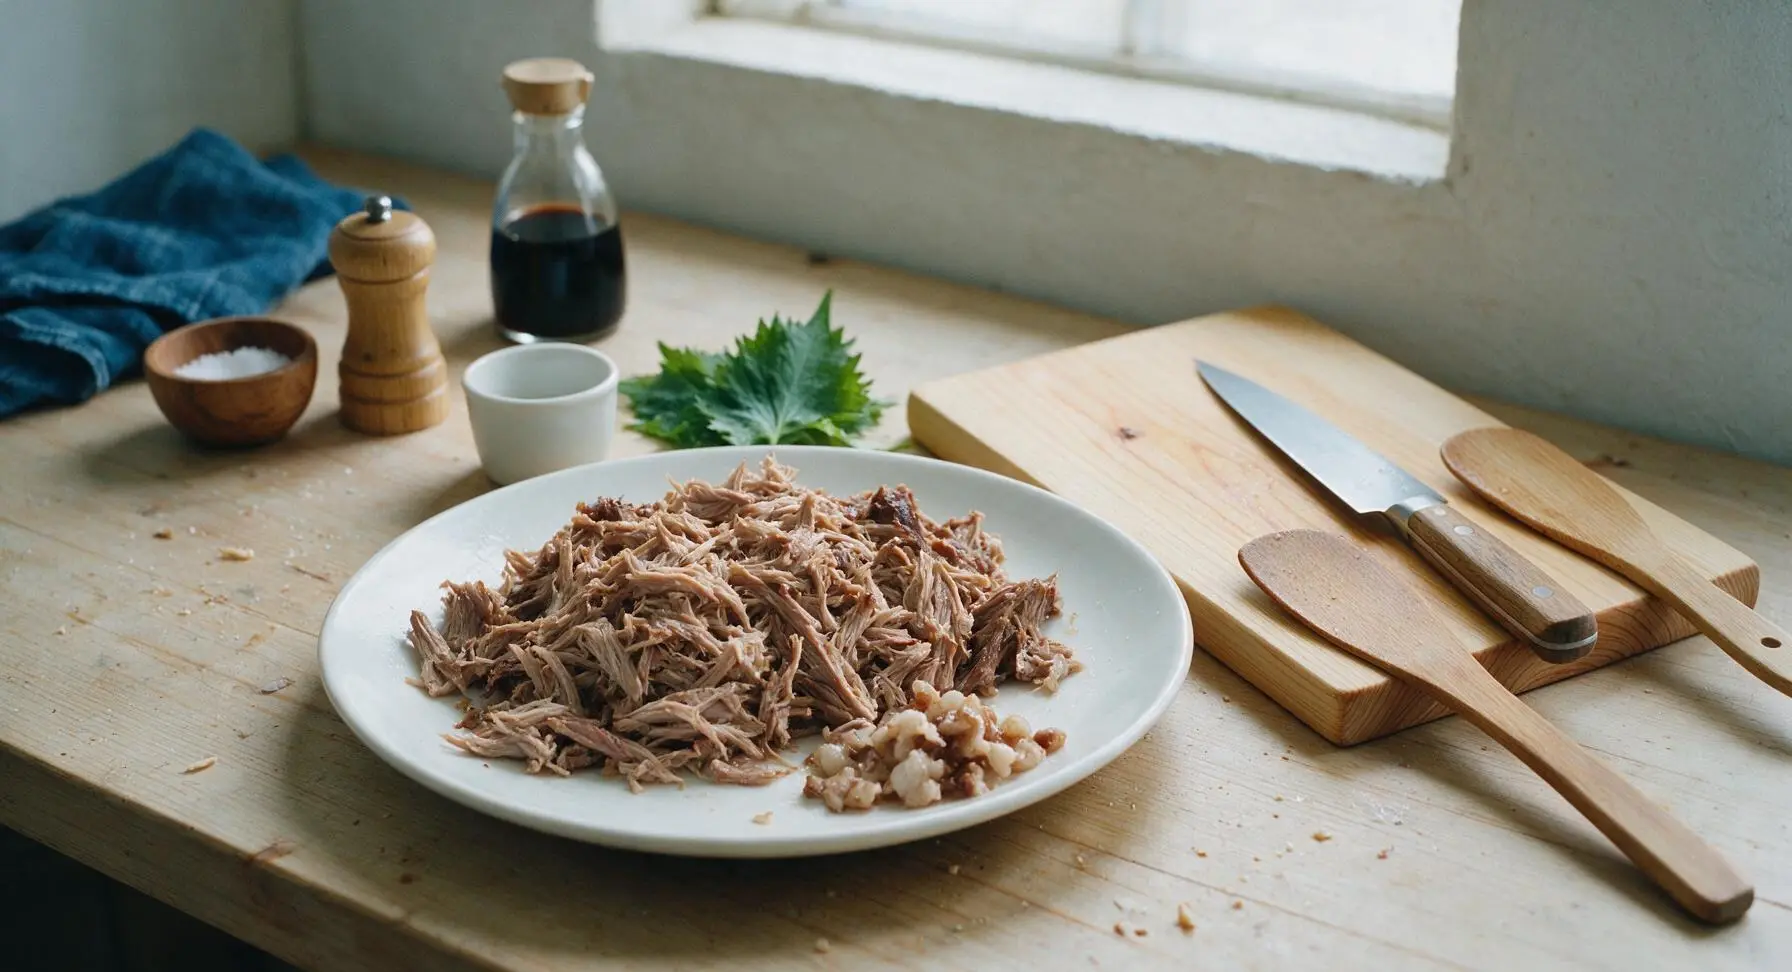
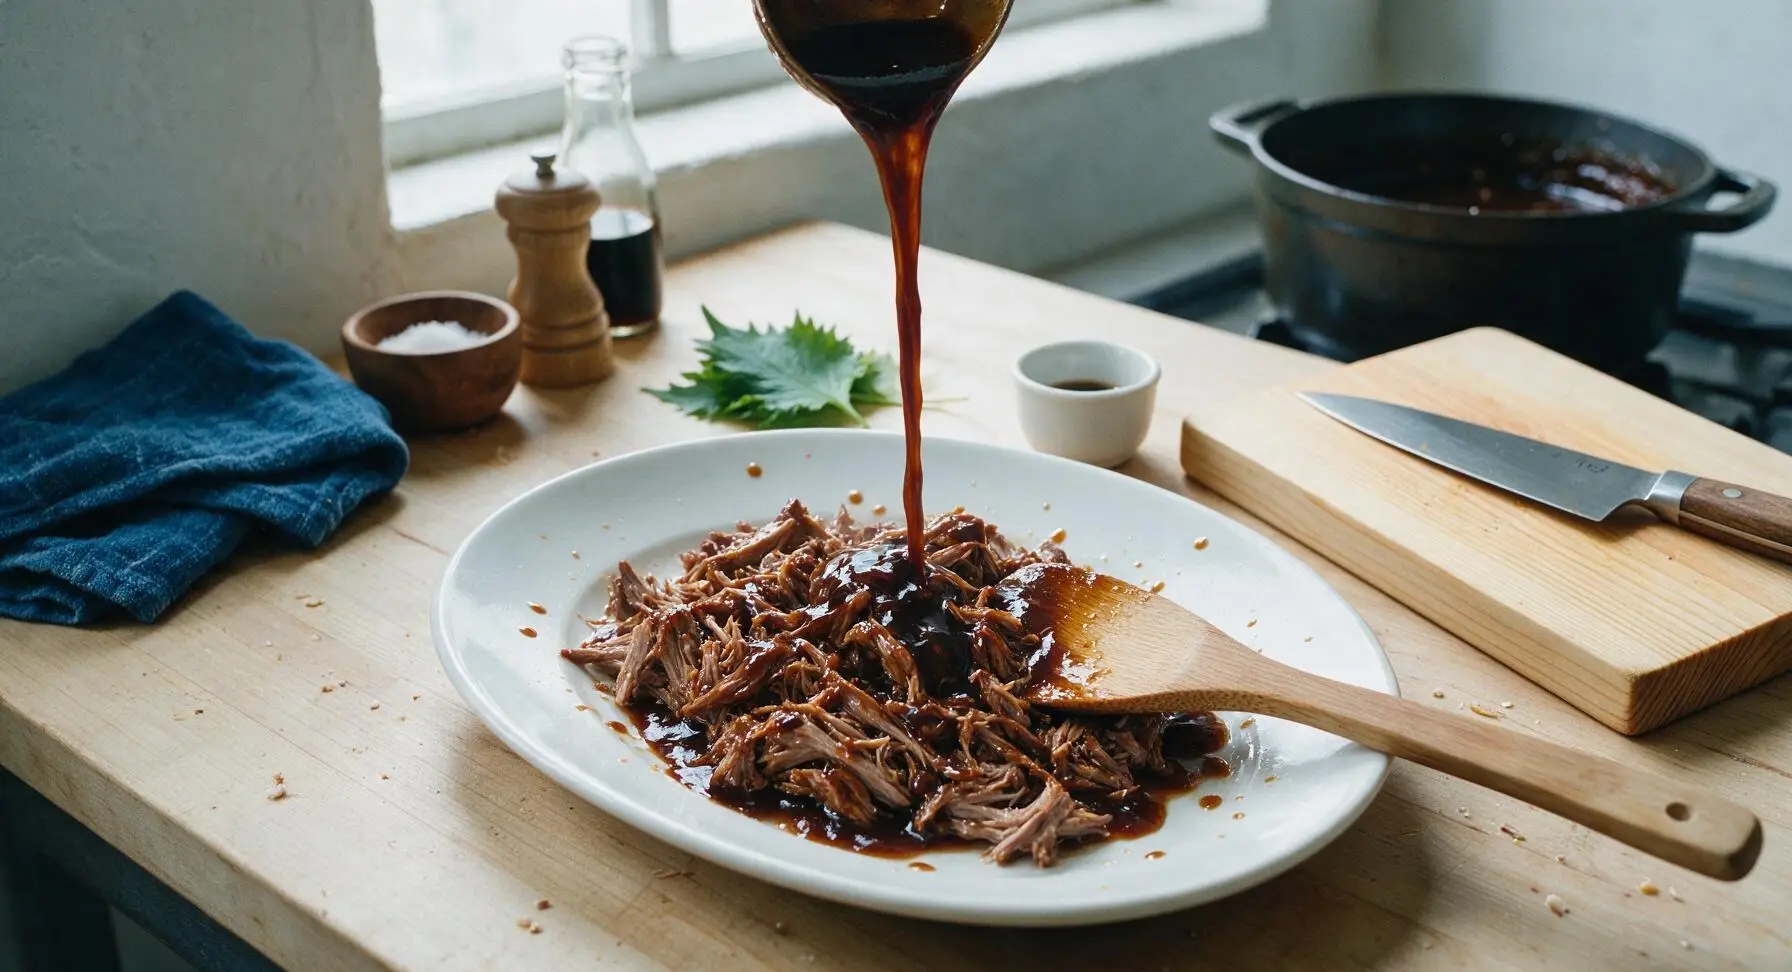
Place the Dutch oven with reserved braising liquid back on the stovetop over medium heat, and simmer for 5-7 minutes until the liquid is reduced by half and thickened to a light syrup consistency. Pour 1/3 cup of the reduced liquid over the pulled pork, add BBQ sauce if using, and toss gently with the tongs to coat every strand evenly. Taste and adjust seasoning with extra salt or pepper if needed before serving.
Tips
2.Do not fully submerge the pork in braising liquid: partial submergence allows the exposed top of the meat to develop a slightly caramelized, chewy crust as it braises, while full submersion boils the meat and leads to a mushy, waterlogged texture with no depth of flavor.
3.Rest the pork for the full 15 minutes before shredding: pulling hot pork straight from the Dutch oven causes all the hot, flavorful juices to run out onto the plate, leaving the final pulled pork dry even if it was perfectly tender during cooking.






OMG y’all, I made this for my kid’s end-of-soccer-season potluck last weekend and it was GONE in 15 minutes! I was worried the Coke would make it too sweet but it balances the savory rub perfectly, and the meat was literally falling off the bone like the name says. Didn’t even need to pull it hard with forks, it just shredded on its own. SO good, will be making this for every family gathering from now on!
I’ve tried so many pulled pork recipes over the years that turn out tough or dry, but this one is a total game changer. 3.5 hours is way shorter than the all-day cook I usually do and the result is juicier than anything I’ve smoked for 8+ hours? Wild. My wife said it’s the best pork I’ve ever made, so I’m not allowed to use any other recipe now lmao.
Perfect for Sunday meal prep! I shredded the whole pork shoulder, portioned it out with buns and coleslaw, and had lunch ready for the whole work week. It reheats like a dream, no weird rubbery texture like some leftover pulled pork gets. Easy enough for a weeknight too if you plan ahead, the steps are so straightforward even a beginner can nail it. Only reason it’s not 5 stars is I wish the recipe noted what internal temp to pull it at, I had to guess a little but it still turned out great!
As a college student with basically zero cooking skills, I was shocked how easy this was! I grabbed a cheap pork shoulder from the grocery store, a bottle of Coke, and the spice rub ingredients, followed the steps exactly, and my roommates thought I ordered fancy takeout. No fancy equipment needed, just my regular old dutch oven. 10/10, adding this to my permanent rotation.
Made this for our Sunday family dinner last night and even my super picky 7-year-old asked for seconds! I used gluten free soy sauce in the braising liquid to fit our dietary needs and it didn’t change the flavor at all. The meat was so tender we didn’t even need knives, just piled it high on buns with a little BBQ sauce. Game changer for busy school nights!