
Pumpkin Pie Bites
intro
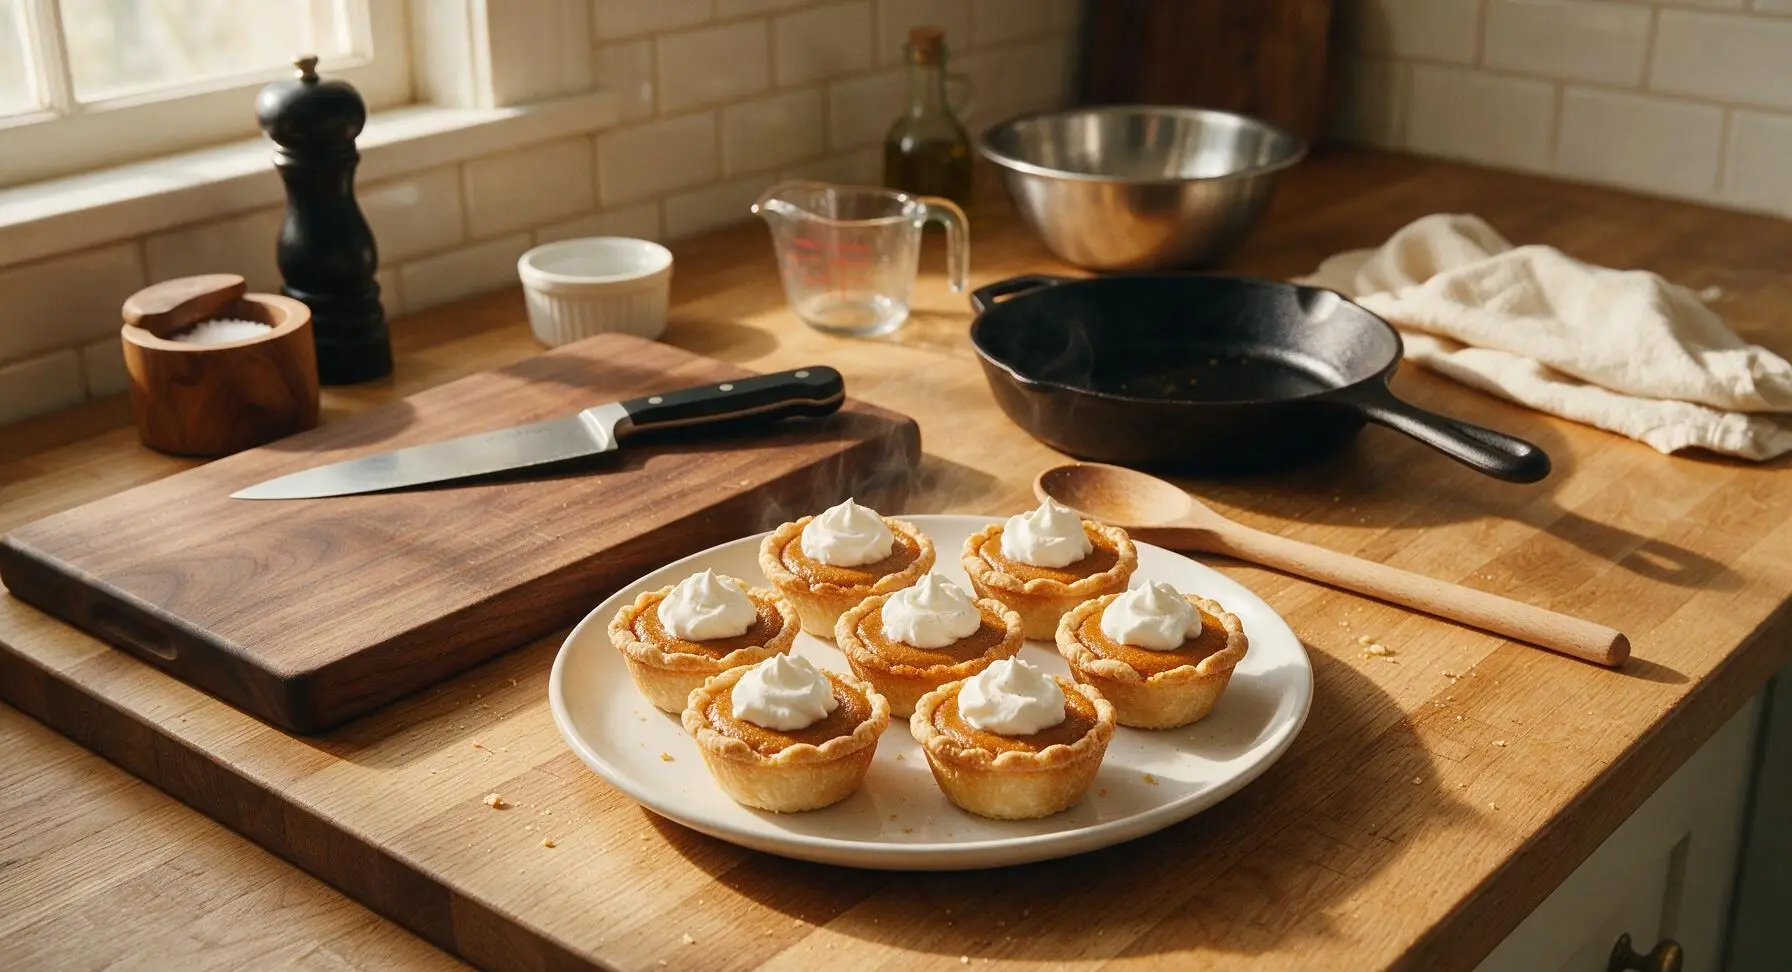
Bite-sized, perfectly spiced mini pumpkin pies with buttery flaky crusts, topped with fluffy whipped cream. All the cozy, classic pumpkin pie flavor in a portable, two-bite fall treat ideal for sharing.
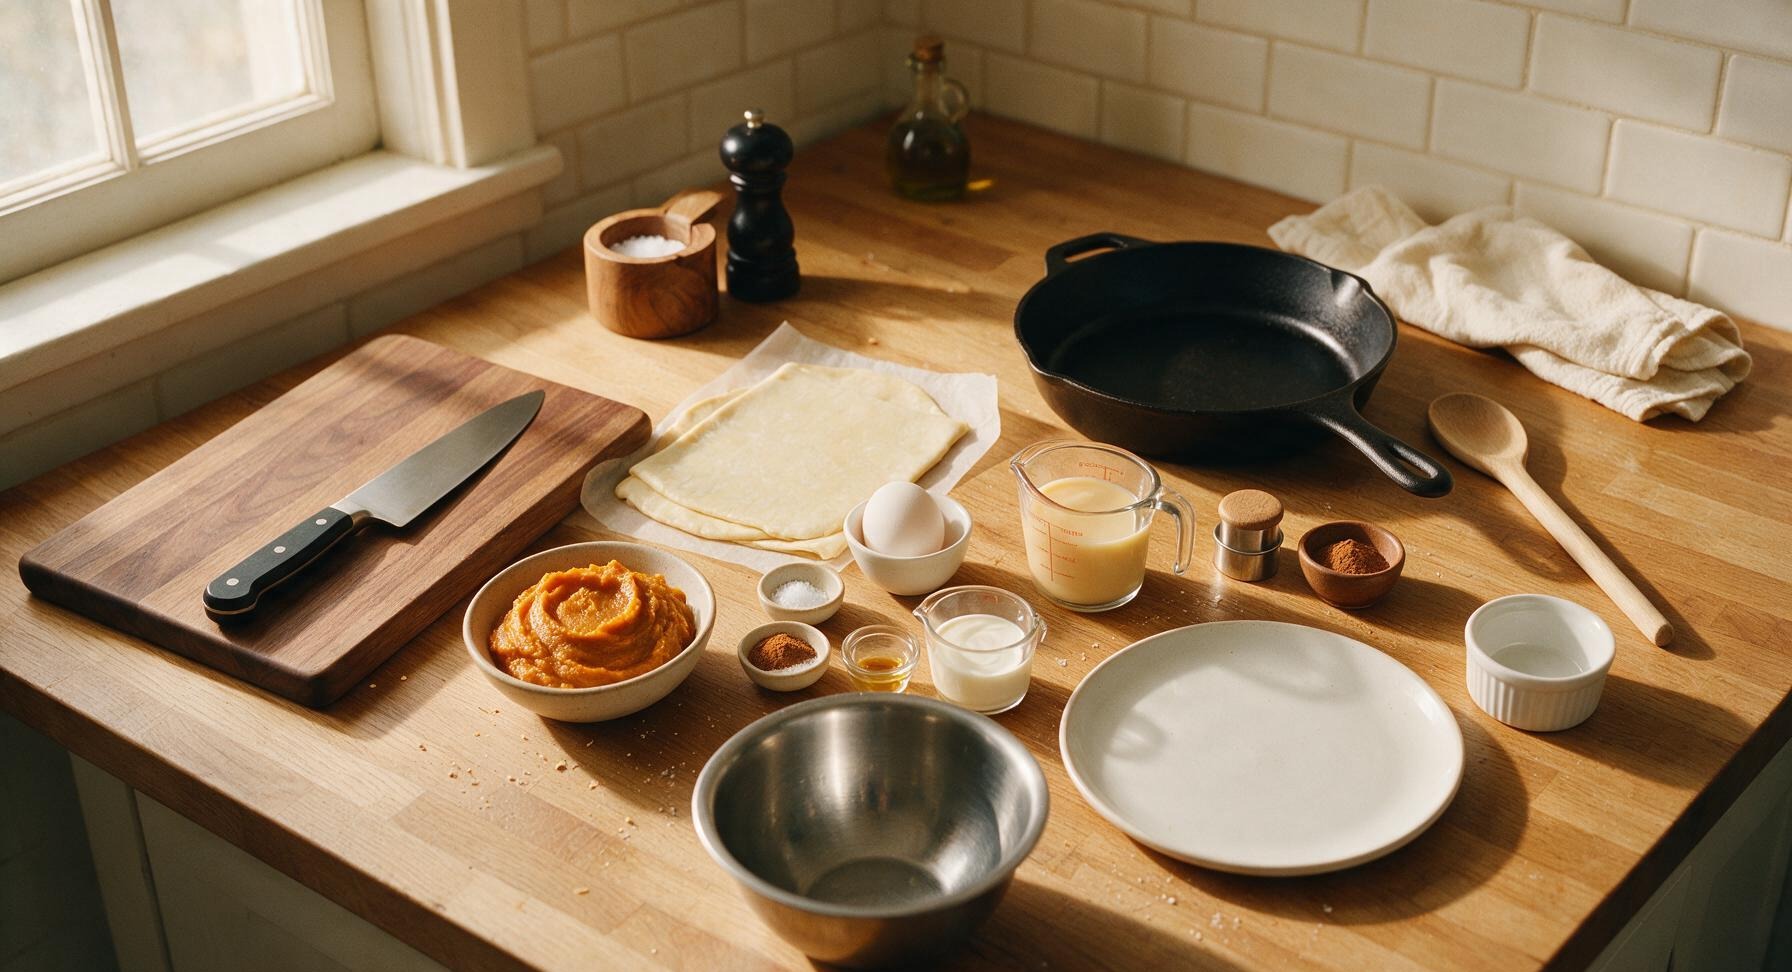
Ingredients
Steps
Prep Oven and Crusts
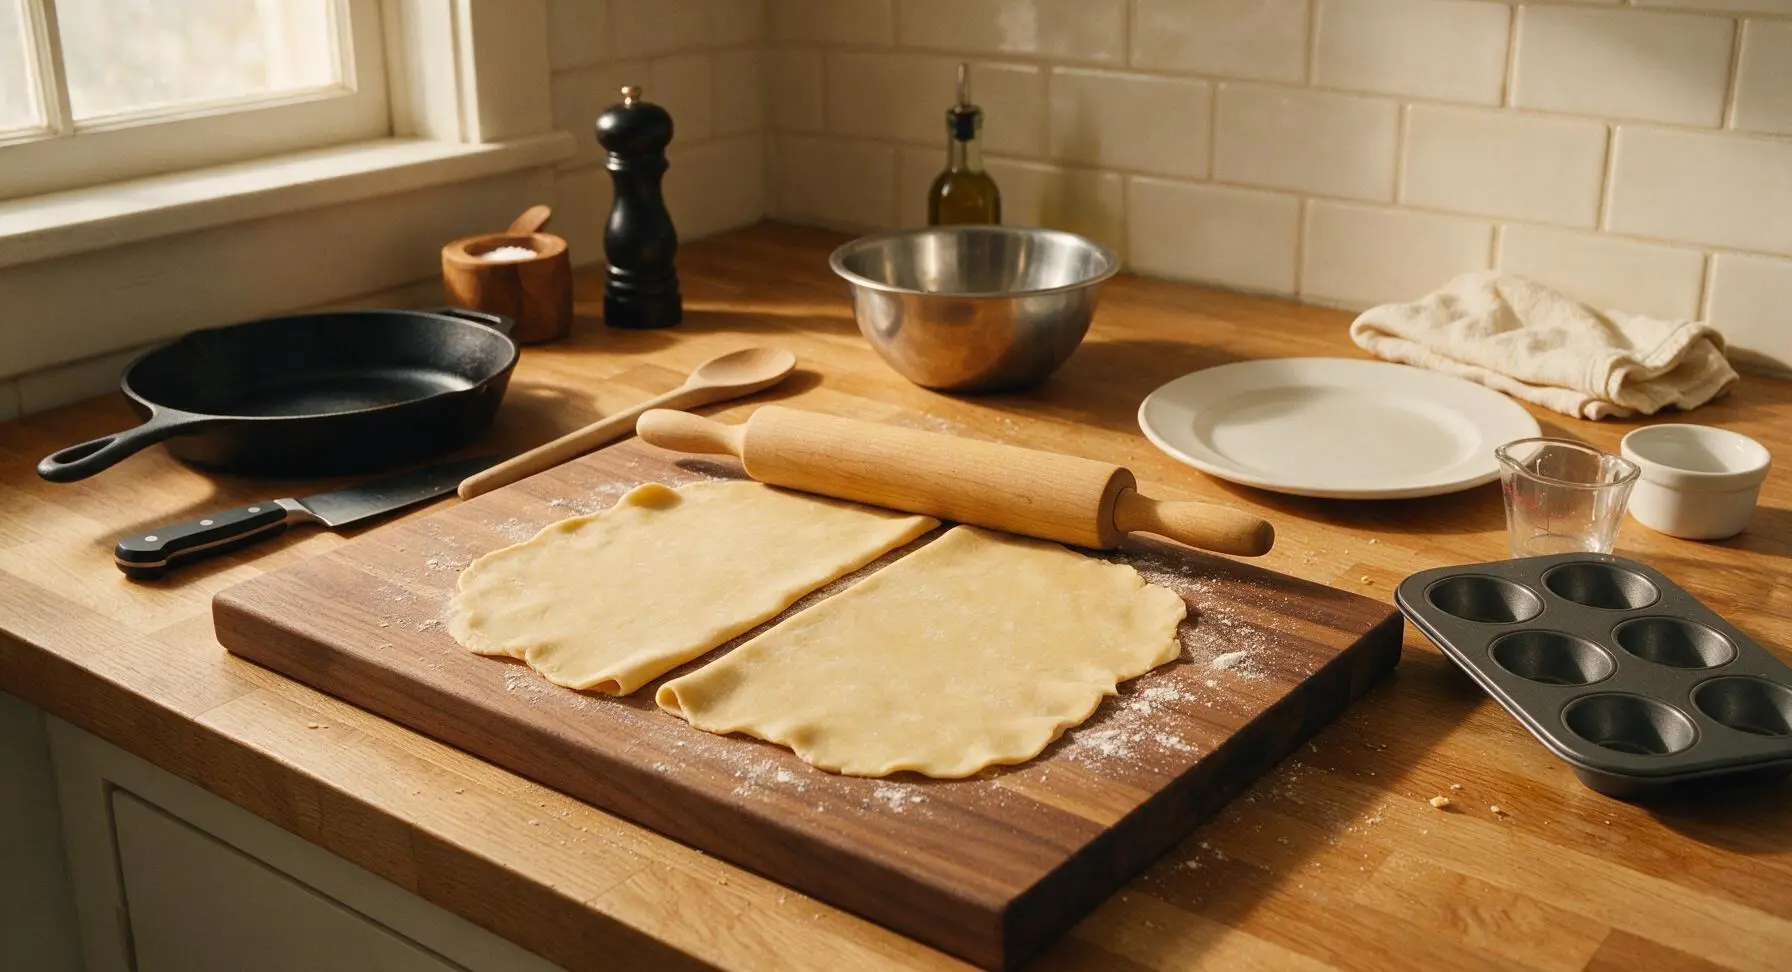
Preheat your oven to 375°F (190°C) and position a rack in the center. Unroll both 9-inch refrigerated pie crust sheets onto the acacia wood cutting board. Use the hard maple rolling pin to gently smooth any creases in the crust, rolling to a consistent 1/8-inch thickness. Avoid over-rolling, as this will create tough, dense crusts that do not flake properly.
Cut Crust Circles
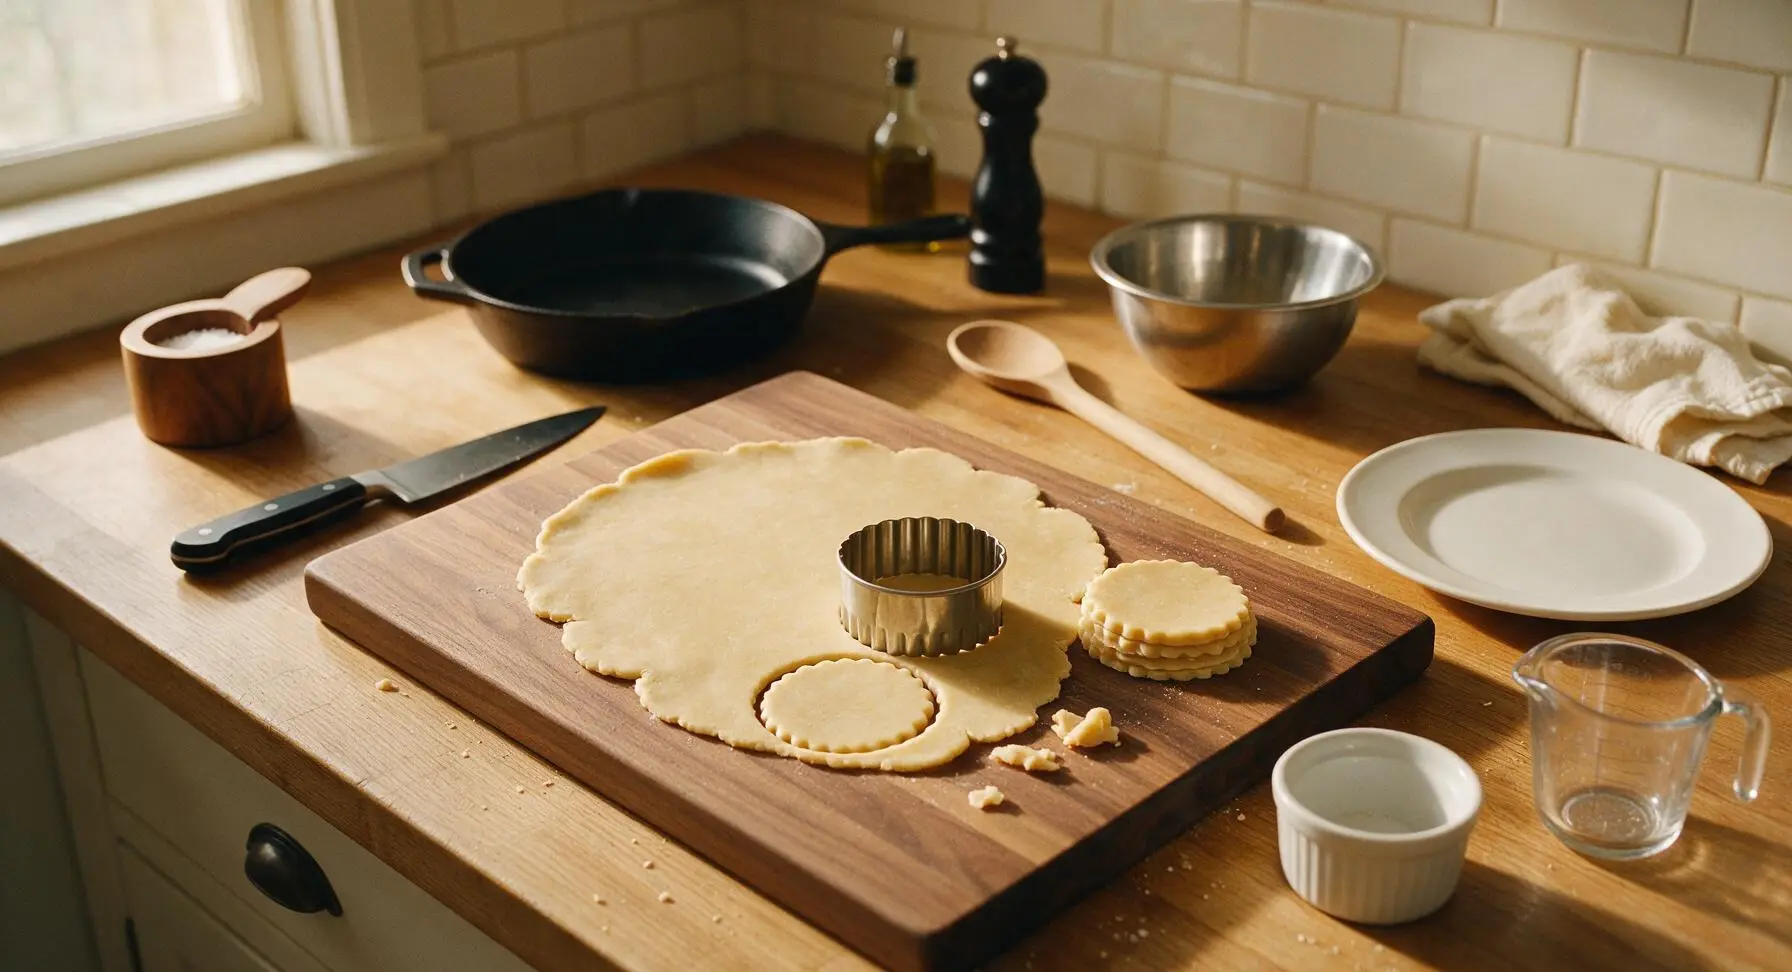
Use the 3-inch fluted stainless steel cookie cutter to cut 12 rounds from each pie crust sheet, for a total of 24 crust circles. Press the cutter straight down without twisting to ensure clean, even edges that rise evenly while baking. Gather dough scraps, re-roll once to 1/8-inch thickness, and cut additional rounds if needed to reach 24 total; do not re-roll scraps more than once, as this creates tough crust.
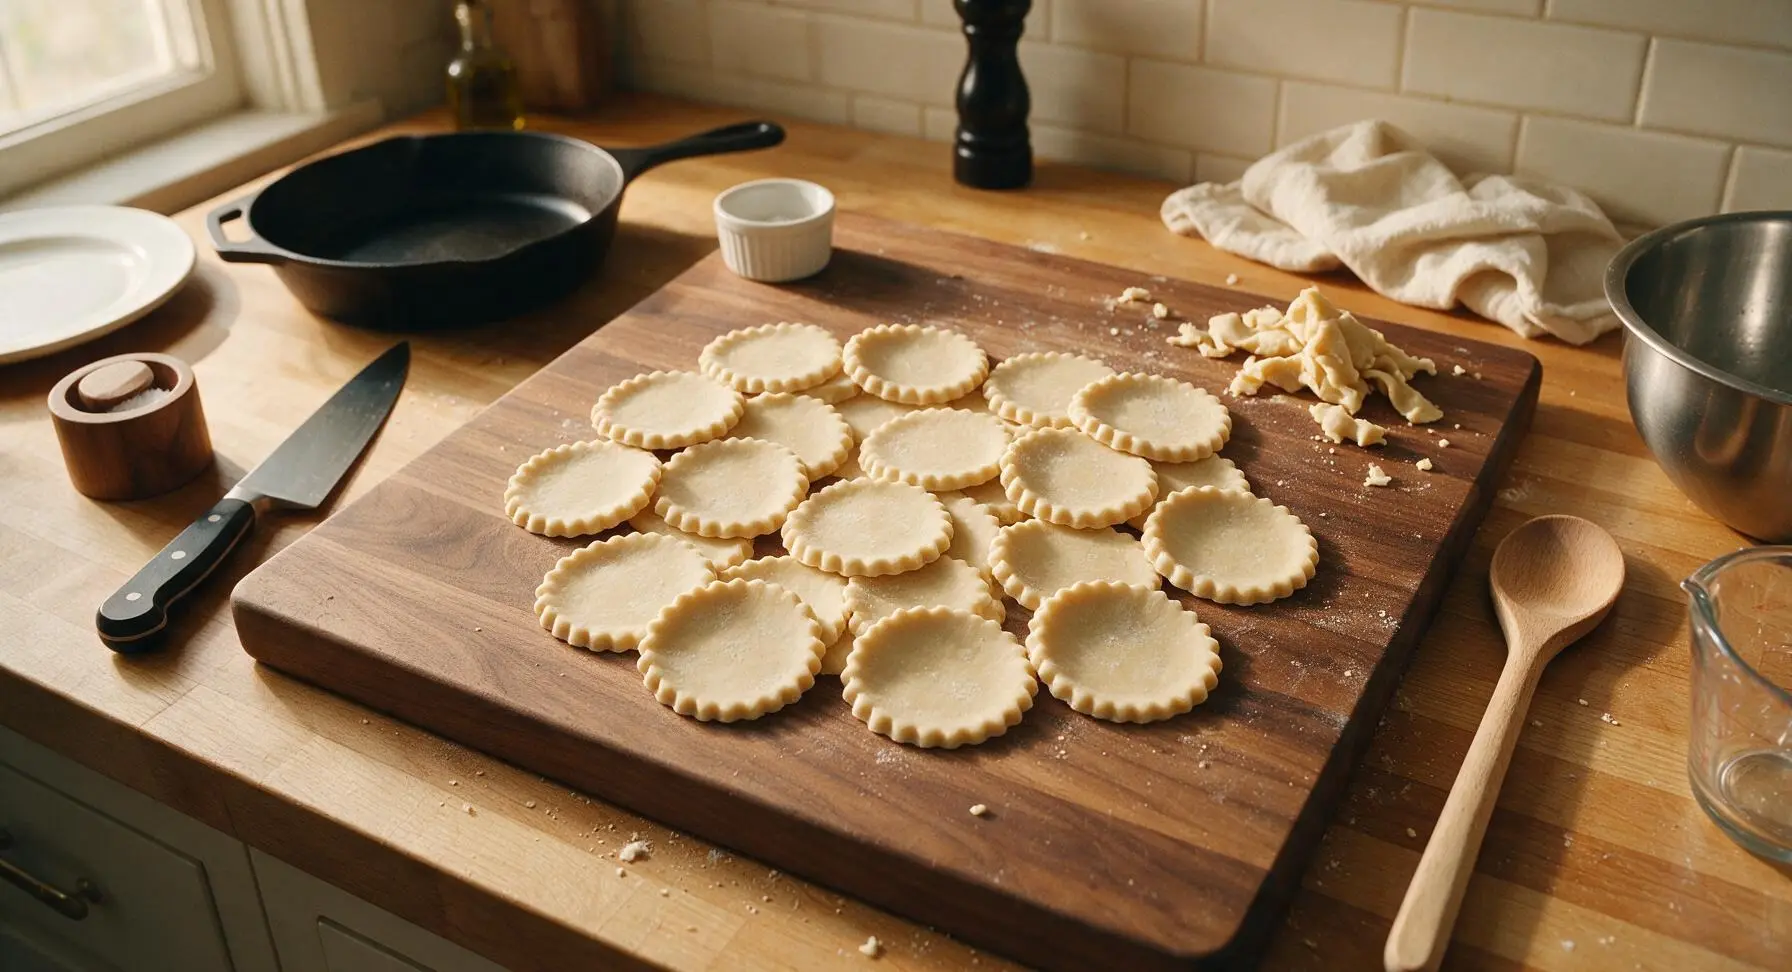
Press Crusts into Tin
Gently press each cut crust round into the cups of the mini muffin tin, pressing the dough up the sides of each cup to form a small 1cm tall crust shell. The fluted edges of the crust should sit just slightly above the rim of each muffin cup. Prick the bottom of each crust 2 times with a fork to prevent air bubbles from puffing up the crust during baking.
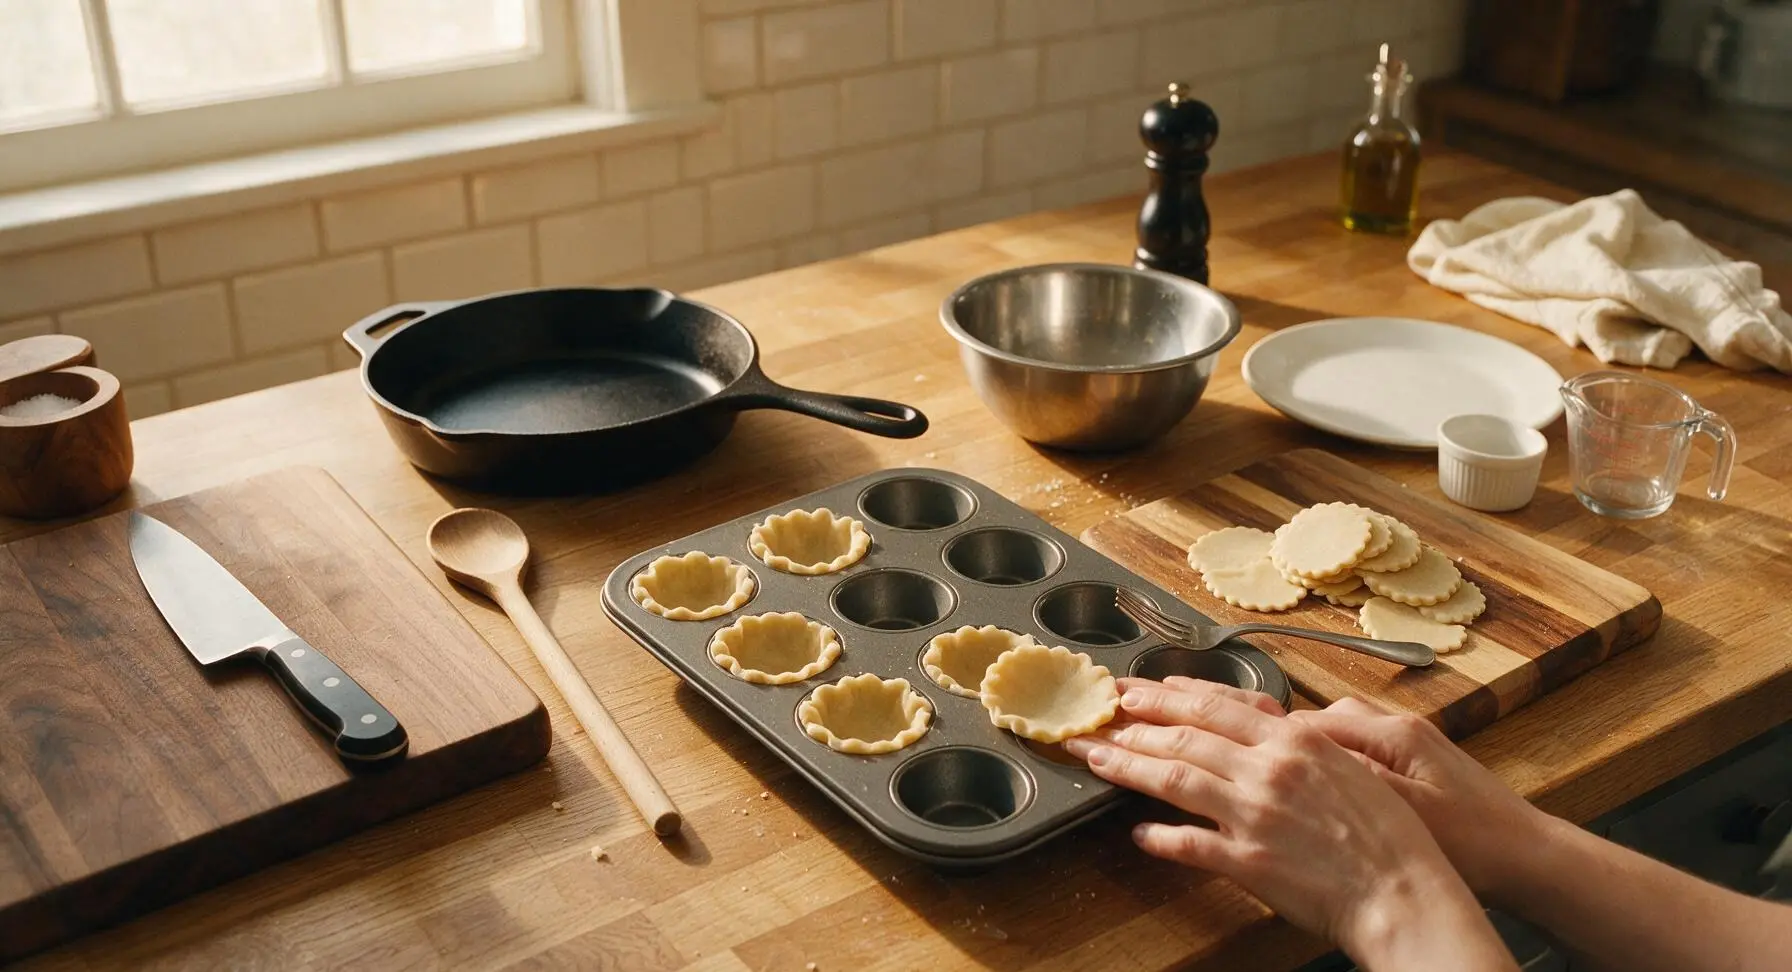
Mix Pumpkin Filling
In the medium stainless steel mixing bowl, combine 1 cup plain pumpkin puree, 1/2 cup sweetened condensed milk (measured in the clear glass measuring cup), 1 large lightly beaten egg, 1 1/2 tsp pumpkin pie spice, 1/4 tsp fine sea salt, and 1/2 tsp vanilla extract. Use the stainless steel wire whisk to stir the mixture until completely smooth, with no lumps of spice or streaks of egg remaining. Do not over-whisk, as this will incorporate excess air that causes the filling to crack while baking.
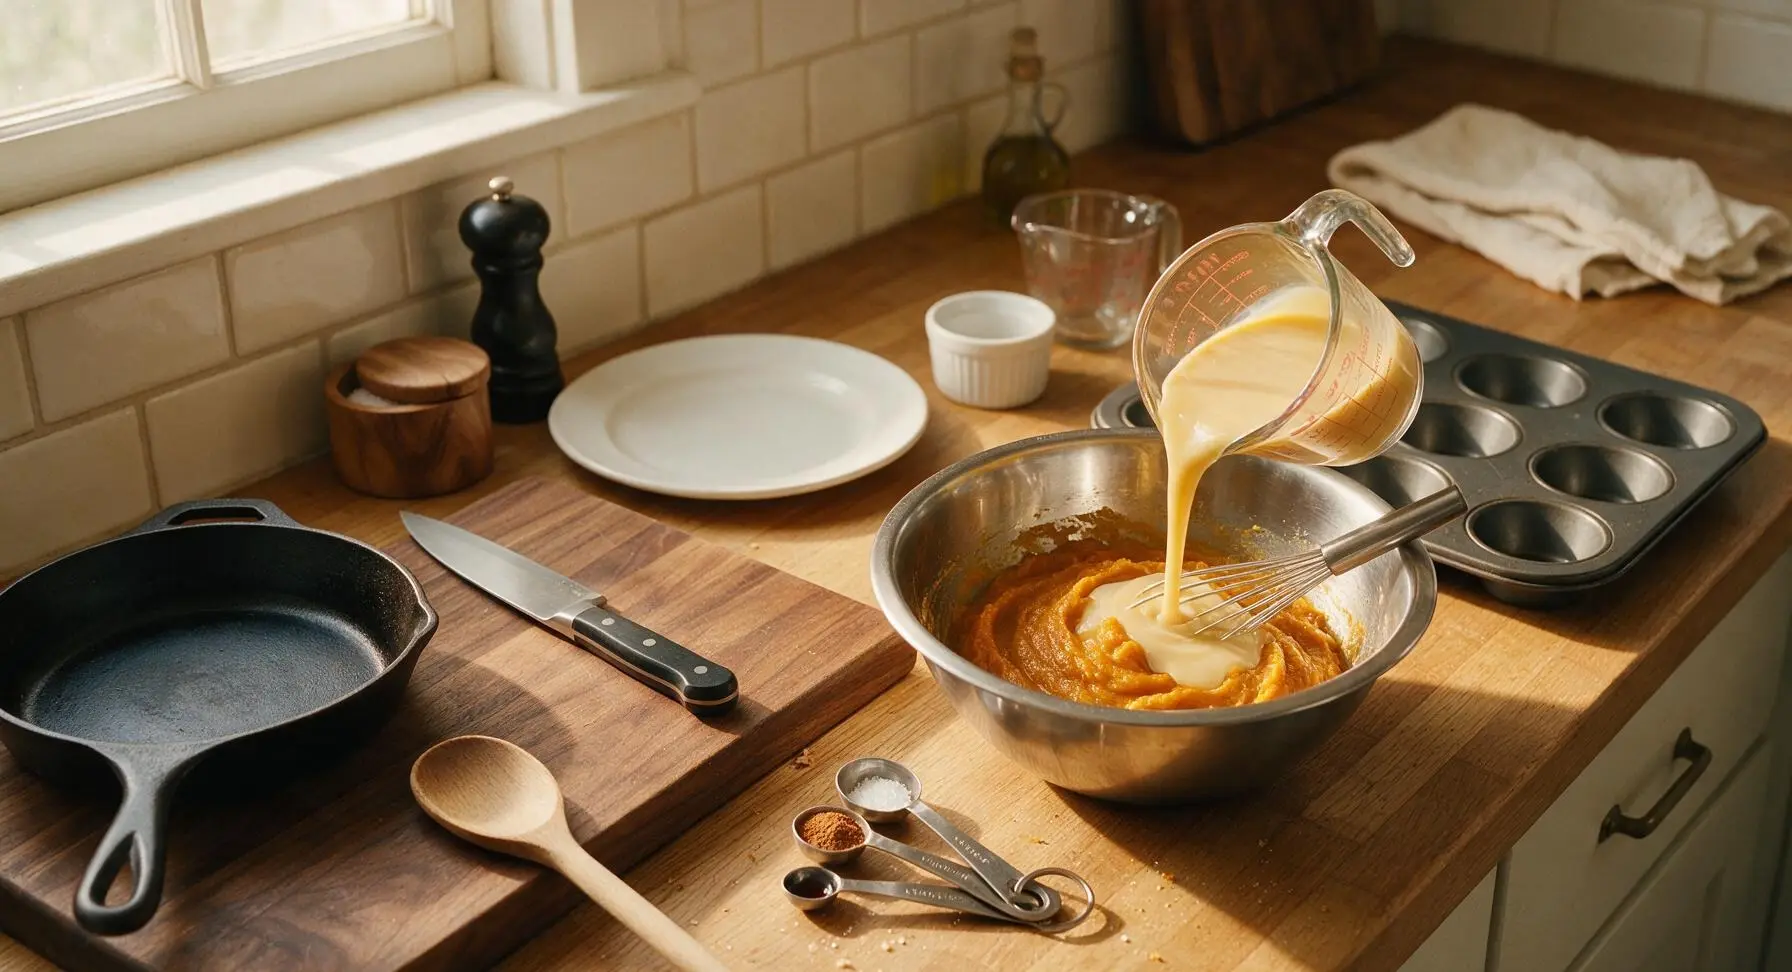
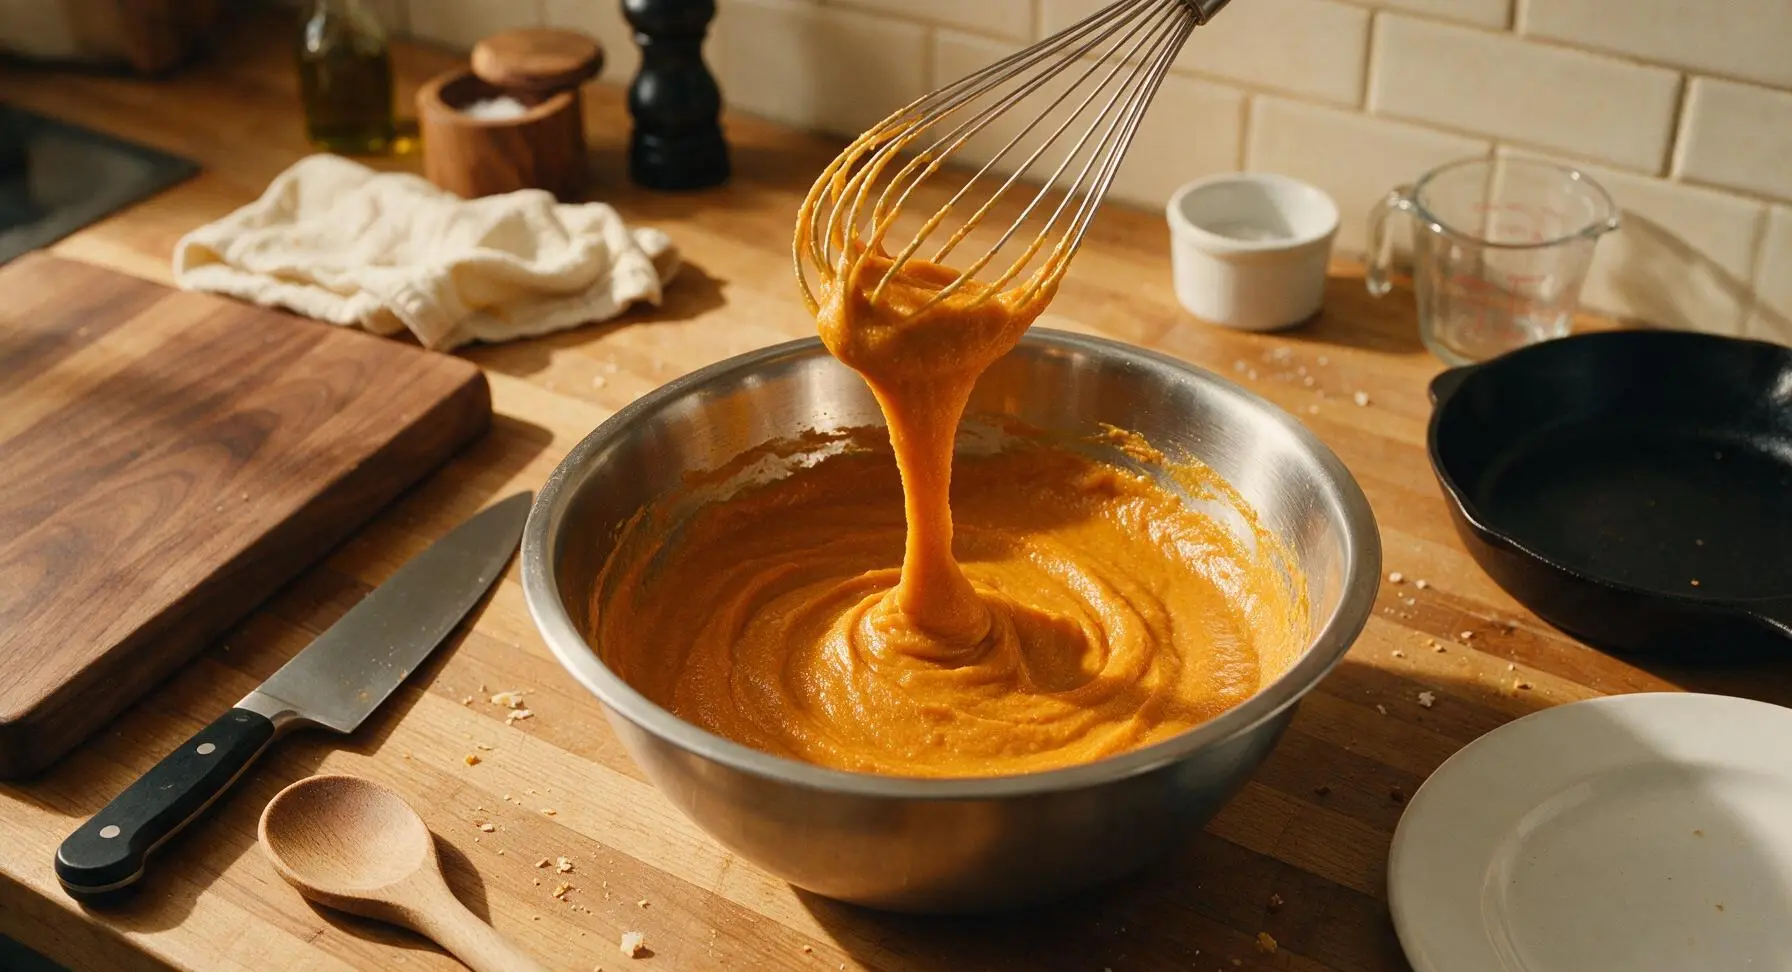
Fill Crust Shells
Use the matte burnt orange silicone spatula to scoop the pumpkin filling into each prepared crust shell, filling each to 2/3 full (approximately 1 tbsp of filling per cup). Do not overfill, as the filling will bubble up and spill over the crust edges while baking. Wipe any spilled filling from the top of the tin with a corner of the linen towel before placing in the oven.
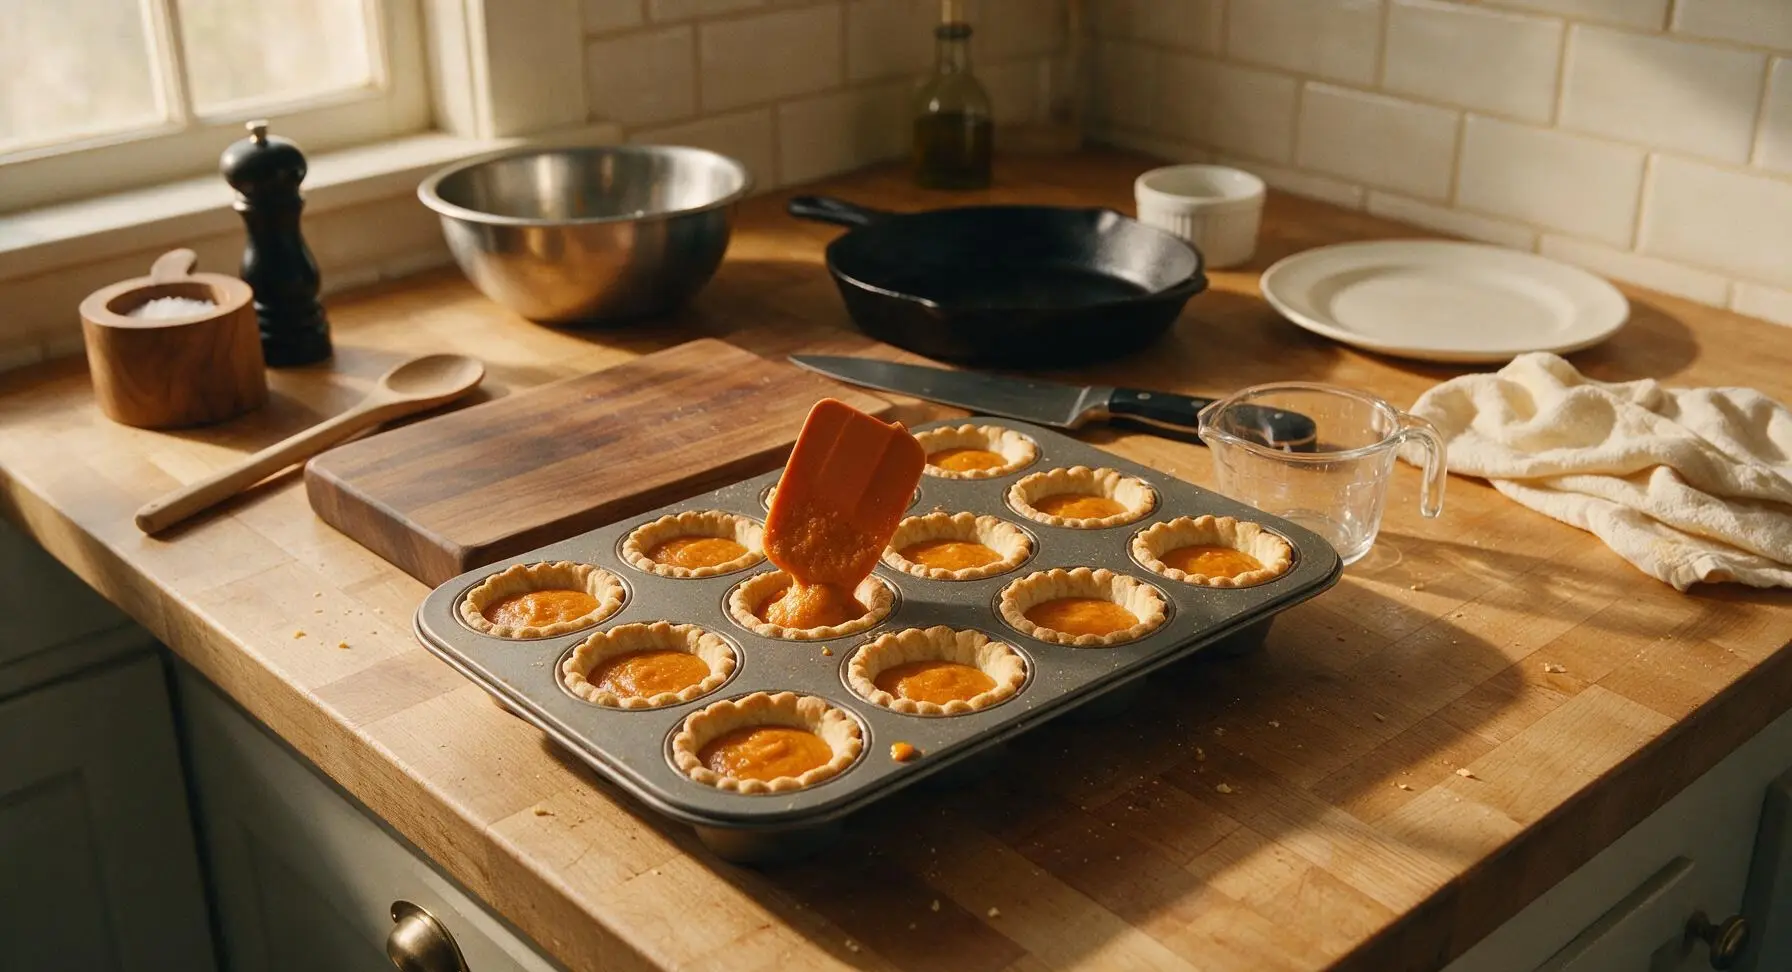
Bake Until Set
Place the filled mini muffin tin on the center oven rack and bake for 15-18 minutes at 375°F (190°C). The bites are done when the crust is deep golden brown, and the filling is set around the edges with a very slight jiggle in the very center. The filling will continue to set as it cools, so avoid over-baking which causes a dry, crumbly texture.
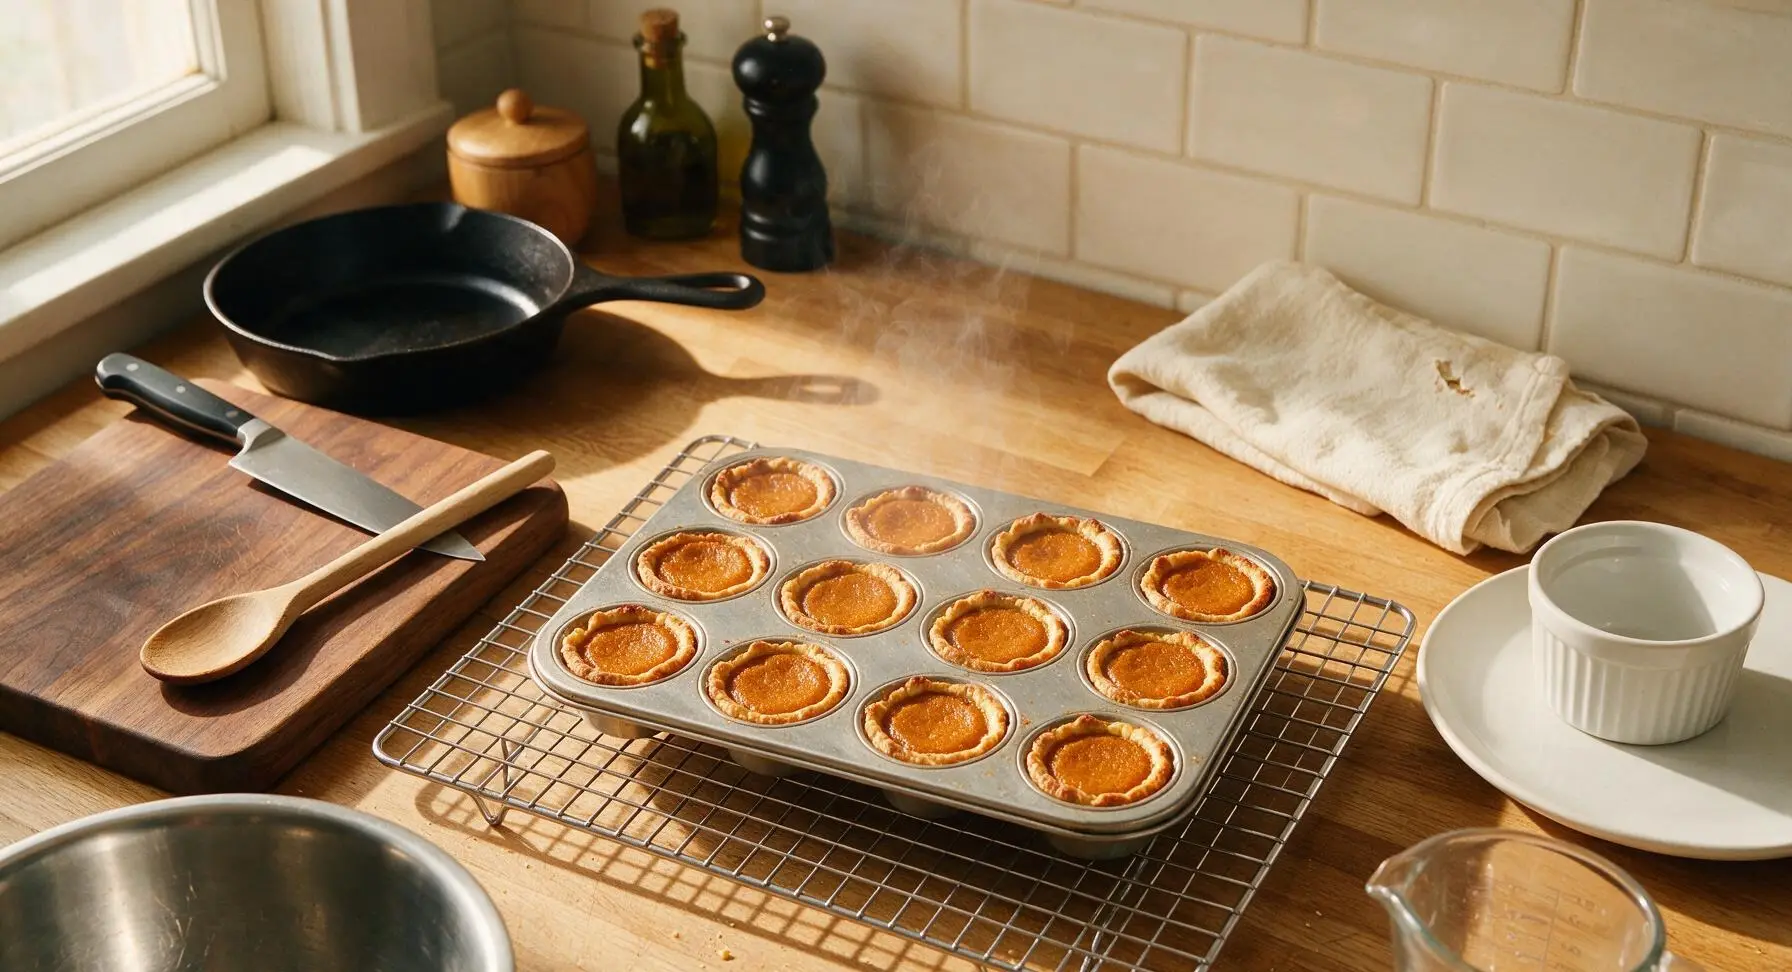
Cool Bites Thoroughly
Allow the pie bites to cool in the tin for 10 minutes on the wire cooling rack, then gently twist each bite to lift it from the tin and transfer directly to the rack to cool completely for another 20 minutes. Do not add whipped cream to warm bites, as the cream will melt and slide off the warm filling.
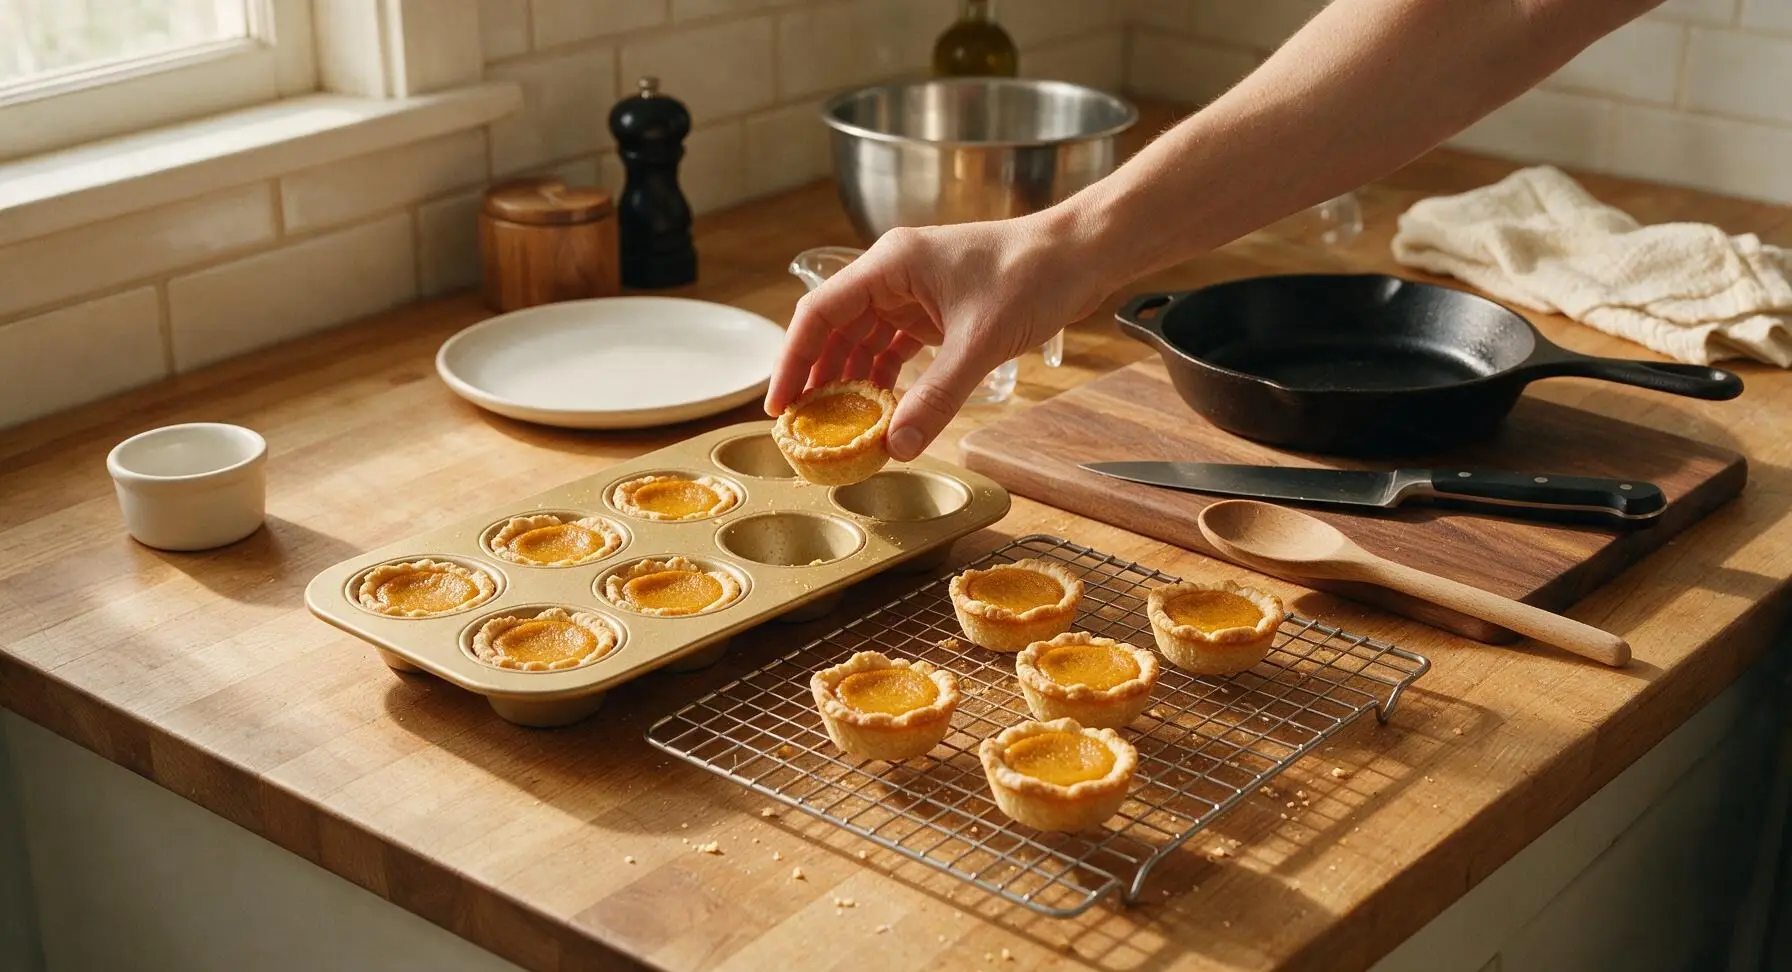
Top and Serve
While the bites cool, whip 1/2 cup heavy whipping cream to soft, billowy peaks, then transfer to the small matte white ceramic ramekin. Once bites are fully cooled, arrange them on the cream white ceramic serving platter, top each with a 1/2 tsp dollop of whipped cream, and dust lightly with ground cinnamon before serving.
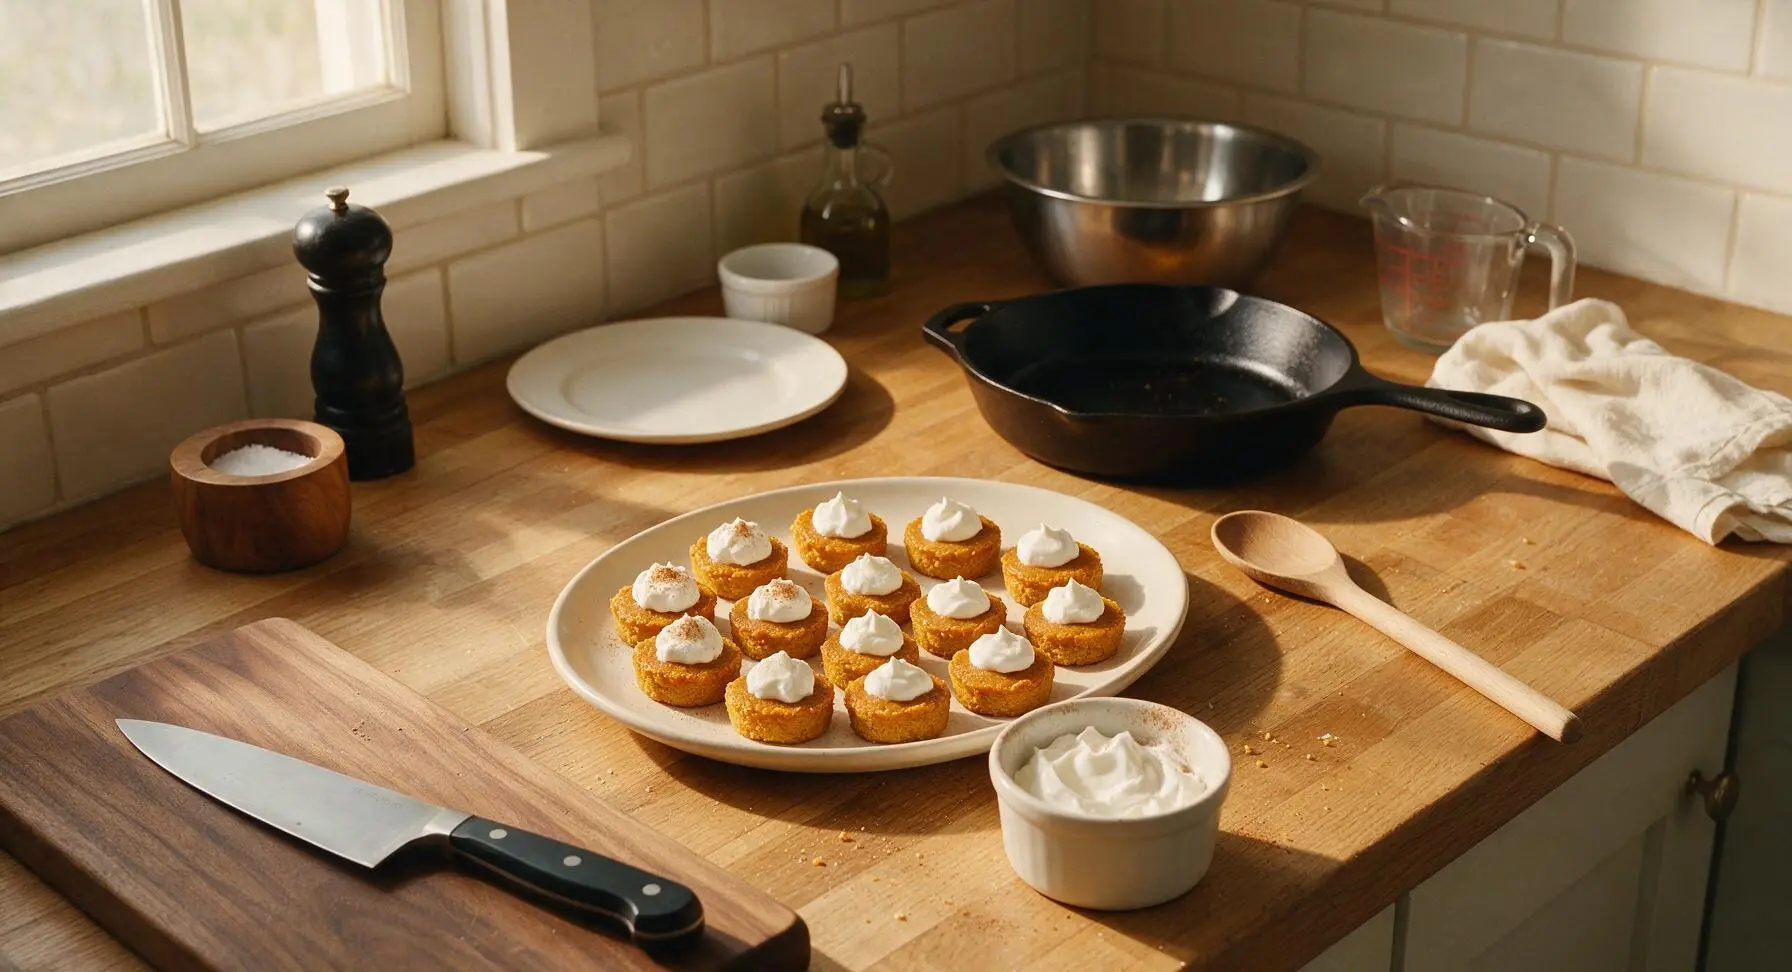
Tips
2.Resist the urge to overfill the crust shells: pumpkin filling expands slightly as it cooks, and cups filled more than 2/3 full will bubble over the edges, creating sticky burnt messes on the tin and lopsided bites. The 2/3 fill level leaves just enough room for gentle expansion.
3.Wait until bites are fully room temperature before adding whipped cream: warm filling will melt whipped cream within seconds, leading to runny, sliding topping instead of a fluffy, stable dollop. For extra make-ahead convenience, store un-topped cooled bites in an airtight container in the fridge for up to 3 days, adding cream right before serving.






OMG these pumpkin pie bites are a GAME CHANGER for fall potlucks! I brought them to my playgroup meetup yesterday and every single mom asked for the recipe. My 3 and 5 year old devoured them before I even got a second one, they’re the perfect bite size so no messy plates! Only took me 20 minutes total including prep too, which is chef’s kiss for busy weeknights.
I’m literally terrible at baking, like I burn cookies 9 times out of 10, but these came out PERFECT on my first try! The 18 minute cook time is so accurate, I didn’t have to guess if they were done. I added a tiny dollop of whipped cream on top right before serving and my roommates said they taste better than the fancy bakery pumpkin pie we got last Thanksgiving.
Made these for my Sunday football watch party and they were gone by the end of the first quarter. 10/10, will be making these every Sunday from now until Thanksgiving. Only note: I sprinkled a little cinnamon sugar on top before baking and it added the perfect extra crunch.
I tried making these with a gluten free pie crust last night for my celiac kiddo and they turned out a little crumbly! Does anyone have tips for getting the crust to hold together better? Flavor was 10/10, he ate three of them, just wish the crust didn’t fall apart when we picked them up.
These are perfect for meal prep! I made a big batch on Sunday and kept them in the fridge, grabbed one or two for a quick snack between classes all week. They hold up so much better than regular pumpkin pie which gets all soggy after a day. 10/10 for easy, portable fall snacks.
I’ve been making pumpkin pie from scratch for 60 years, and these little bites are just as good as my full size pie! So much easier to serve at our annual family Thanksgiving dinner, no need to cut slices or pass out plates and forks. My great grandkids went crazy for them, they kept sneaking them off the platter before dinner started.
SO good! I added a tiny bit of extra nutmeg and a dash of maple syrup to the filling and it tasted like fall in a bite. These are going to be my go-to dessert for every fall get together from now on, they’re impossible to stop eating. I think I ate 4 straight out of the oven oops.
I was looking for a lower sugar fall treat and these worked perfectly! I swapped the regular sweetened condensed milk for the unsweetened kind and added a little extra pumpkin spice, and they still tasted totally indulgent without the sugar crash. Great macro-friendly option if you’re tracking, too!
Made these for my Halloween party over the weekend and I can’t believe how easy they were! I even added a little candy corn on top of each one for a festive touch and they looked so cute on the dessert table. Multiple guests texted me the next day asking for the recipe, total hit.